
Self-levelling Concrete Screed Spike Roller
Print Profile(2)


Description
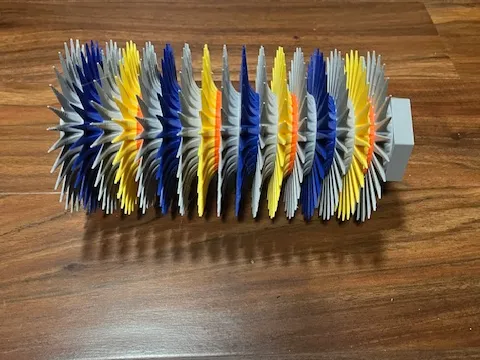
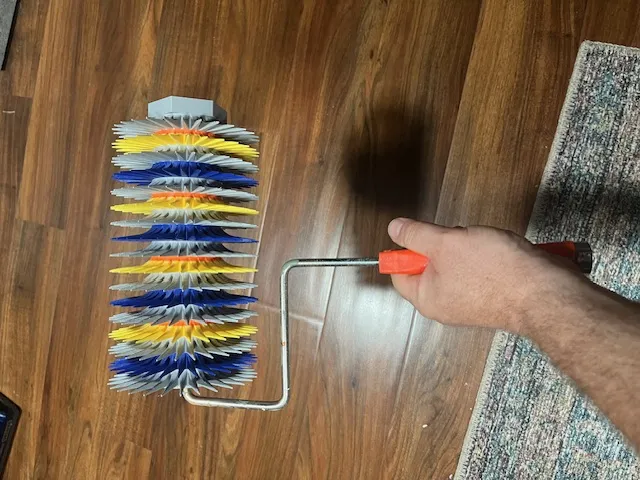
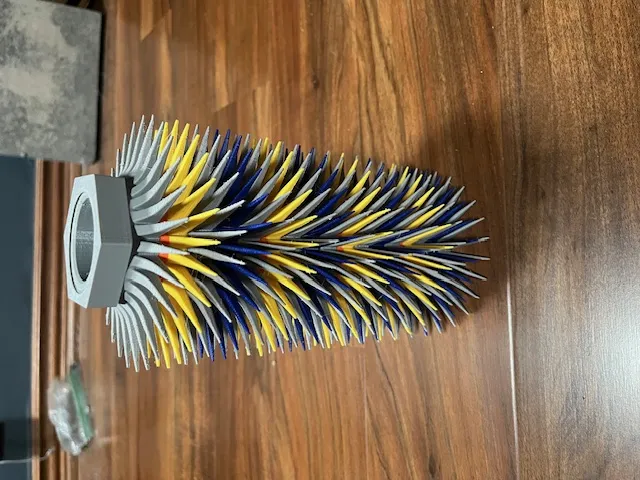
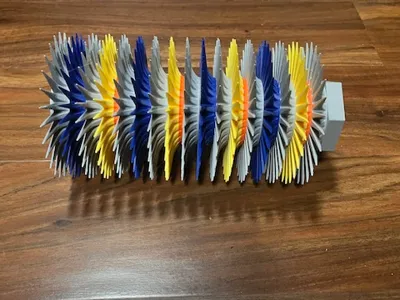
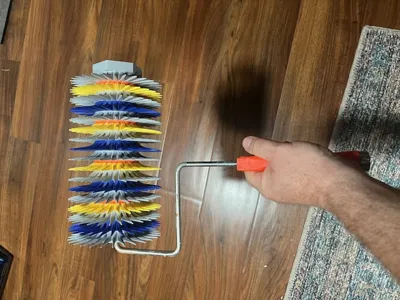
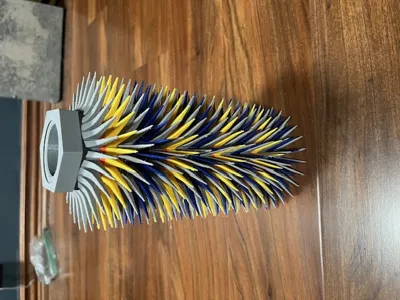
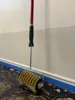
My local hardware store didn't have a spike roller in stock, and I didn't want to wait for one to ship (I'm not in an area that gets next-day Prime delivery). I made this to fit a standard 9-inch paint roller. It has 28 1¼" spikes per row. If you are planning to use this on self-leveler or another concrete application, please use a chemical-resistant filament like PETG, since Portland cement has a pH of 11 and that will ruin your day if you're using PLA.
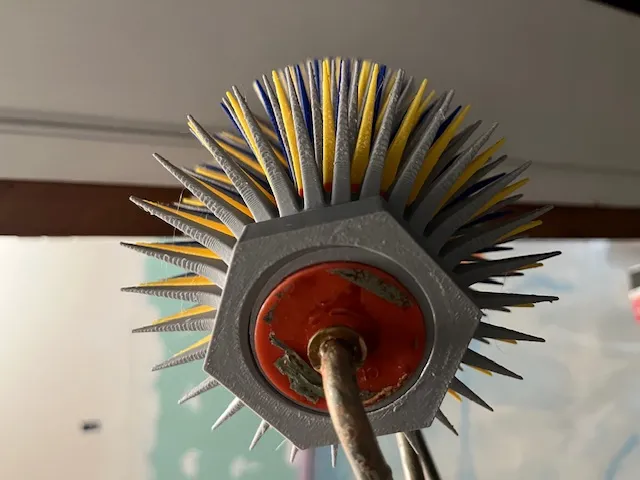
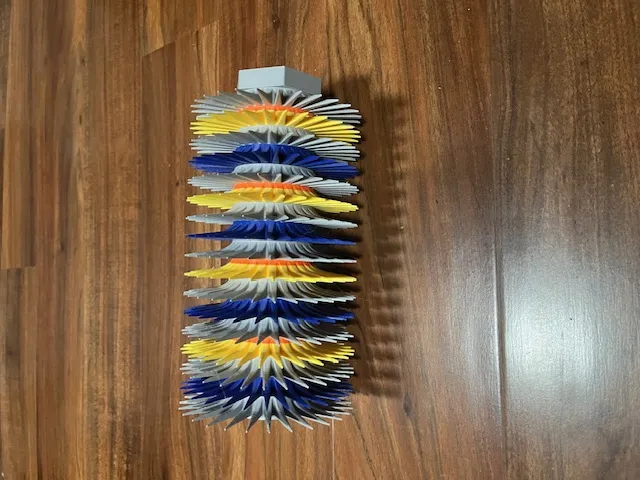
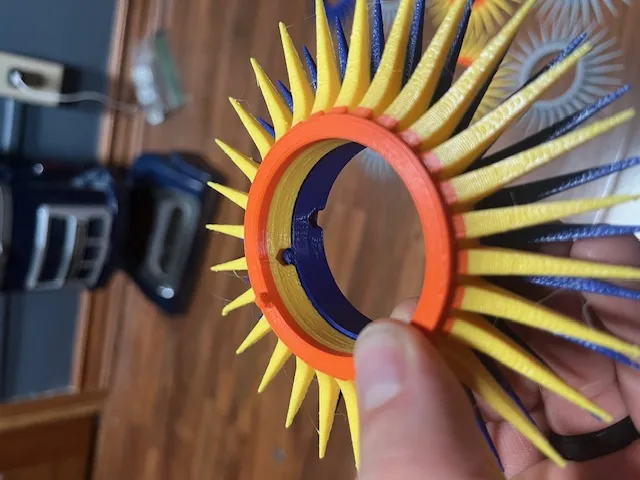
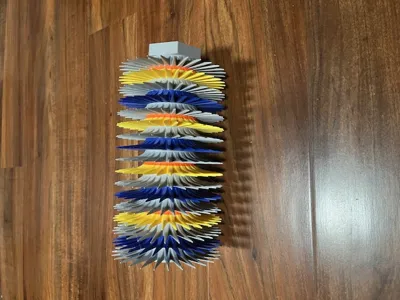
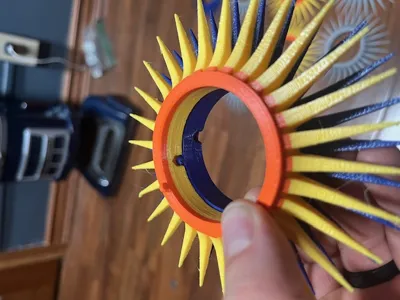
The spindle and each of the rows of spikes have a small alignment tab on the top that fits into a slot on the bottom of the next row. They are offset from one another so the final result is a spiral-like pattern of spikes so that there is a near-constant contact with the ground, so it will keep rolling instead of hit a valley and drag.
This model is about 670 grams finished, which feels surprisingly heavy, This is a feature, not a bug! The extra weight means you don't have to apply much pressure to get the spikes into the concrete.
Instructions:
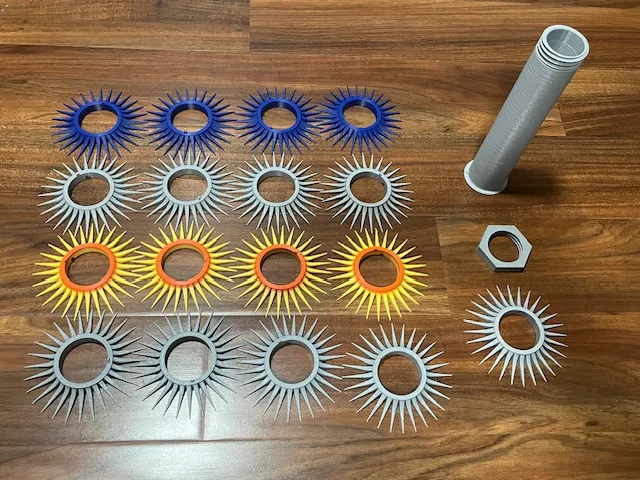
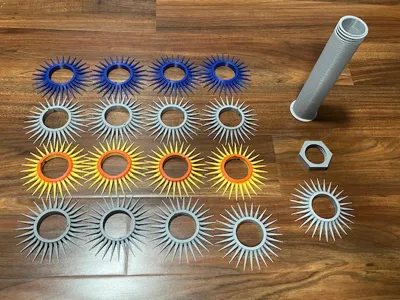
- Print one plate each of the spindle and the nut & top row (the top row doesn't have an alignment tab, so the nut can sit right on it).
- Print 4 of the spike role plate
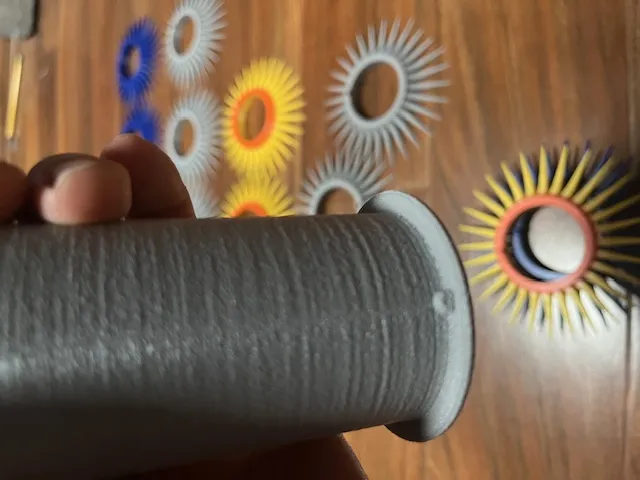
- Assemble the roller by adding spike rollers to the spindle with the alignment tab up. Align the alignment slot with the alignment tab of the previous row (or the tab on the spindle, if it's the first row). See the picture of an alignment tab in a slot.
- Add the top spike row (the one without an alignment tab). There should now be 17 spike rows at ½" each, for 8 ½" total, leaving ½" of thread exposed.
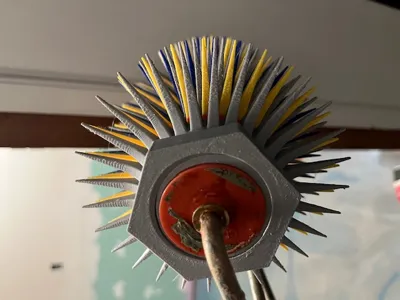
- Screw the nut snugly onto the exposed threads.
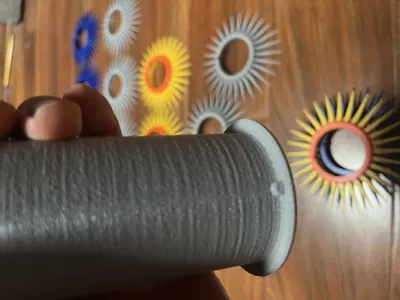
- Slide the completed spike roll onto your paint roller, nut first (this allows for a spike row to be right at the open edge, so you can get right next to walls.
- Enjoy your concrete work!
PLEASE NOTE: Since you are printing 4 of plate #2, the estimated filament numbers are inaccurate. Please plan on 650-700g.
License



Comment & Rating (8)