
Mini Train - Akropolis Diorama

Print Profile(2)
![[Basic] 0.2mm layer, 2 walls, 15% infill](https://makerworld.bblmw.com/makerworld/model/US58fa8623bea512/406583631/instance/2025-09-11_63eefe3baf73e.png?x-oss-process=image%2Fresize%2Cw_100%2Fformat%2Cwebp)


Bill of Materials








Description
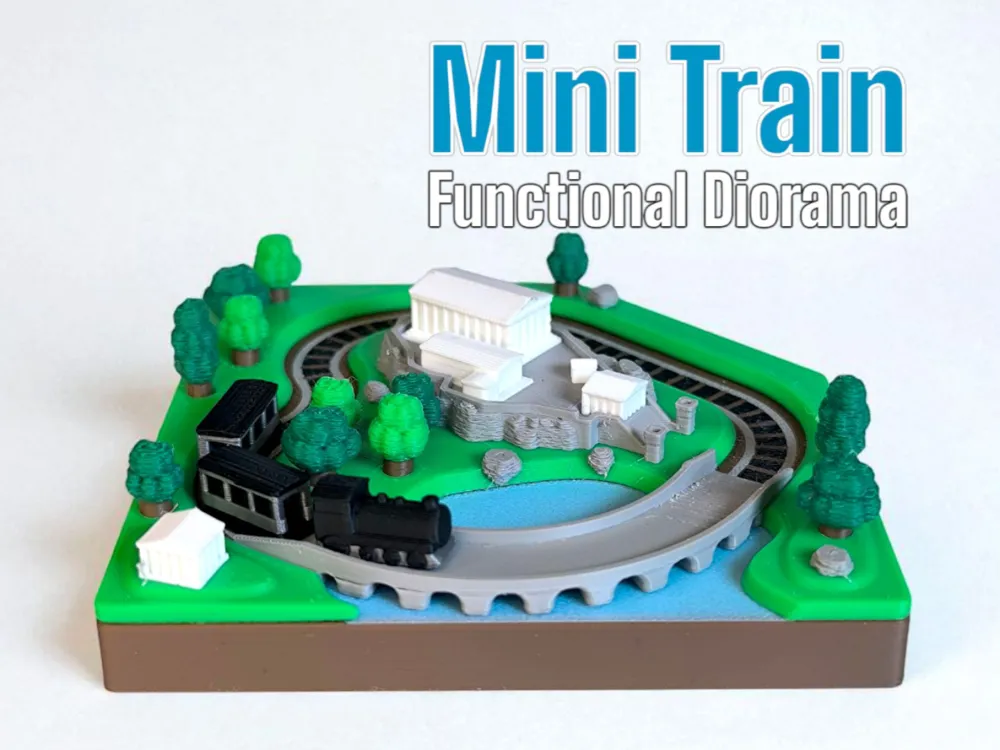
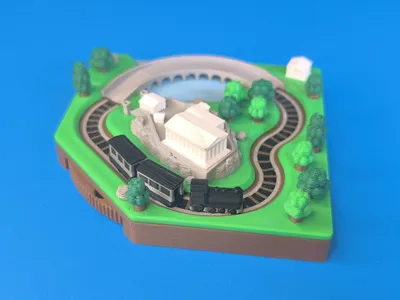
Mini Train - Functional Greek Diorama
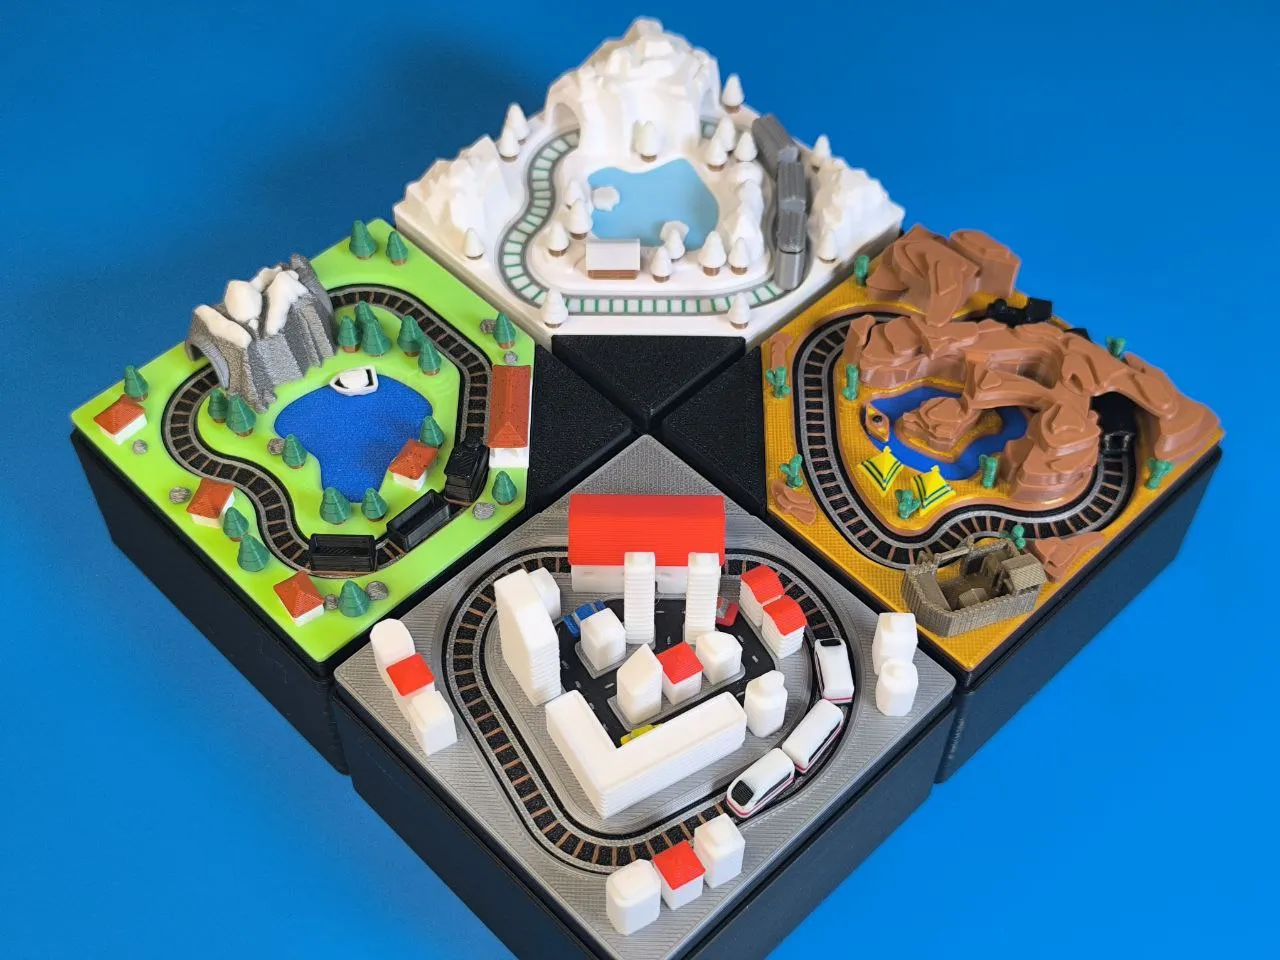
And here’s another new mini train diorama — we’ve already reached diorama number 15!
This time, I chose culture of Greece as the theme!
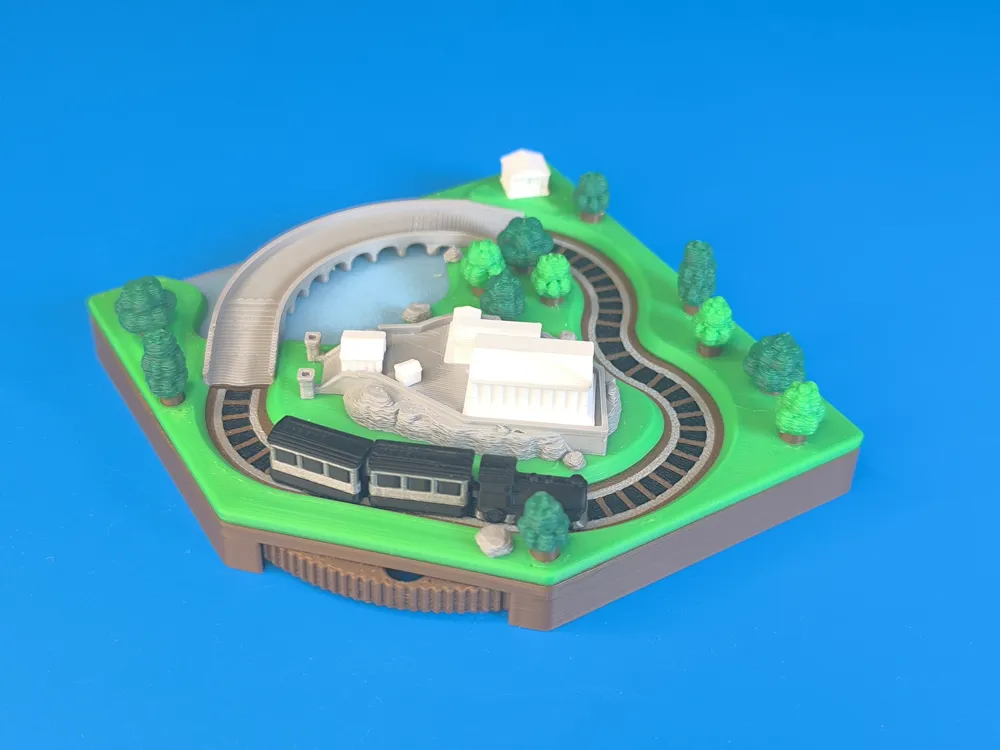
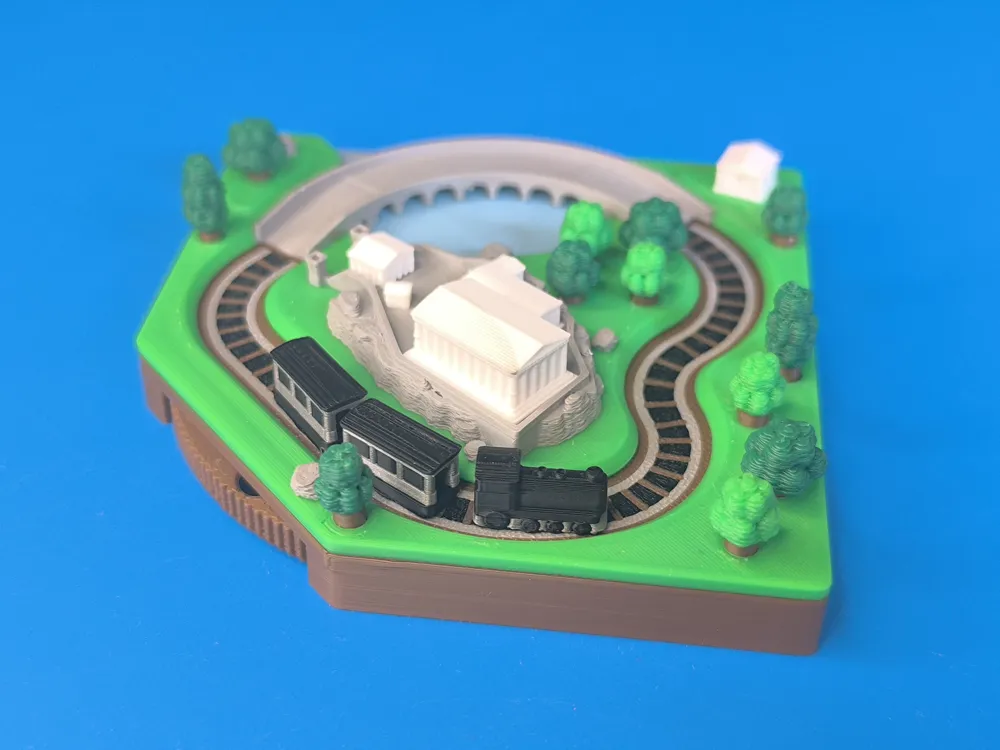
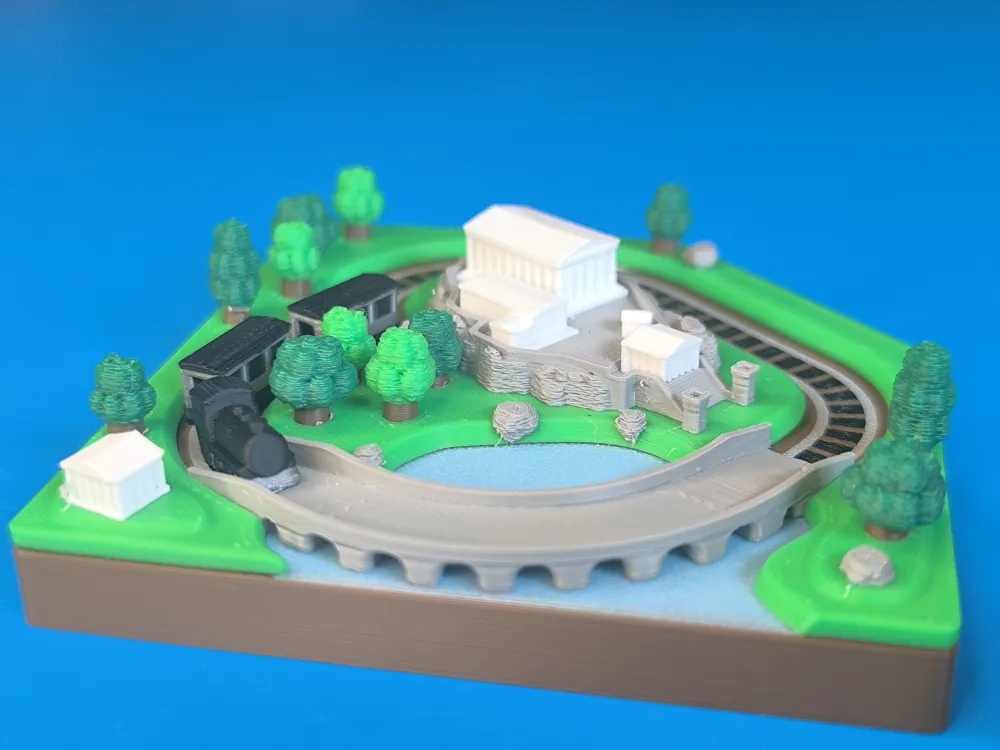
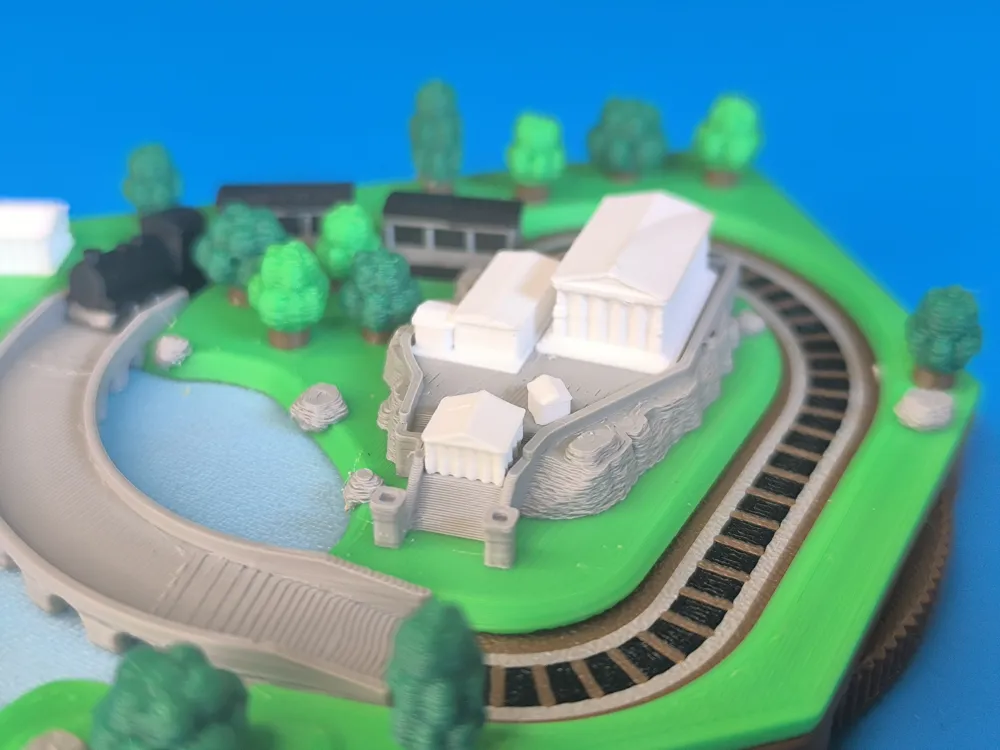
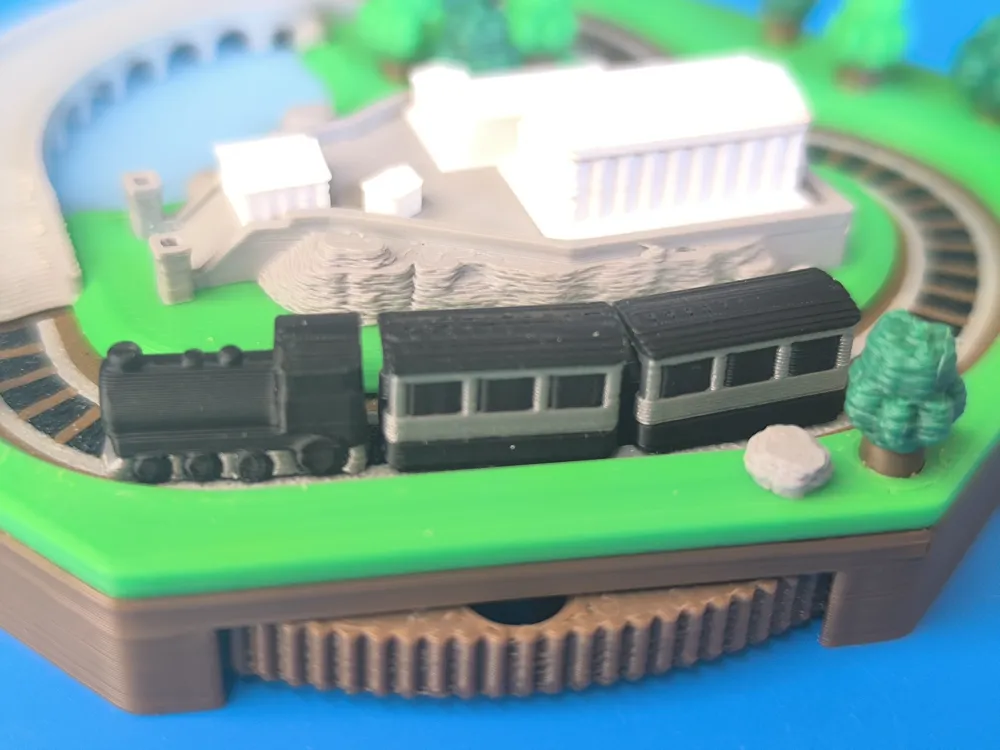
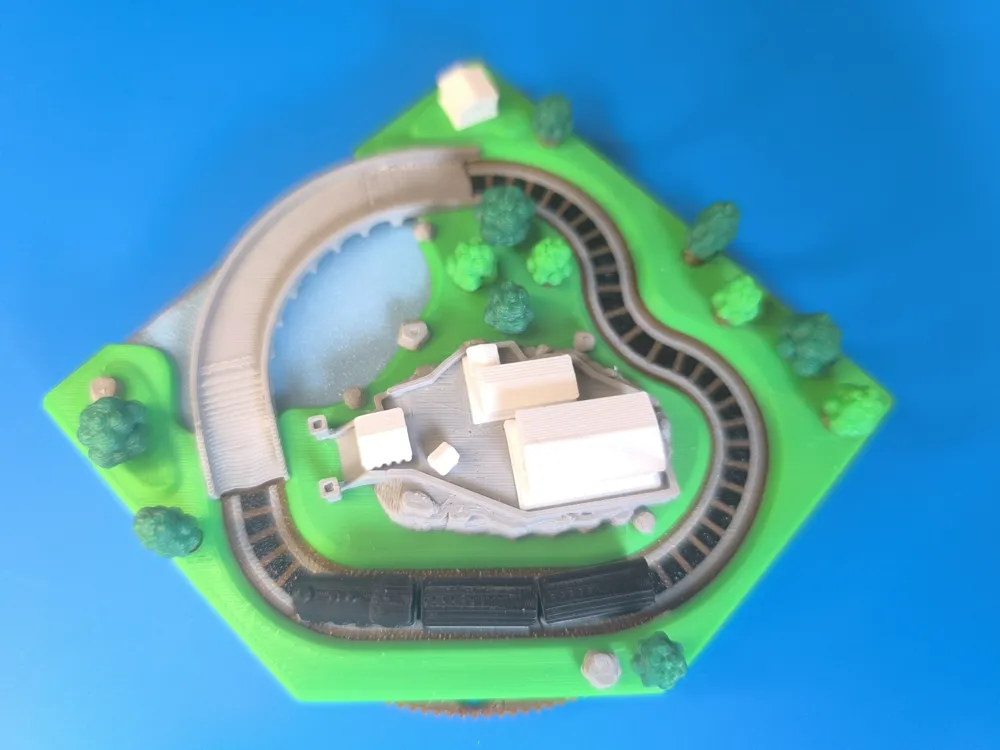
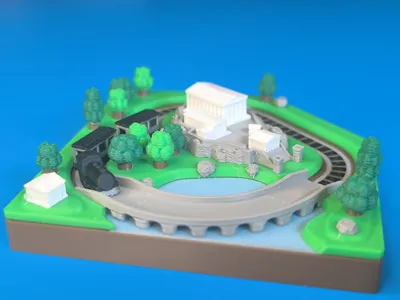
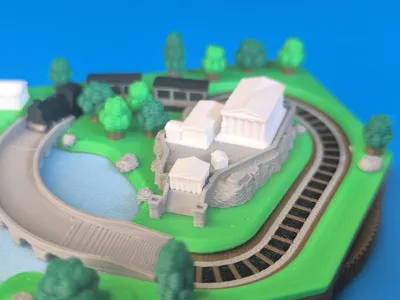
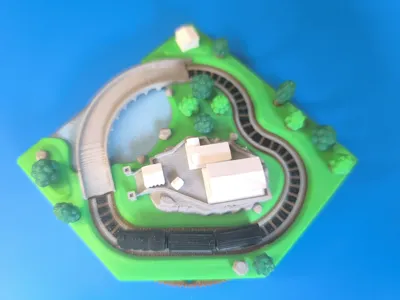
The train passes by a typical Greek temple, the curved bridge, the turquoise sea and by the Acropolis (repaired condition) with the Parthenon, Propylaia and Erechthelon.
I based everything solely on reference images — of course, the scales aren’t 100% accurate, but that’s intentional.
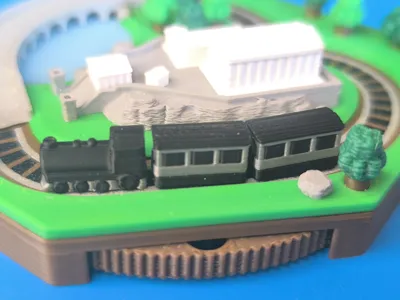
As with the previous dioramas, you can turn the hand-wheel on the outside to let the little train drive forward.
The new locomotive and wagon are compatible to the previous Dioramas.
All printed parts are designed to get an good result with a 0,4 nozzle and with minimal color changes to reduce waste.
Boost Me (for free)
→ Have a look at the great Motorization solutions!
More is coming…check the “Mini Train Collection” and leave a follow👍
Printing:
Following PLA Basic Filaments are used
Silver/Grey
Brown
Black
Cyan
Mistletoe Green
Bambu Green
Other colors are possible of course, look what you have in stock.
I think it could be easy done with single color, if you want to color from hand.
I printed with a 0,4mm nozzle! Iam very pleased with the result, but you can try a 0,2 nozzle as well.
Assembly:
You need 6pcs round 4x2 magnets for the functional assembly.
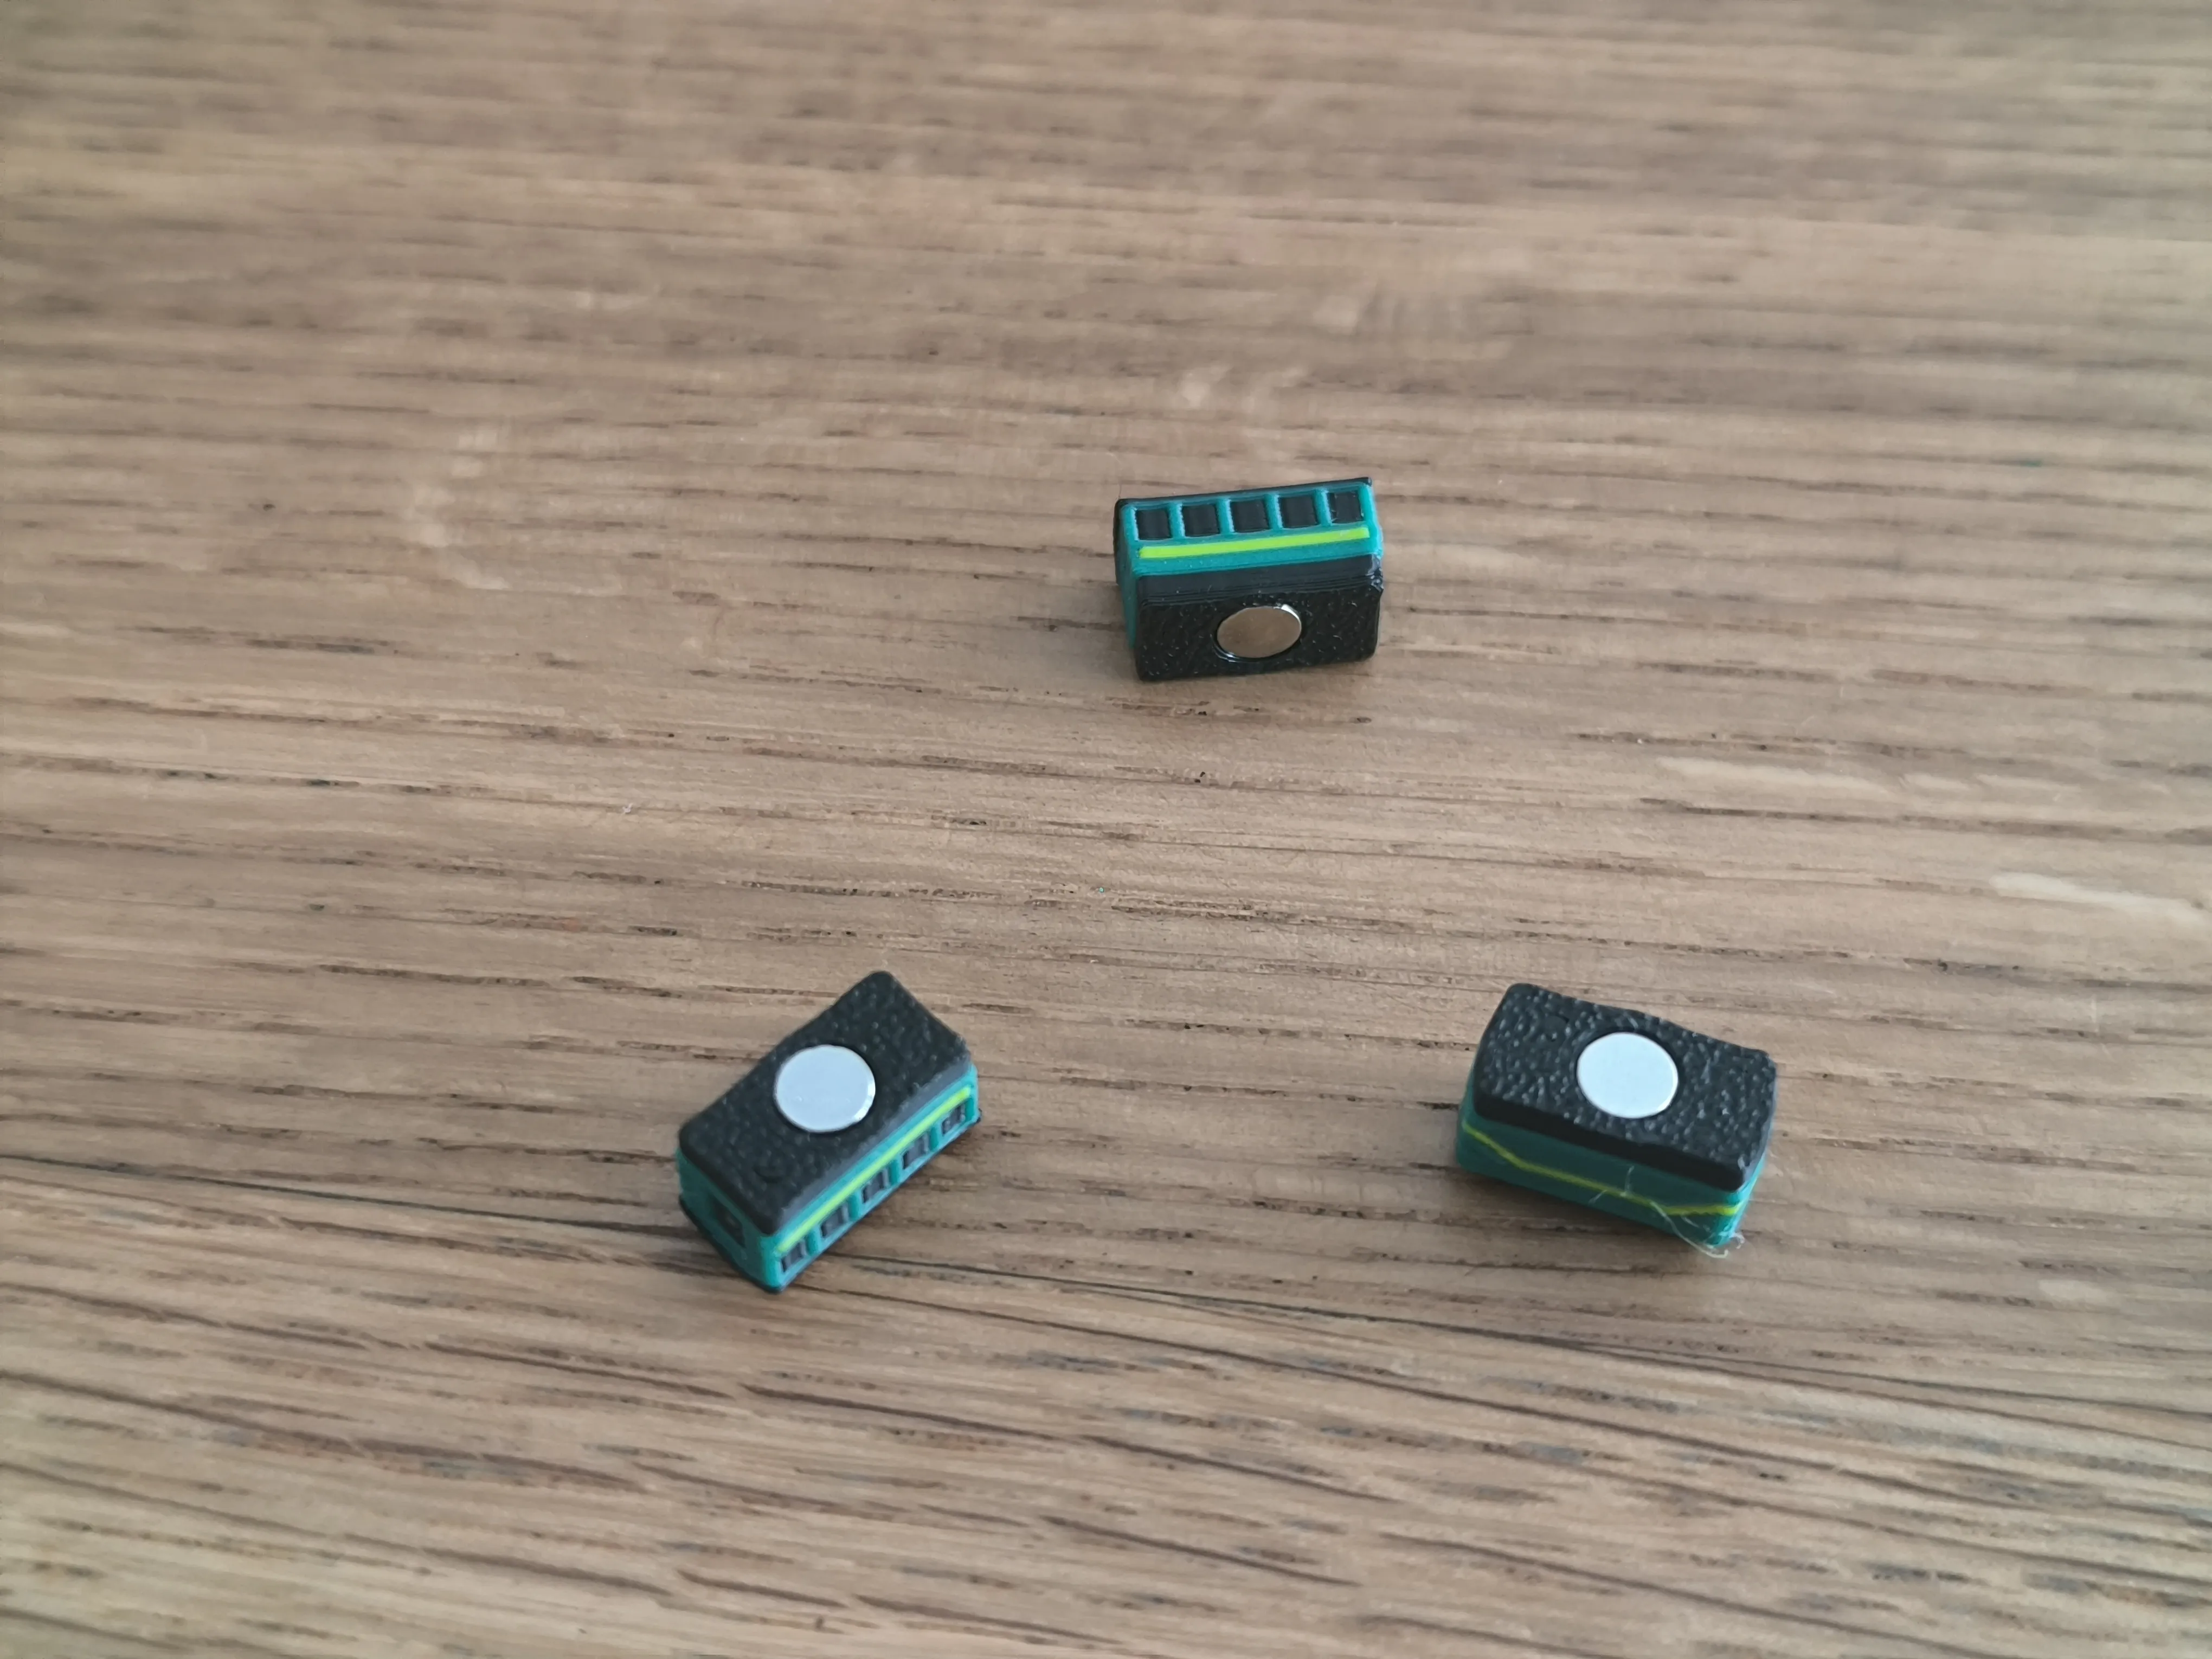
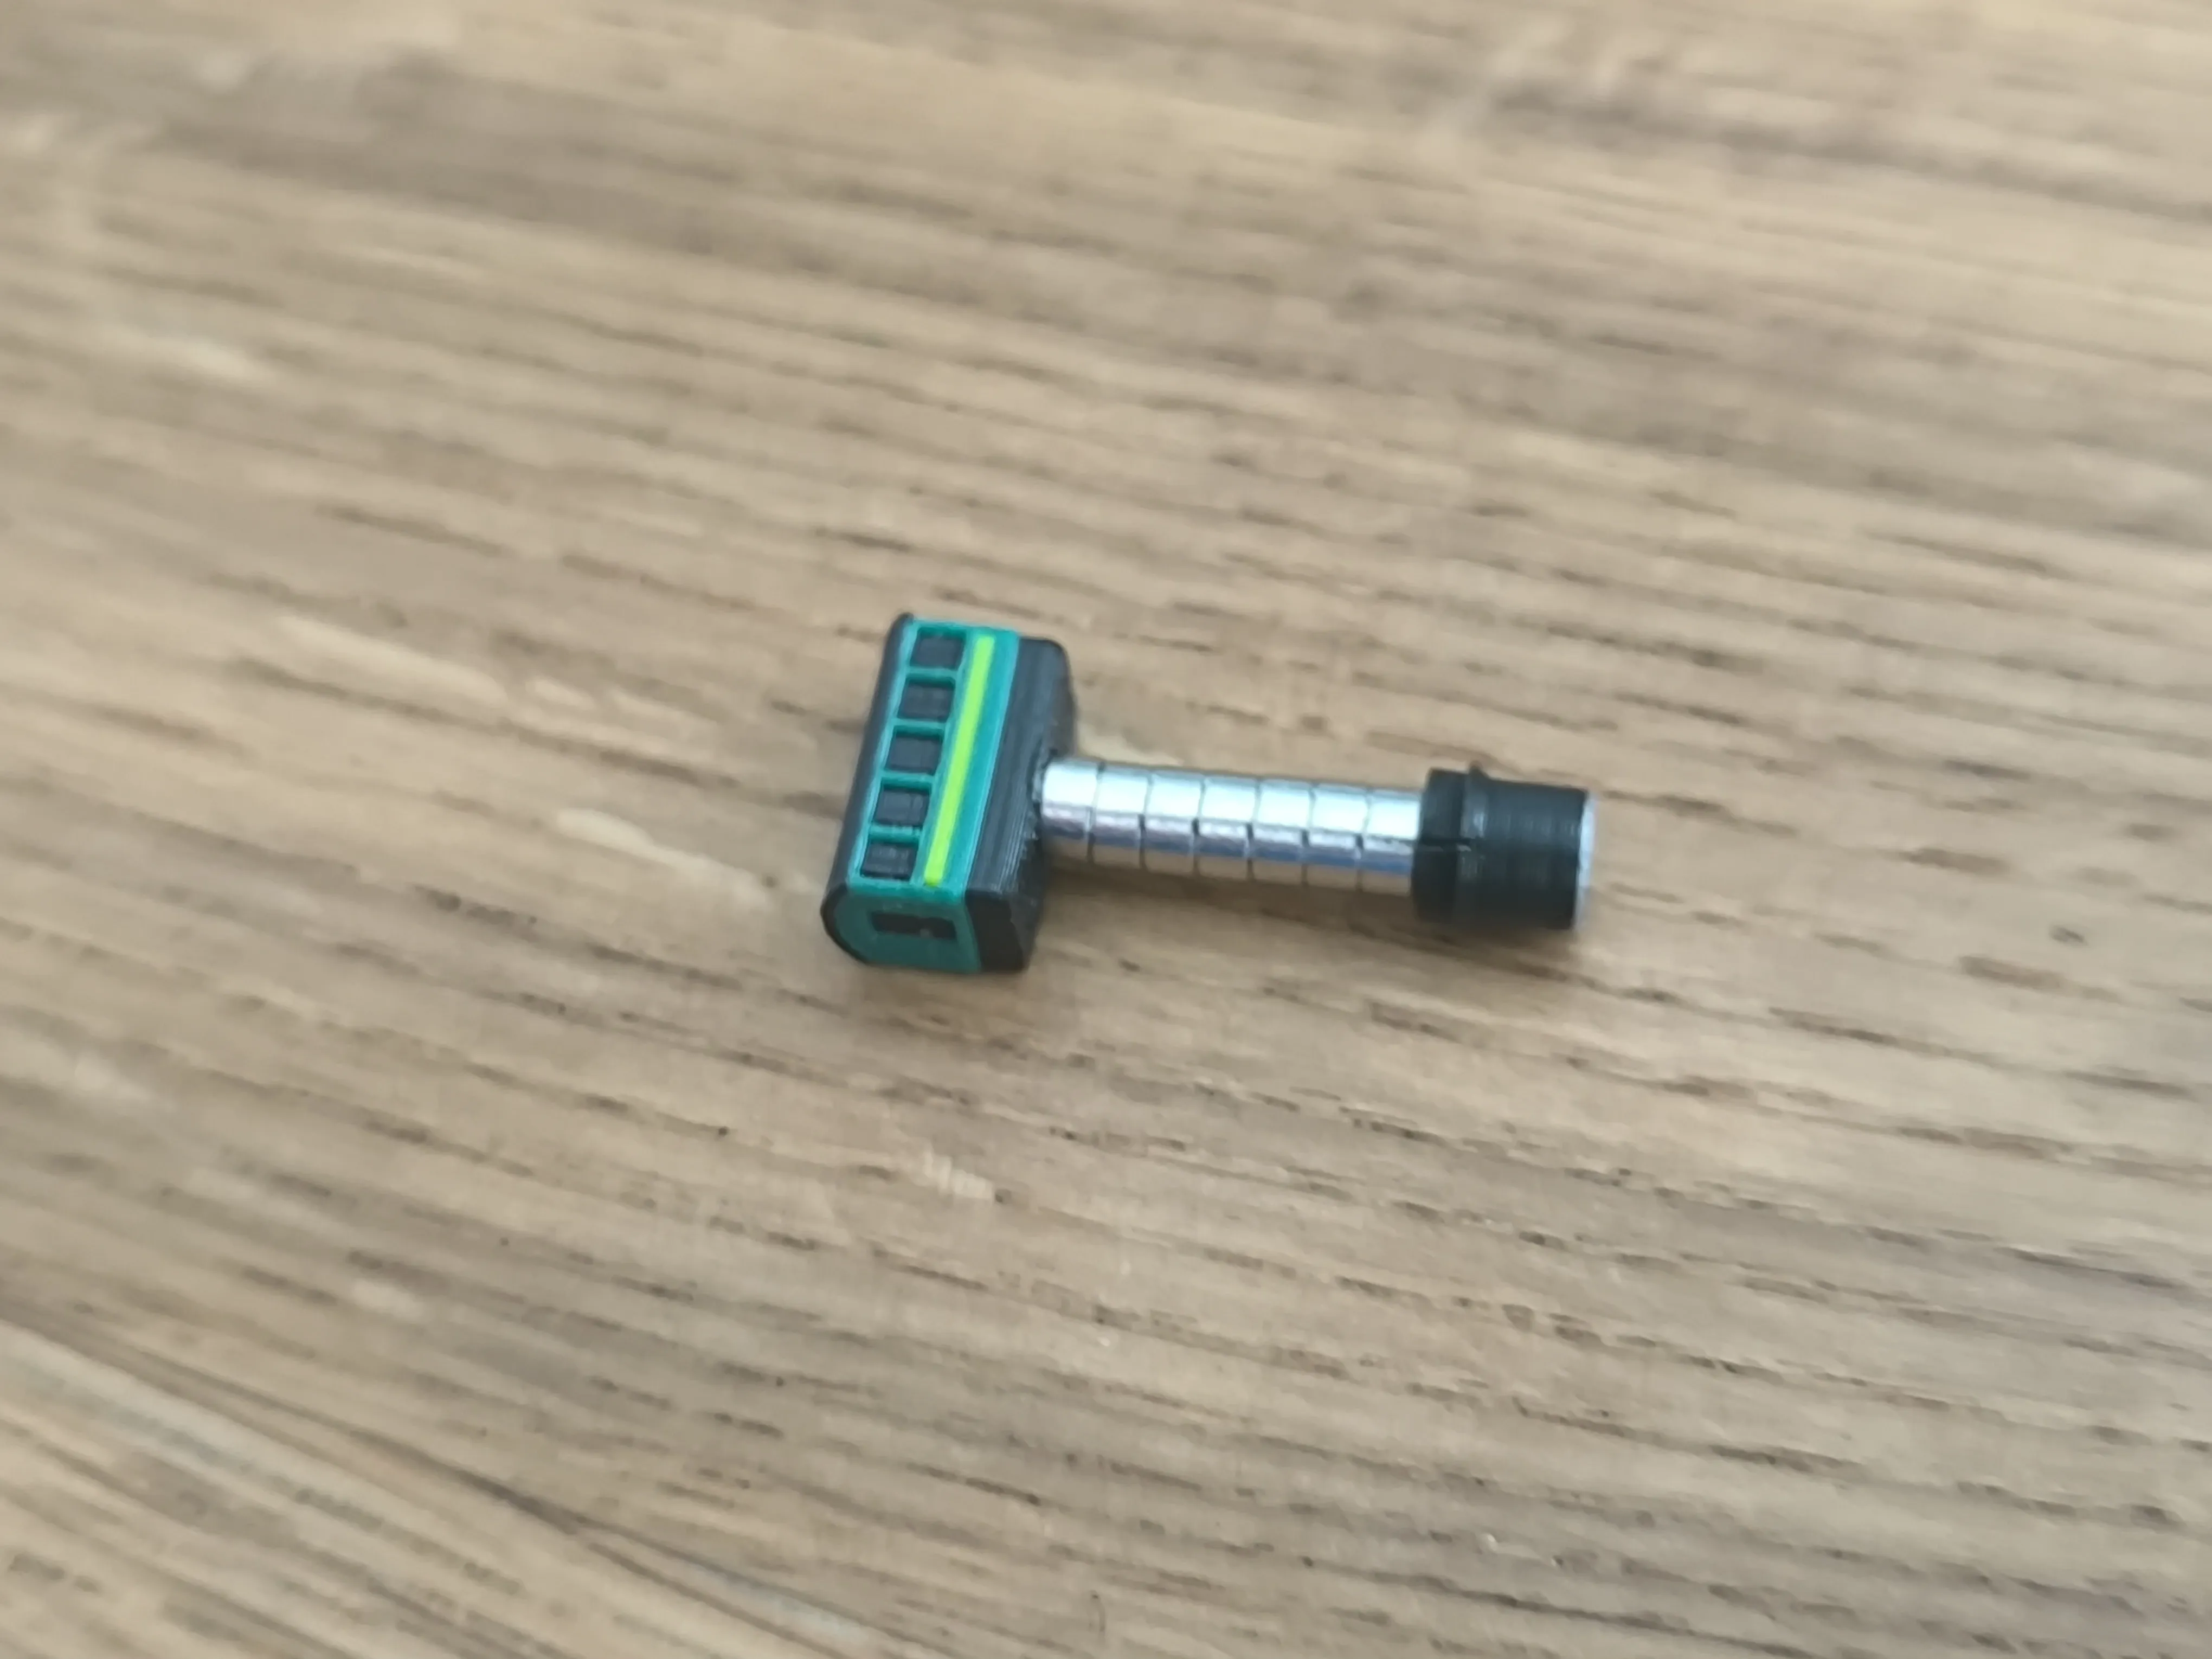
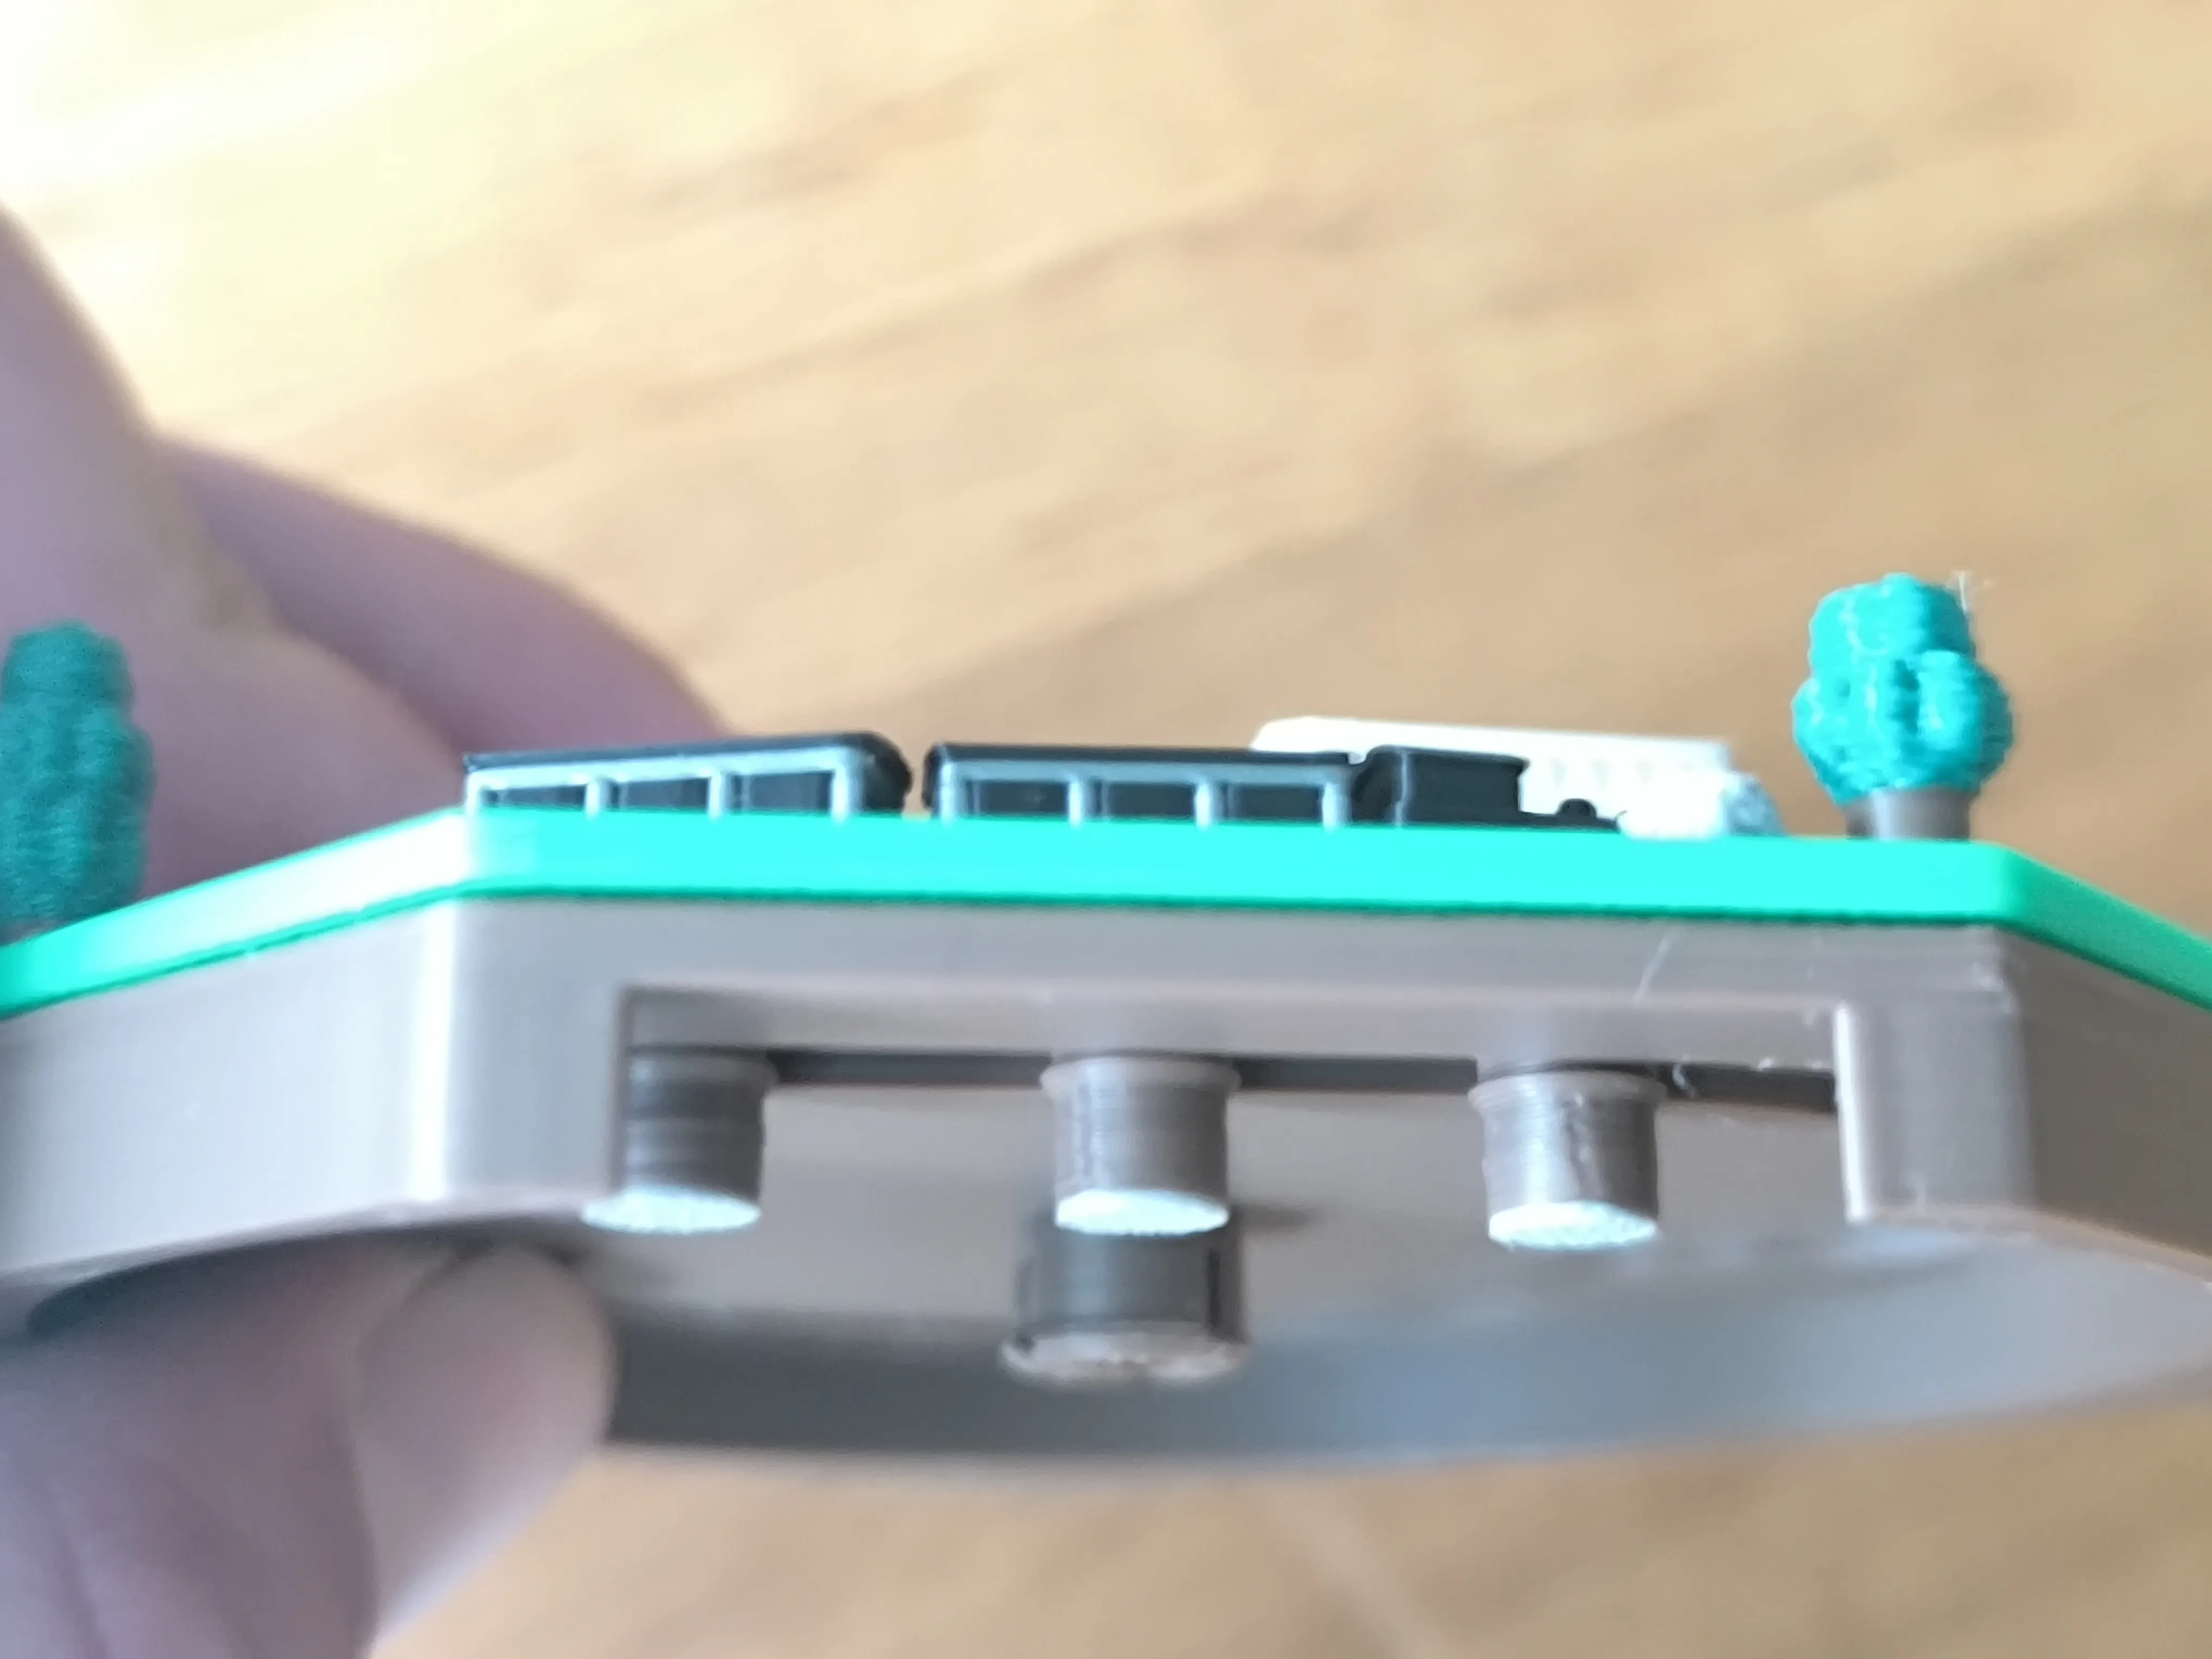
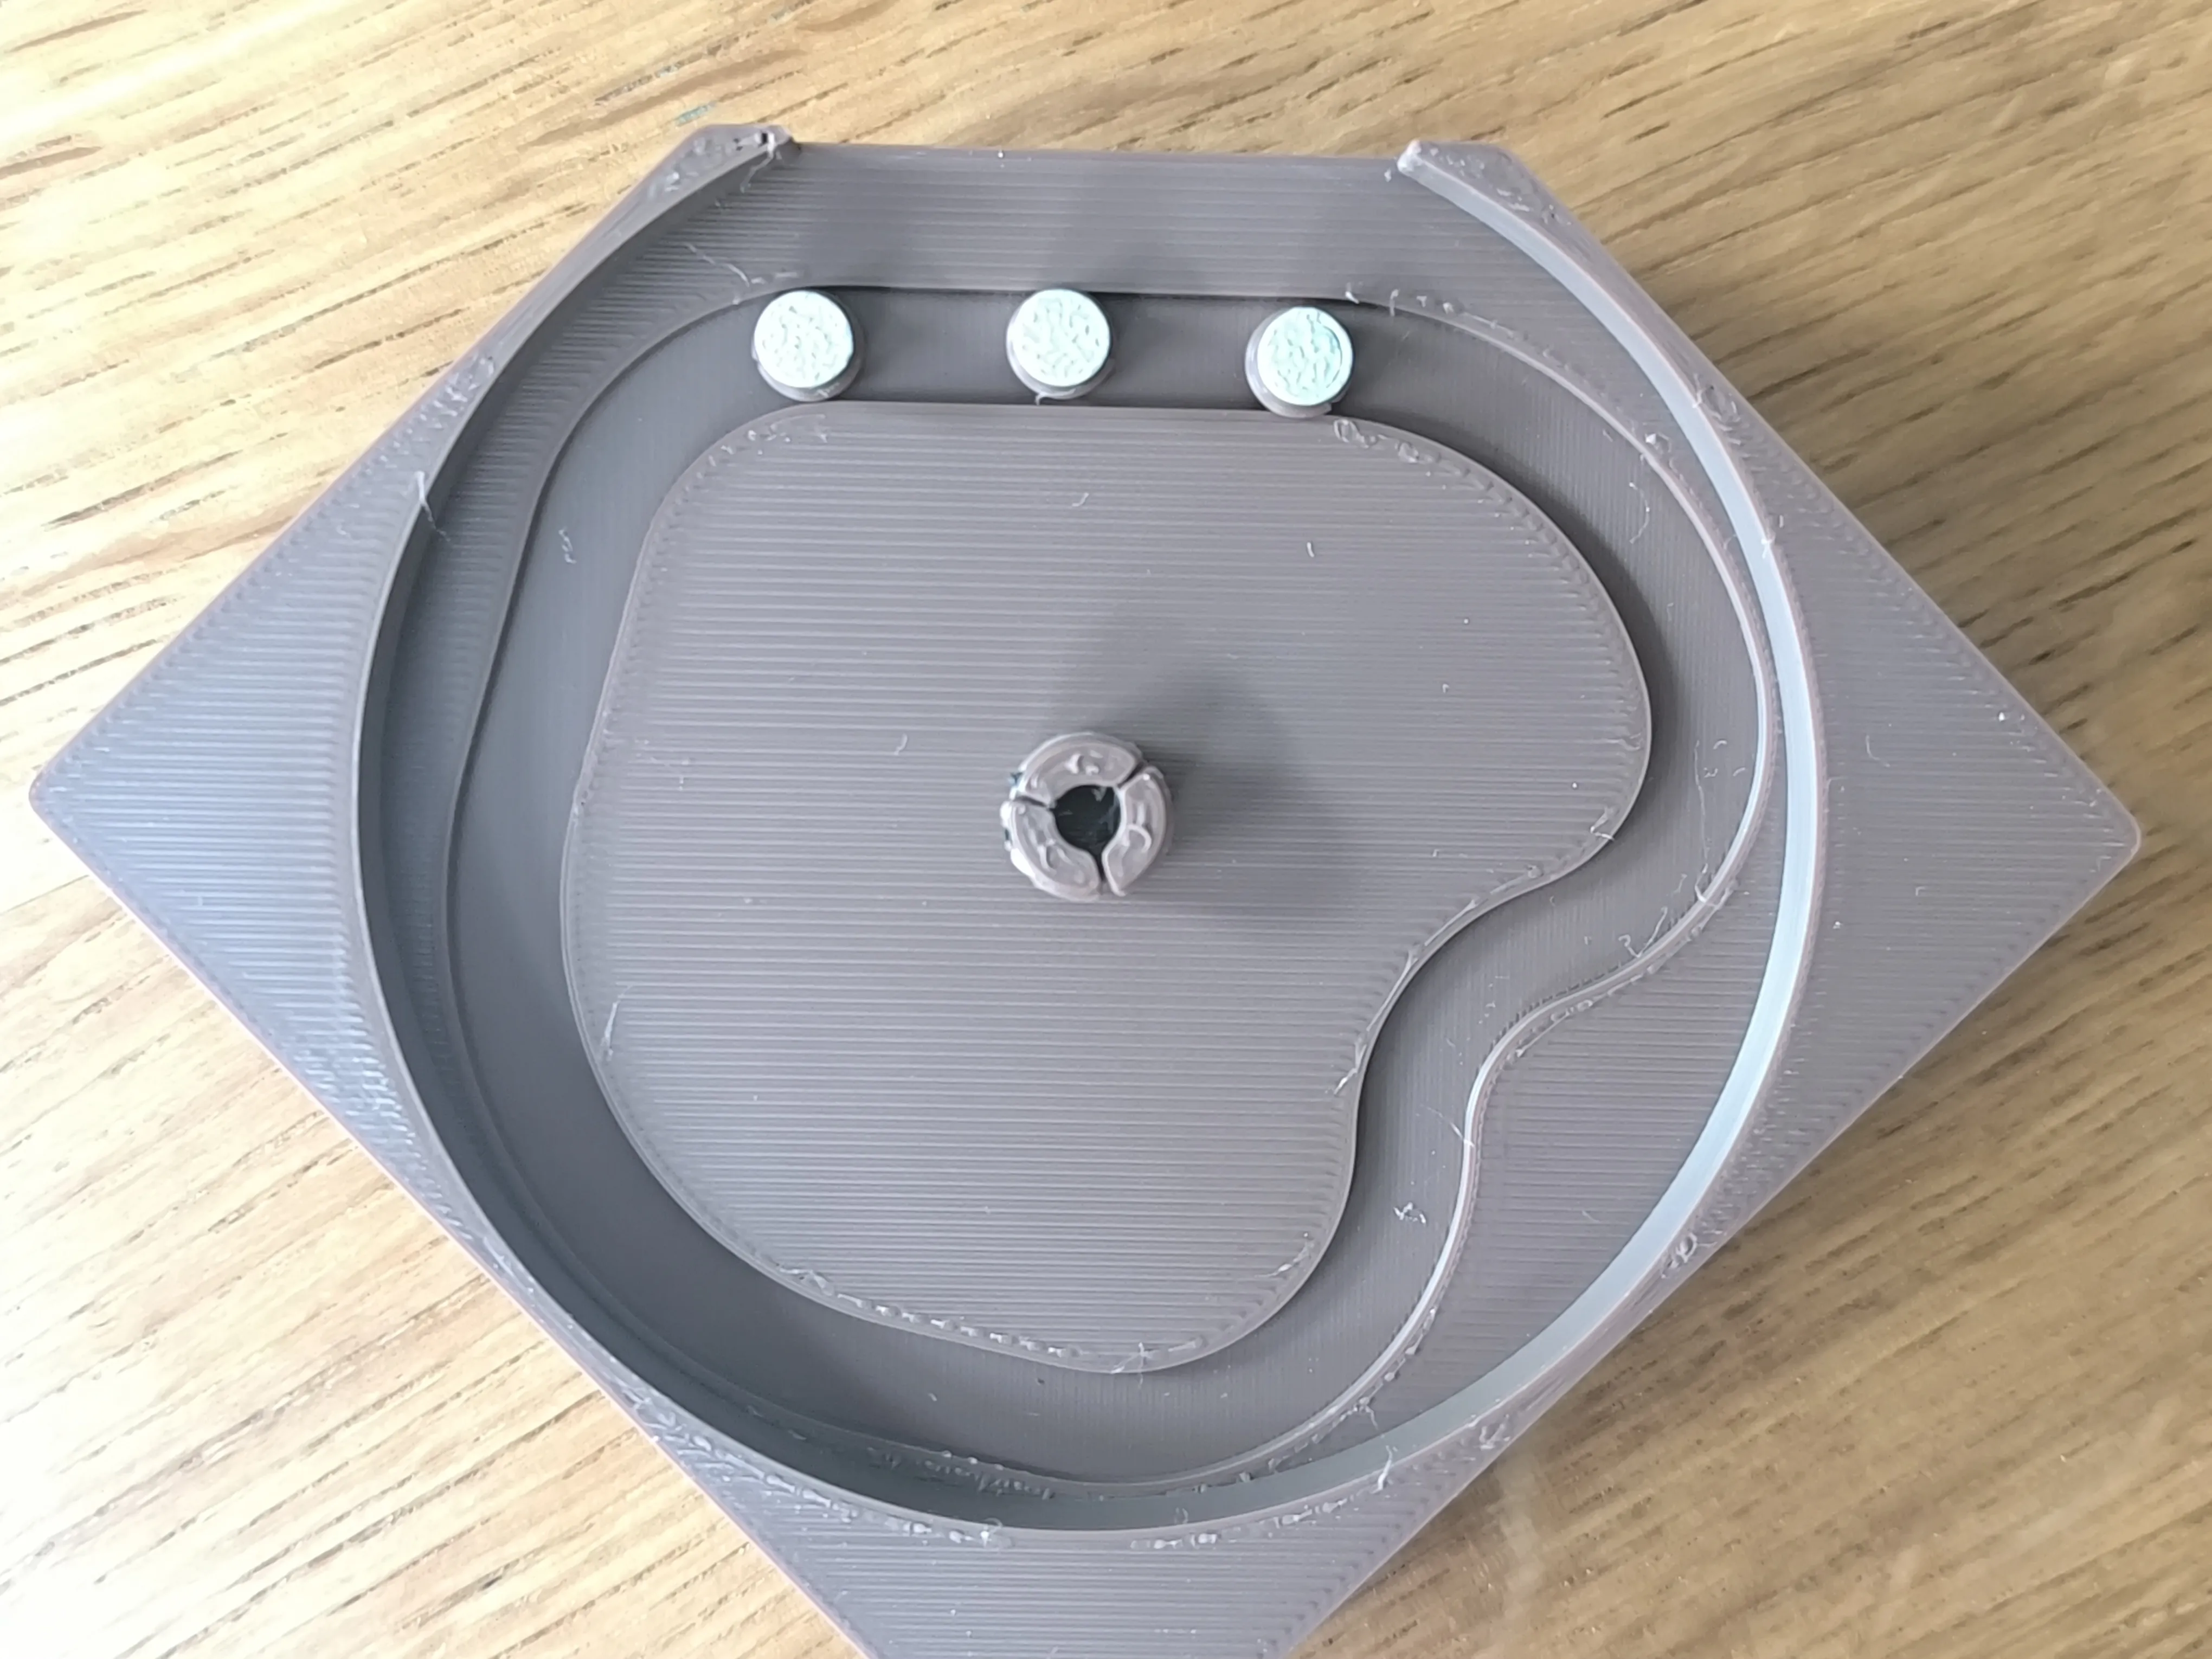
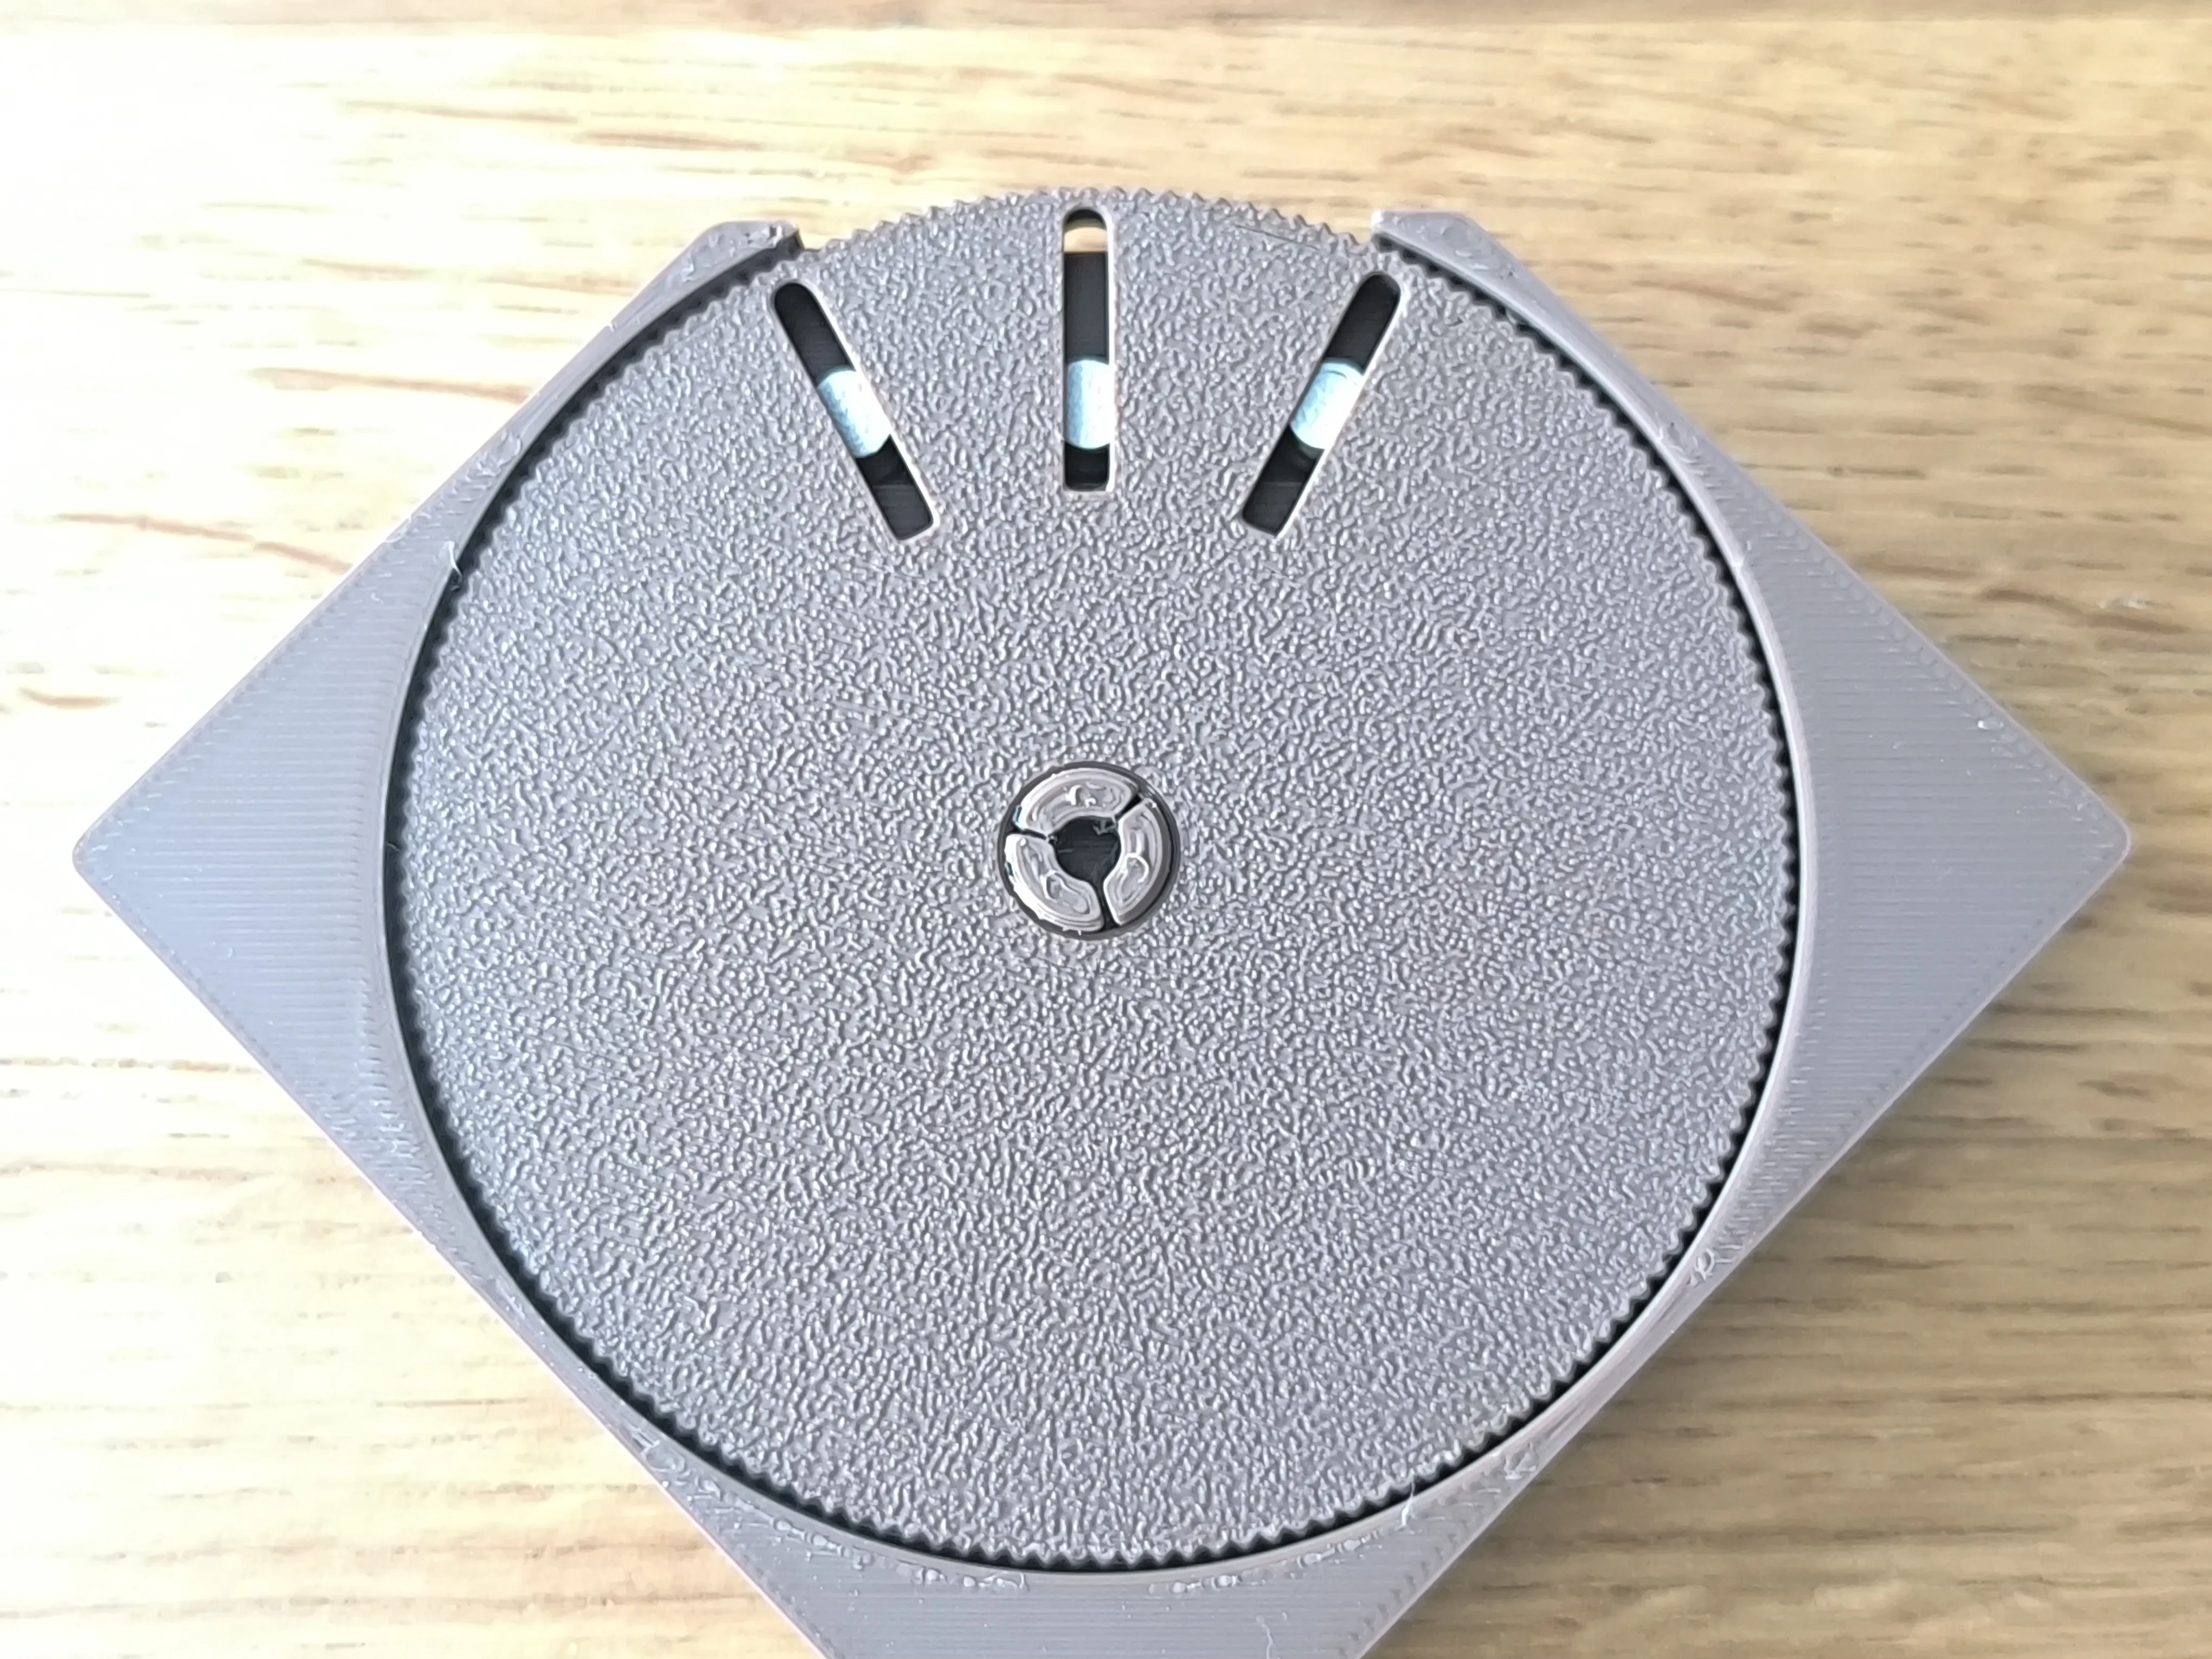
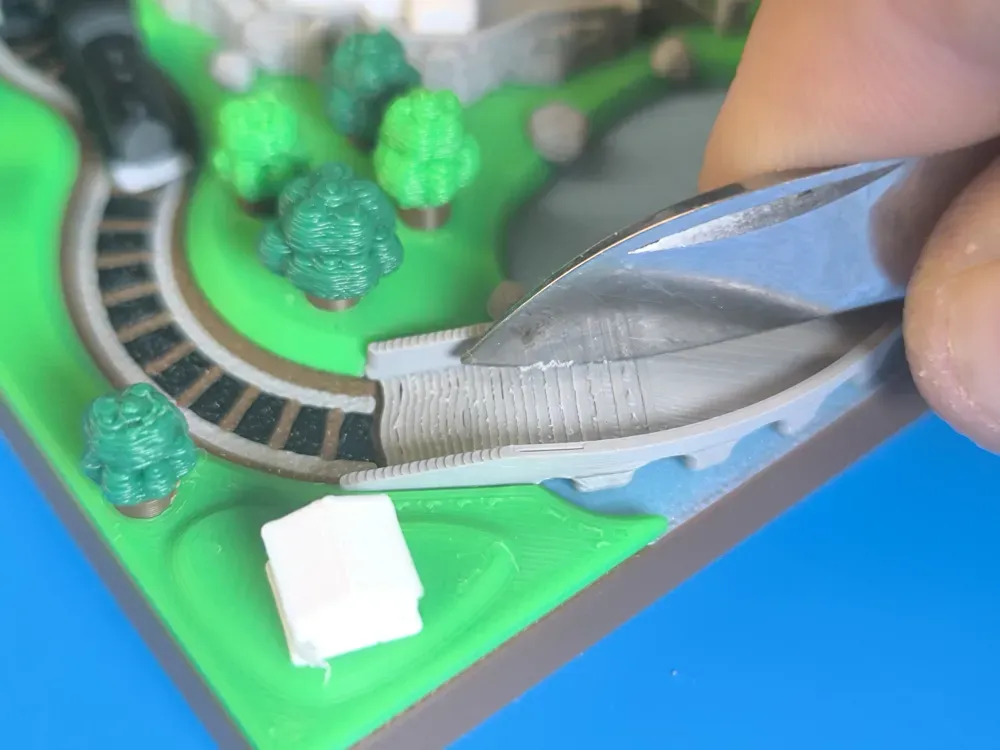
- Terrain on top of the base and press trees in the holes. You can add a bit of glue to combine.
- Place the train to the magnetic position and have fun 😀👍
I hope you like this little project.
If you want to support me, you can simply follow, boost & like the model.
You want to sell printed parts from my designs? Commercial license you get at my Makerworld profile or on Patreon:
https://www.patreon.com/BamBamDesign/
Membership
You want to sell printed objects from my designs or just support my work? Now you can subscribe on Makerworld! Thank you!
License

You shall not share, sub-license, sell, rent, host, transfer, or distribute in any way the digital or 3D printed versions of this object, nor any other derivative work of this object in its digital or physical format (including - but not limited to - remixes of this object, and hosting on other digital platforms). The objects may not be used without permission in any way whatsoever in which you charge money, or collect fees.


Comment & Rating (55)