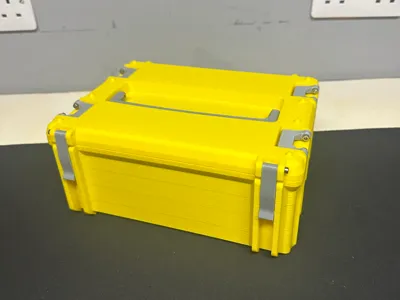
Ruged box_80mm_Deep_DeltaRack_Mobile_Compatible


Print Profile(1)

Bill of Materials


Description
Boost Me (for free)
Help Support me by boosting my models
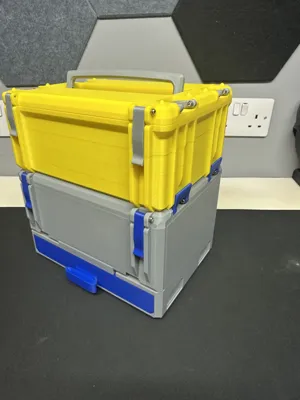
This new addition to the Rugged Box lineup is built with the same footprint as the Large Rugged Box—but with extra depth to give you more storage where it counts.
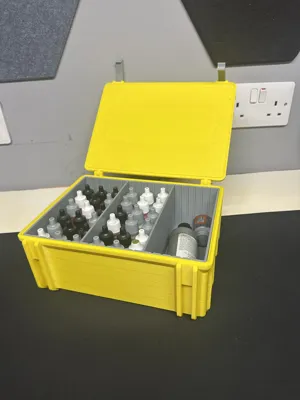
Specifically designed to hold miniature paint dropper bottles, this box keeps your paints secure, organized, and ready to use. Like the rest of the Rugged Box system, it’s fully compatible with your existing setup, and it also integrates seamlessly with the hugely popular Mobile DeltaRack from our Kickstarter campaign.
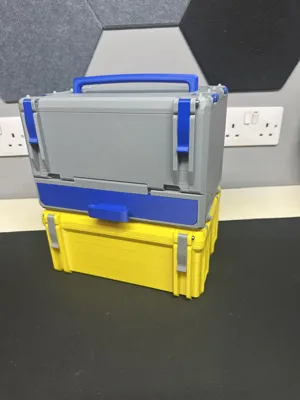
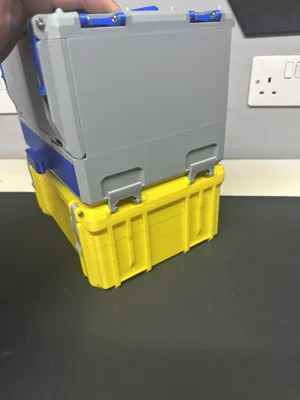
Whether you’re expanding your current rugged storage system or looking for the perfect way to keep your paints travel-ready, this box is tough, practical, and made to fit right in.
Rugged Box System – Assembly Instructions
Required Hardware:
- 10x M3 x 10 socket head screws
- 2x M3 x 20 socket head screws
- 2x M3 x 16 socket head screws
Assembly Steps:
- Attach the Handle
- Secure the handle to the lid using two M3 x 10 screws.
- Ensure the handle moves freely—if it’s too tight, add washers between the handle and the lid for adjustment.
- Install the Front Clasps
- Attach the two clasps to the front of the case using M3 x 20 screws.
- Position the screws with their heads facing the edges of the case.
- Attach the Hinges
- Secure the hinges using two M3 x 16 screws.
- Ensure the screw heads face the edges of the case.
- Install the Side Clasps
- Place each side clasp in the recess on top of the drawer unit, ensuring the holes are aligned.
- Position the clasps with the flat side up in the cutout.
- Use four M3 x 10 screws per clasp, threading them into the plastic of the main body.
- Be careful not to over-tighten to avoid stripping the plastic, which could cause the screws to loosen over time.
- Repeat for the remaining clasps.
License
You shall not share, sub-license, sell, rent, host, transfer, or distribute in any way the digital or 3D printed versions of this object, nor any other derivative work of this object in its digital or physical format (including - but not limited to - remixes of this object, and hosting on other digital platforms). The objects may not be used without permission in any way whatsoever in which you charge money, or collect fees.
Comment & Rating (12)