
Print Profile(2)





Description
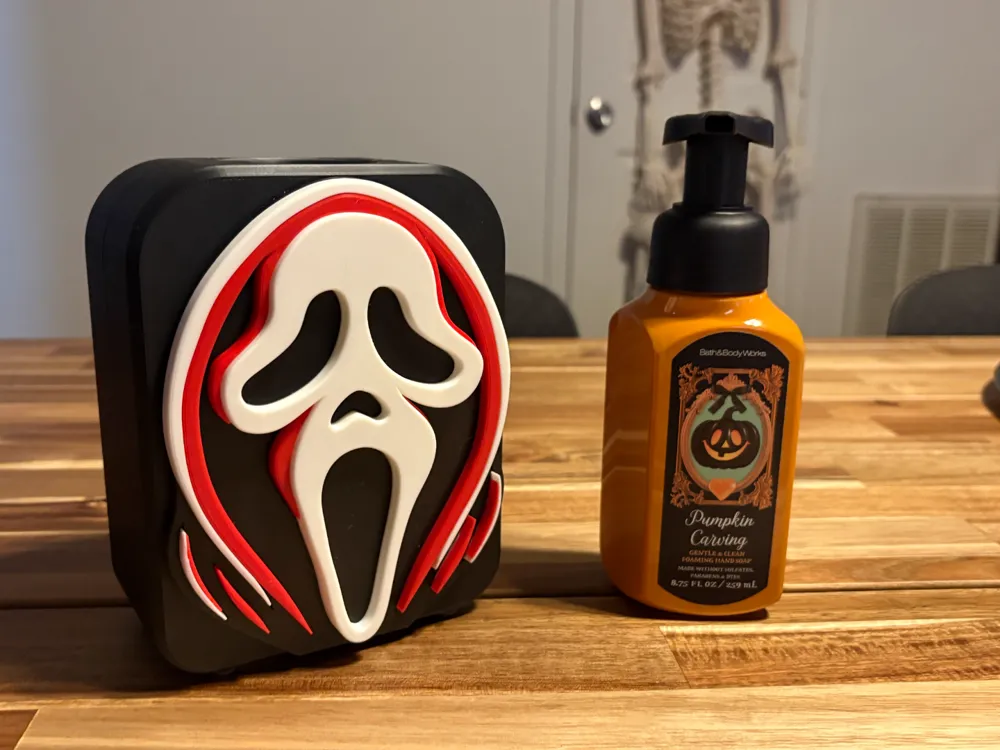
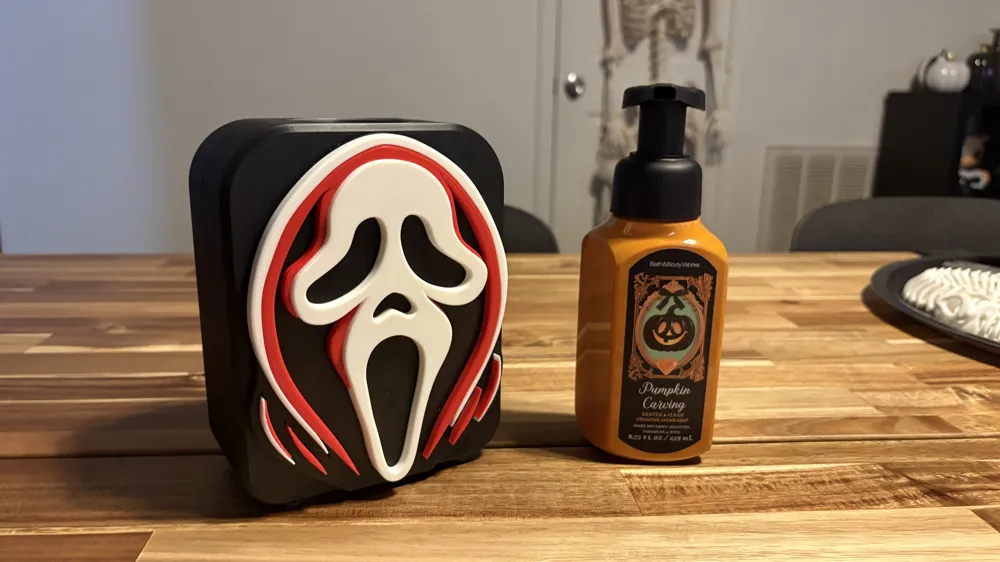
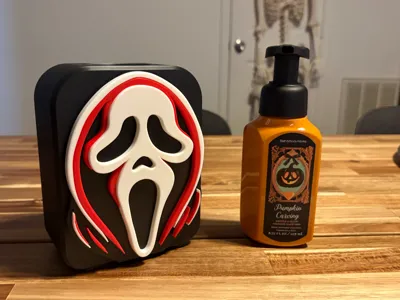
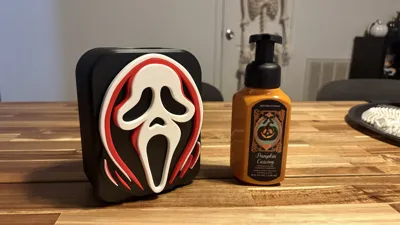
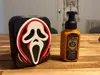
Add a spooky twist to your bathroom with this Ghostface soap bottle cover, inspired by classic horror villains! This is the latest in my line of Bath & Body Works Foaming Soap-compatible covers, designed to bring a bit of frightful fun to your sink.
By default, it fits B&BW foaming soap bottles, but I’ve included STL files for adapter rings to make it compatible with:
- B&BW gel soap bottles
- Softsoap
- Dial hand soaps
Boost Me (for free)
“Do you like movies? Do you like scary movies?”
Pre-Assembly Notes:
- The two faces are identical, but some parts (especially the red and white highlights) are mirrored. Keep red and white parts separated during assembly.
- Always dry fit parts before gluing.
- For narrow glue areas, spread glue on cardboard or a failed print and use a toothpick for precise application.
- Have isopropyl alcohol and lint-free towels (I recommend blue Scott Shop Towels) ready for cleanup.
Assembly Instructions:
Assemble the Faces:
- Take one face background piece.
- Apply glue to the recessed areas for the mask and hood highlights, especially around the cheekbones.
- Place the white mask piece, then the red and white hood highlights.
- Carefully add the red mask highlights.
Lower Robe Highlights:
- Organize and dry fit the lower robe highlights.
- Look for the slight fillet on the top surface of the outer highlights to identify orientation.
- Remove and set them aside in order.
- Apply a small amount of glue to the recesses using a toothpick.
- Insert the highlights. If a slot has both red and white pieces, insert them together.
Repeat for the Second Face:
- Assemble the second face using the same steps.
- Allow both faces to fully cure.
Assemble the Body:
- Lay both body halves flat side up.
- Apply glue to the spline slots and insert the splines.
- Apply glue to the back of each face and attach them to the body halves, using the splines to align them.
- Let the glue cure.
- Apply glue to the side of the body half with the recesses.
- Press the two body halves together and lay the assembly on one face.
- Allow the glue to cure completely.
- (Optional) Add rubber feet with silicone to the bottom for extra stability.
Inserting the Soap Bottle:
- Unlock the soap pump.
- If you're not using a B&BW foaming soap bottle, attach the appropriate adapter ring (skip if you've customized the model).
- Remove the pump from the bottle.
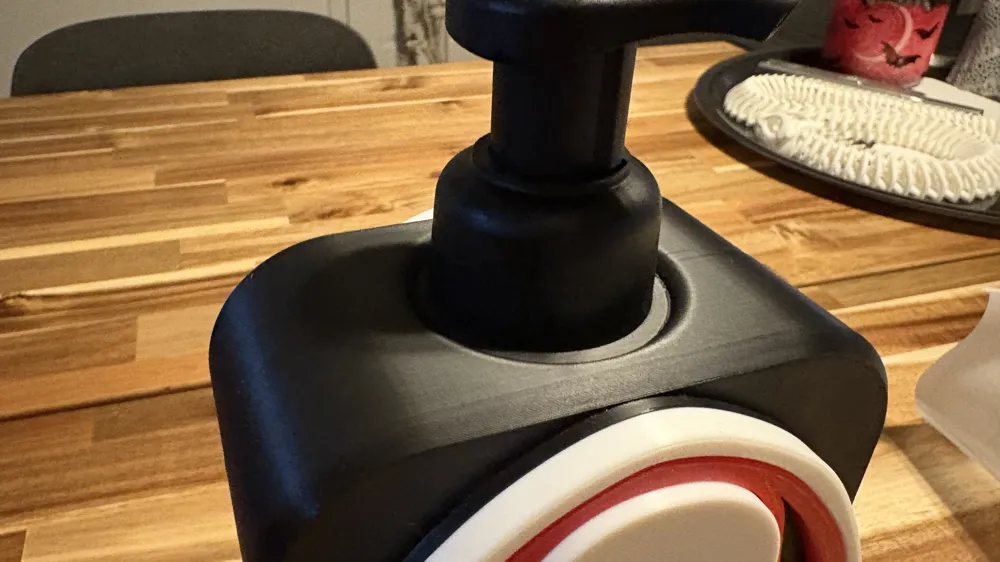
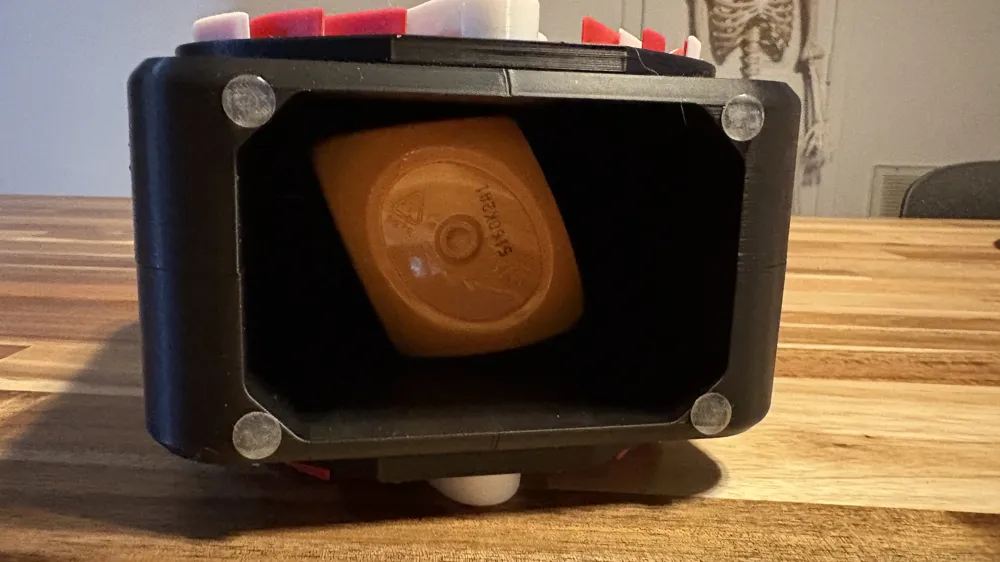
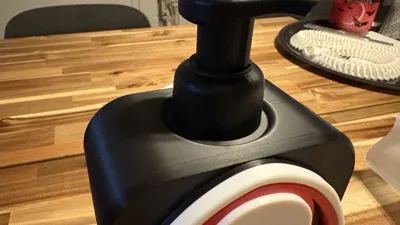
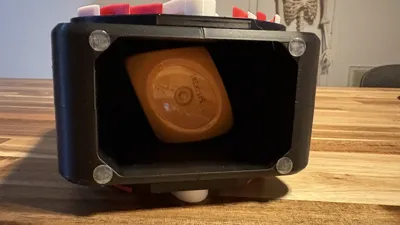
- Insert the bottle through the bottom opening so the threads stick out the top.
- Screw the pump back on to secure the bottle in place.
License

You shall not share, sub-license, sell, rent, host, transfer, or distribute in any way the digital or 3D printed versions of this object, nor any other derivative work of this object in its digital or physical format (including - but not limited to - remixes of this object, and hosting on other digital platforms). The objects may not be used without permission in any way whatsoever in which you charge money, or collect fees.


Comment & Rating (11)