Ruger 10/22 Picatinny Rails 0, 20, 30, 40 MOA Rise


Print Profile(1)

Description
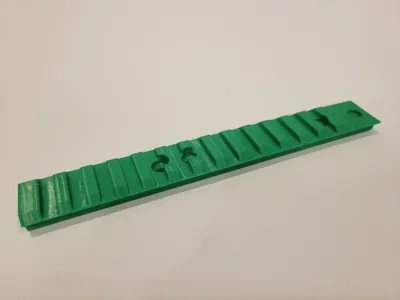
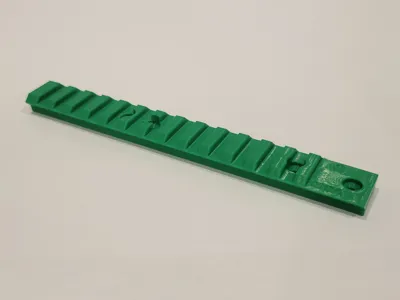
Ruger 10/22 Picatinny Extended Rails 0, 20, 30, 40 MOA Rise
(trial / temporary rails)
No matter how much math you do to figure out the rise needed for your scope to achieve the proper elevation range adjustment, it always seems to end up being wrong (at least for me). Instead of the cycle of ordering, trying, returning, and repeating, why not just print some trial Picatinny rails?
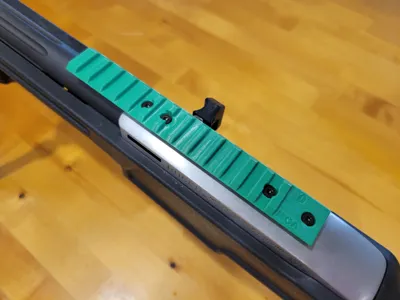
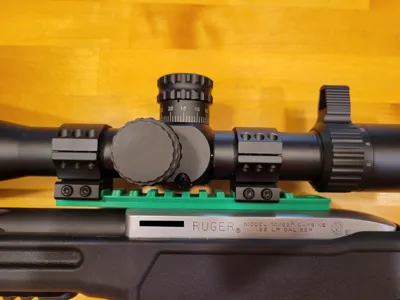
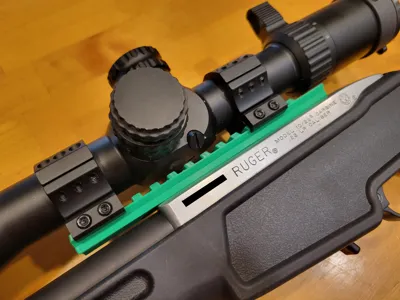
These TEMPORARY Picatinny rails ensure that when you mount your scope, you achieve the desired range of elevation adjustment for your preferred shooting distances. Simply attach the rail using the appropriate 6-48 screws and tighten them to about 5-10 in/lbs—just enough to avoid damaging the rail. Apply the same approach when mounting the scope to the rail.
Print these using the stiffest material available. I've tested them with PLA Basic, and they should withstand quick tests of under 50 rounds.
I’ve also printed with PA6-CF filament at 100% infill. I’d only consider using it for more than a quick, temporary test after proper annealing and re-torquing the screws post-session. In this case, I’d recommend Fillister head screws, as Weaver head screws tend to split the PA6-CF print.
Fire just enough rounds to zero the elevation at your target distance, like 25 or 50 yards/meters. Five to ten shots should suffice. Then move to your maximum shooting distance, such as 100, 200, 300, or 400 yards/meters. Take another 5-10 shots to fine-tune the elevation on your scope. Ideally, the MOA rise you selected will let you adjust to the proper elevation without manual holdover. If not, try again with the next incremental MOA rail.
DO NOT EXCEEDE 50 SHOTS BEFORE CHECKING THAT THE MOUNTING SCREWS HAVE NOT LOOSENED UP OR THE MOUNT HASN'T BROKEN FROM USE.
Once you've determined which rise works best for your setup, remove the printed rail and PURCHASE a proper Picatinny rail from a reputable manufacturer.
The most common rises included are 0 MOA, 20 MOA, 30 MOA, and 40 MOA, paired with the appropriate 6-48 T-10 screws (Weaver and Fillister).


Boost Me (for free)
If you found this to be a beneficial print, please boost this print. It encourages me to continue to publish my work.
License
You shall not share, sub-license, sell, rent, host, transfer, or distribute in any way the digital or 3D printed versions of this object, nor any other derivative work of this object in its digital or physical format (including - but not limited to - remixes of this object, and hosting on other digital platforms). The objects may not be used without permission in any way whatsoever in which you charge money, or collect fees.
Comment & Rating (4)