

Print Profile(1)

Description
Summary
You can see a great example of this HEX Panels on Engineericly 's YouTube Channel.
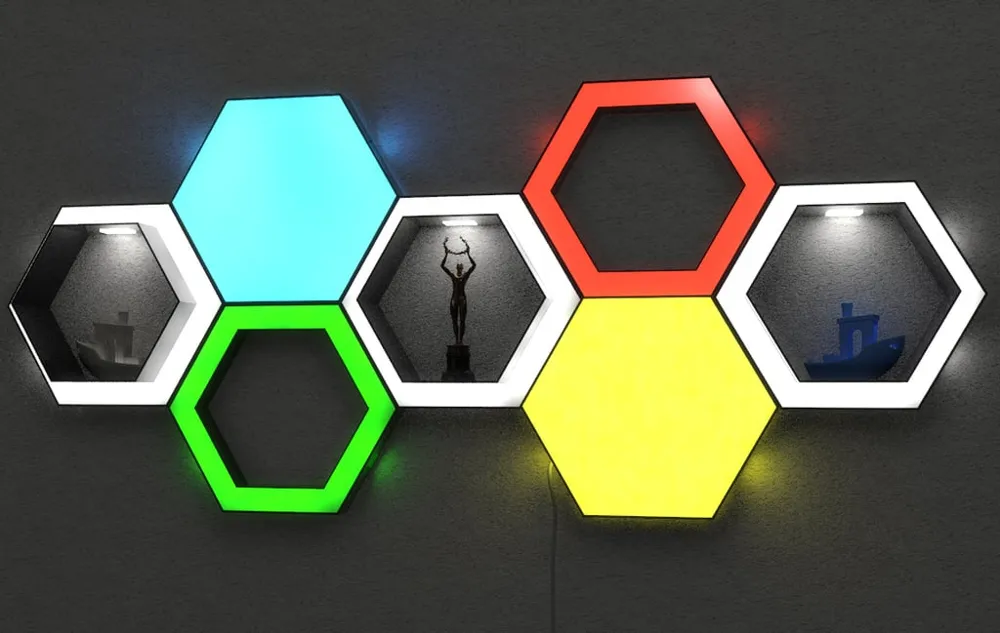
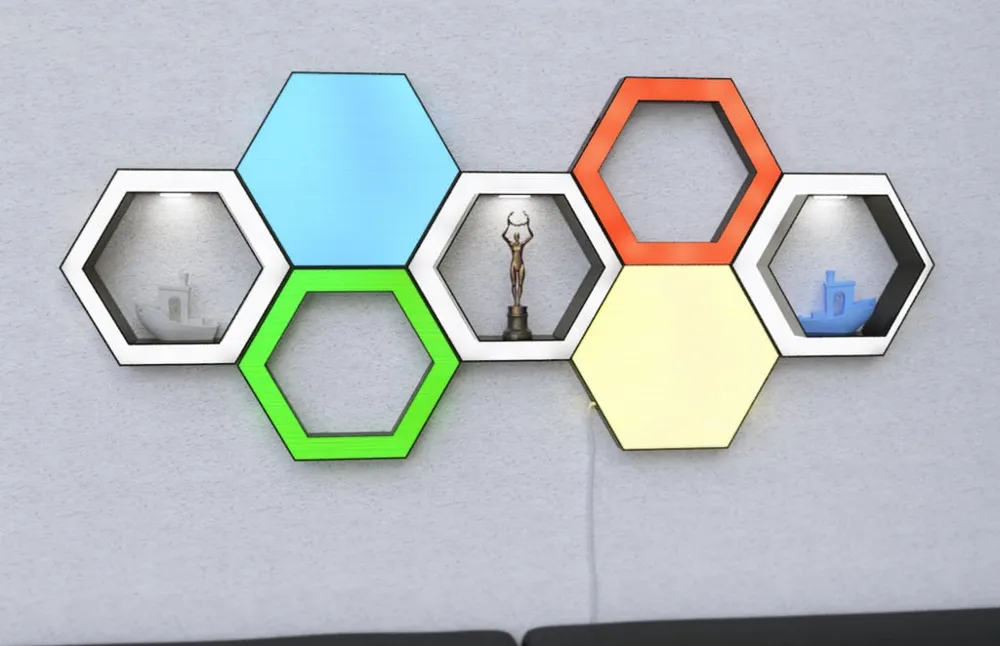
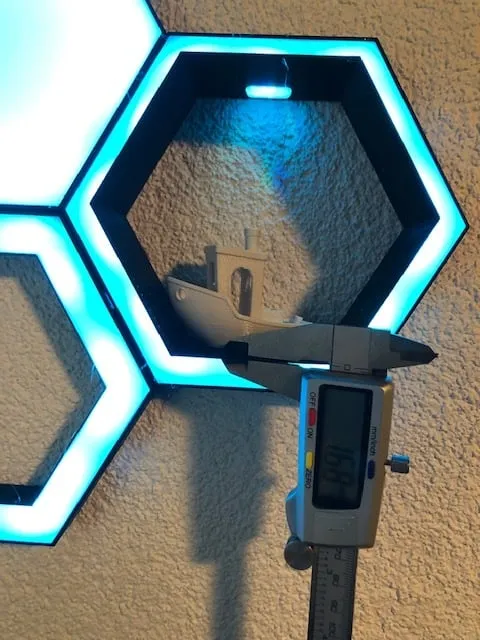
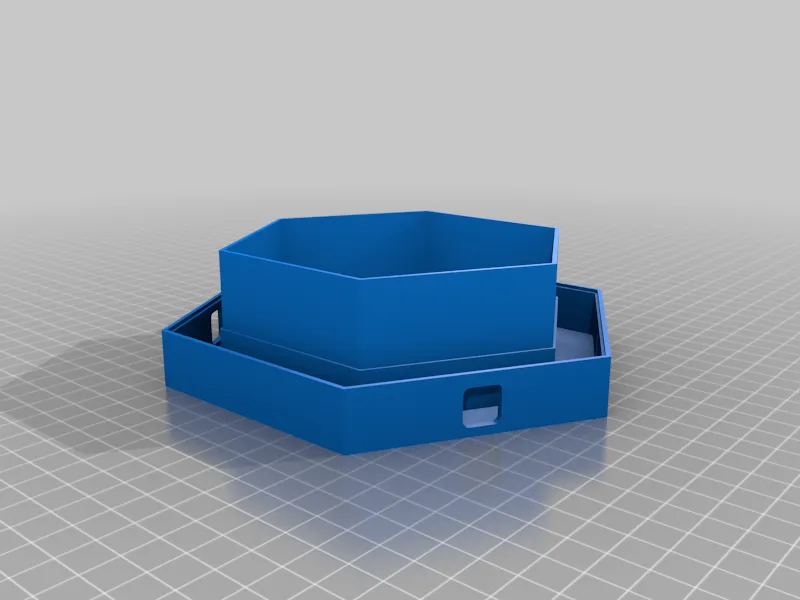
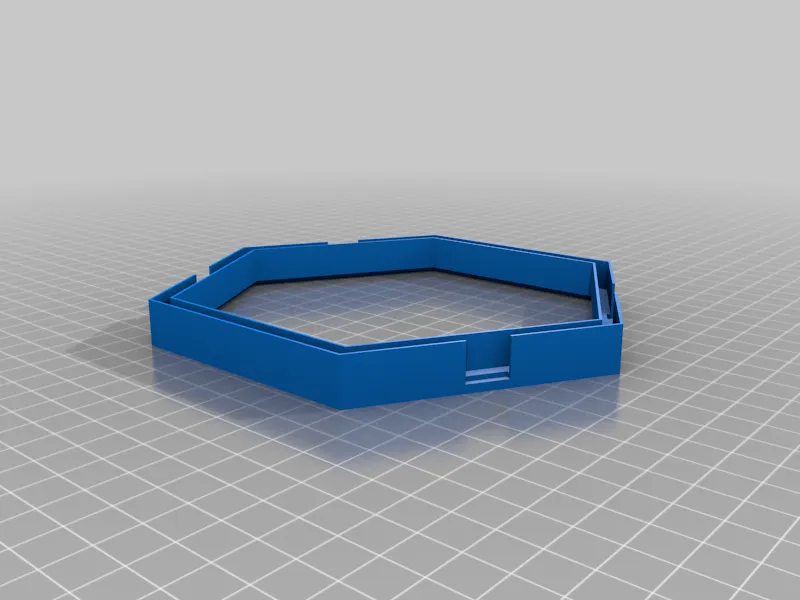
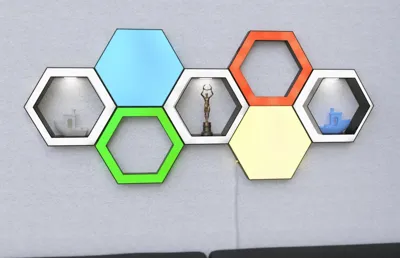
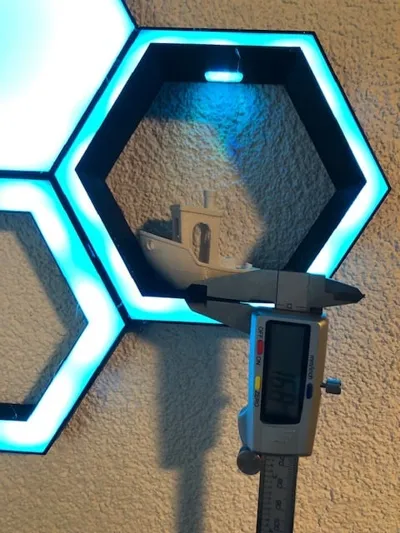
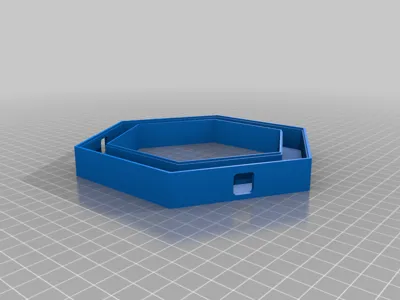
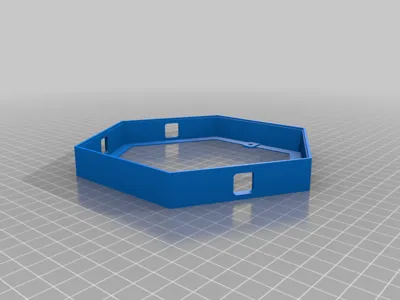
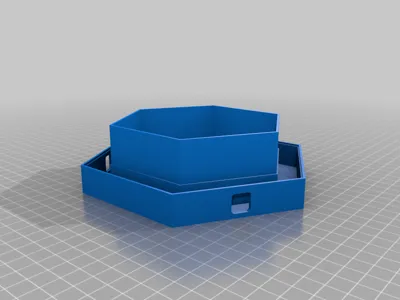
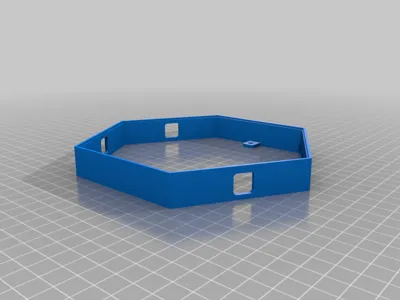
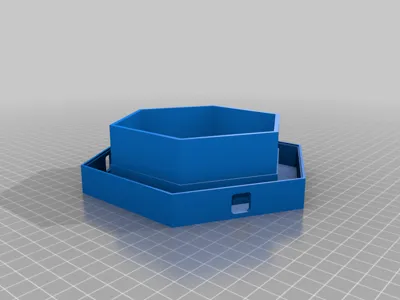
I printed mine with 100% size (you see it on the pictures), but next time I would rather use 120% or more, because it makes threading the LEDs easier and bigger things fit into the shelves.
What you need:
- LED-Strip (if you want different colors on each cell, use an RGBIC LED Stripe)
- Printed Cells in a non-translucent Material
- A translucent material for the windows
- some clear material for the (Shelf-Lightcap's)
Materials & Colors:
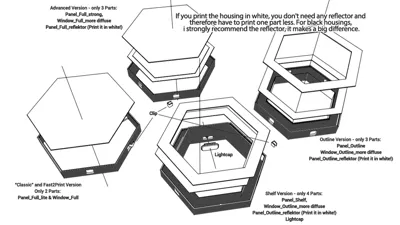
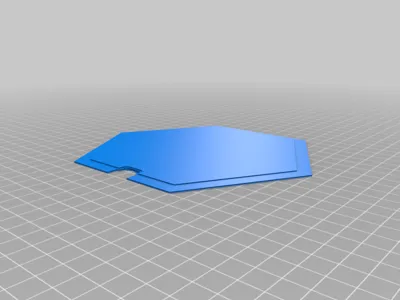
- Print the Panels, color and material doesn't matter
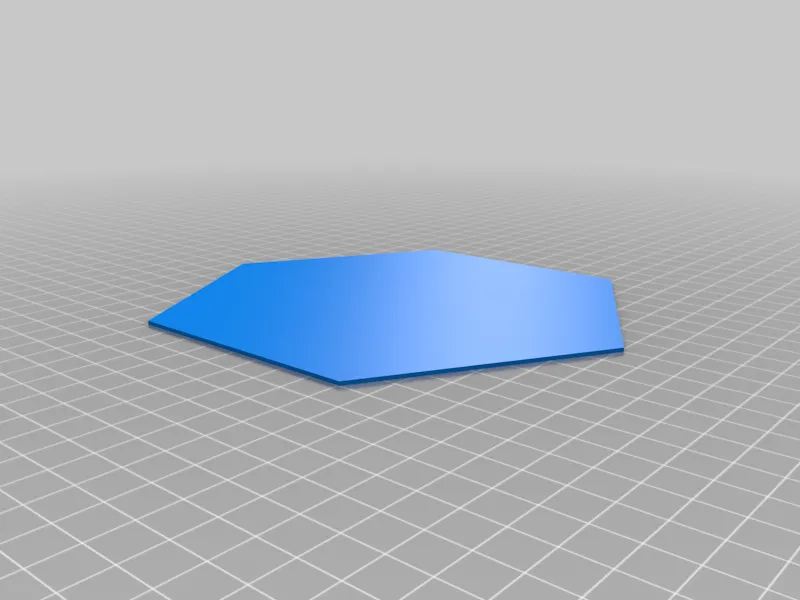
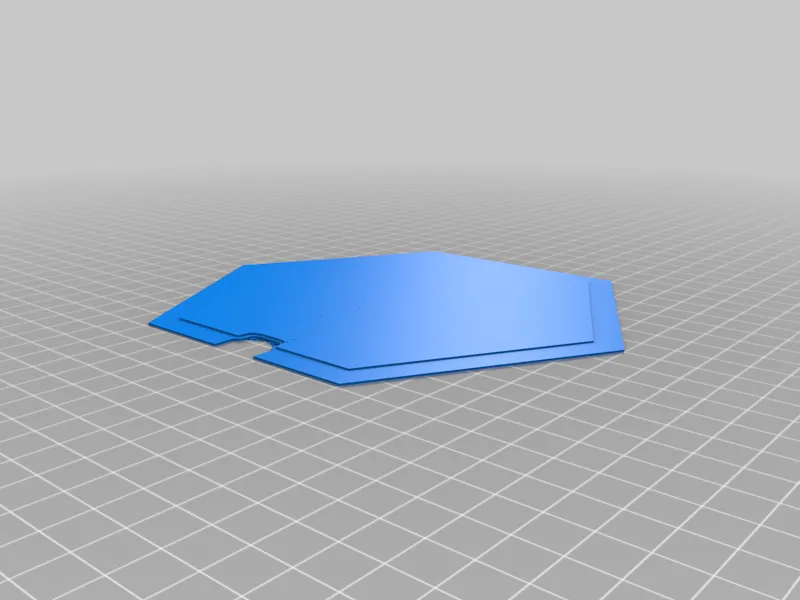
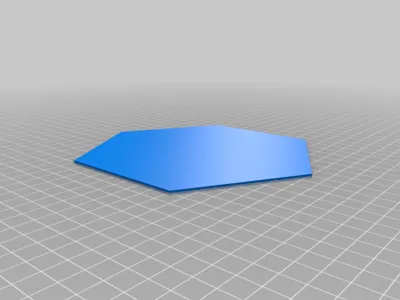
- Print the Panel-windows in a translucent white,
(or in your desired color when you are going to use a simple white Light strip) - Print the Shelf-lightcaps with a transparent or highly translucent Material
Installation:
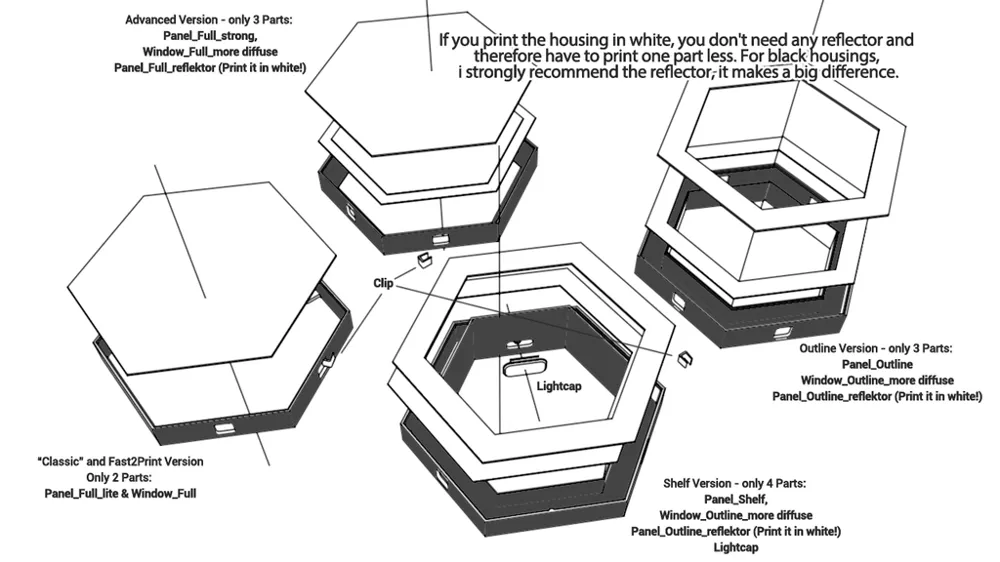
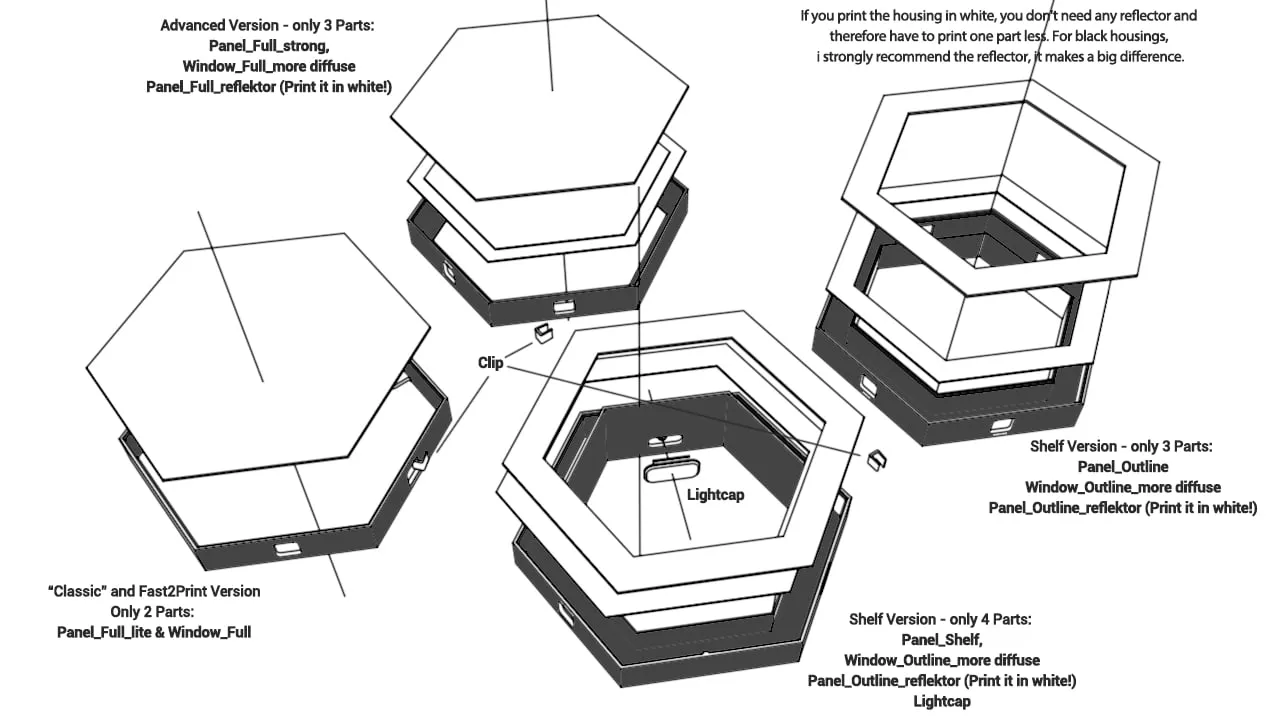
- If you use the reflectors, mount them first.
- Arrange the cells like you want it on the wall
- Fix them together with clip's and glue.
- Make a simple drawing how to manage the LED Stripe.
- Fit the LEDs inside (this can be a little annoying)
- Add the Light caps on the Shelf.
- You should fix at least the cable with some hotglue or somehow else
- Put it on a wall
- Fit the Windows and enjoy :)
Optional parts:
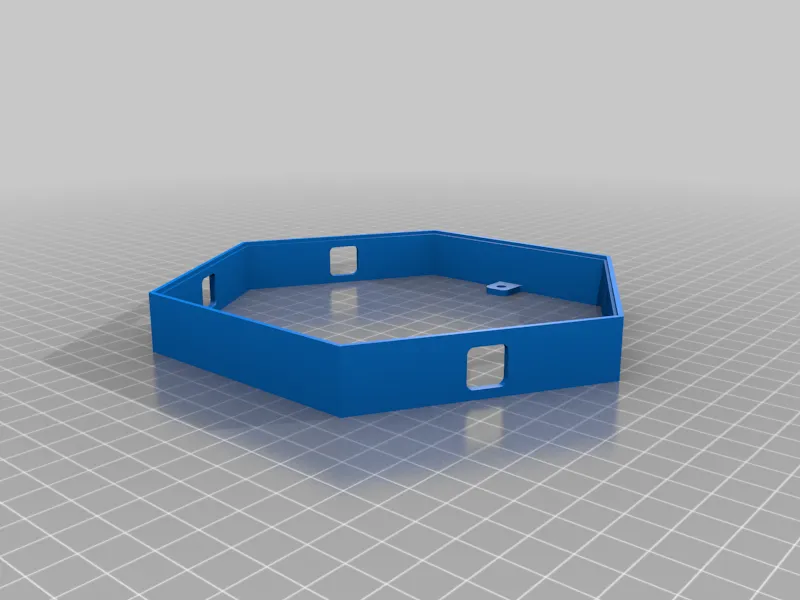
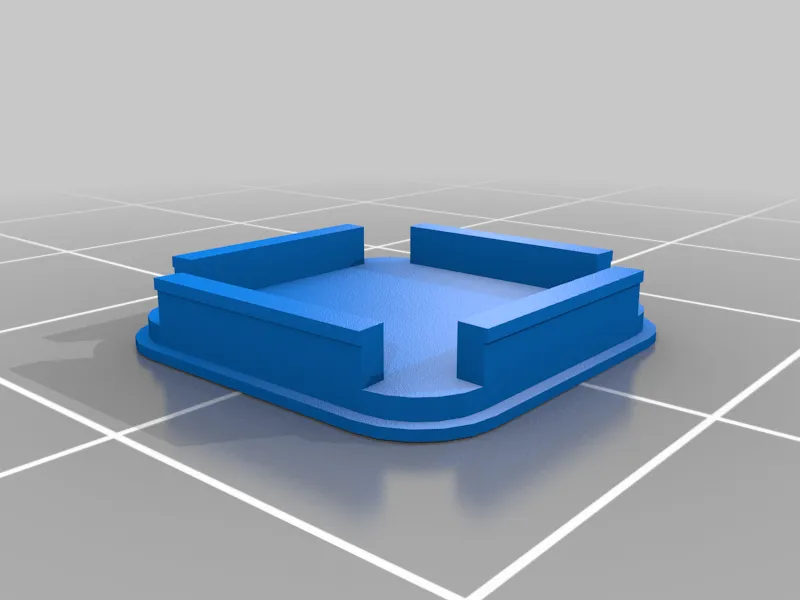
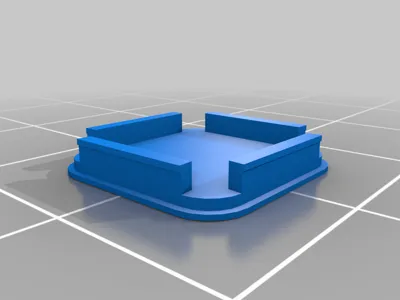
- Holecap - to close the holes on the side.
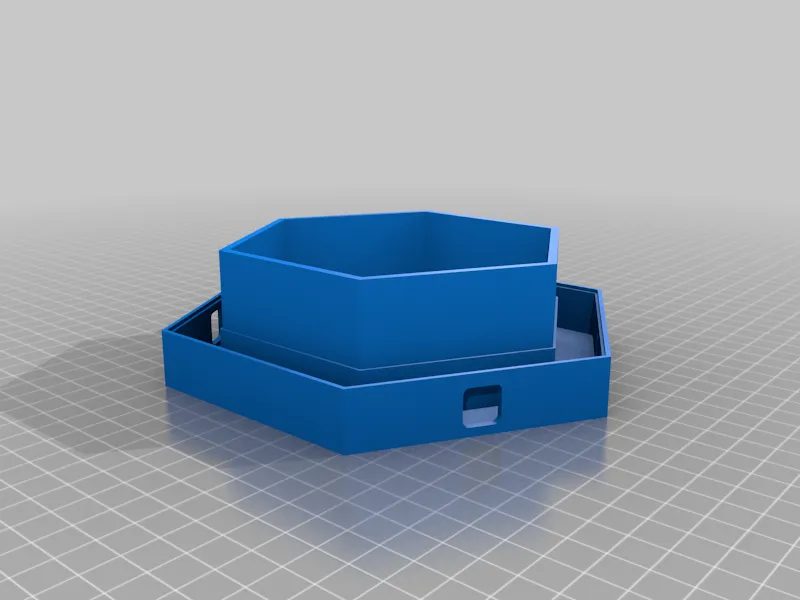
- Light cap - only needed for the shelf, looks like a integrated lightbulb (clear material).
- Clip - use them to fix the panels together.
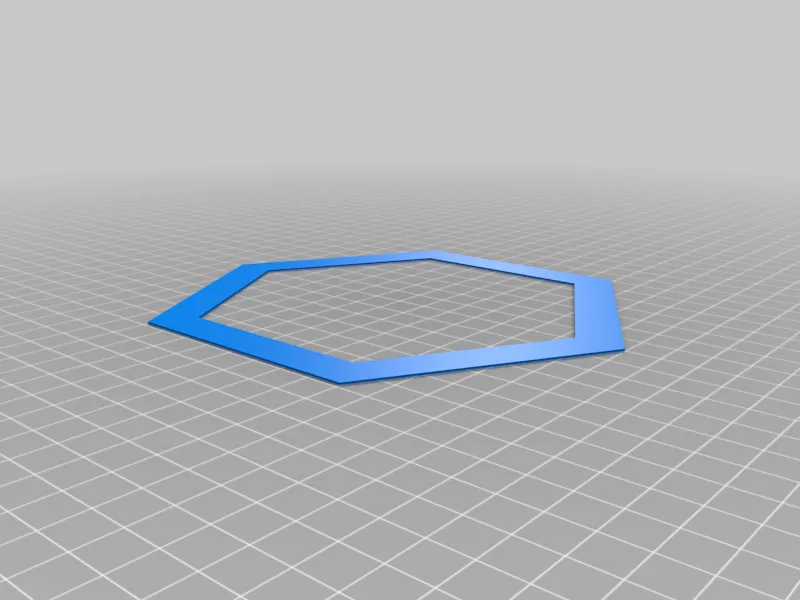
- diffuser- print it with clear material
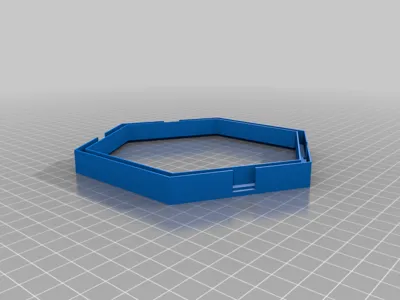
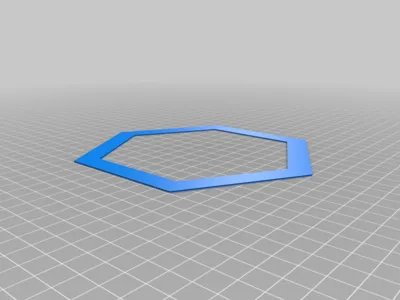
- Reflector - if you print the cases in dark colors you should use the reflectors, you will have a much better looking light distribution.
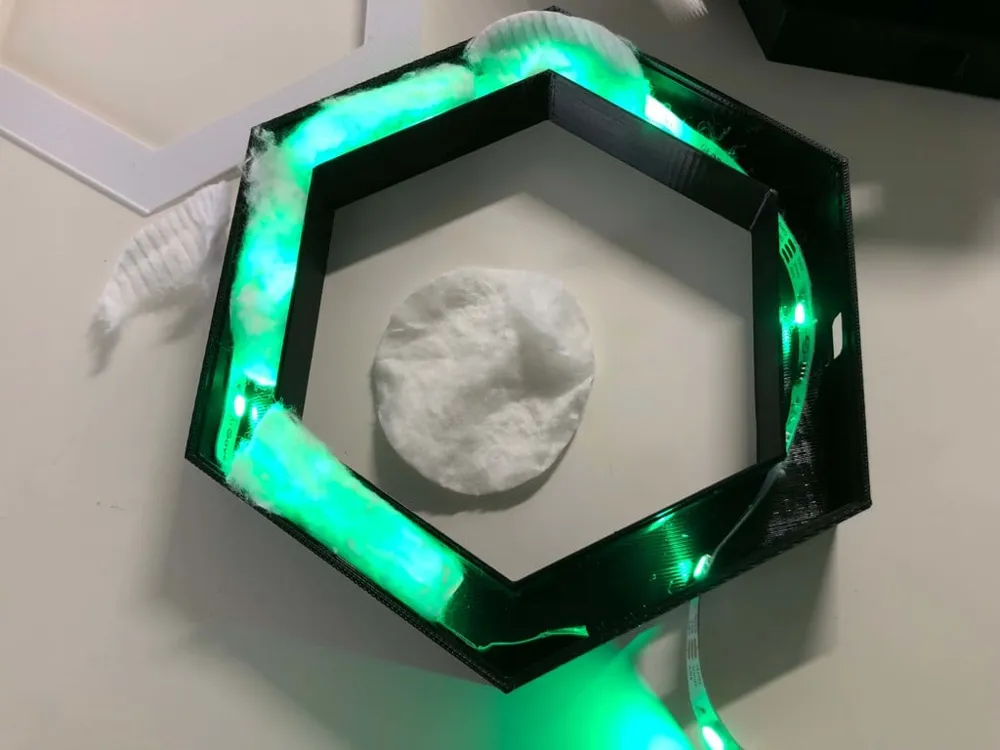
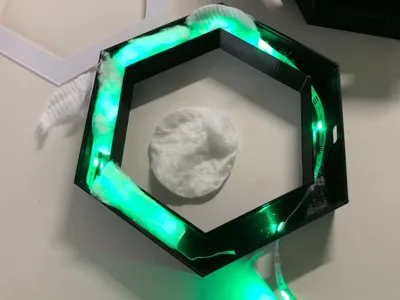
If you have trouble getting an even light, you can print the thicker (diffuser) windows or use the LED diffuser (clear petg/pla). If that doesn't help, fill the inside with clear/white silicone (like this) or cotton wool.
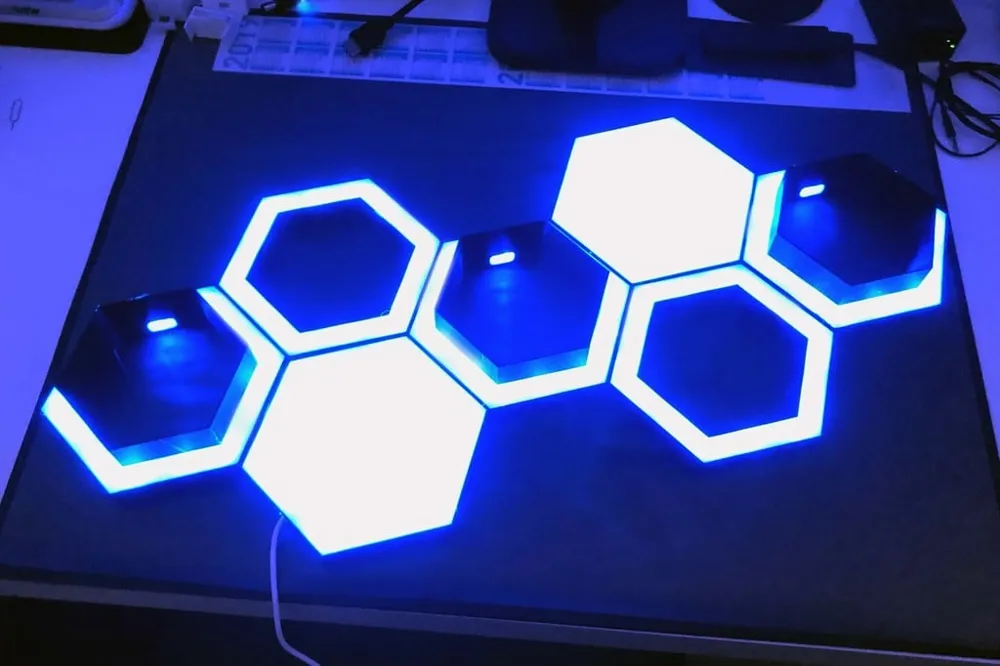
Here you can see how you can wire and control your LEDs, WLED Project:
https://www.youtube.com/watch?v=GYxctjukehY
More printing and assembly instructions will follow in the next few days.
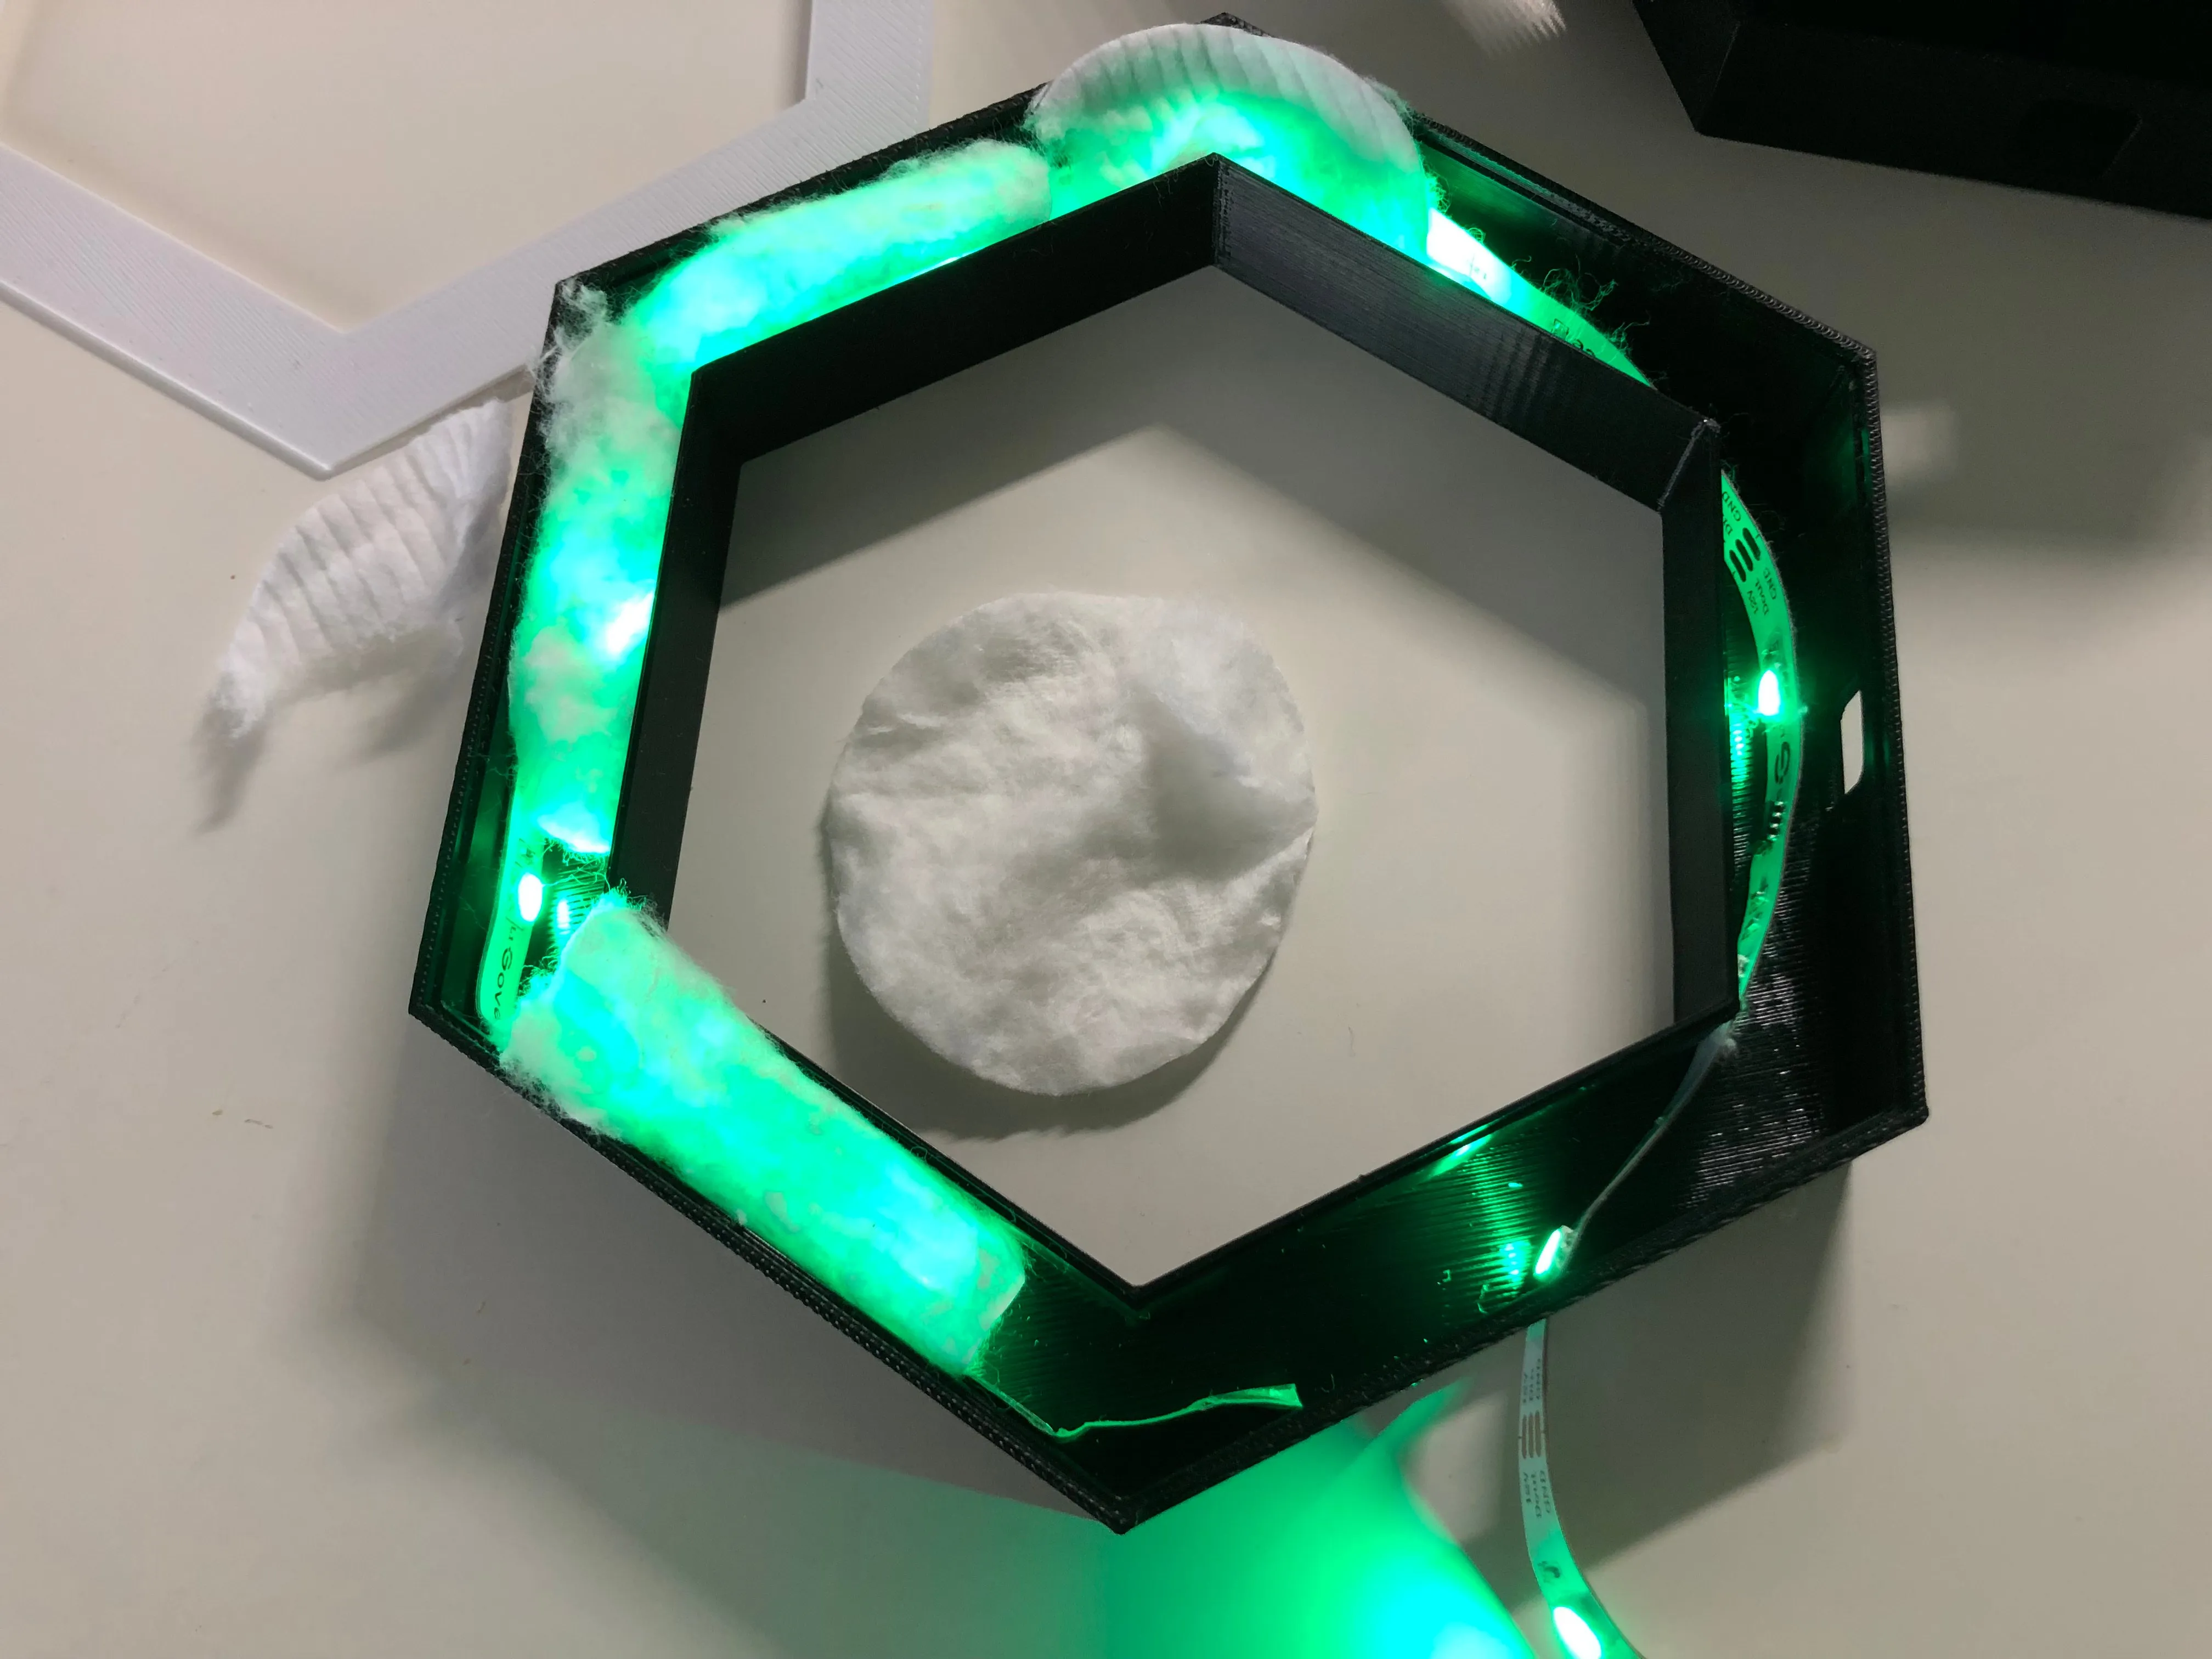
Here i used some cleaning wool which improved the way it looks but at the end i used the LED-Stripe Diffusor and silicon :)
License



Comment & Rating (100)