


Print Profile(1)

Description
“We all float down here.”
— Stephen King, It
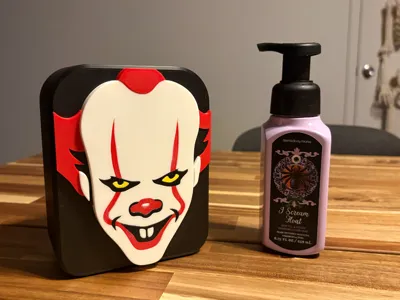
This Pennywise-inspired soap bottle cover beckons to the evil clown in each of us. It continues my series of horror villain–inspired soap bottle covers and is one of the most requested characters to date.
Like the others, this cover is designed to fit Bath & Body Works foaming soap bottles. However, adapter rings are included for B&BW gel soap and Dial/Softsoap bottles.
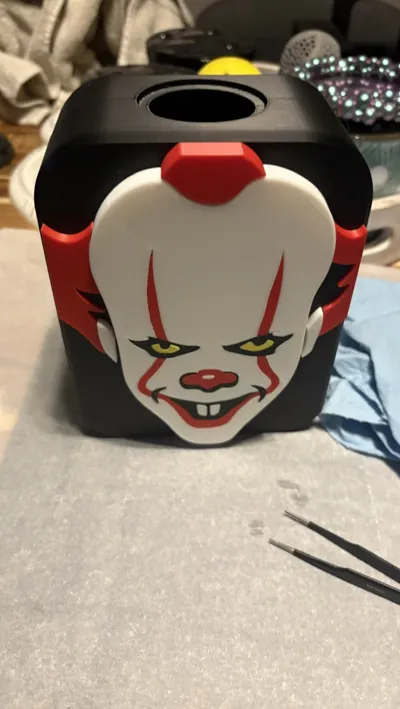
New in this version: customizable hole dimensions.
- neckWidth determines the size of the hole.
- pumpWidth determines the size of the recess in the top of the cover.
Pre-Assembly Instructions
- Dry fit all components before applying glue. Some pieces (e.g., smile lines, eyes) may look similar but are not identical.
- Use glue sparingly. Tolerances are tight, and excess glue may seep out.
- Use a precision tip or toothpick to apply glue in hard-to-reach areas.
Assembly Instructions
- Place one half of the body with the large flat side facing up.
- Apply a small drop of glue into each hexagonal recess.
- Insert the hexagonal pegs into the recesses.
- Apply glue to the back of one white face piece.
- Attach the face to the body. Note: the upper outside pegs will remain partially exposed—this helps align the hair later.
- Locate the left and right hair pieces and their corresponding shadows.
- Apply a tiny amount of glue to the recesses in the hair pieces and attach the shadows.
- Apply glue to the nose recess and insert the red nose and black shadow. The fit around the white highlight may be tight, a light tap with a hammer or mallet may help seat it.
- Prepare the red makeup, eyes, mouth, and smile lines for quick assembly.
- Apply glue along the recesses for the makeup, eyes, and mouth.
- Insert each black eye shadow, followed by the yellow eyes.
- Insert the makeup above each eye, sliding it flush to the top of the eye shadow.
- Insert the mouth and remaining makeup pieces.
- Insert the smile lines on the appropriate sides (tweezers may help).
- Apply glue to the back of the left hair piece and slot it into place.
- Apply a drop of glue to the back of the left ear and carefully attach it.
- Repeat for the right hair piece and right ear.
- Apply glue to the back of the top hair piece and set it in place.
- Repeat steps 1–18 for the other body half.
- Set both halves aside and allow the glue to fully cure.
- Apply glue into the recesses on the body half that has them.
- Press the two halves together.
- Set aside and allow the glue to cure completely.
Final Steps
- (Optional) Insert the desired adapter ring.
- Unlock the pump on your soap bottle (this may not be possible once it’s inside the cover).
- Remove the pump from the bottle and insert it through the bottom opening of the cover so it protrudes through the top hole.
- Screw the pump back onto the exposed soap bottle.
License
You shall not share, sub-license, sell, rent, host, transfer, or distribute in any way the digital or 3D printed versions of this object, nor any other derivative work of this object in its digital or physical format (including - but not limited to - remixes of this object, and hosting on other digital platforms). The objects may not be used without permission in any way whatsoever in which you charge money, or collect fees.
Comment & Rating (13)