
Transformable Charge Blade | MHWilds
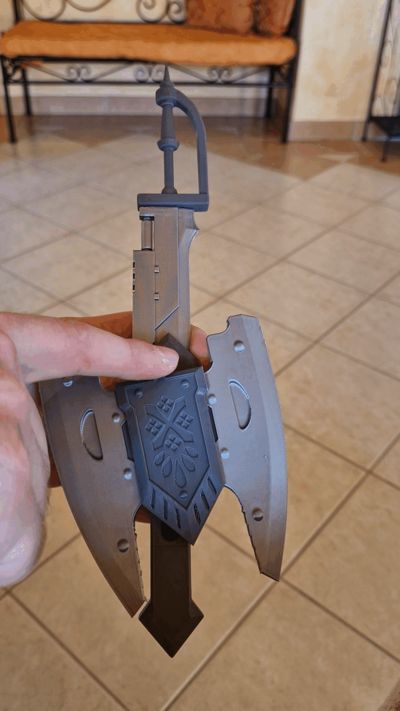
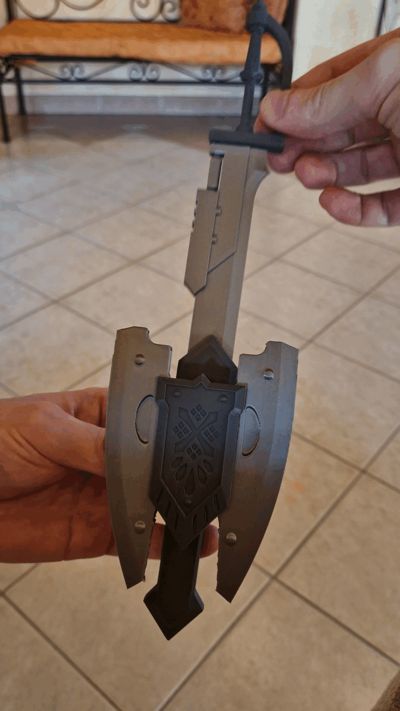
Print Profile(3)



Description
I'd recommend printing the gear in PETG to make it more durable as lots of people have pointed out that it breaks easily!
Also consider printing the Spring in PETG as PLA will deform over time if it's stored in compressed position.
Different filament and nozzle size can affect tolerances and might require glue/sanding!
Tested with:
- Bambu PLA Basic Black (10101), Dark Grey (10105), Silver (10102)
- 0.4mm nozzle
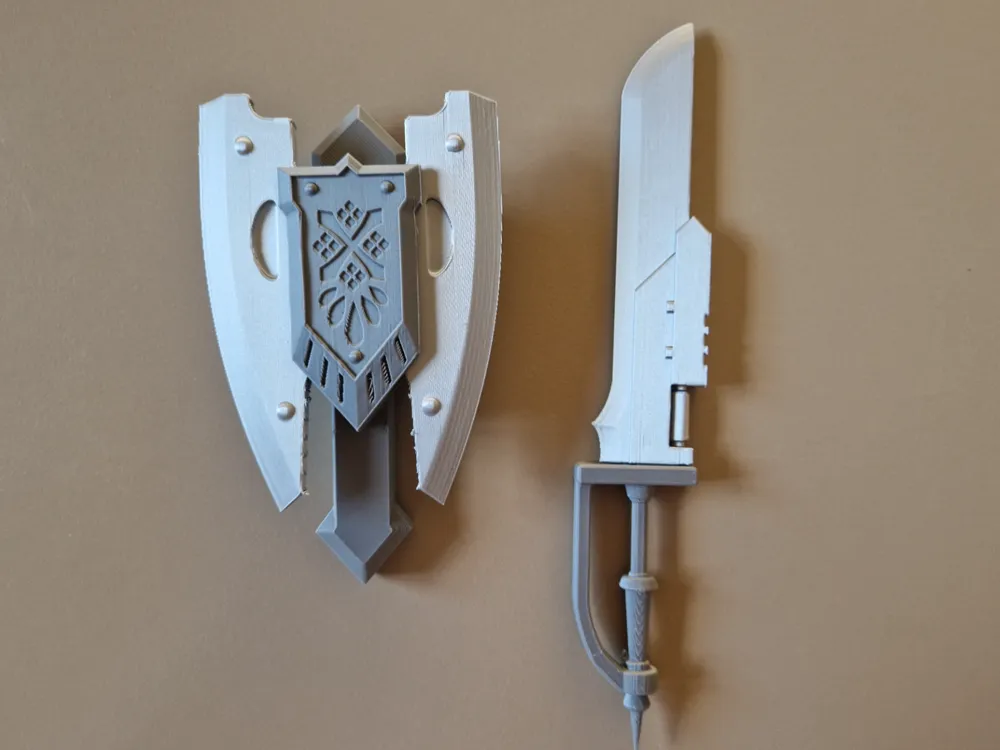
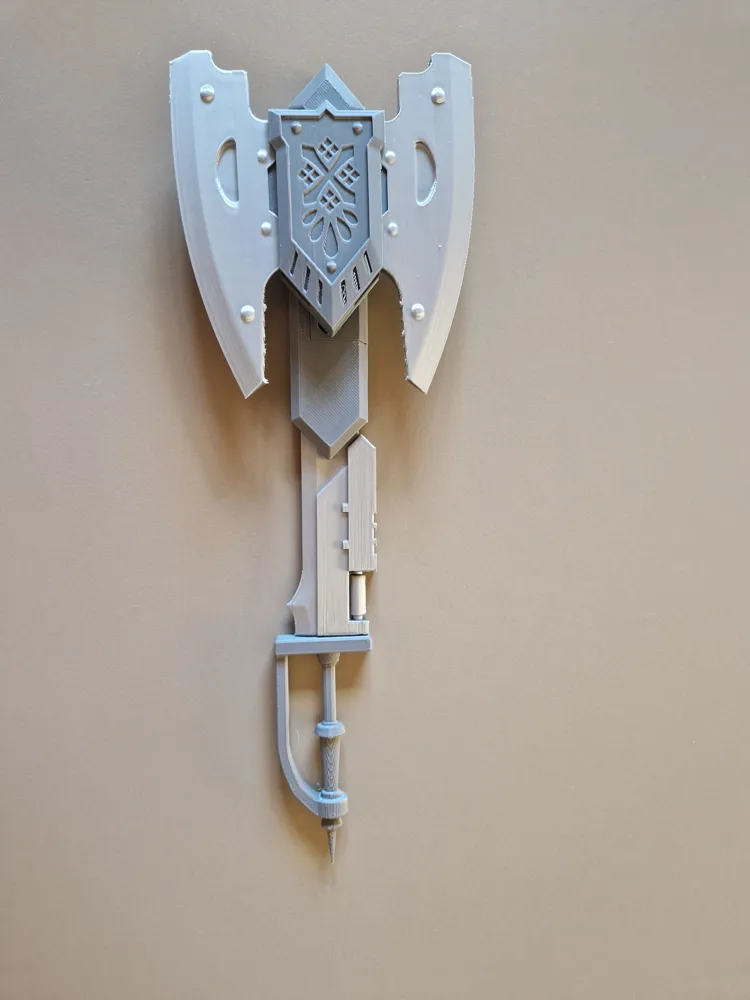
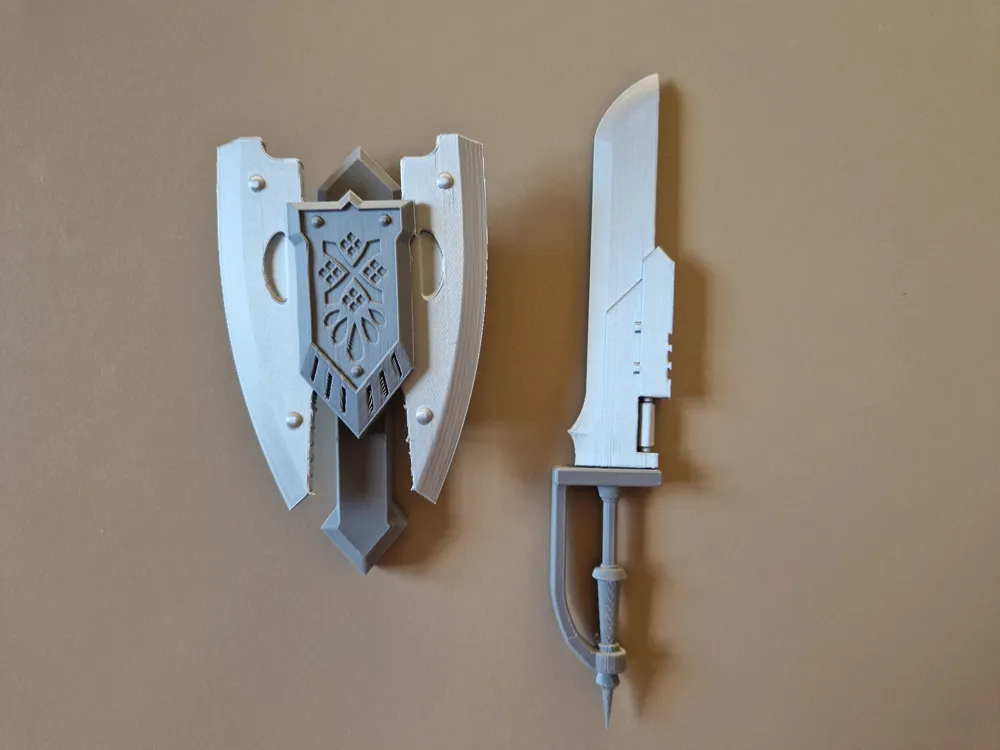

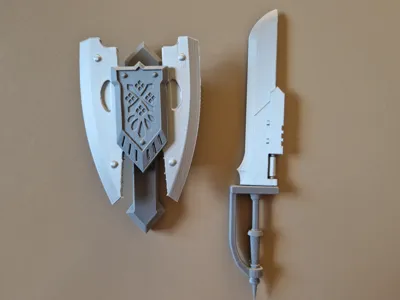
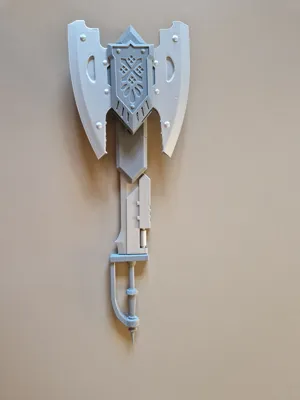
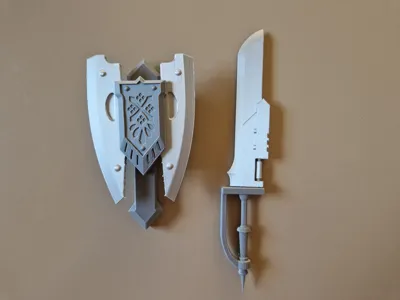
Regas Hyper - MHWilds

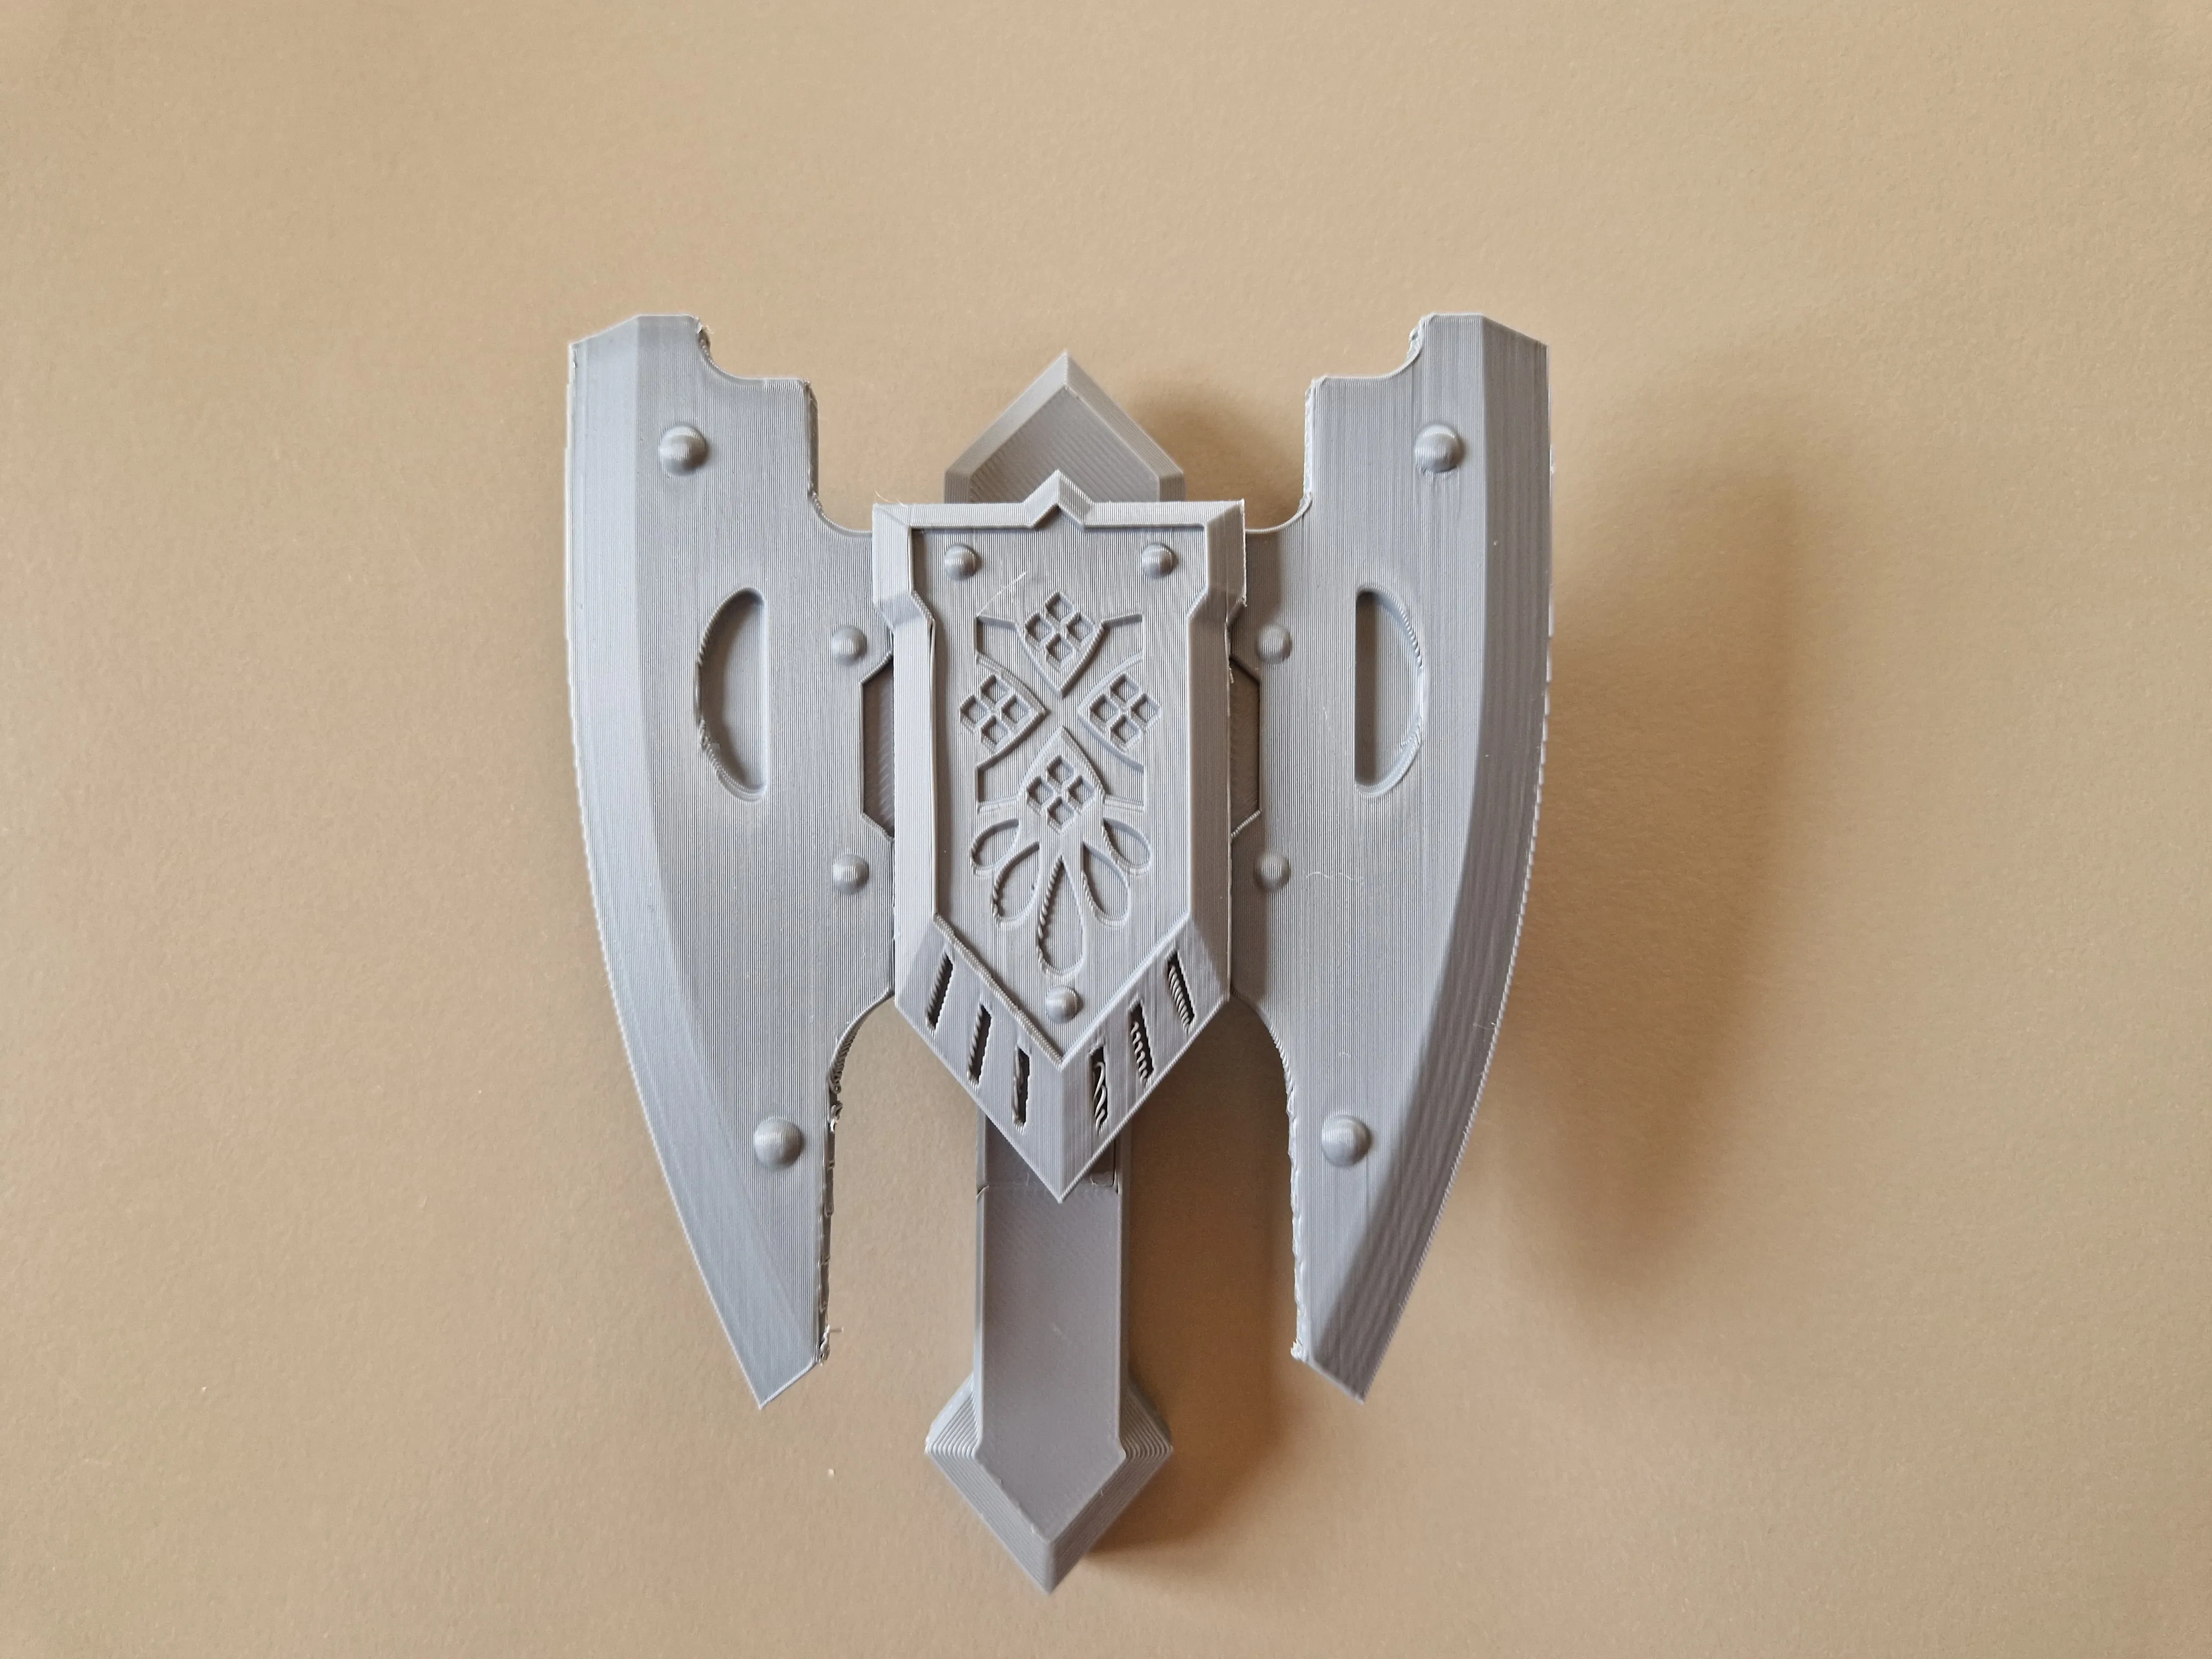
My second Wilds Model is finally finished. I tried again to get as close to the original as possible and still have the unique Charge Blade features. Unfortunately no pizza slicer Mode.
The assembly can be a bit rough. Please use the visual guide below!
Boost Me (for free)
Please consider a Boost If you like my work and want to support me. It helps me continue making models like this!
Assembly:
| Remove Supports and make sure no holes are blocked by filament like in the picture. | 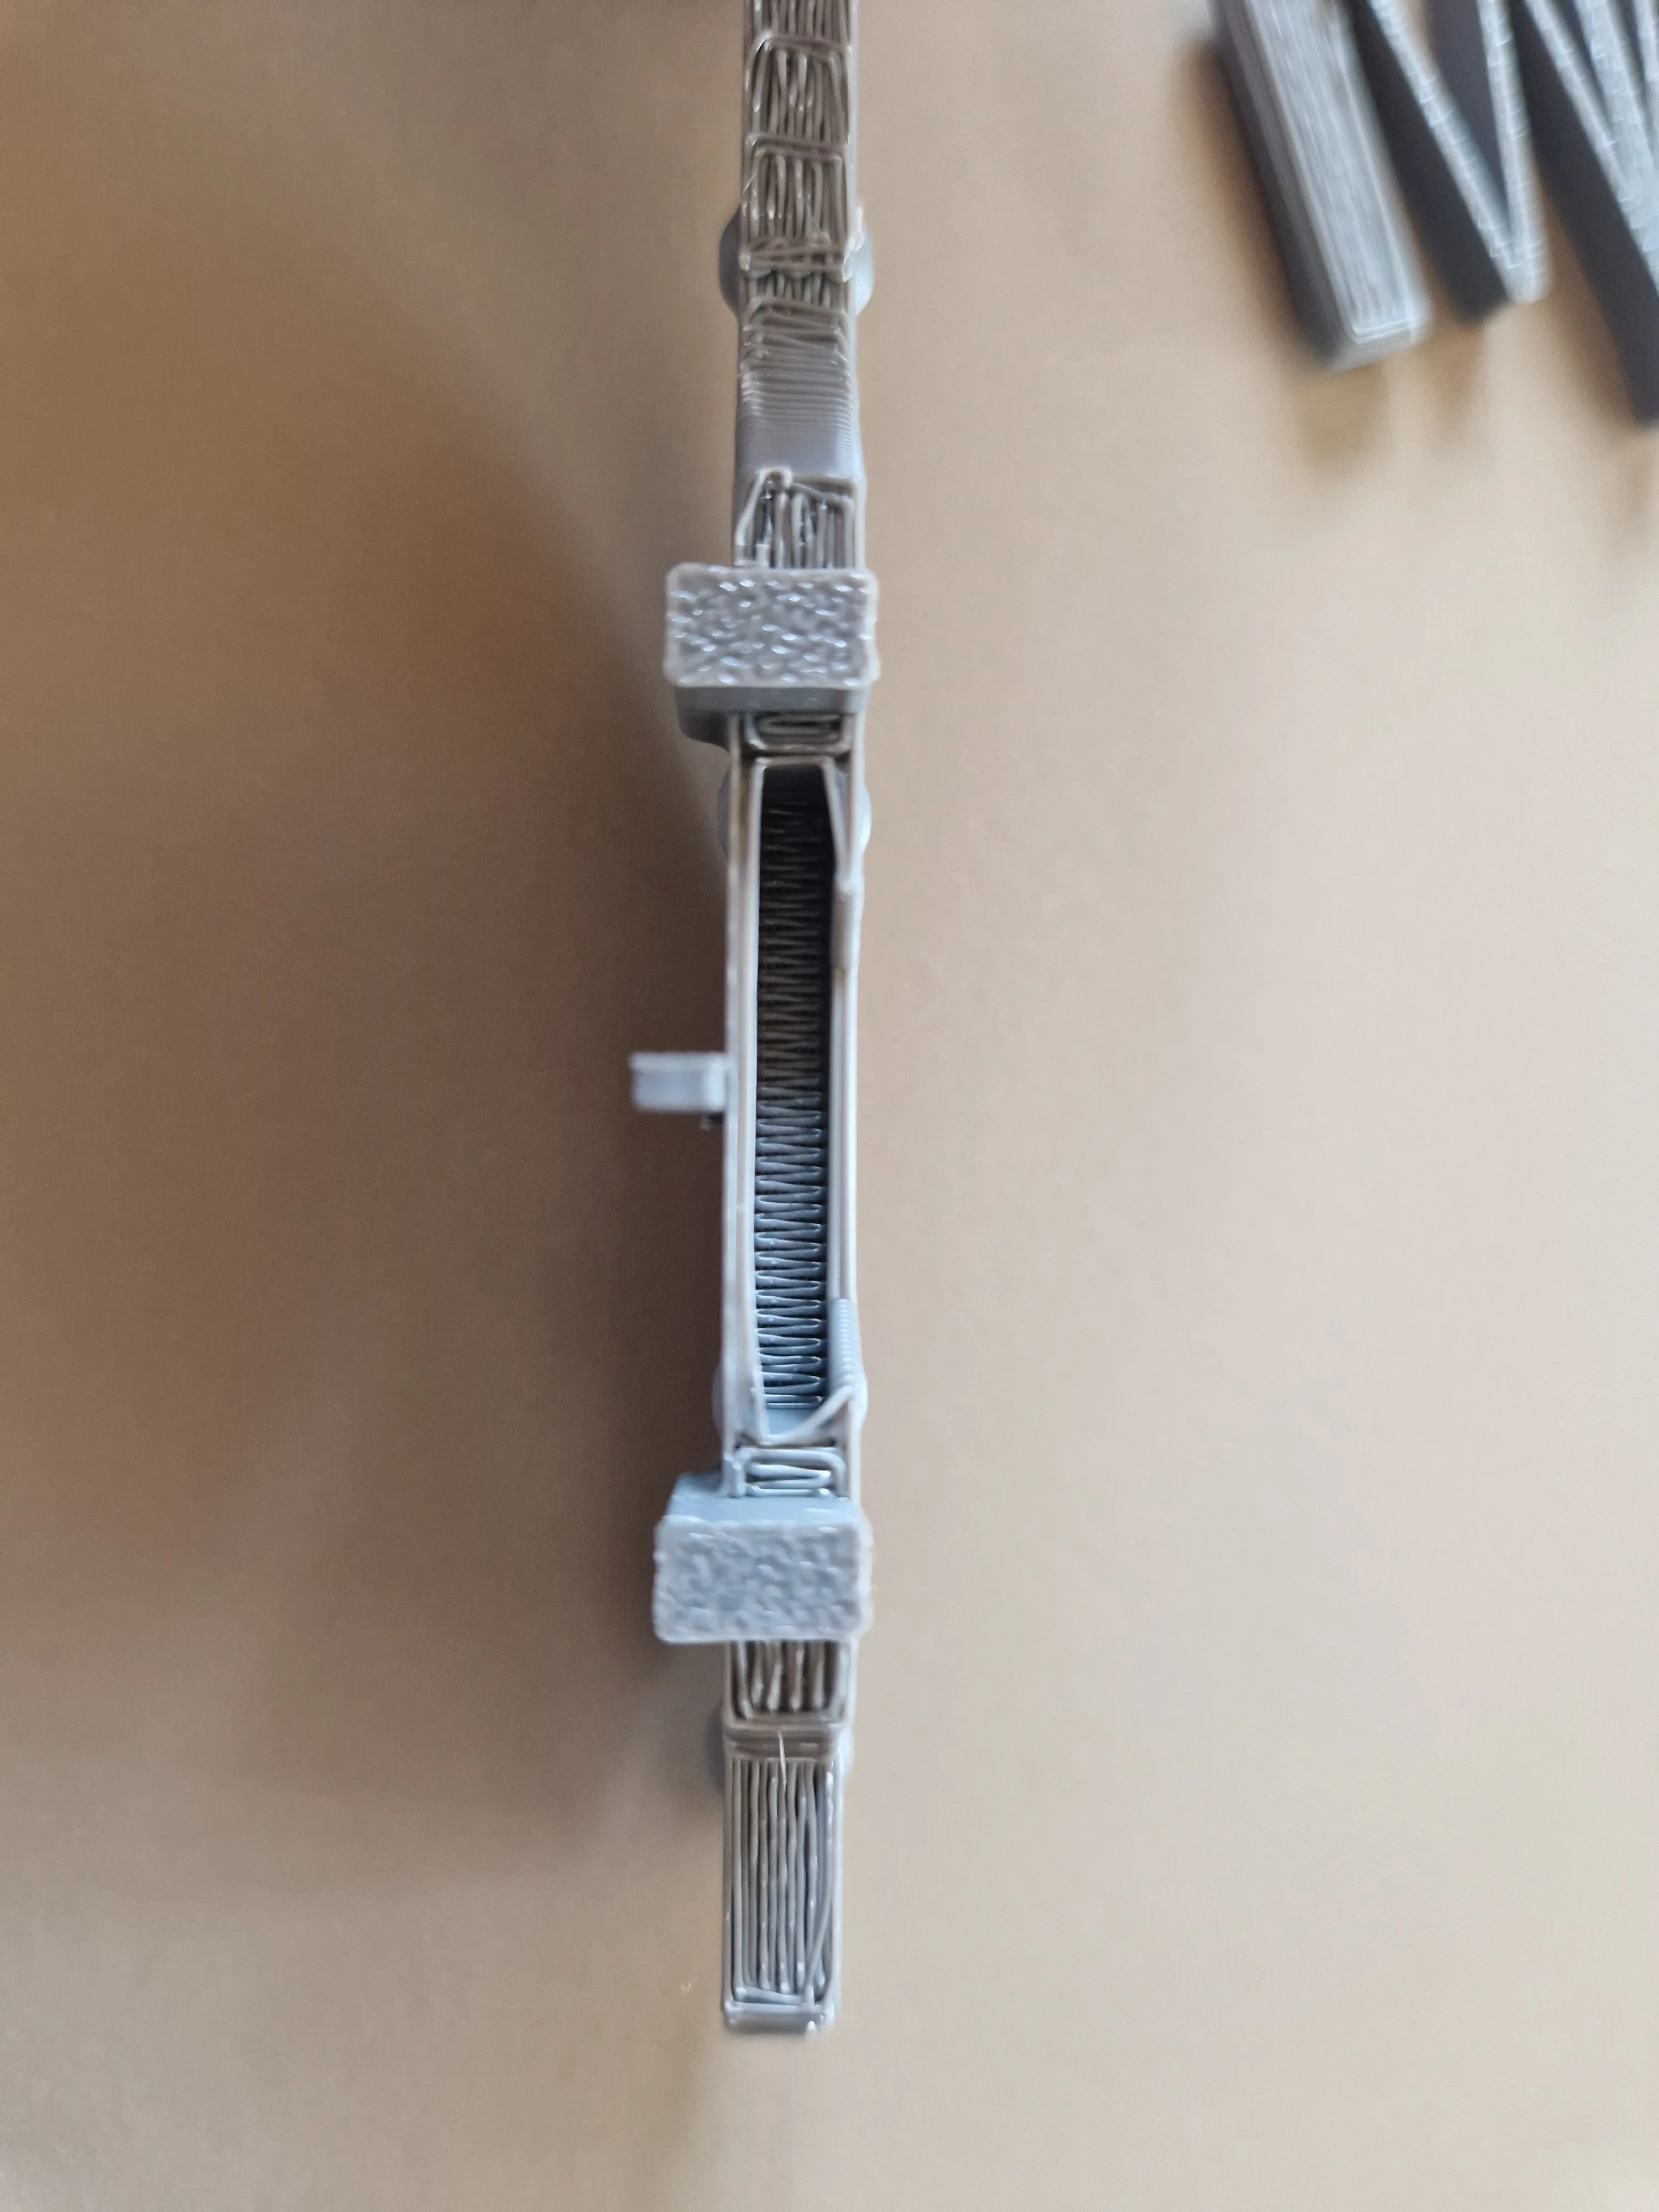 | 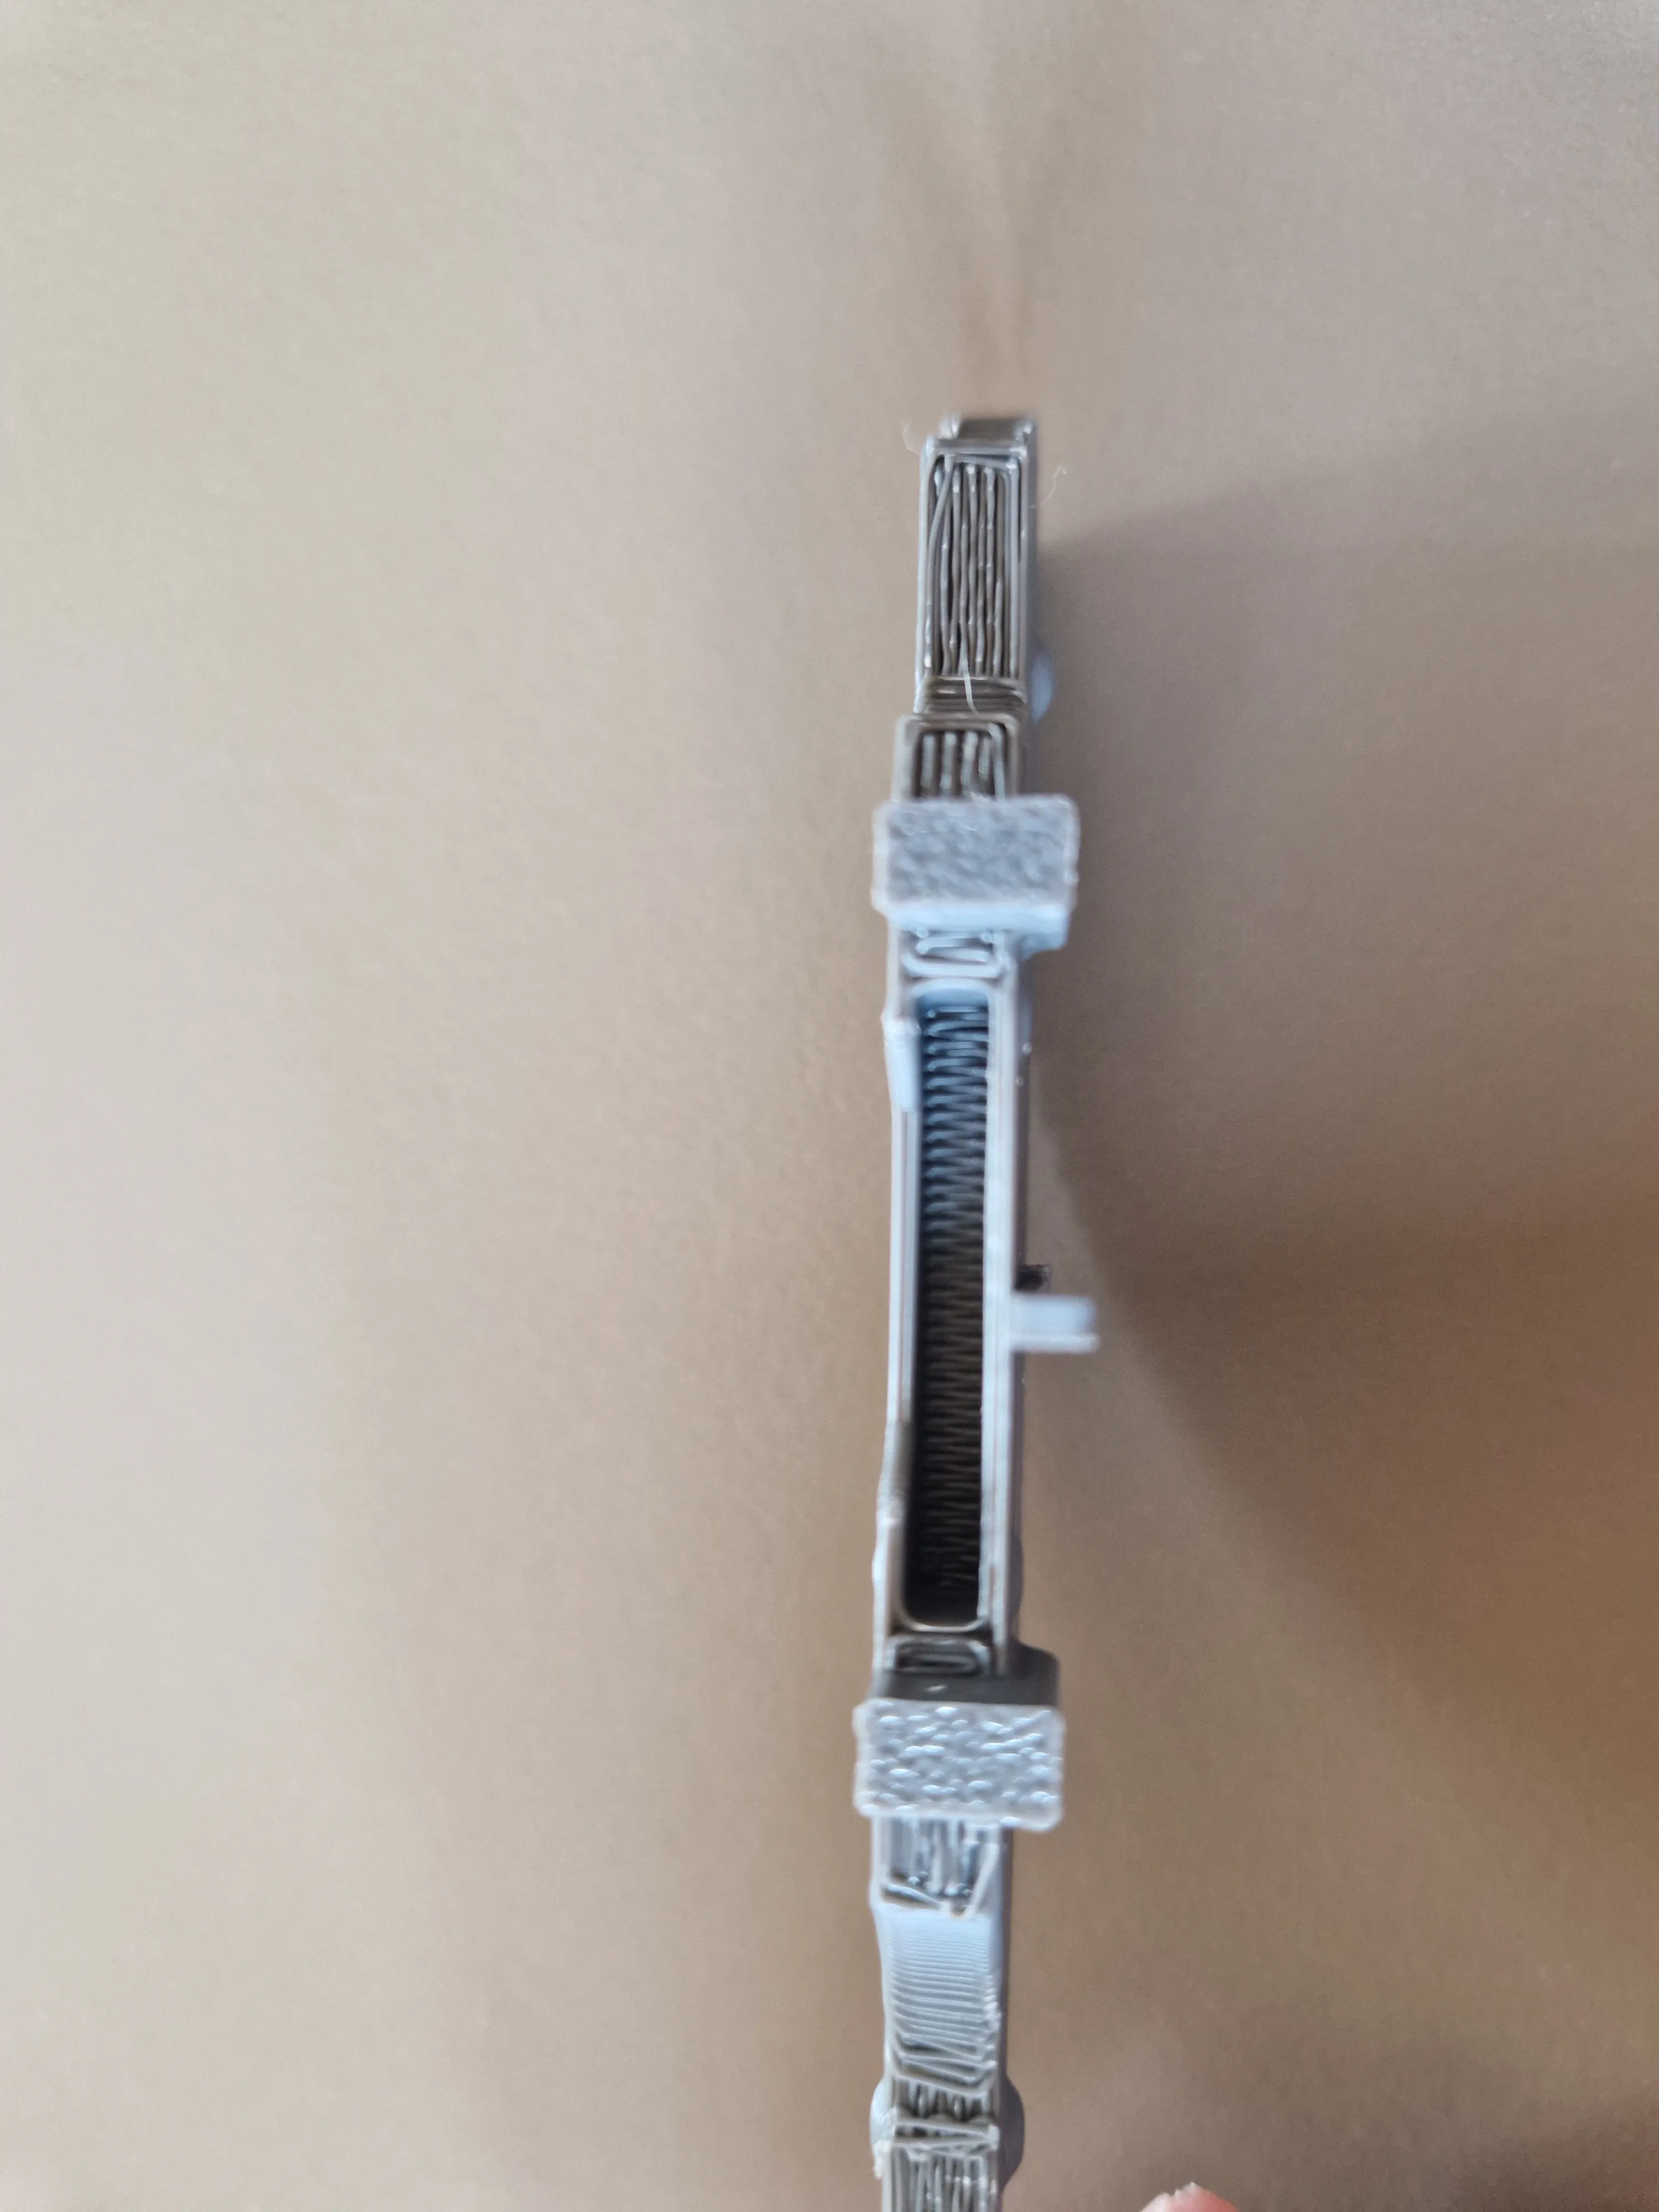 |
| Connect the blades with the spring first, then add the two pins. The pins are marked with L and R, as are the blades. | 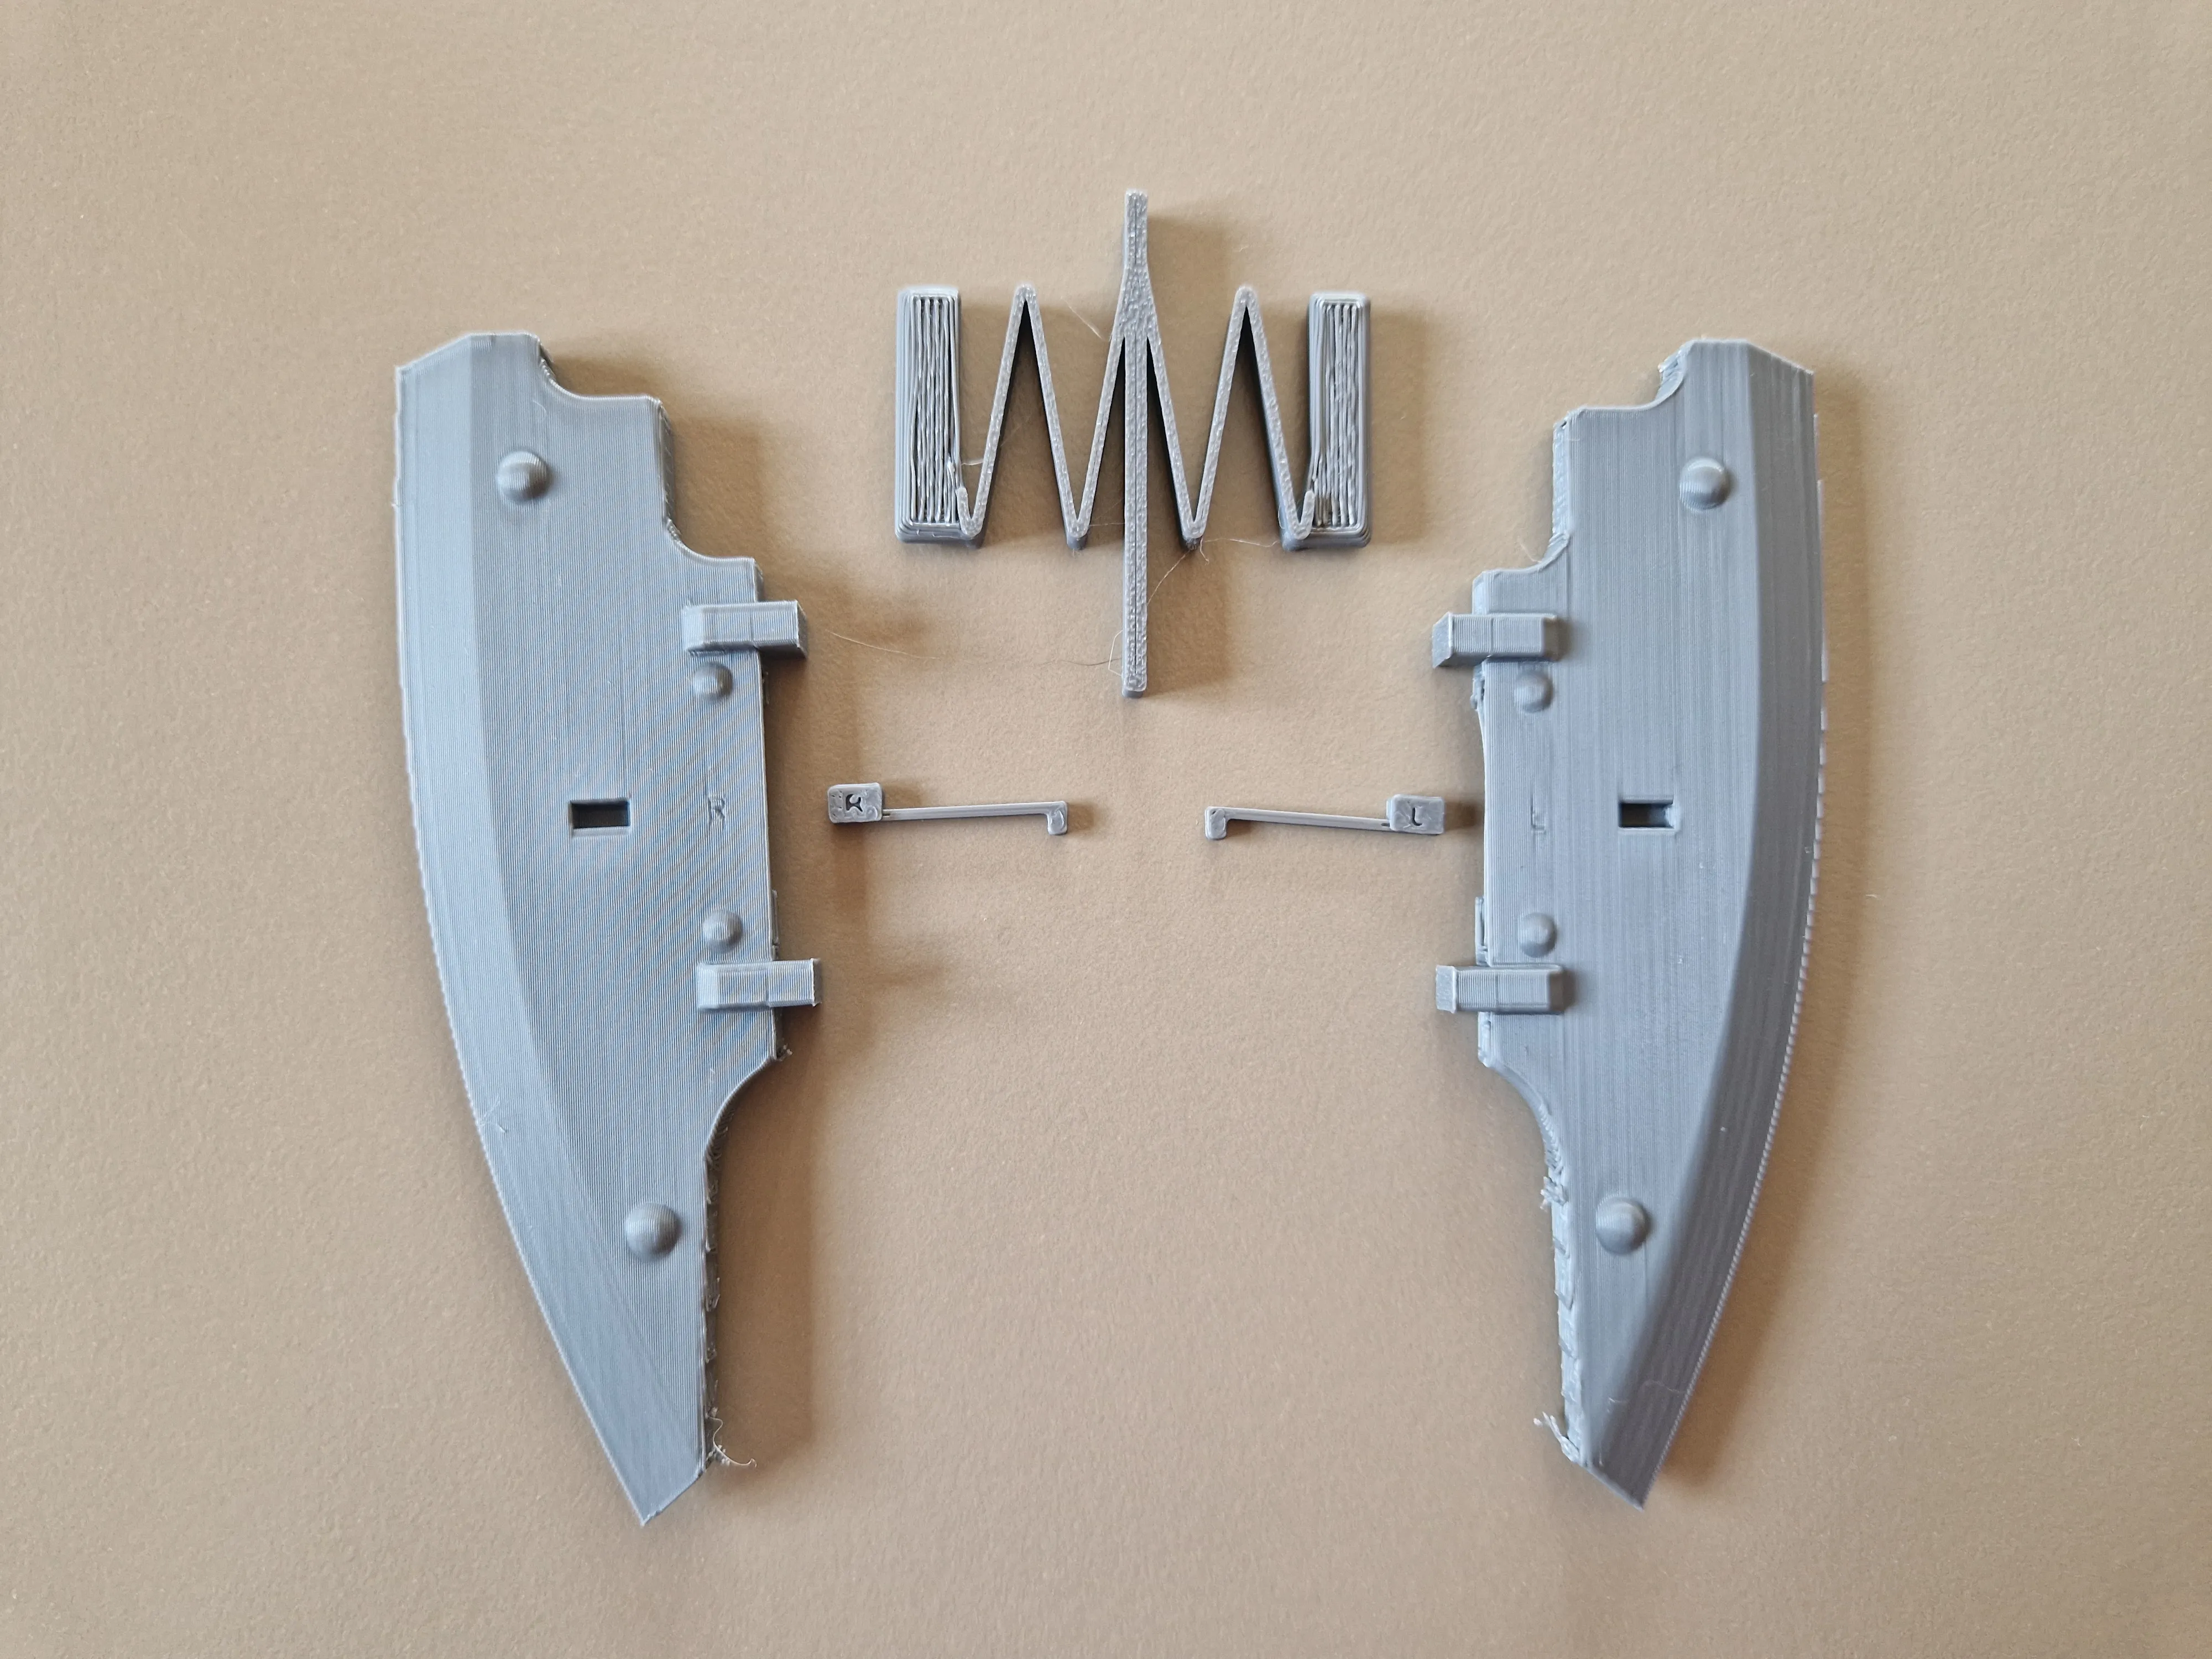 | 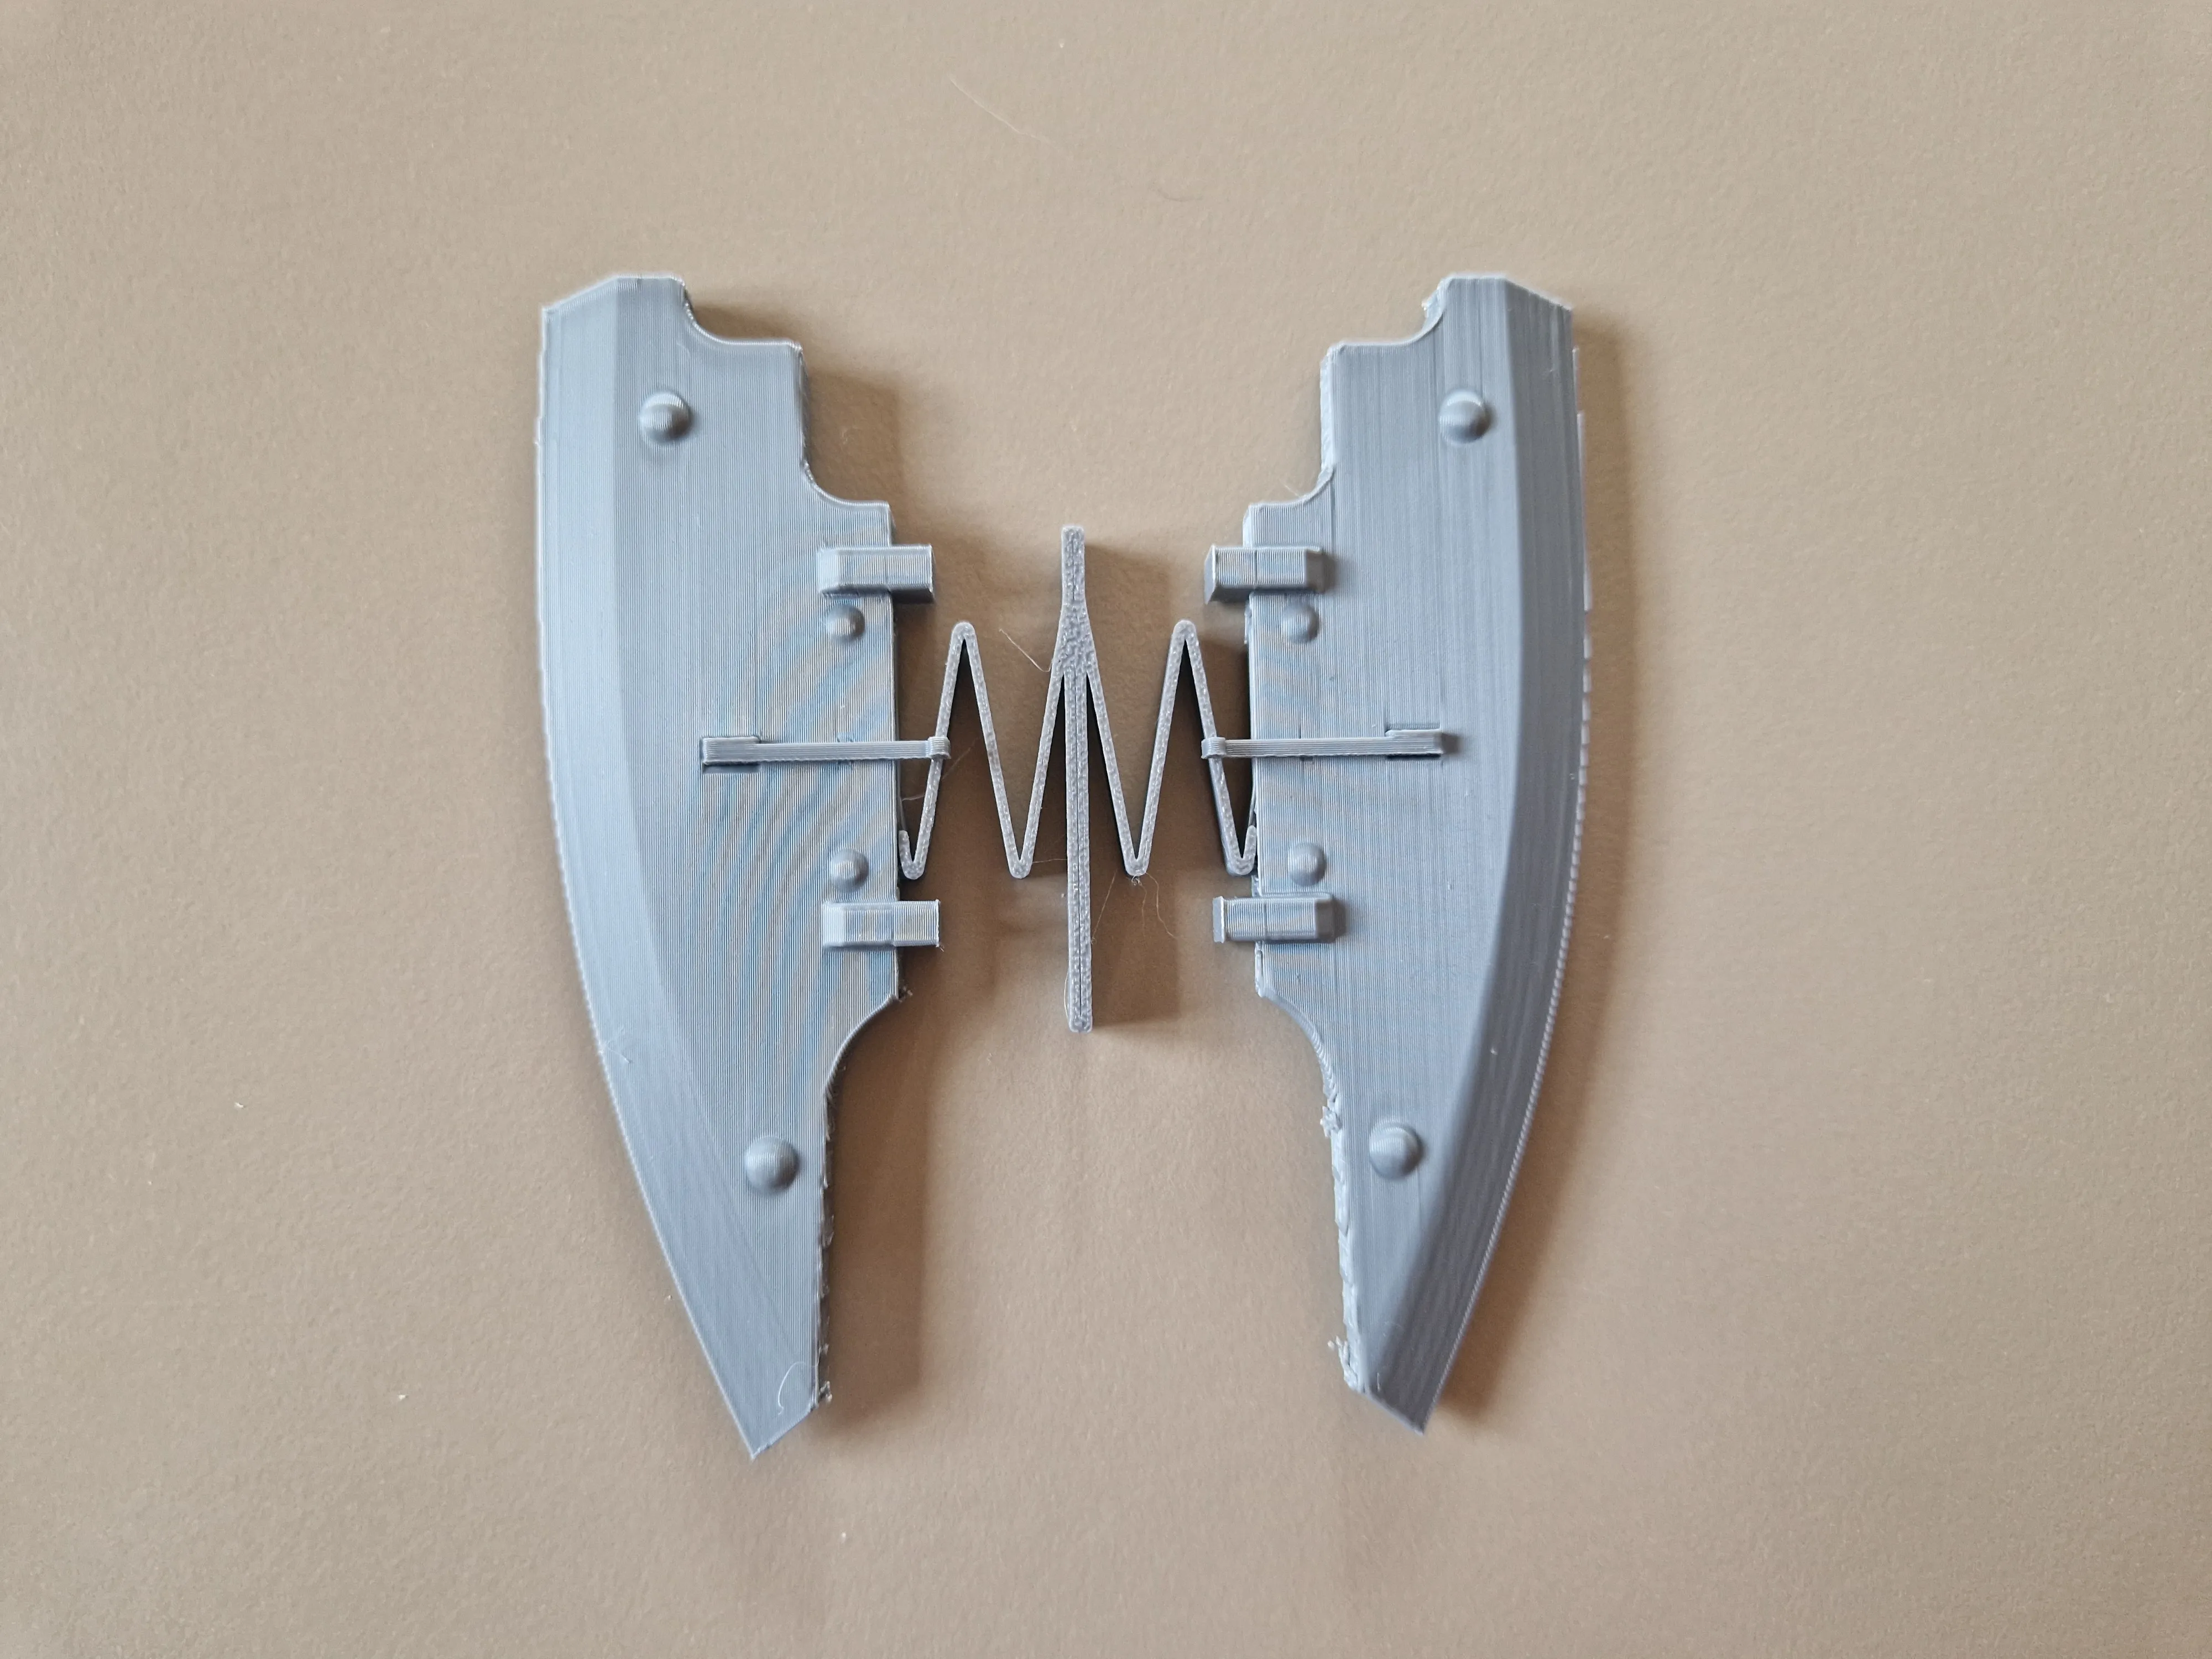 |
| Next Push the rail into the base. | 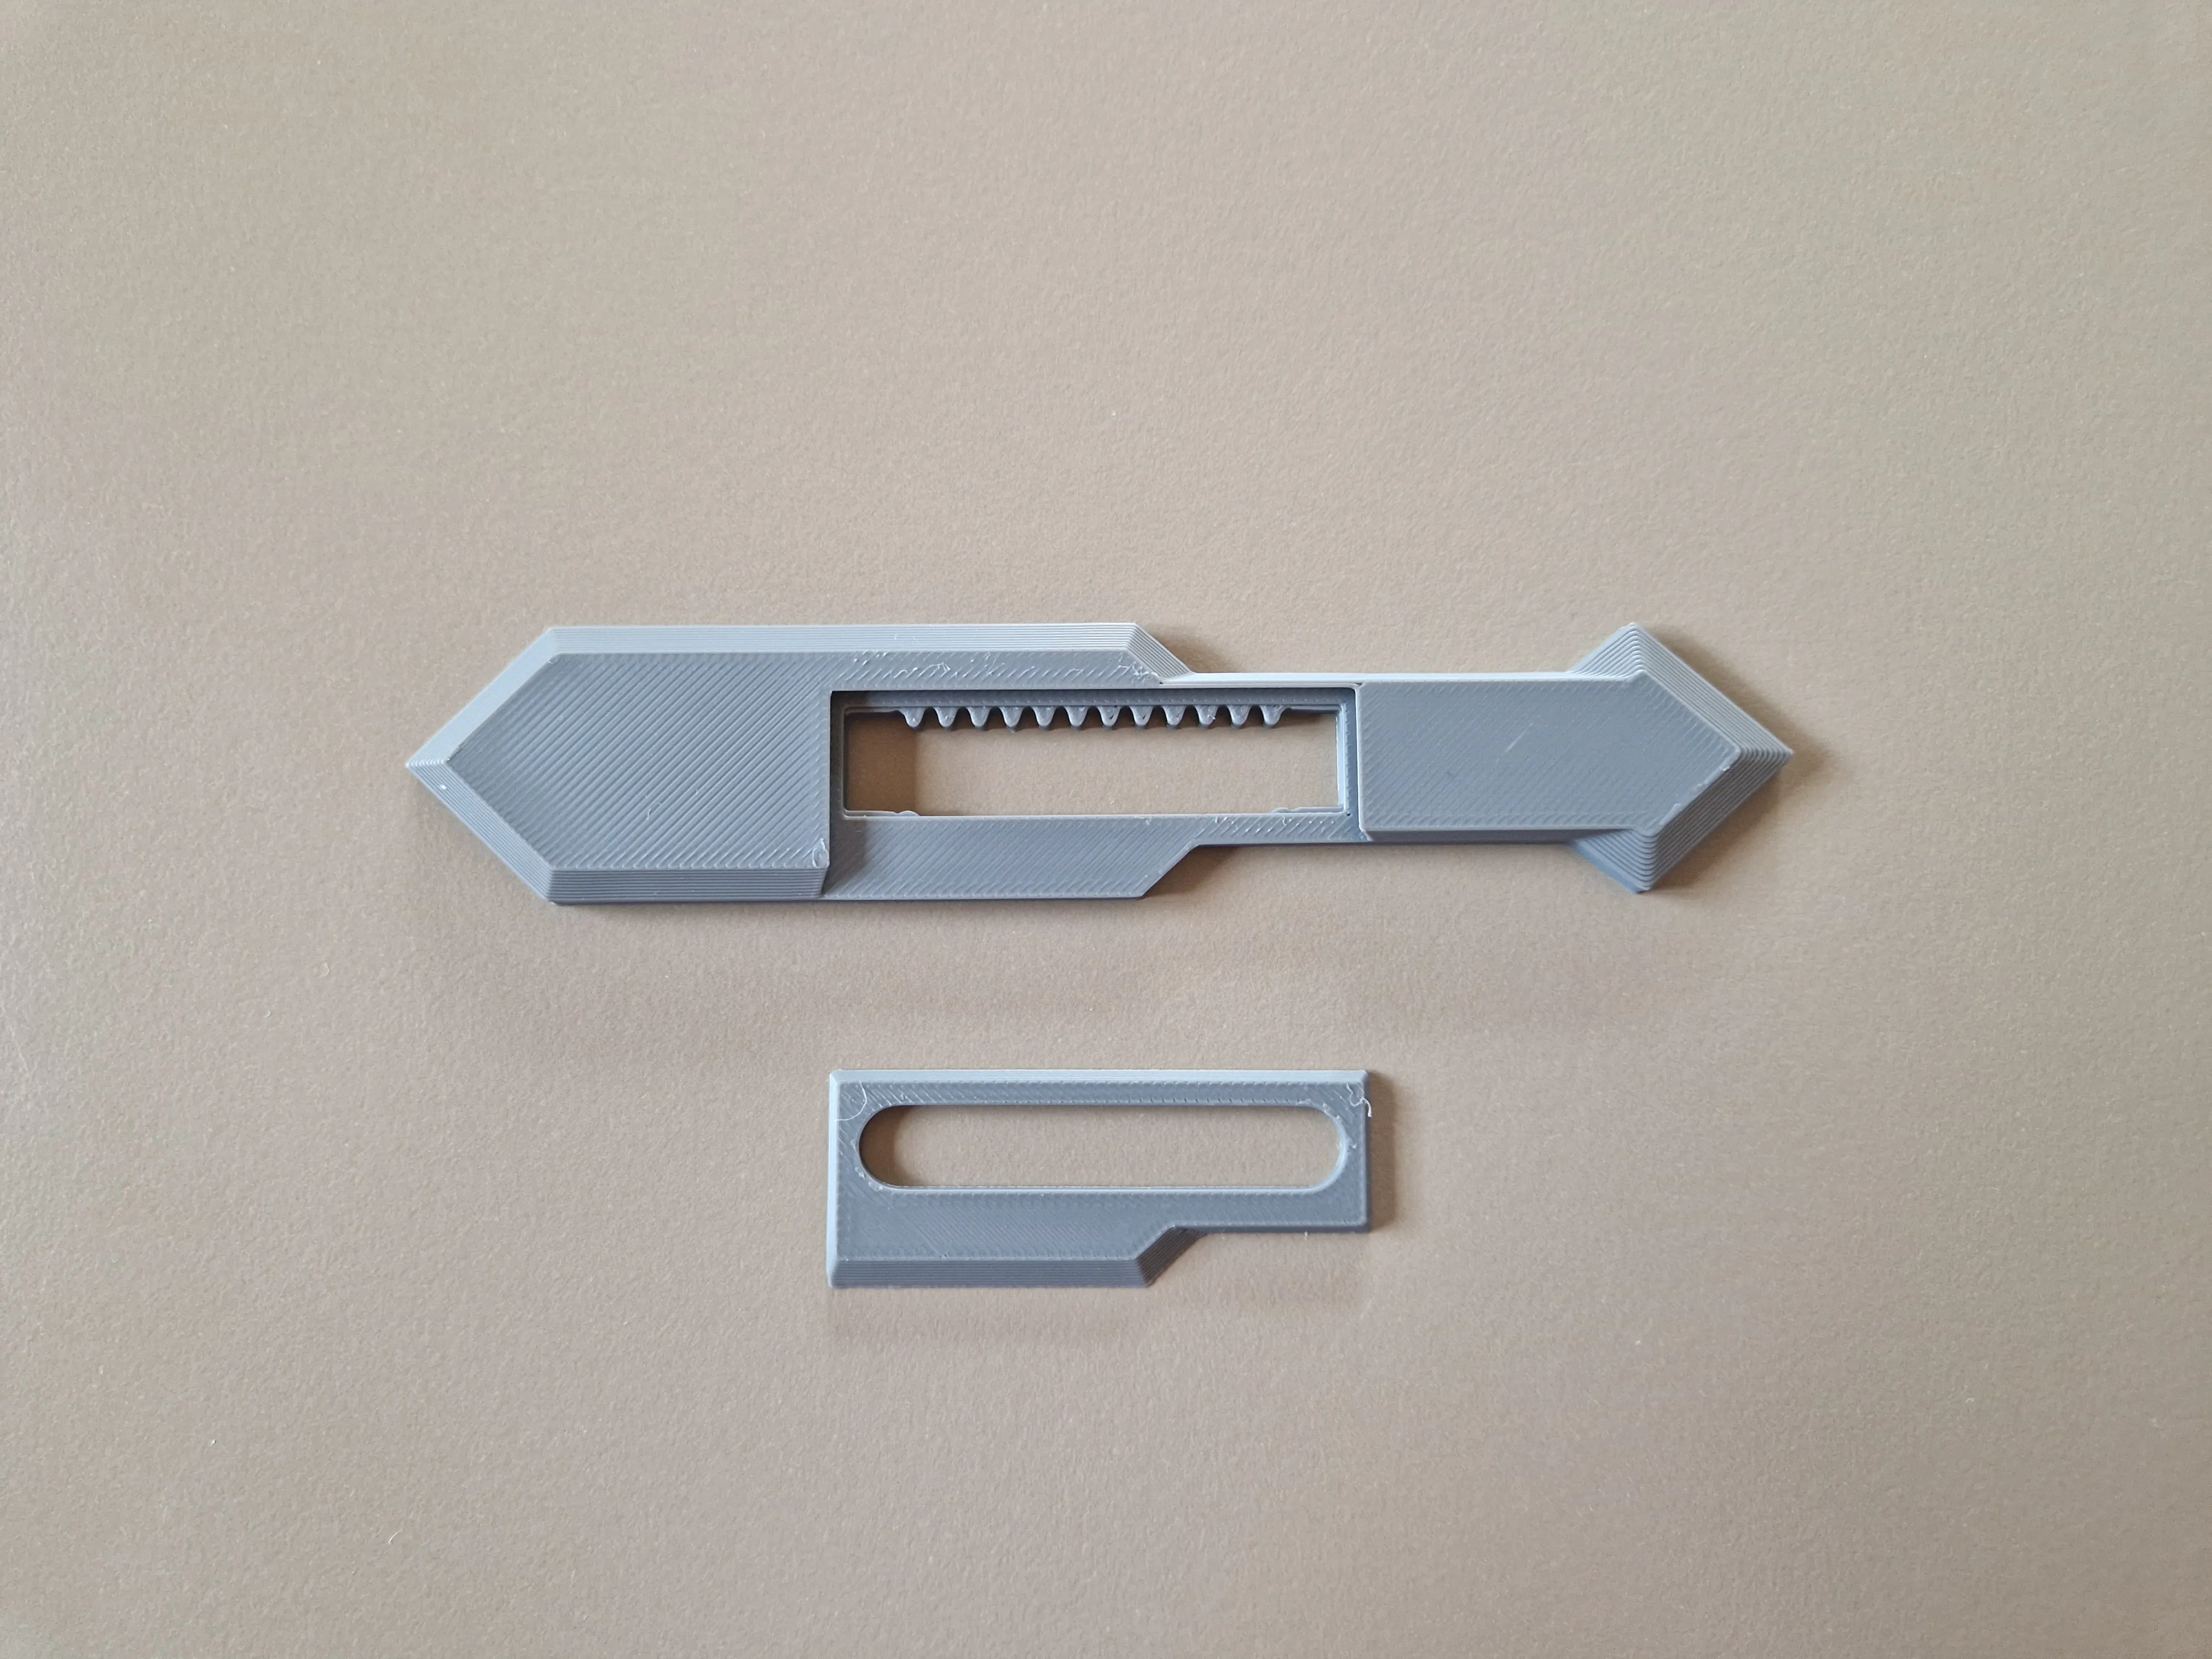 | 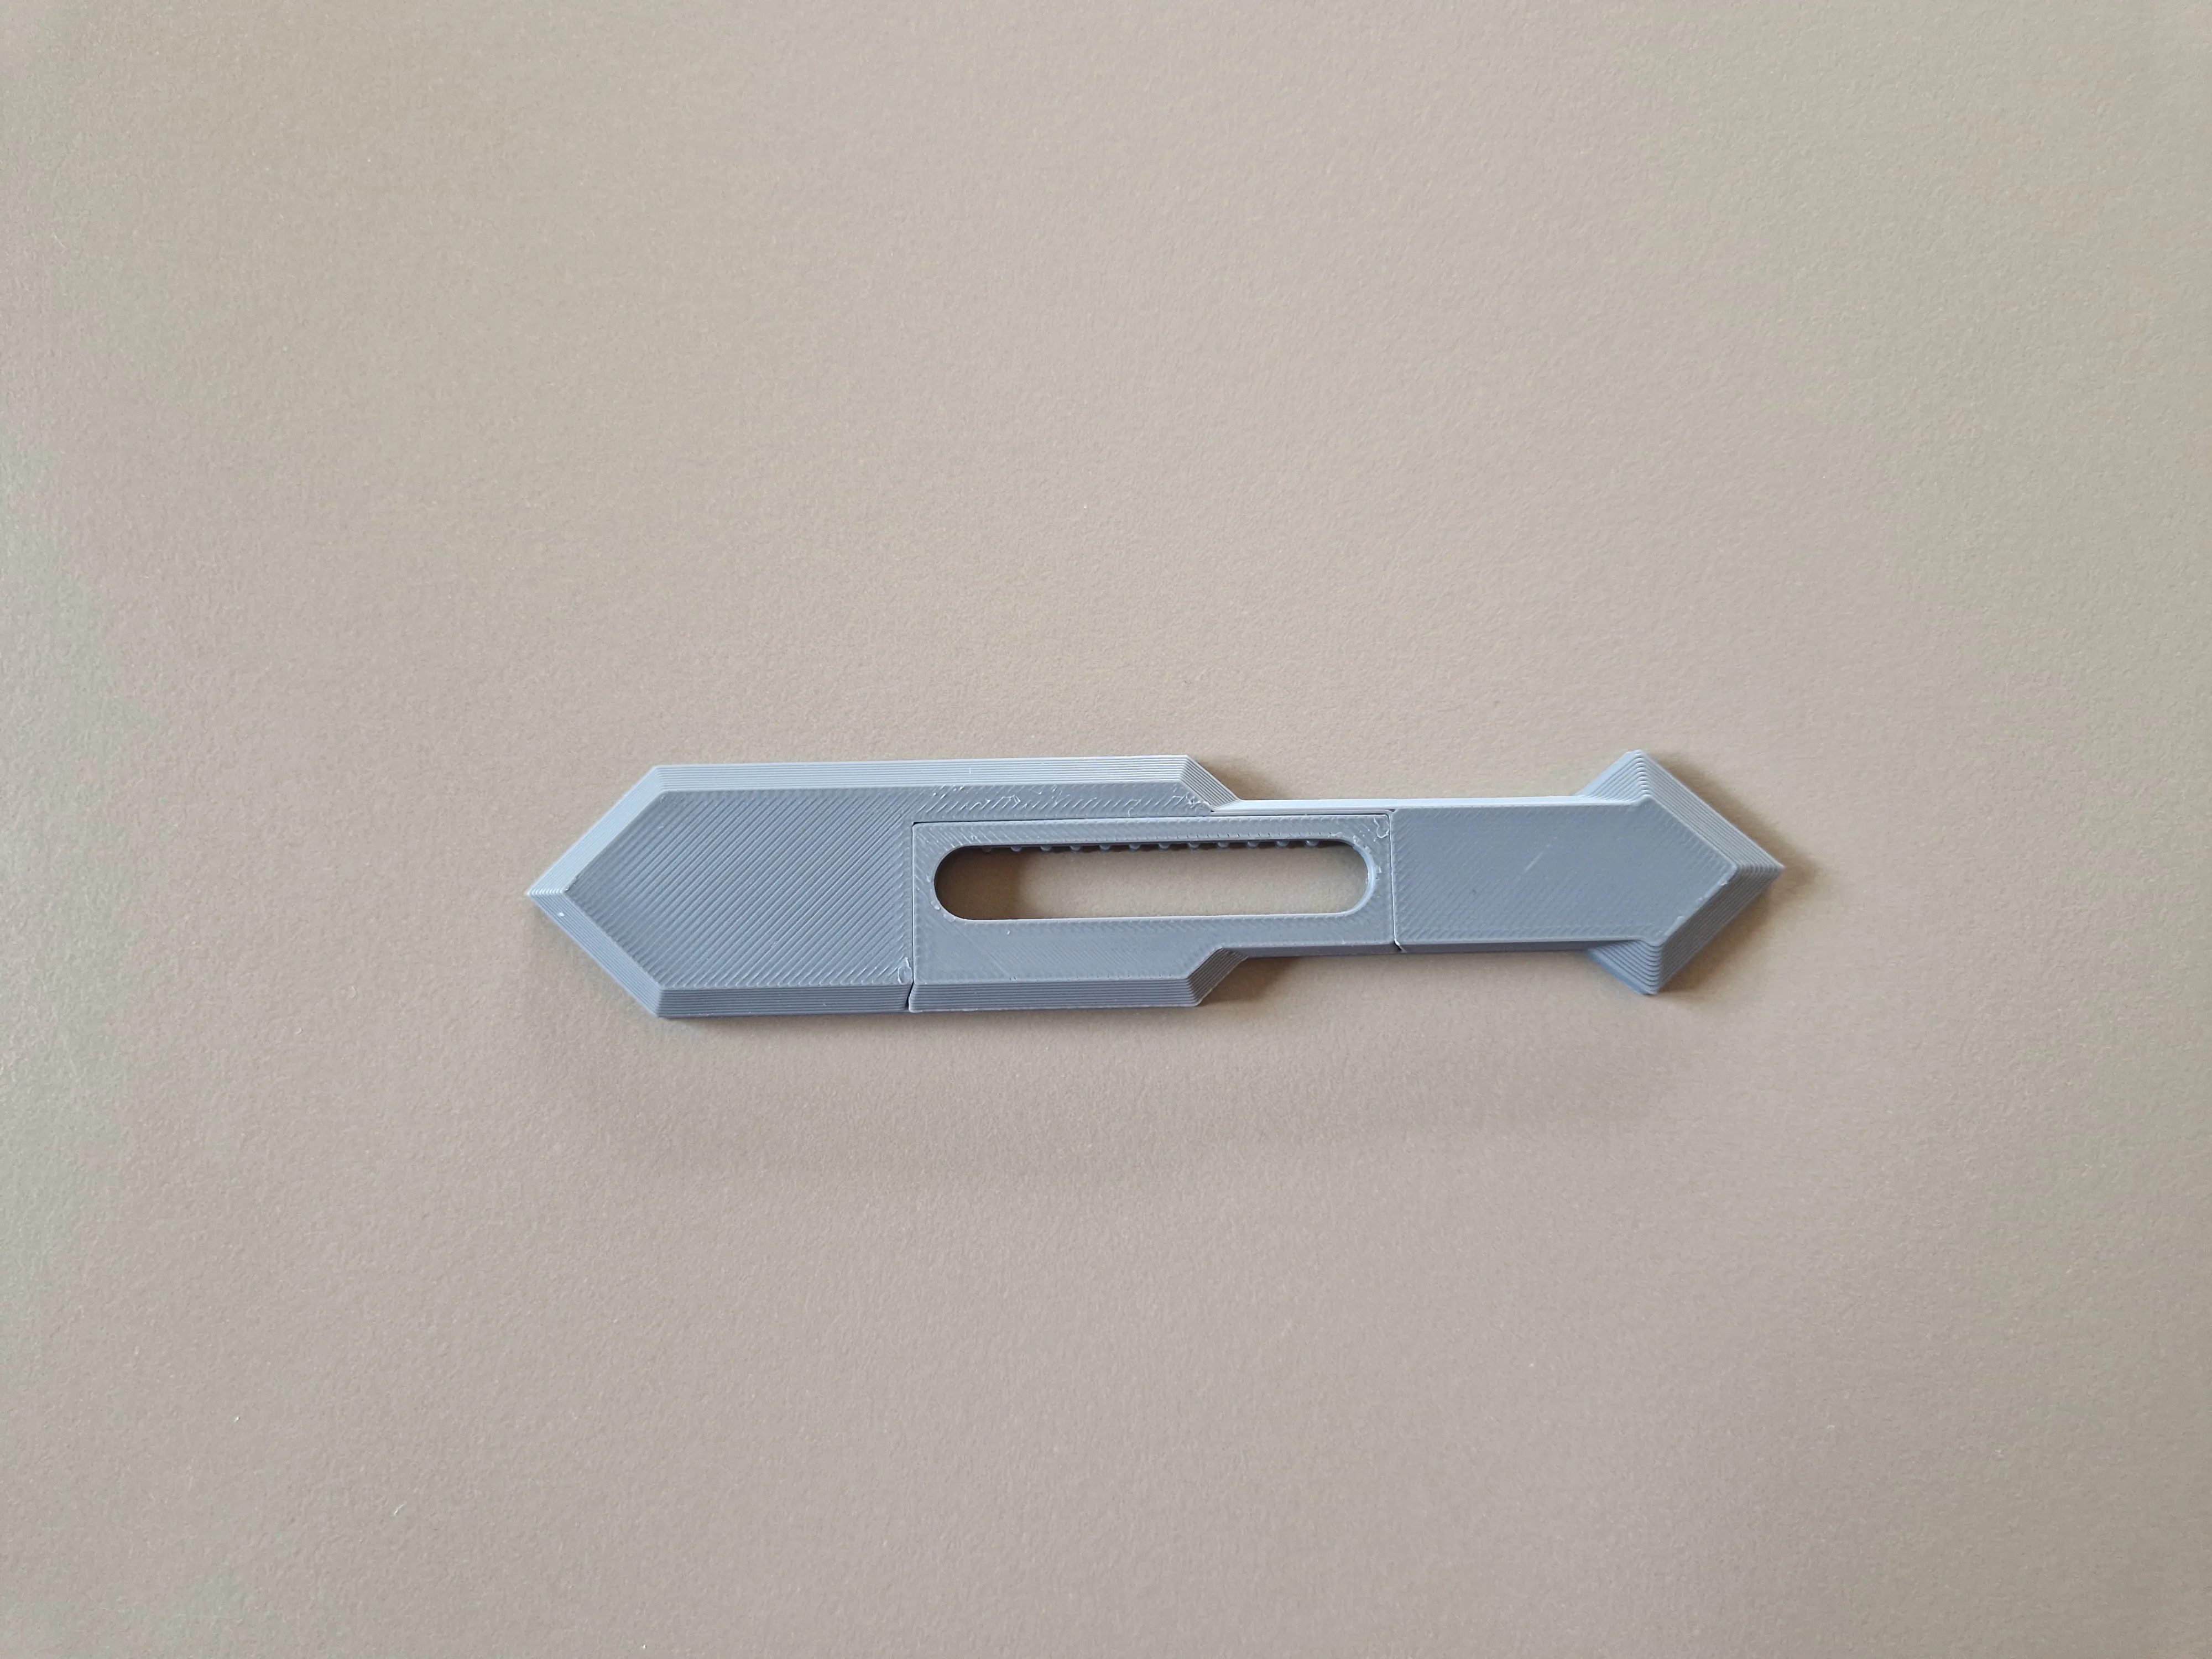 |
The gear has to be installed in a specific orientation! See picture below!
Flip the base over. There are little notches where you can push the gear into. | 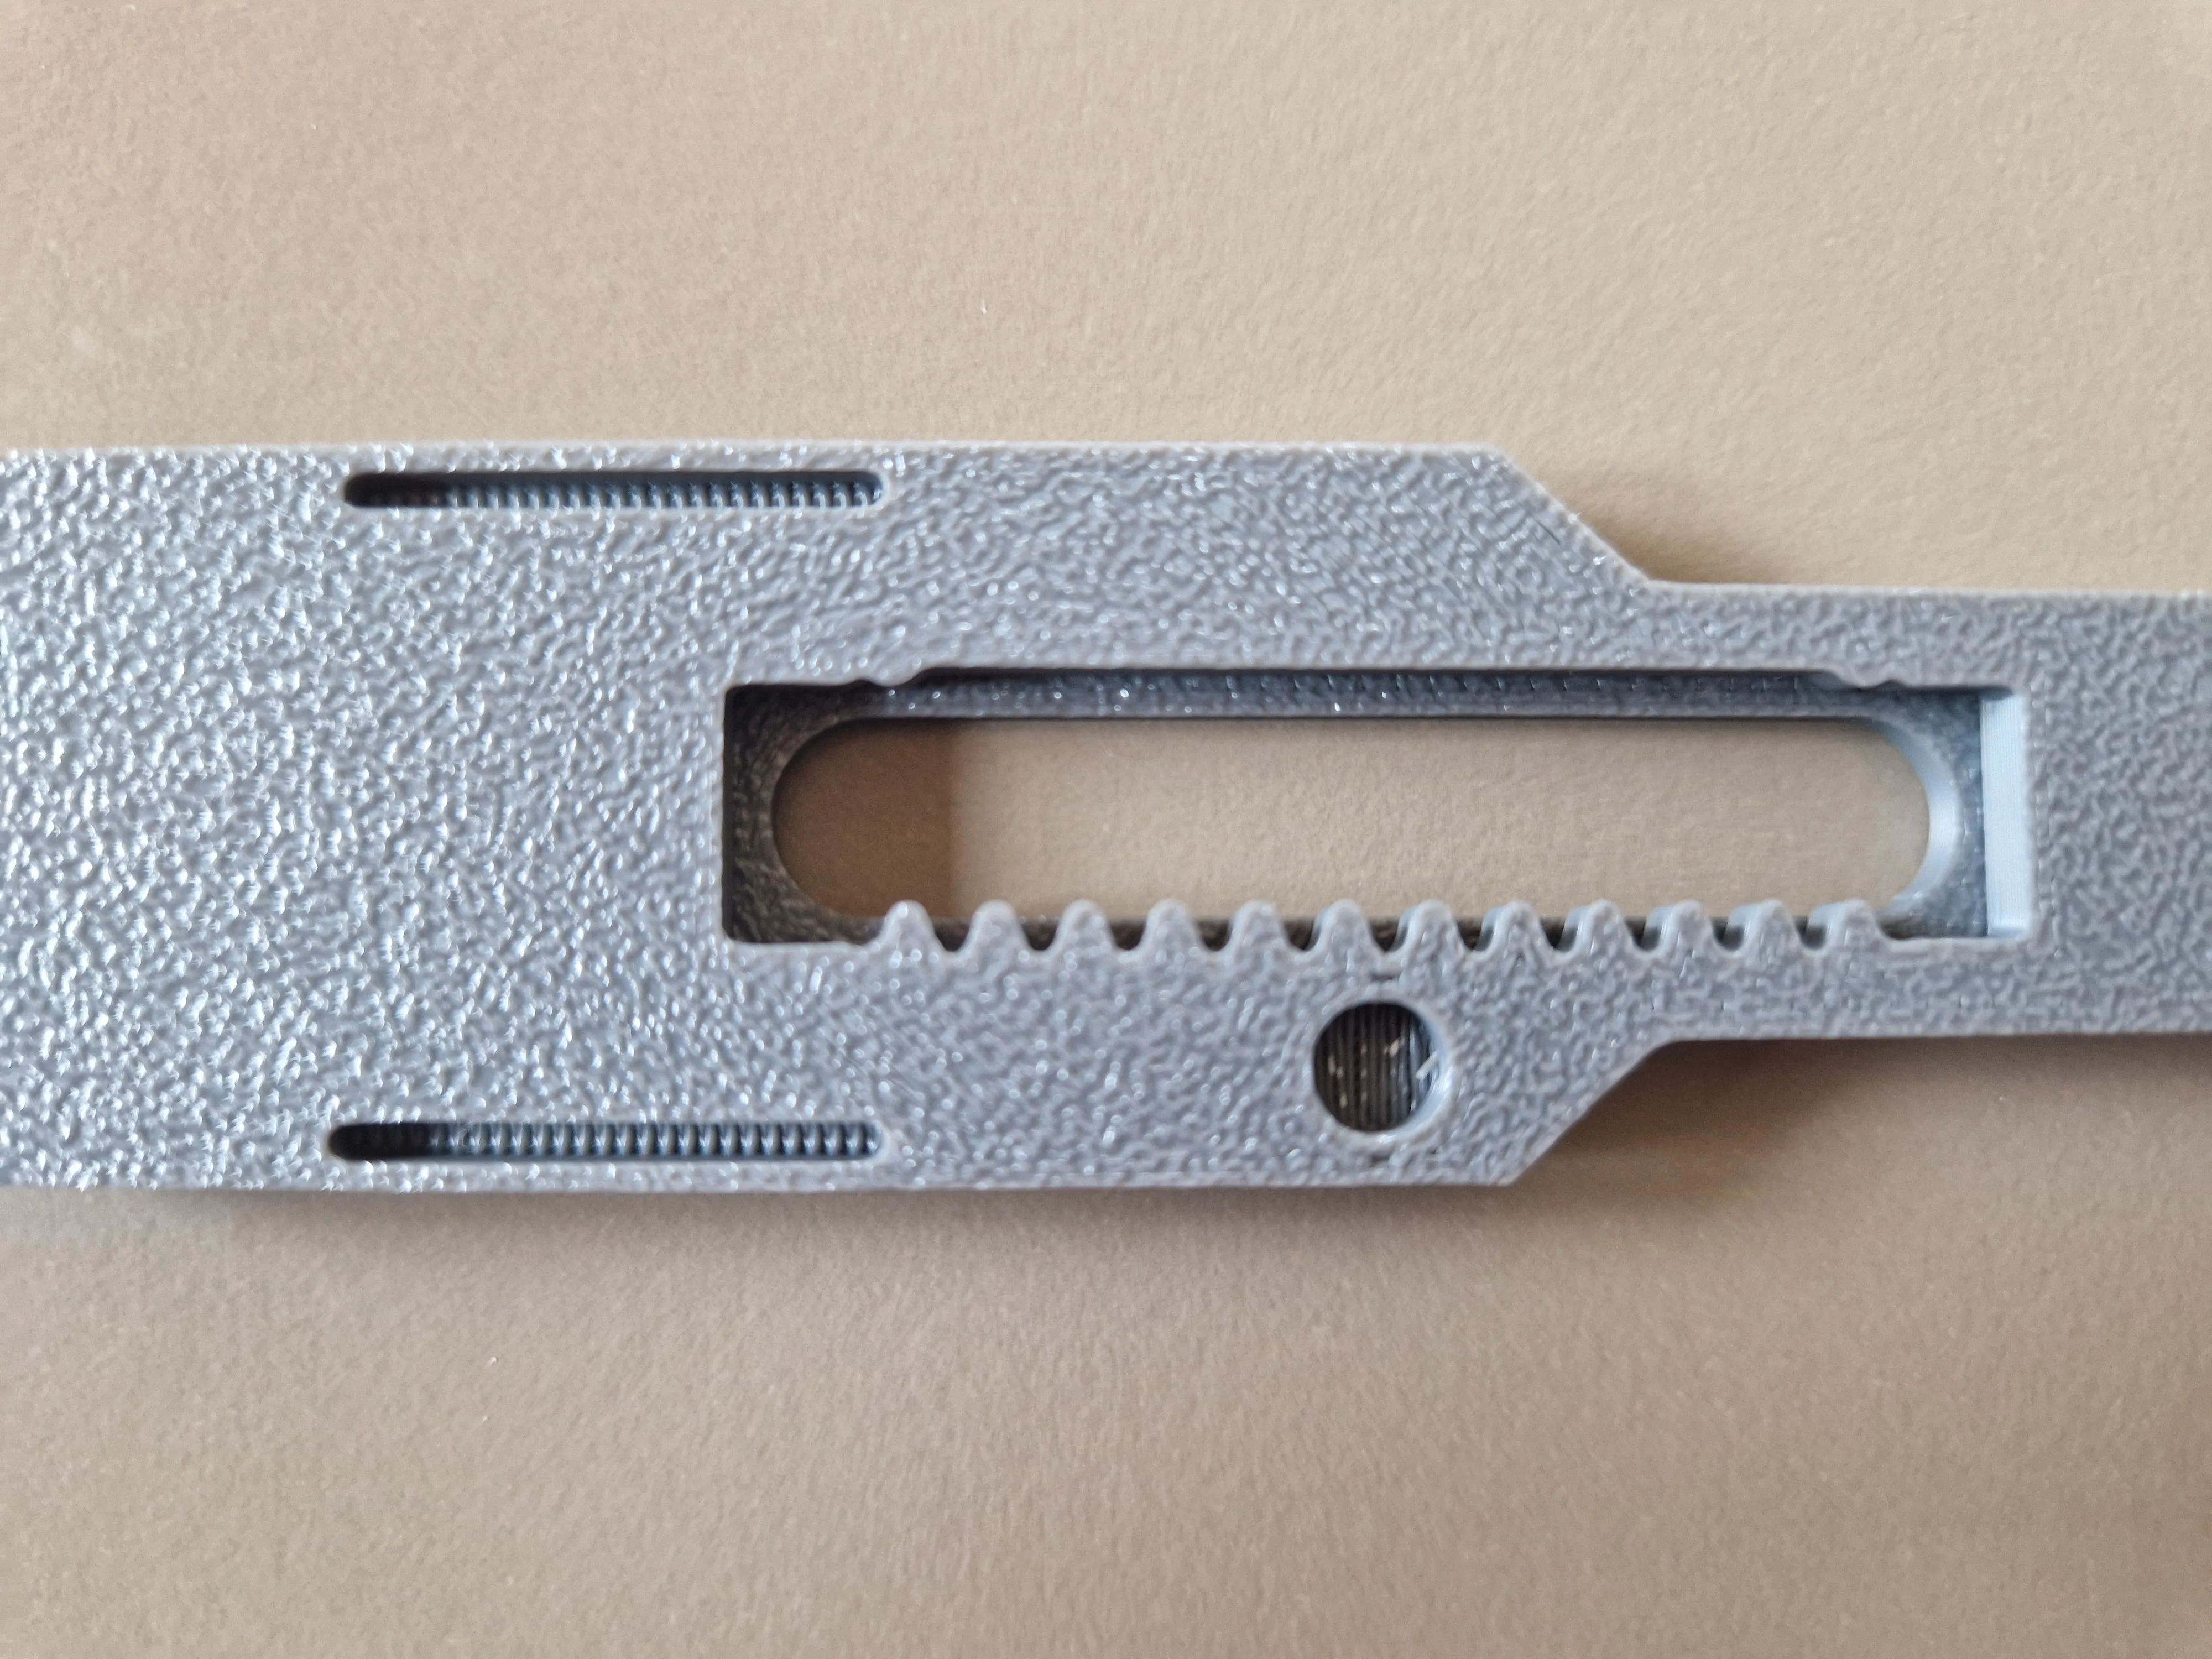 | 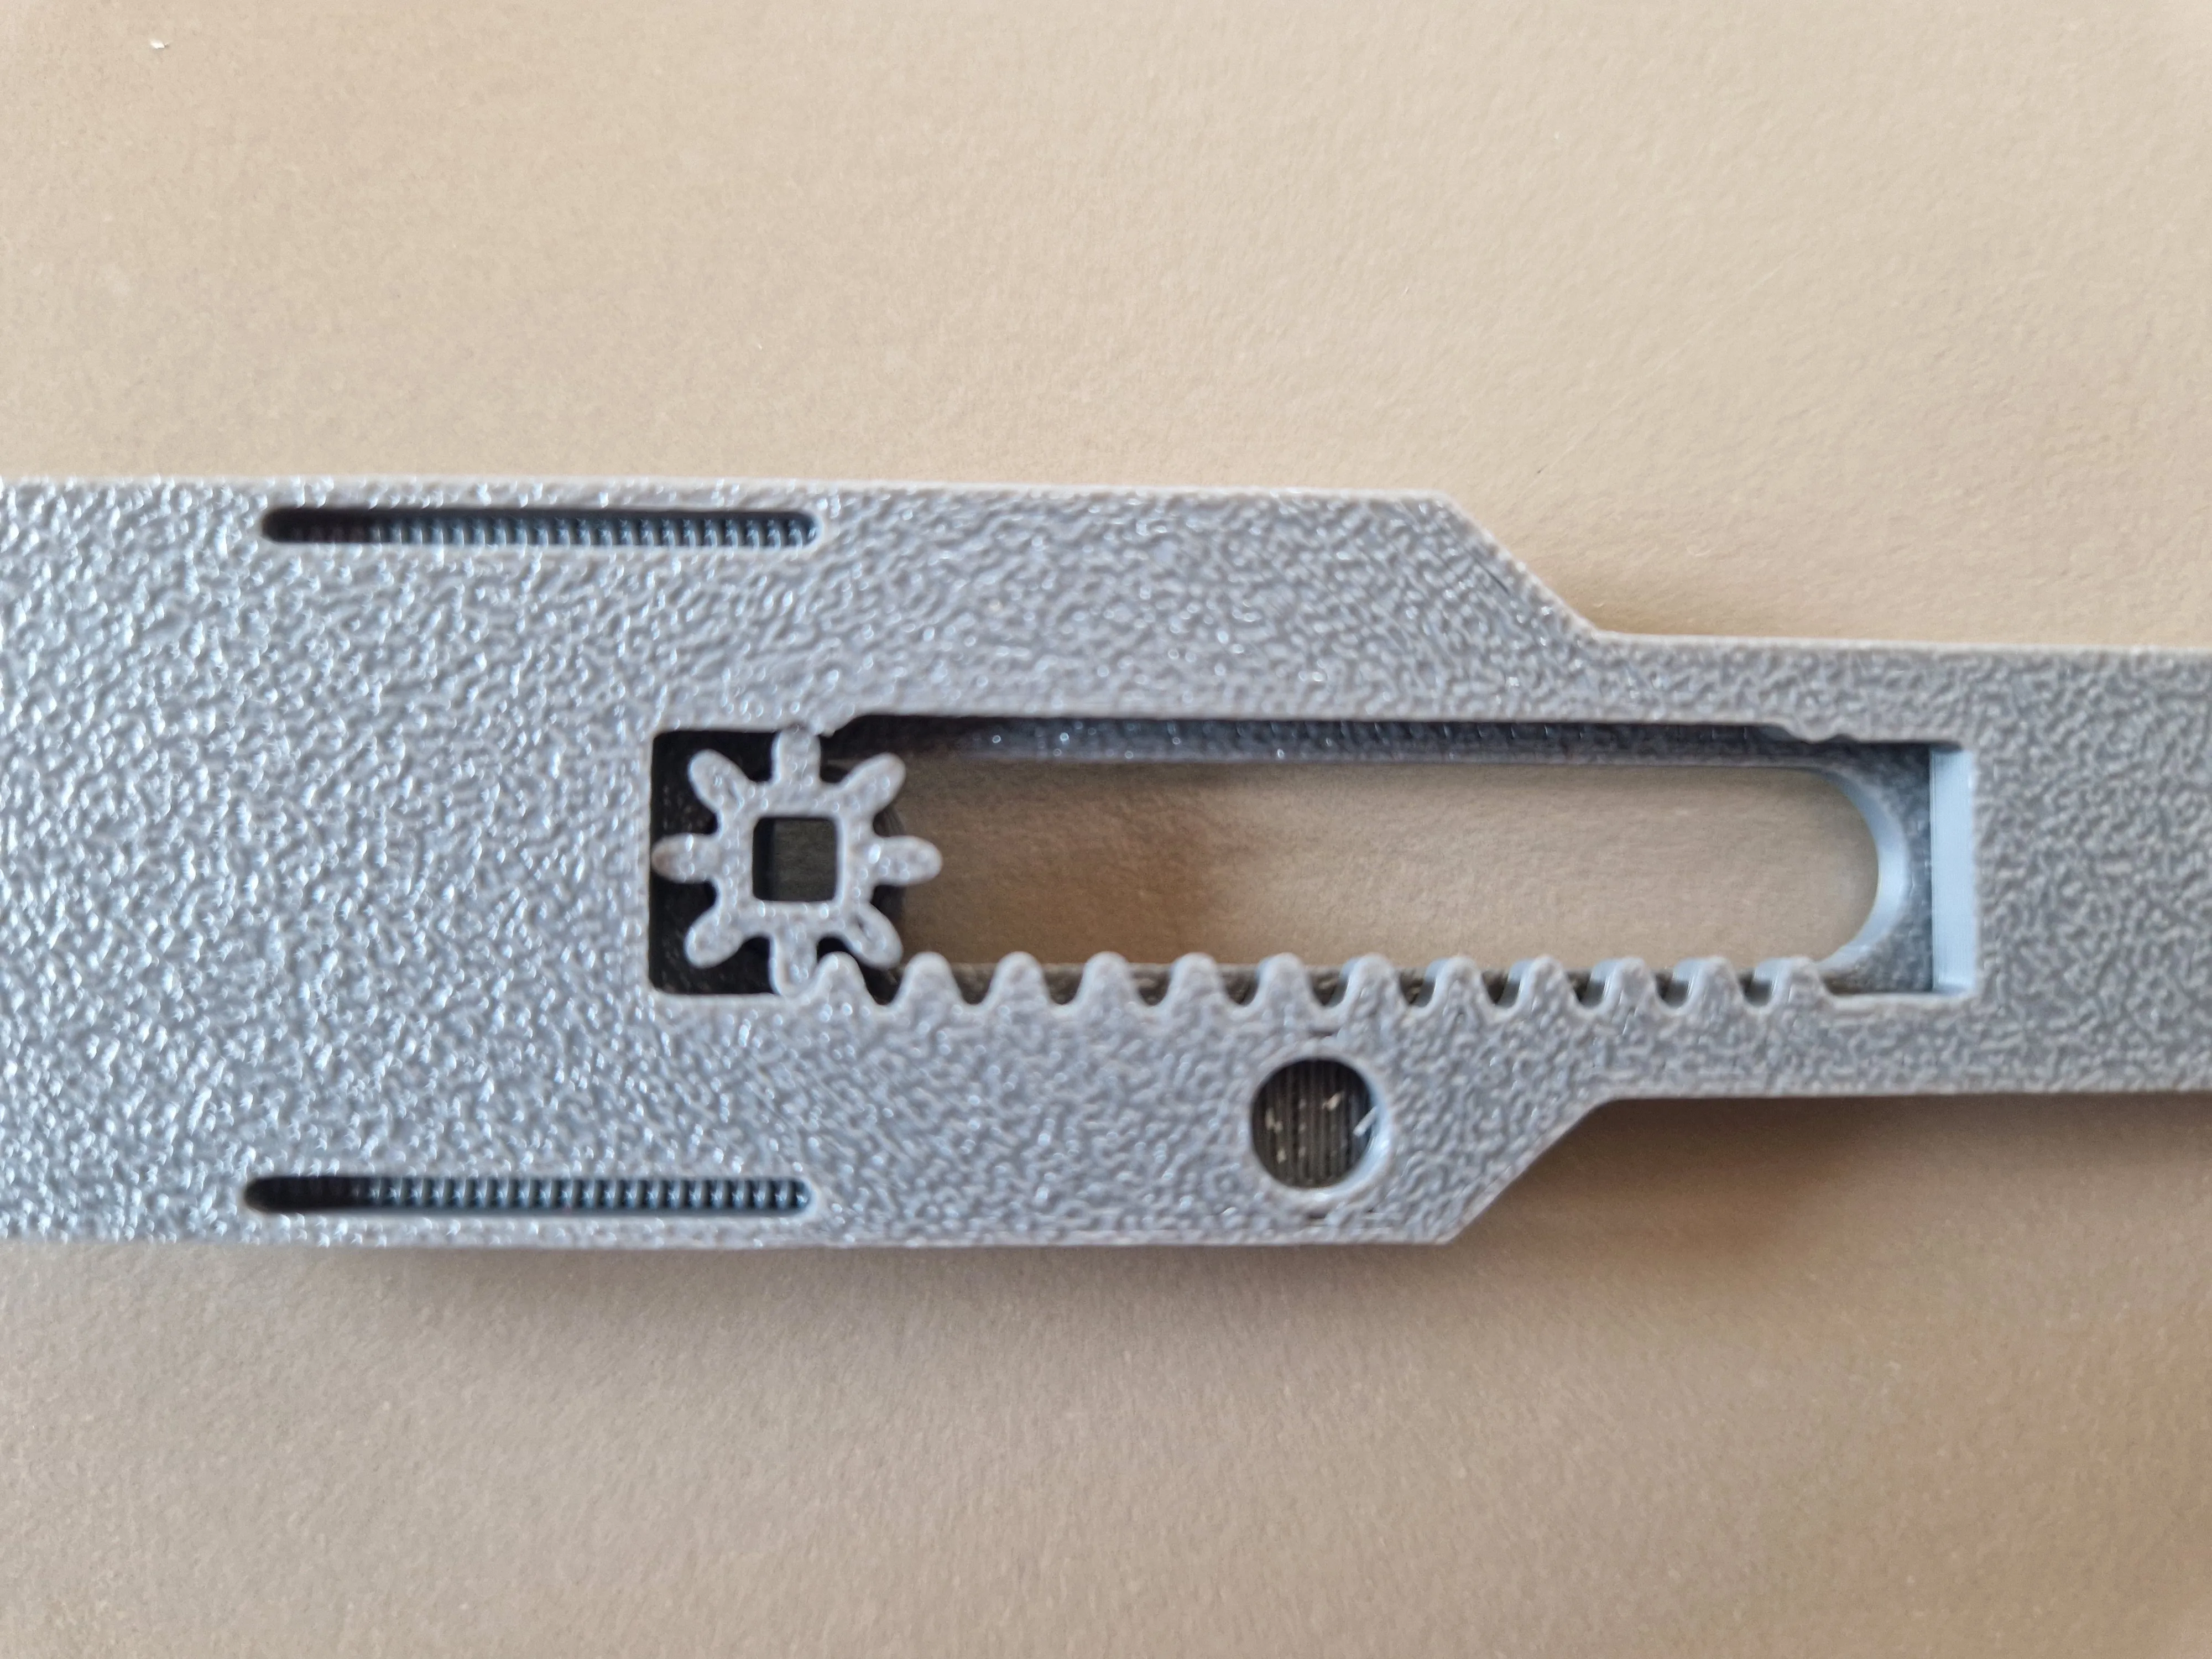 |
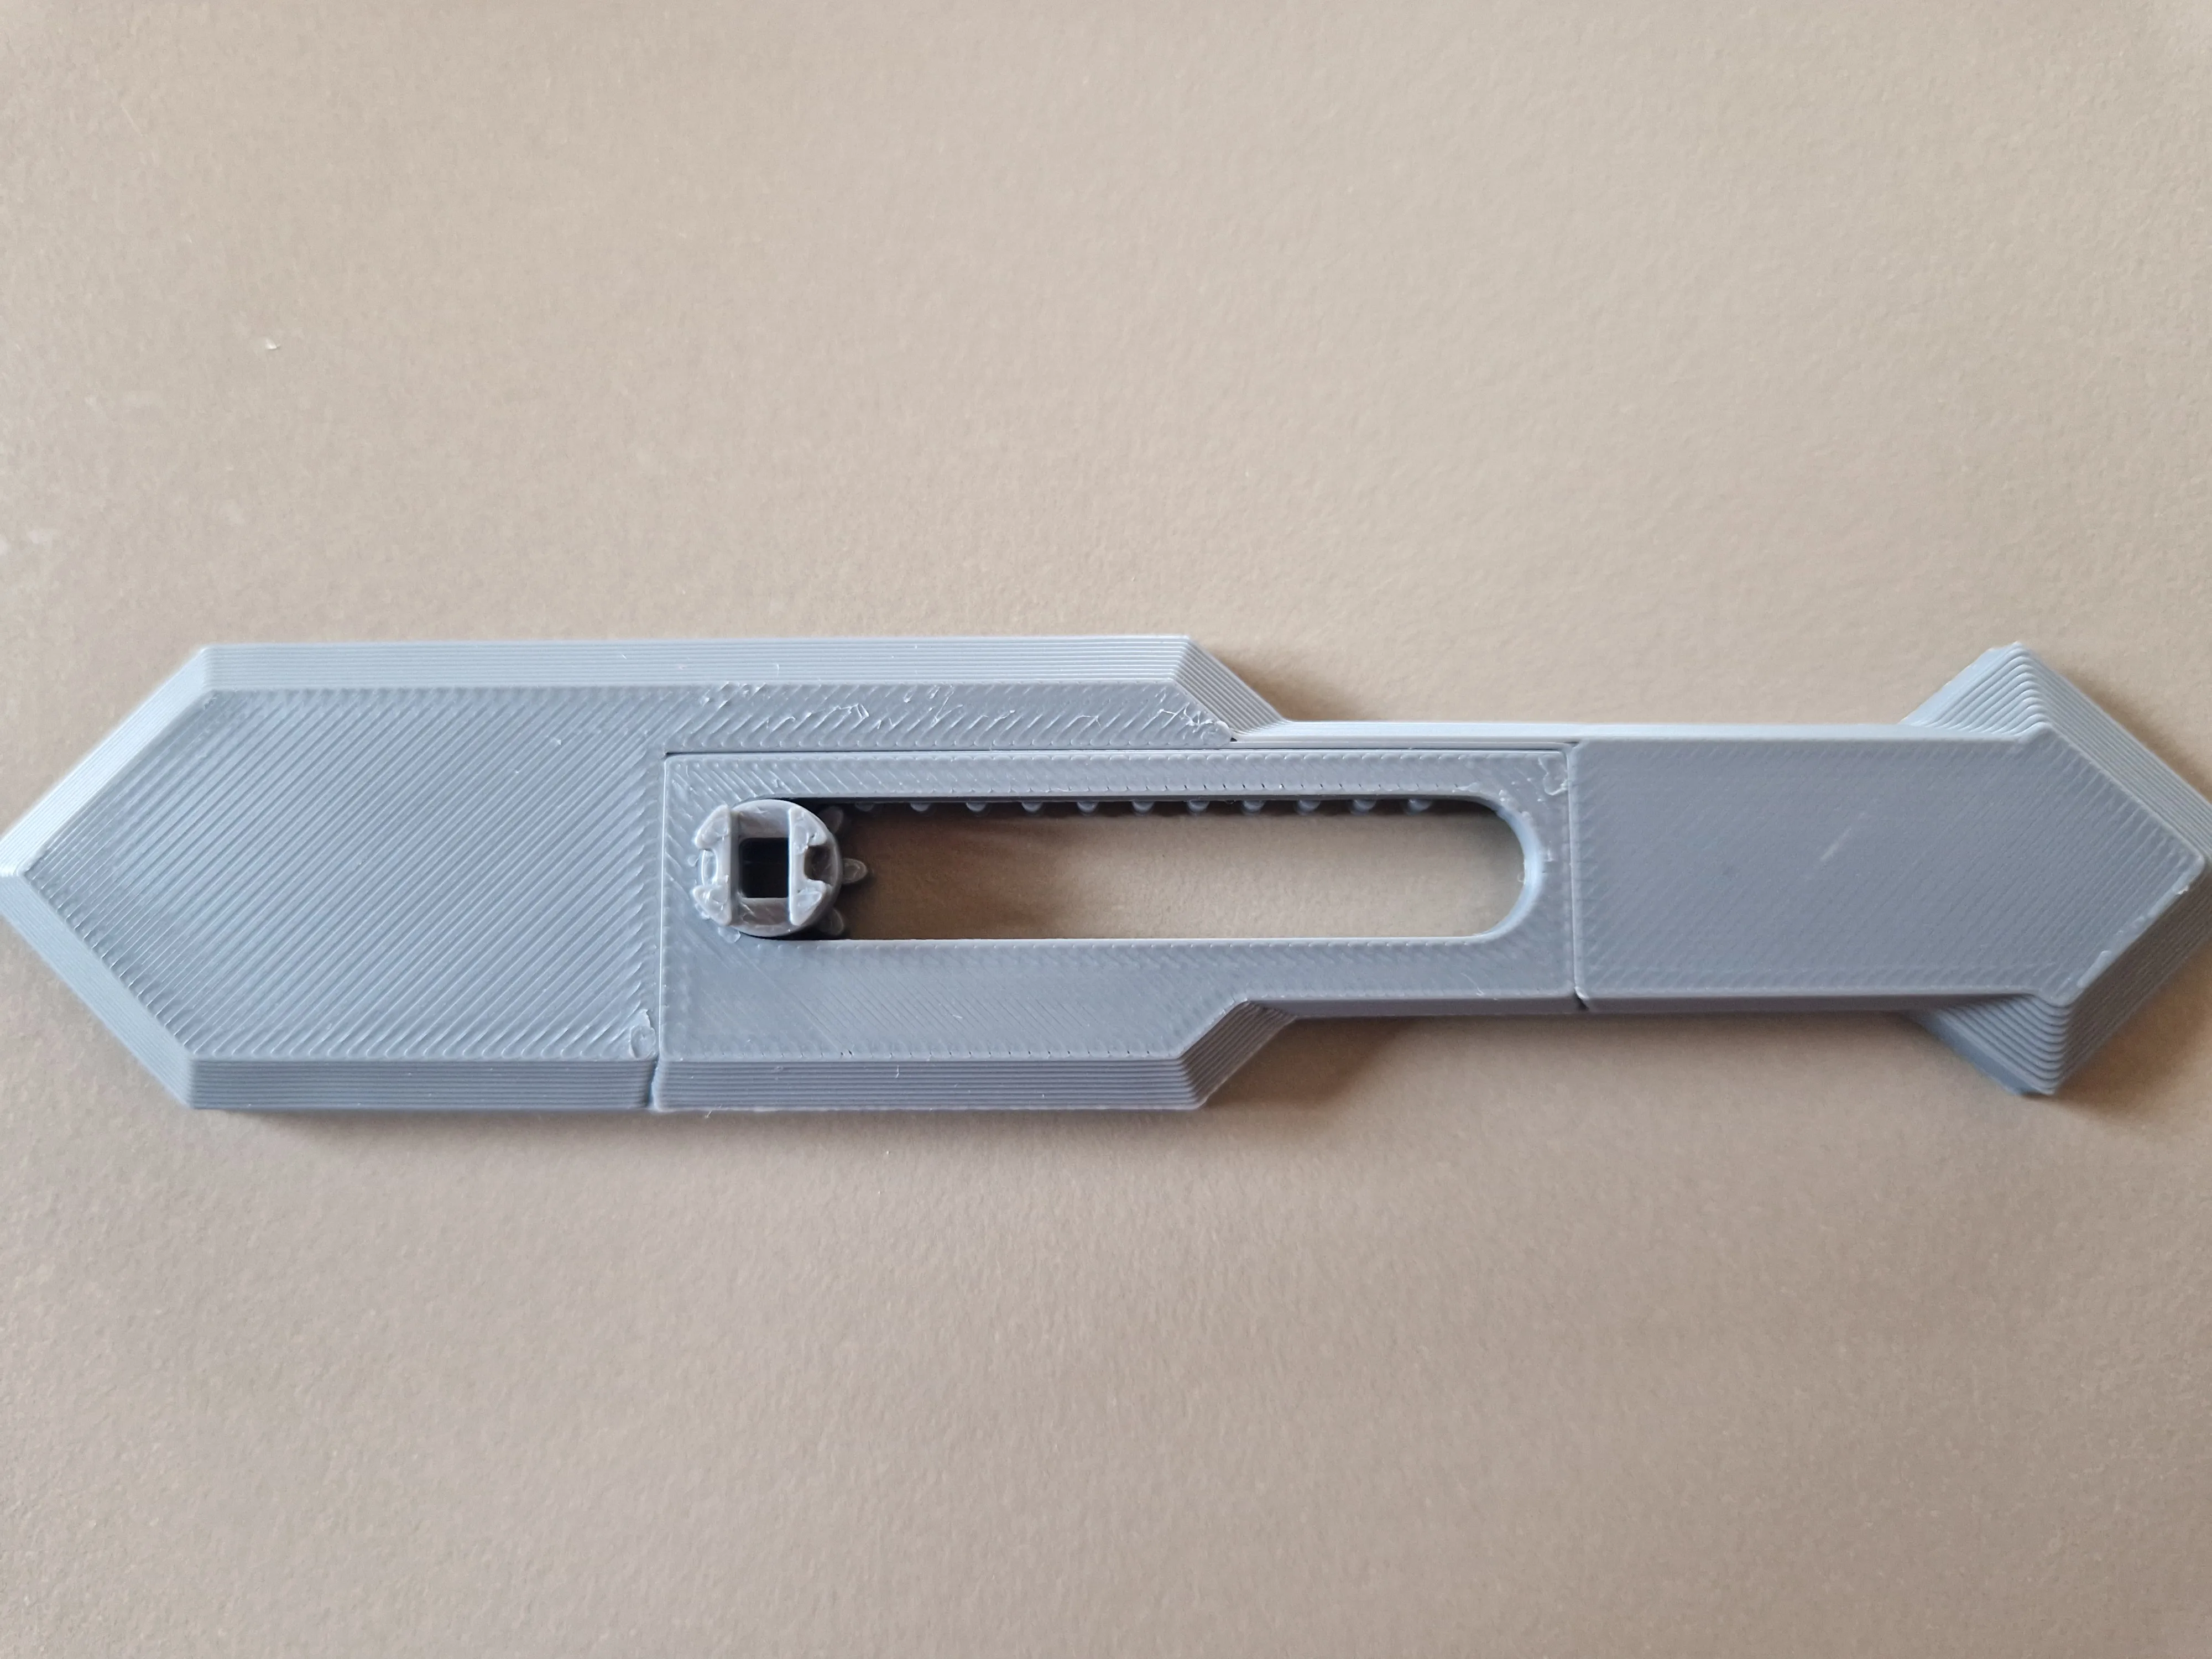 | ||
| Combine the other part of the base. | 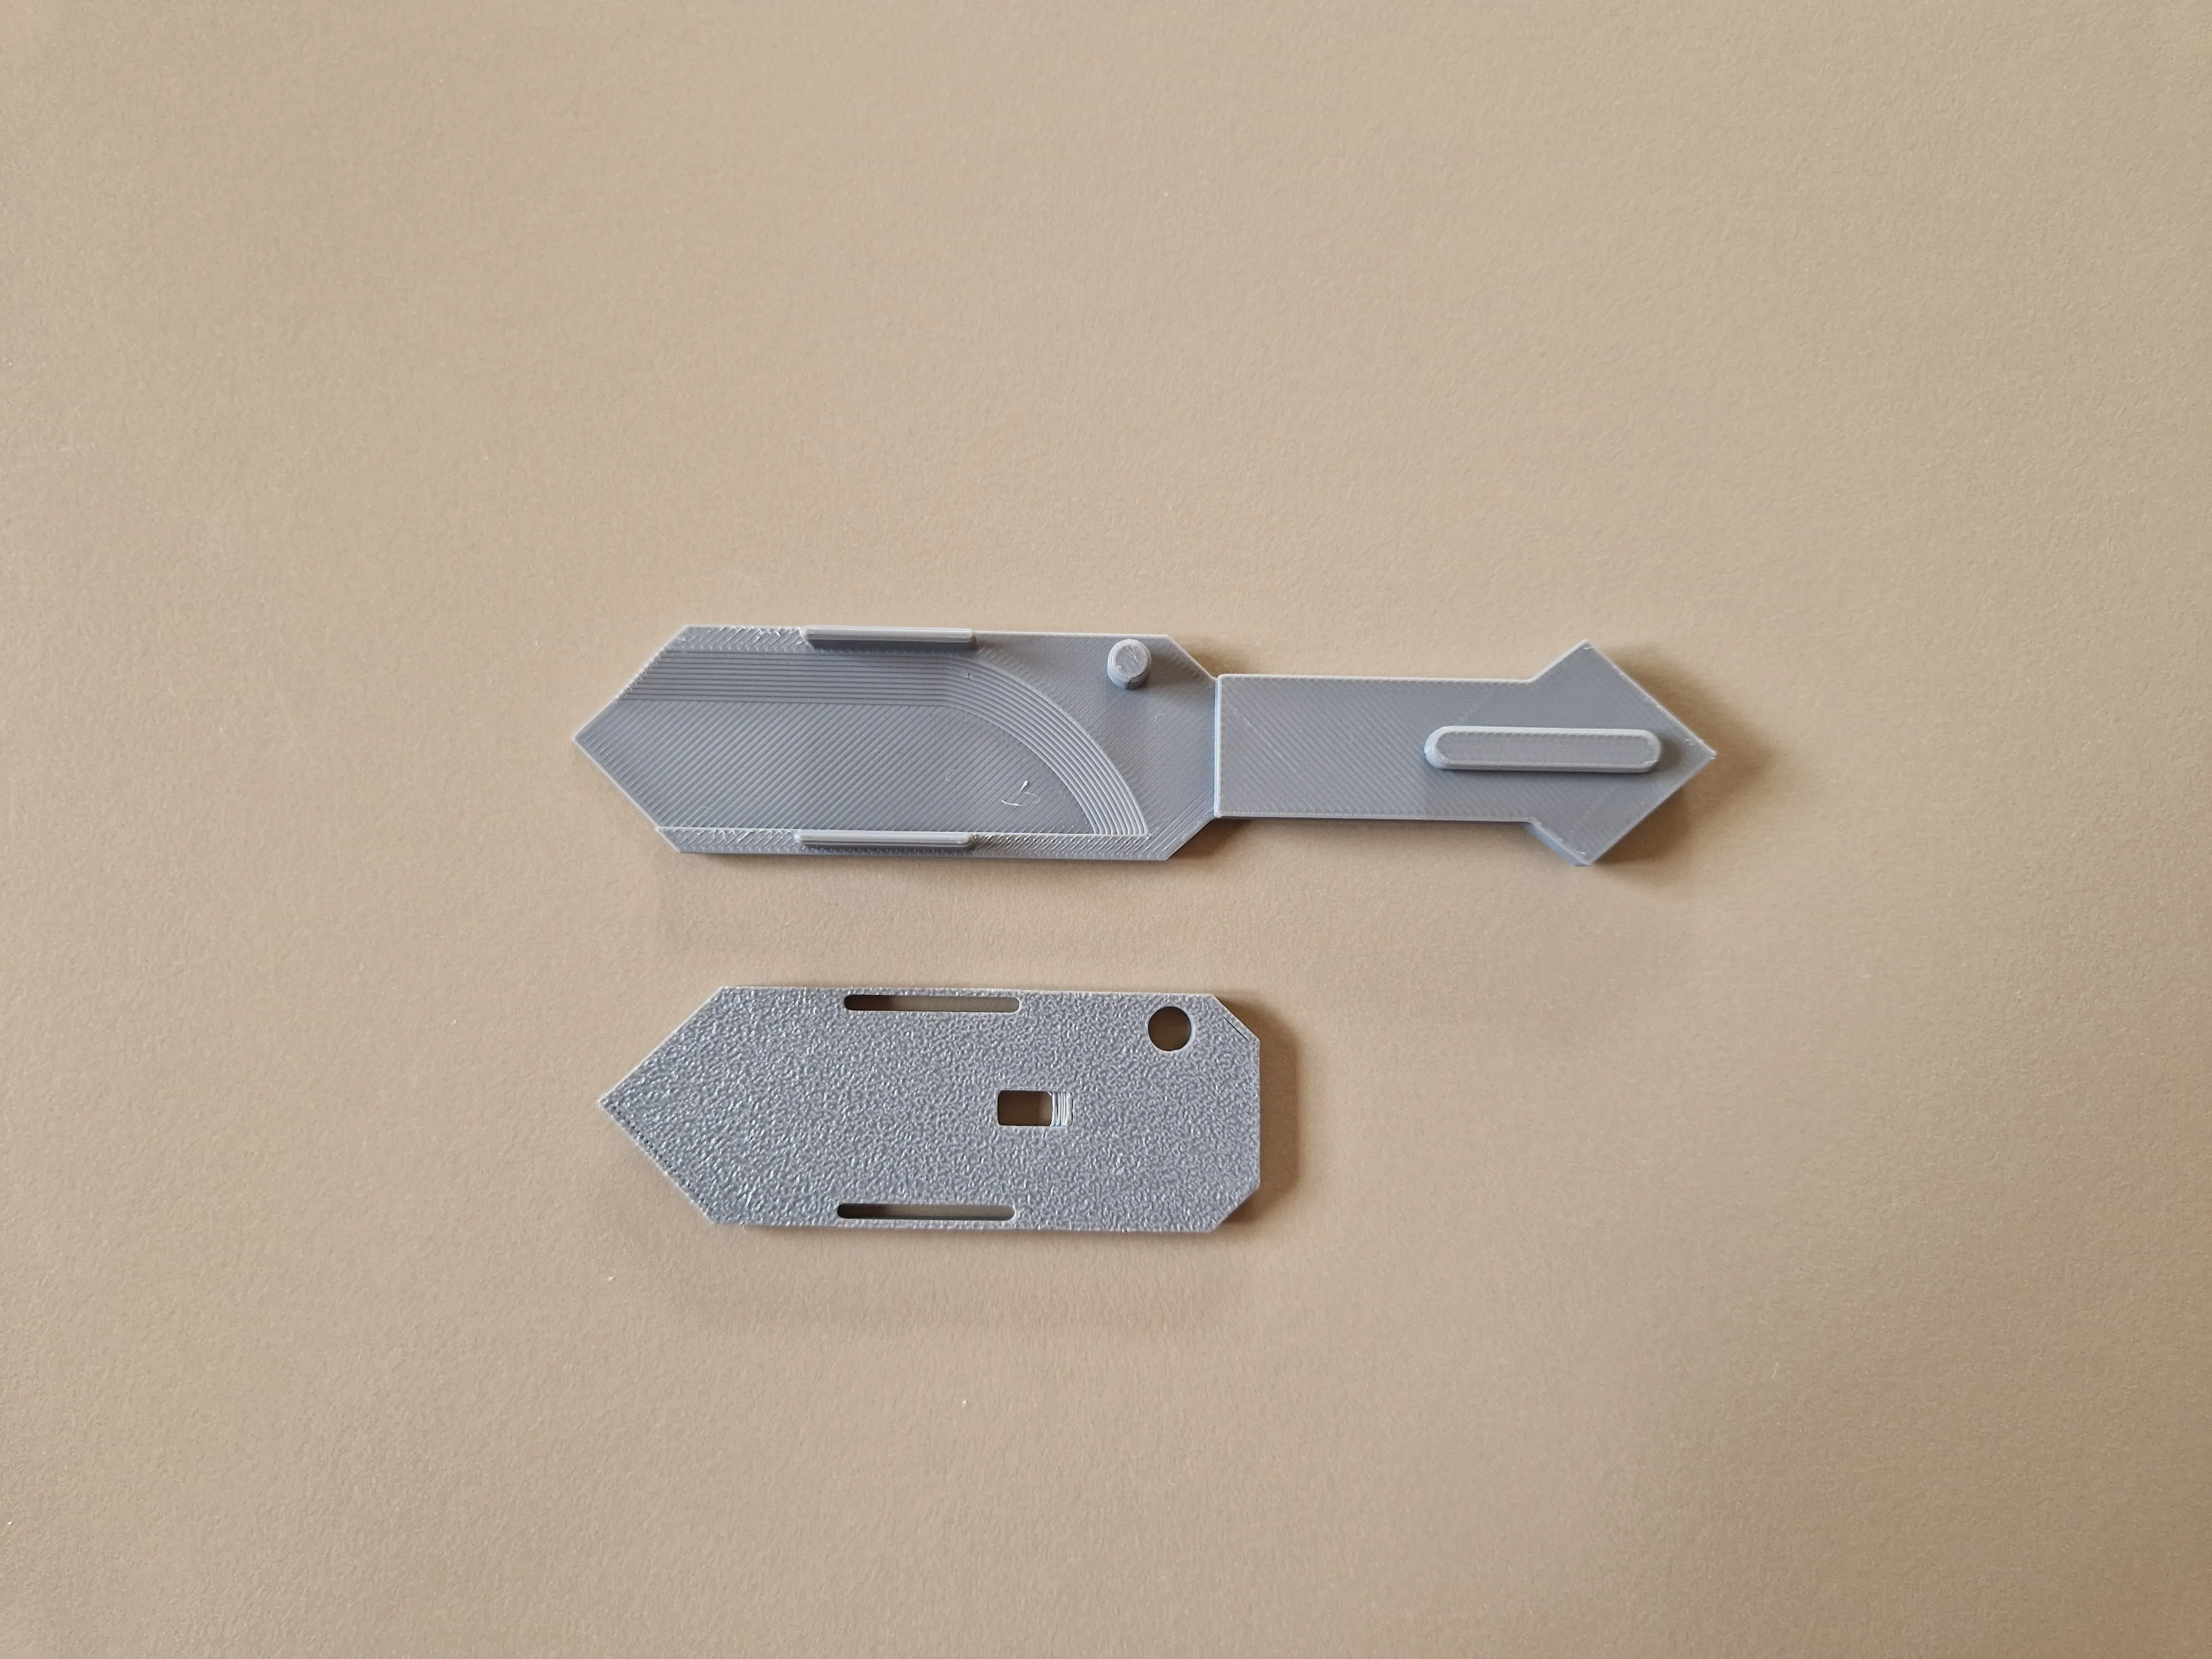 | 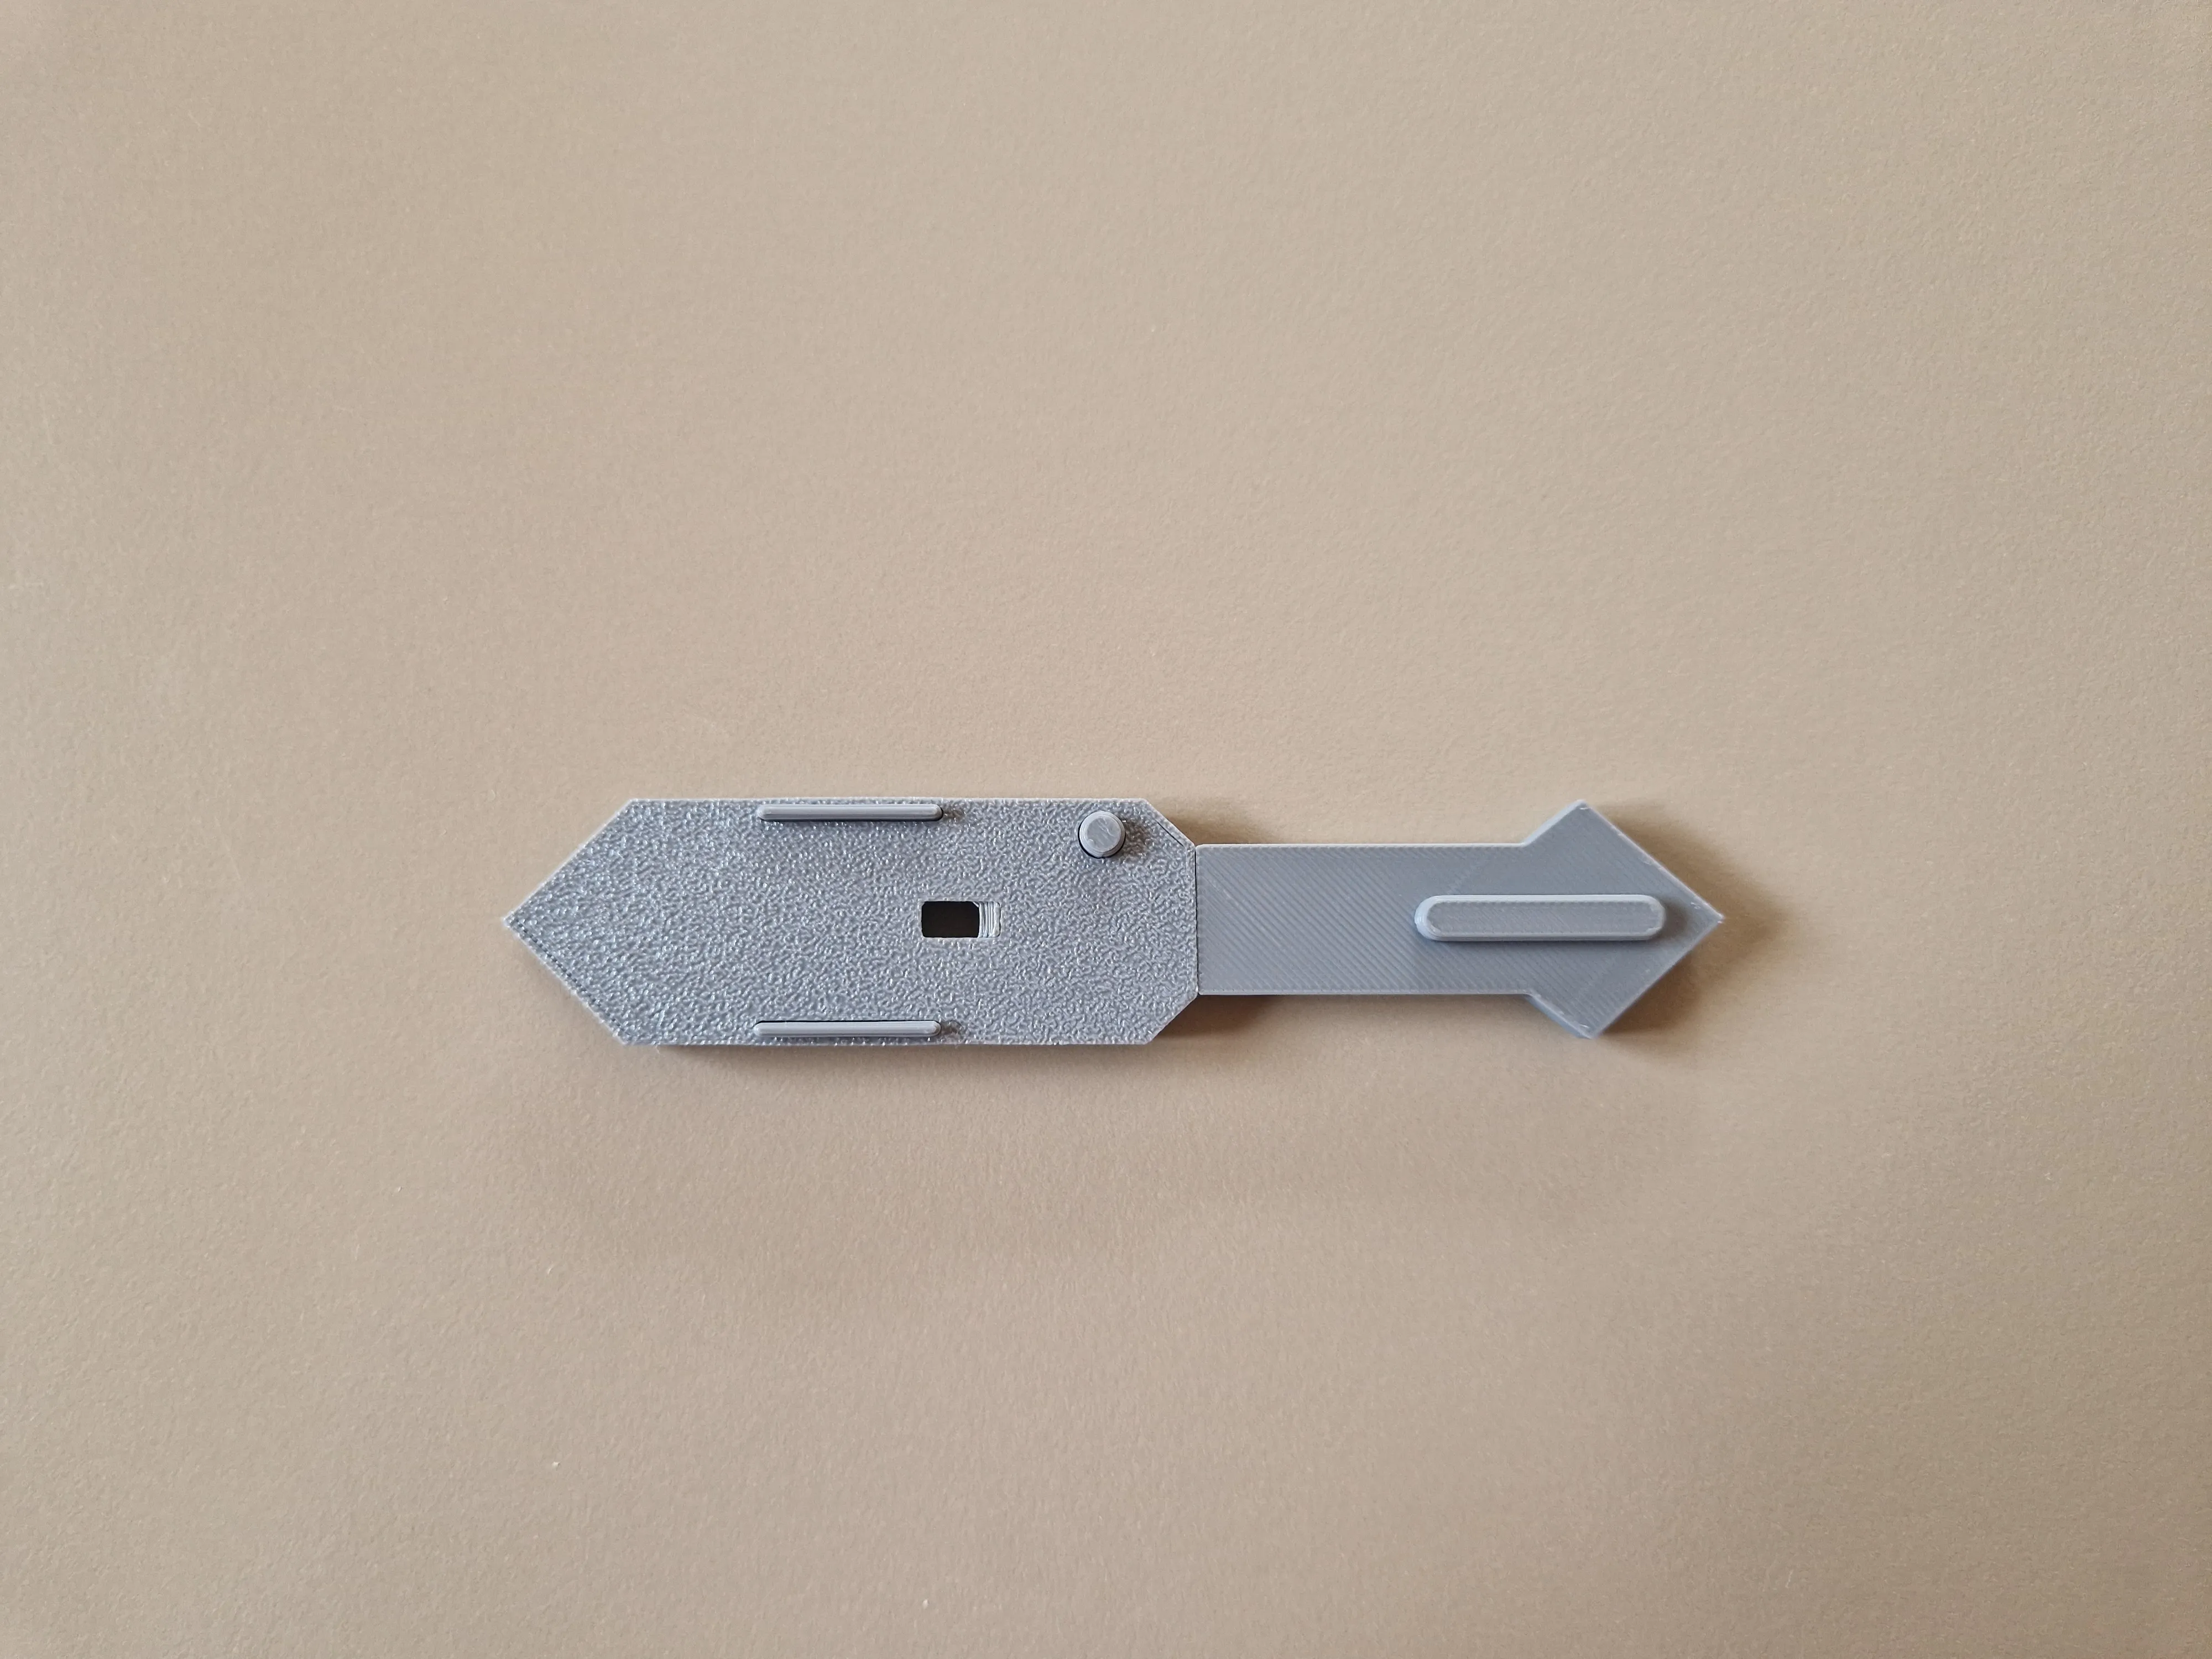 |
| Then connect both base parts. They can be hard to fit together. Place them on a table and push down until they are tightly connected. | 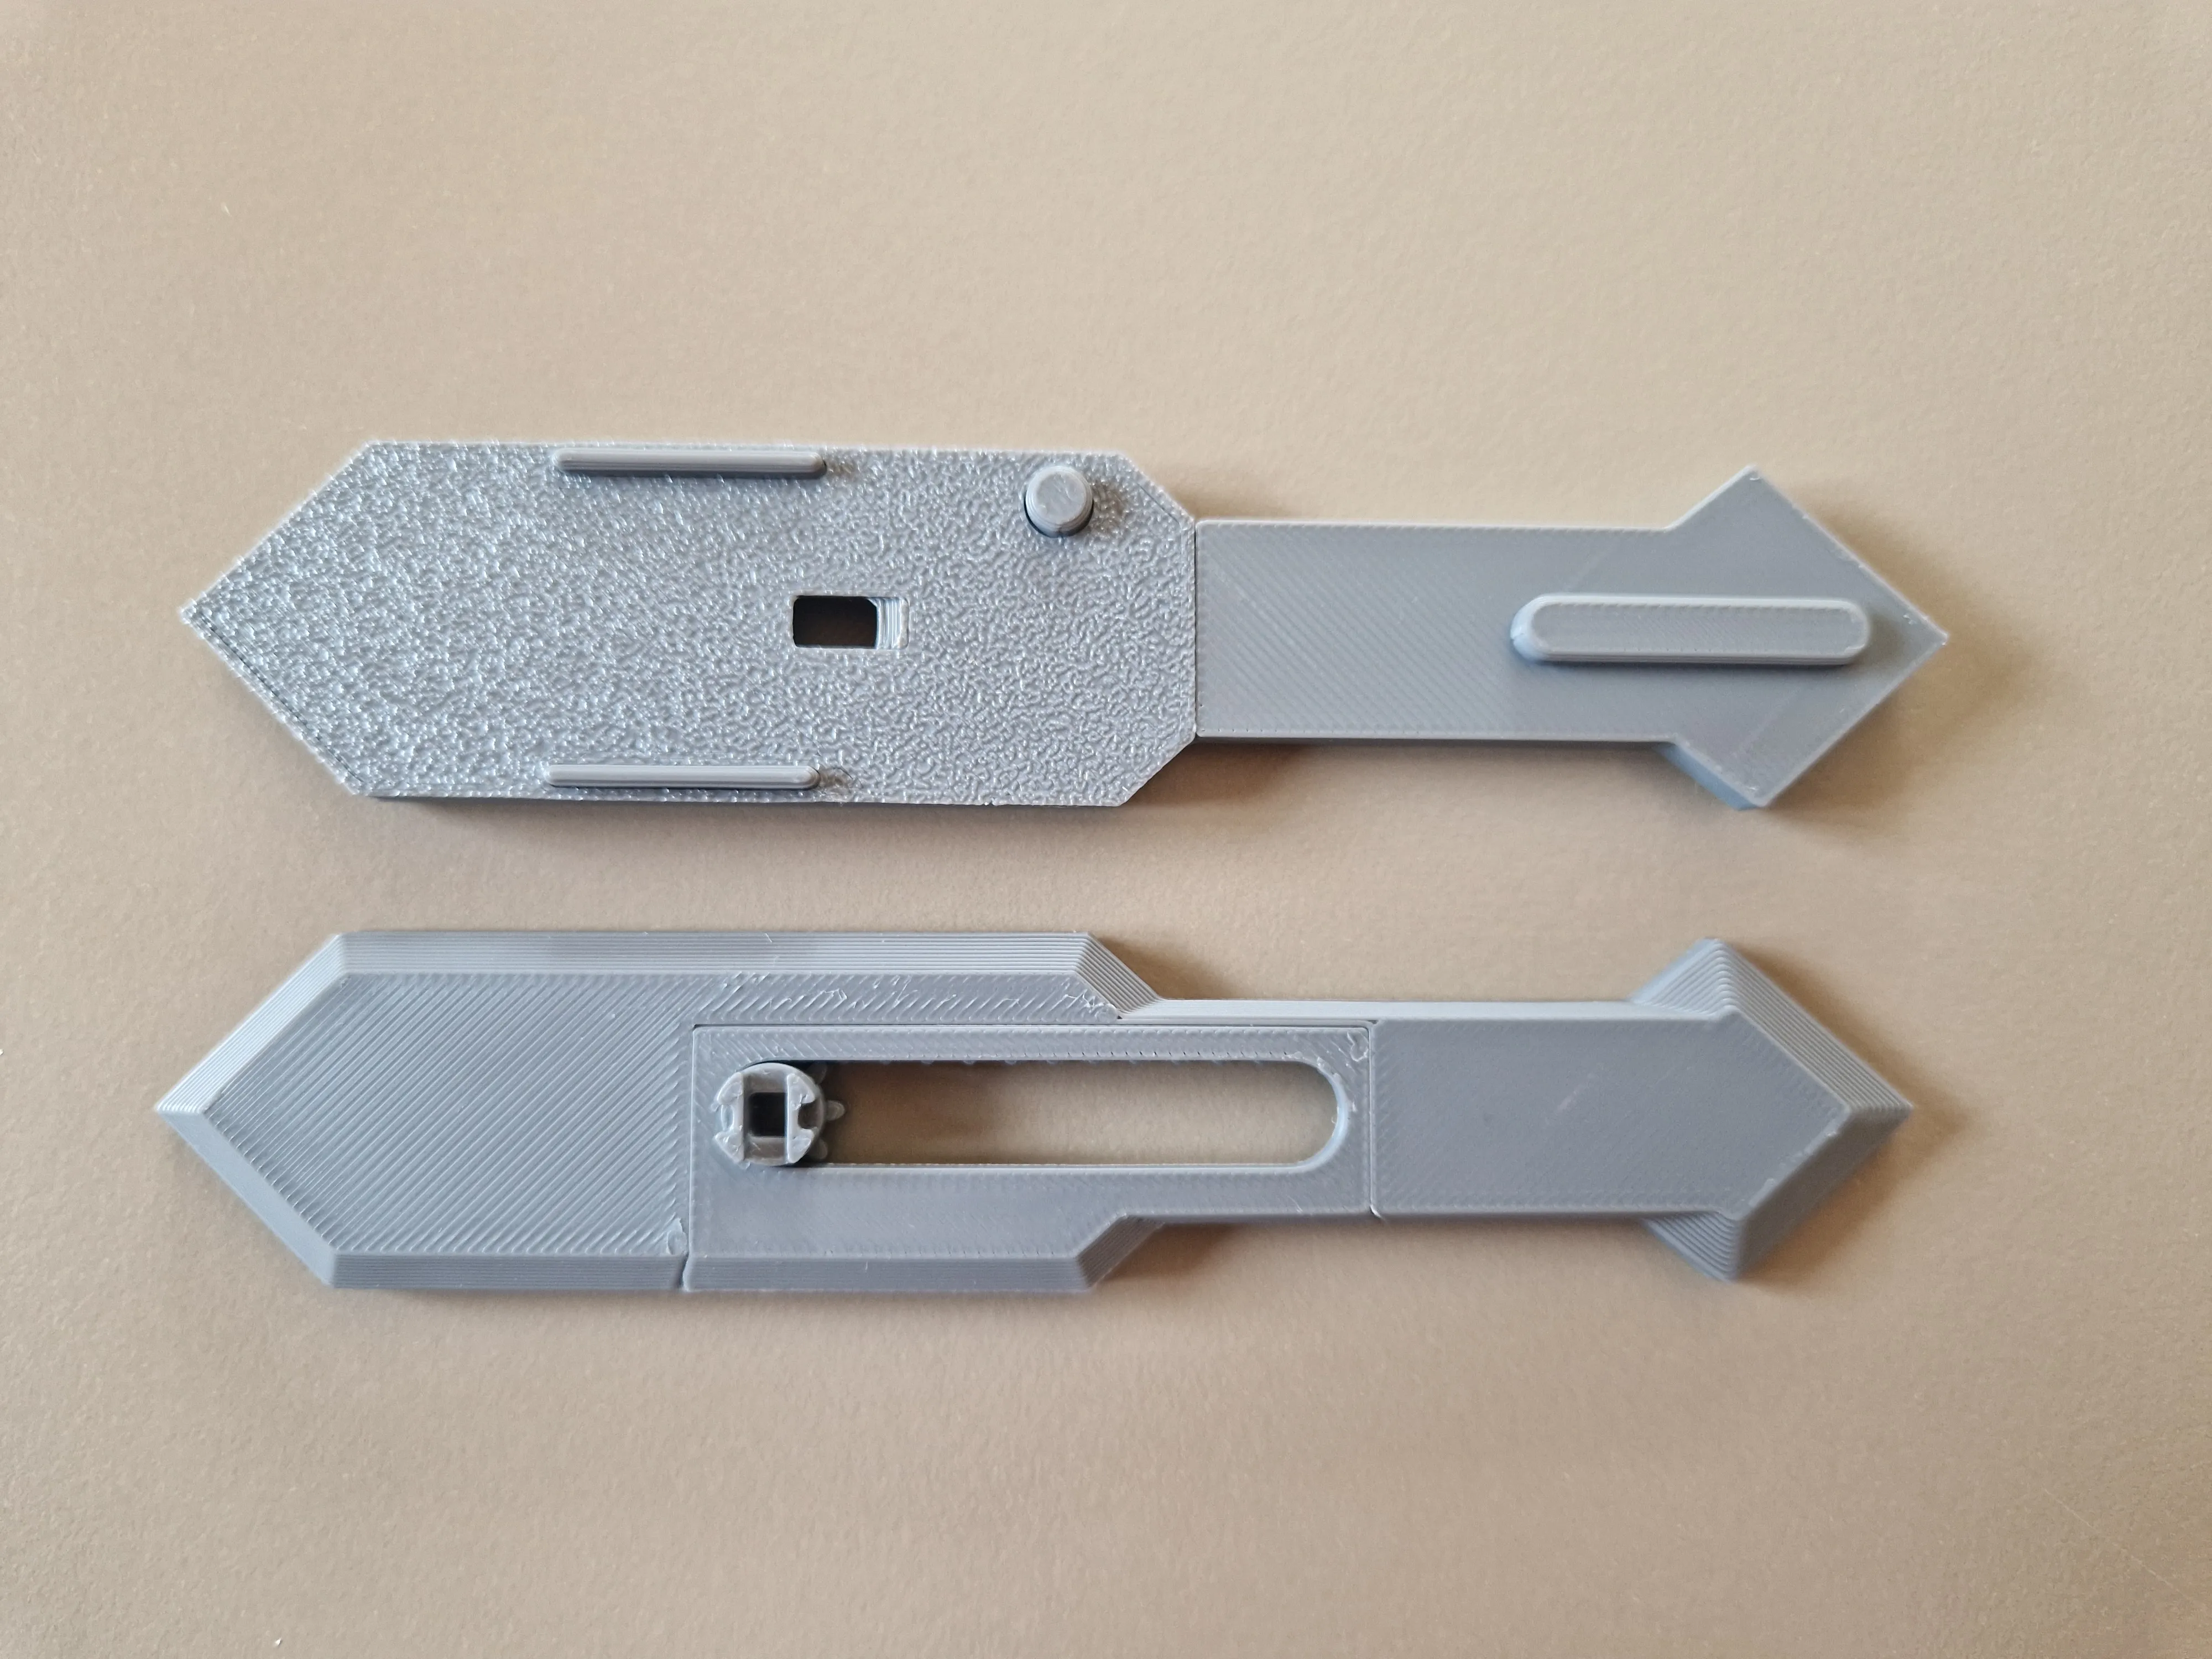 | 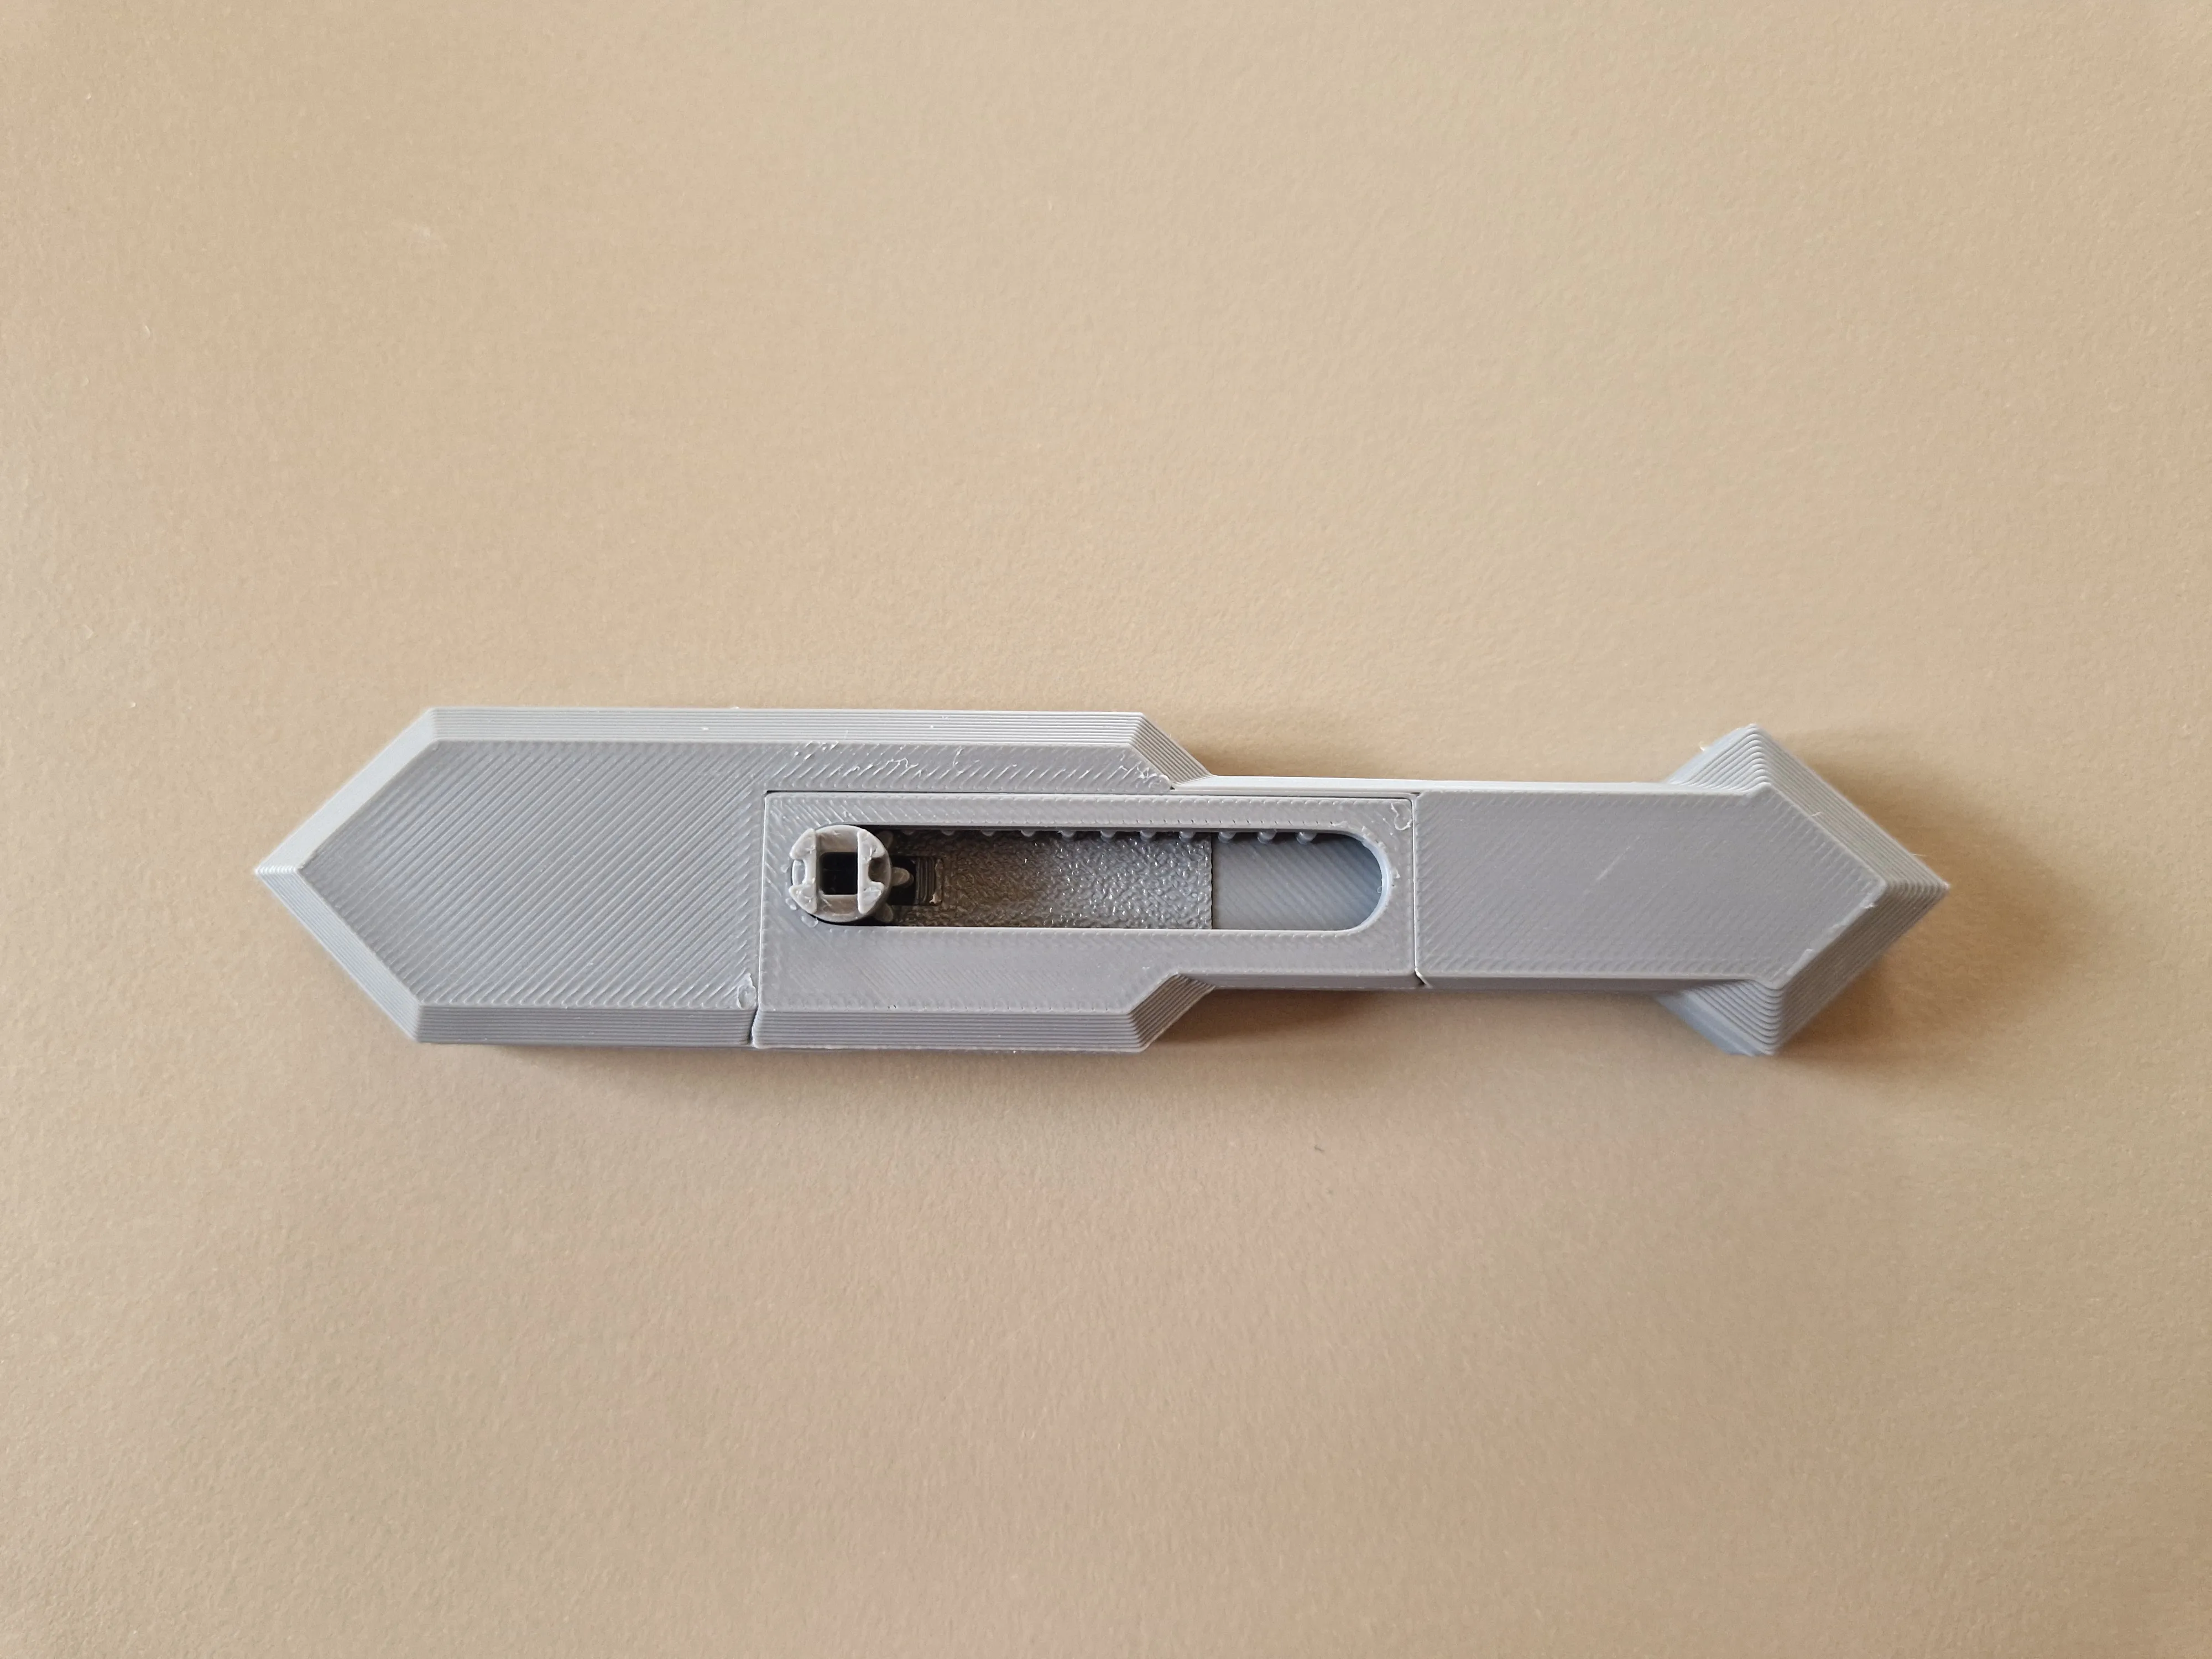 |
| Press the backside of the emblem onto the gear. Its Important to push it all the way in. The gear will stick out a little bit through the emblem. | 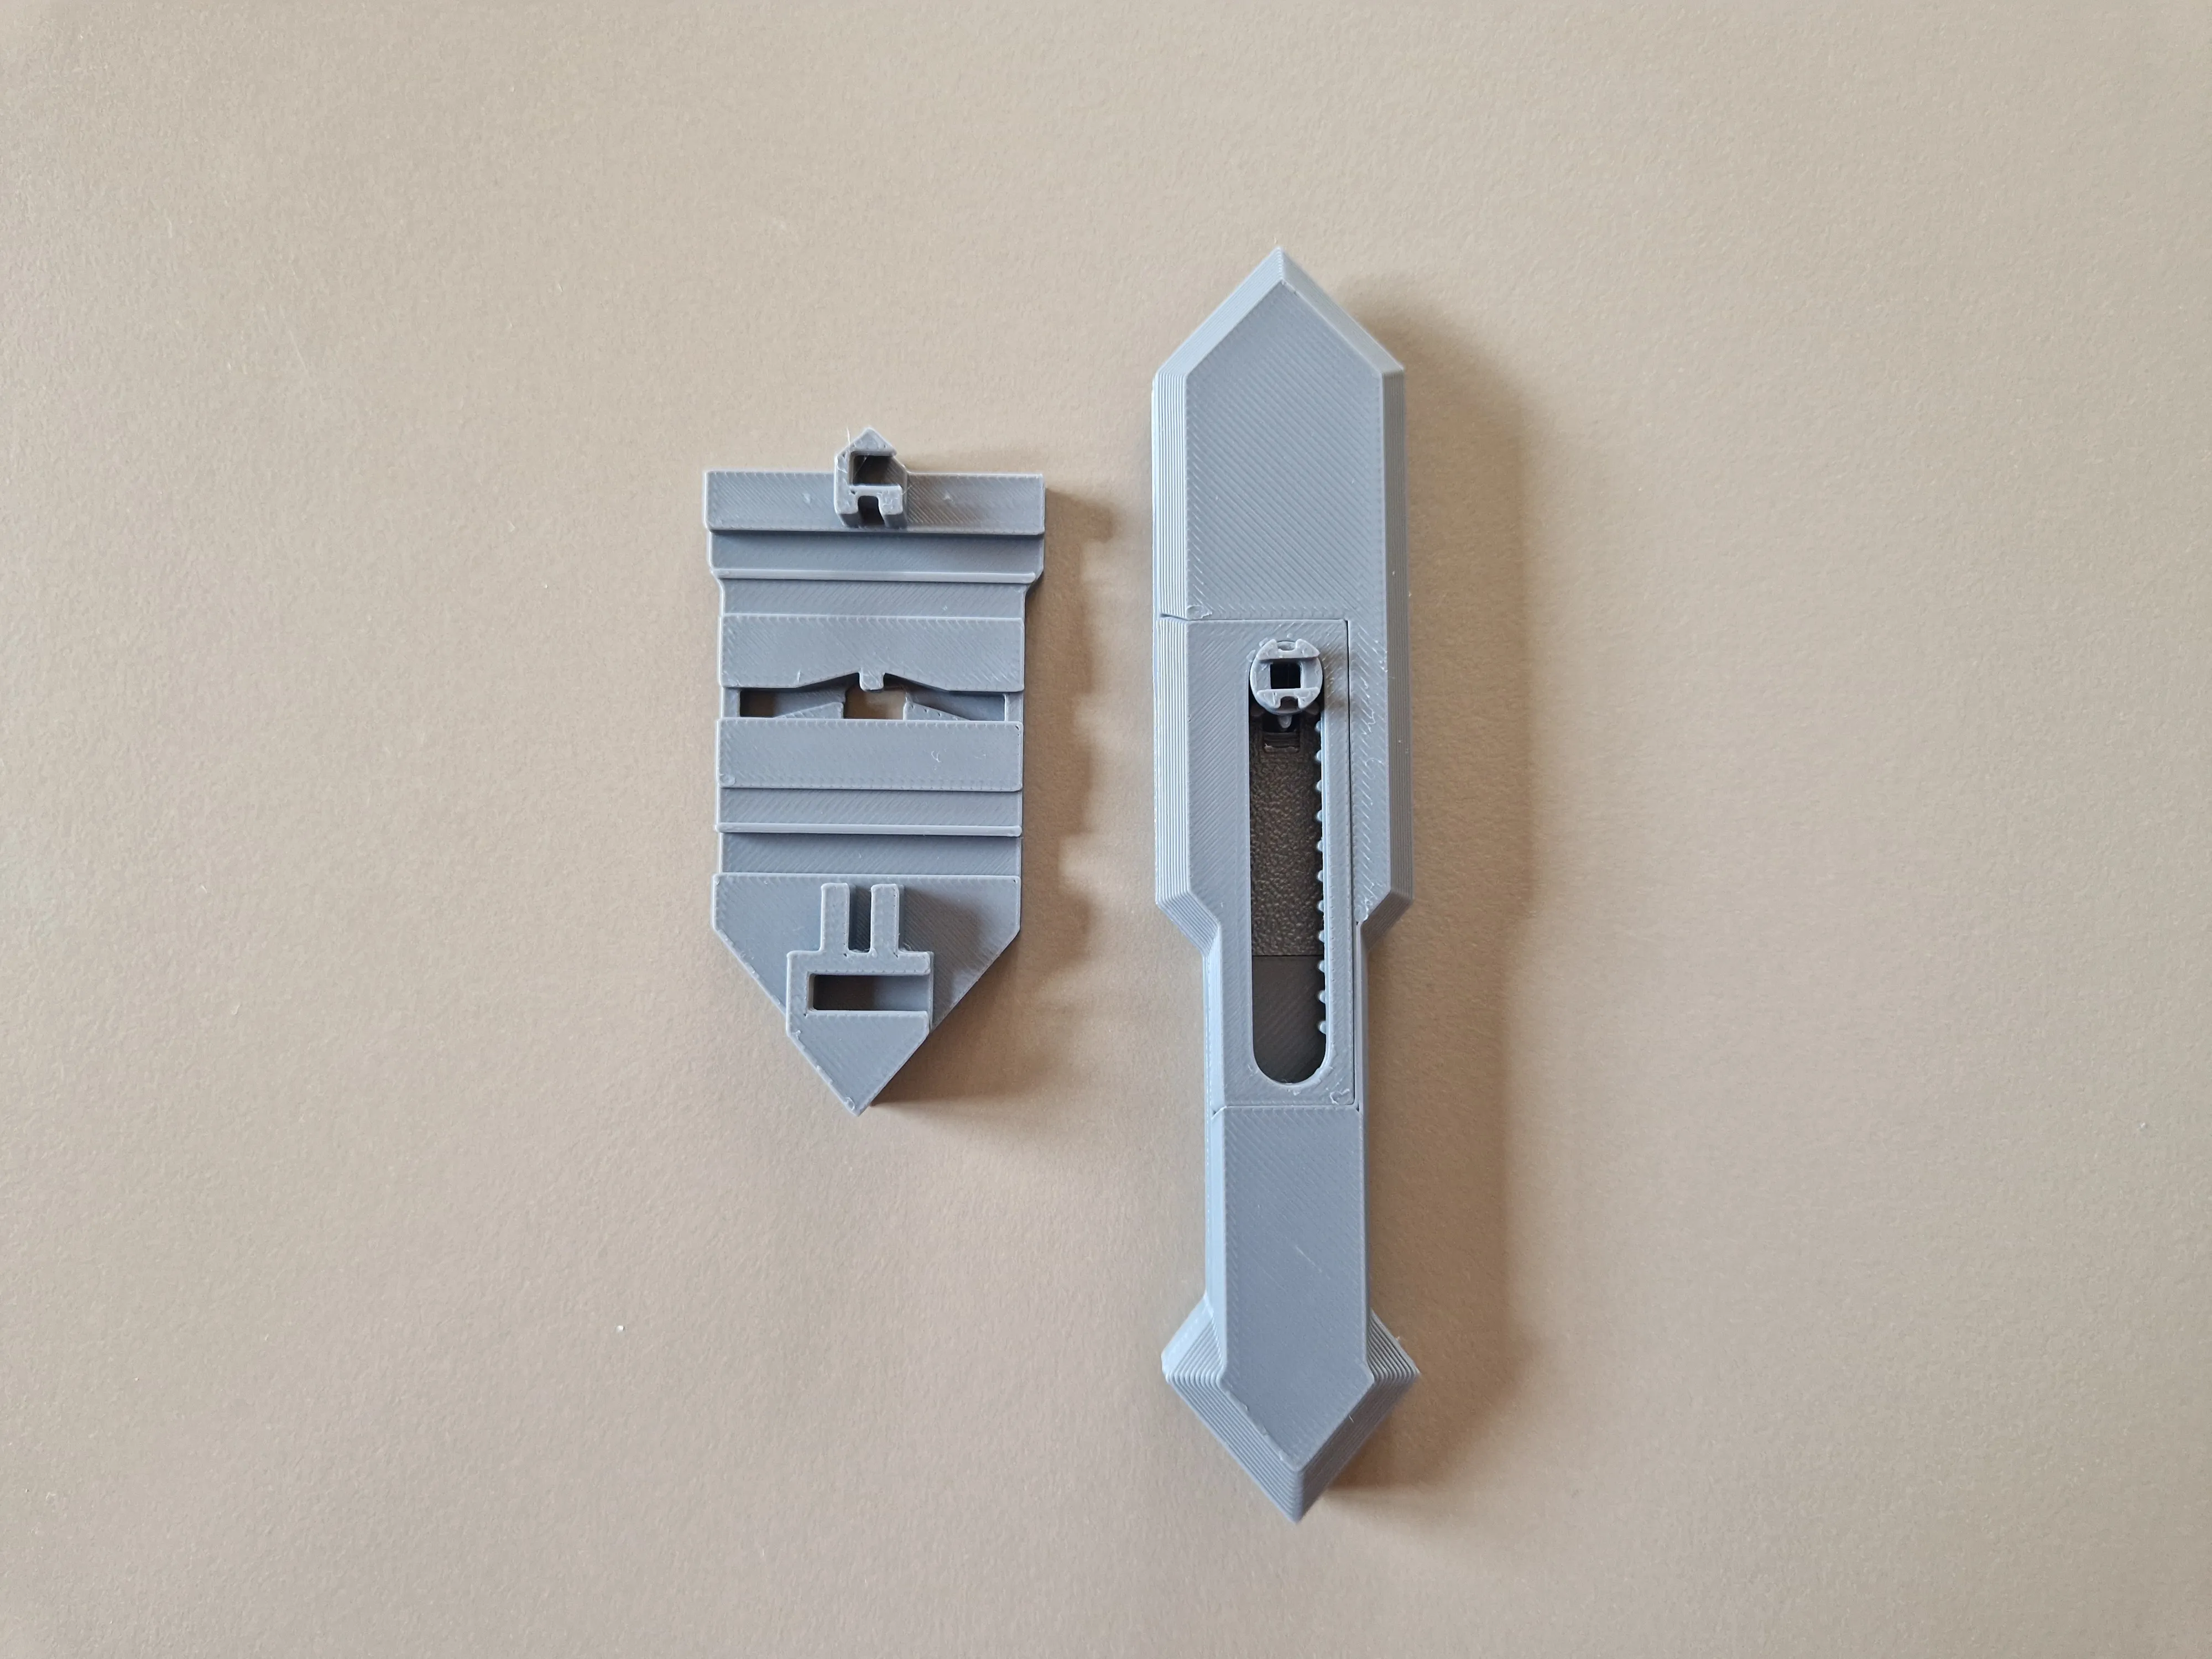 | 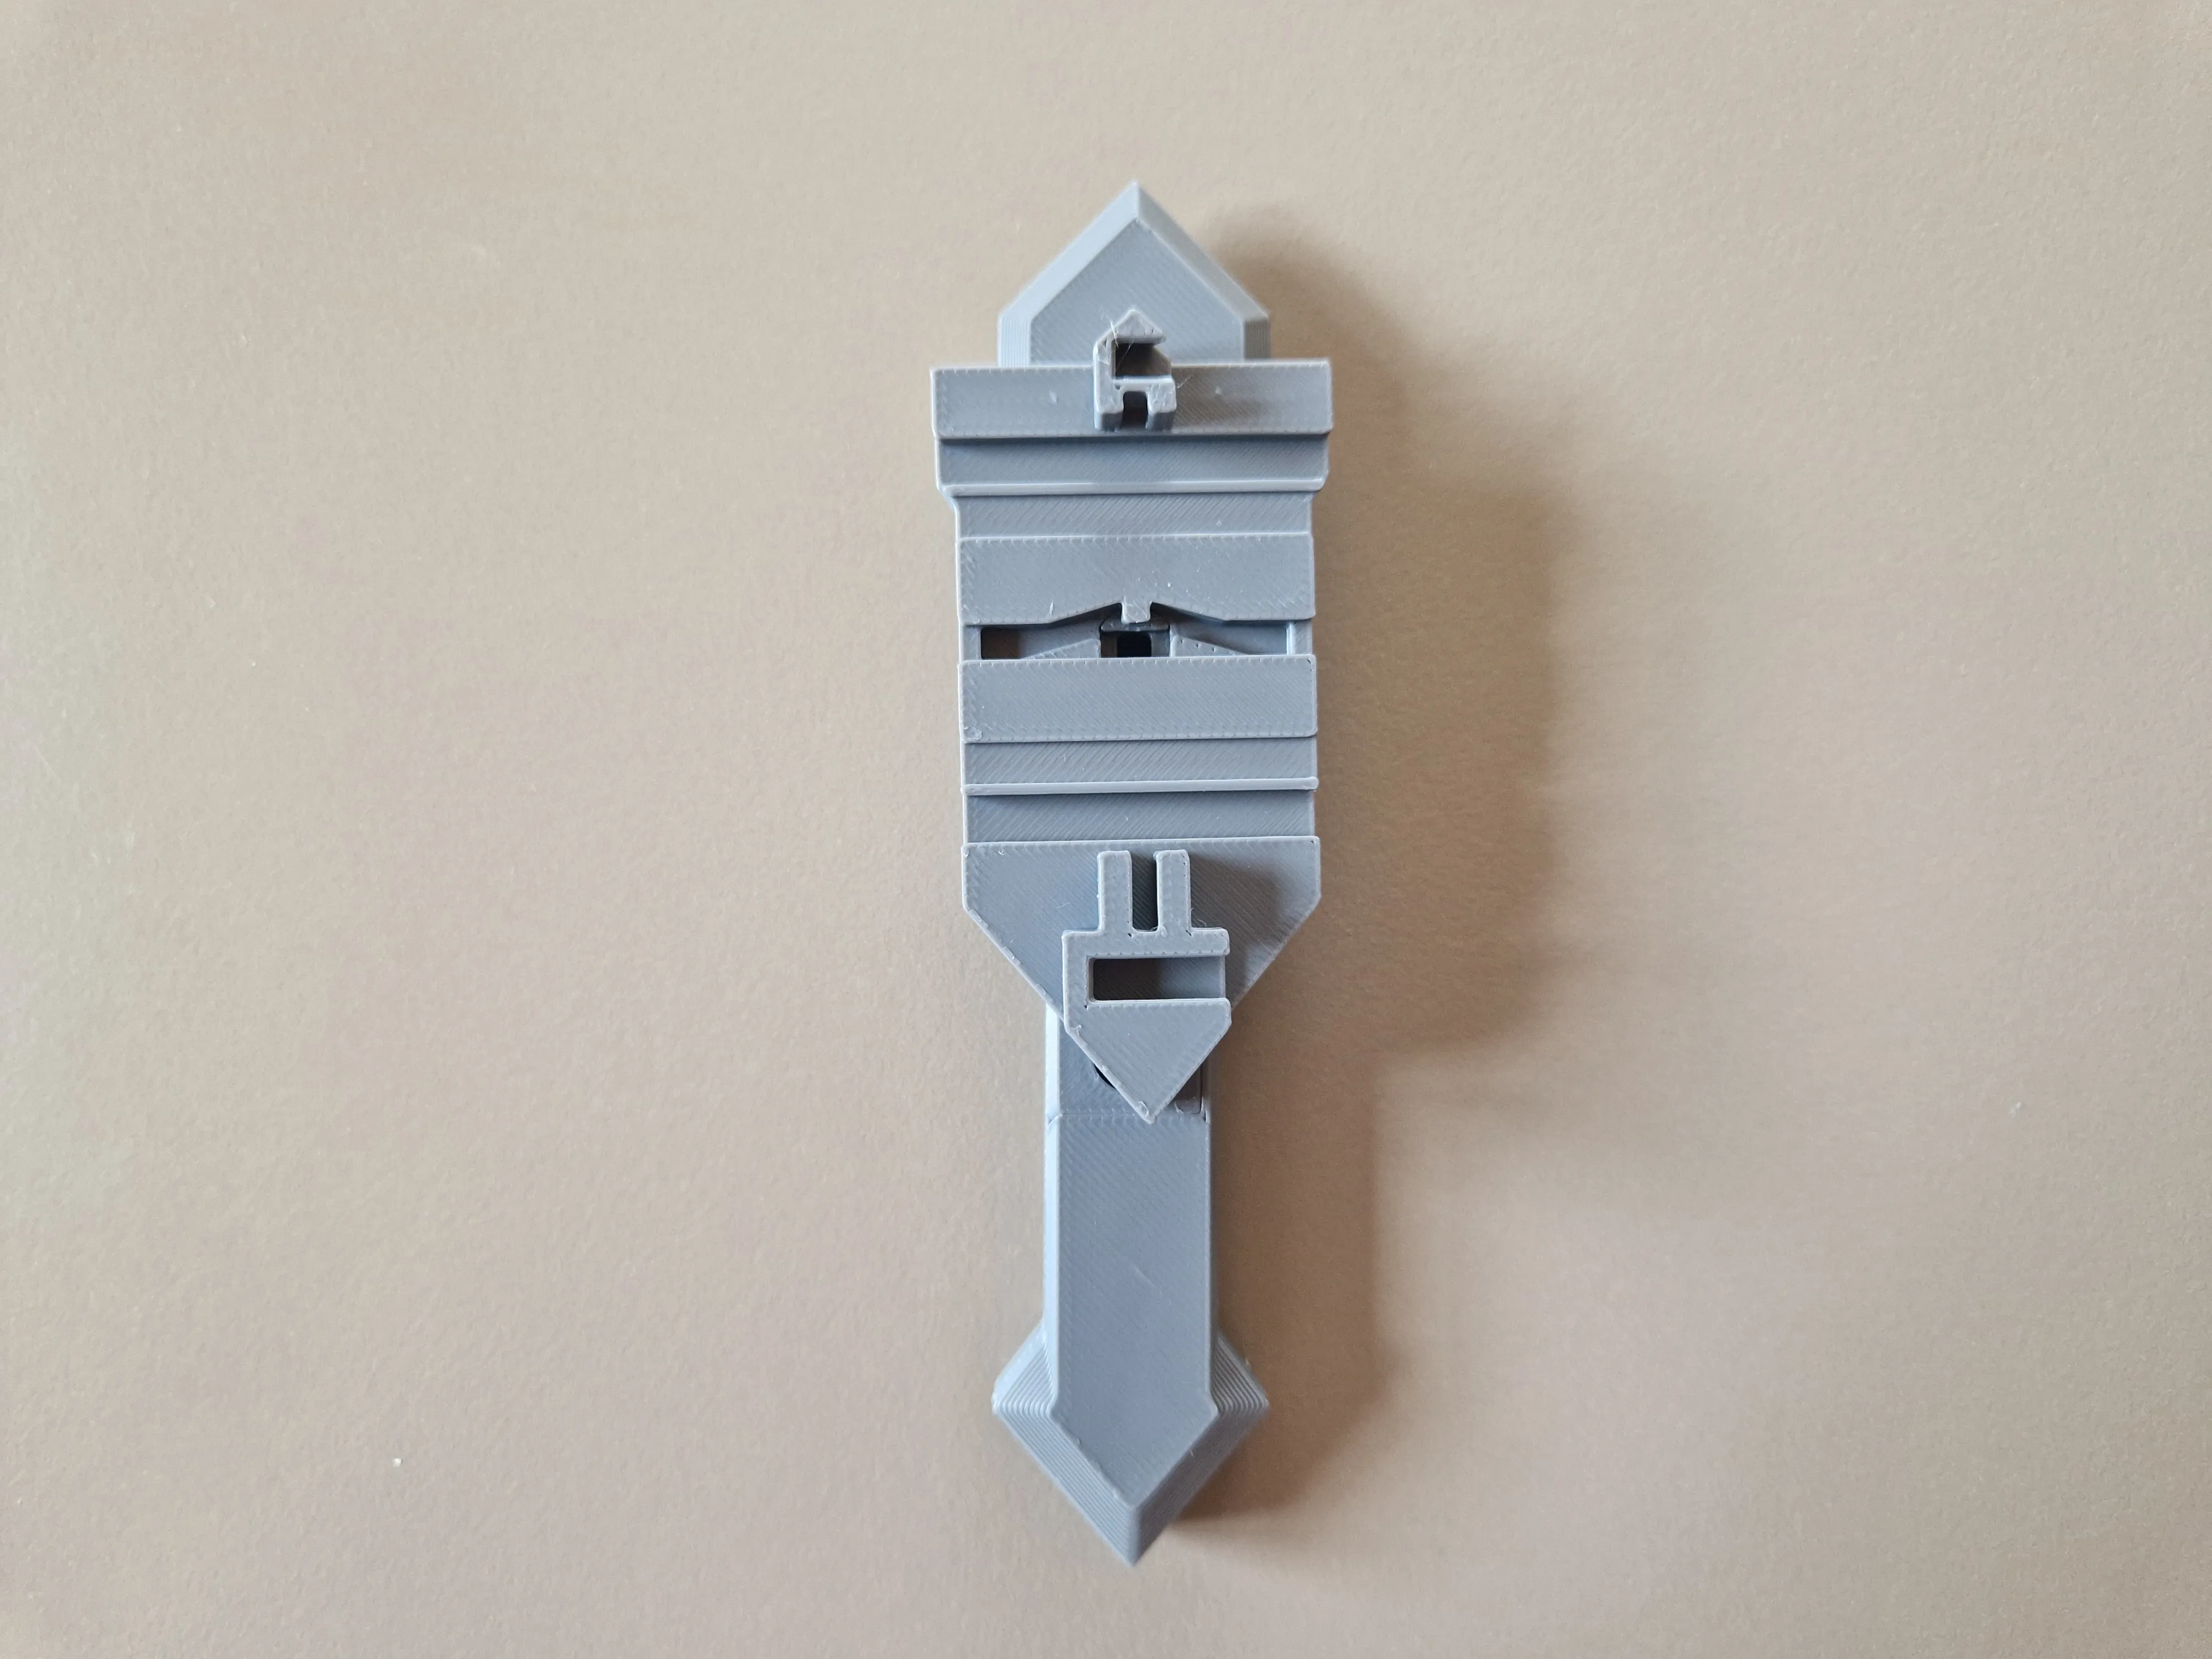 |
| Add the piston. The slope has to point to the top. | 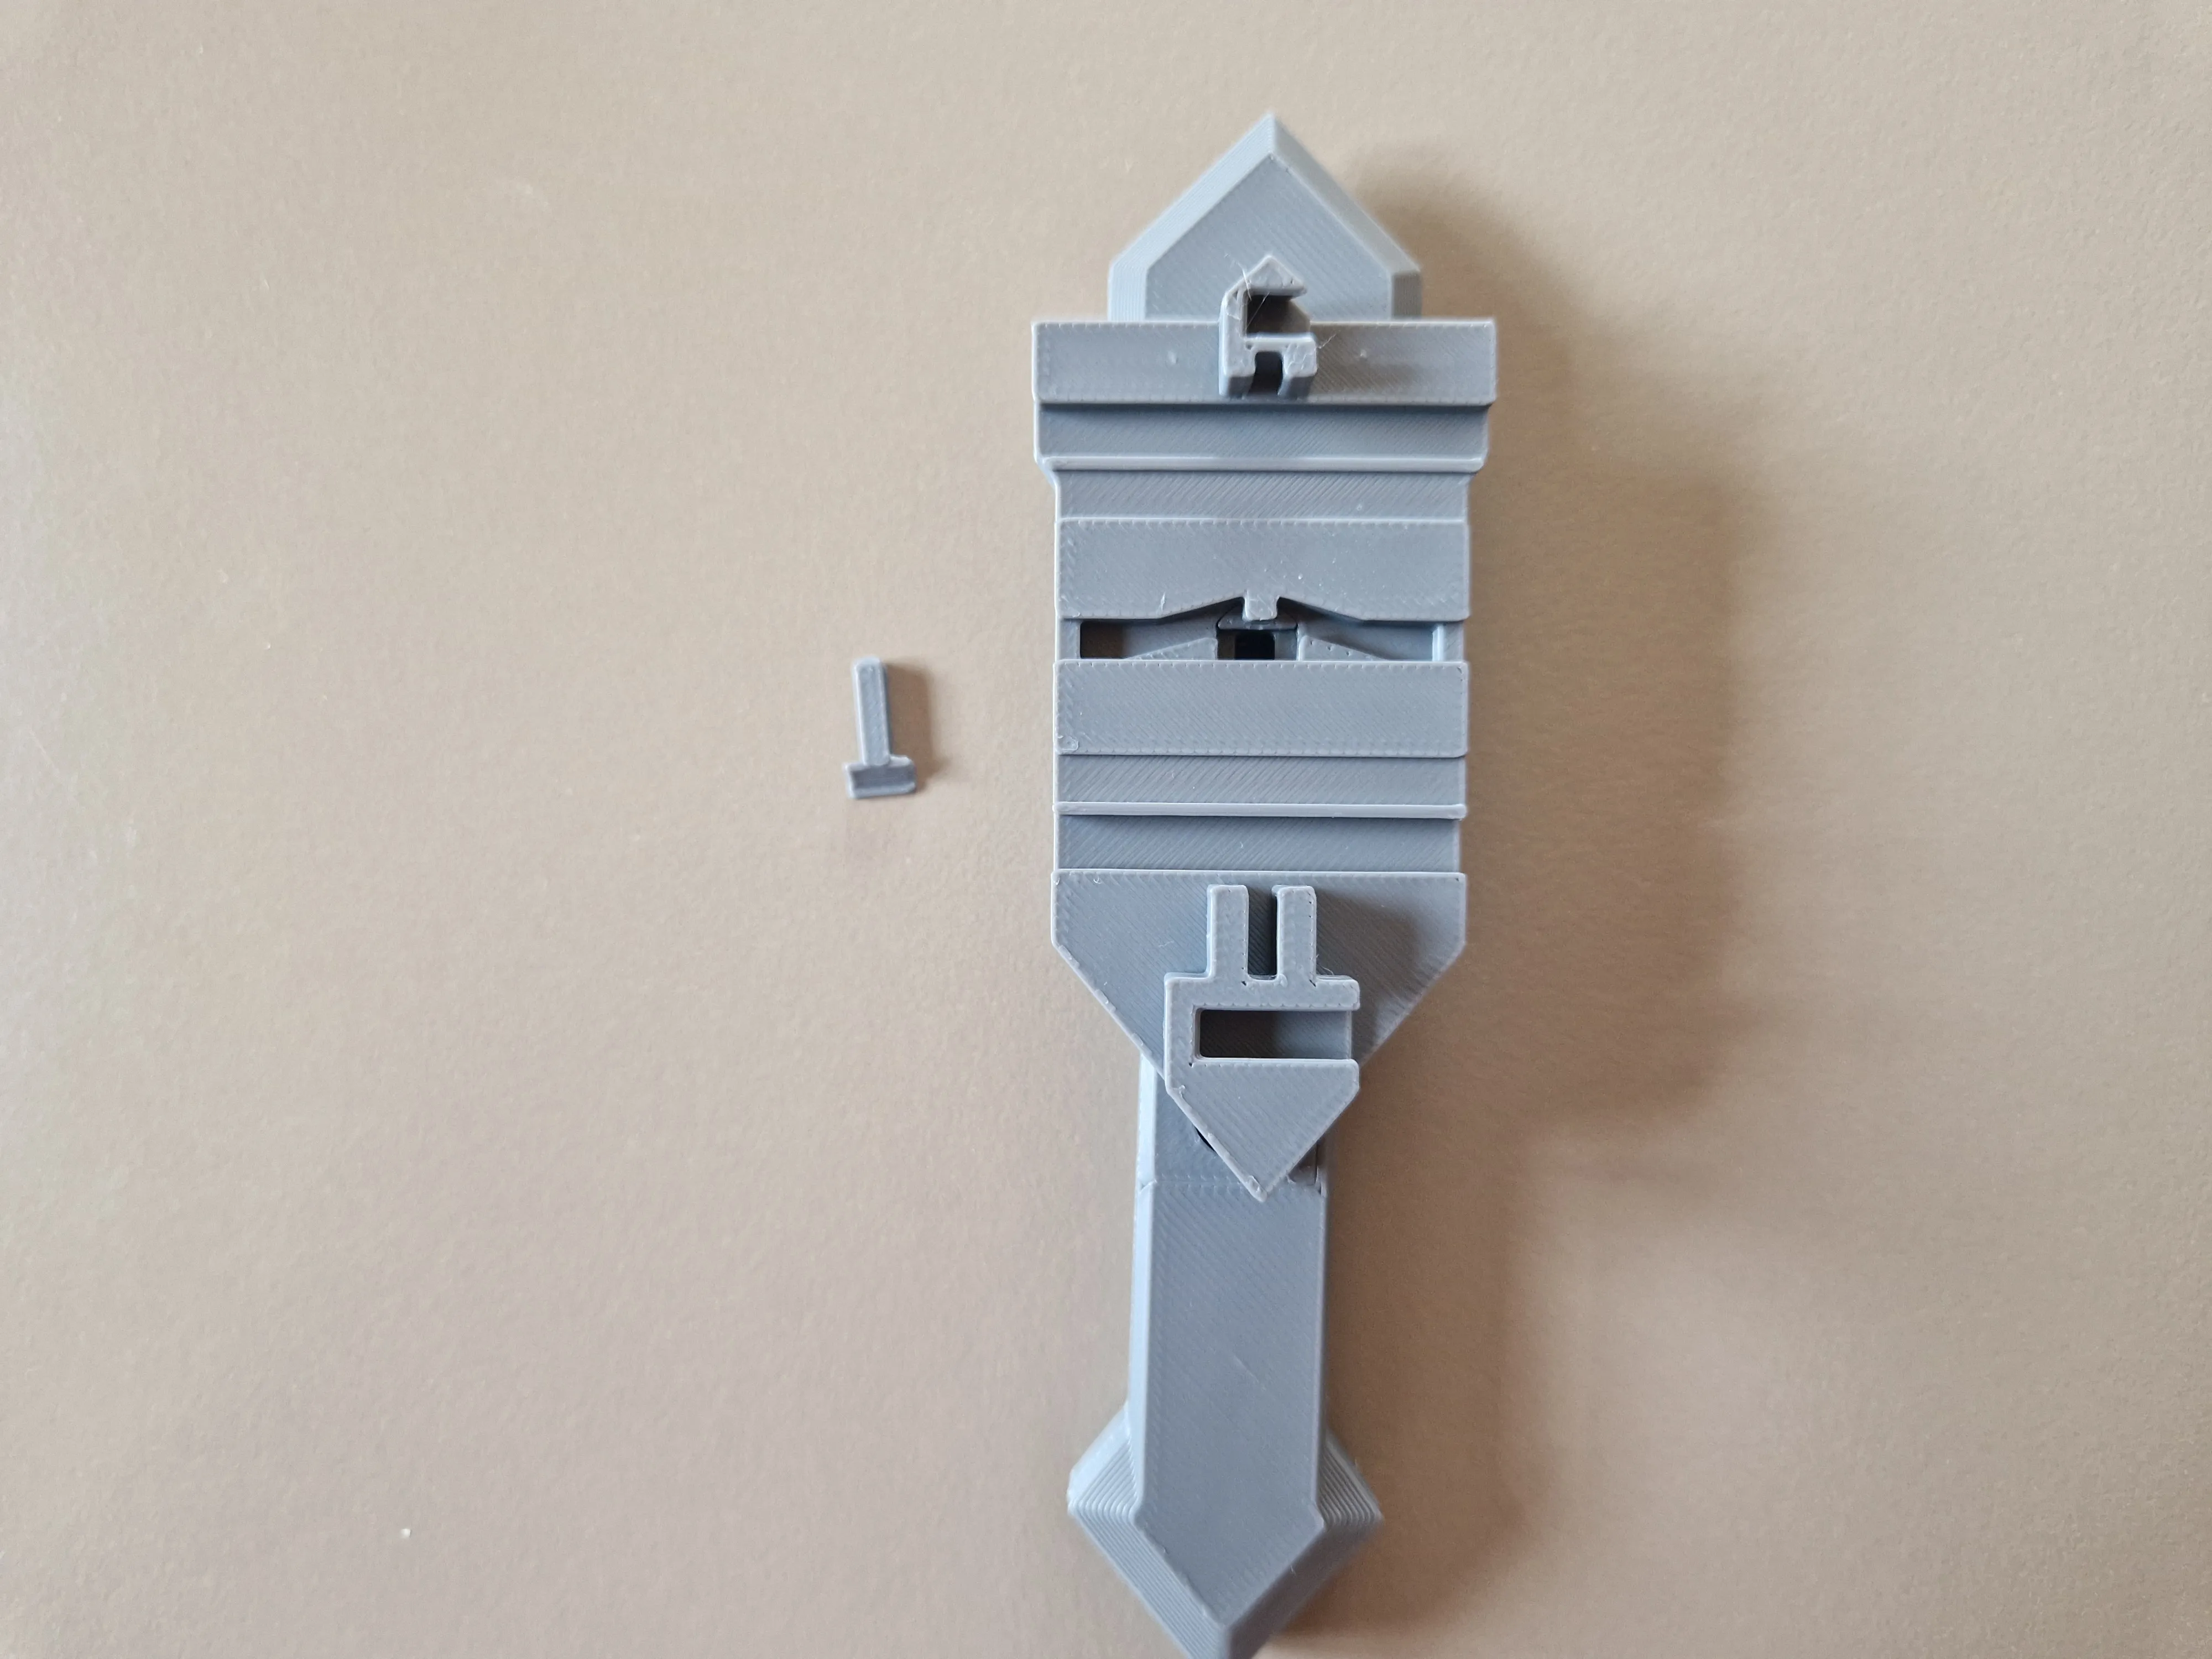 | 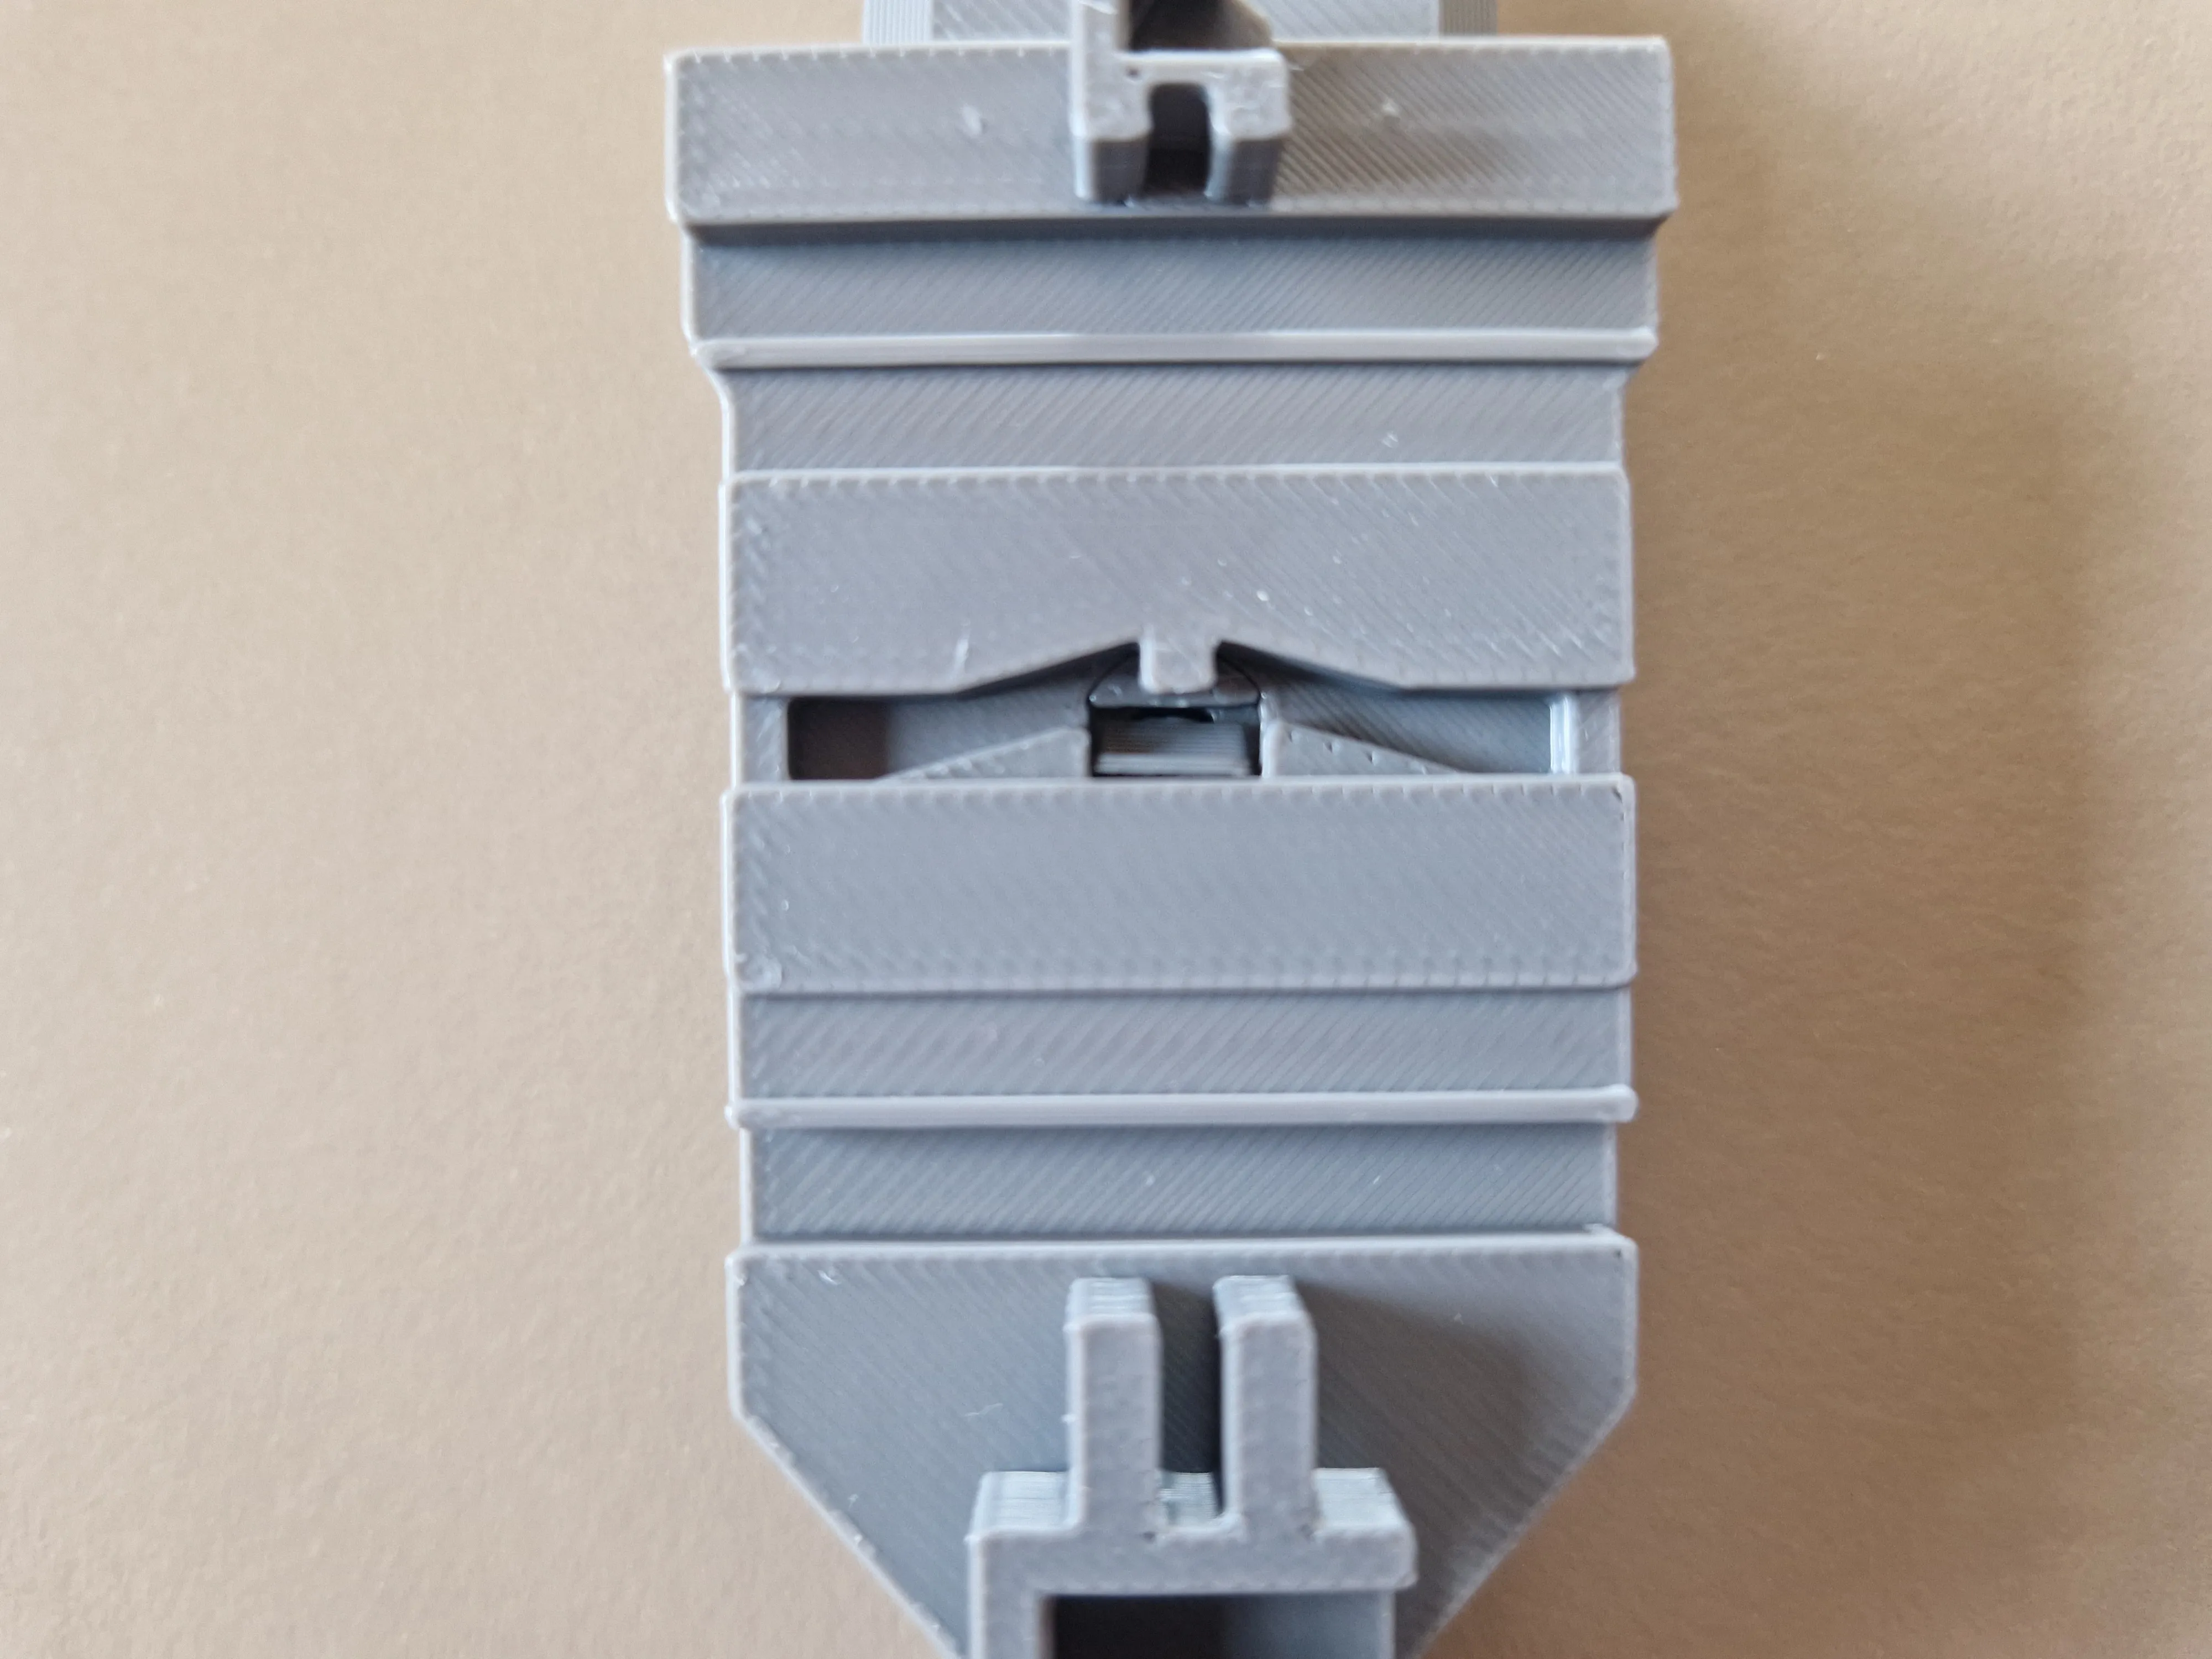 |
| Finally place the spring inside and close the mechanism by pushing the top of the emplem over from the right side. | 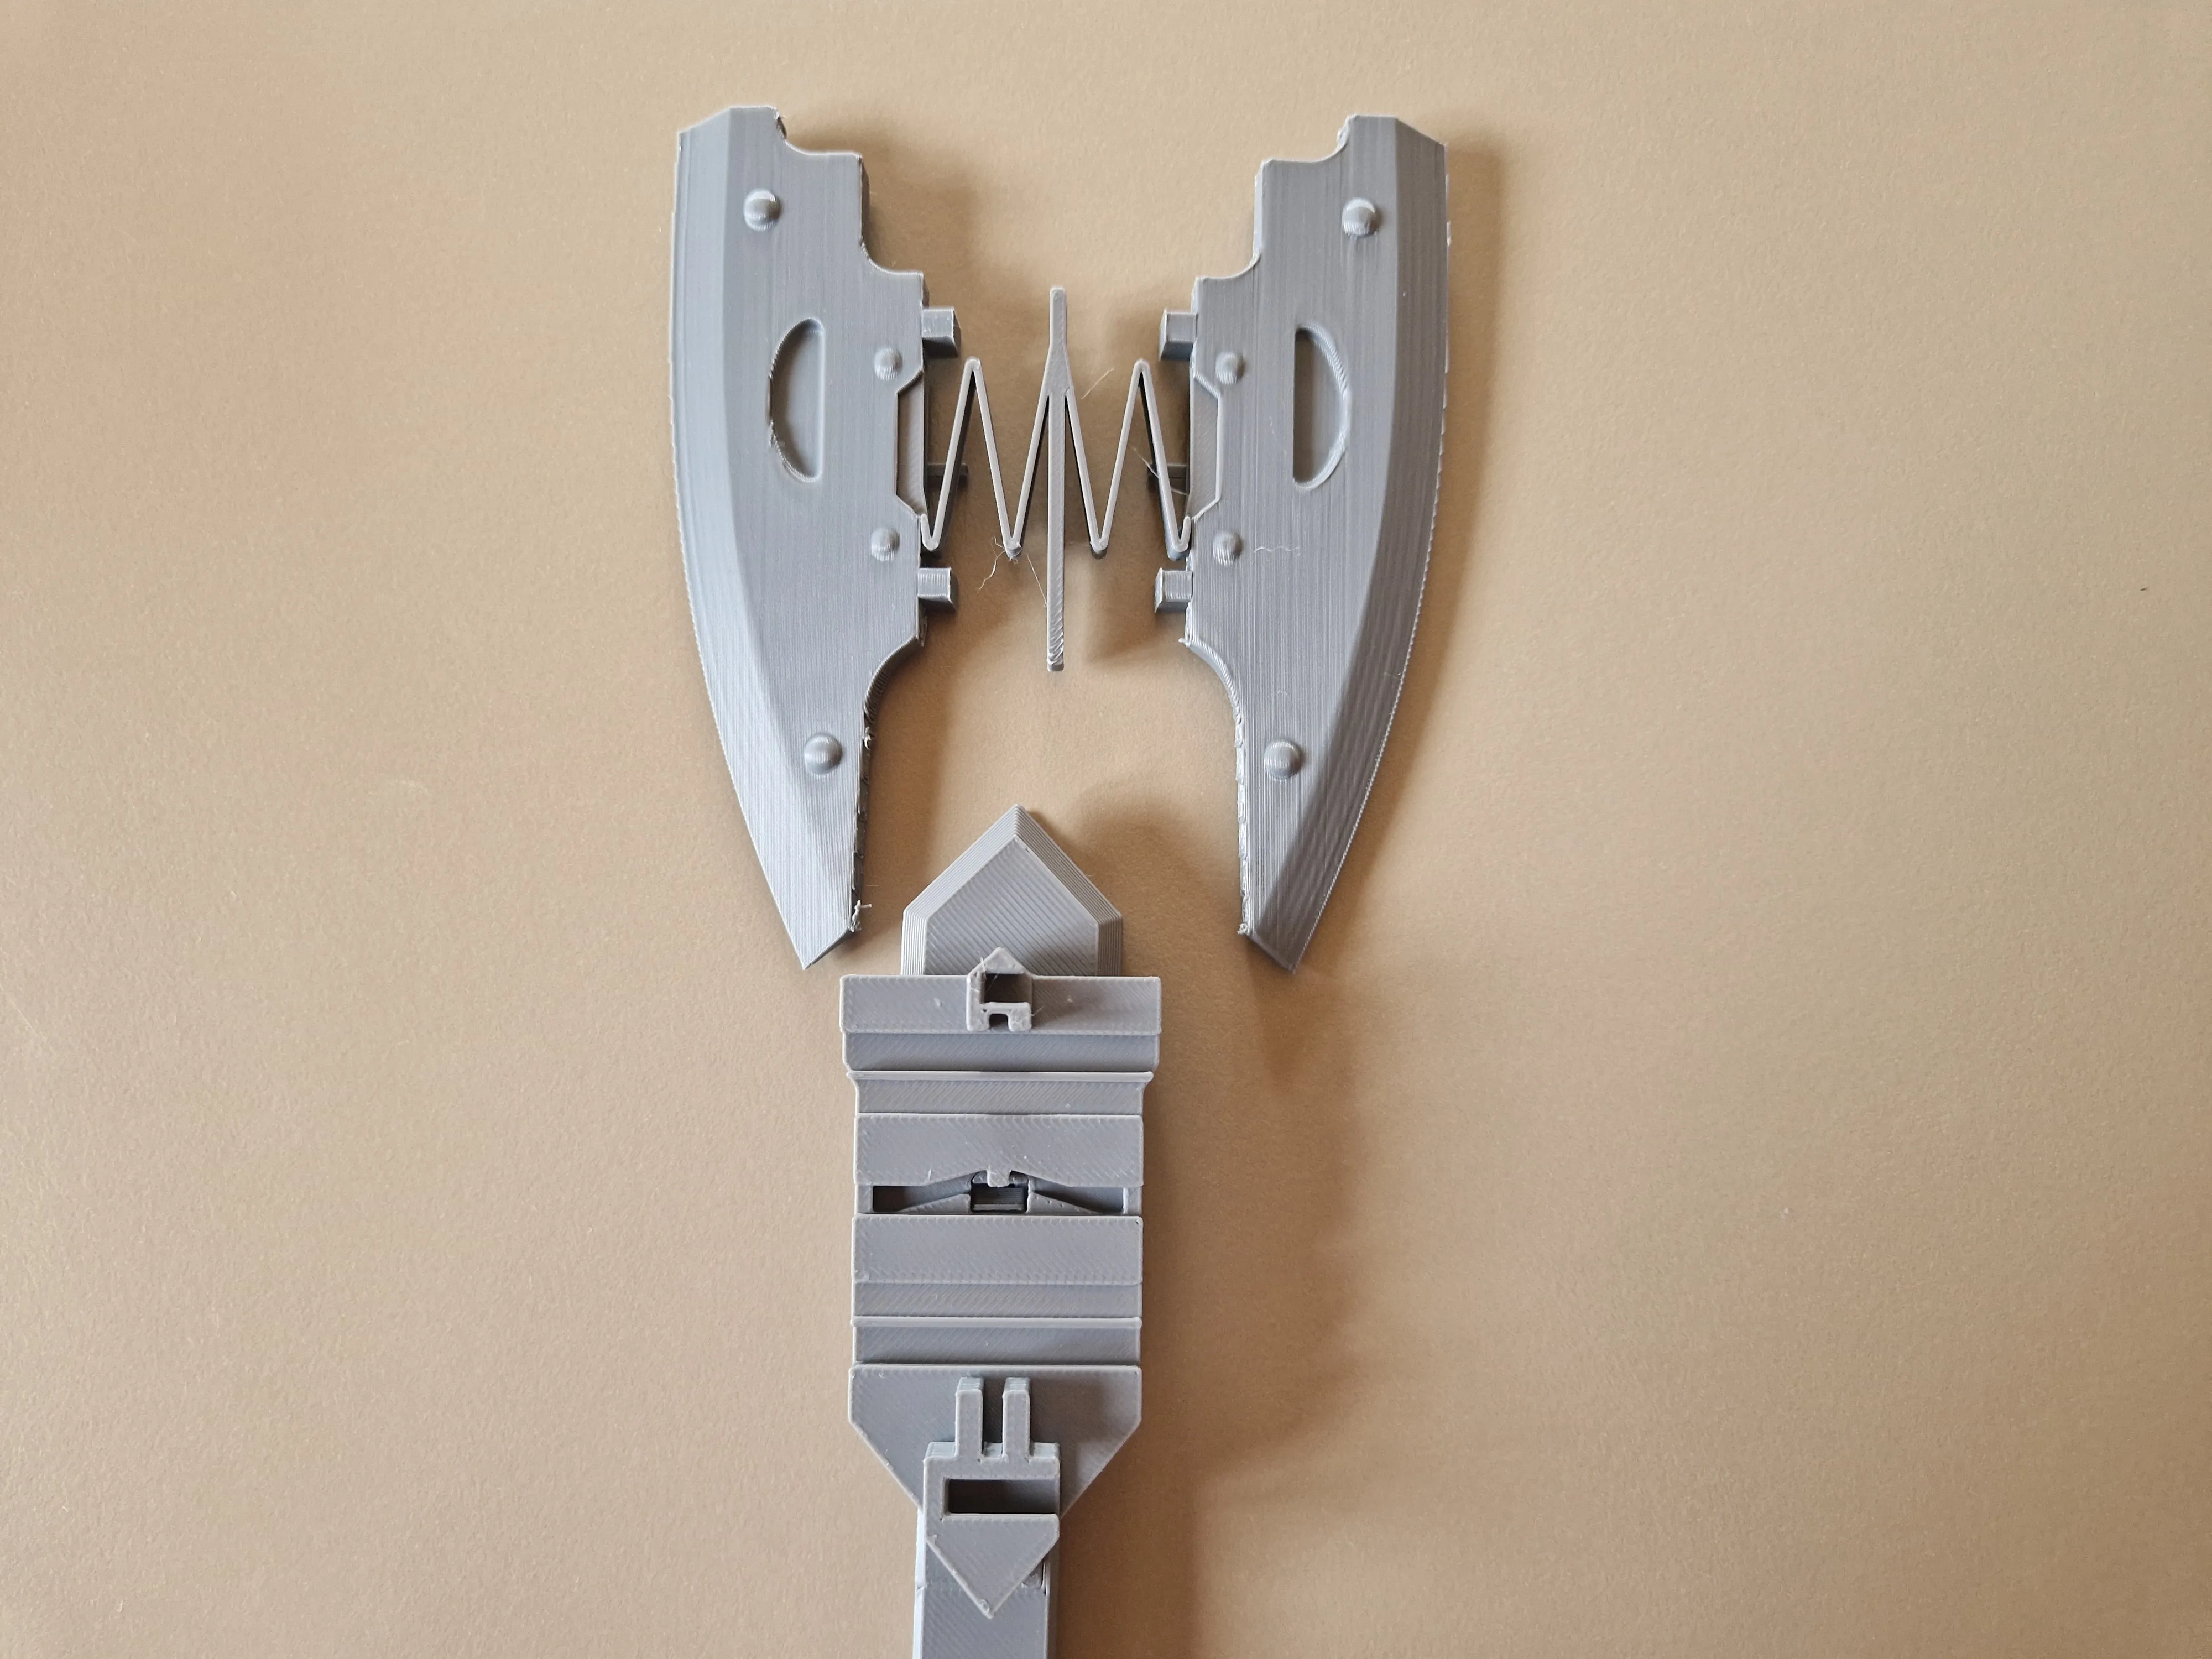 | 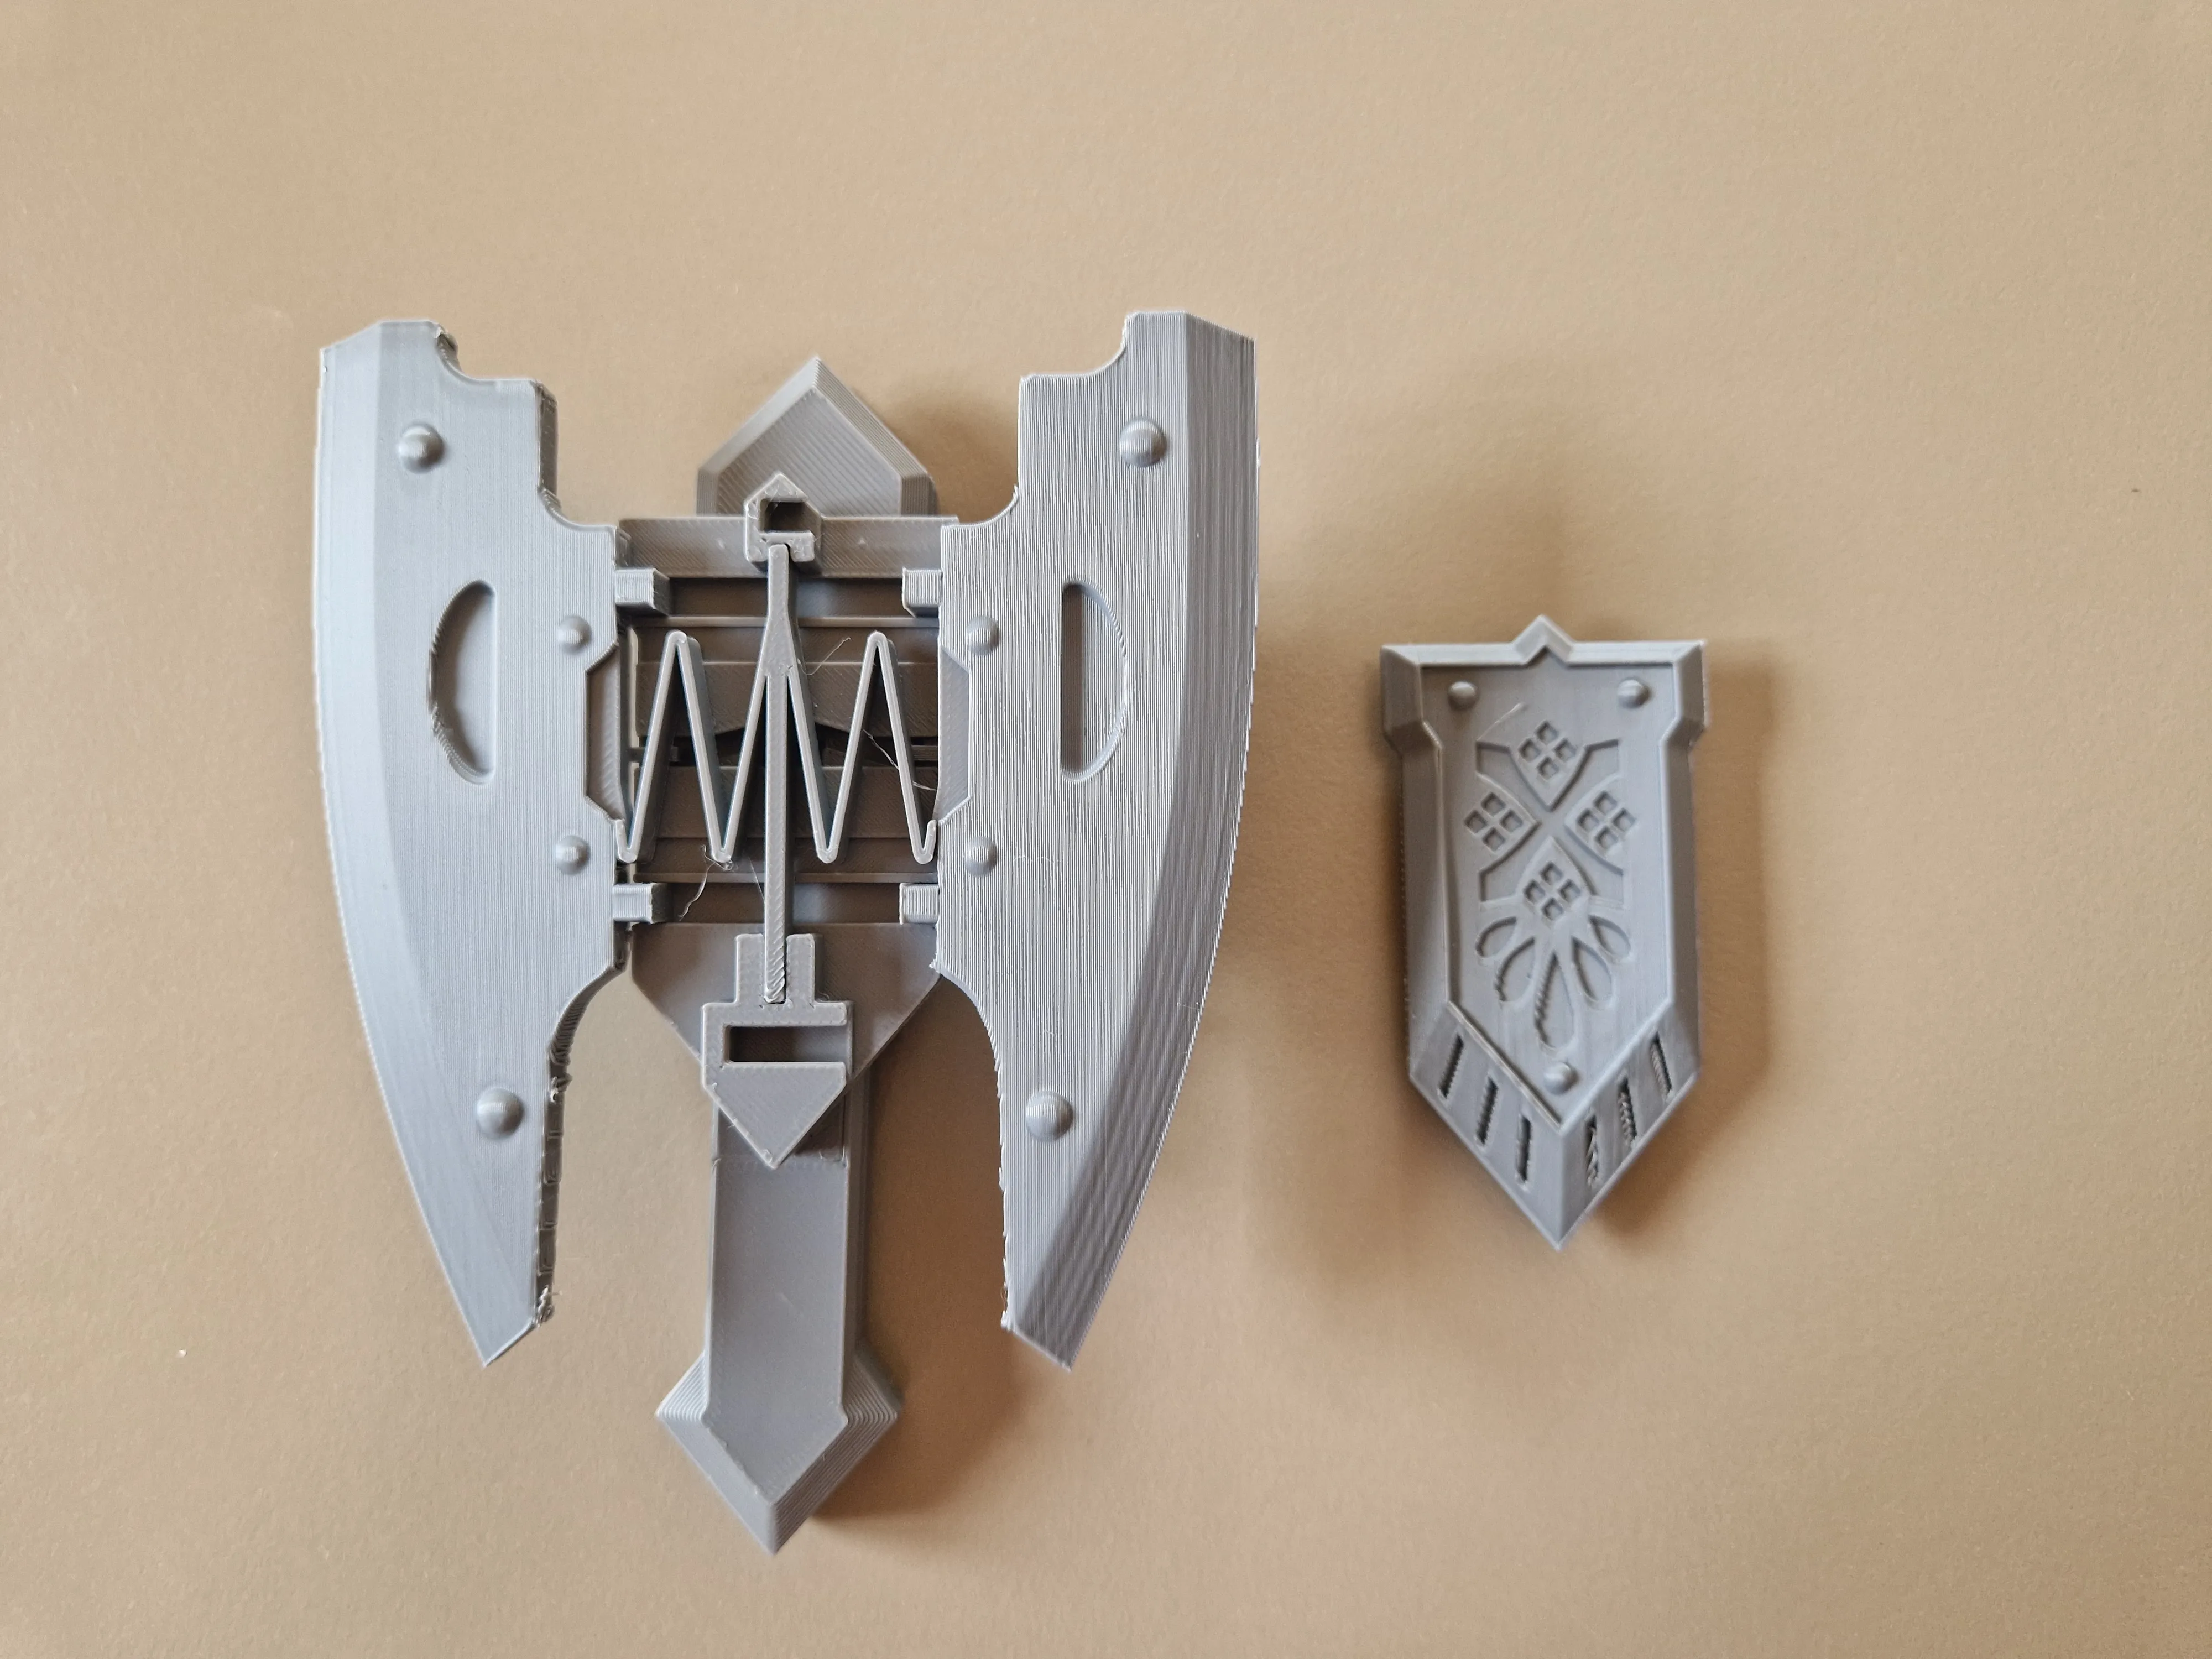 |
Enjoy!
License

You shall not share, sub-license, sell, rent, host, transfer, or distribute in any way the digital or 3D printed versions of this object, nor any other derivative work of this object in its digital or physical format (including - but not limited to - remixes of this object, and hosting on other digital platforms). The objects may not be used without permission in any way whatsoever in which you charge money, or collect fees.


Comment & Rating (178)