
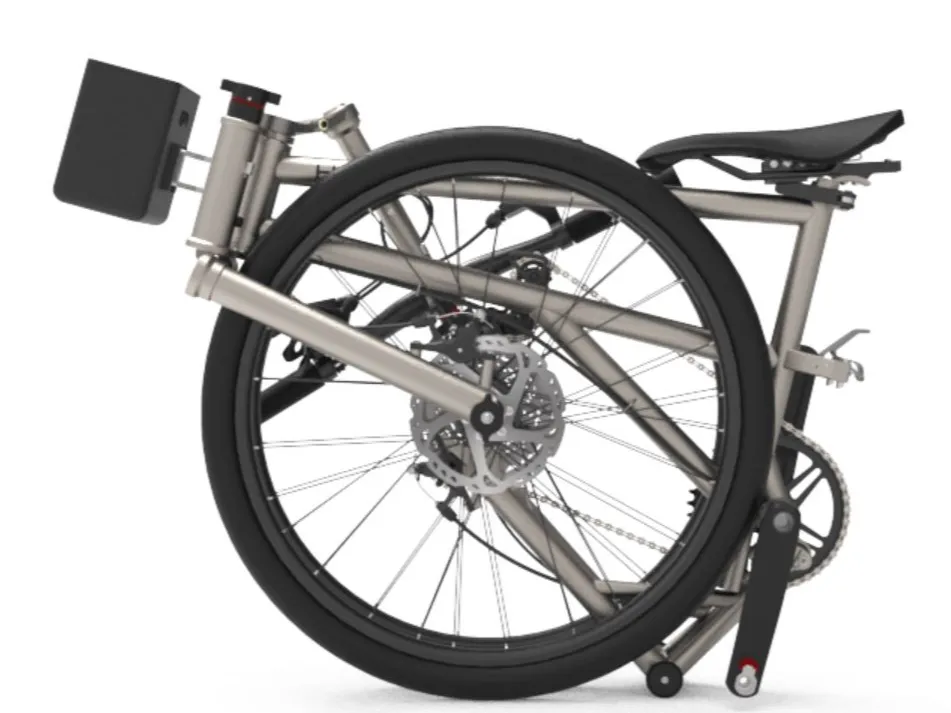
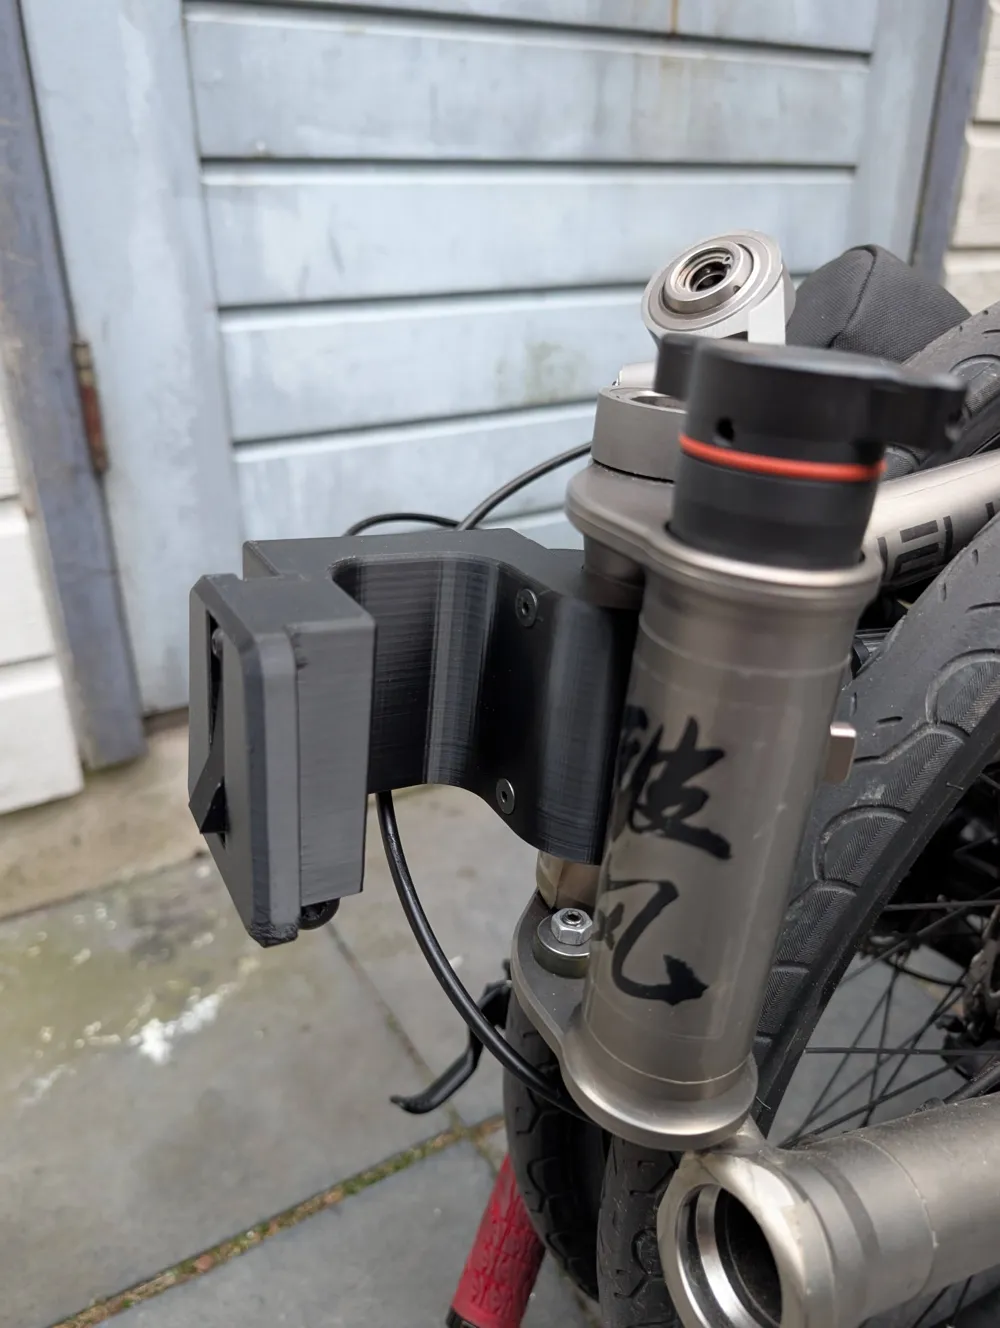
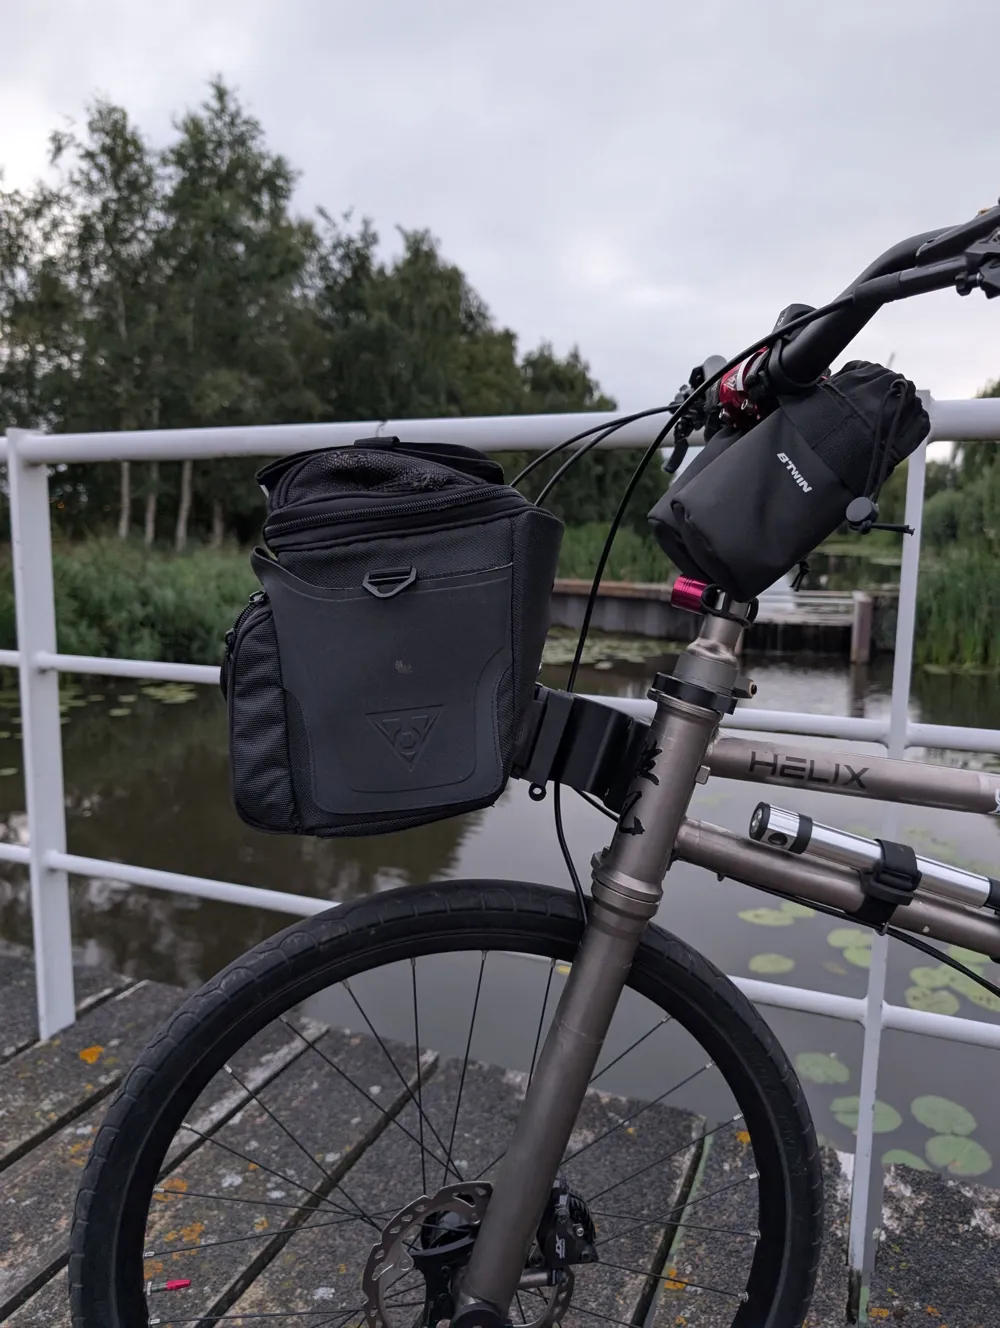
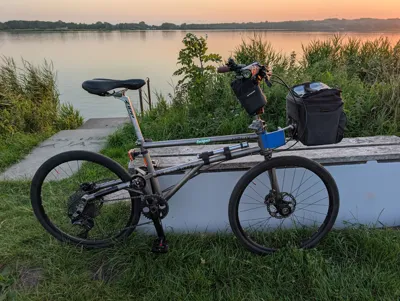
Helix folding bike to Brompton front carrier block
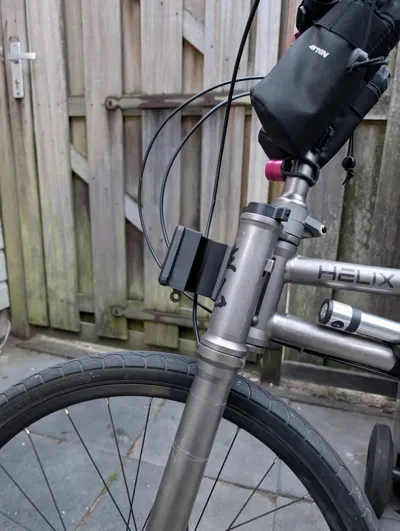
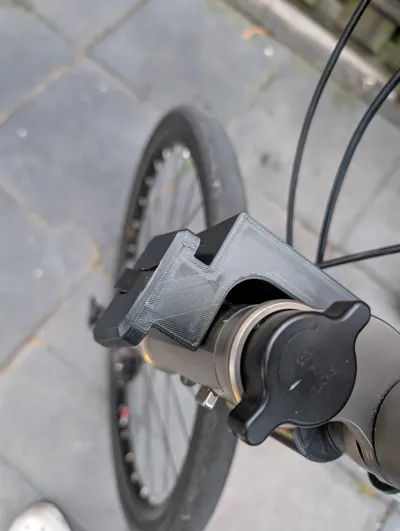
Print Profile(2)


Description
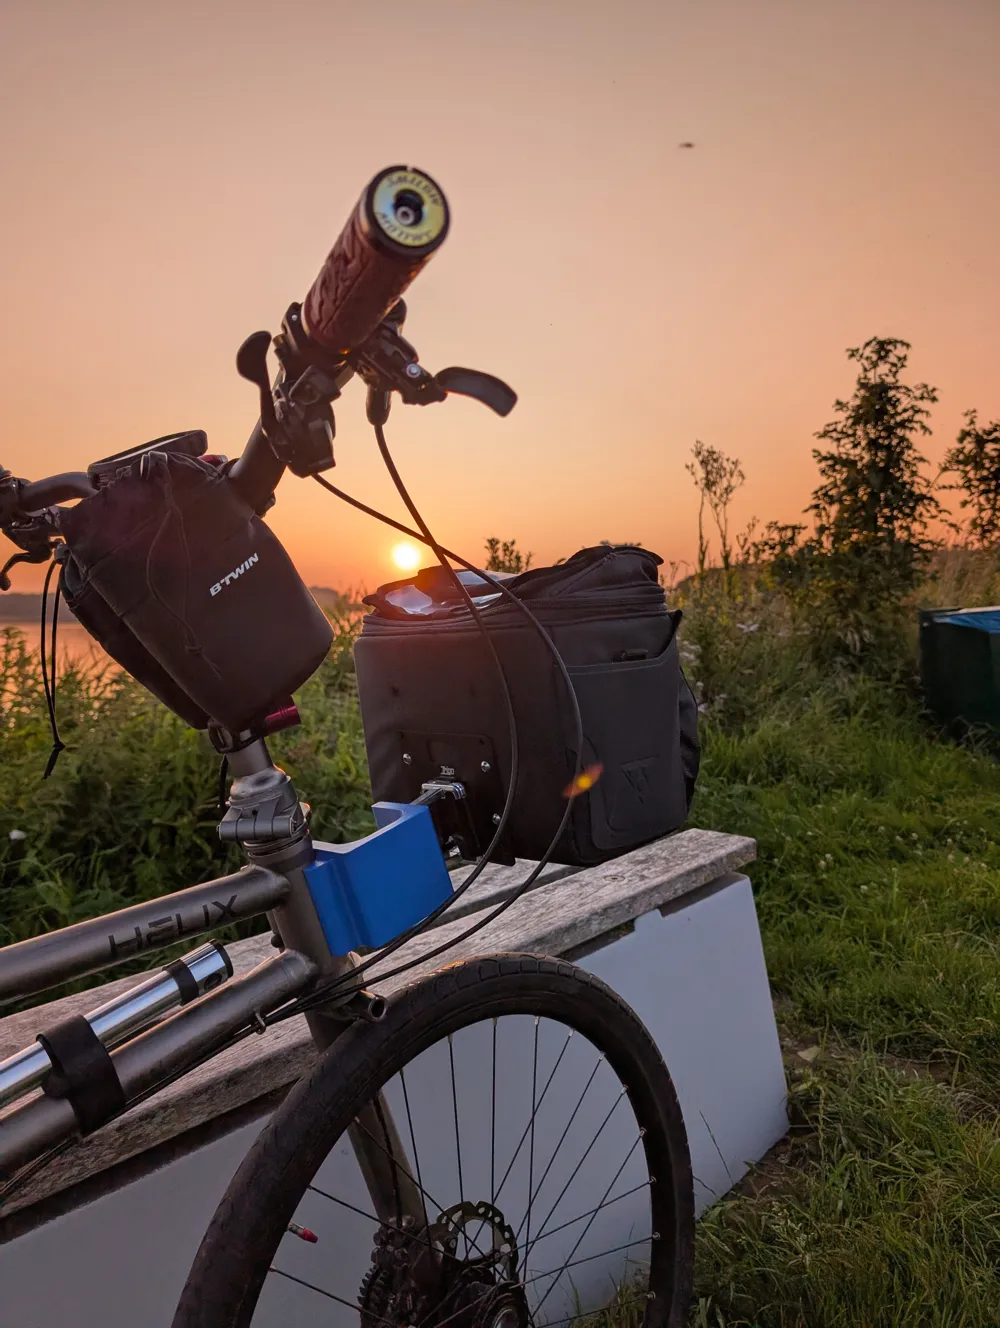
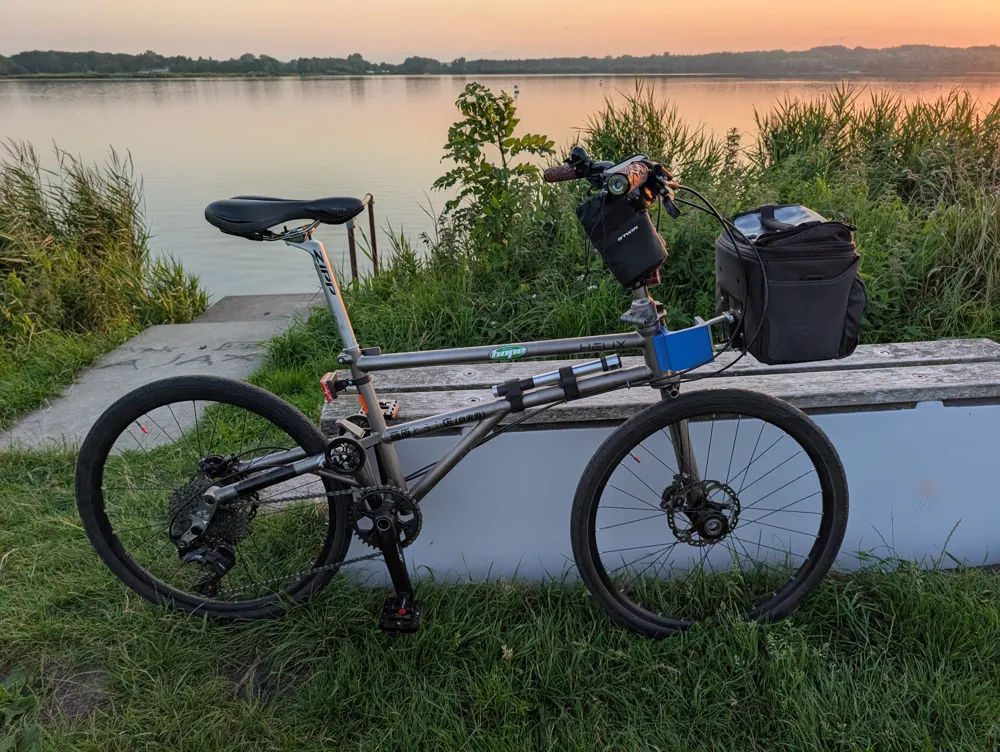
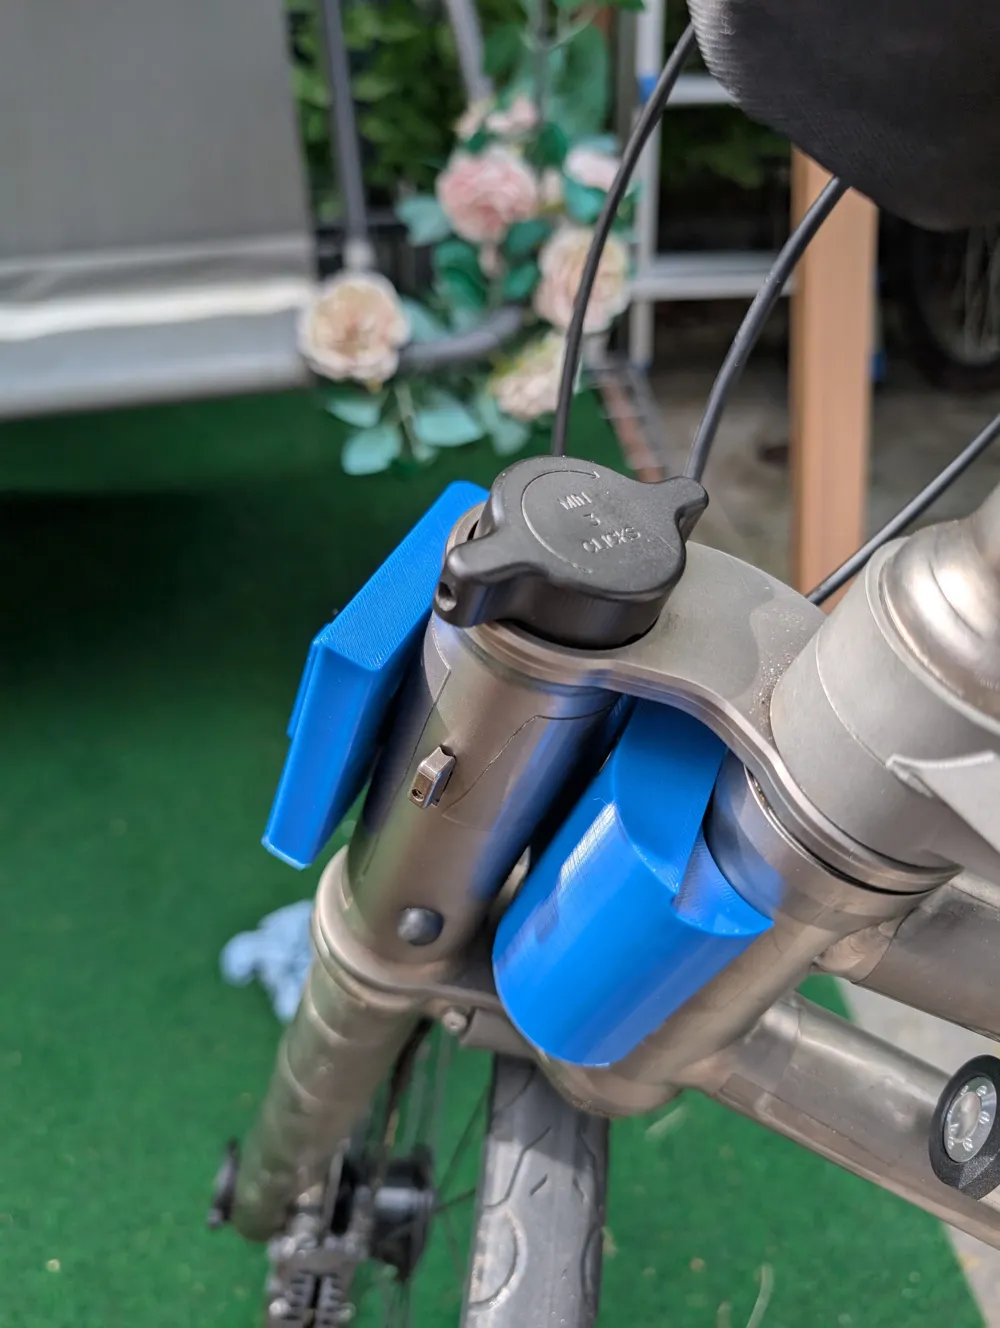
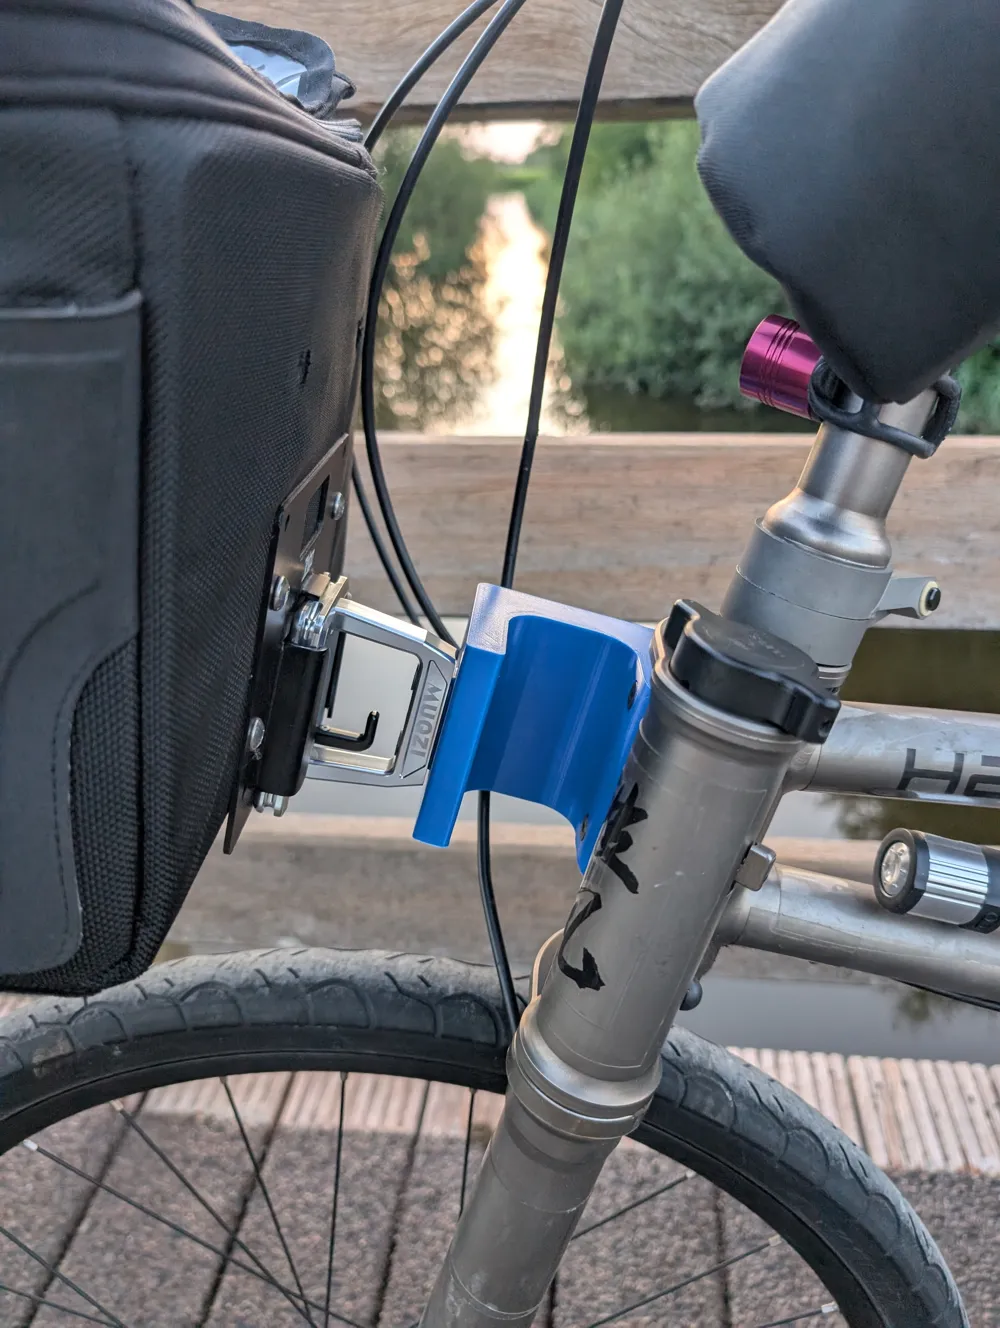
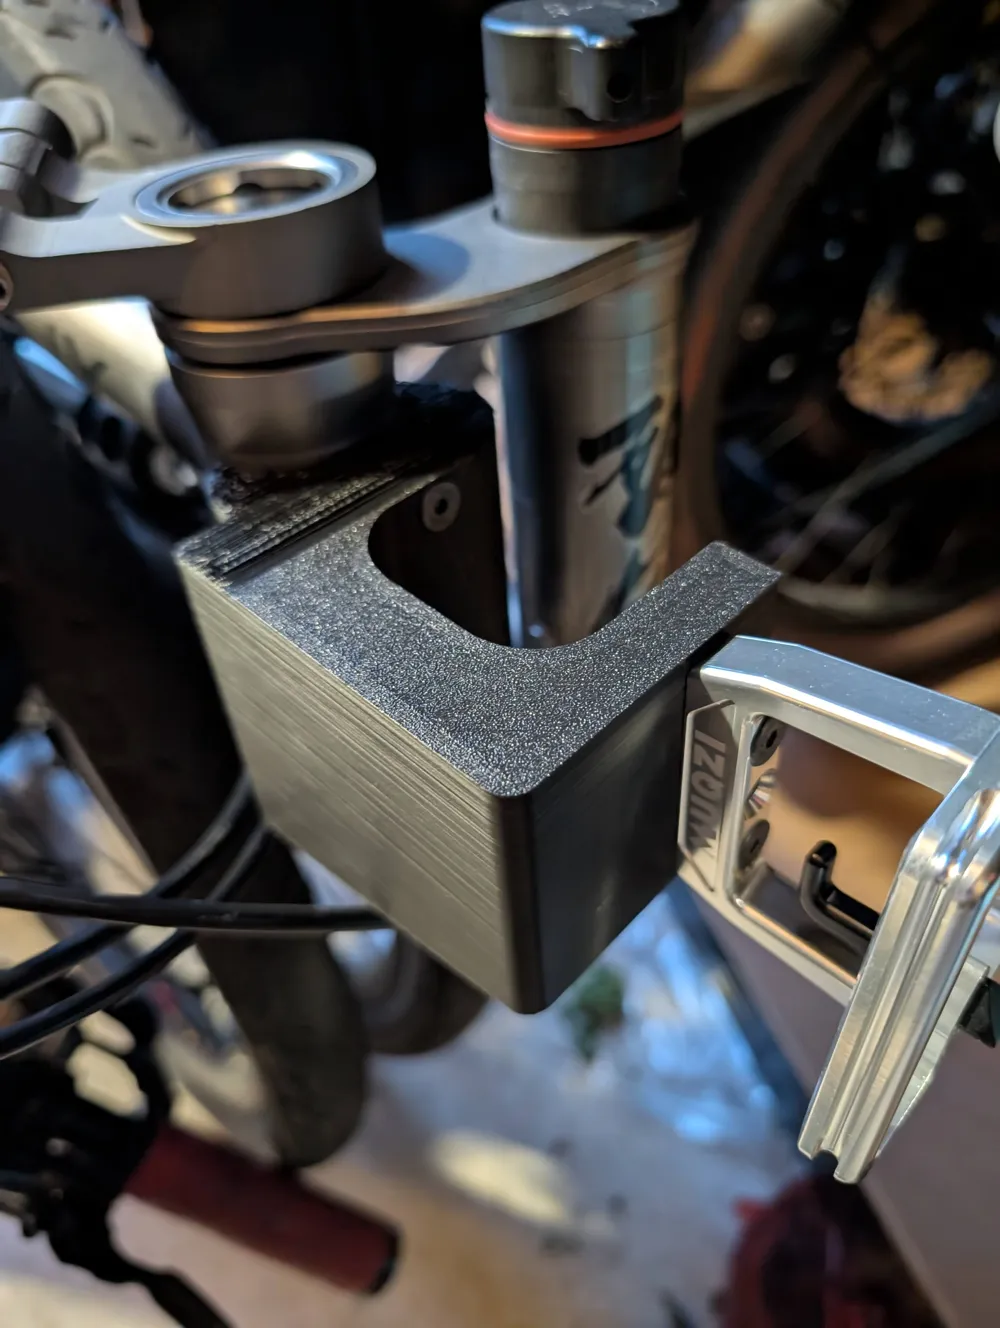
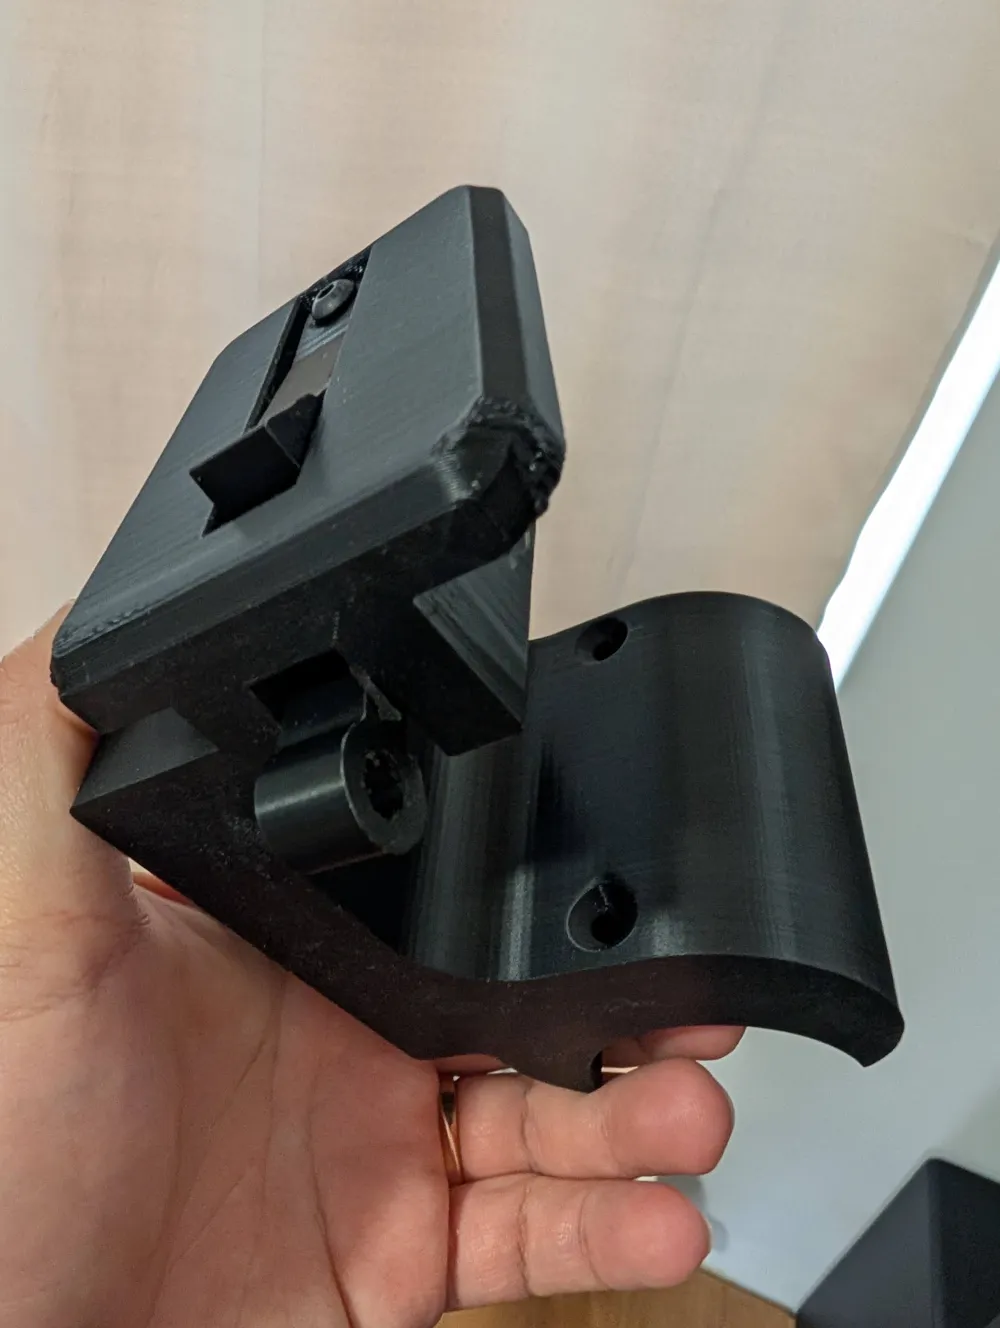
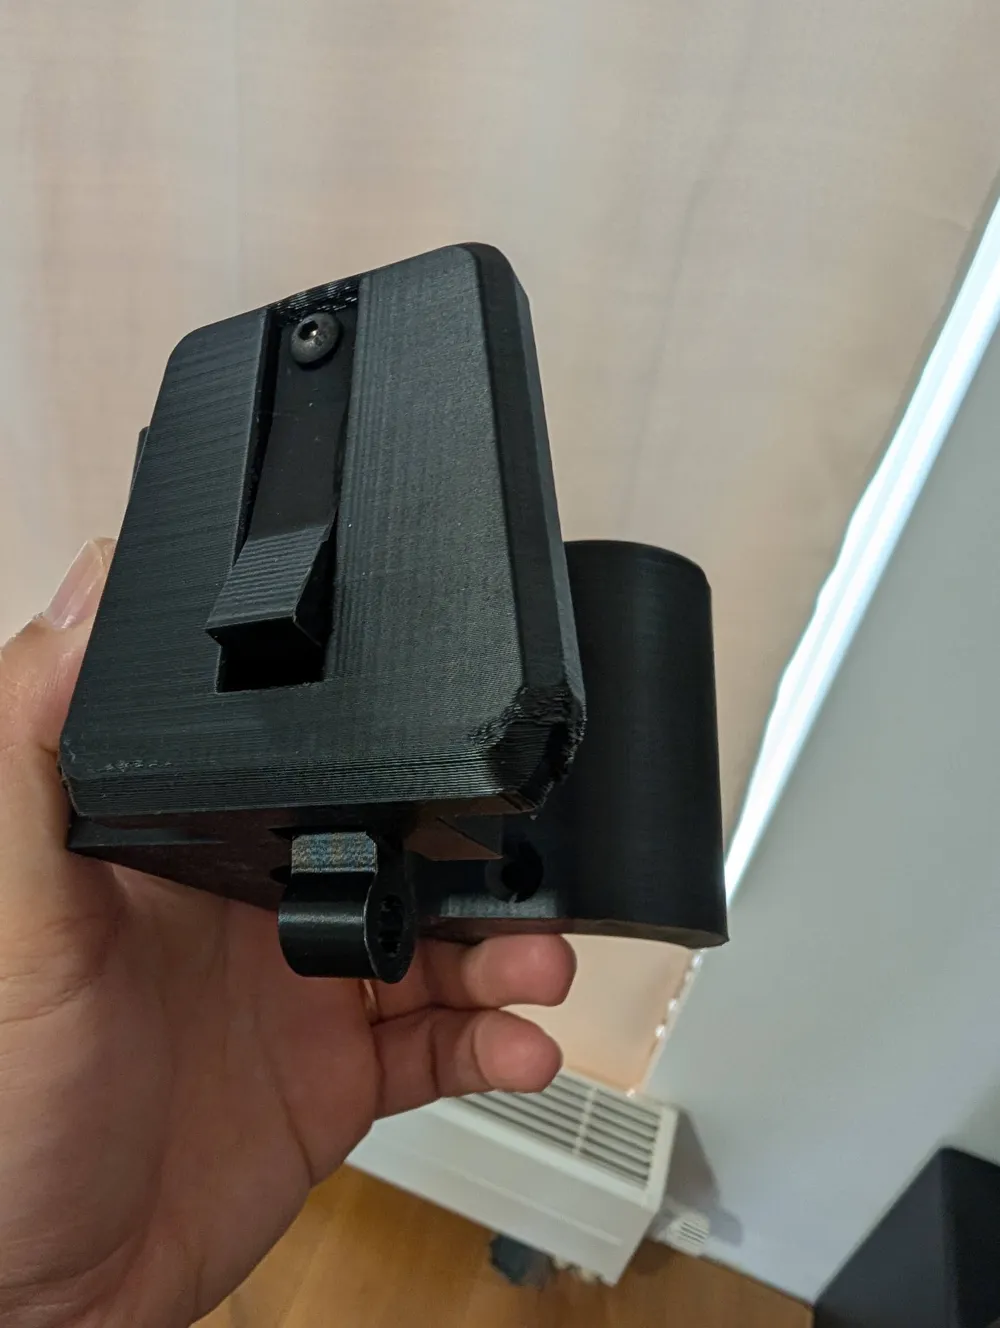
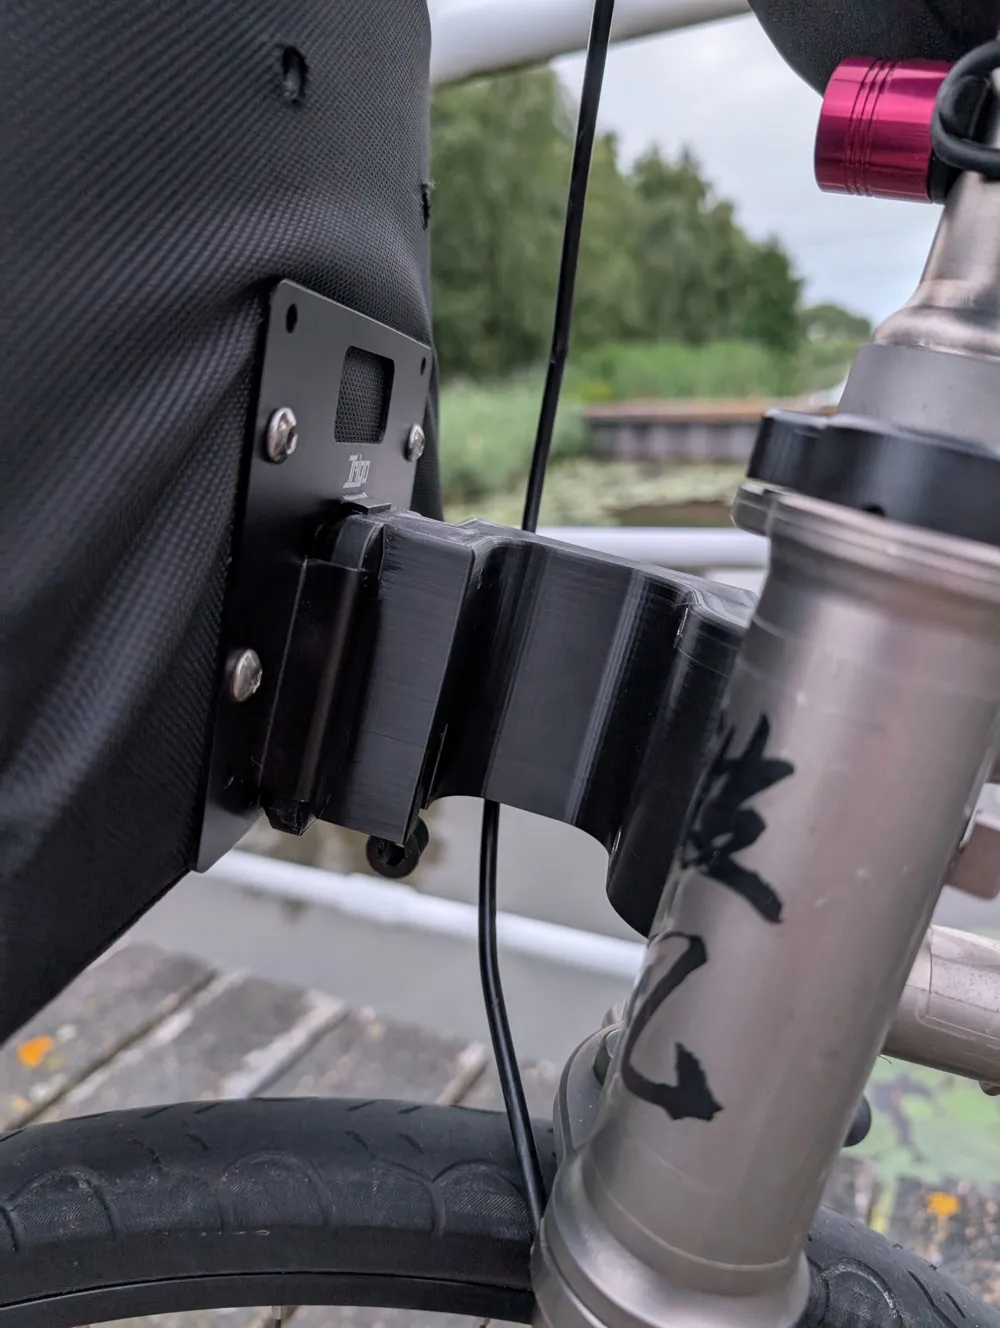
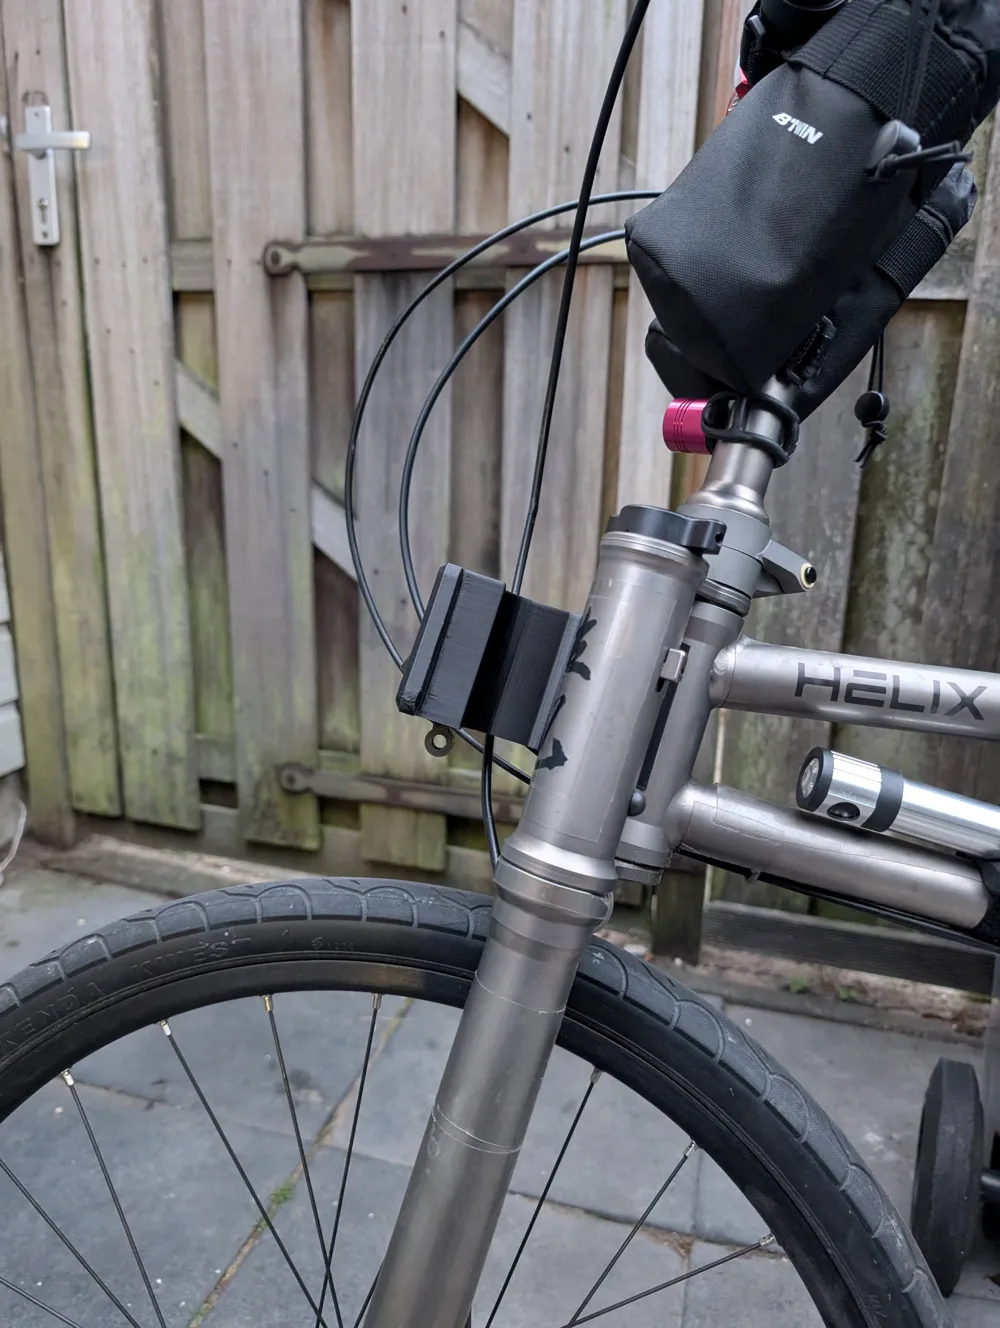
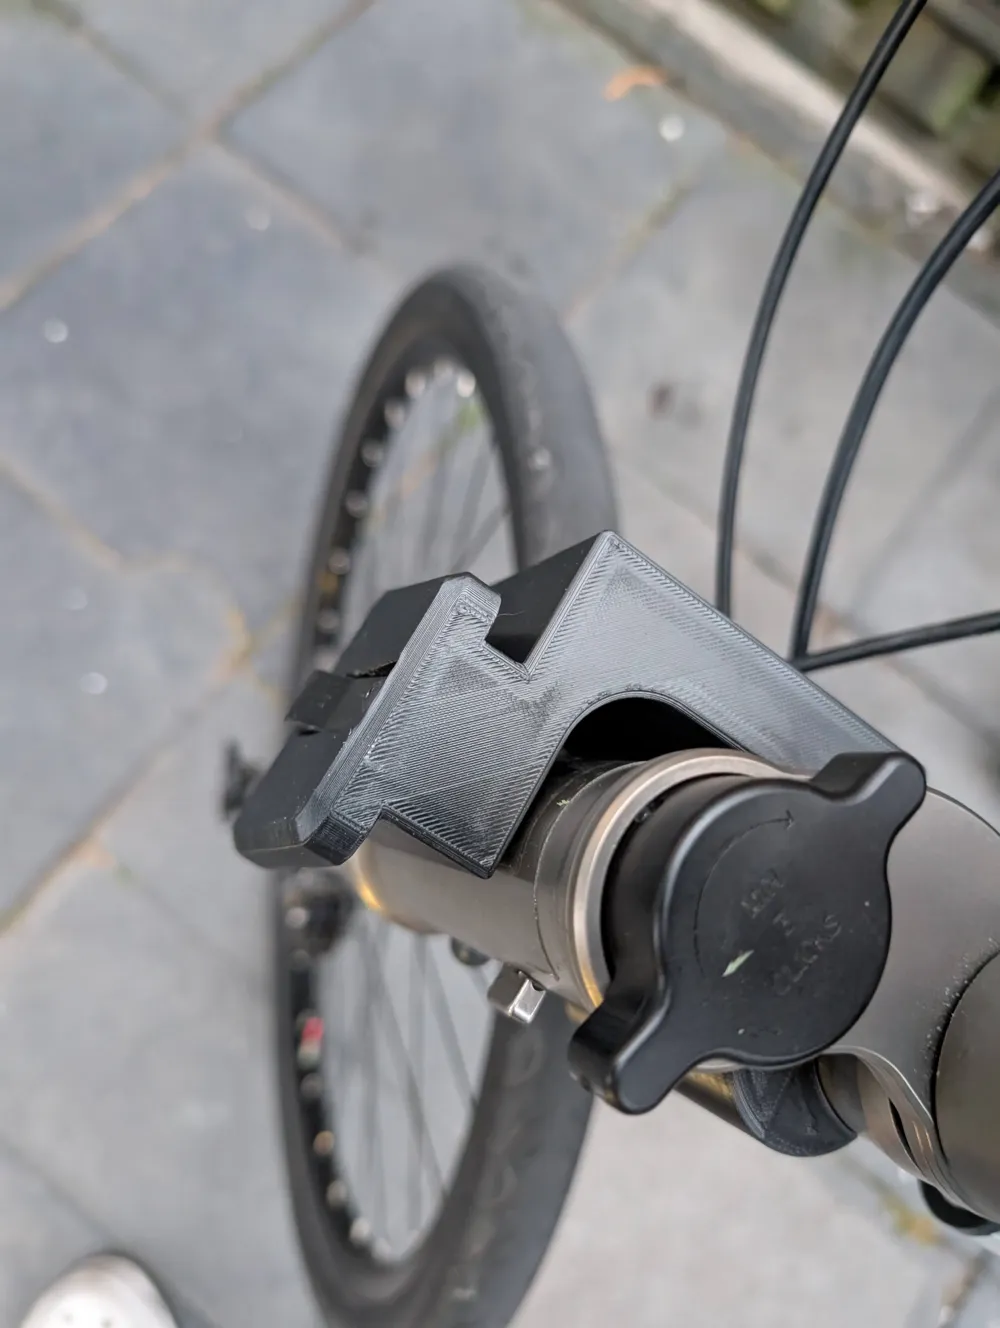
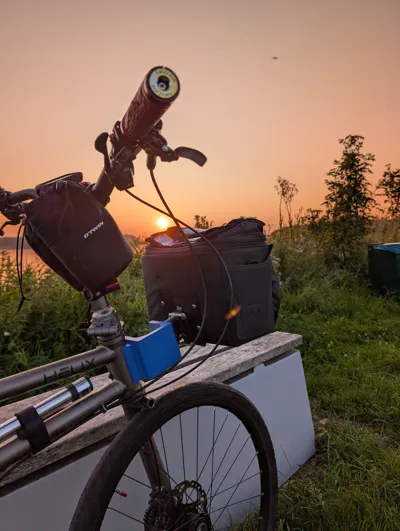
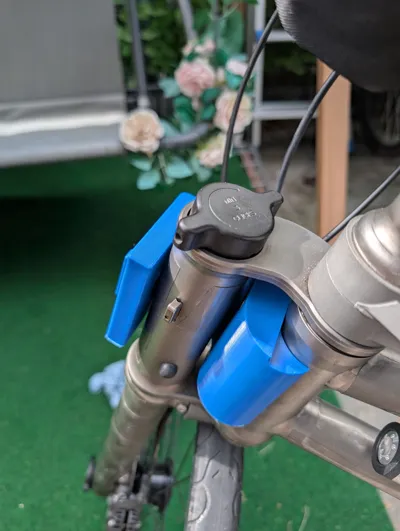
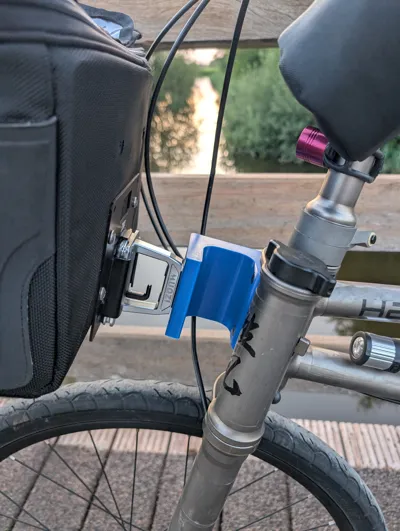
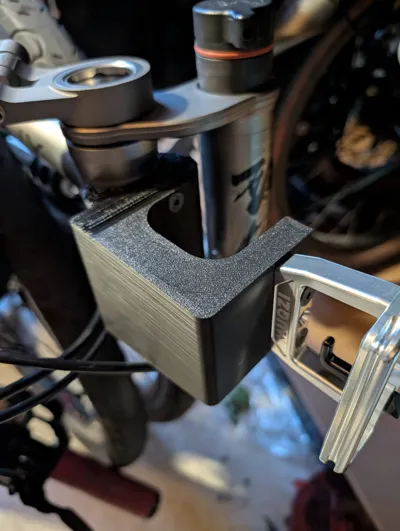
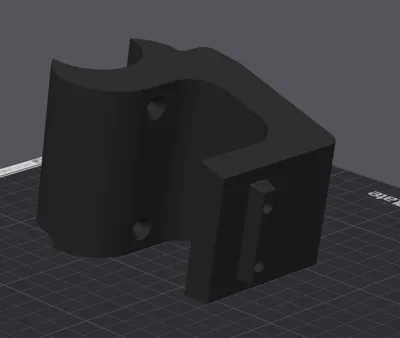
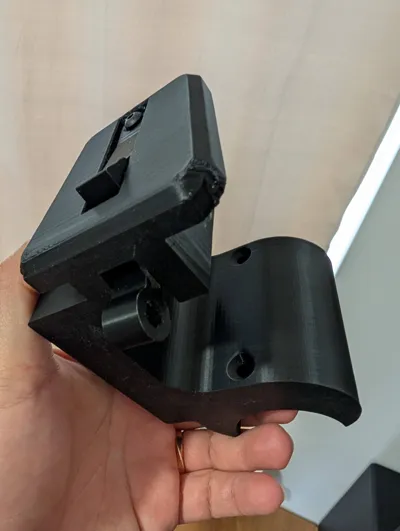
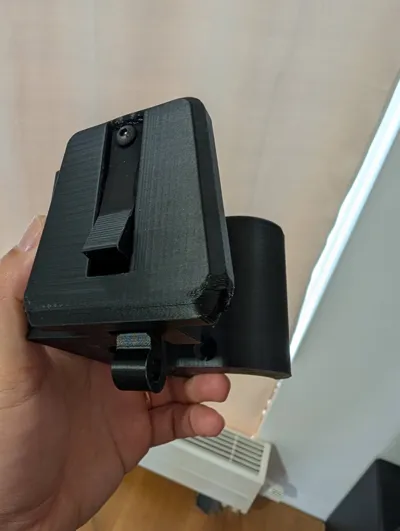
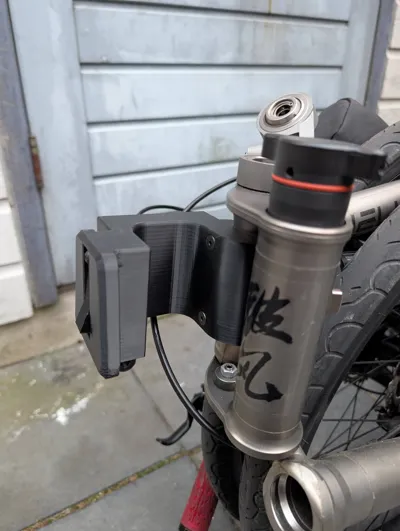
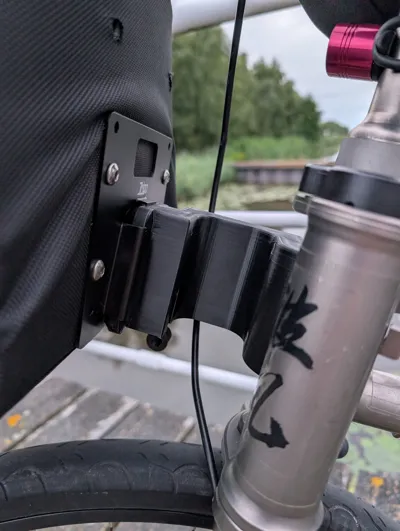
Version 2 is released with a built-in Brompton front carrier block!
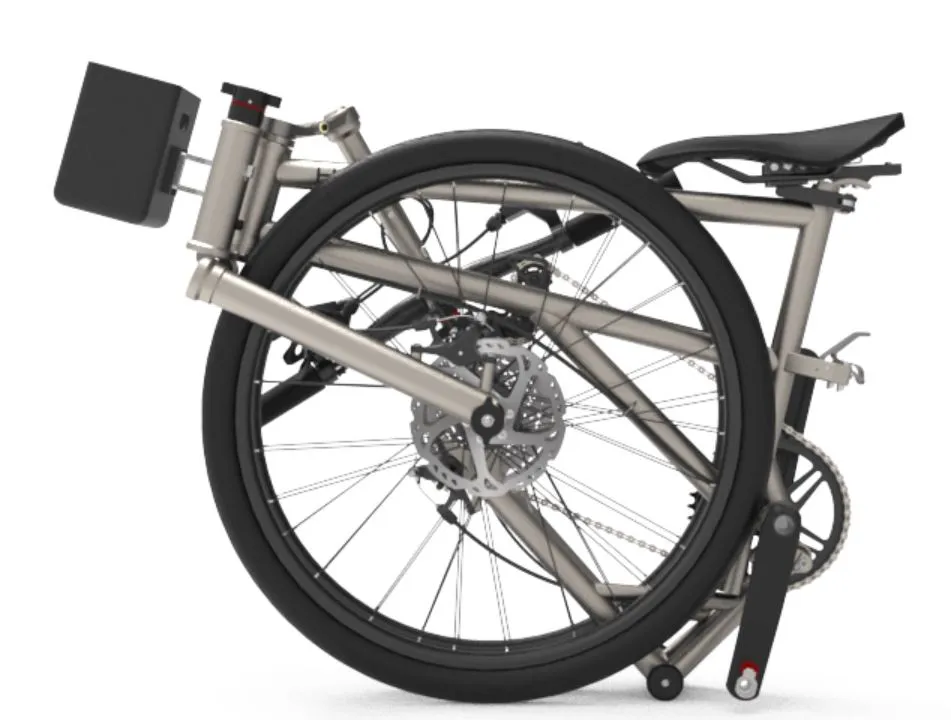
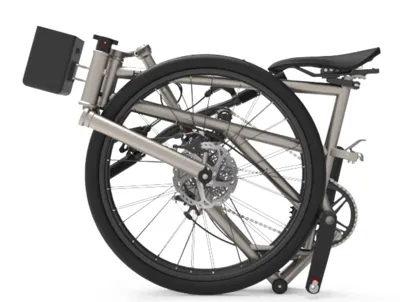
After 5 years, Helix still doesn't want to release the front mount; therefore, I am taking the matter into my own hands.
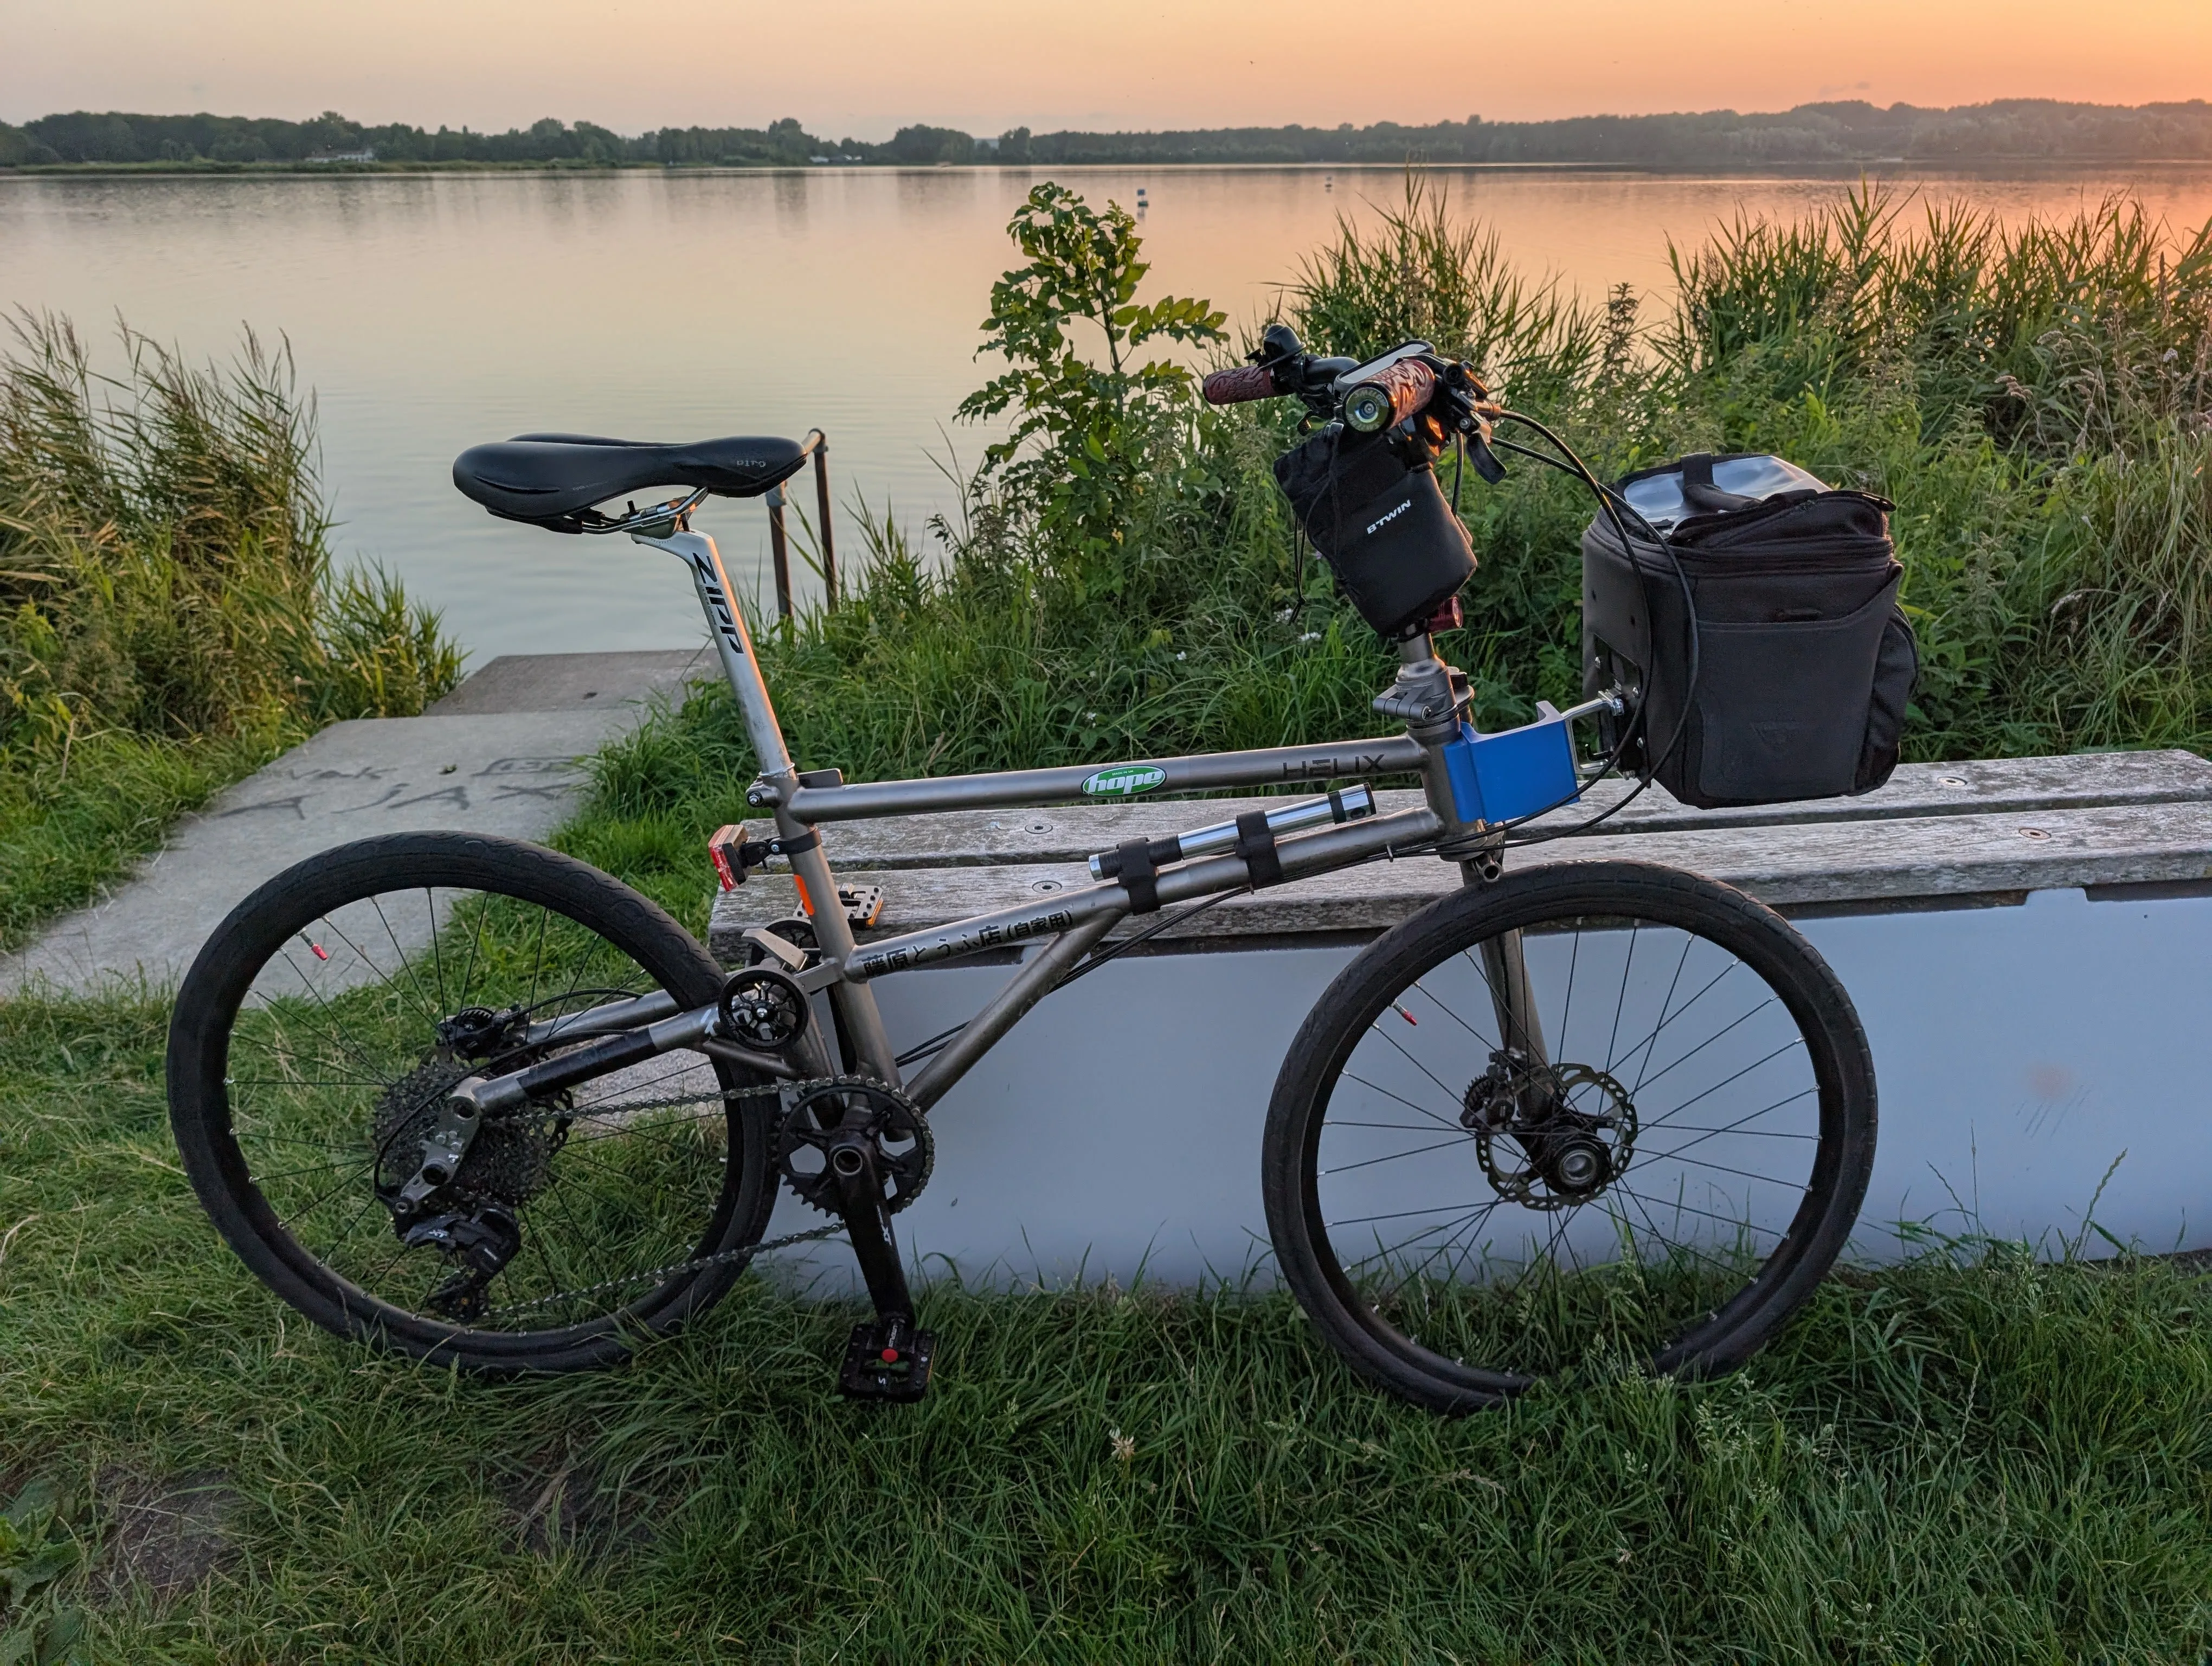
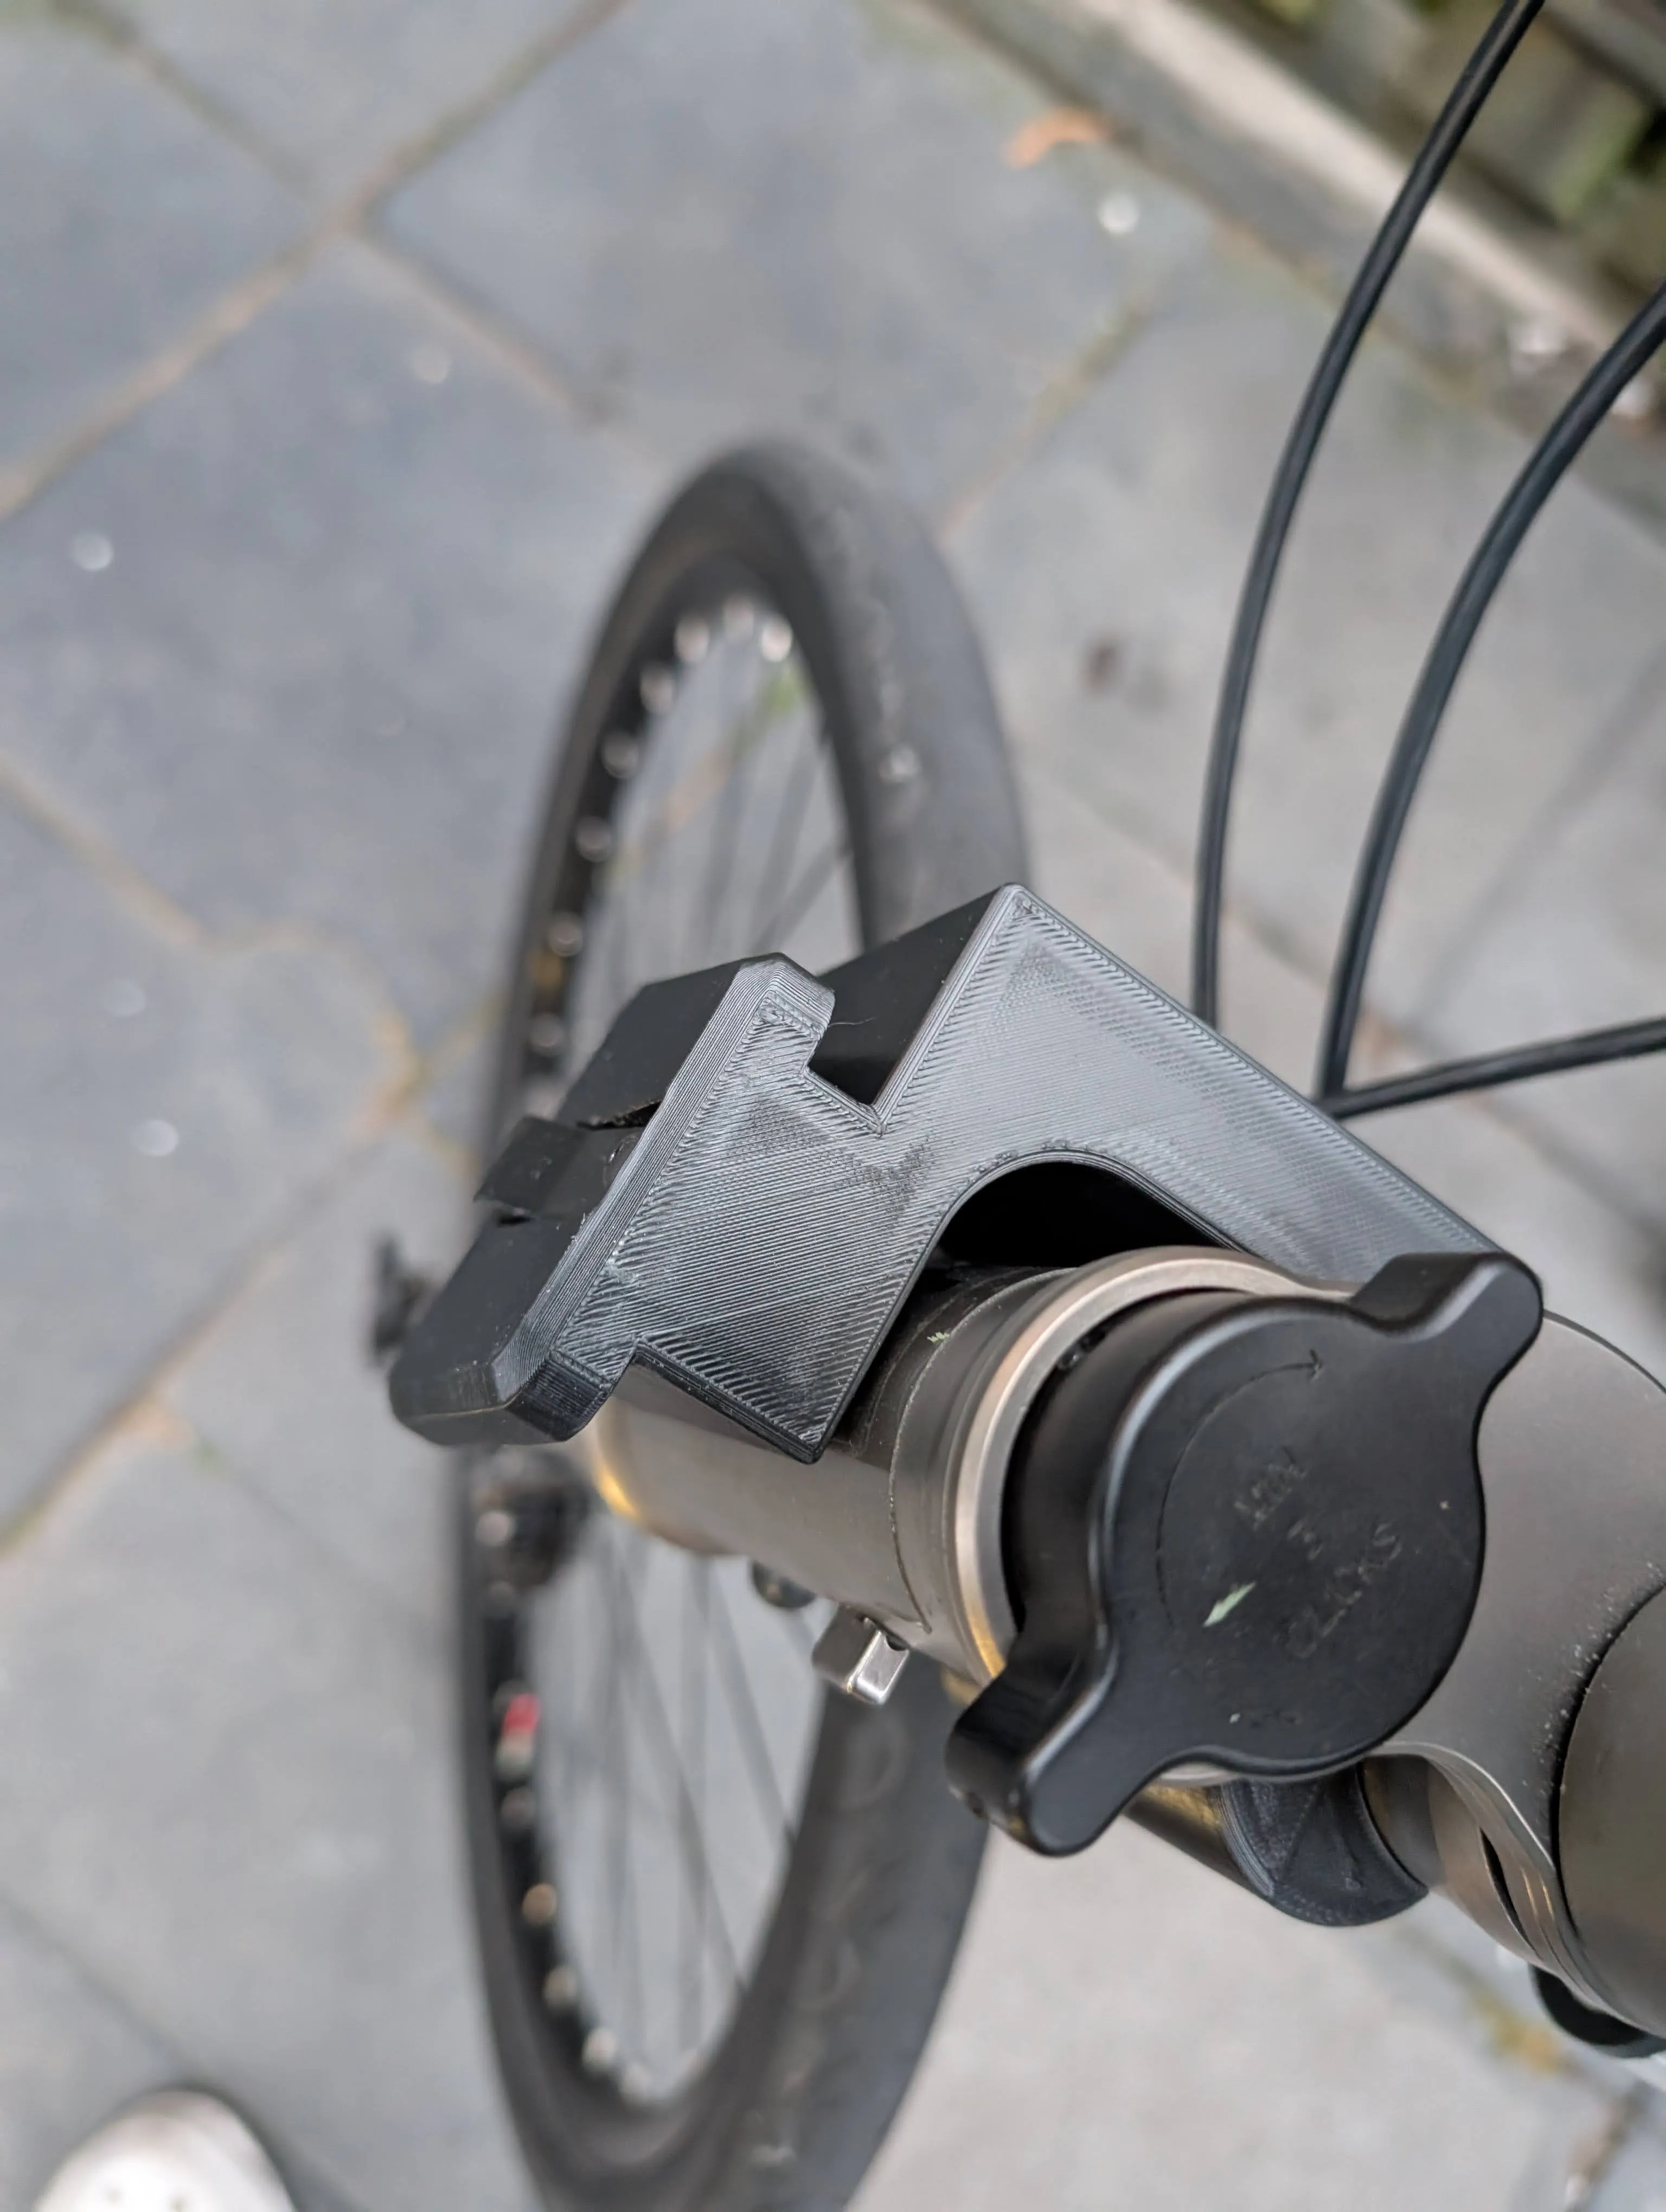
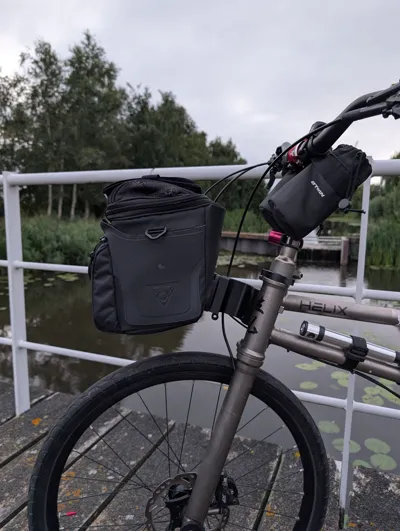
This is a beta version of the Helix to Brompton front carrier block converter. So far, I have ridden about 40km with 2L of water. The PLA+ mount somehow survived. Therefore, I release it.
Use it at your own risk!! This mount can break or snap in a second!!!
The V1 mount is designed to be used with a third-party block; however, the official block should also work, but you will need a long screw with it.
V2 has a built-in carrier block, you do not need to buy 3rd party block.
You will also need:
- 4 M5x25mm countersunk screws
- 1 M4x10mm screw (for v2)
- 2 M5 nuts
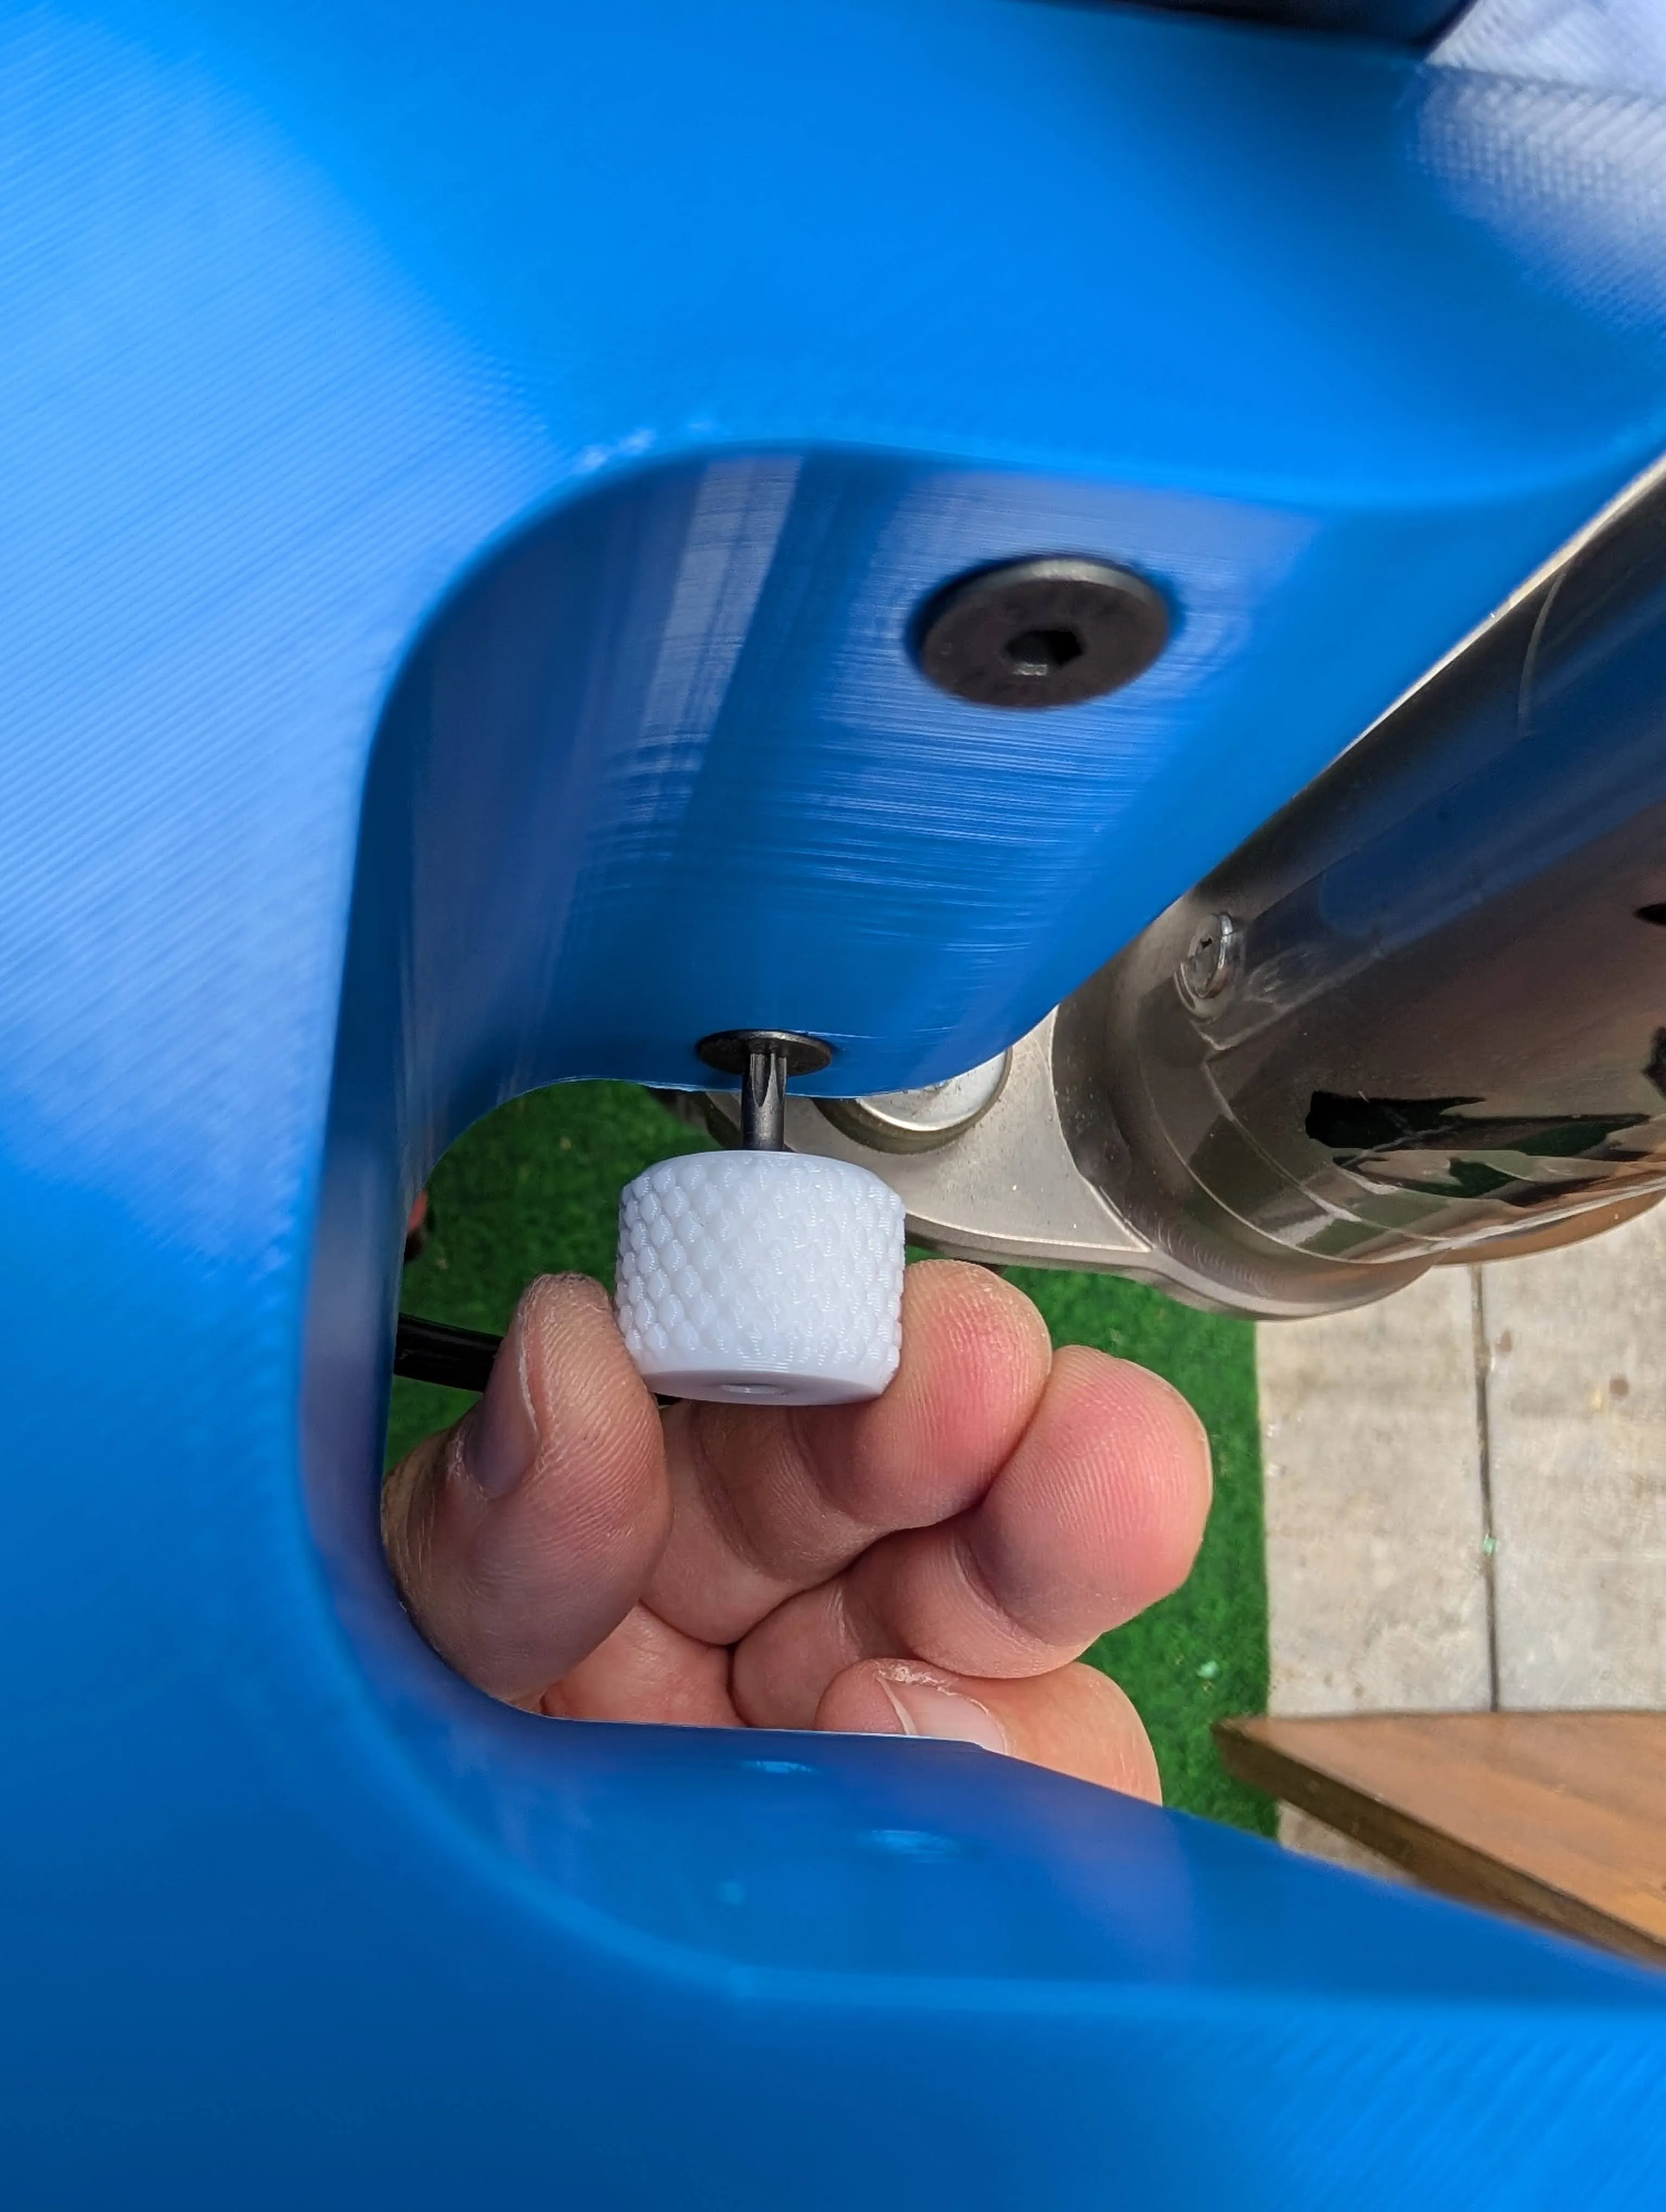
You should print one of this for the screw.
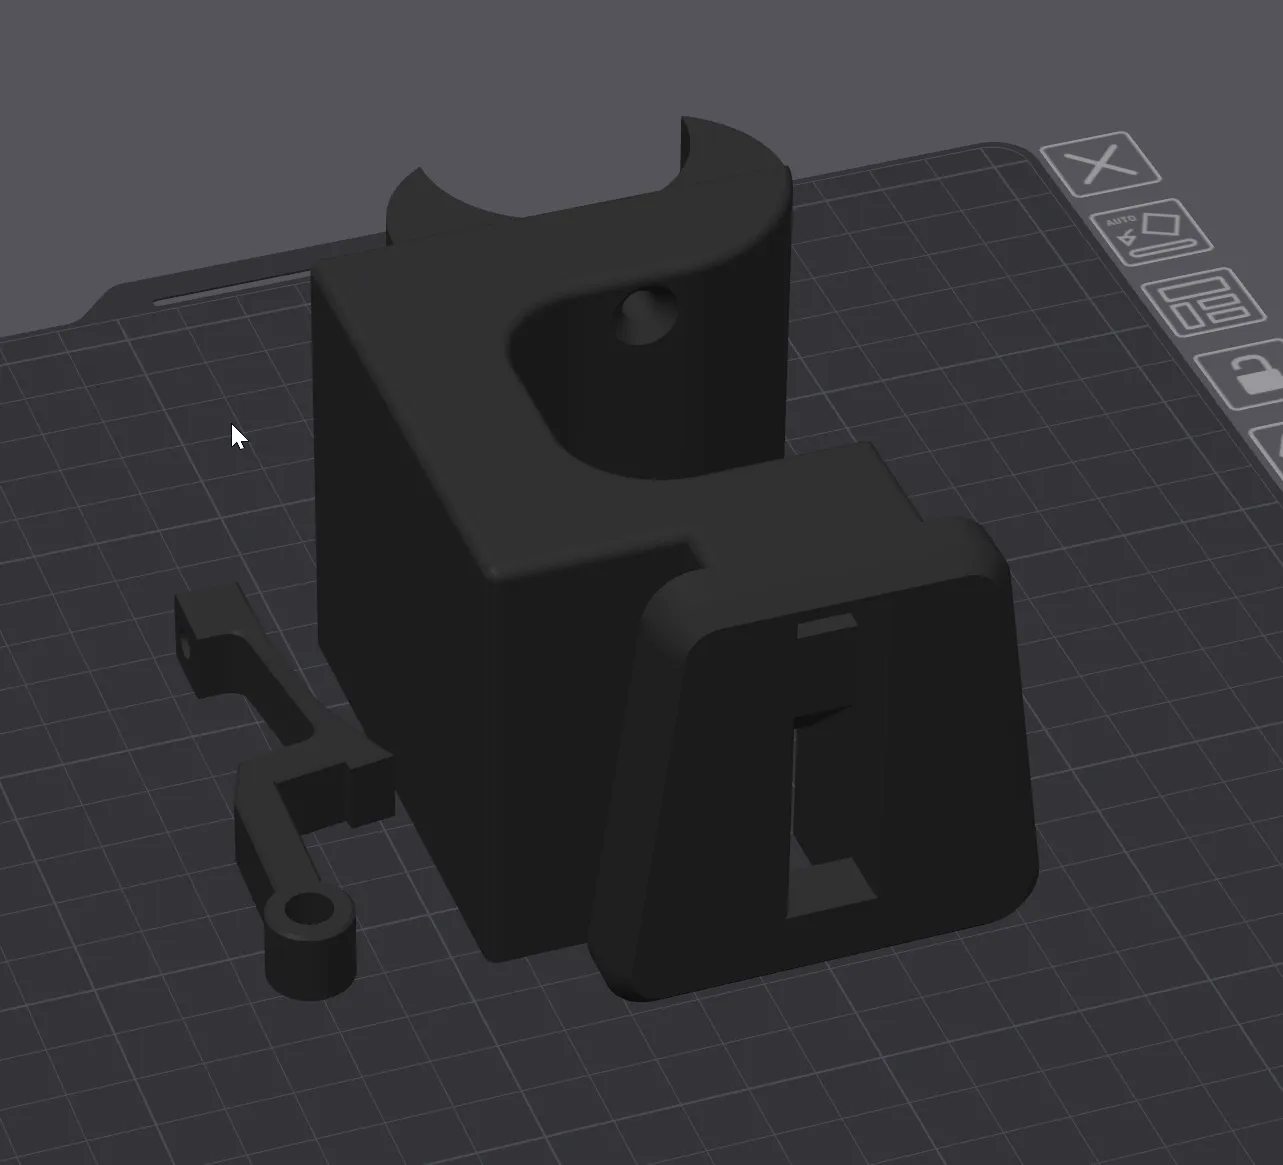
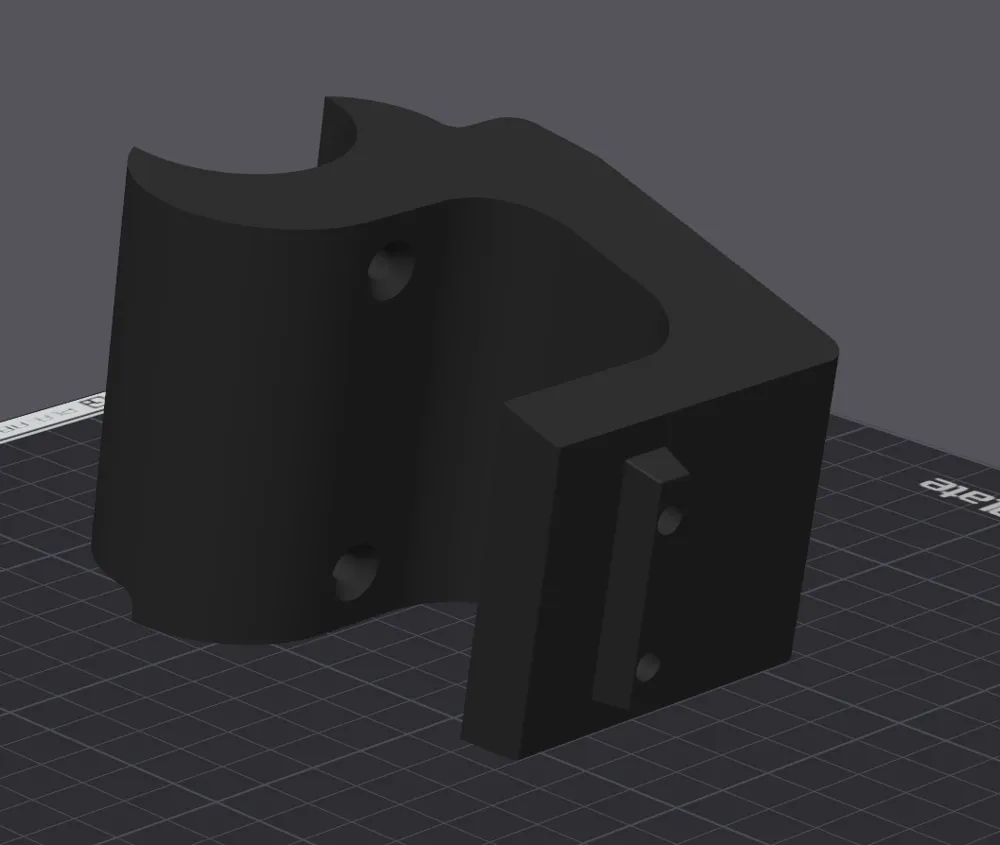
For V1: In the print profile, you can see I put the mount in an angled position. This is for the maximum layer adhesives. The mount 100% will snap if you print it flat, since the screw will act as a lever and pull your print apart.
For V2: We can print the mount flat, because we do not have screw in the front.
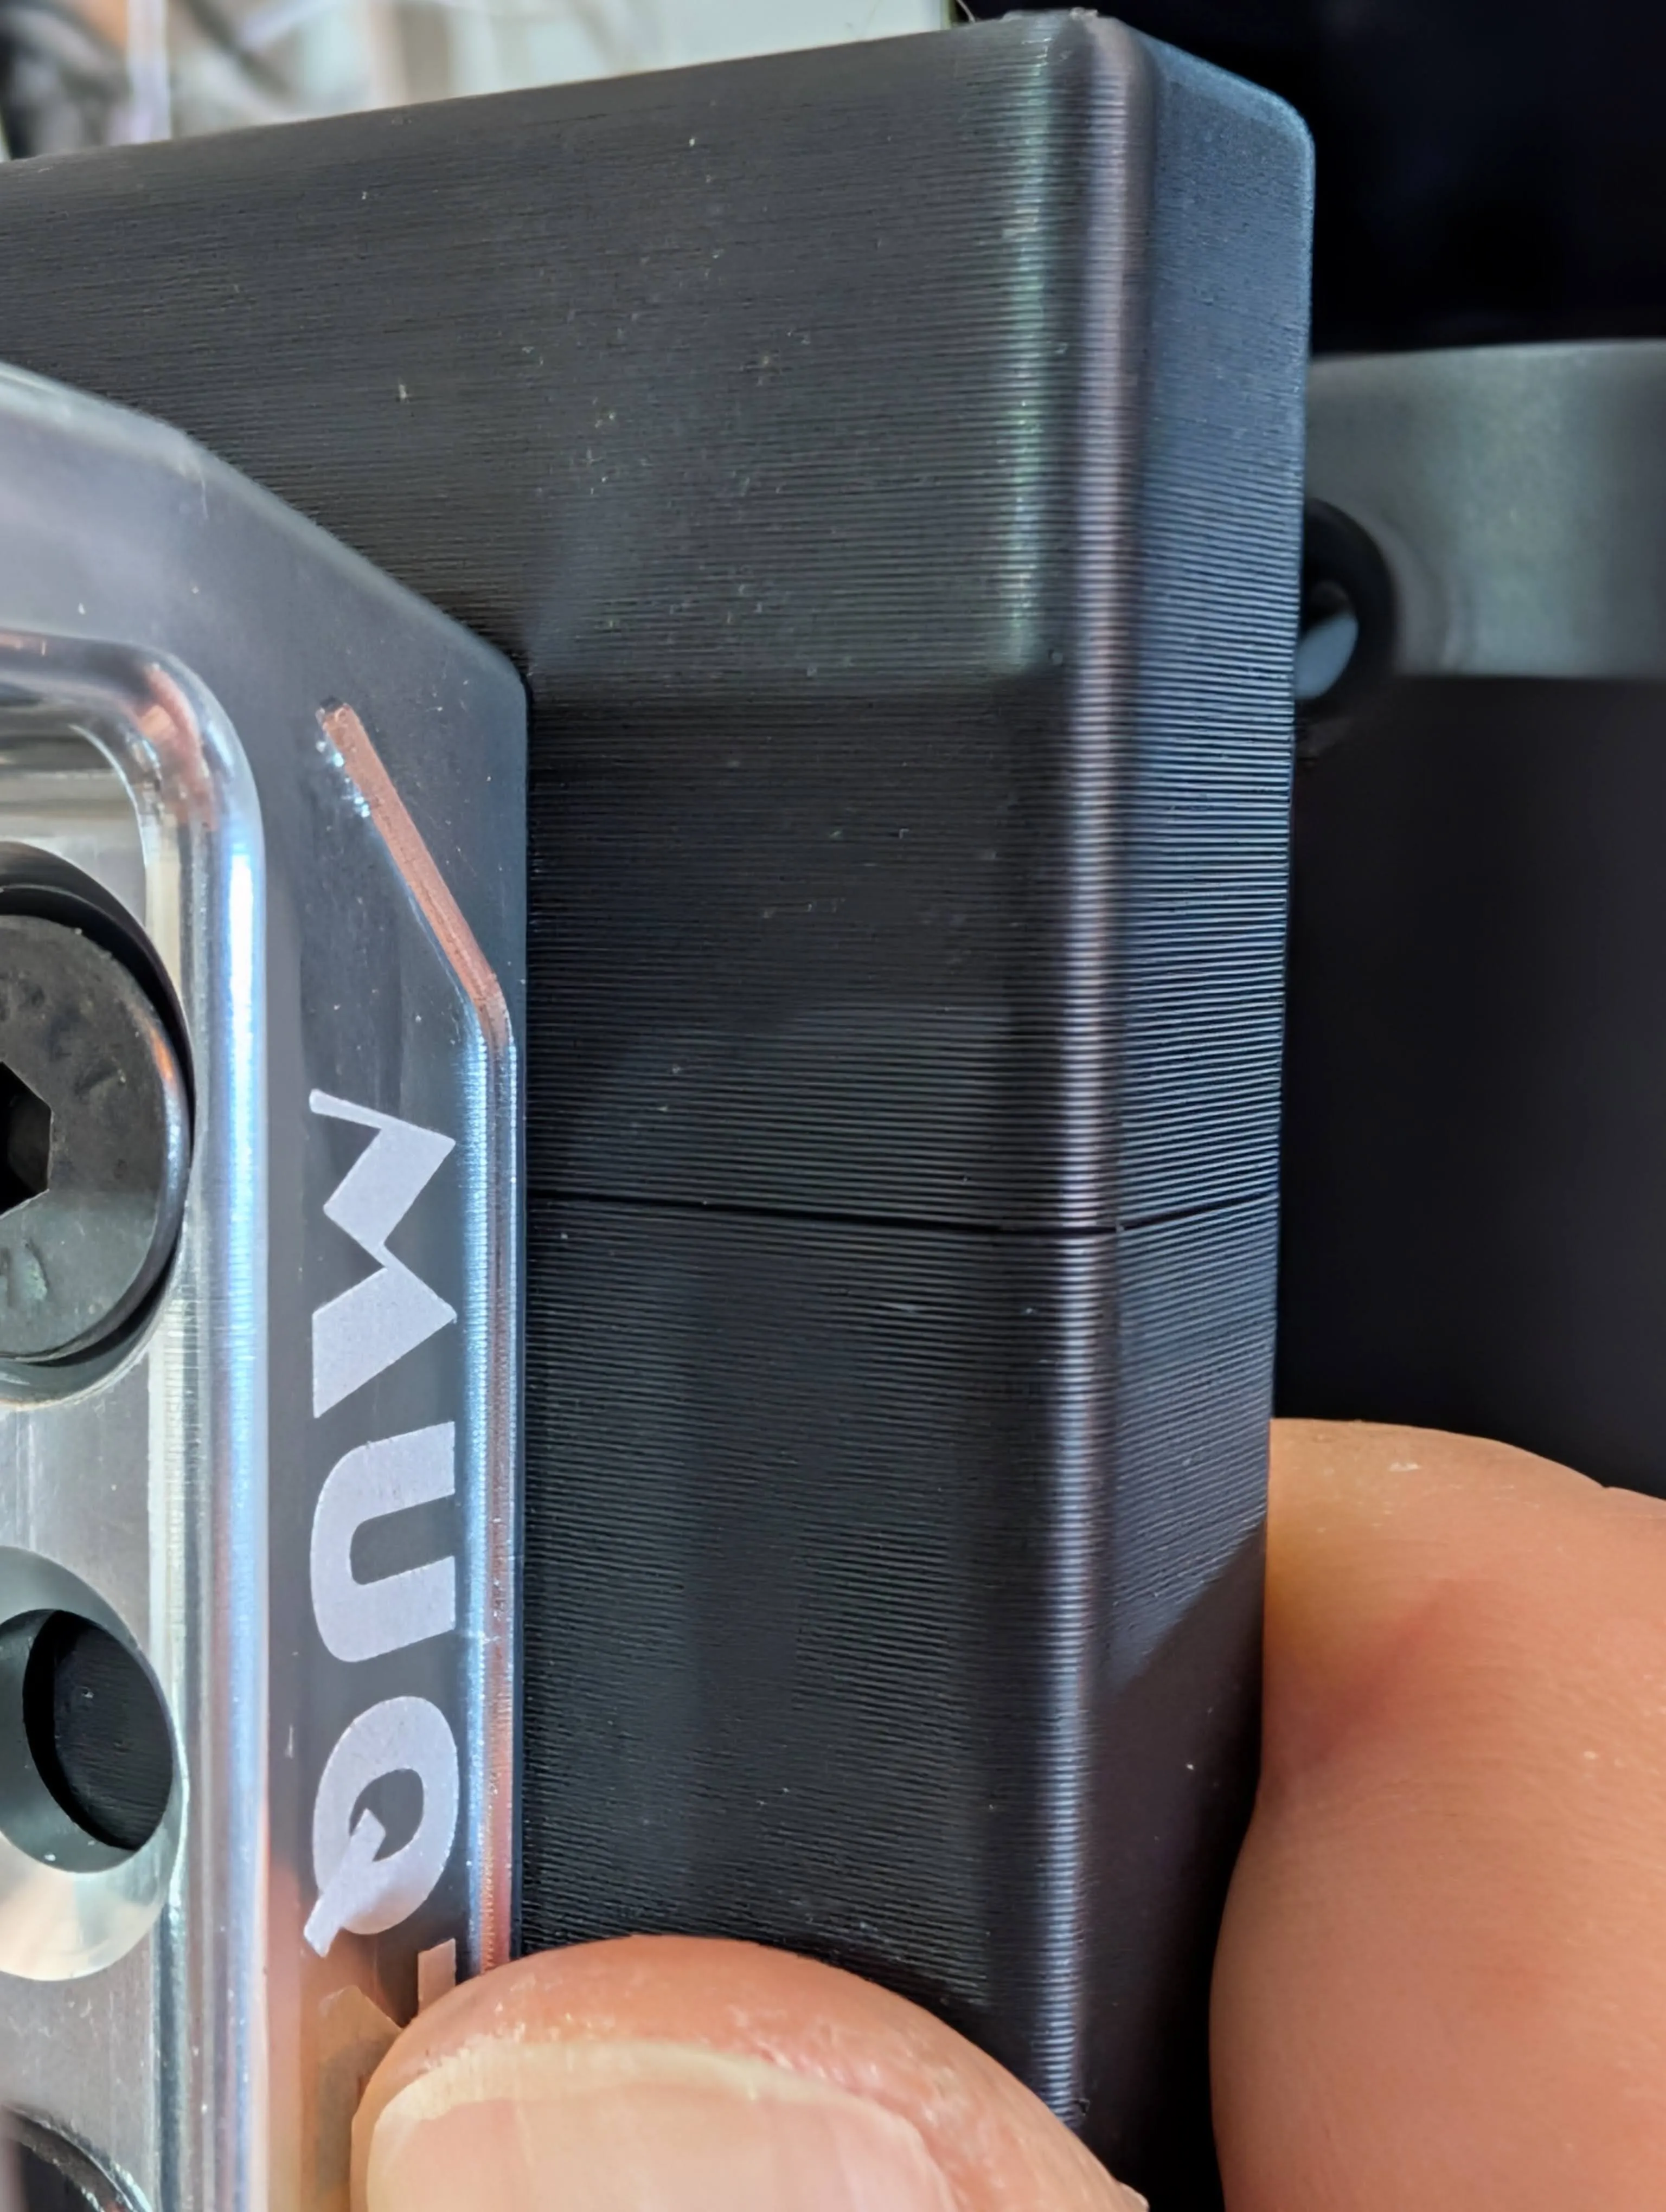
What filament to use? You want something with good layer adhesion, good impact resistance, and some flex. Strength is not that important due to my oversided thickness design.
For V1: Do not use ABS/ASA, as they have extremely poor layer adhesion; they snap very quickly in my test. I am going to try easy PA, the spec looks good.
For V2: Tested with ABS and PA, works great. Do not use PETG, cracked vertically.
License



Comment & Rating (0)