
7.62 NATO Ammo Box – 100-Round M13 Belt Style

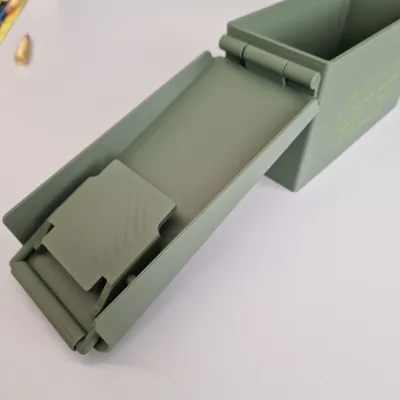
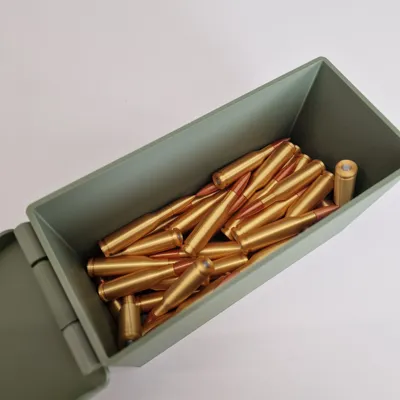
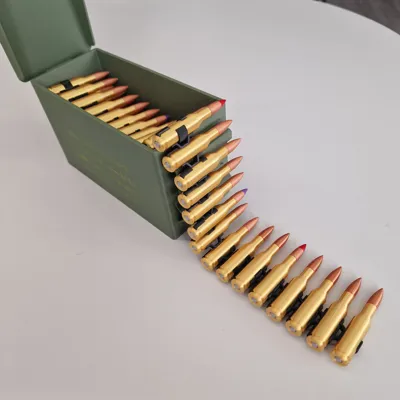
Print Profile(1)

Description
Boost Me (for free)
Boost me to support my work and help me create more awesome models!
7.62 NATO Ammo Box – 100-Round M13 Belt Style
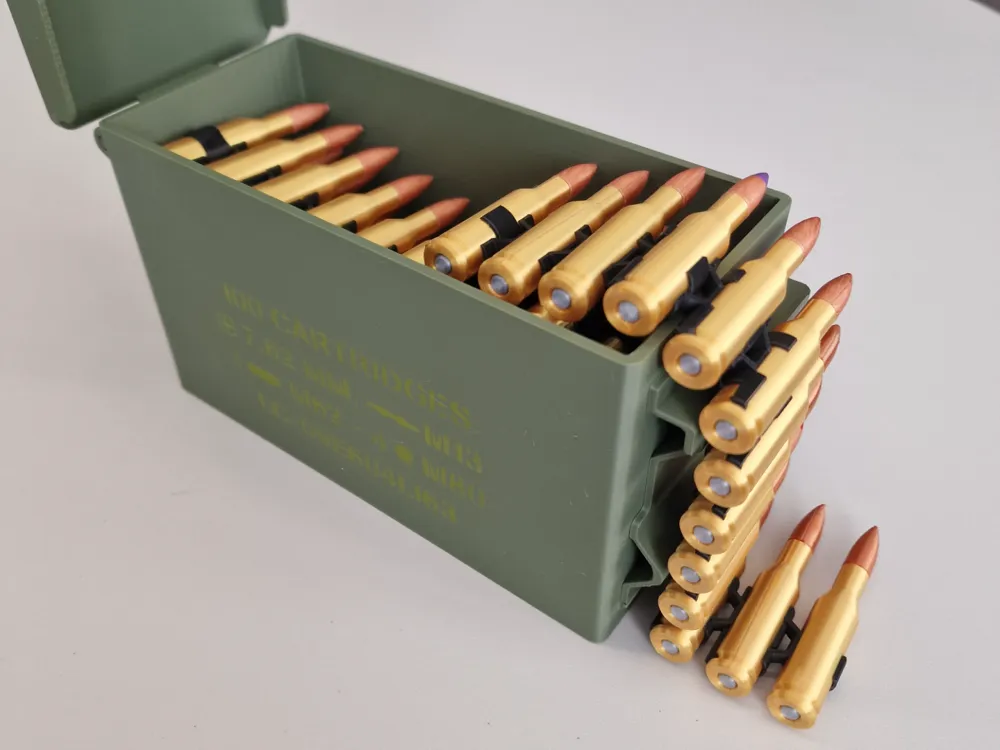
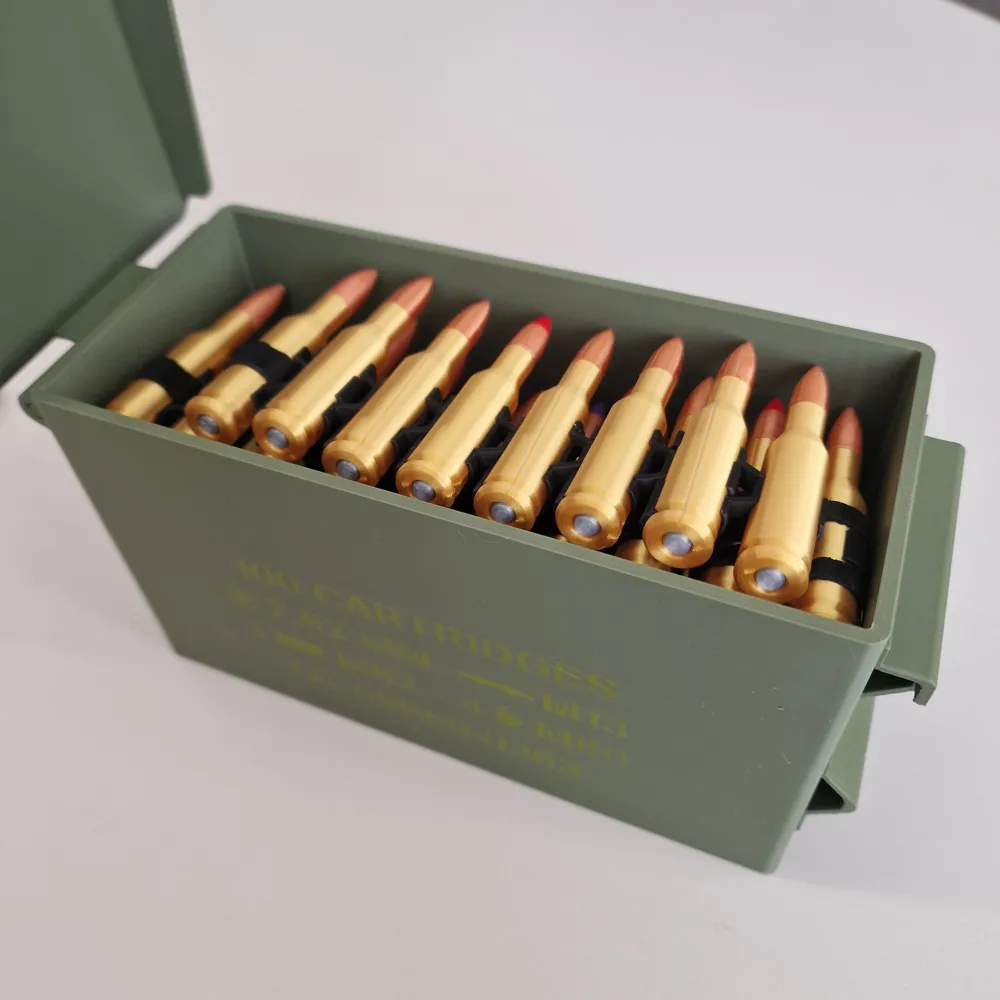
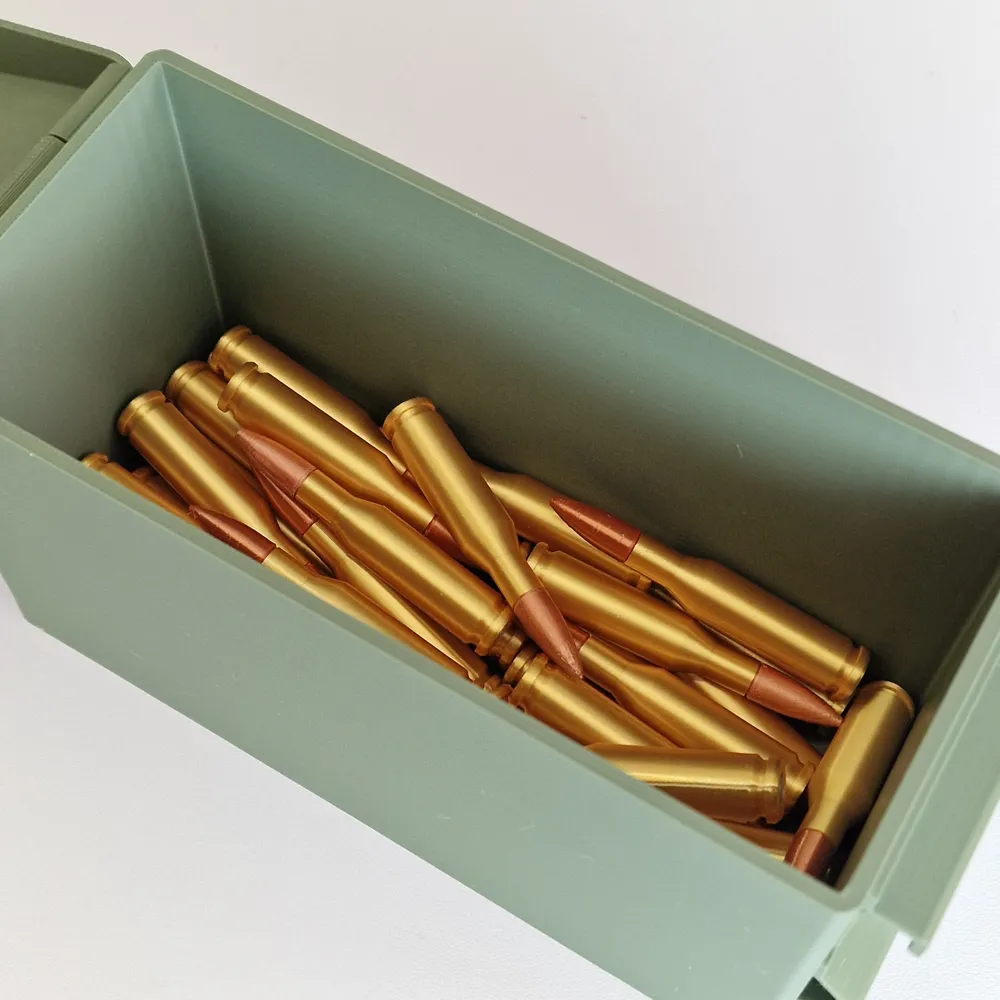
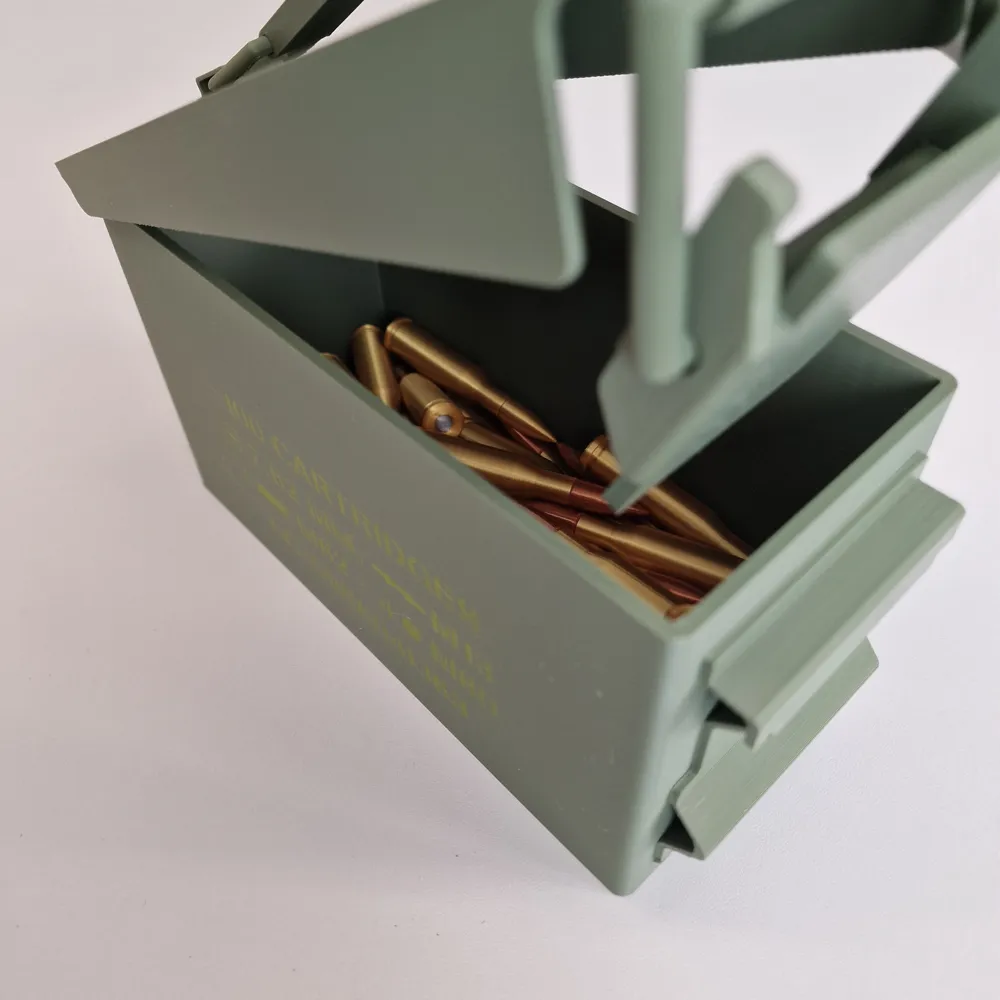
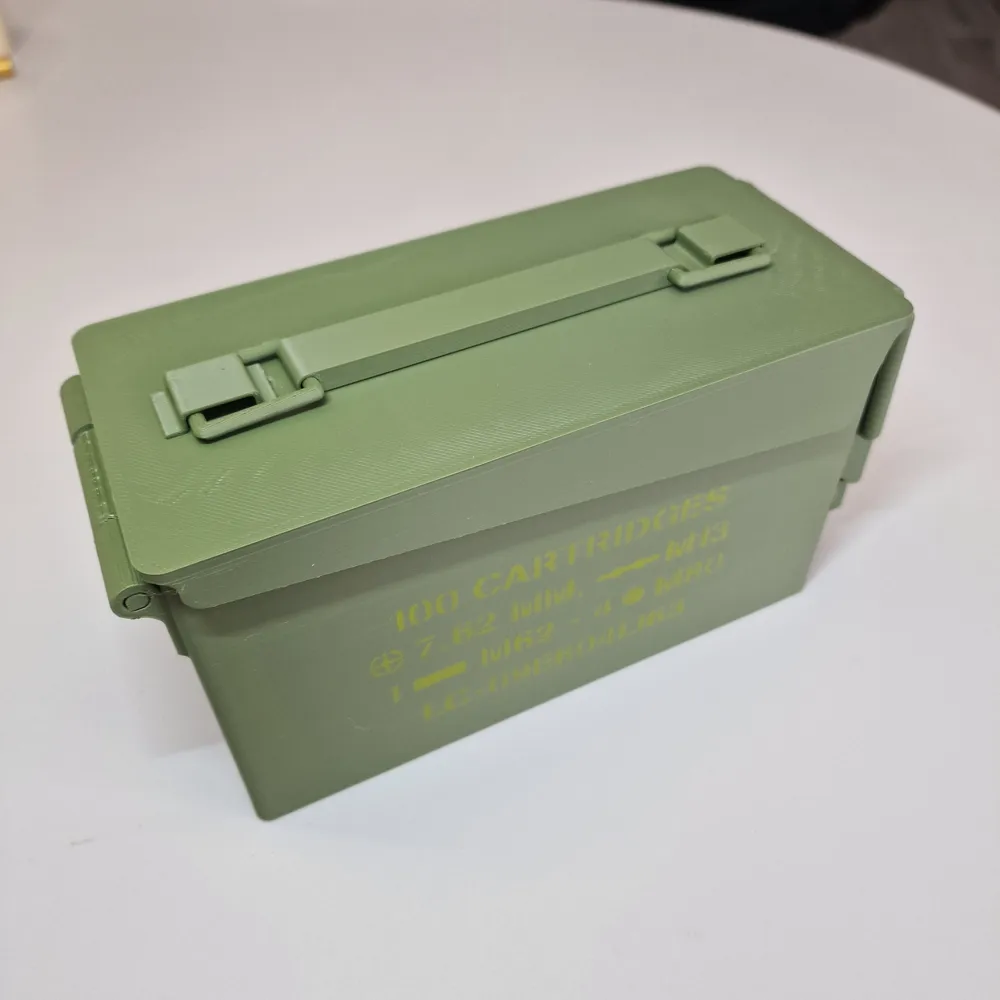
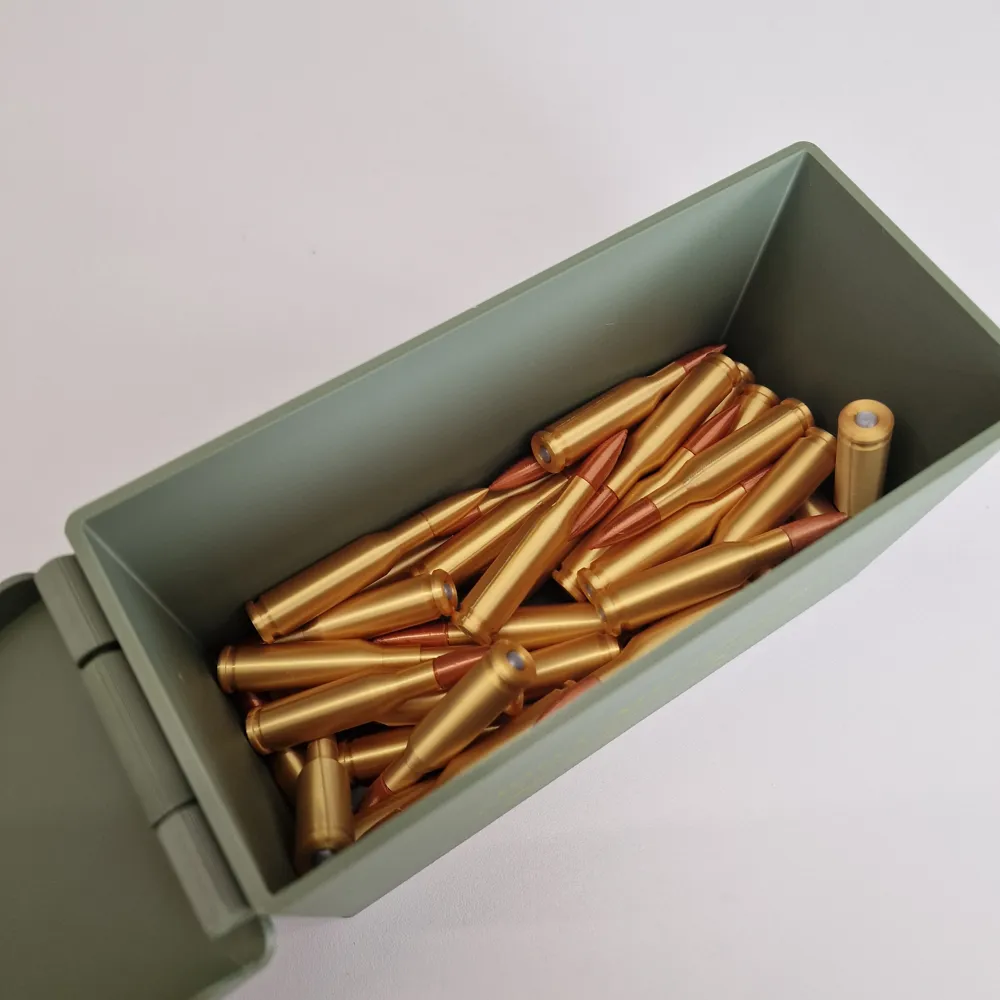
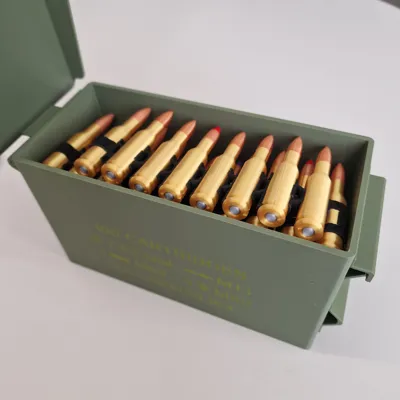
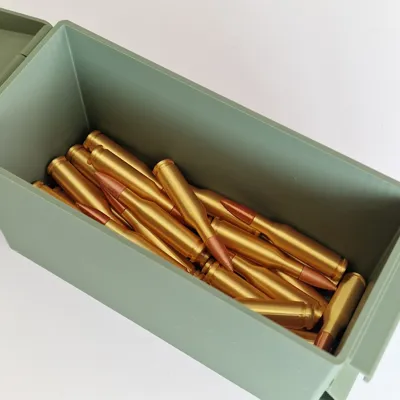
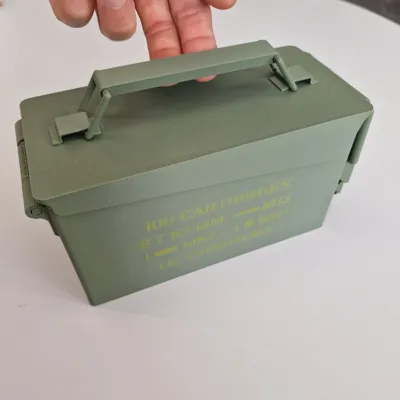
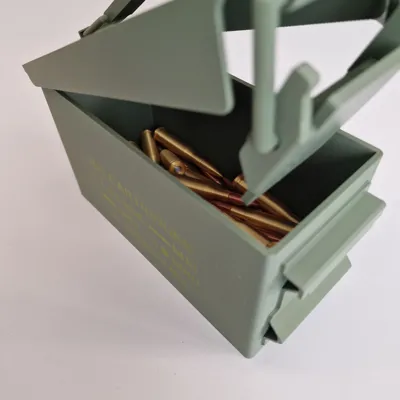
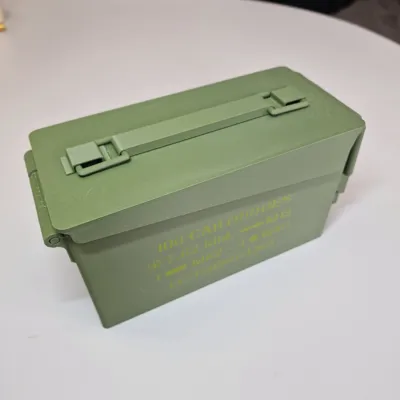
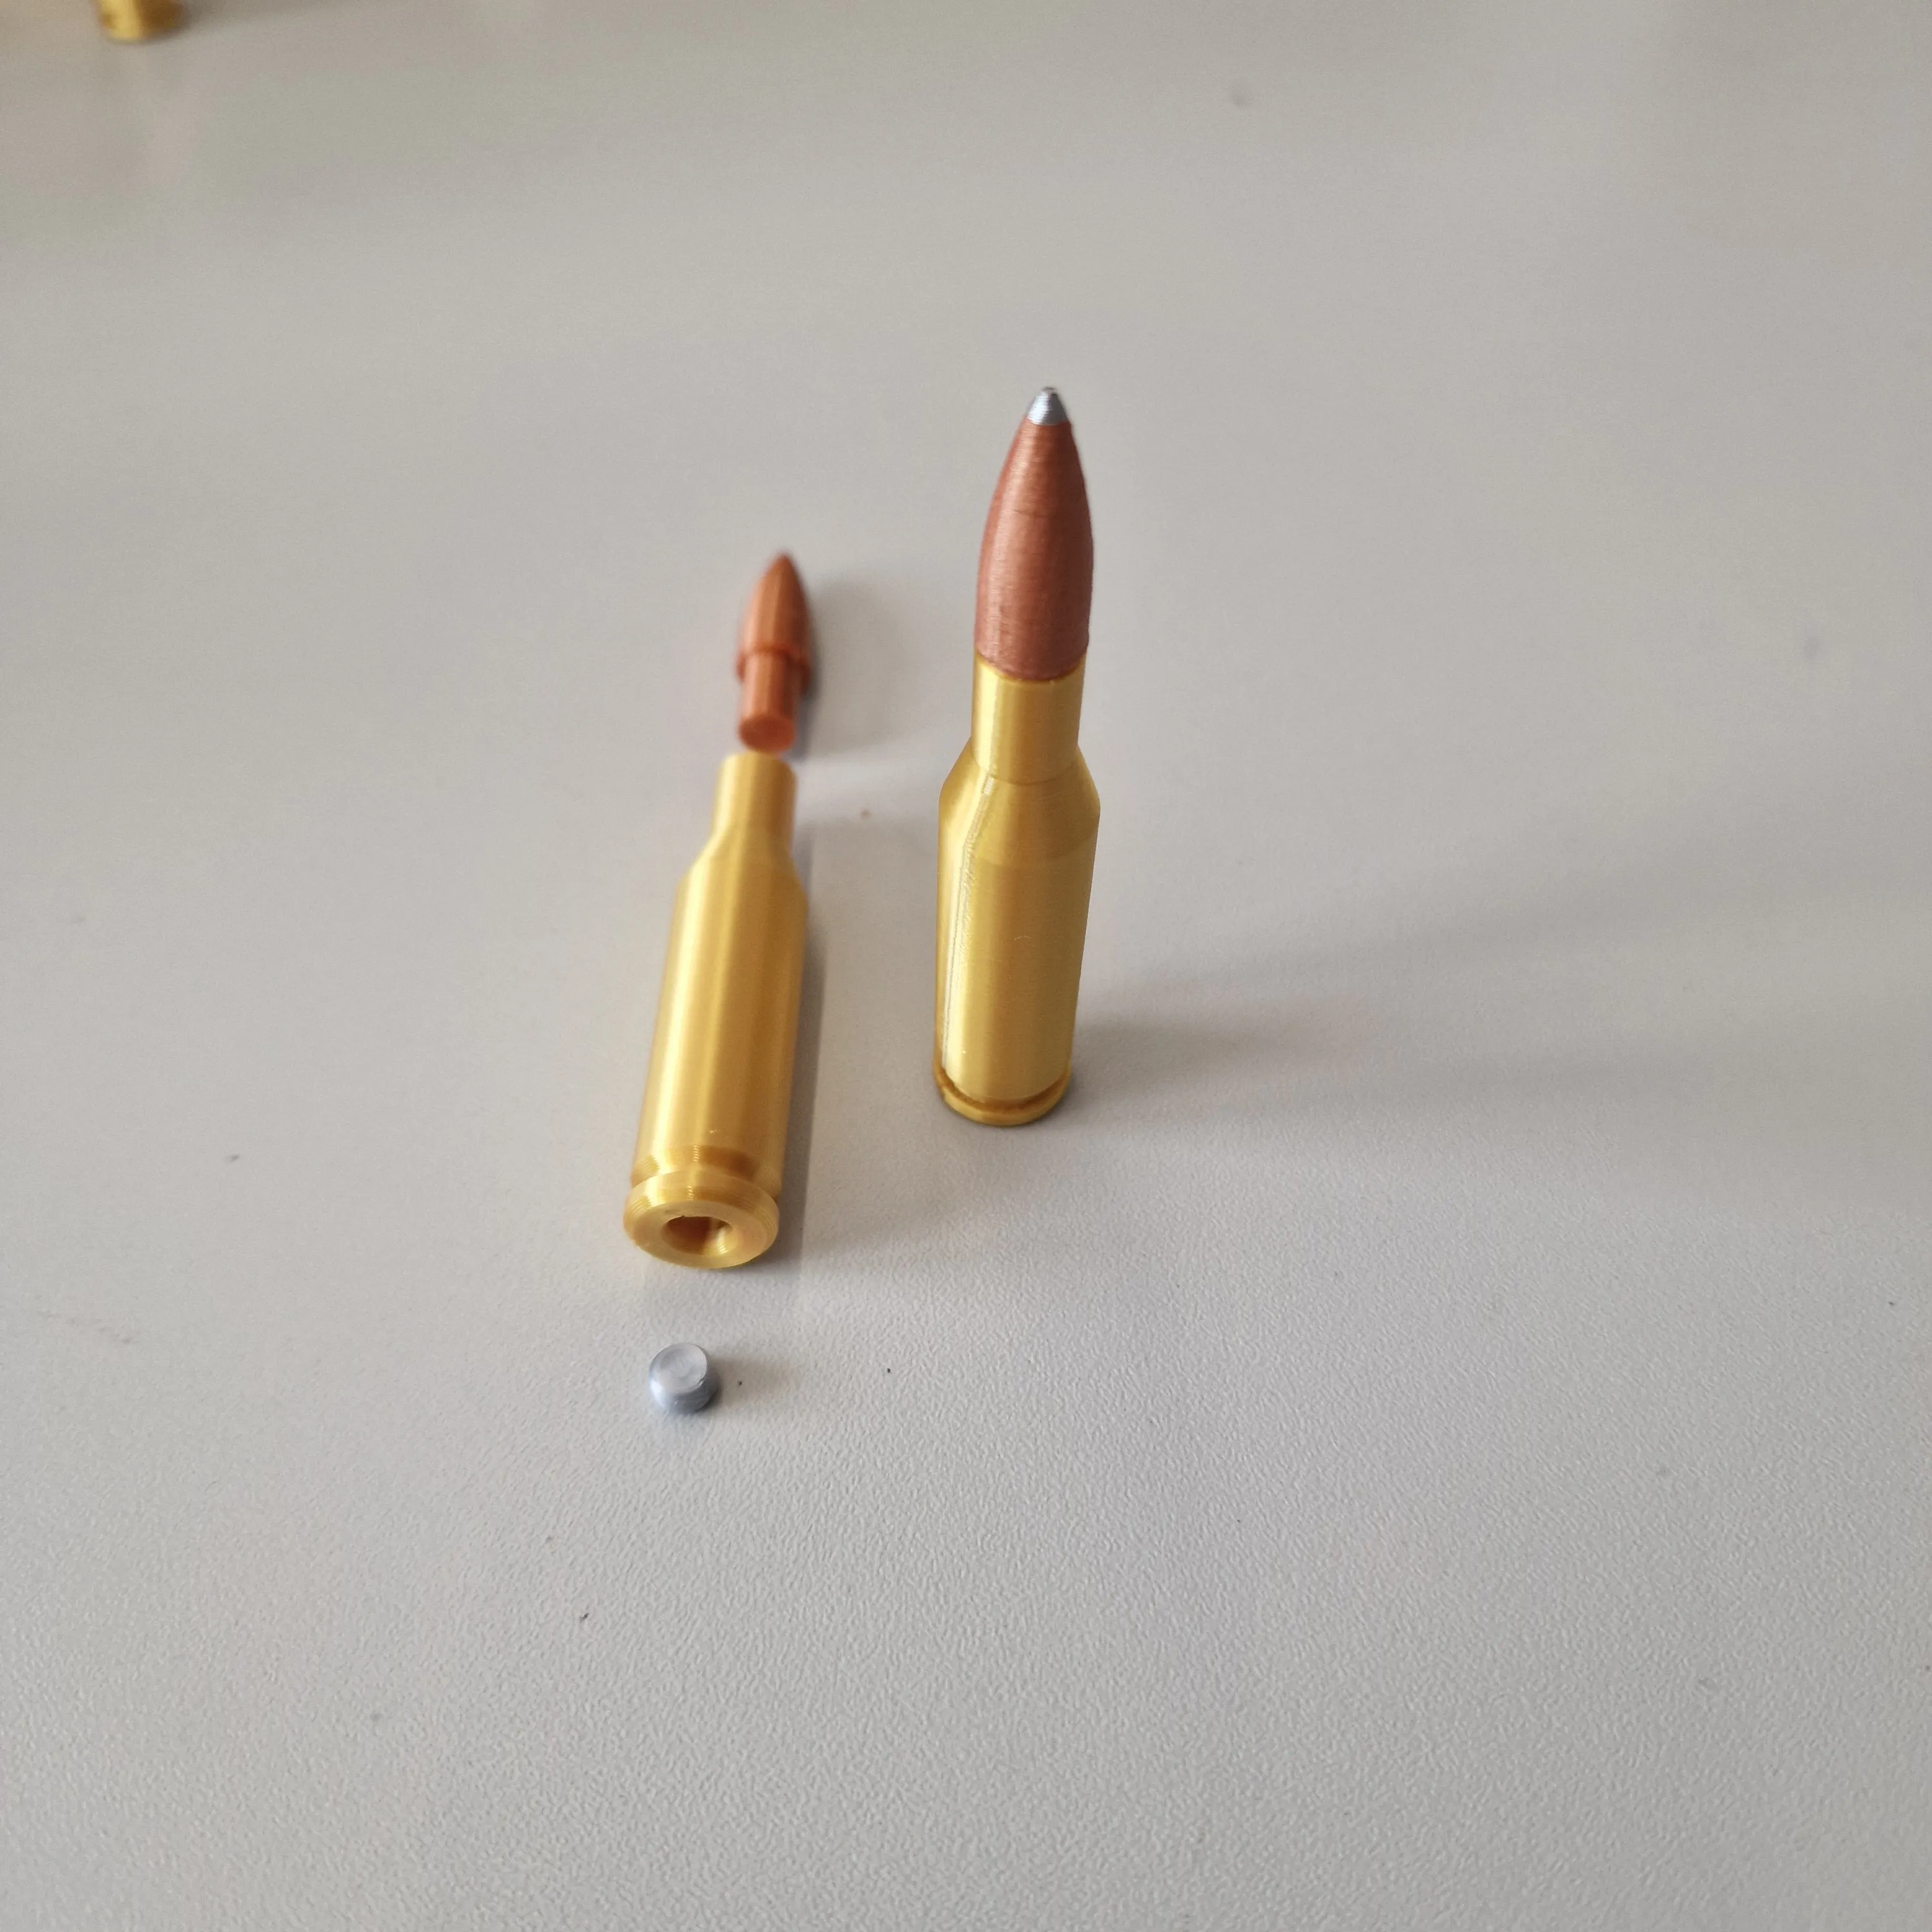
This is a realistic 3D-printable ammo box designed to hold around 100 linked 7.62 NATO cartridges (snap-fit models), just like the real steel M19A1 ammo cans used by armed forces.
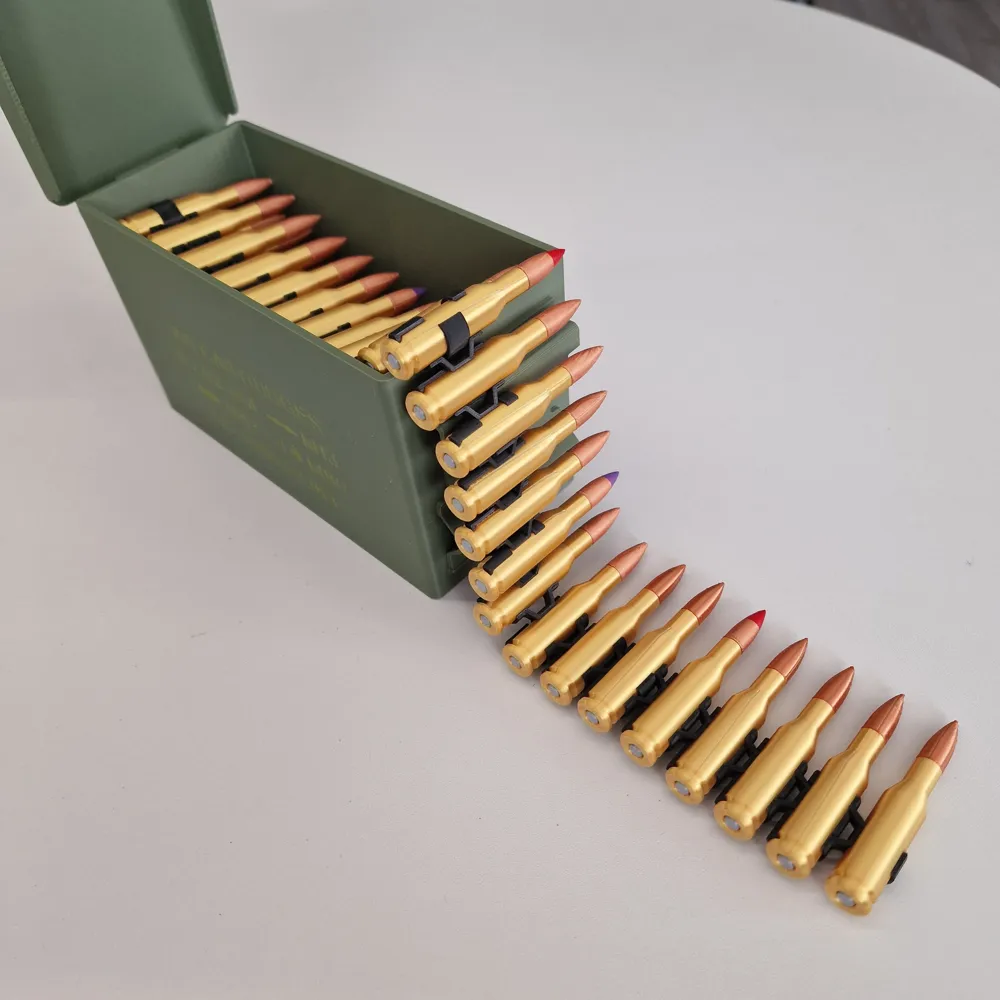
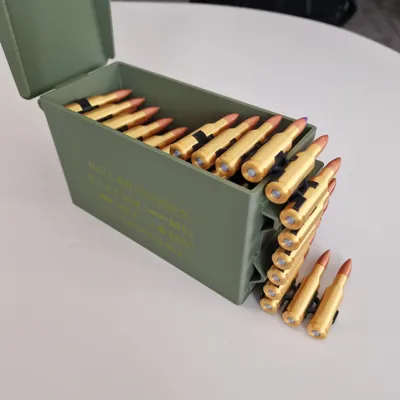
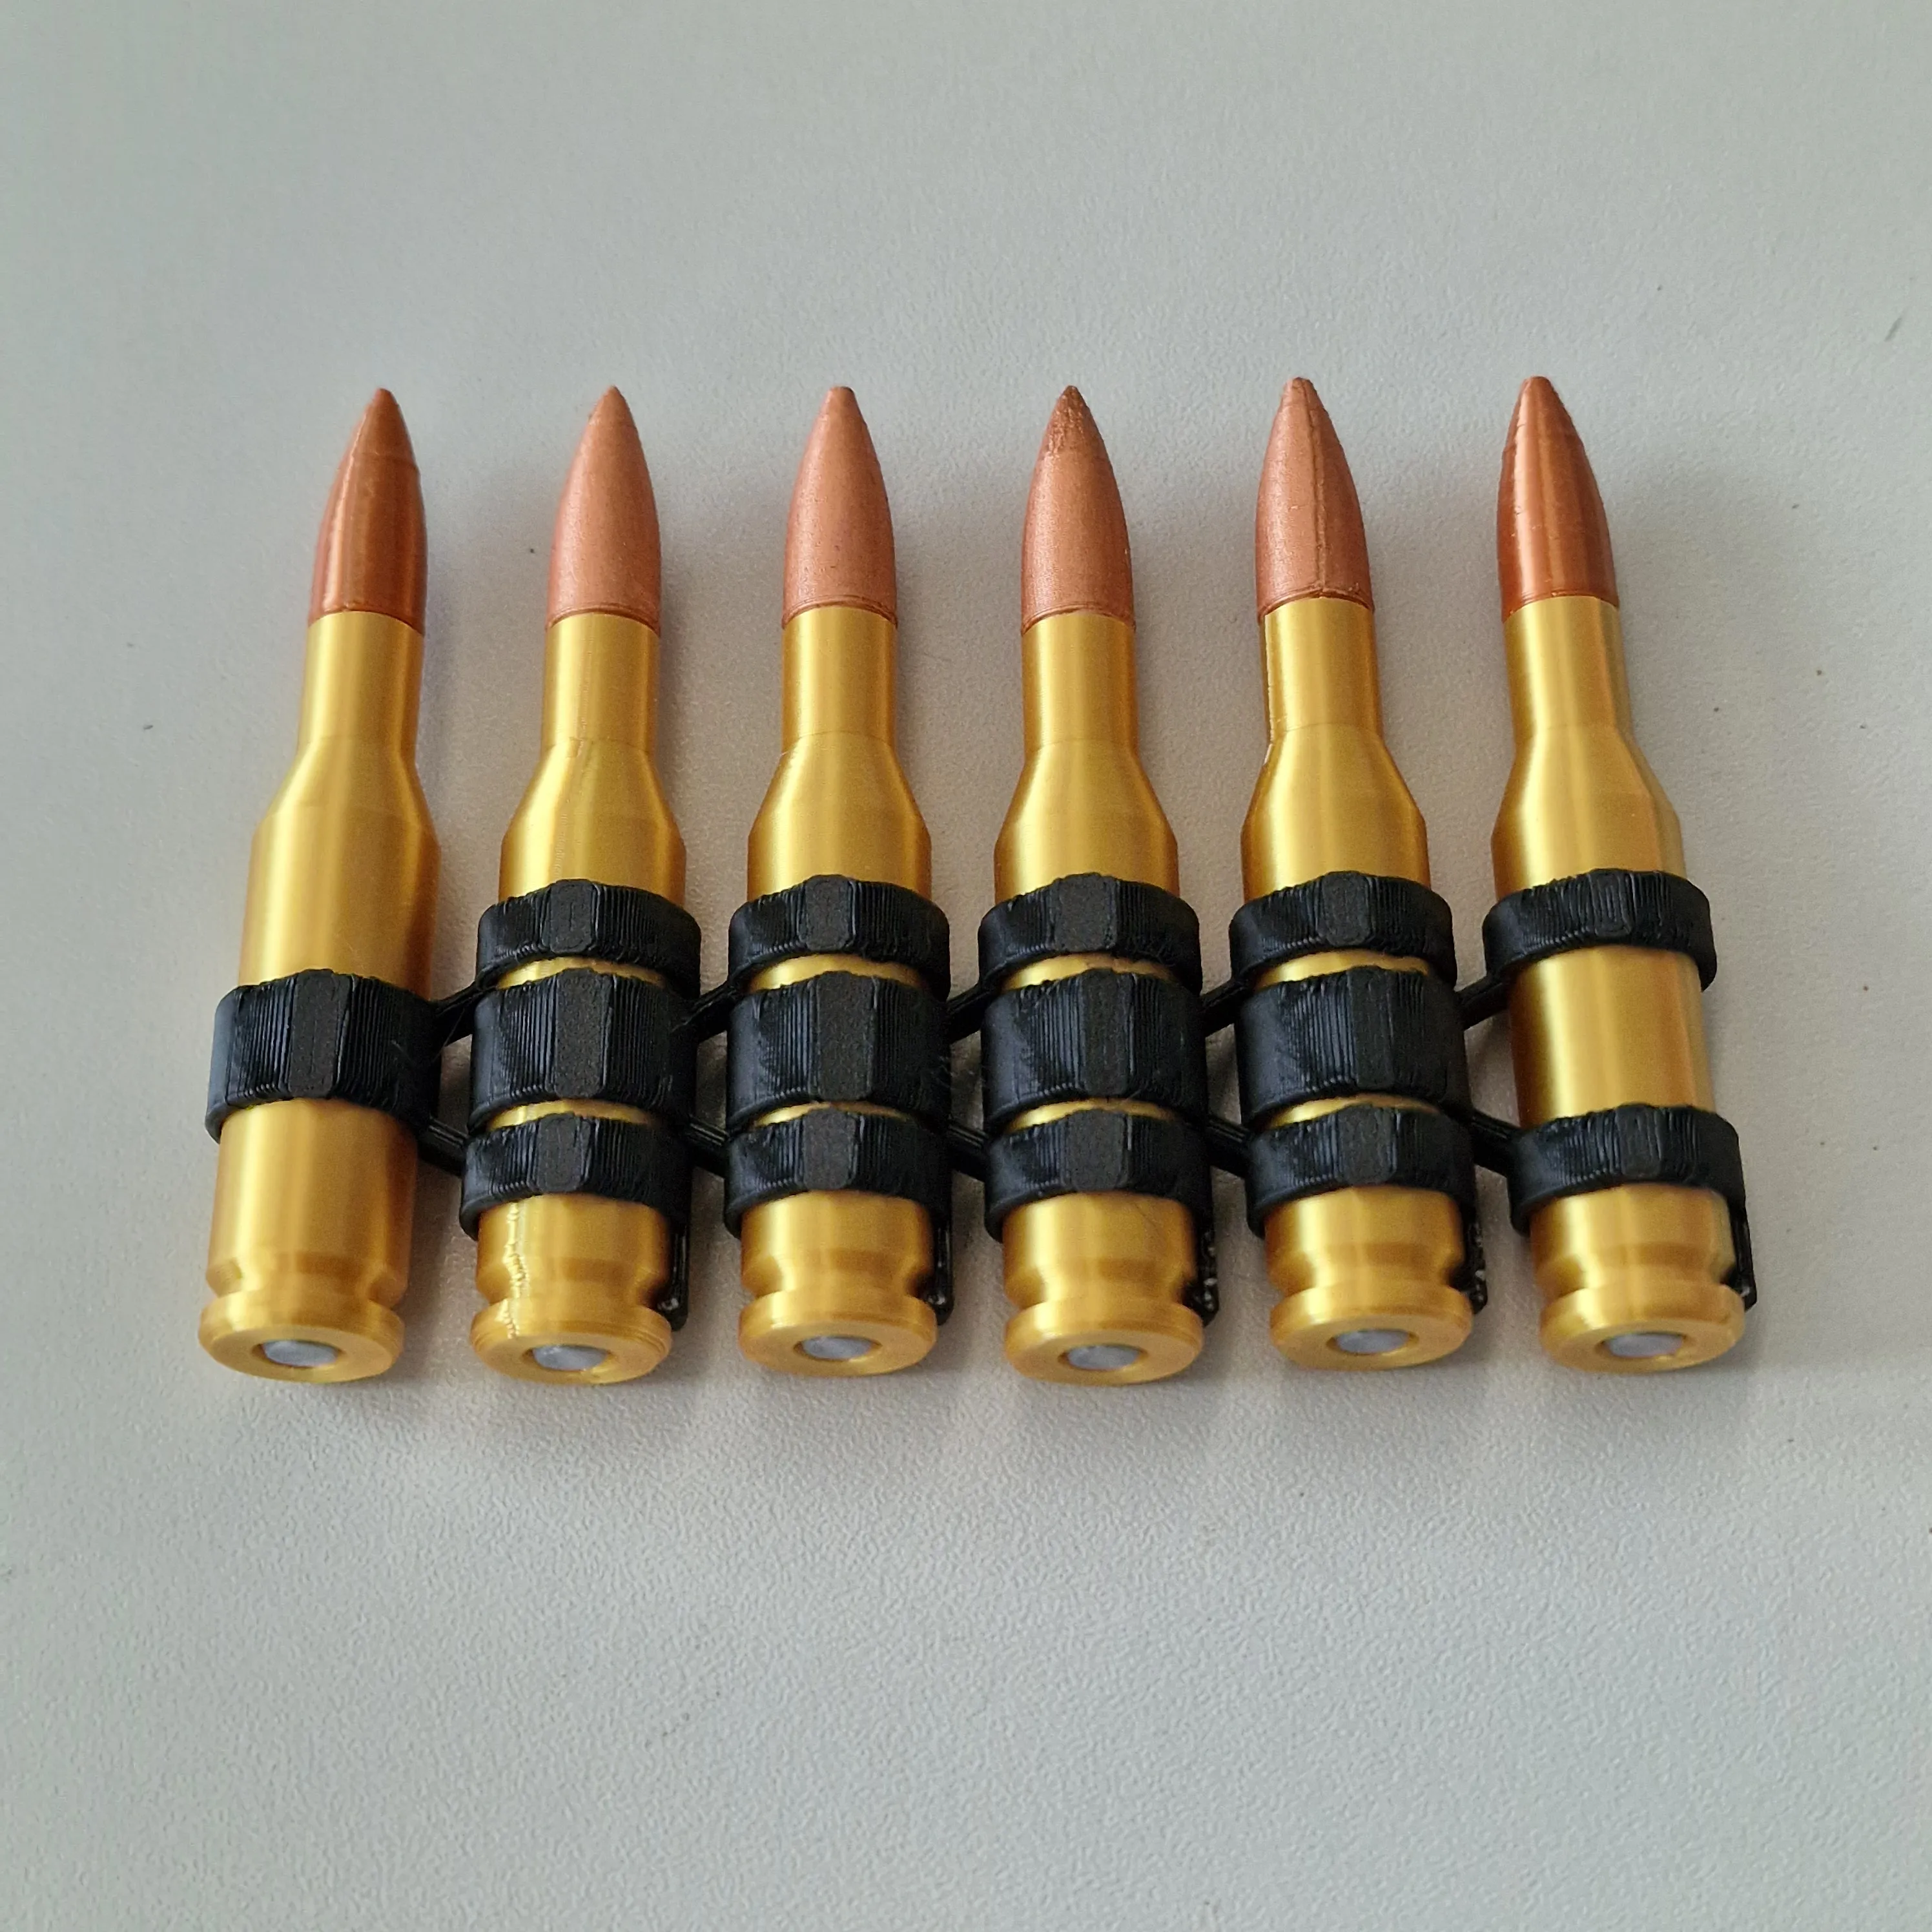
Designed specifically to fit cartridges connected with M13 disintegrating links, this model lets you recreate a full ammo belt ready for action — perfect for display, cosplay, or military-themed setups.
🔧 Features
- Holds around 100 rounds of 1:1 scale 7.62 NATO models
- Sized to fit linked cartridges (M80, M62, M61 etc.)
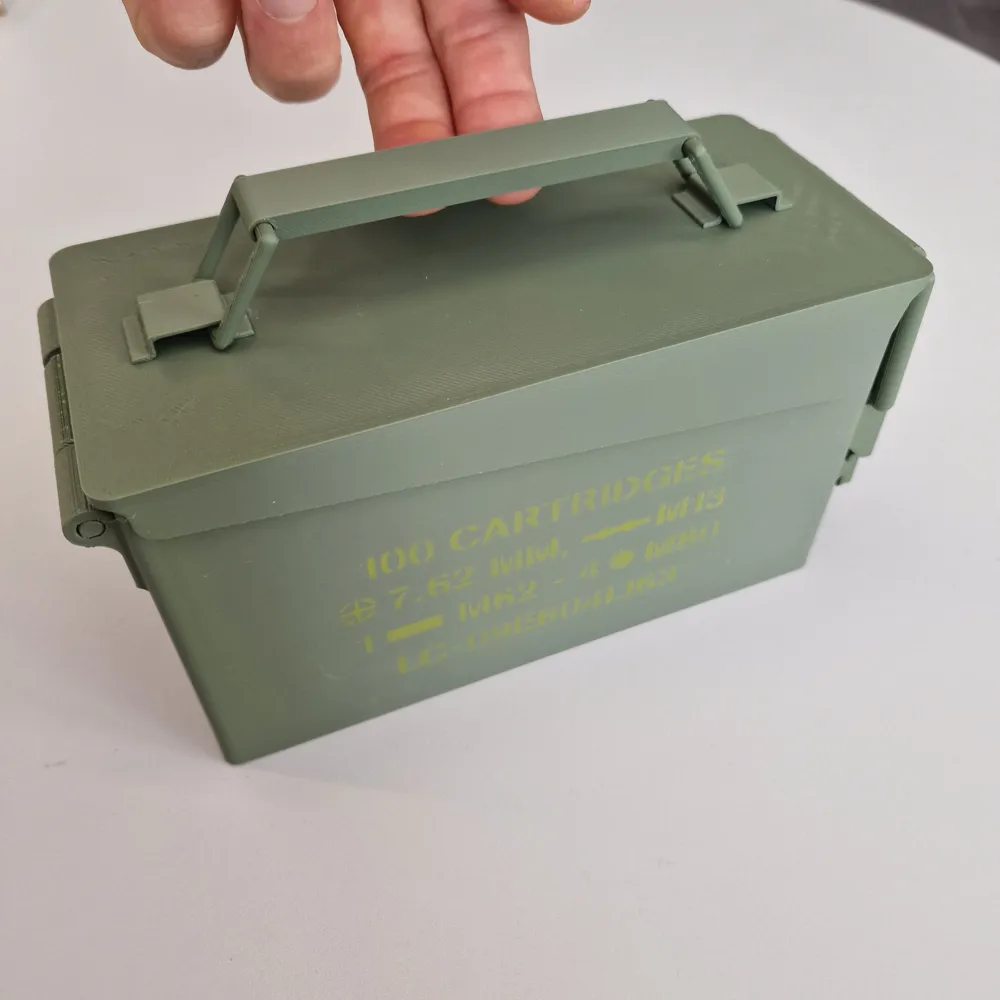
- Lid opens and closes like the real thing
🖨️ Printing Tips
- Highly reccommended the Bambu Cool Plate SuperTack
- If you want to print on other plates do a test and adjust supports according
- Use olive green filament for military realism
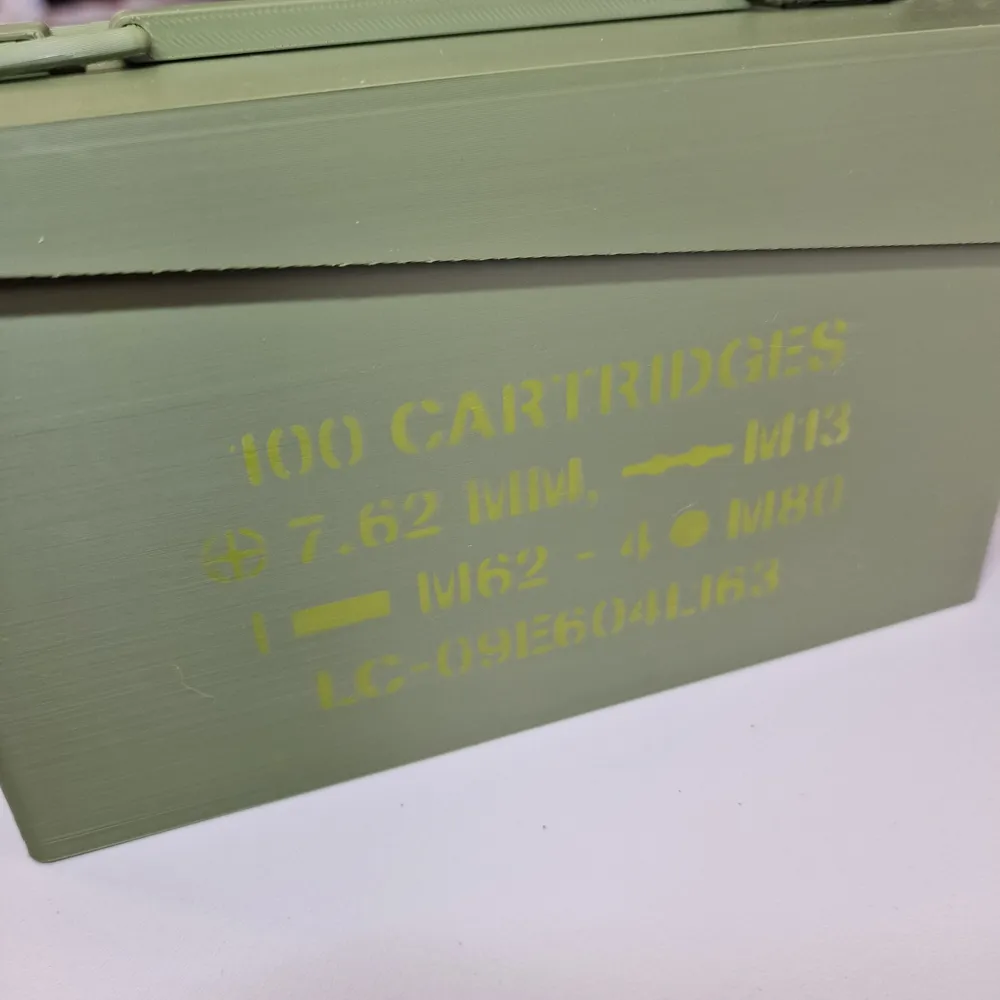
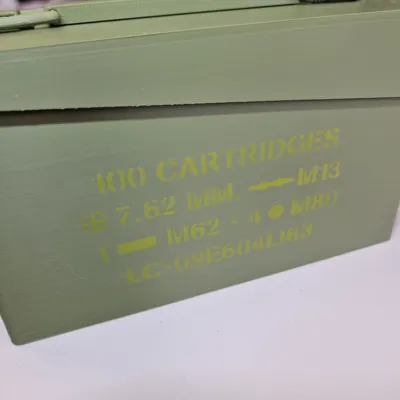
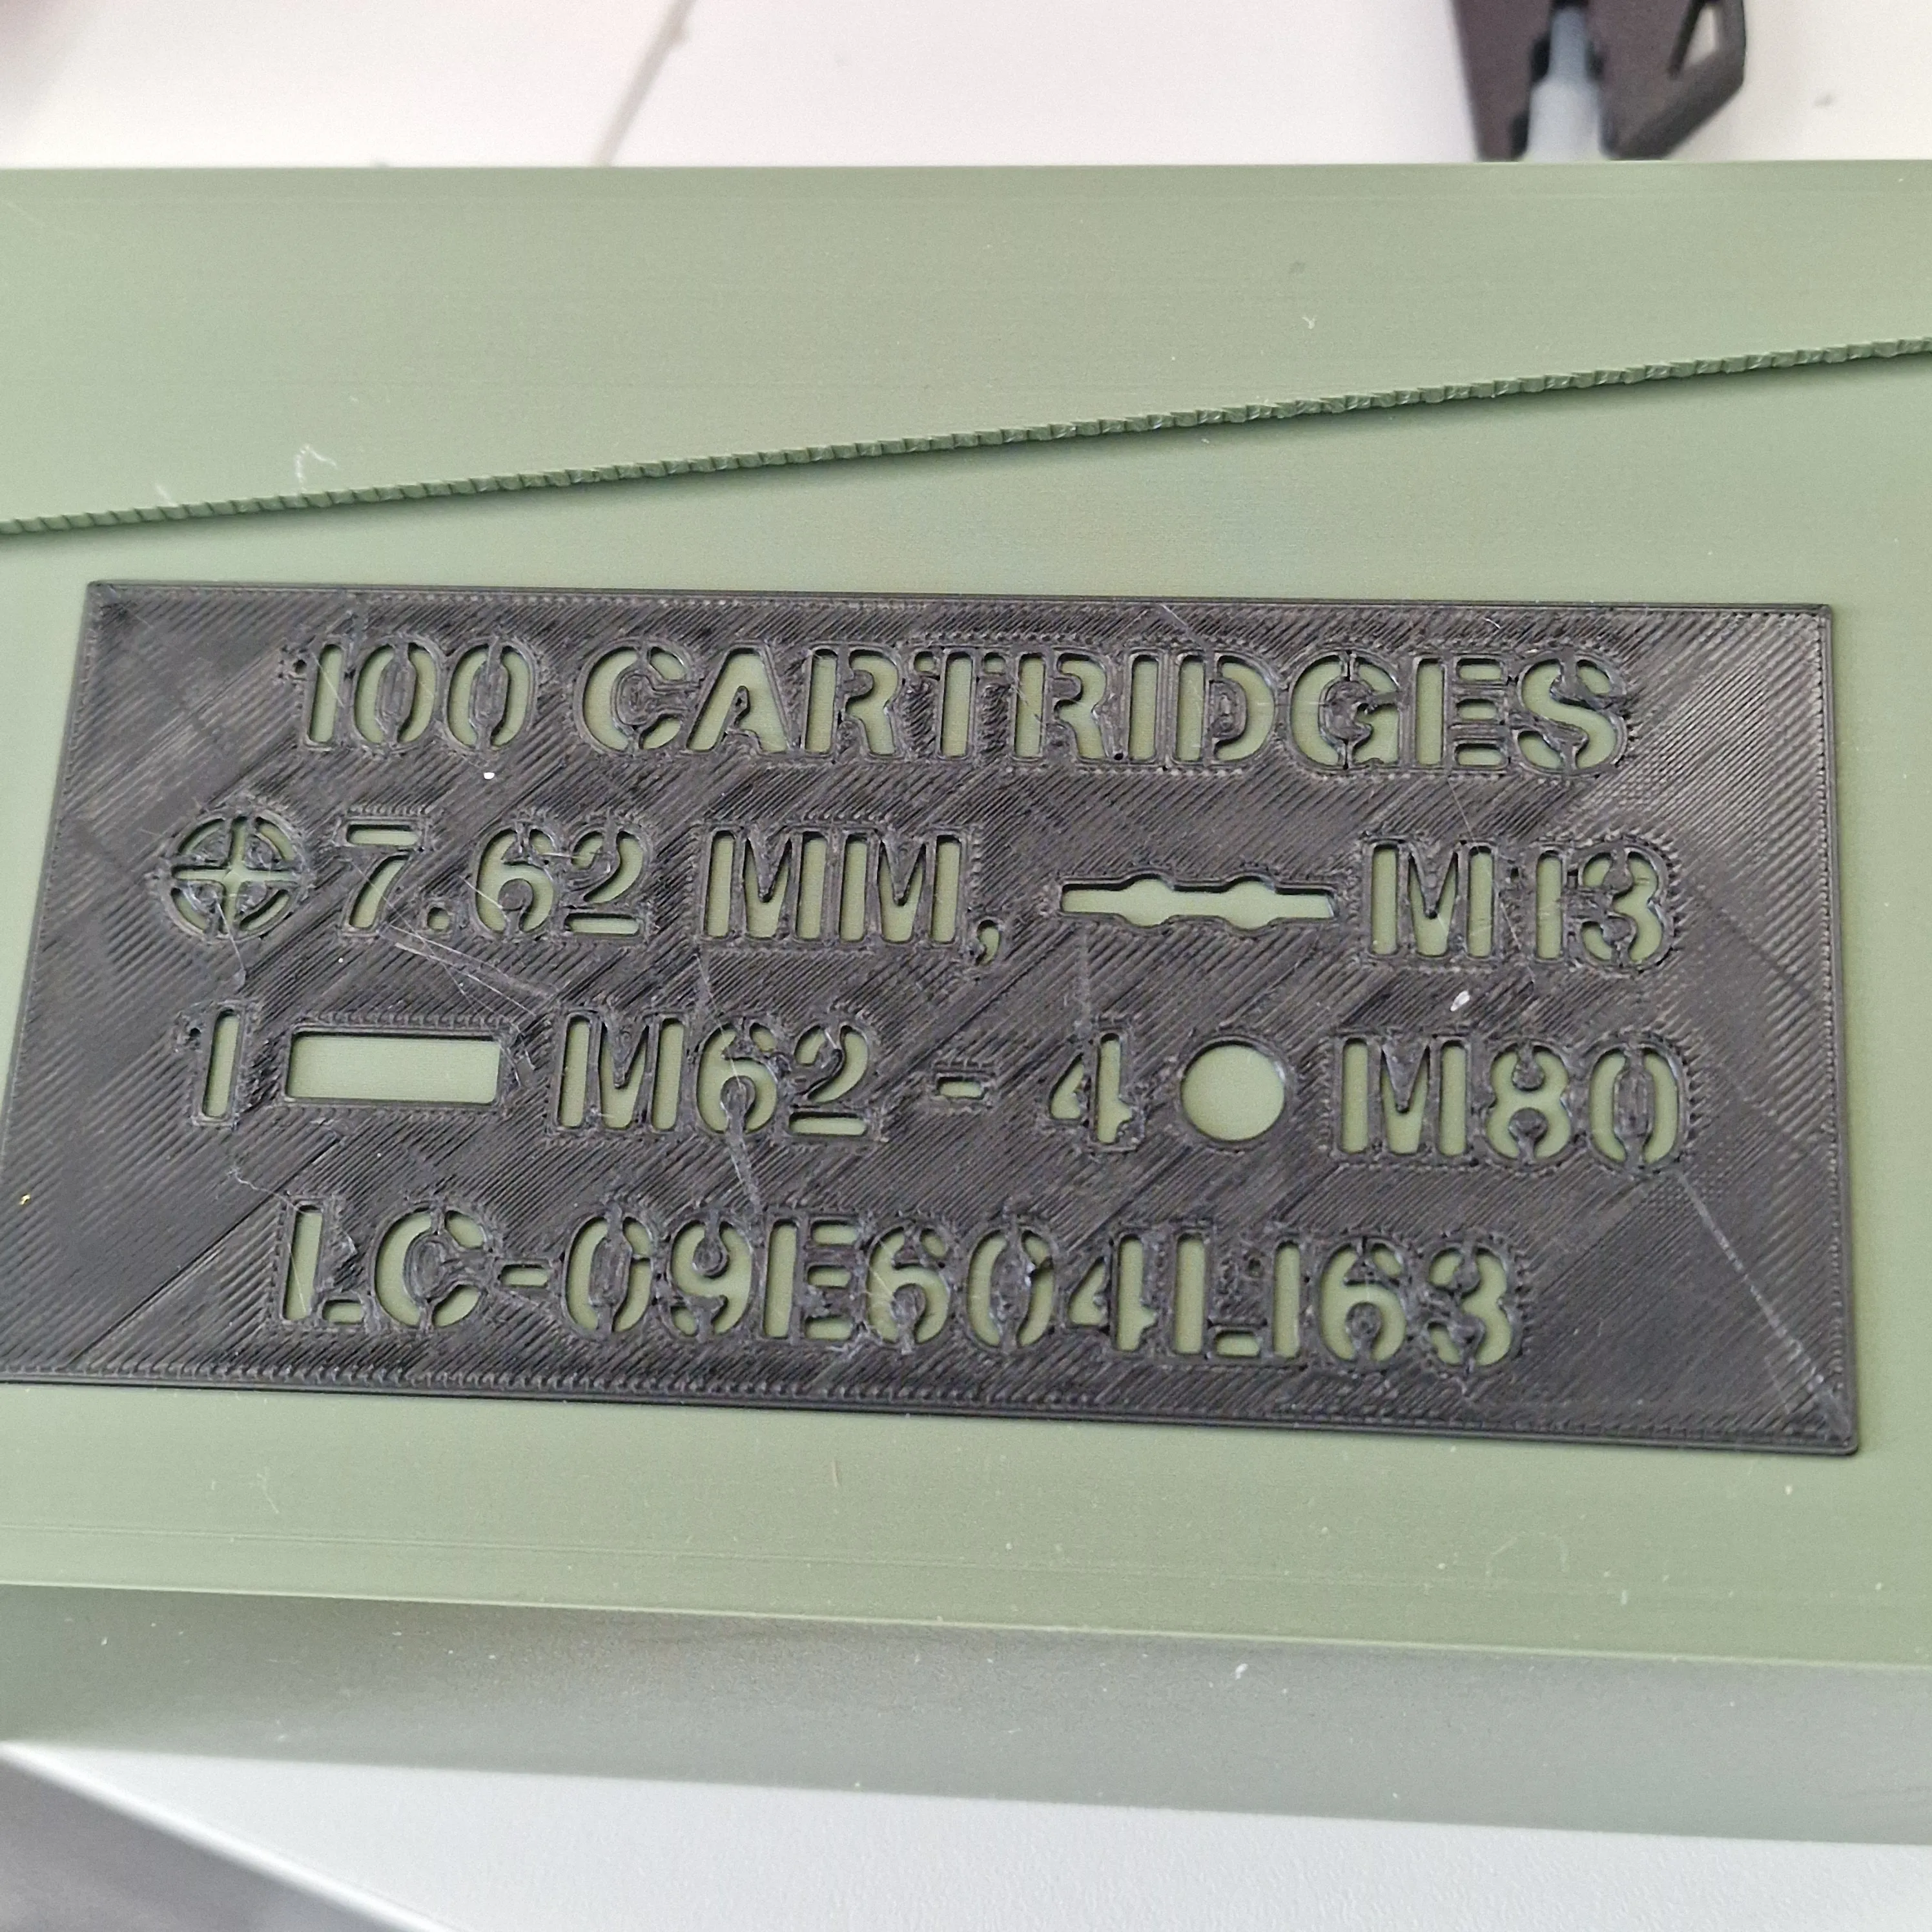
- Add yellow stencil text by carefully using airbrush
📦 Combine it with snap-fit cartridges + M13 links to build the ultimate belt-fed display!
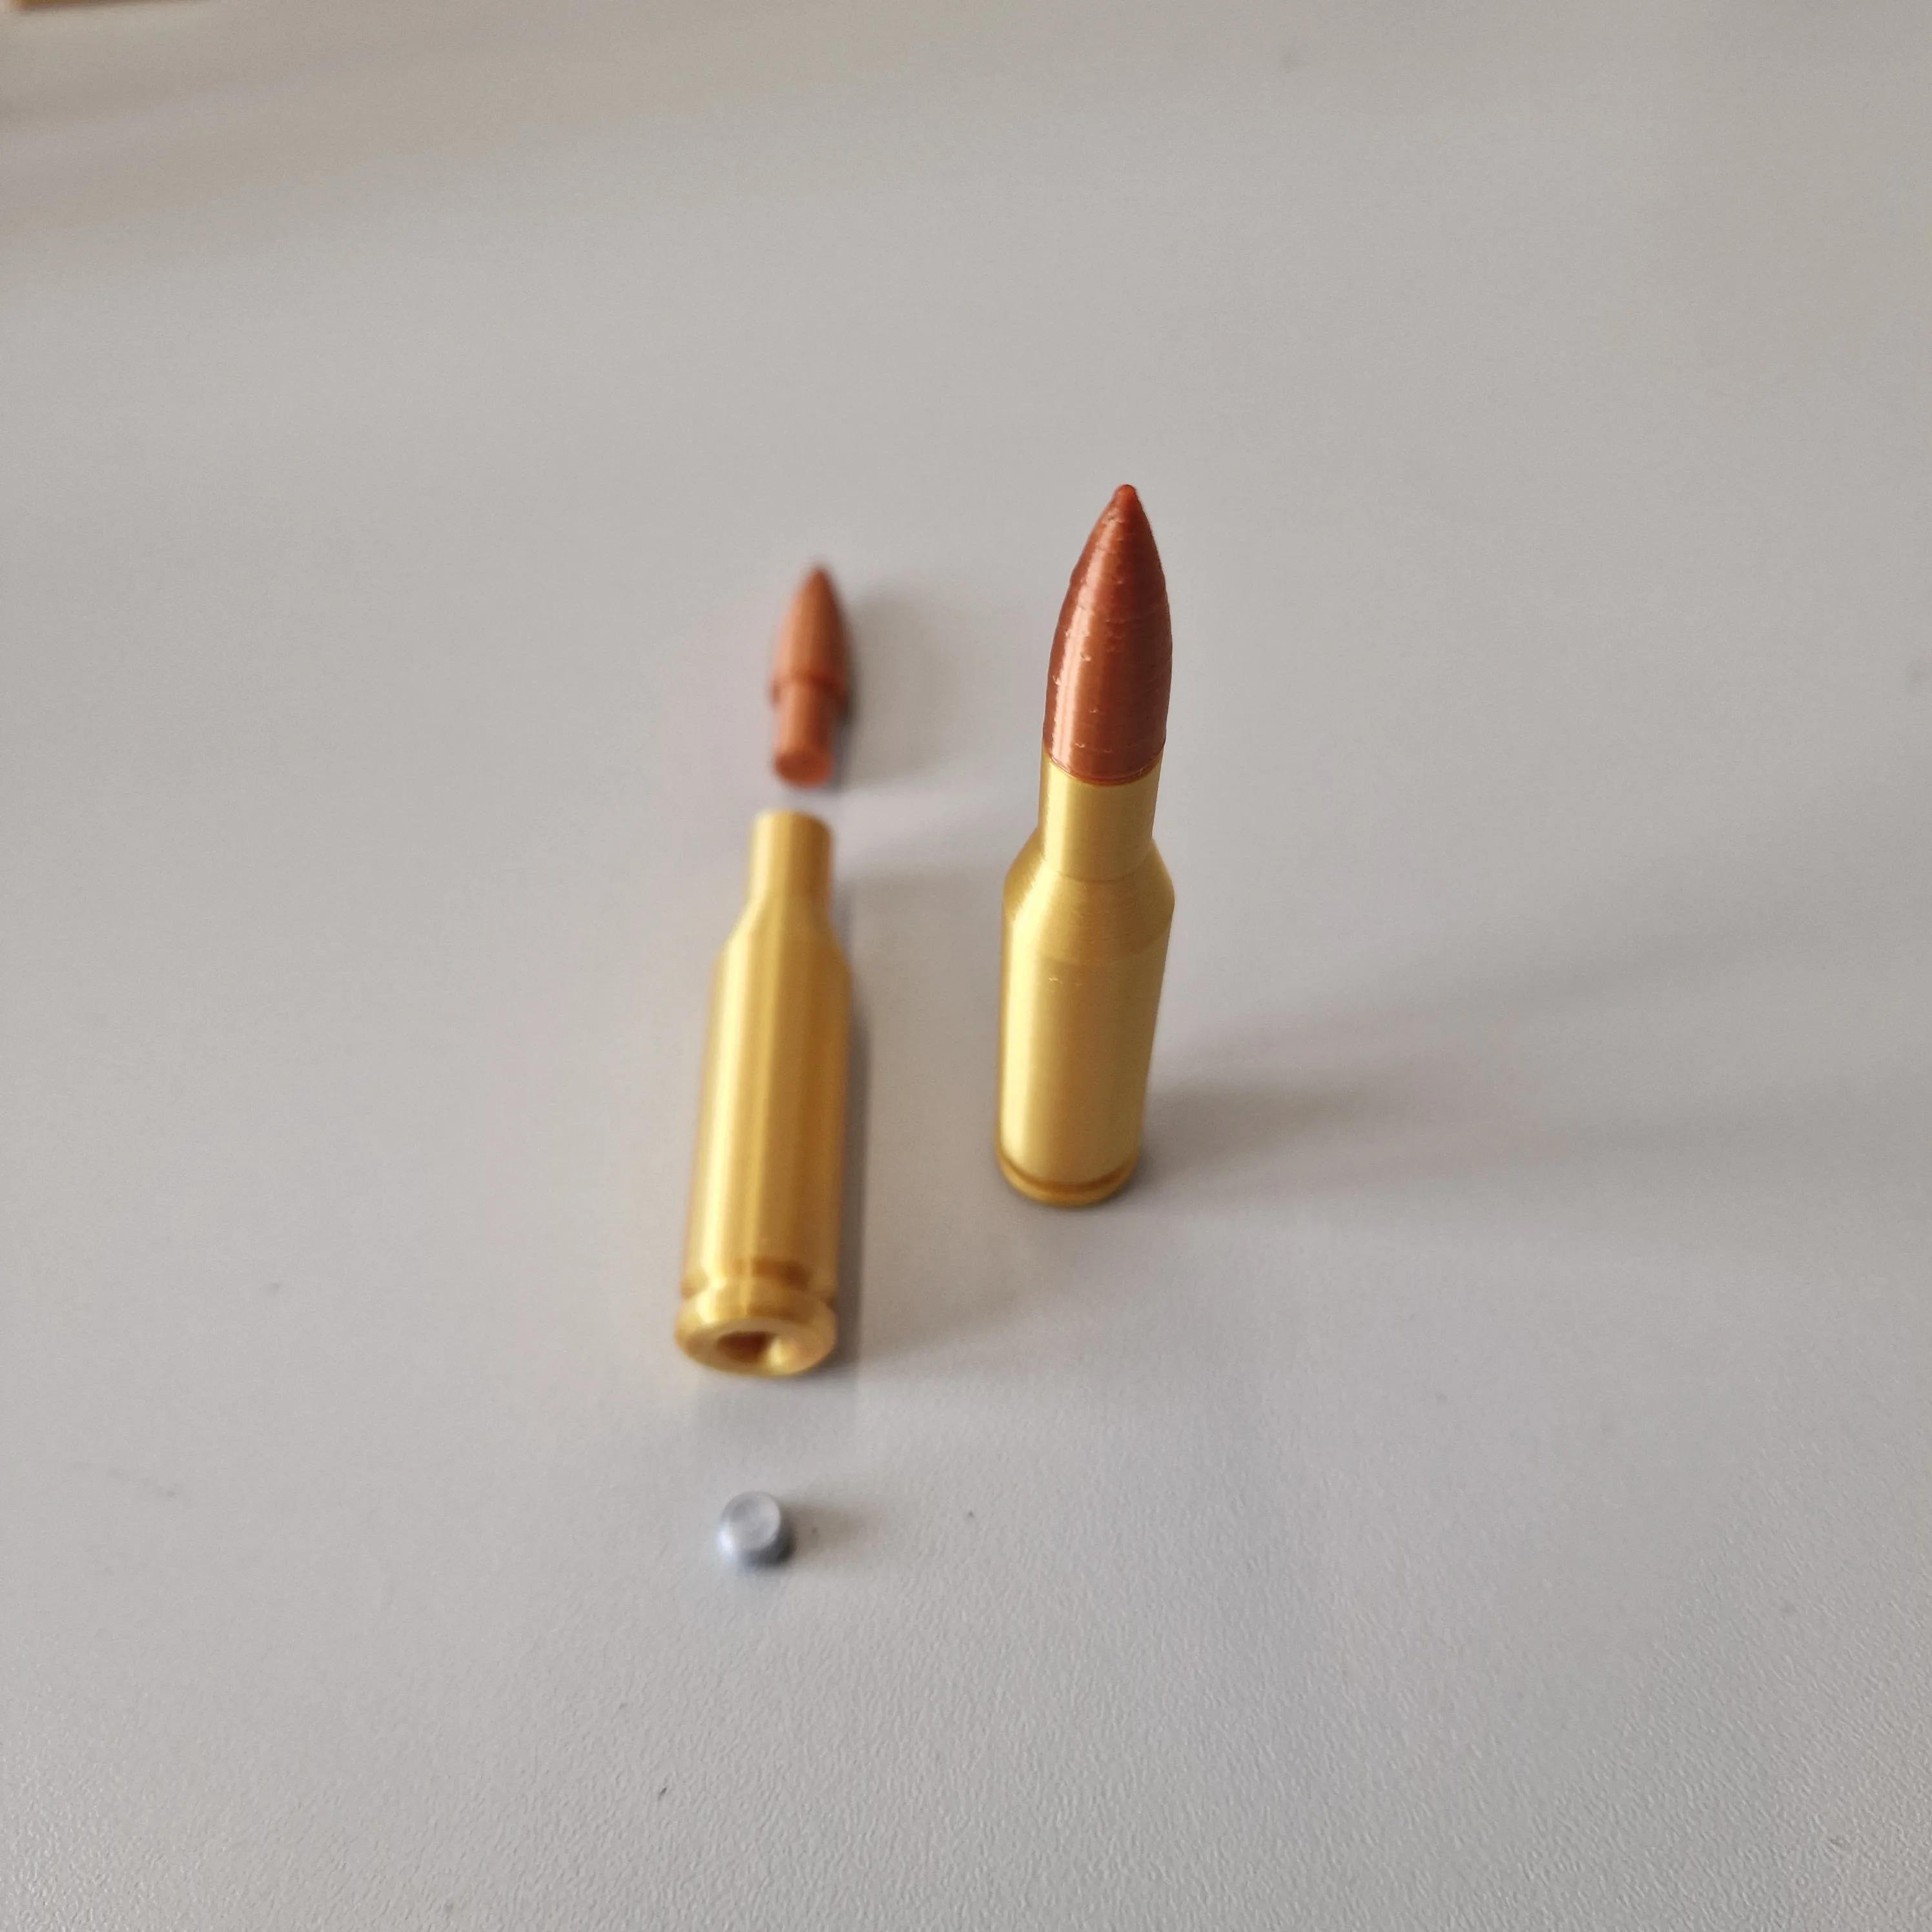
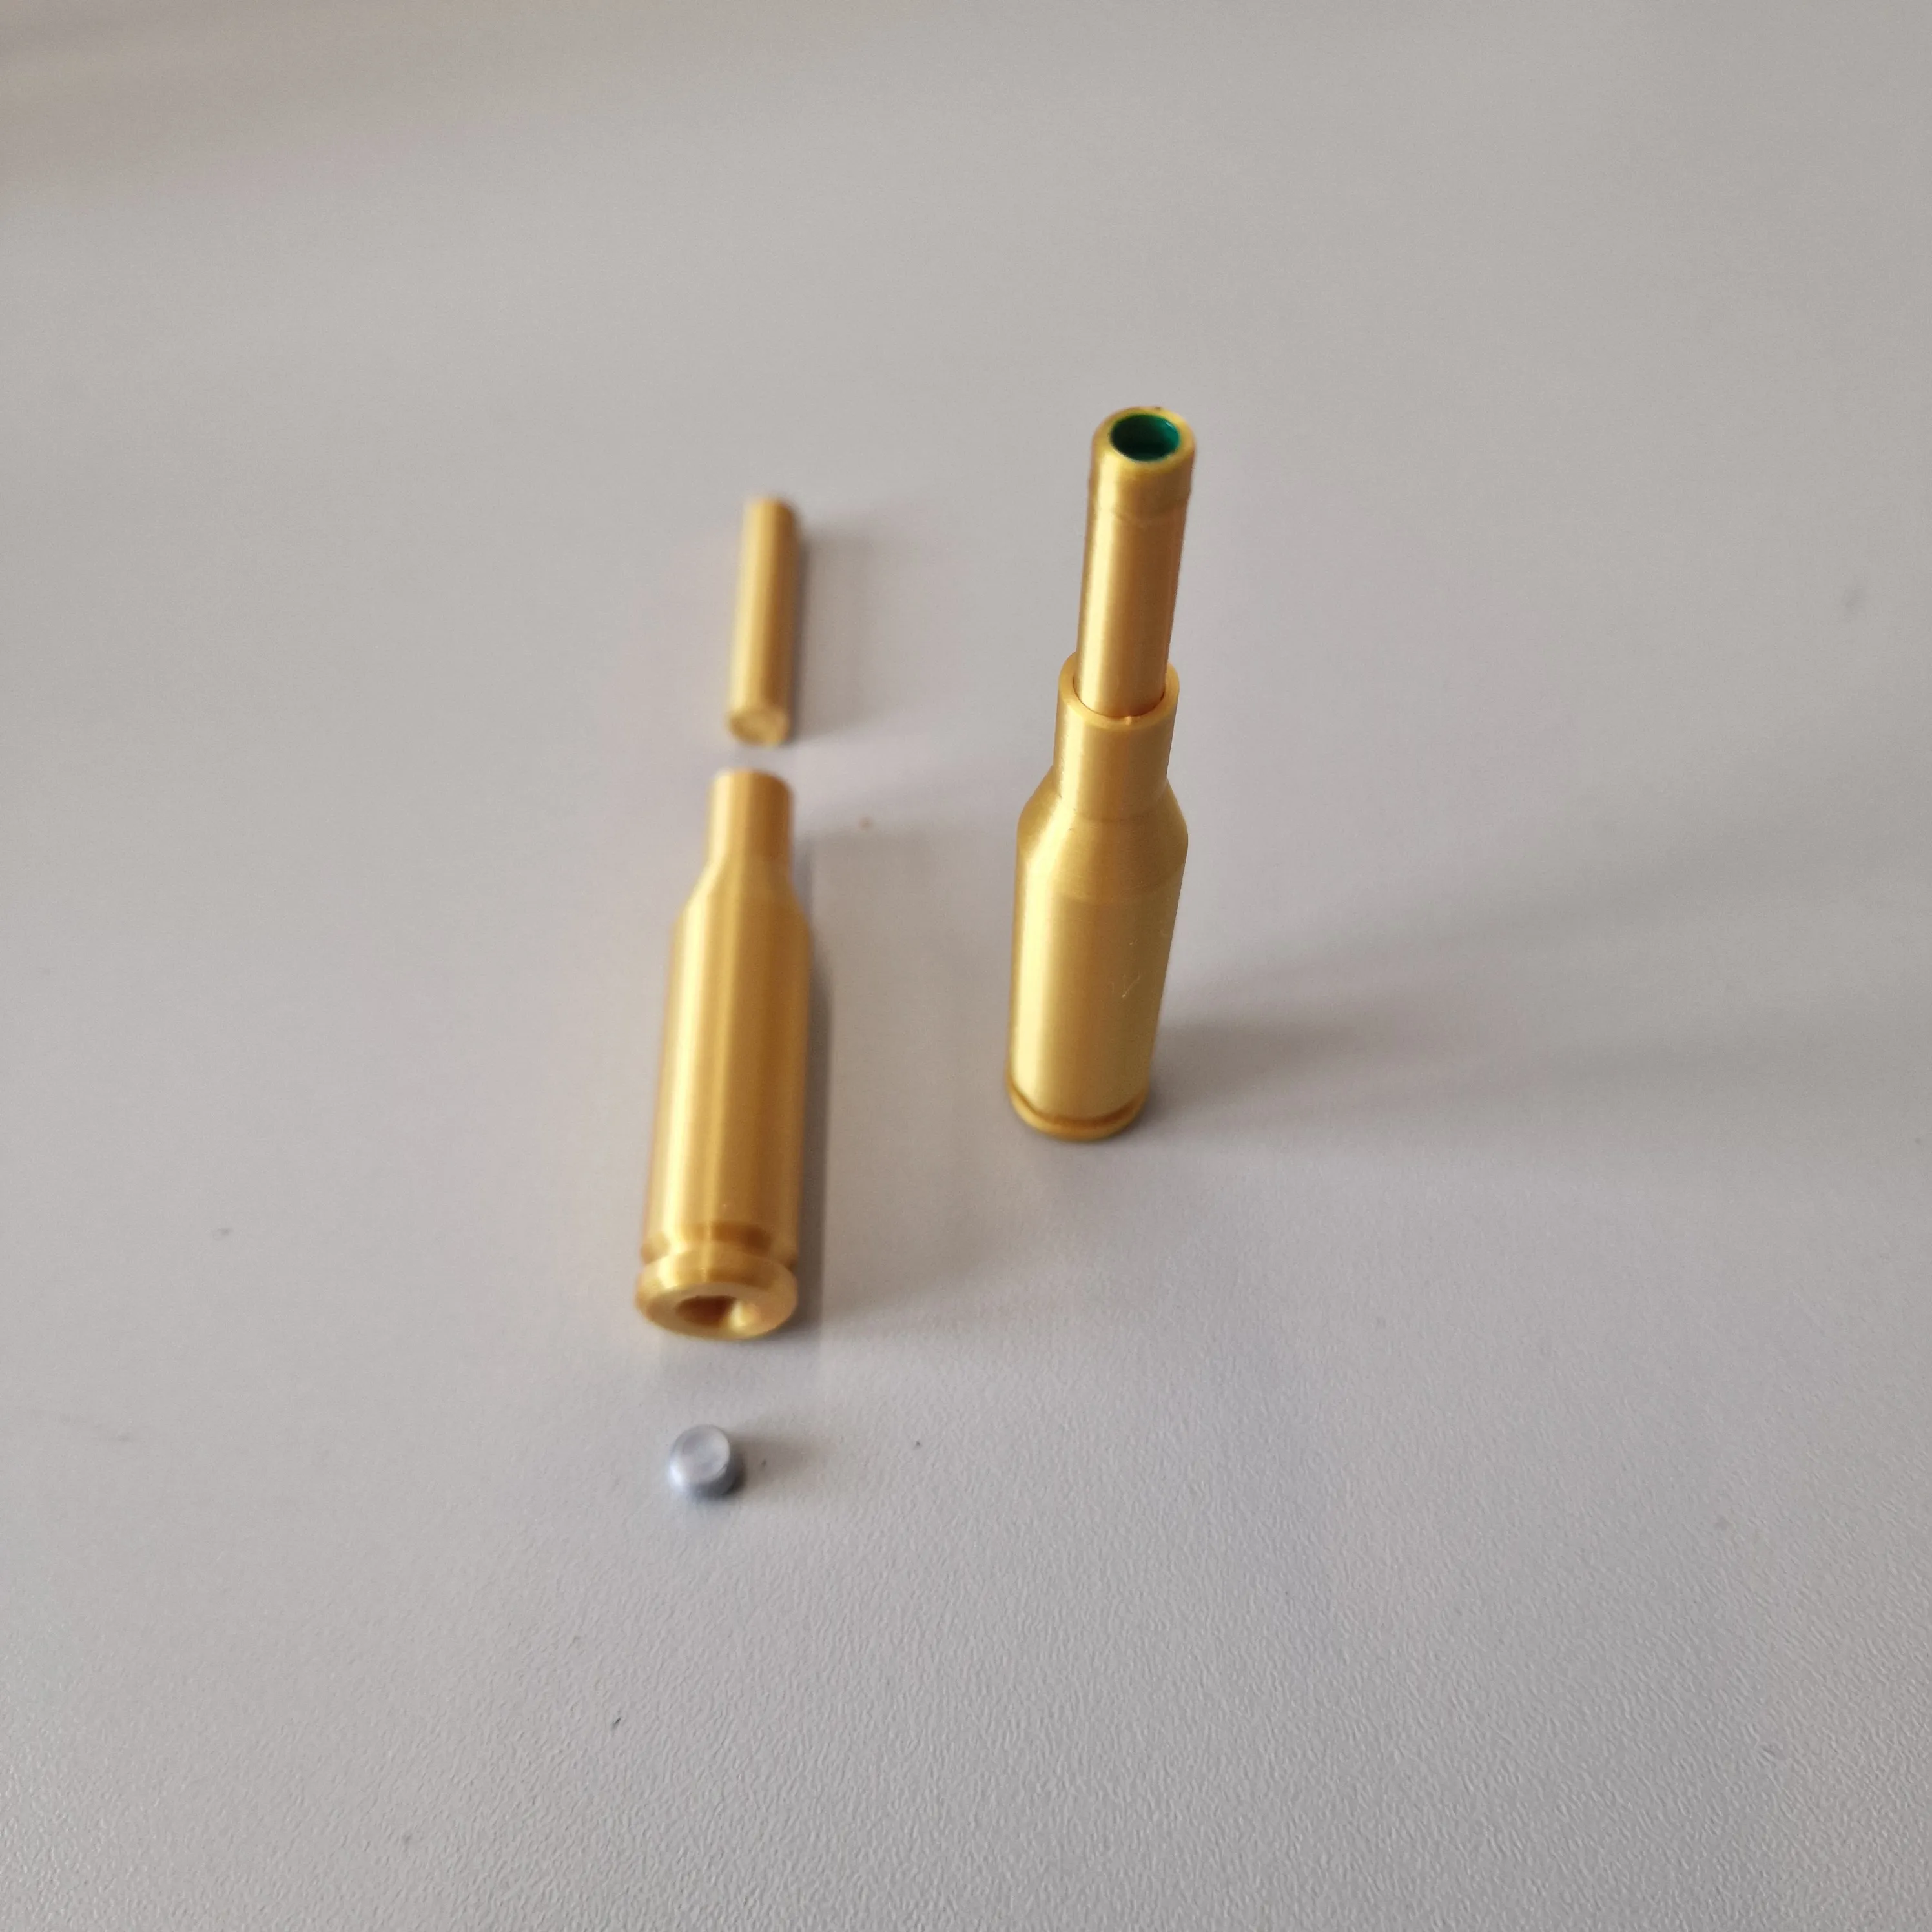
Check out my 7.62 cartridges variants and the M13 link to create the ammo belt
 | 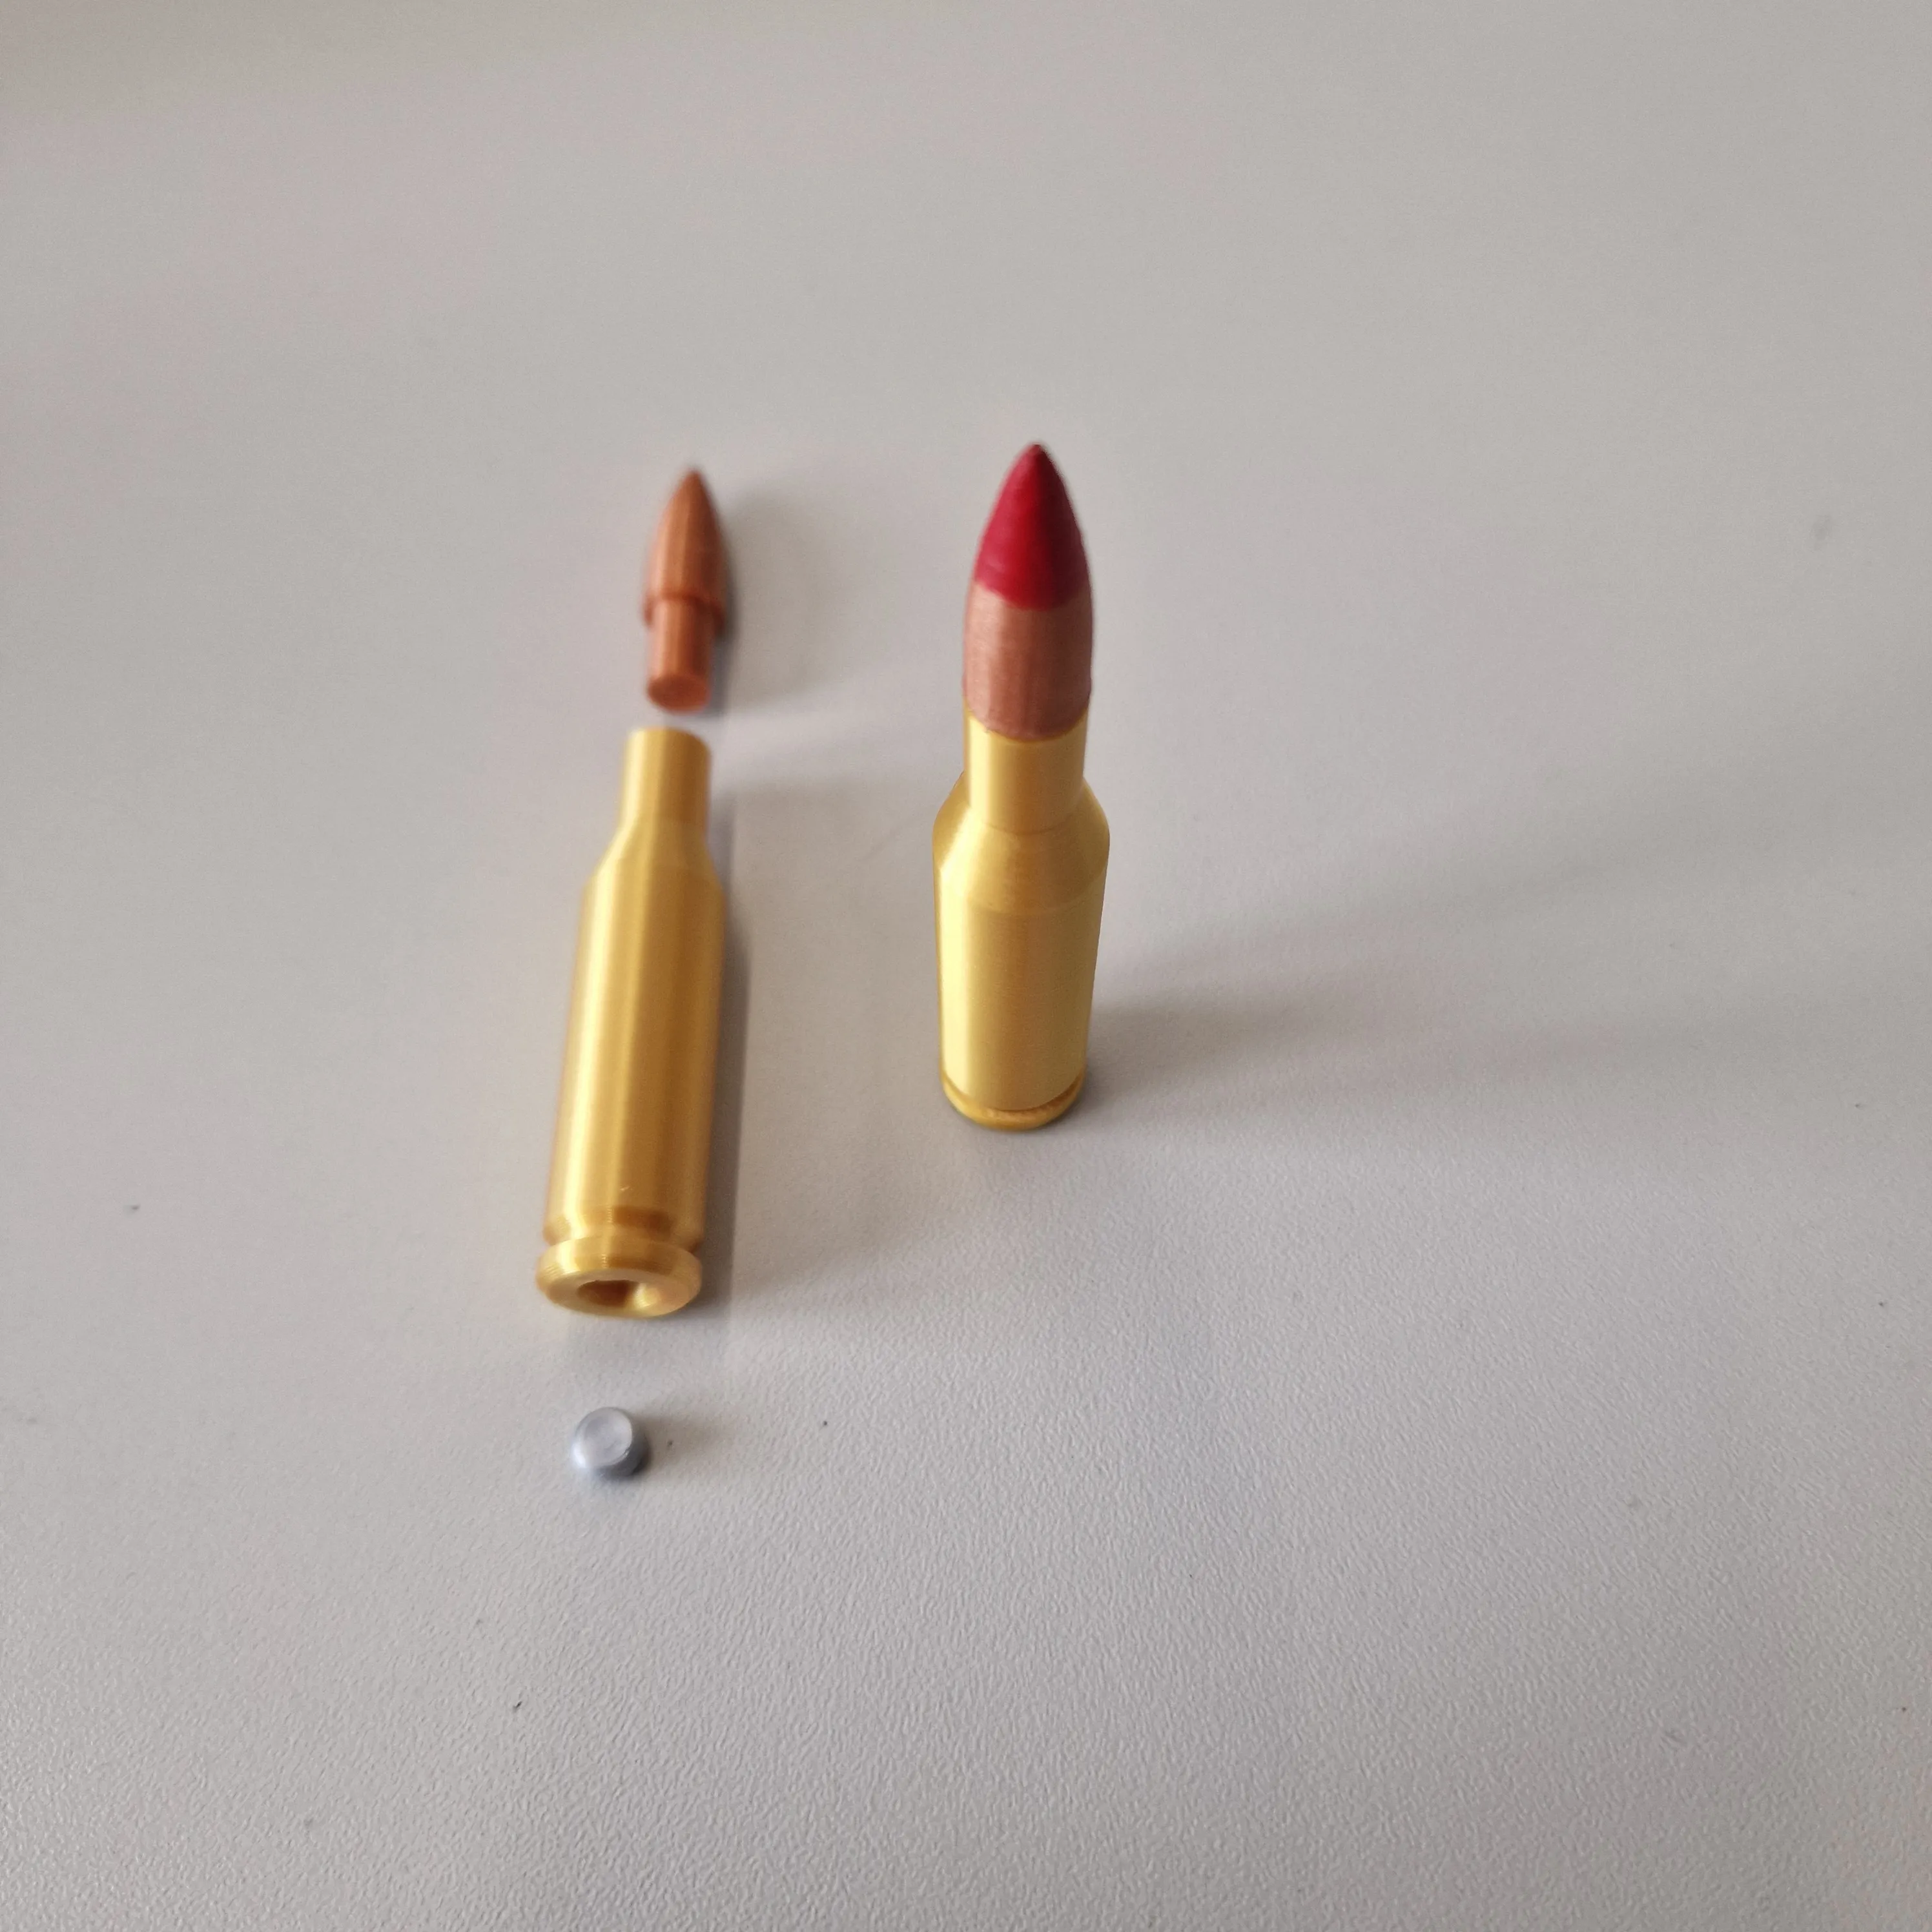 | 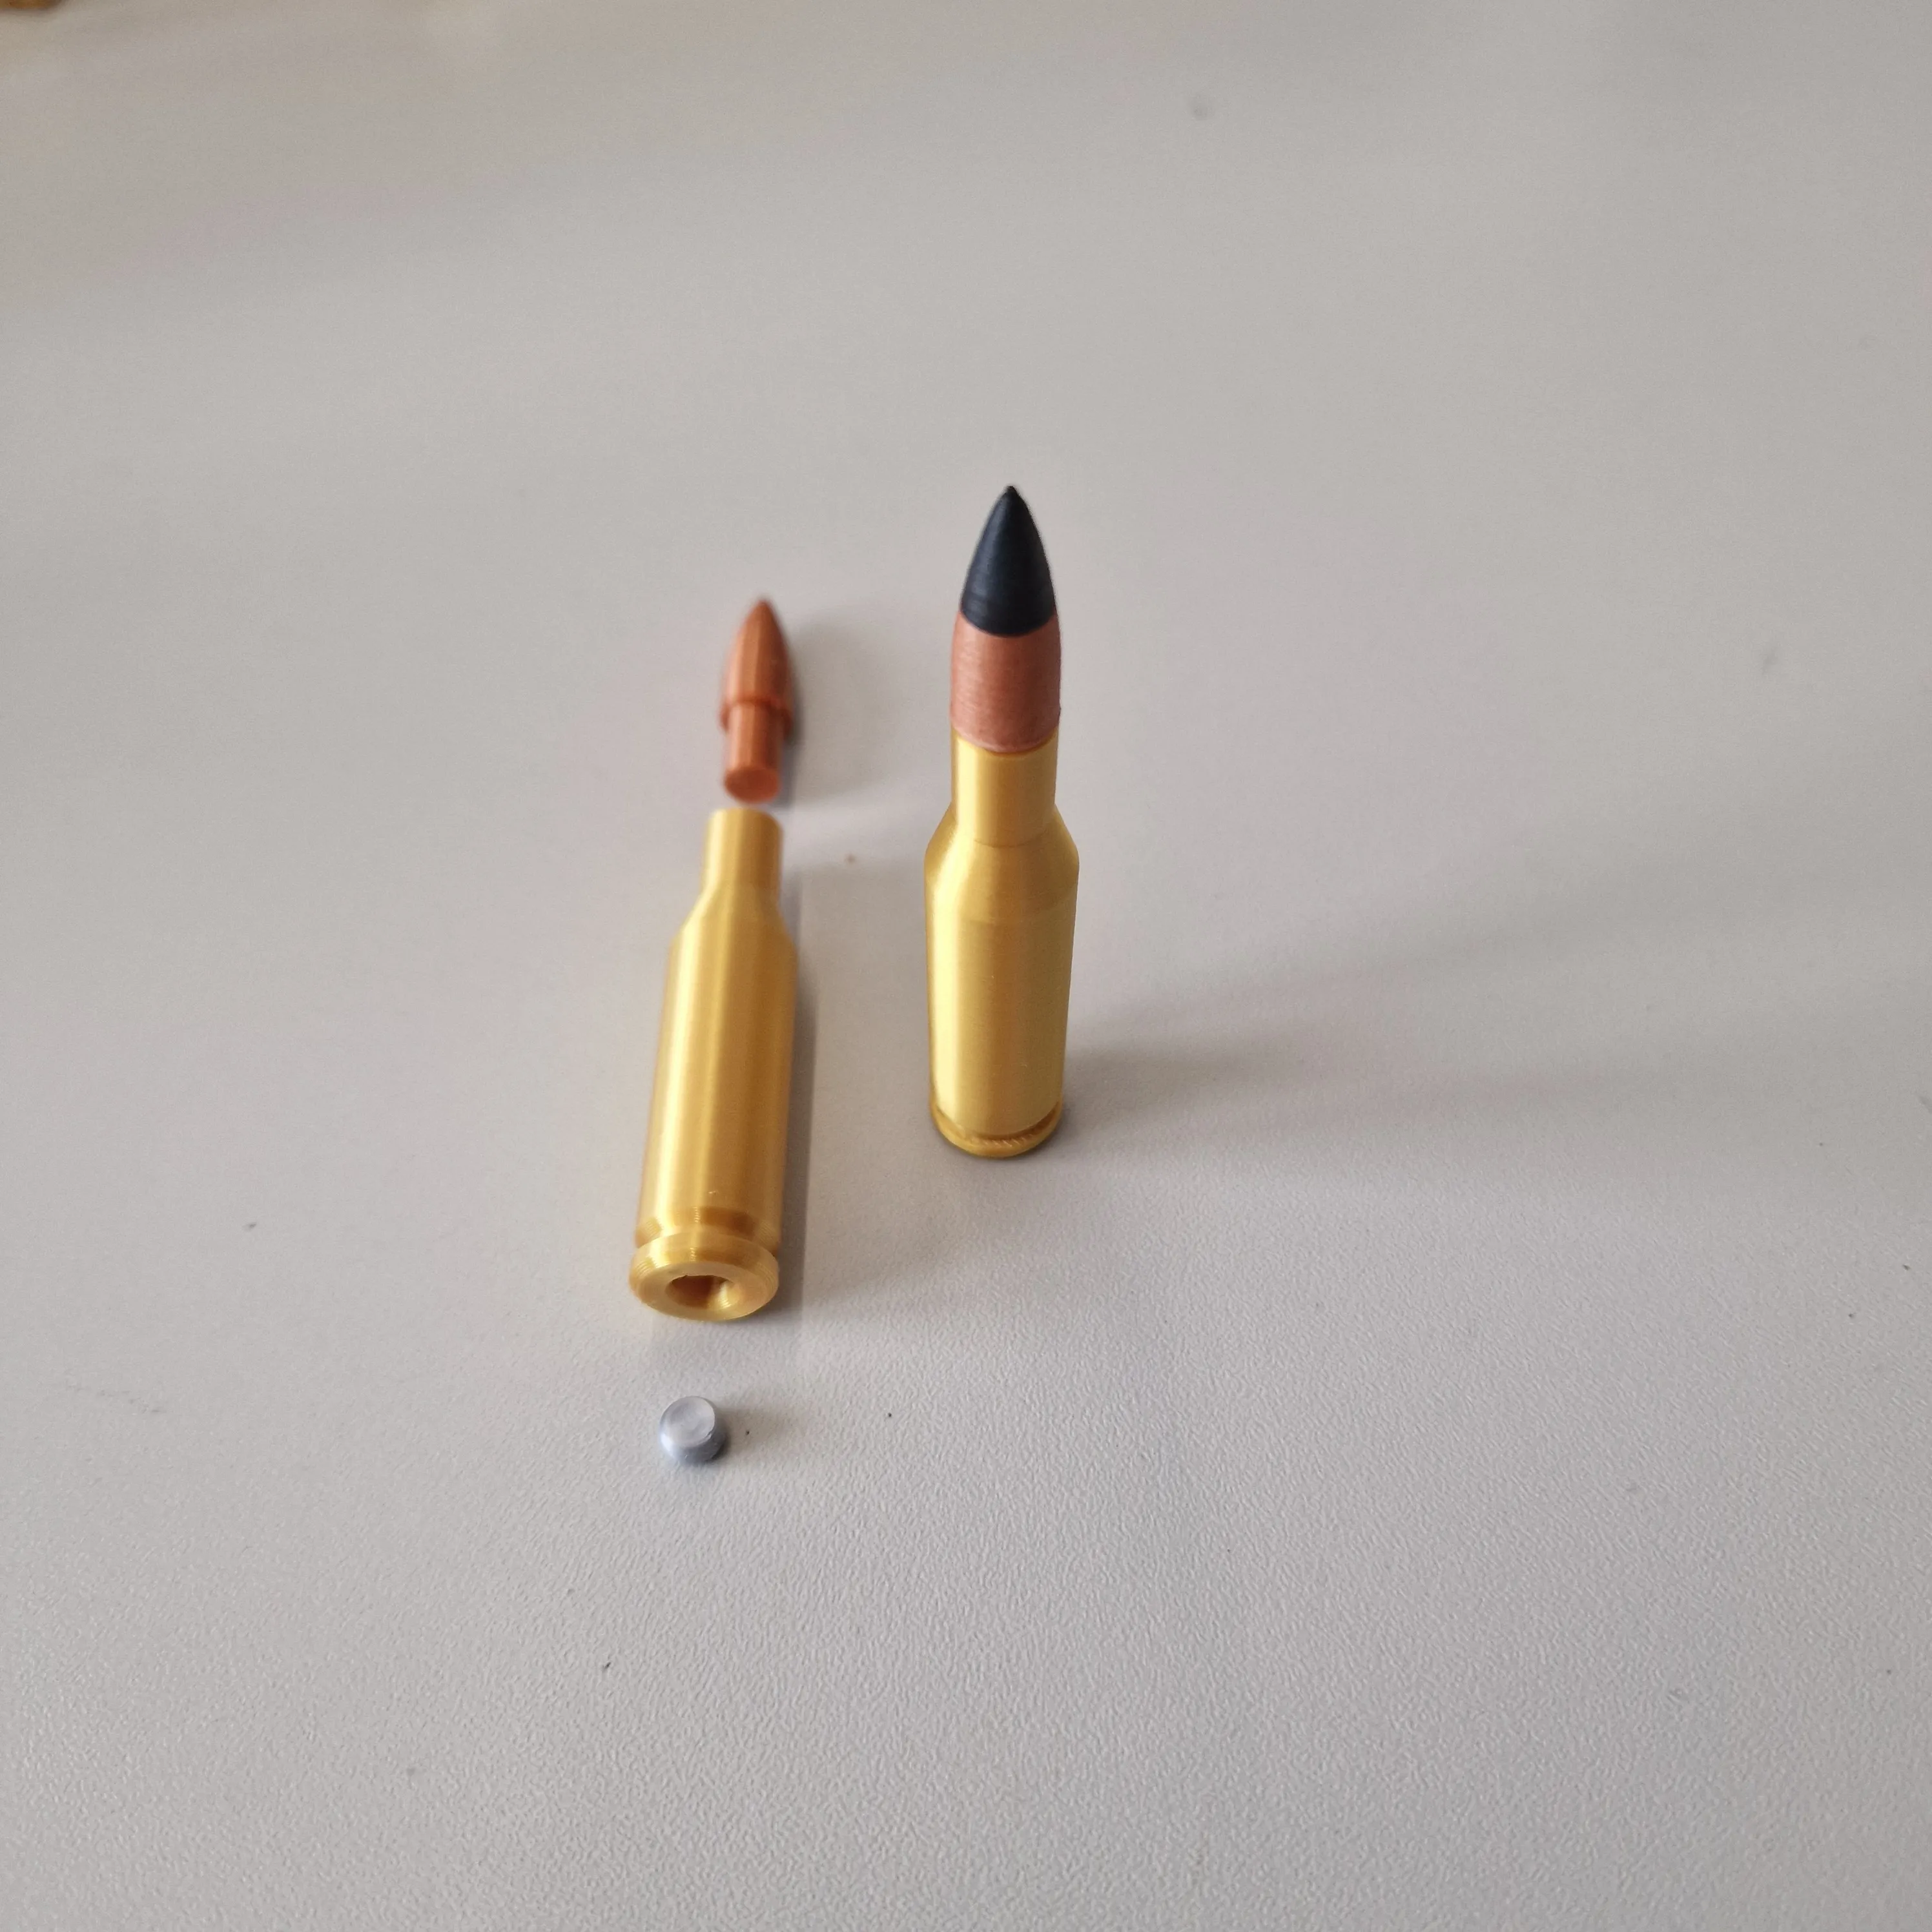 | 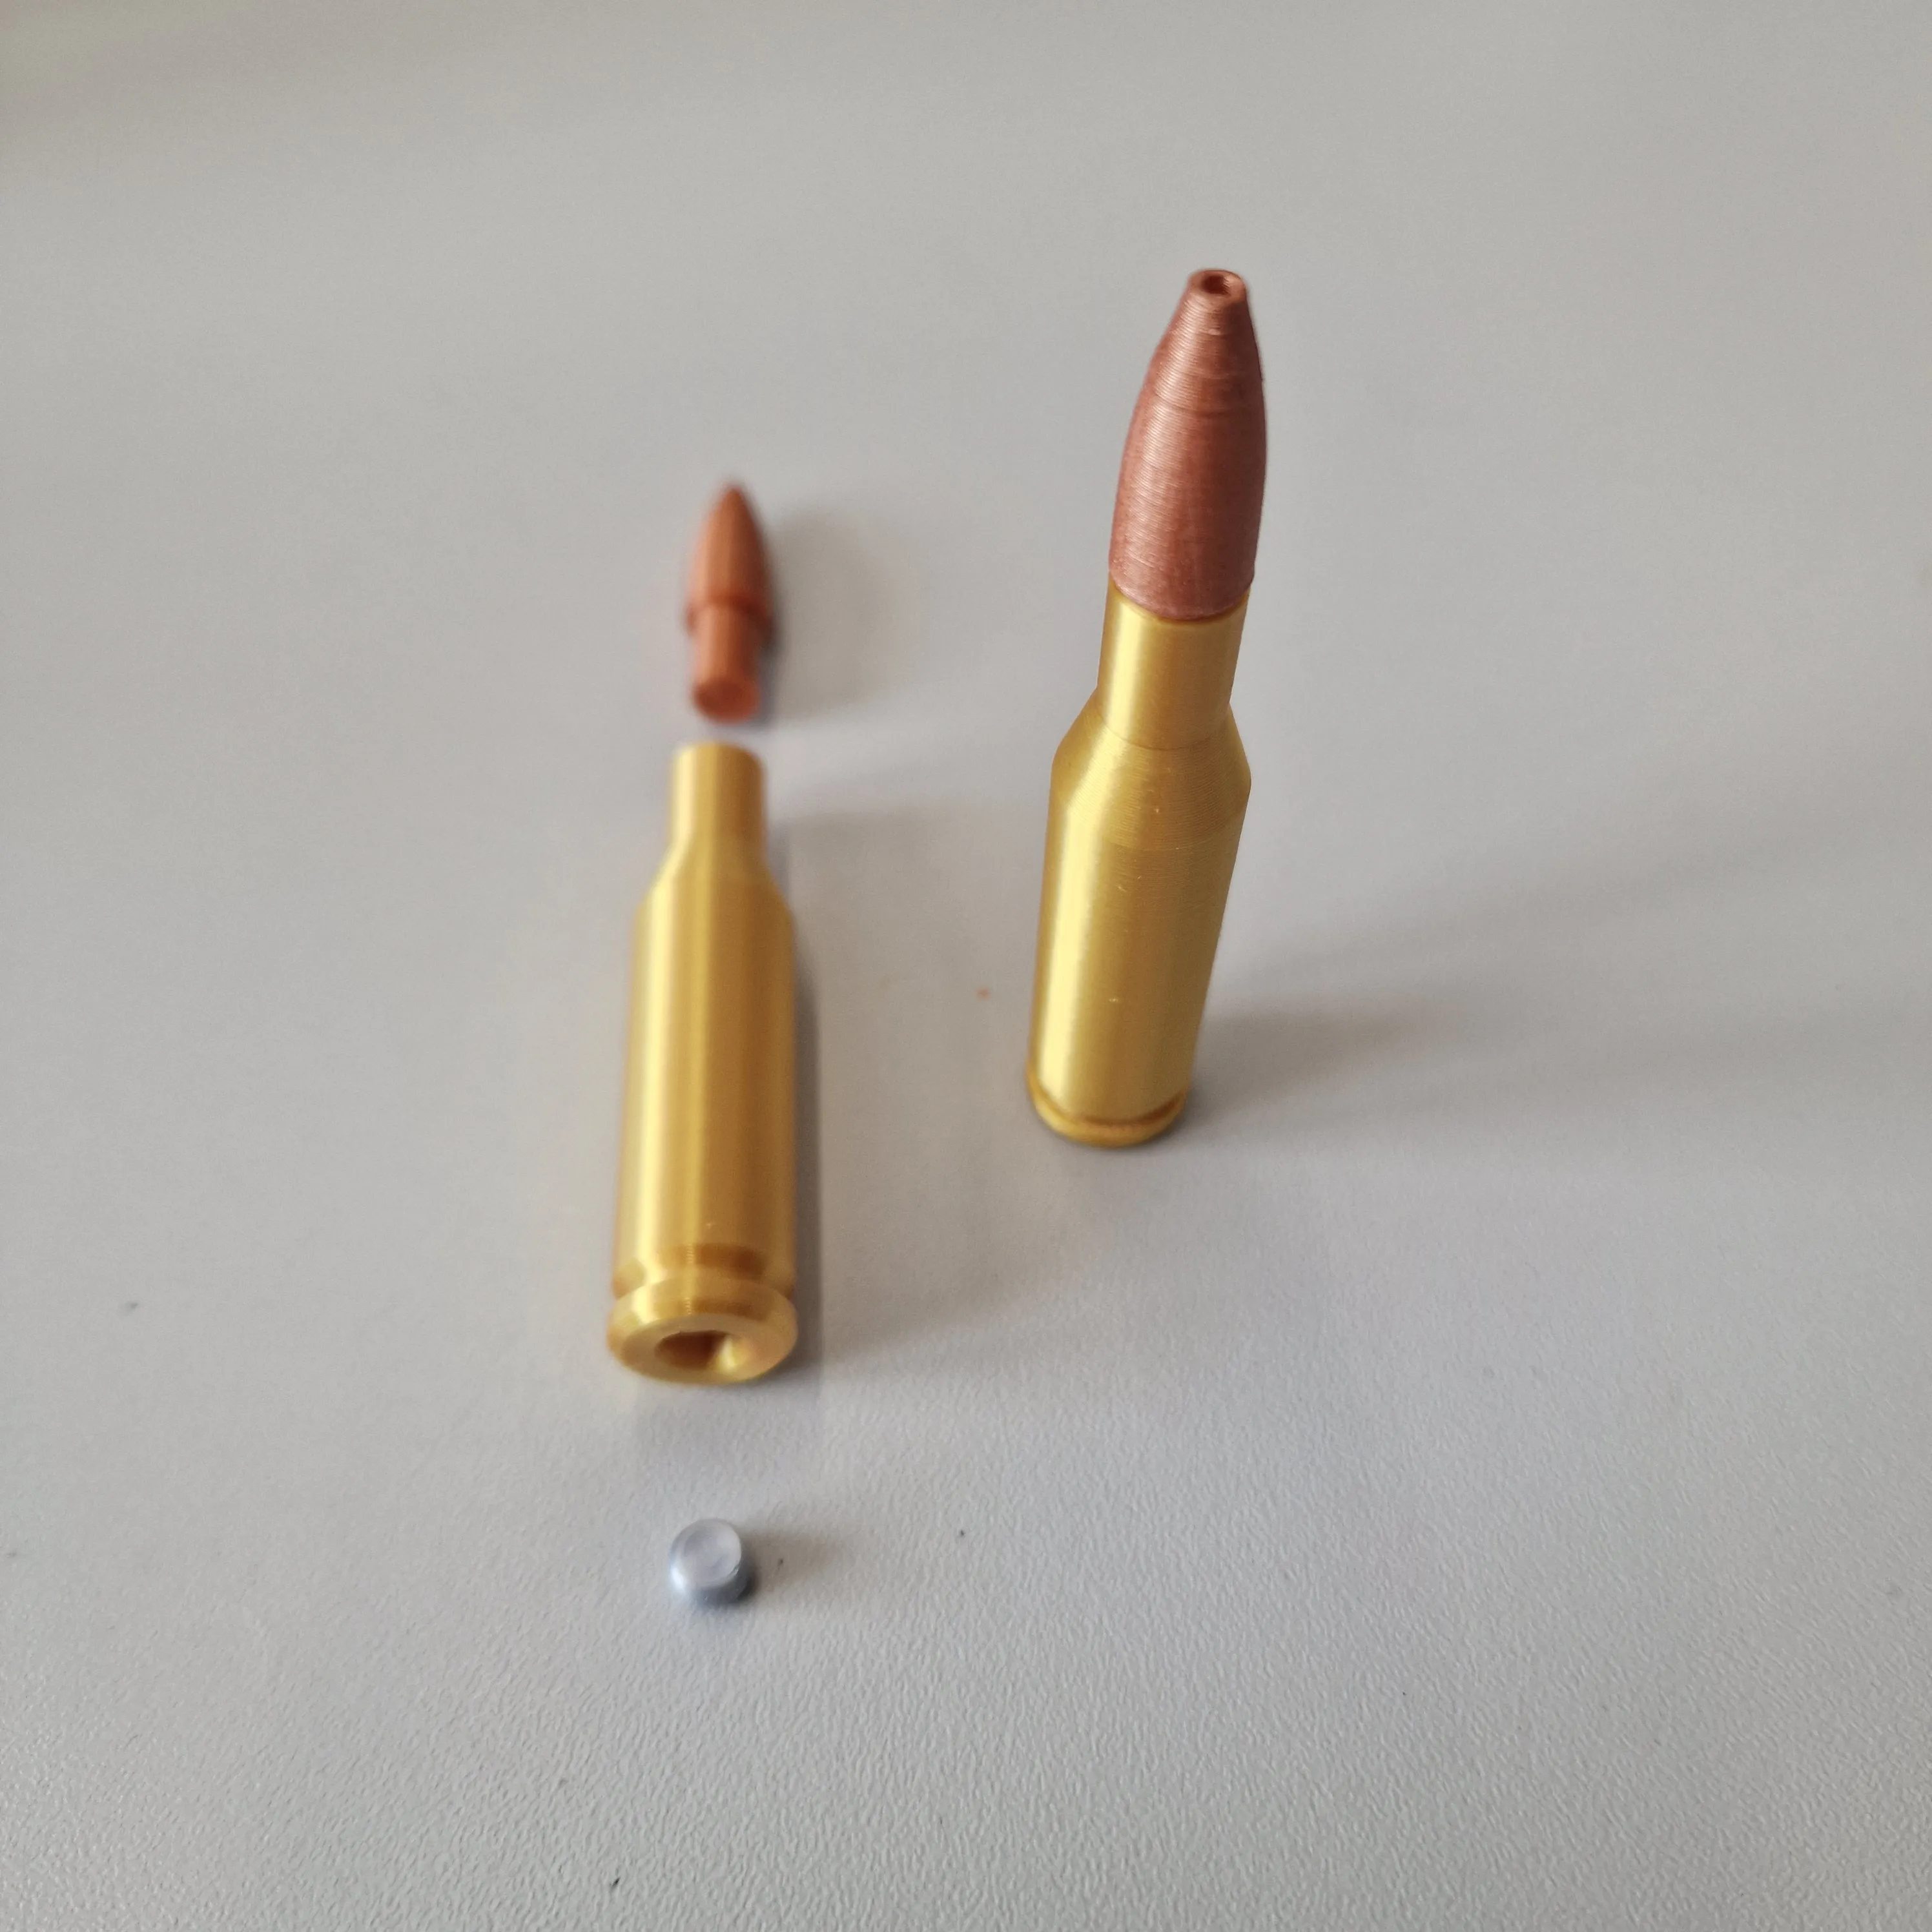 |
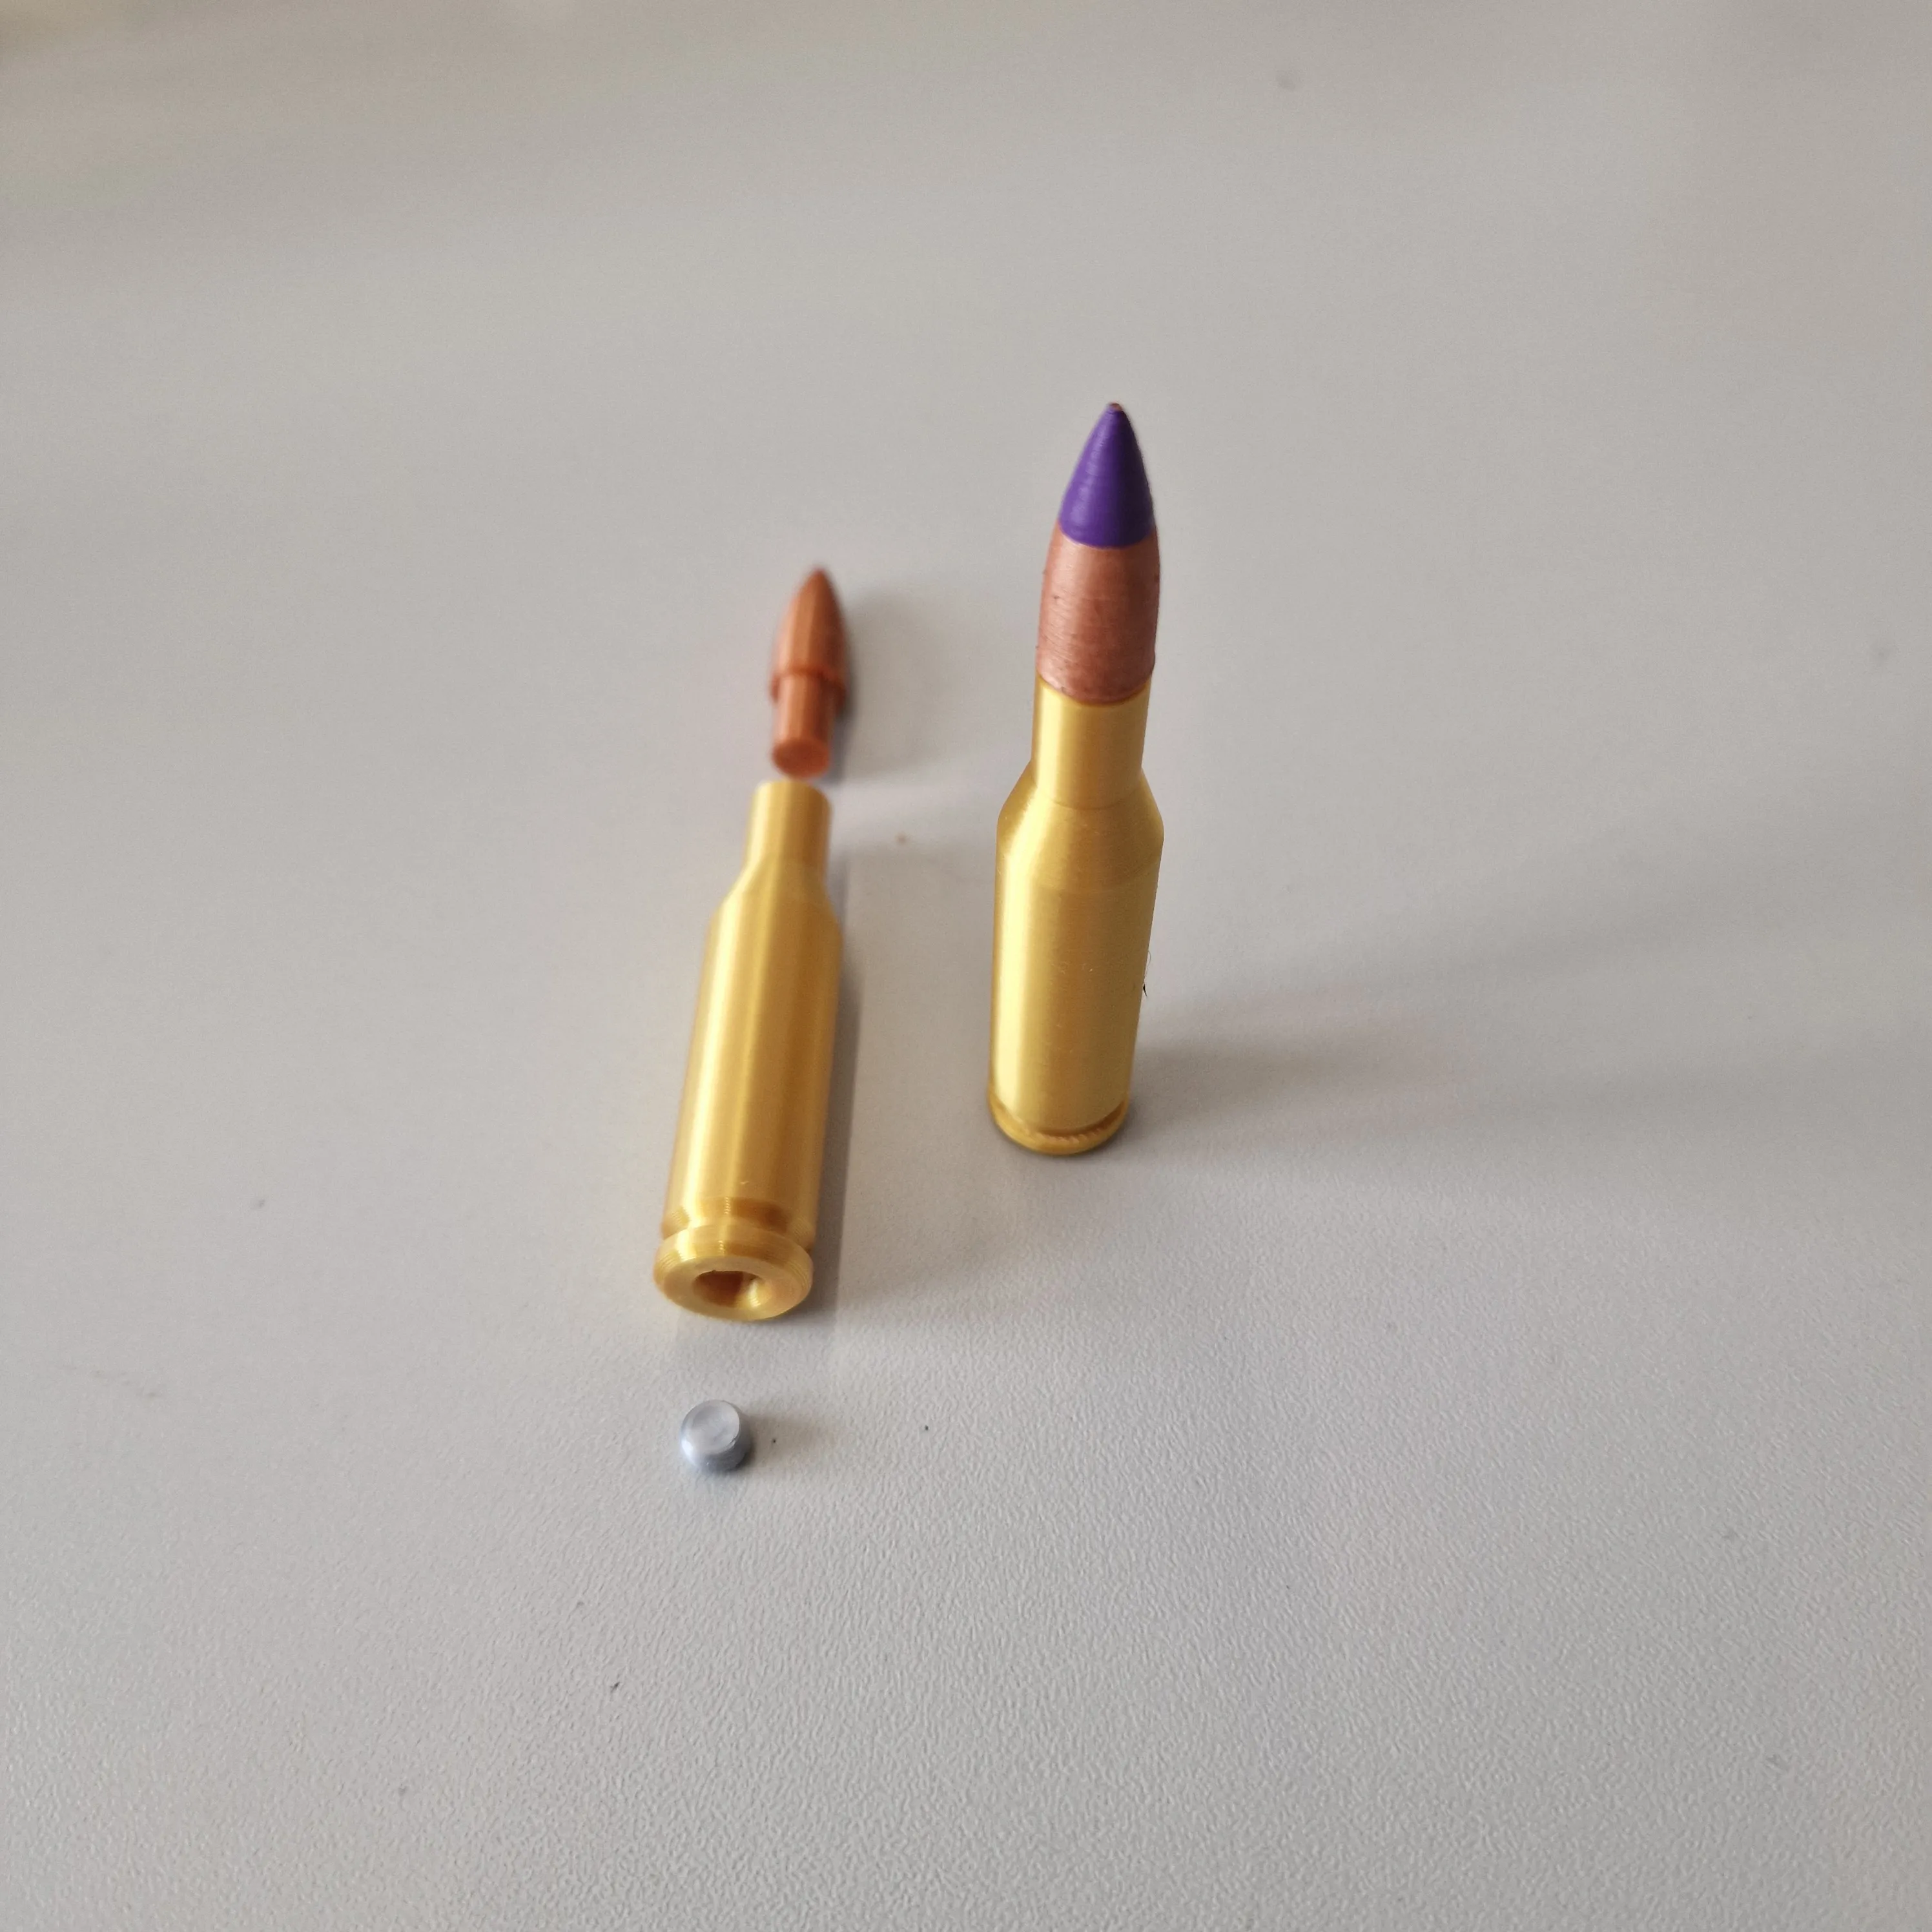 |  |  |  |
🛠️ Assembly Guide
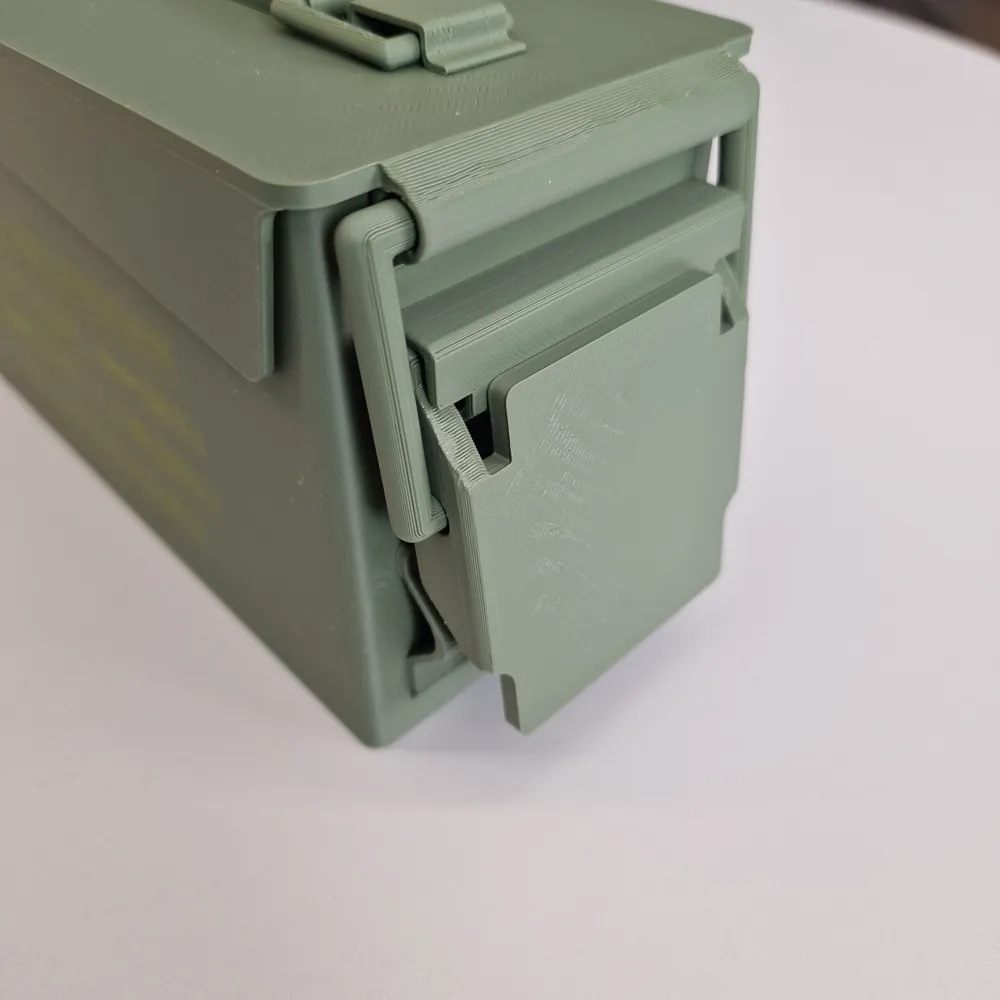
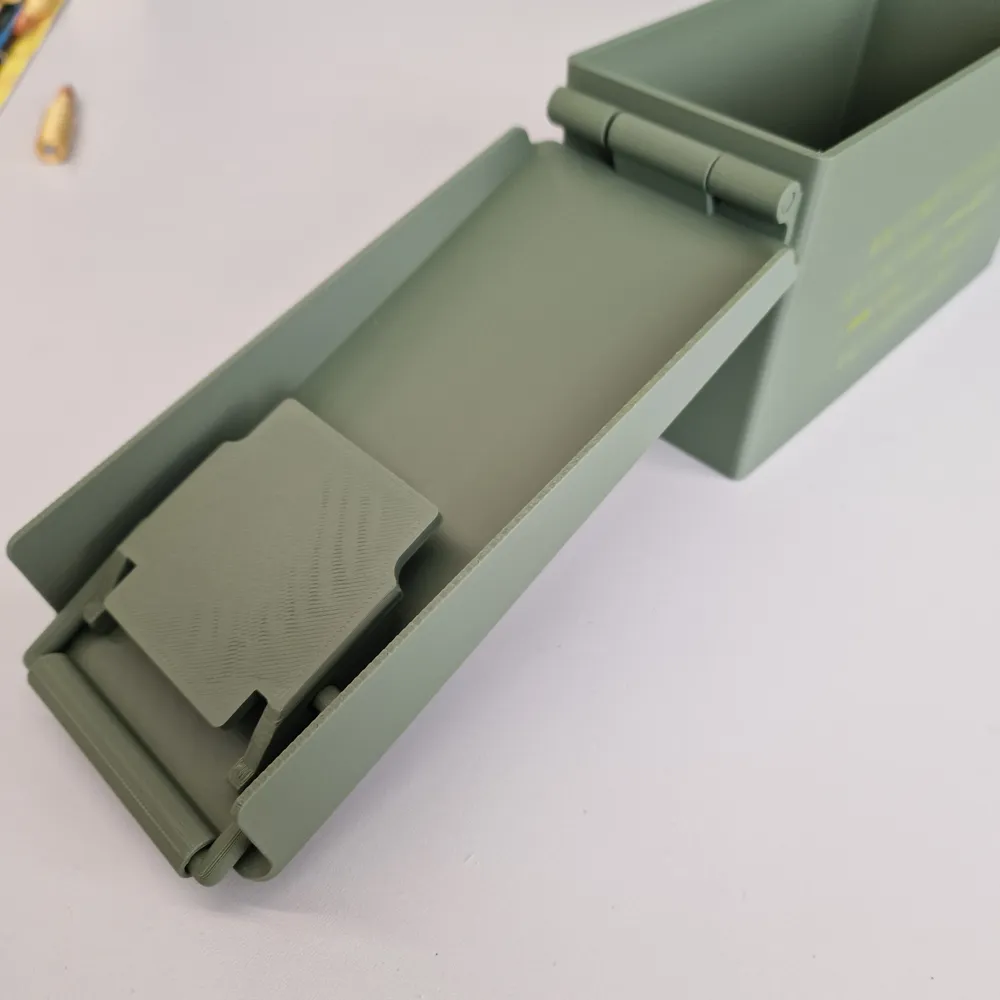
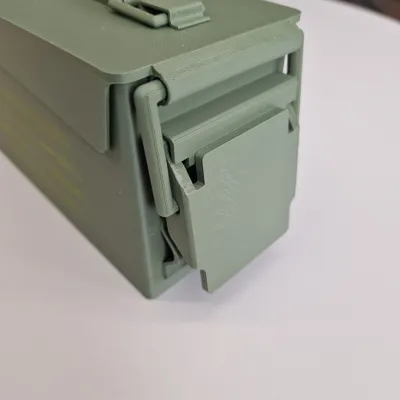
Glue the first part to the box, there is a little protrusion in the front of the box so you can just sit it there and it will be in the perfect spot
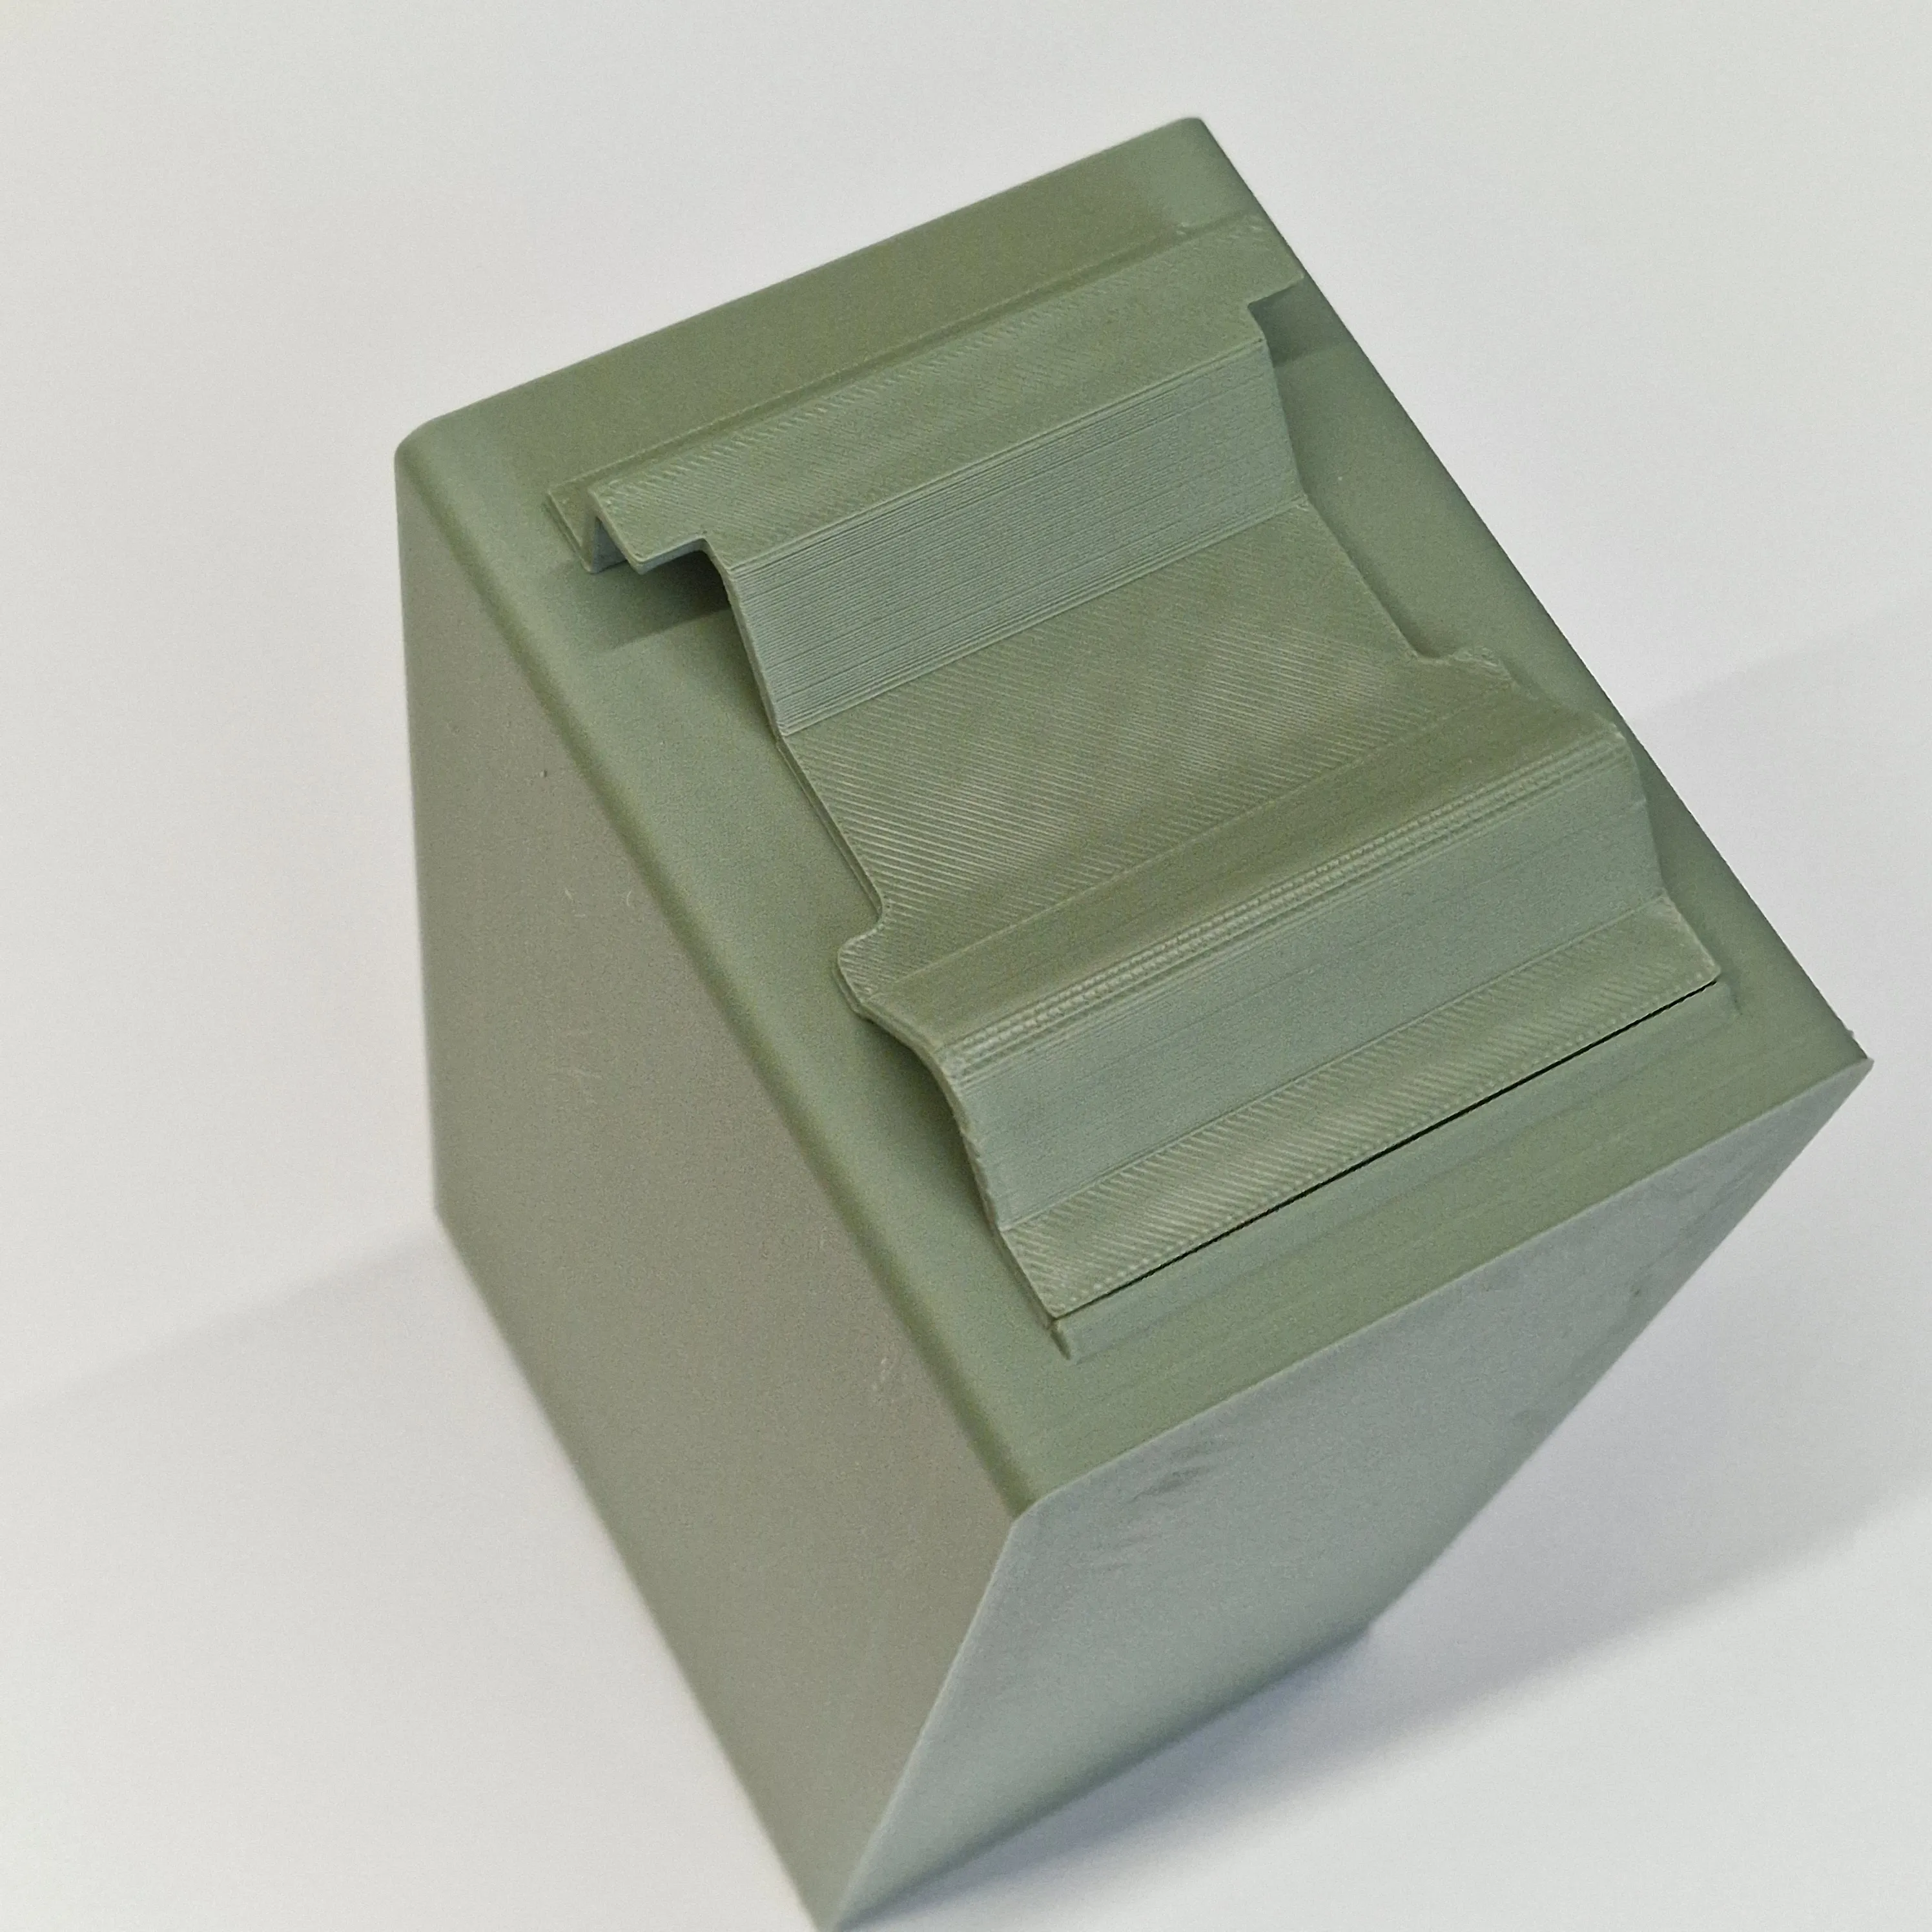
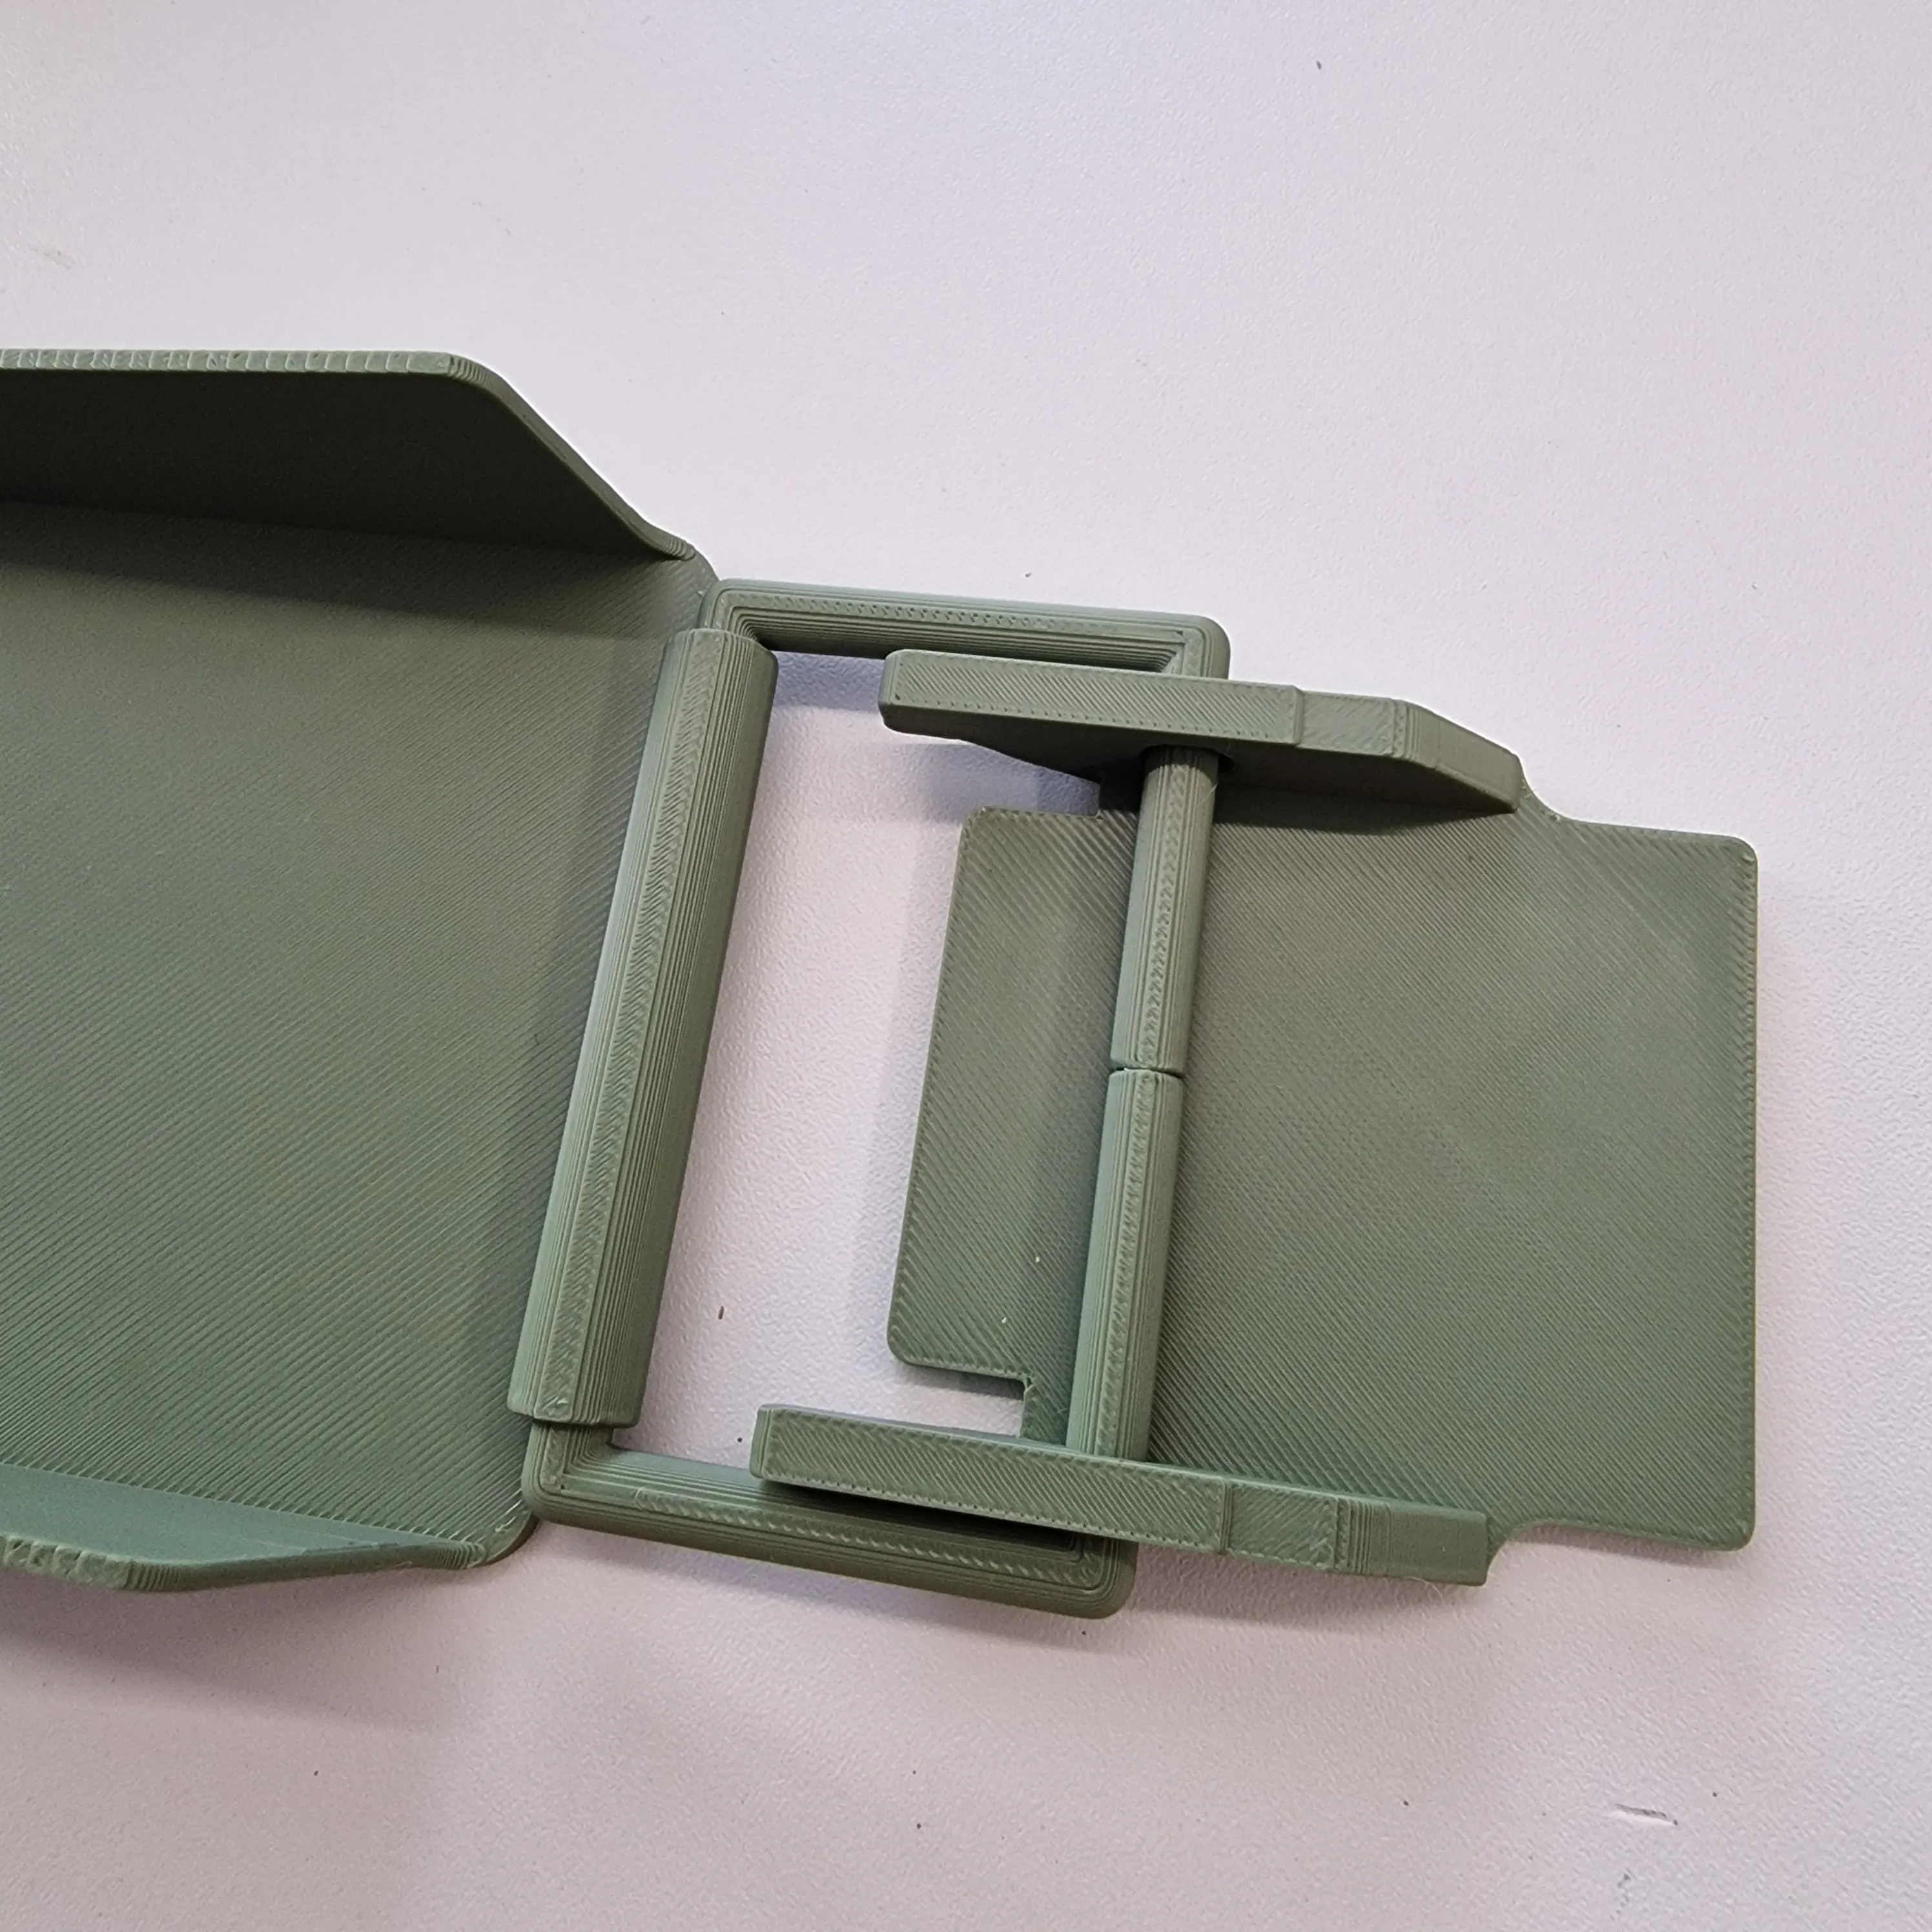
- Put a very tiny drop of glue on both ends of an half of the handle link and carefully align them, take a look at the pic below
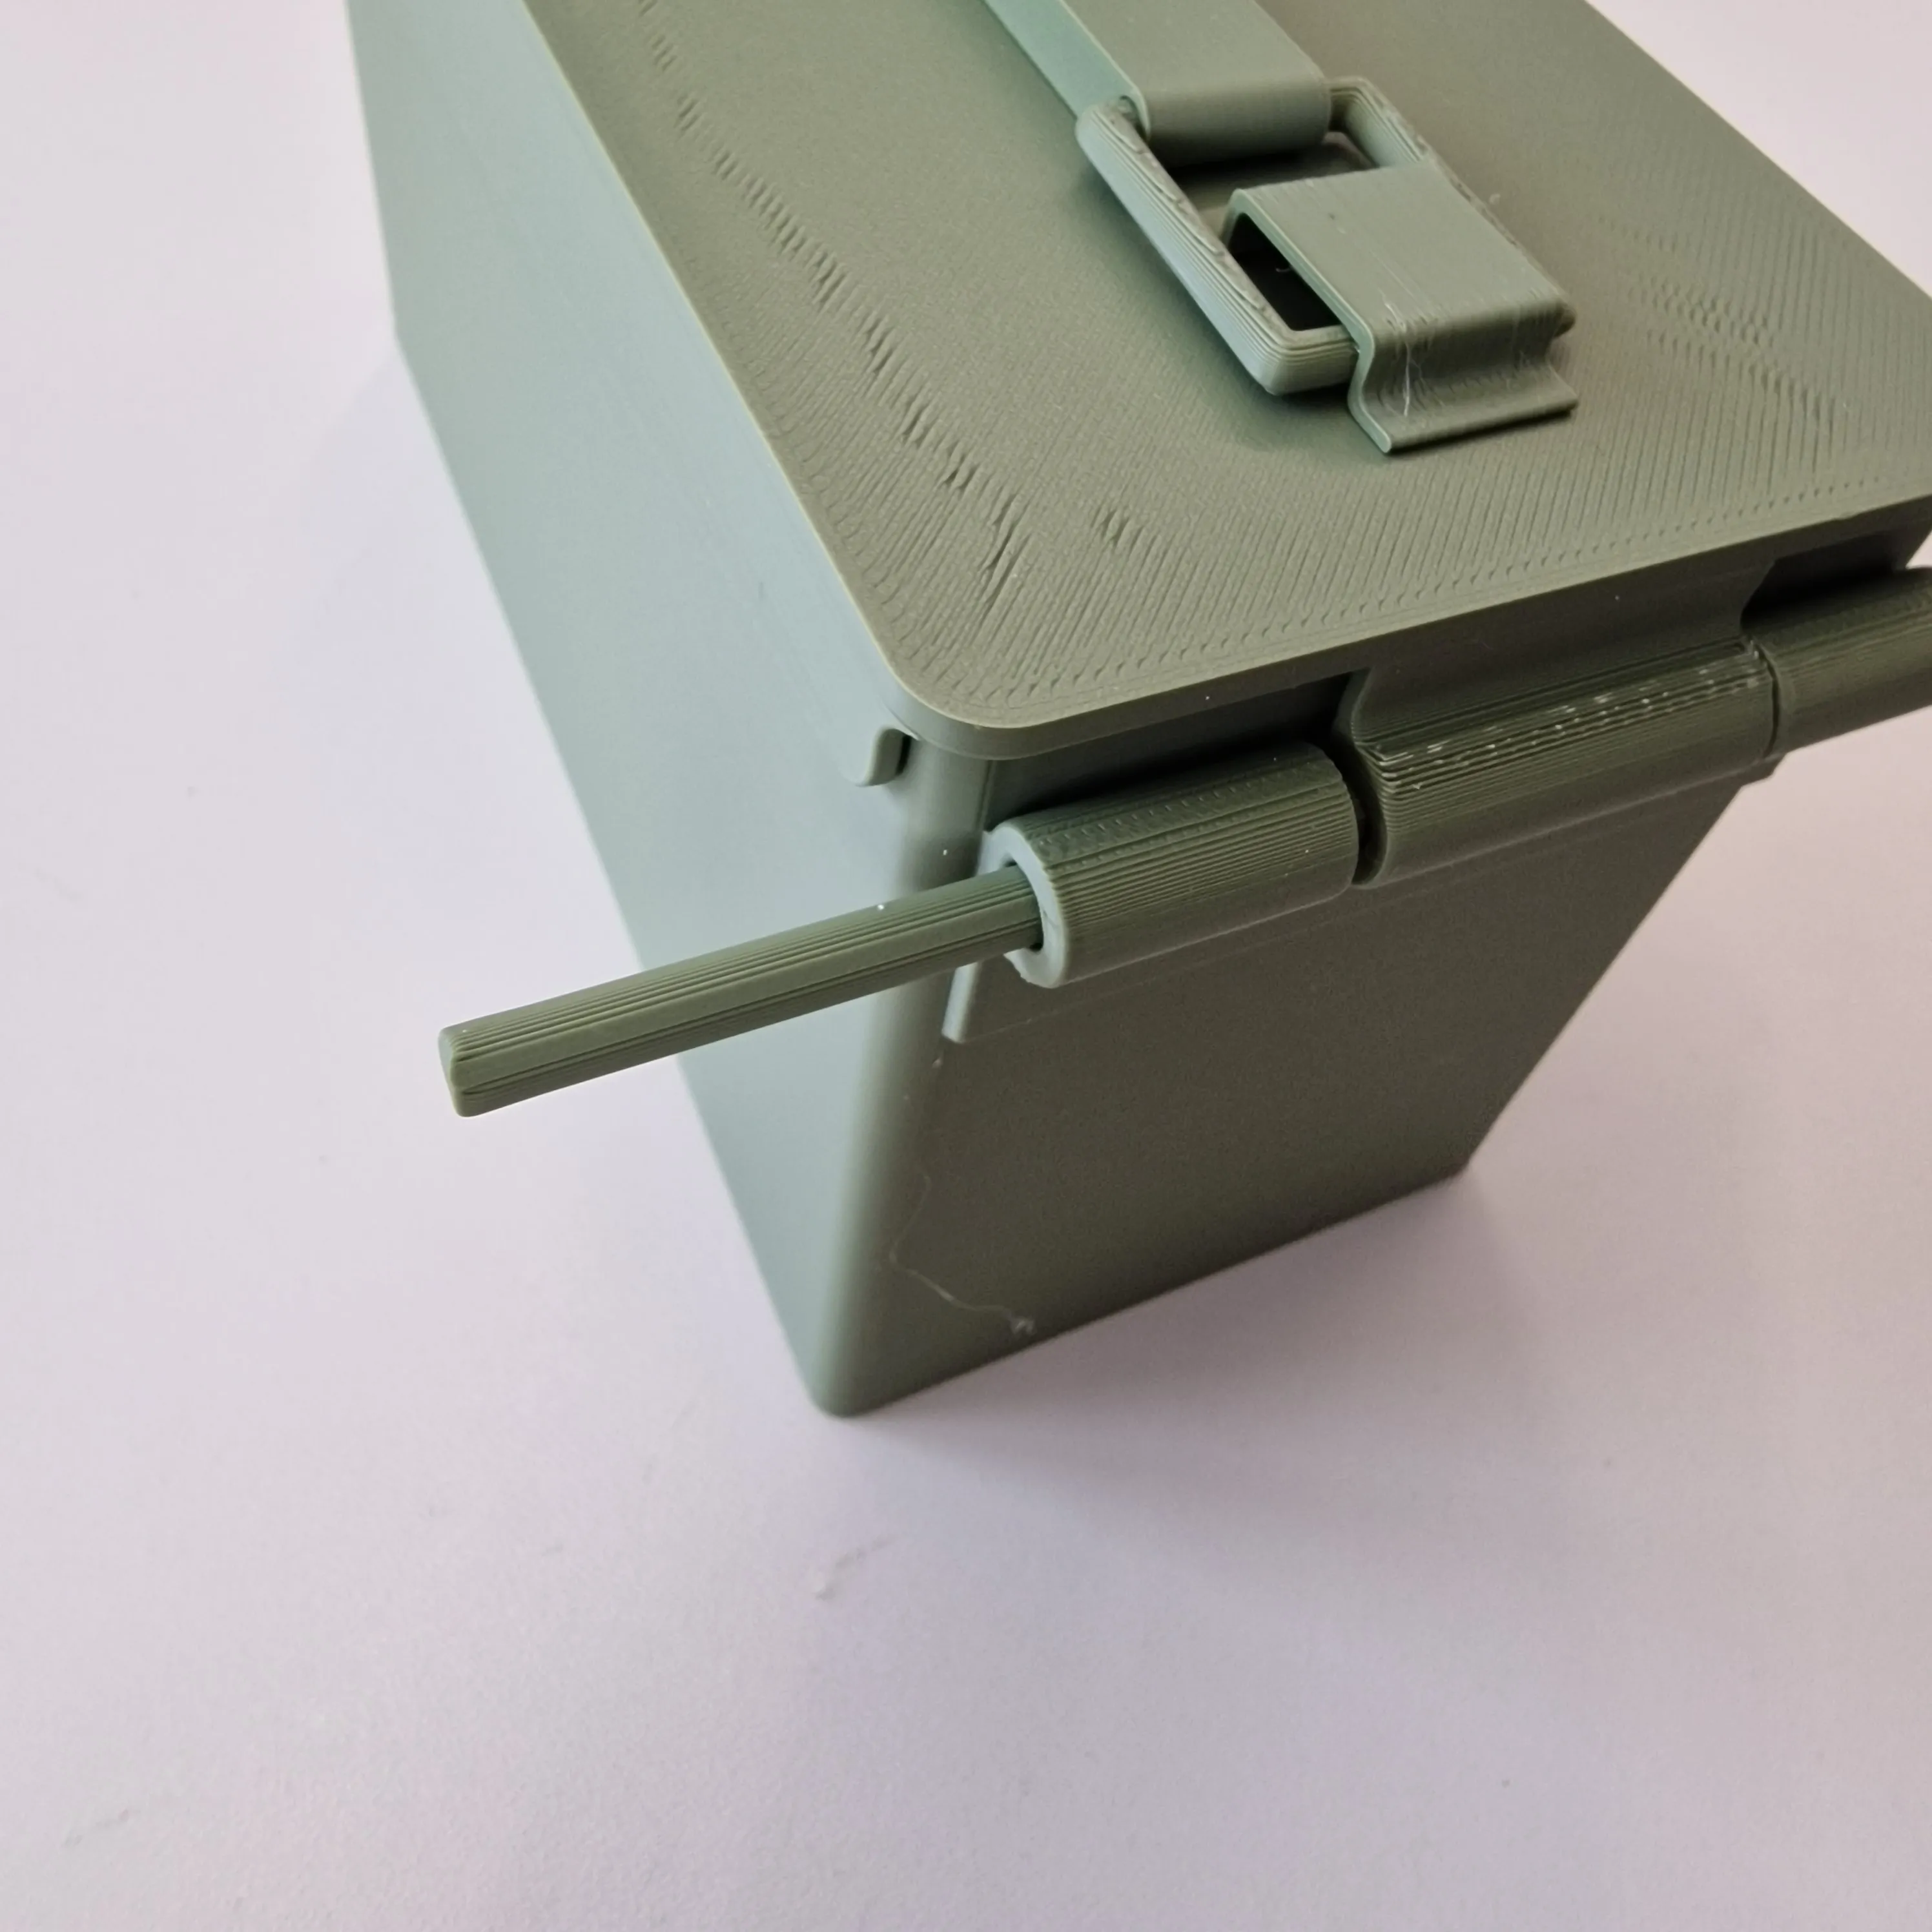
- Insert the back rod to connect the lid with the box
- Put a tiny drop of glue on one half of the handle's link and connect the other half (going inside the handle), repeat for the other side and then glue the two ‘omega’ shaped pieces to the lid. You need to glue them like in the pic below (leaving the empty space on the inner side so the handle can be lifted)
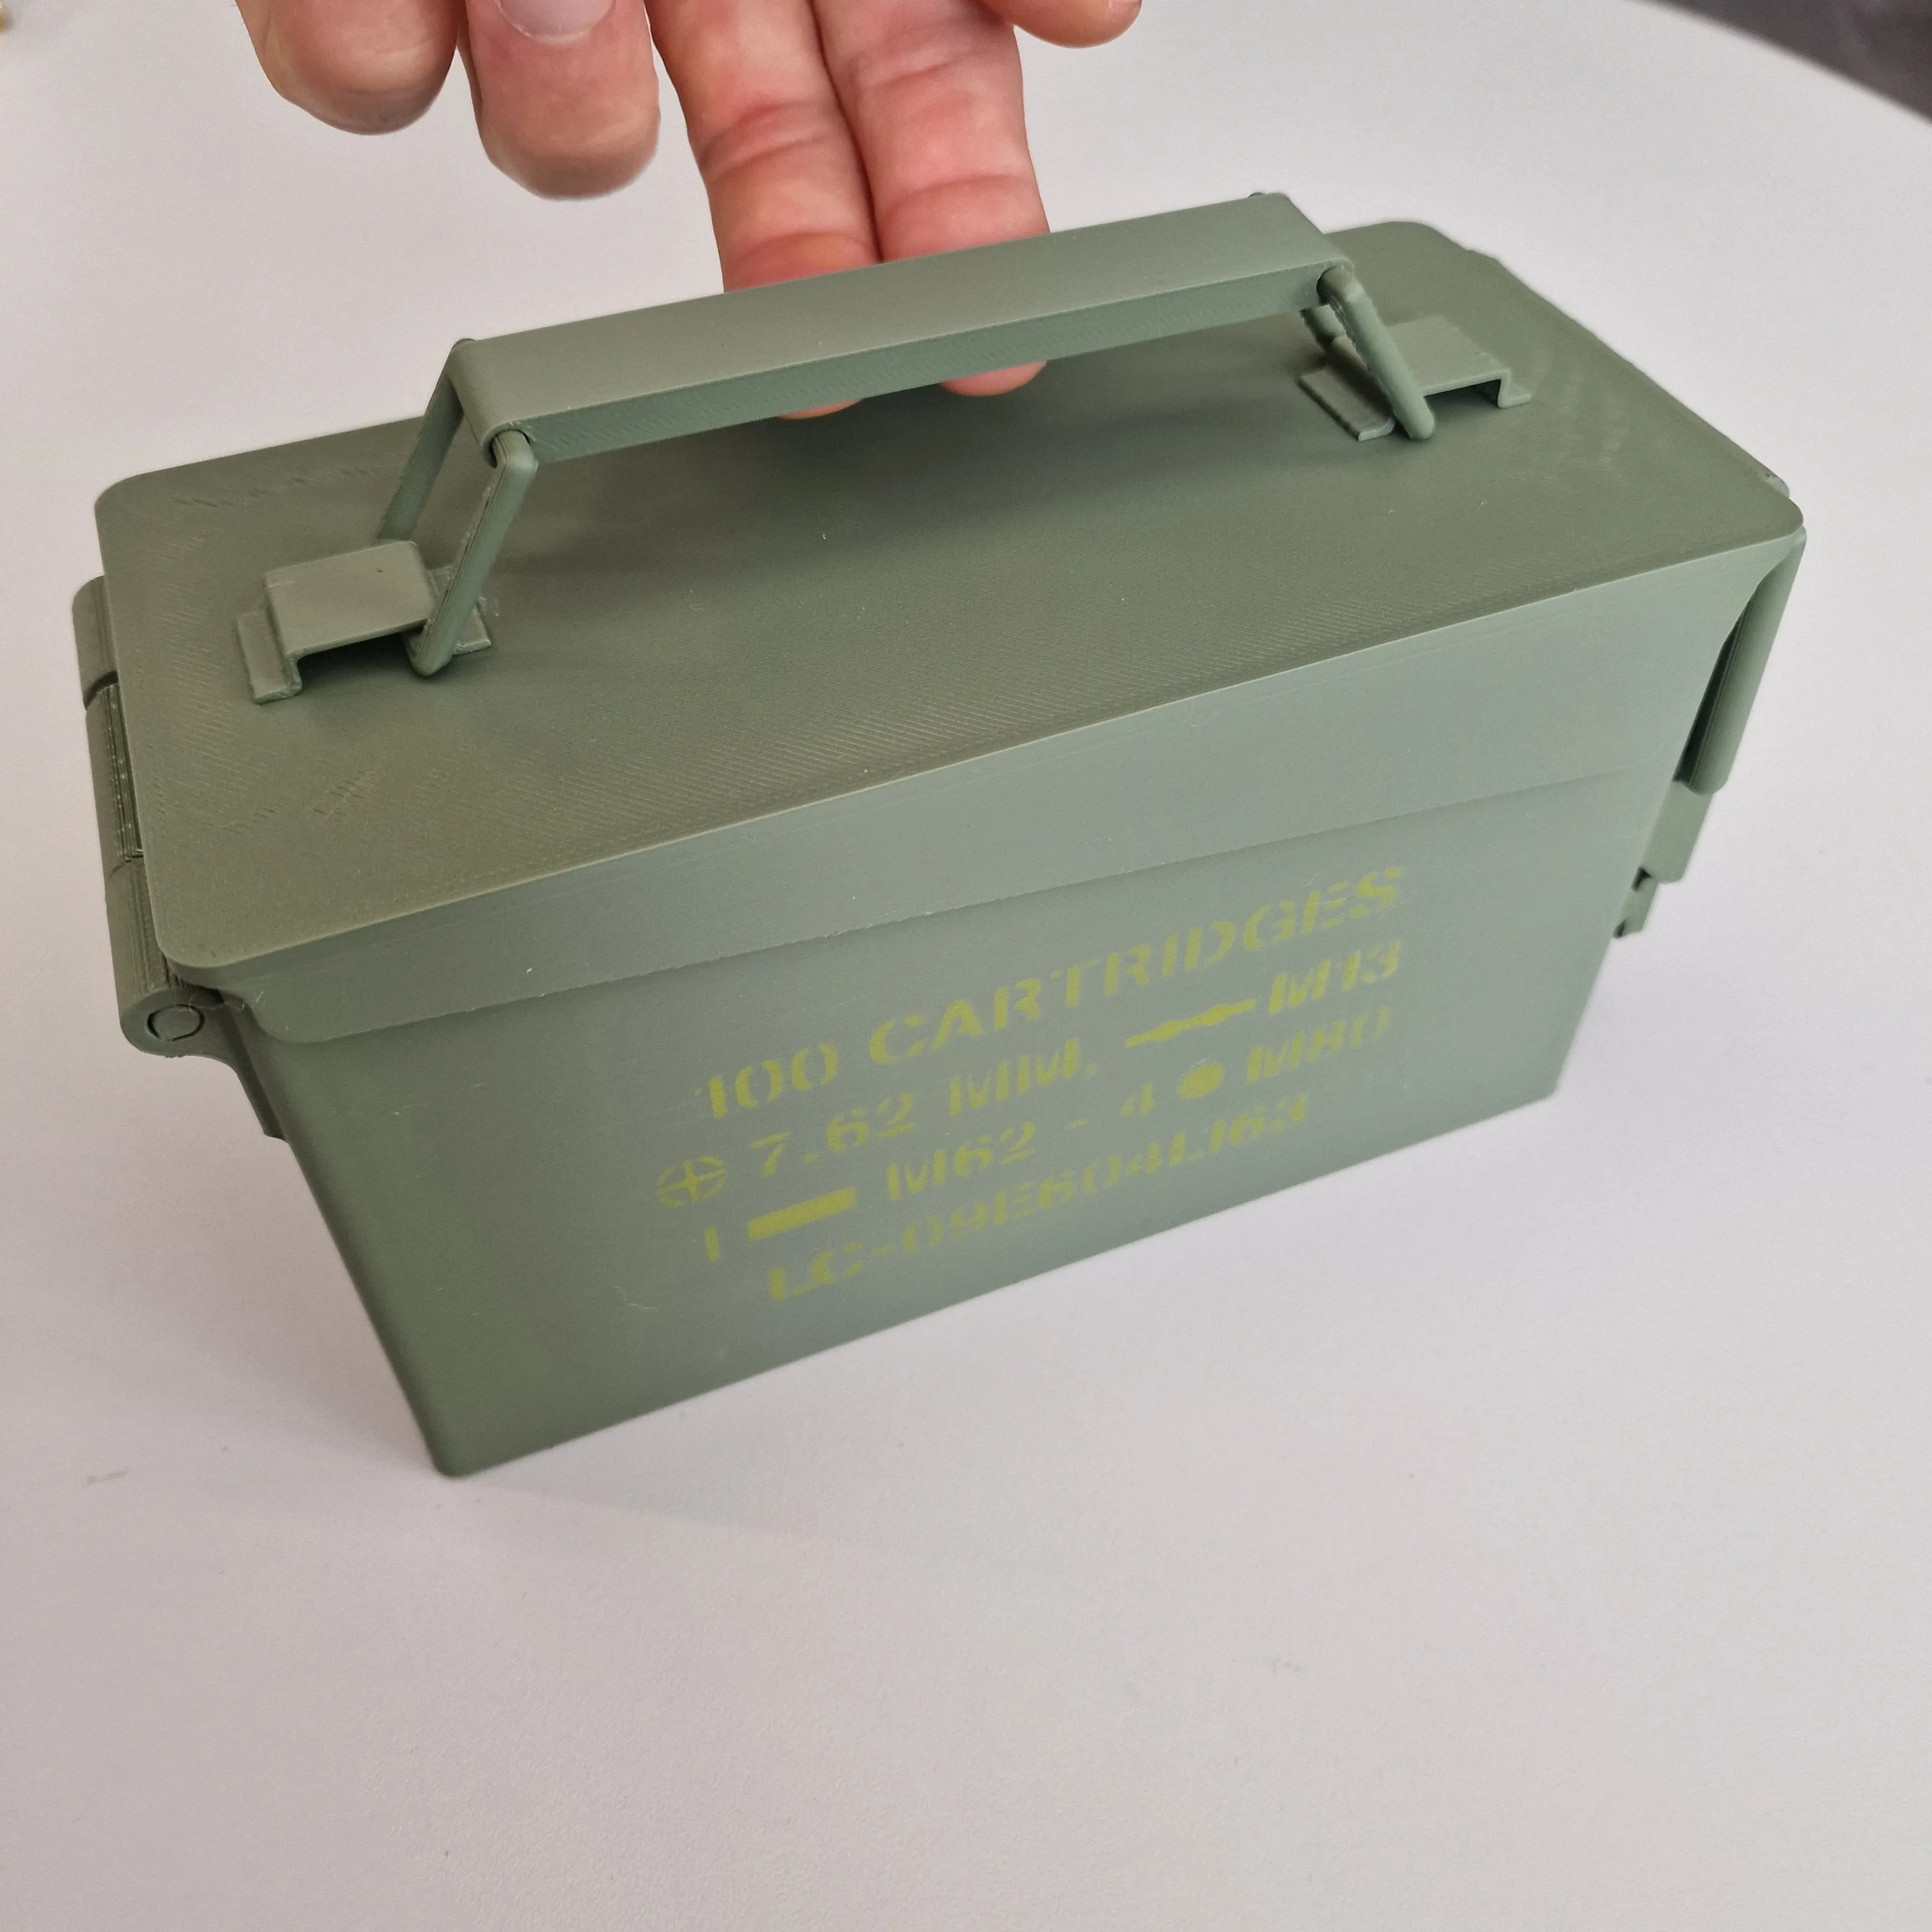
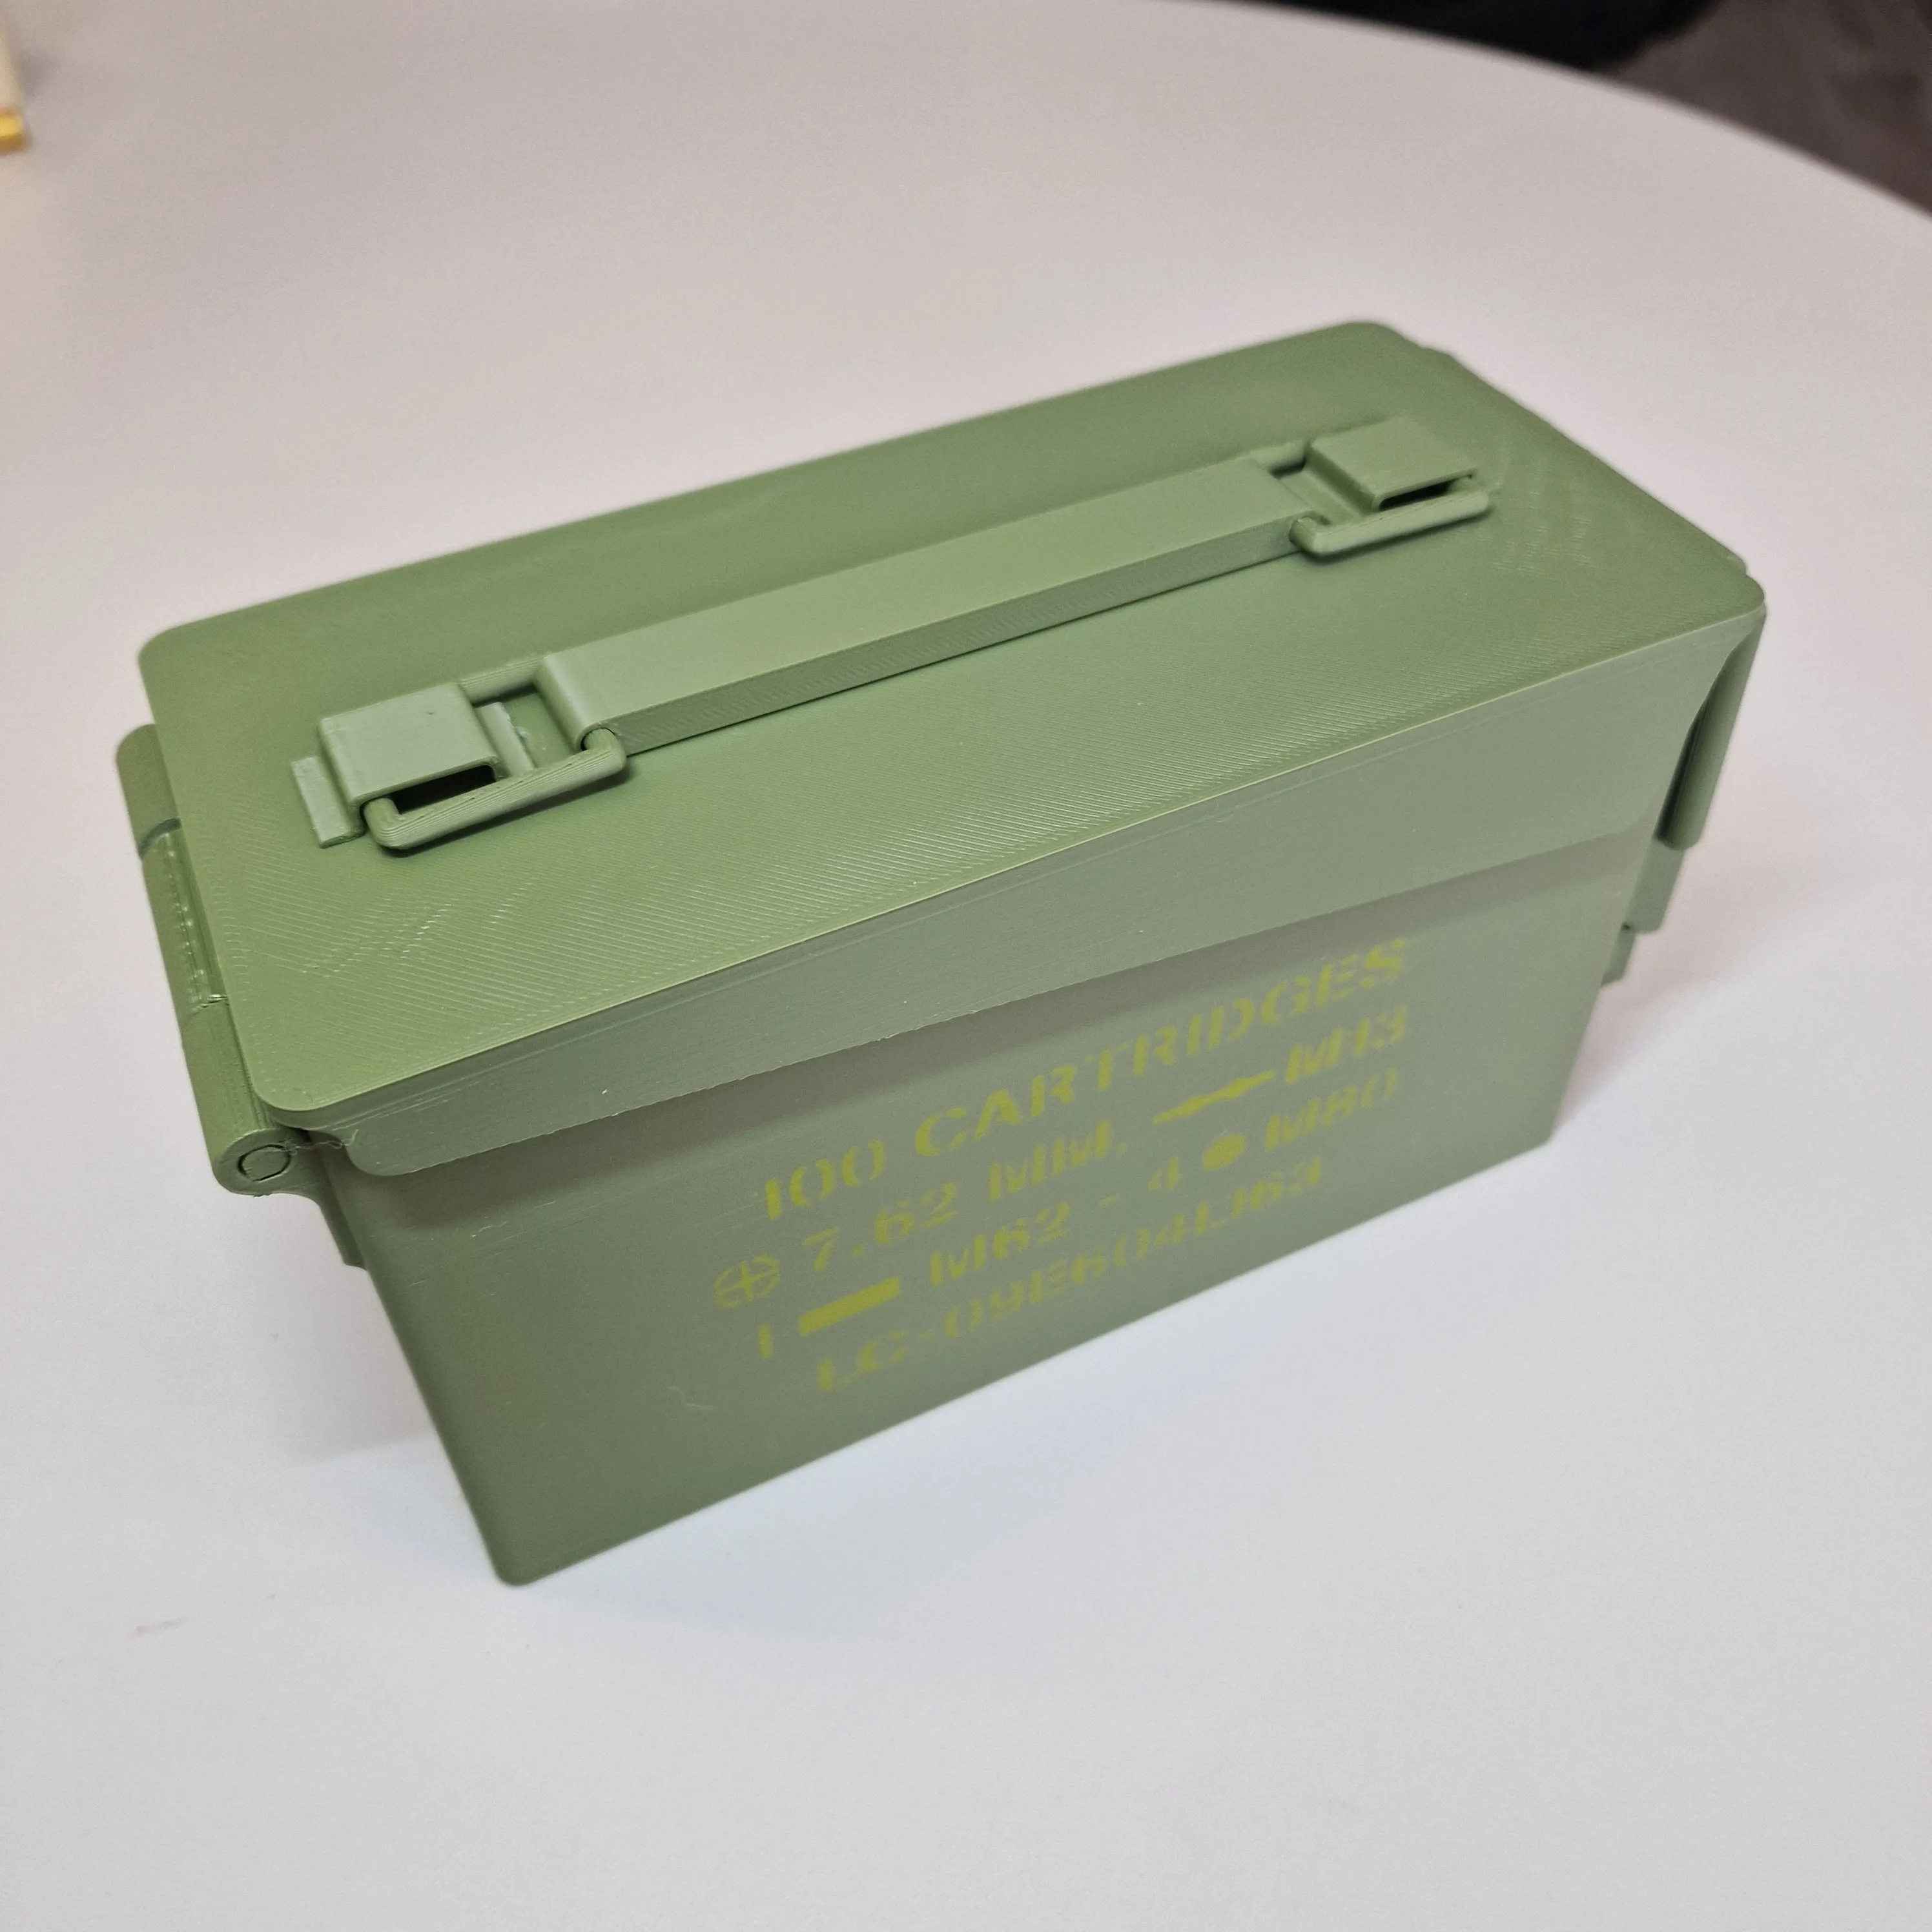
Finally use an airbrush to gently paint the decals
License

You shall not share, sub-license, sell, rent, host, transfer, or distribute in any way the digital or 3D printed versions of this object, nor any other derivative work of this object in its digital or physical format (including - but not limited to - remixes of this object, and hosting on other digital platforms). The objects may not be used without permission in any way whatsoever in which you charge money, or collect fees.


Comment & Rating (17)