Bug Spinner


Print Profile(1)

Bill of Materials


Description
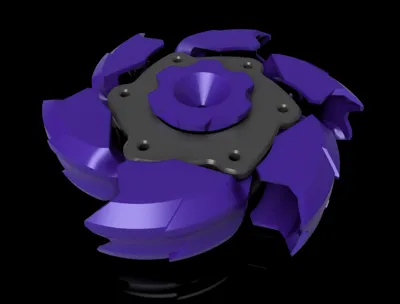
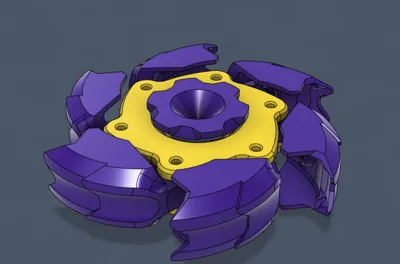
I saw the metal version of this fidget spinner online, and I decided to make it myself. It is an interesting magnetic toy. The idea originates from the Gobigger Pillbug Spinner Fidget Toy.
The metal version is, without a doubt, better, but it is pretty expensive too; I wanted to see what was possible with 3D printing.
You will need some magnets and a bearing.
PARTS NEEDED
- 12 x Magnets 5x5 mm cylindrical: Bambu Maker's Supply does not have them, so you can find them on Aliexpress or craft a larger magnet from the smaller ones from the Maker's Supply
- 1 x Bearing 8x22x7 mm freely moving: I stole it from an old fidget spinner, but you can deep clean a common skateboard bearing (Maker's Supply or Aliexpress is the way)

ASSEMBLY
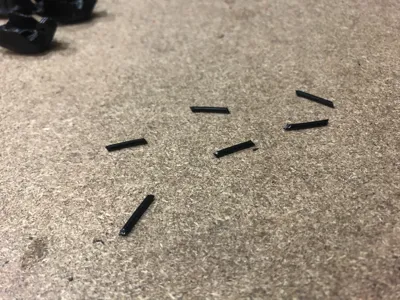
You will need to cut 6 pieces of filament about 11mm long: straighten a filament section and cut 6 segments with at least one end at 45°, making it pointy. It is possible to make them longer and trim them later, no need for precision now.
If you have problems with the tolerances of the parts, try adjusting them before printing in the slicer, using the XY compensation for holes and perimeters.
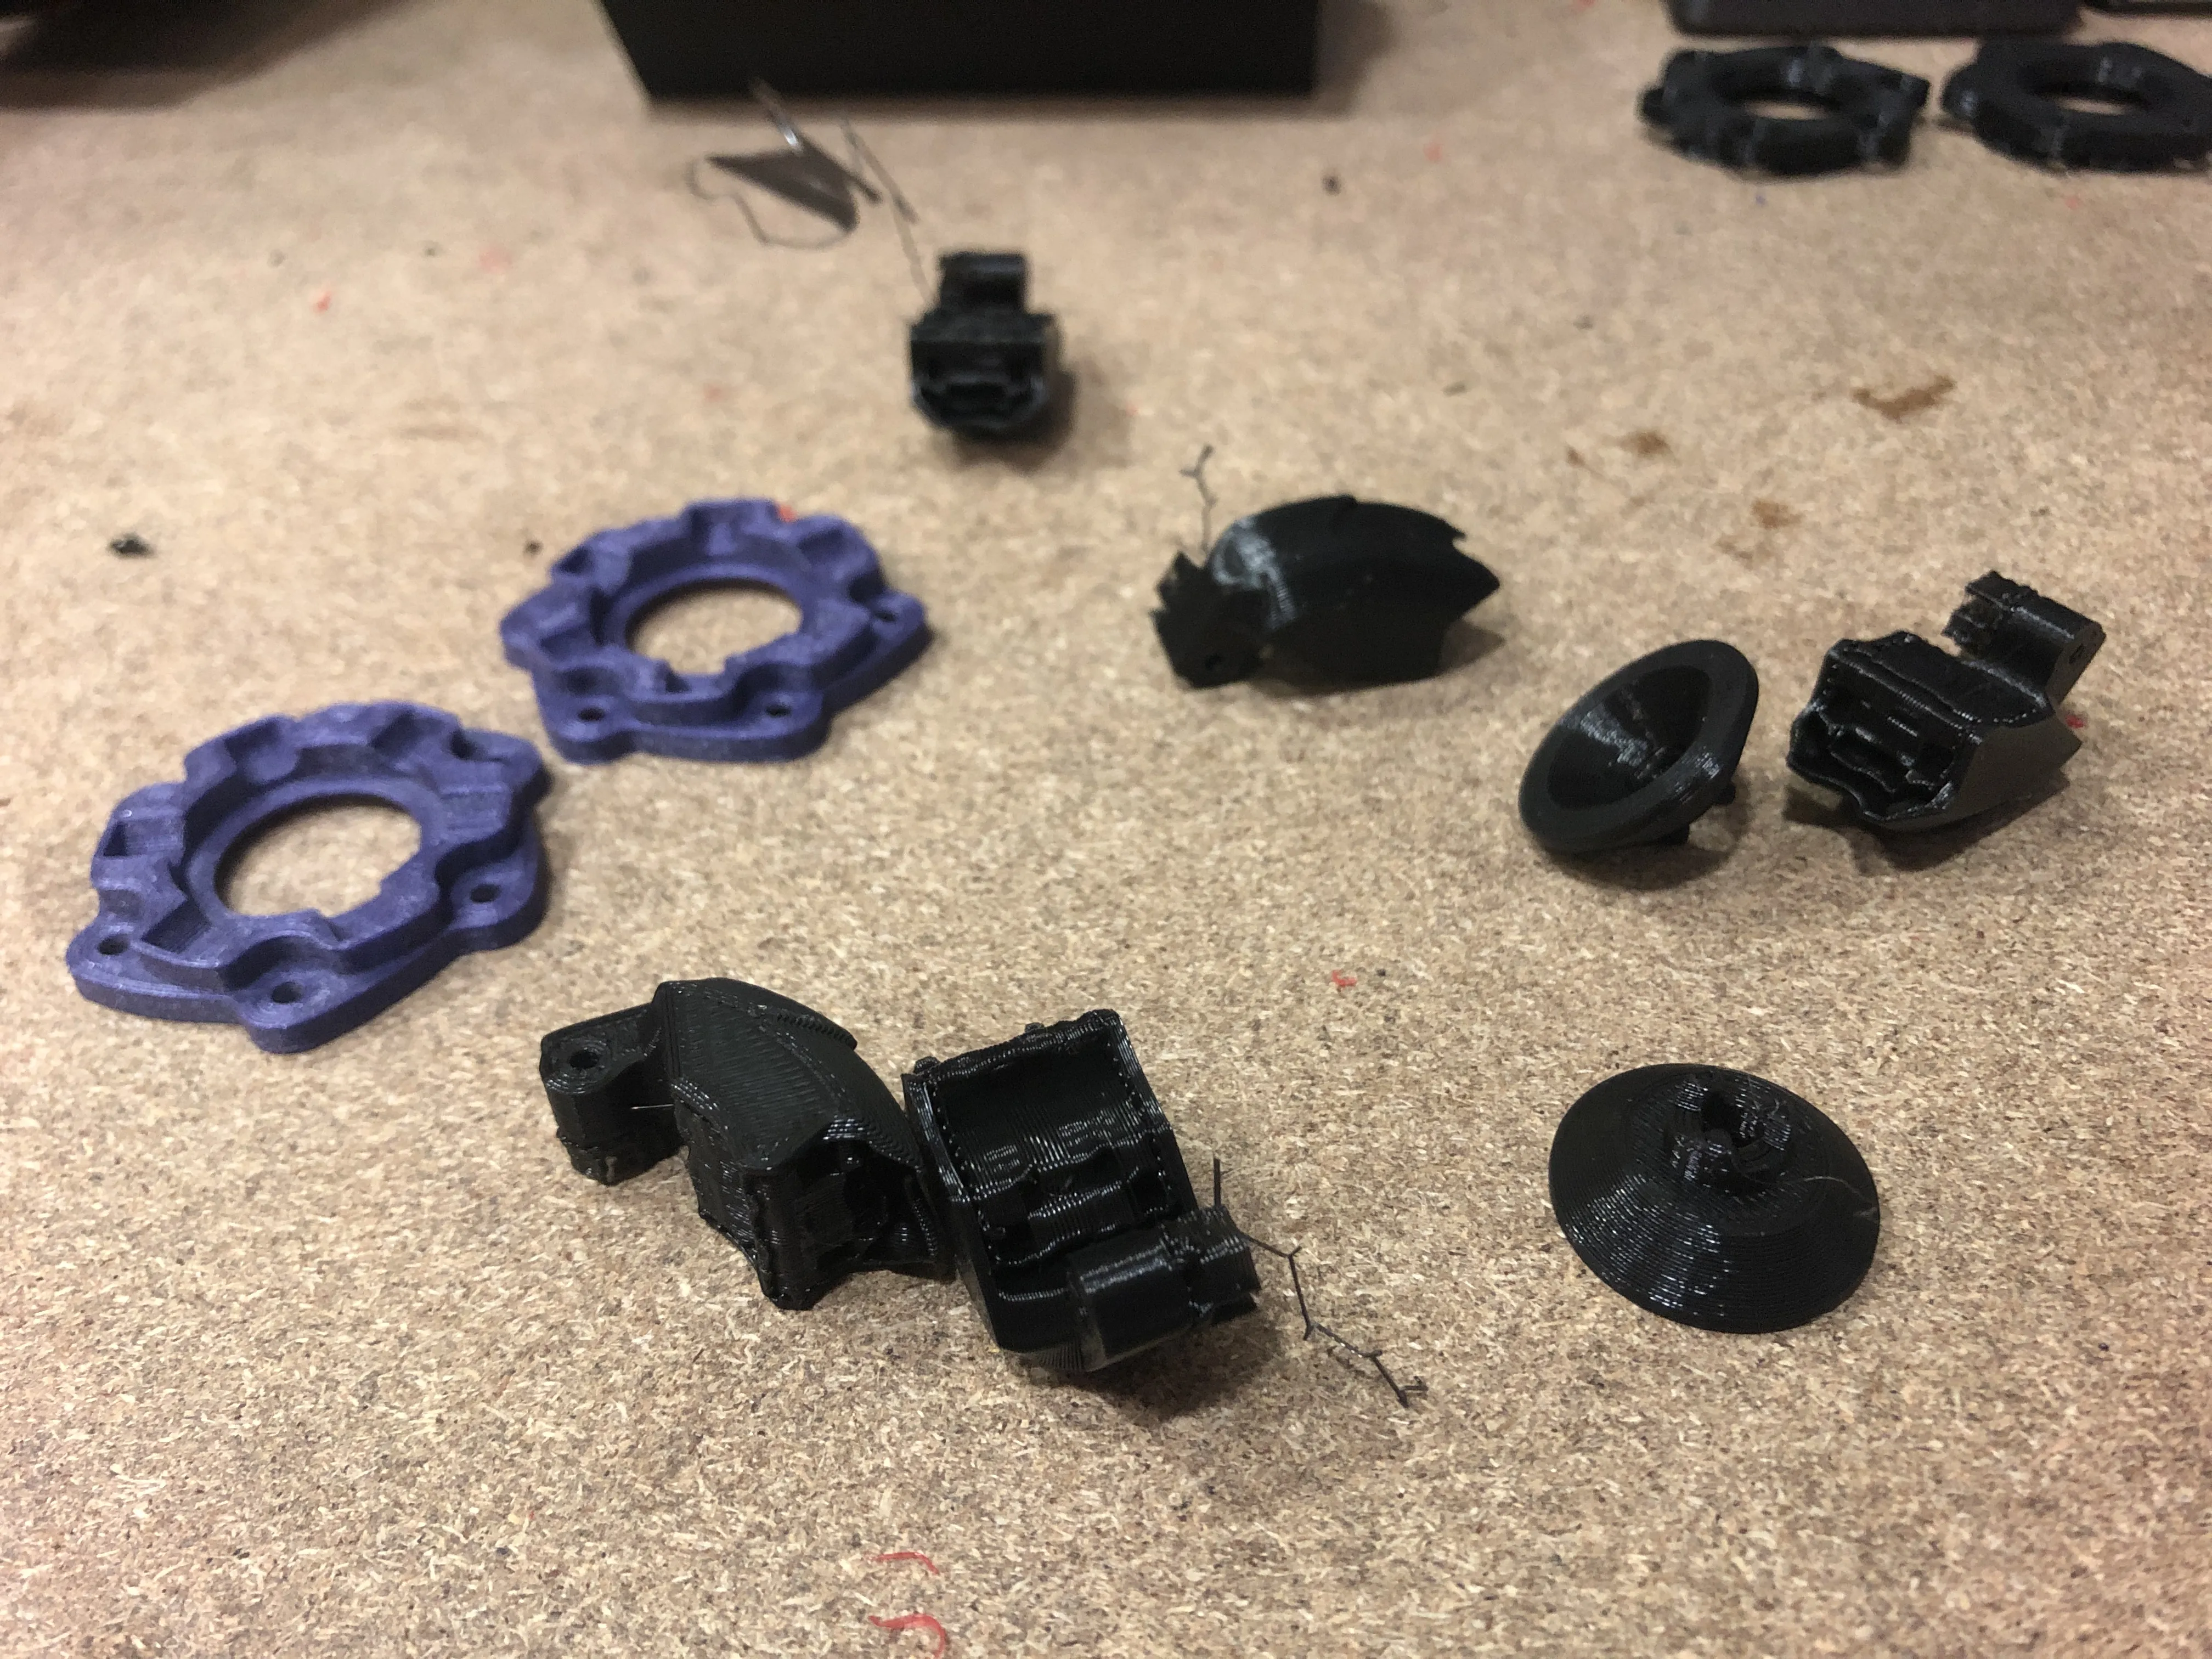

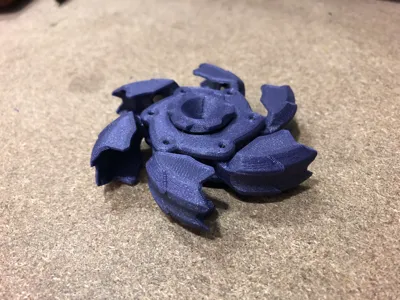
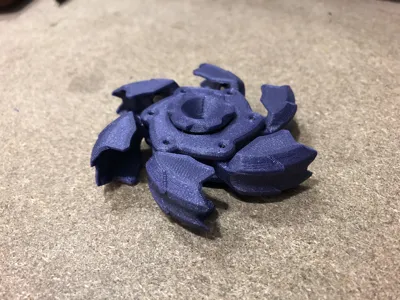
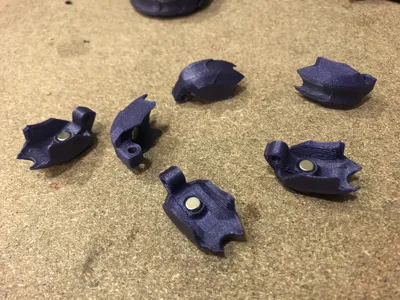
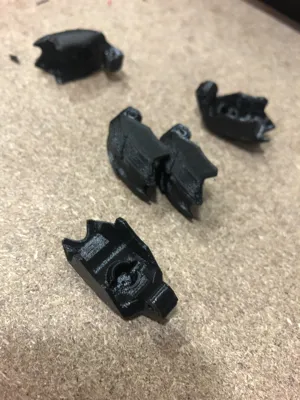
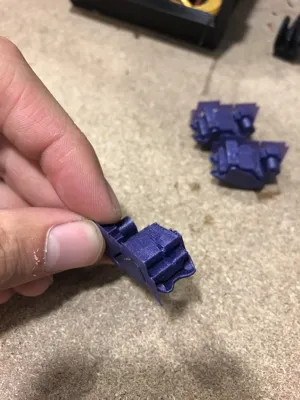
Prepare the Wings by removing the supports. It can be hard, but it works better with flat faces: use a cutter to clean the contact surface with the supports and make them as flat as possible.
Insert the magnets inside the wings. Check for polarity: it must be the same for every wing.

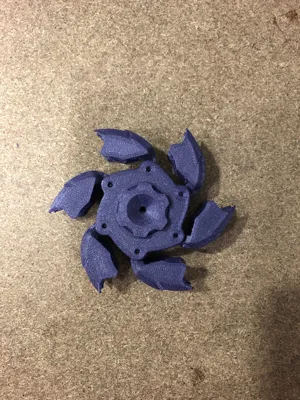
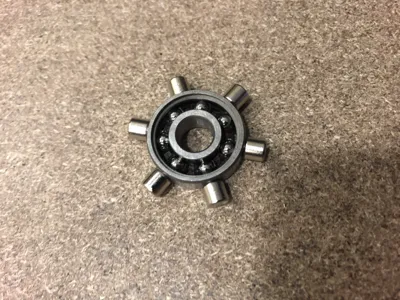
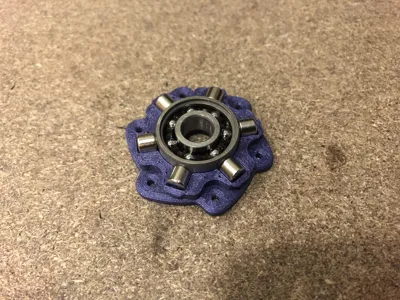
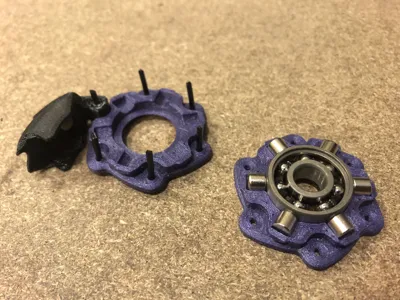
Put the remaining magnets in a radial configuration around the bearing and place it inside a Ring part. The polarity of the magnets must attract the wings on their insides.

I tried different approaches to perform the last step, and you can try inserting the filament segments as shown in the picture, but it is not the best way.
Try instead this way: close the bearing with the leftover Ring part; insert one by one, in order, the wings with the corresponding segment and push it all the way in. Trim the excess filament flush to the rings using a pair of pliers.

Check for the correct opening of the wings: they should open without friction and snap closed when released.
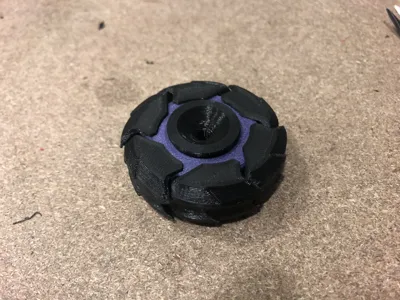
Insert the two sides of the Core, and you are done!
Everything should stay together with friction, but if it is not enough, just use a drop of super glue between the Rings or the Core.
If you spin it fast enough, the wings will open out and should stop without closing them. Just a touch and it snaps closed. It could also be a satisfying action to open and close the wings manually.
DESIGN PROCESS
I made several versions, and this is the simplest one and easiest to assemble. I tried avoiding supports, but there was no good or pleasing way out for the Wings, or I did not like the geometry of the parts. I also used screws at the beginning, making them pretty strong, but finding the correct length ones with a flush head was too hard to publish the design, so I just used filament friction.
Hope you like it. Let me know your opinions.
License
You may create derivative works based on this object, provided that all such derivative works are published exclusively on the MakerWorld platform and include proper attribution to the original creator. You may not share, upload, host, distribute, or publish this object—or any derivative work of this object—on any other digital platform, marketplace, or distribution channel. Commercial use of this object and any derivative works is strictly prohibited. This includes, but is not limited to, selling, renting, sublicensing, or using the object in any context in which you receive monetary compensation or other financial benefits.
Comment & Rating (16)