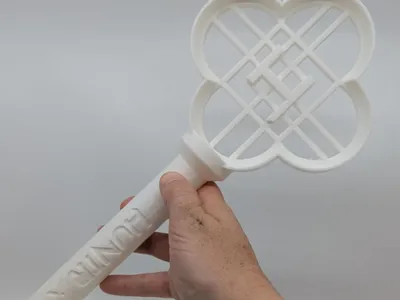
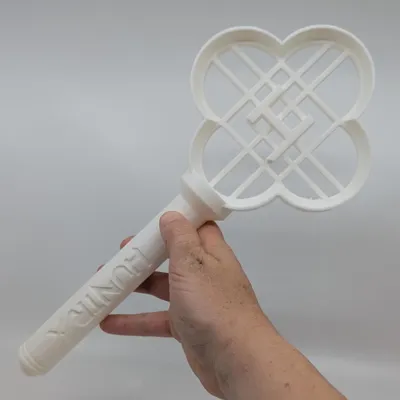
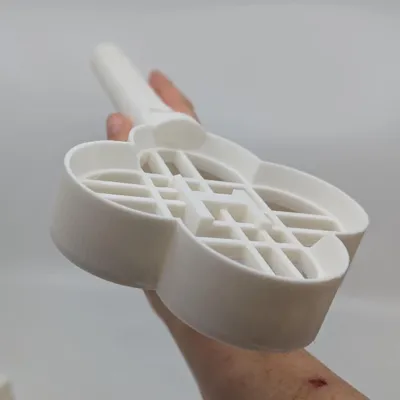
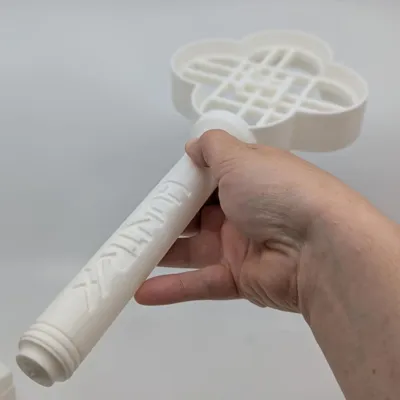
Huntrix Light Stick Cosplay KPop Demon Hunters


Print Profile(2)


Description
Boost Me (for free)
If you find this model useful or inspiring, a Boost would be greatly appreciated — it really helps support my work and future designs. Thank you for checking it out! 🙏
⚠️ Please read all model descriptions, warnings, licensing terms, and copyright notices before downloading, printing, selling, or using any model. Users are responsible for ensuring compliance with applicable laws, intellectual property rights, and the specific needs of their animals or intended use.
This model was created and published by SB (Joanna0o), unless otherwise stated.
Official profile: https://makerworld.com/en/@Joanna0o
Elevate your cosplay and fandom experience with a 3D printed kit for Huntrix's lightstick, inspired by KPop Demon Hunters. This kit is perfect as a cosplay accessory, a thoughtful gift for a fan in your life, or a stunning display piece to highlight your creativity and passion for fandom.
- COMPLETING YOUR KIT:
- Kits often need finishing touches to transform them into complete props. This process may involve sanding, priming, painting, and sealing. While you can finish your kit without sanding, it is advisable to eliminate layer lines for a smoother finish.
- Use pliers, flush cutters, or a craft knife to remove any excess supports.
- Start sanding your kit. I usually begin with 150 grit sandpaper, sanding against the grain of the layer lines. After that, I apply a filler primer, add spot filler where necessary, and continue the process with progressively finer sandpaper grits until I achieve the desired result.
- After sanding, assemble your pieces using CA/super glue for smaller components and five-minute epoxy for larger props.
- Apply spot filler to your seams and sand them down again.
- Now you’re all set to paint!
NOTE: If choosing not to sand your kit, please be sure to prime before and seal after painting to prevent chipping and peeling.
⚠️ Important Summary
• This model is provided free of charge and "as is" without warranties or guarantees.
• Users are responsible for determining whether a model is safe, suitable, legal, and appropriate for their intended use.
• 3D printed objects may vary in strength, durability, and performance depending on materials, settings, modifications, and environmental conditions.
• Inspect printed objects regularly and supervise animal use.
• These models are not certified for animal safety, food safety, structural use, or any specific application unless expressly stated.
• Commercial licensing applies only to eligible original SB (Joanna0o) designs.
• Fan art, remixes, adaptations, and third-party intellectual property are generally not included in commercial licensing unless expressly stated otherwise.
• Commercial sellers are solely responsible for product safety, compliance, and sales.
• No download or license grants rights to third-party intellectual property.
• By downloading, printing, modifying, sharing, selling, or using this model, you accept these responsibilities and assume all associated risks.
📄 Please review the full Model Usage Disclaimer & Terms for complete details. [https://docs.google.com/document/d/1oJr19GCHtB74l7lsS9sjI4GWSOtzknKkiI-ASEzTUrU/edit?usp=sharing].
© 2026 SB (Joanna0o). All rights reserved.
Membership
Want to support SchmerBle and sell physical prints of my original designs? Commercial memberships are available through MakerWorld. Third-party copyrighted and trademarked material is excluded.
Comment & Rating (43)