
AMS Feeder Spring Installation Tool
Print Profile(1)

Description
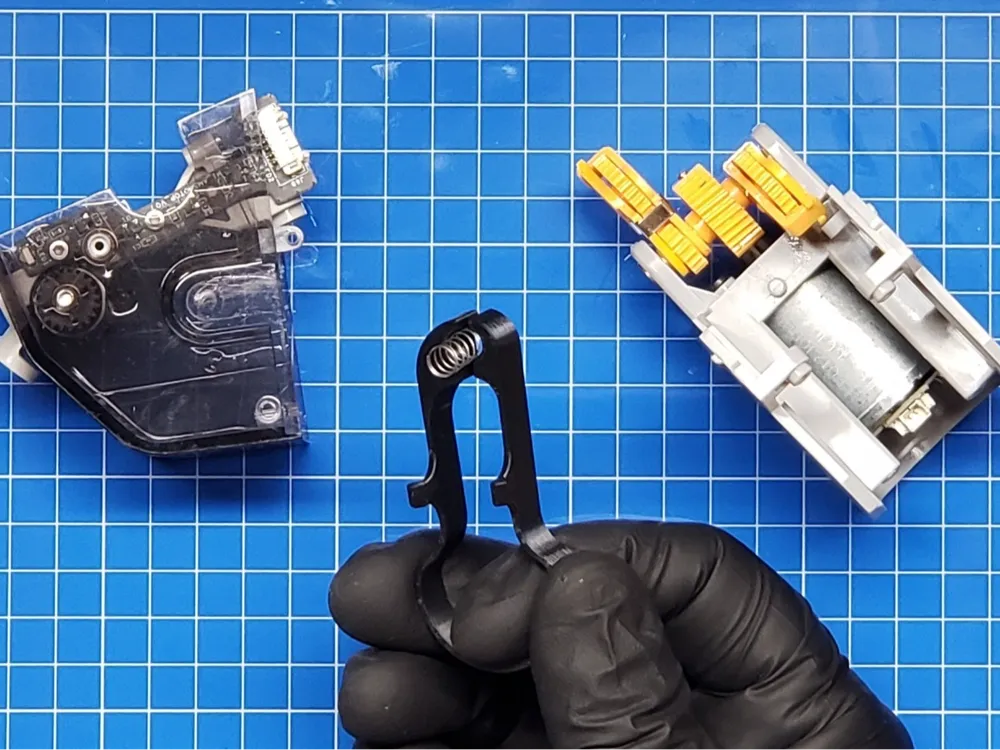
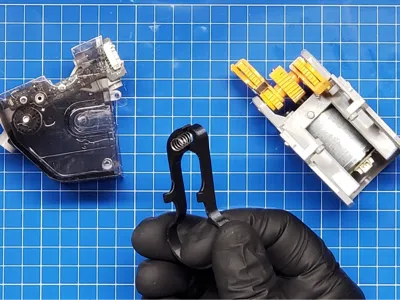
If you've ever disassembled the Stage1 AMS Feeder to replace a worn funnel, you'll be familiar with the small spring that provides tension on the filament drive gear - it's really tricky to re-install!
This tool makes it easy!
*Note - This tool is for the standard AMS, another for the AMS2 Pro will be released soon!
Boost Me (for free)
Boosting helps to fund development of projects like this. Thanks for your help!
I printed mine using ASA on an X1C with 0.2mm nozzle at 0.1mm layer height, but PLA works a little better, as it's stiffer. Default settings are fine, but I used 4 walls. No supports needed.
0.4mm nozzles could work, but I found the jaws tended to fuse.
Once printed, verify that the jaws separate.
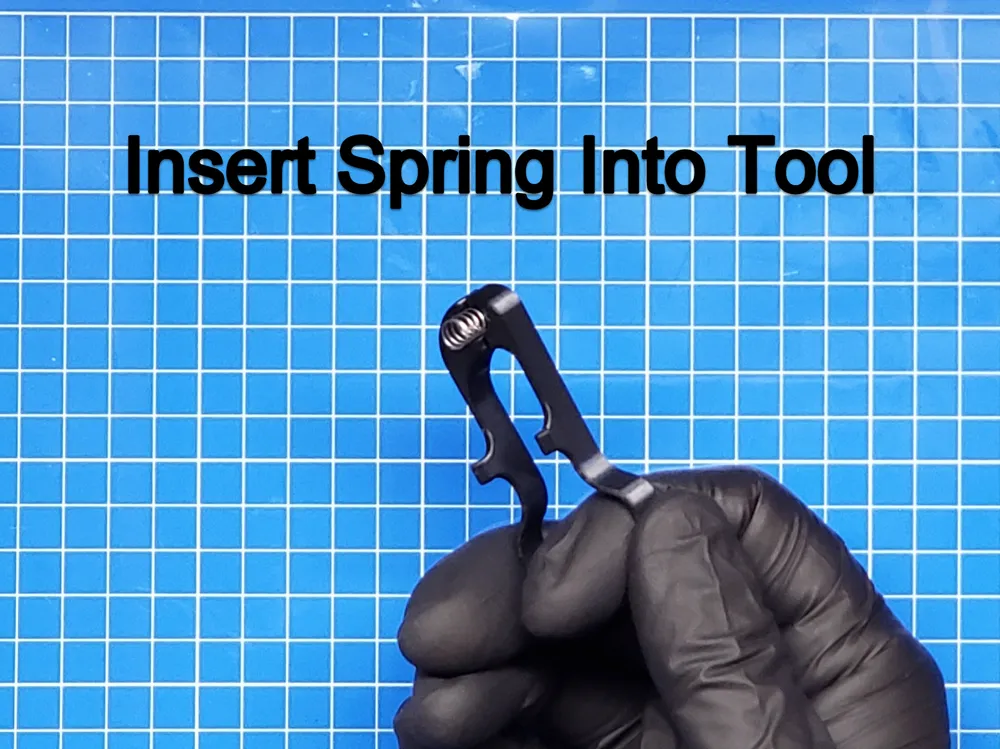
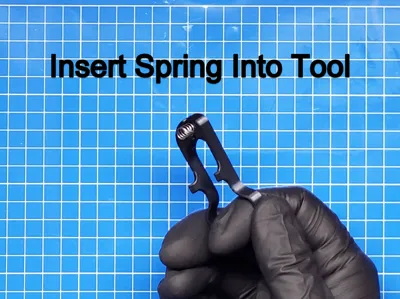
- Insert the Spring into the jaws of the tool:
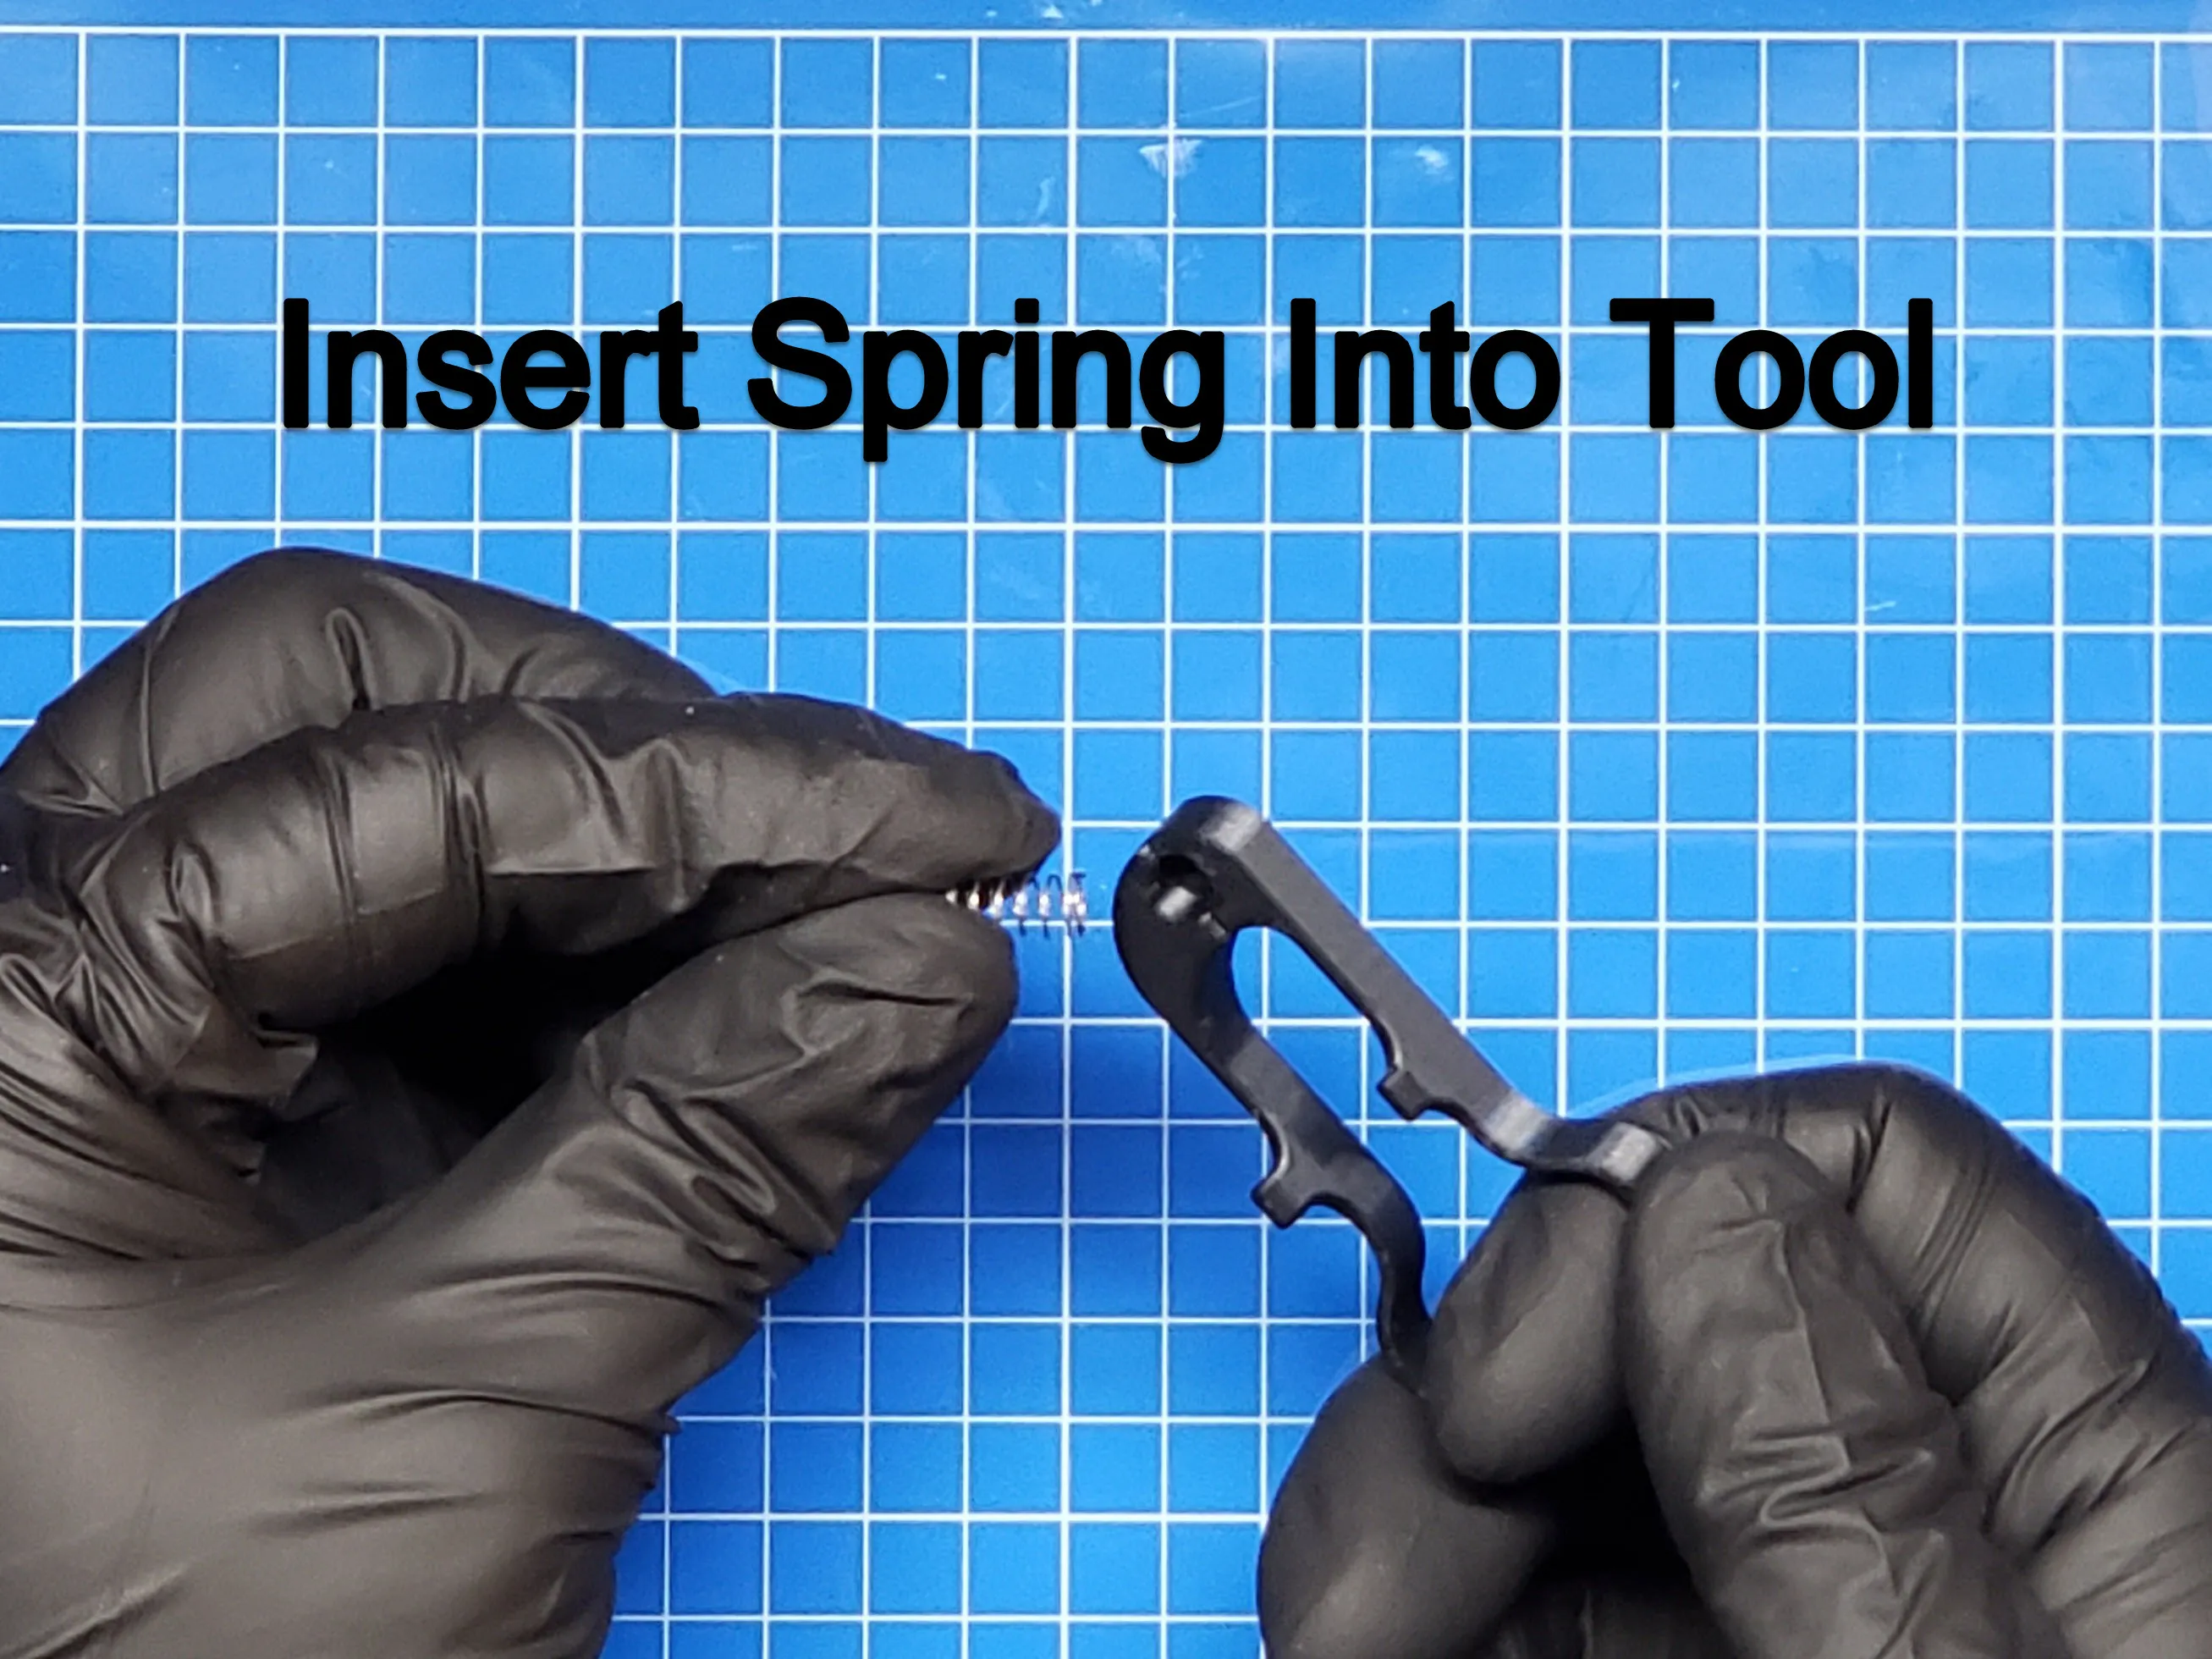
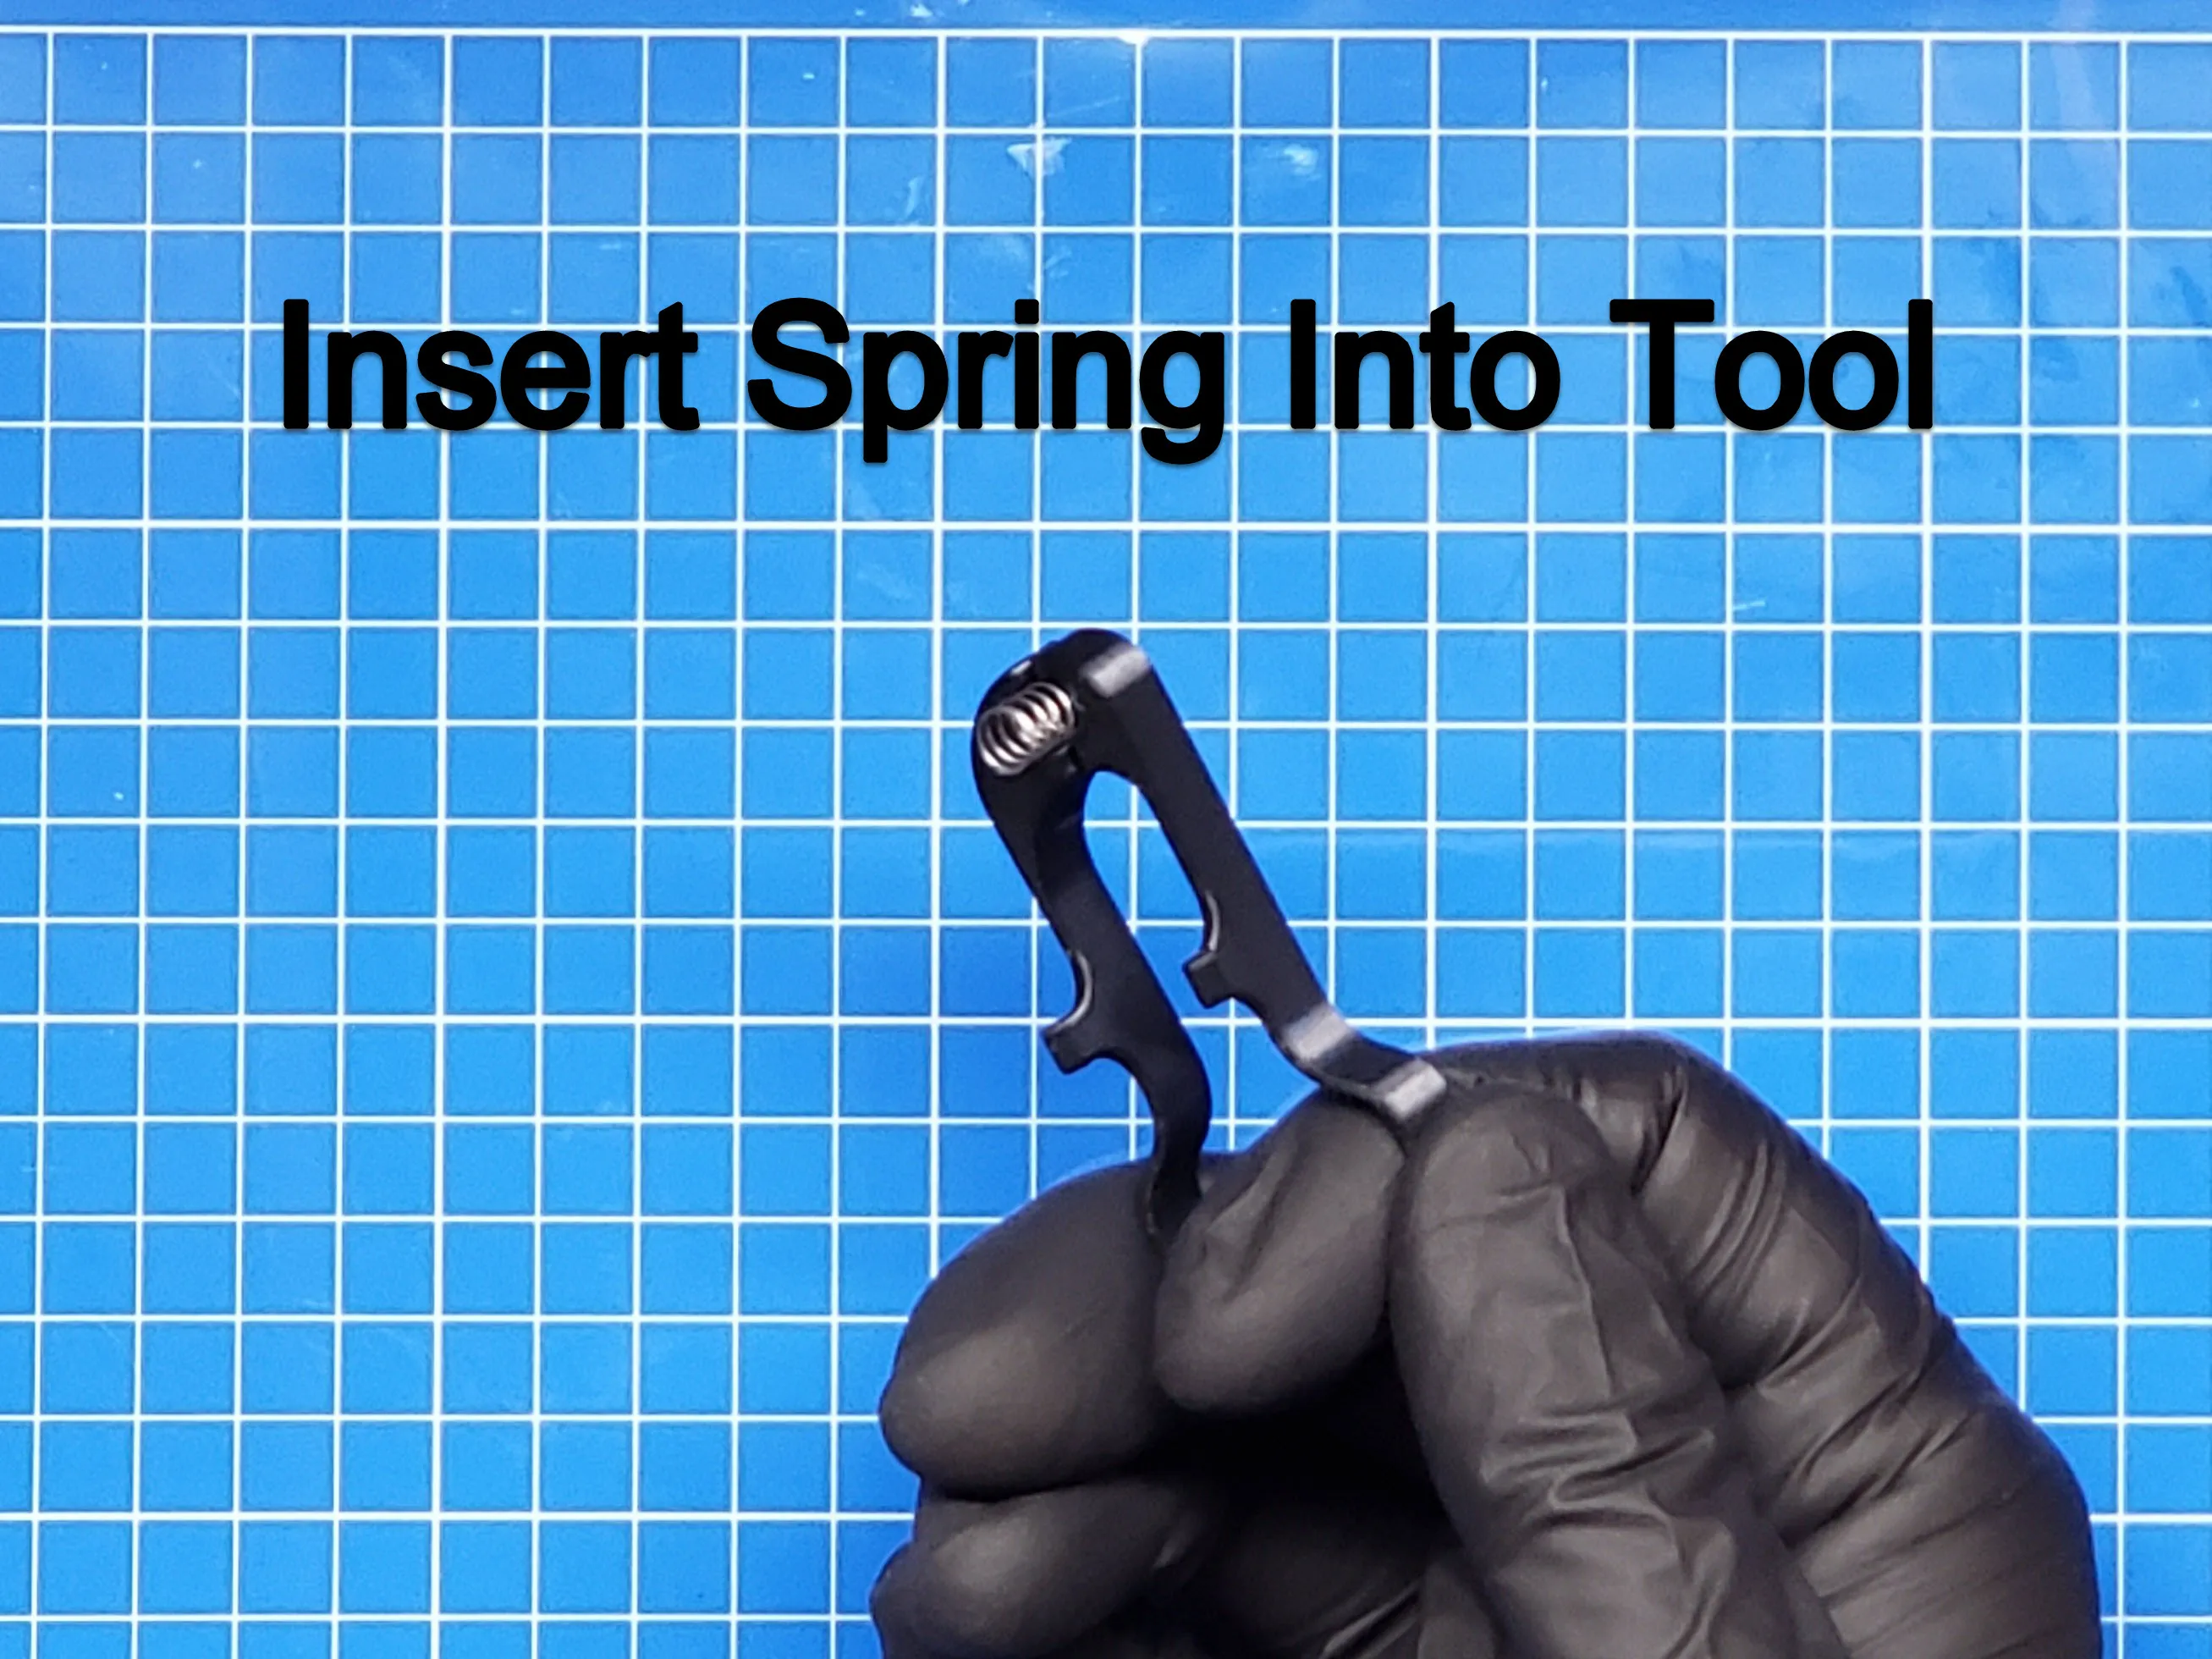
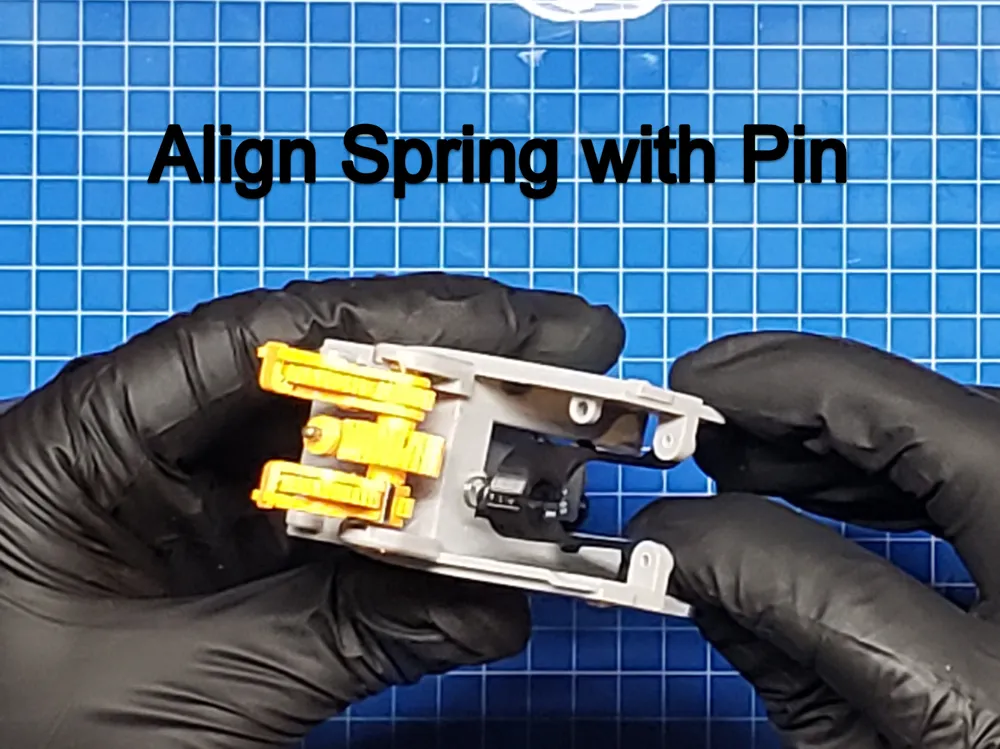
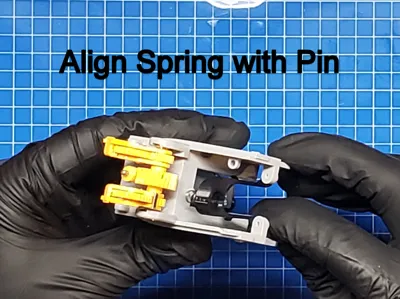
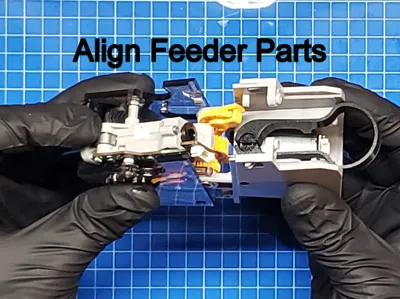
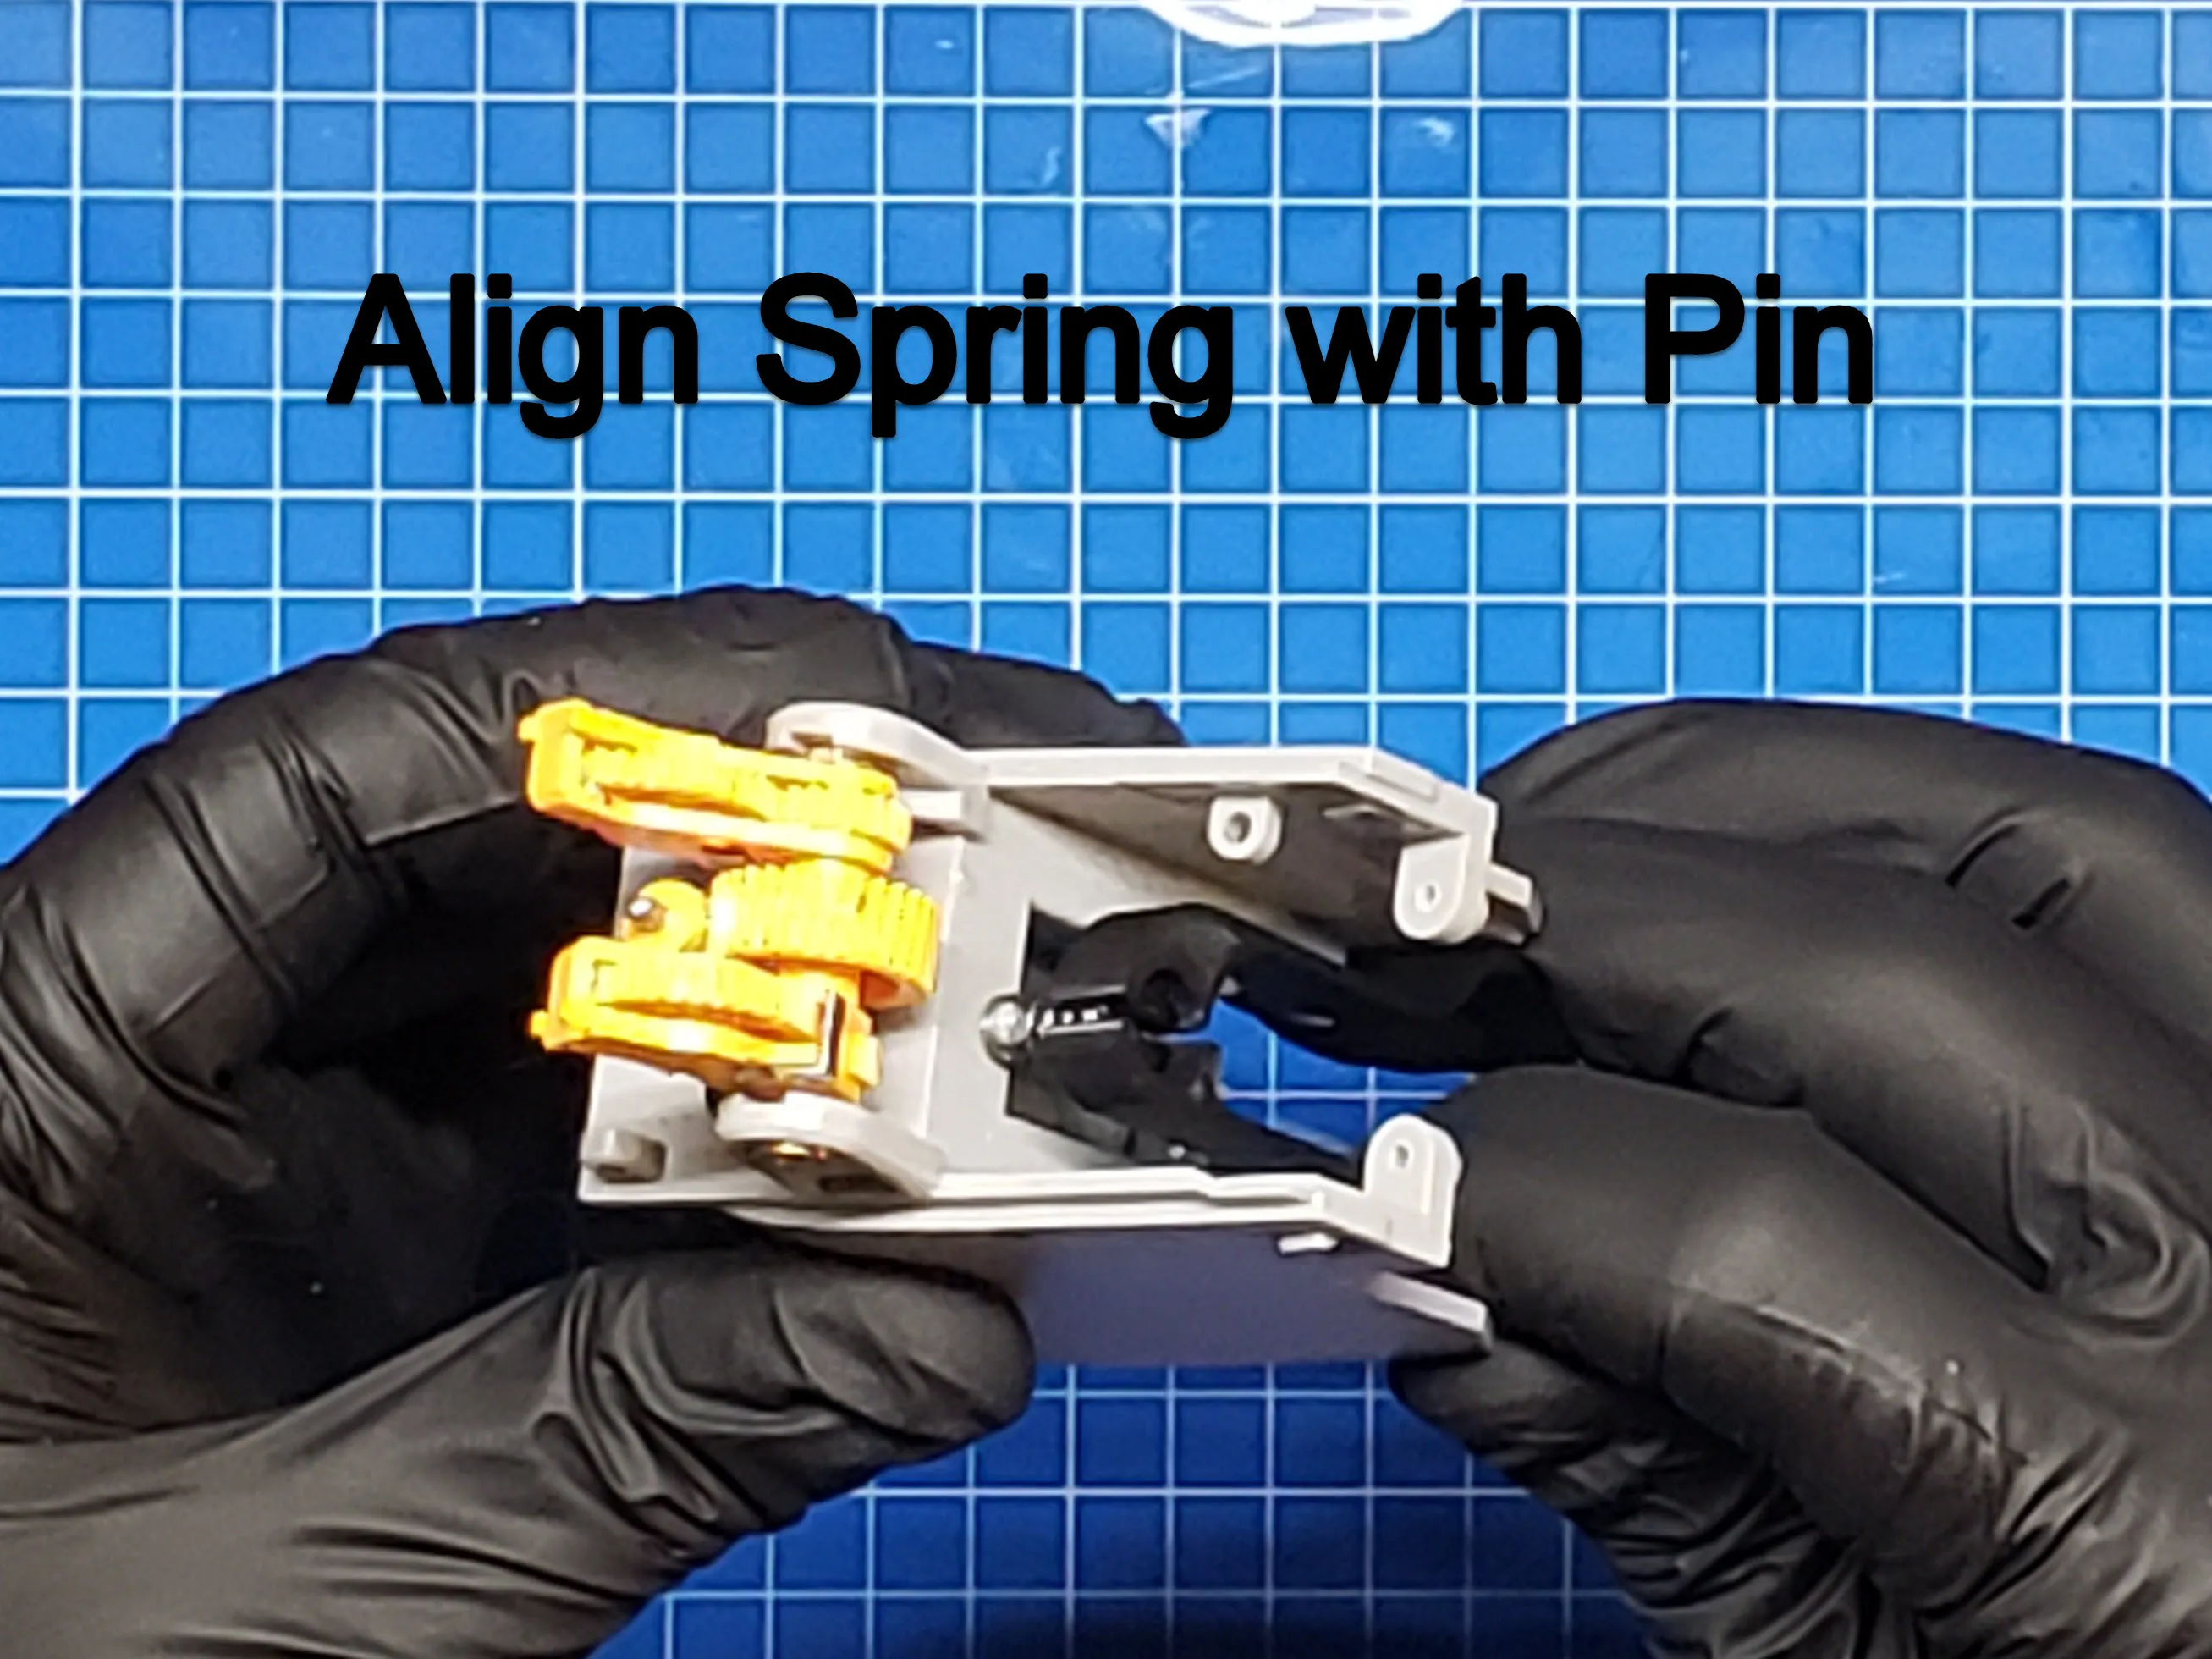
- Align the spring with the pin on the Feeder Base:
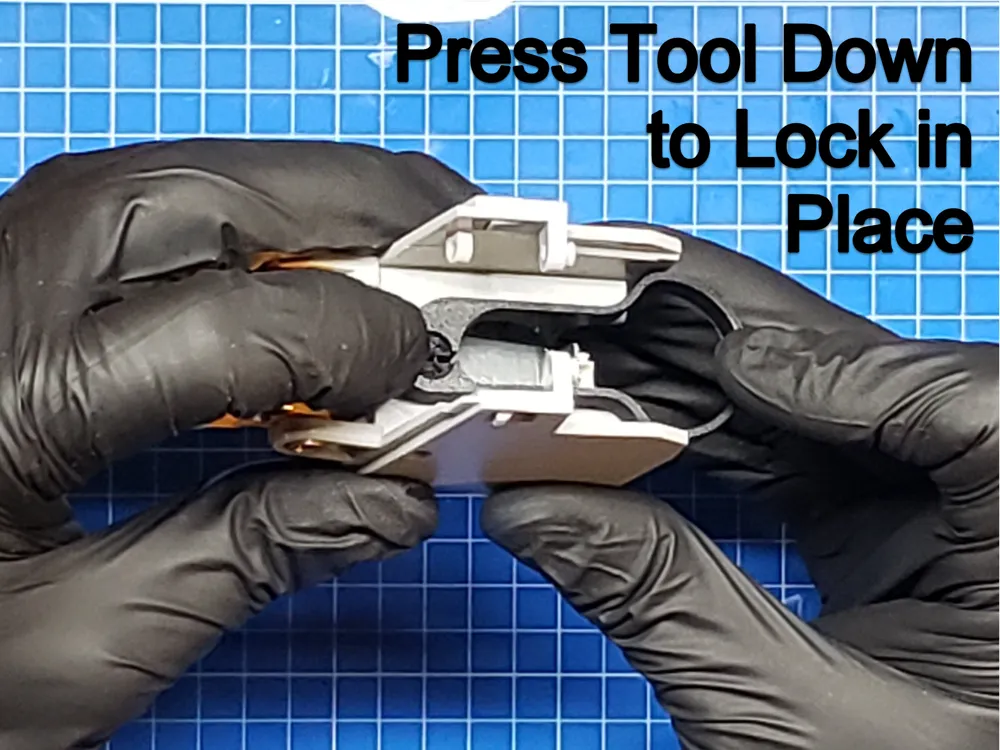
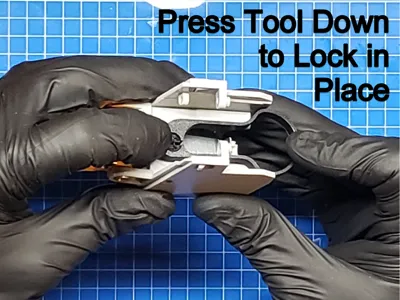
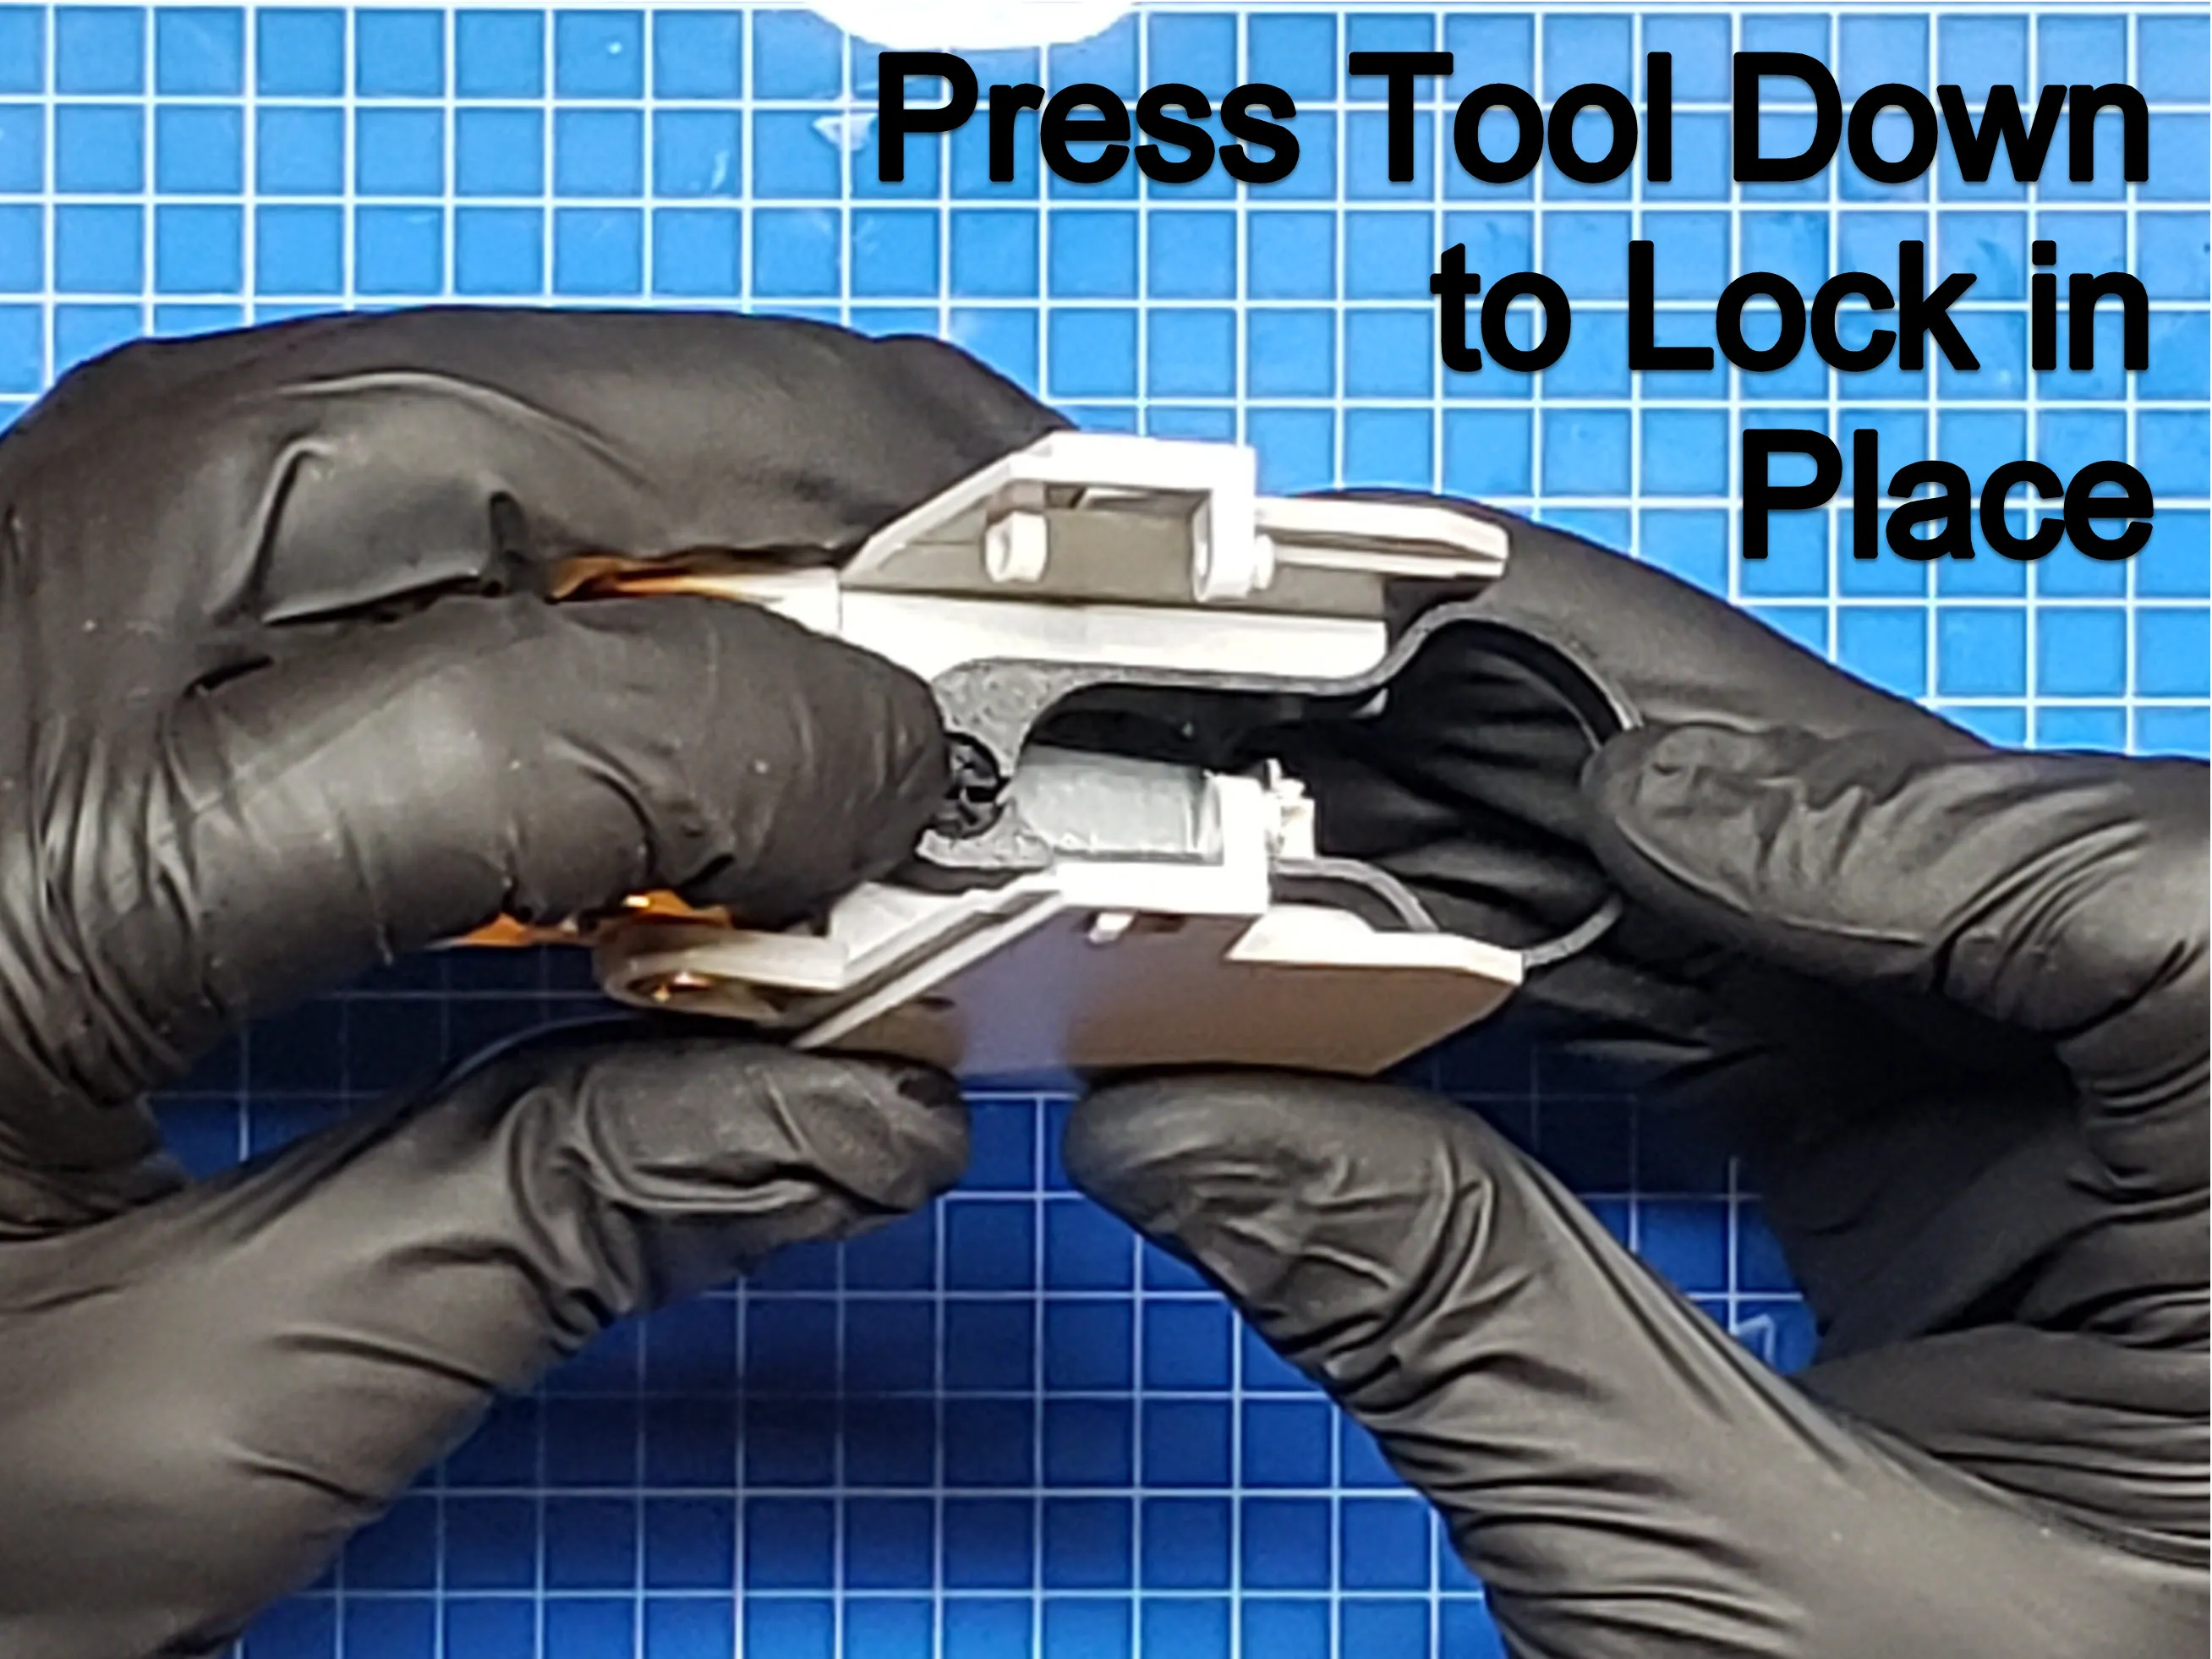
- Compress the spring and press the tool down to snap into place on the Feeder Base:
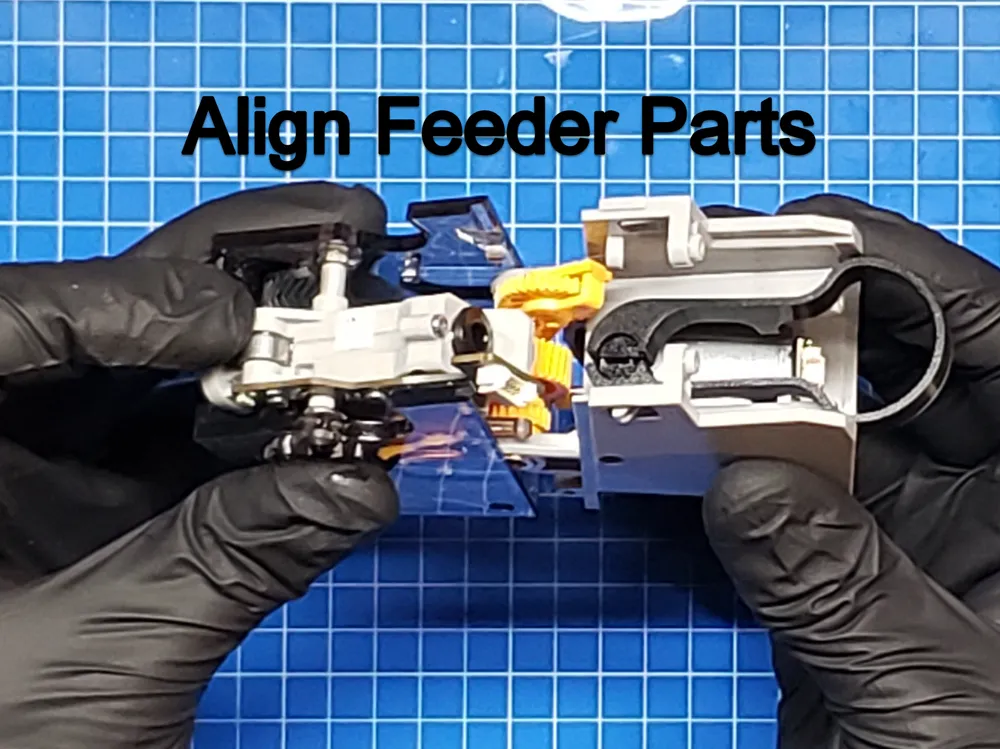
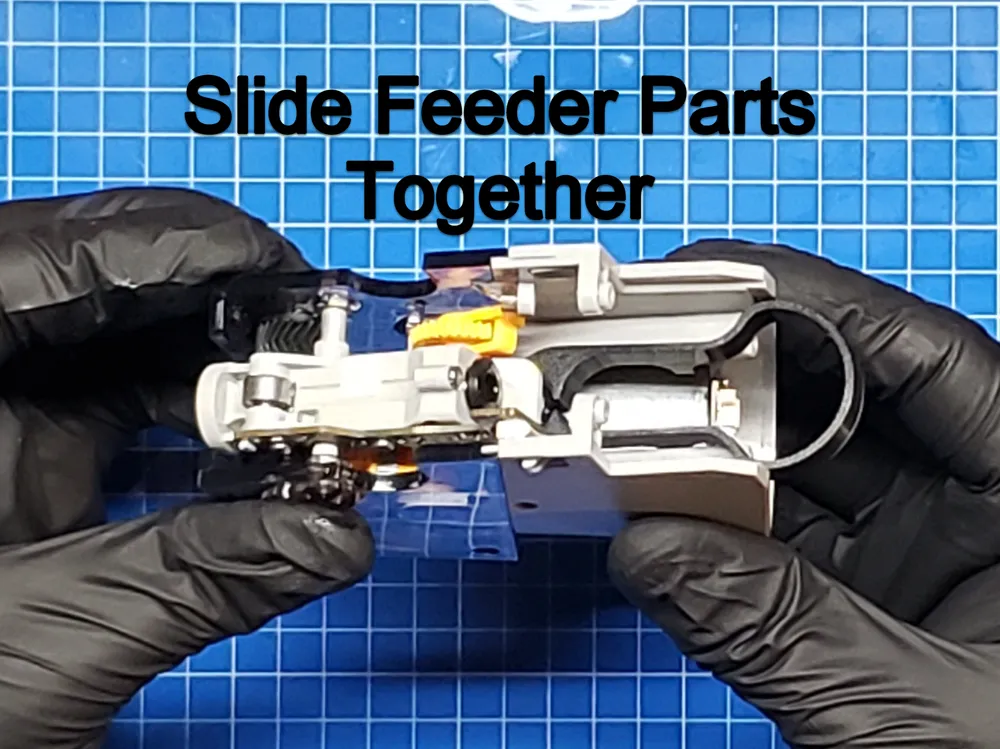
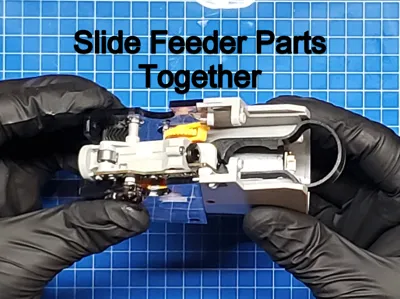
- Assemble the Feeder. While sliding the parts together, press down on the Feeder Funnel, so that it clears the spring tool.
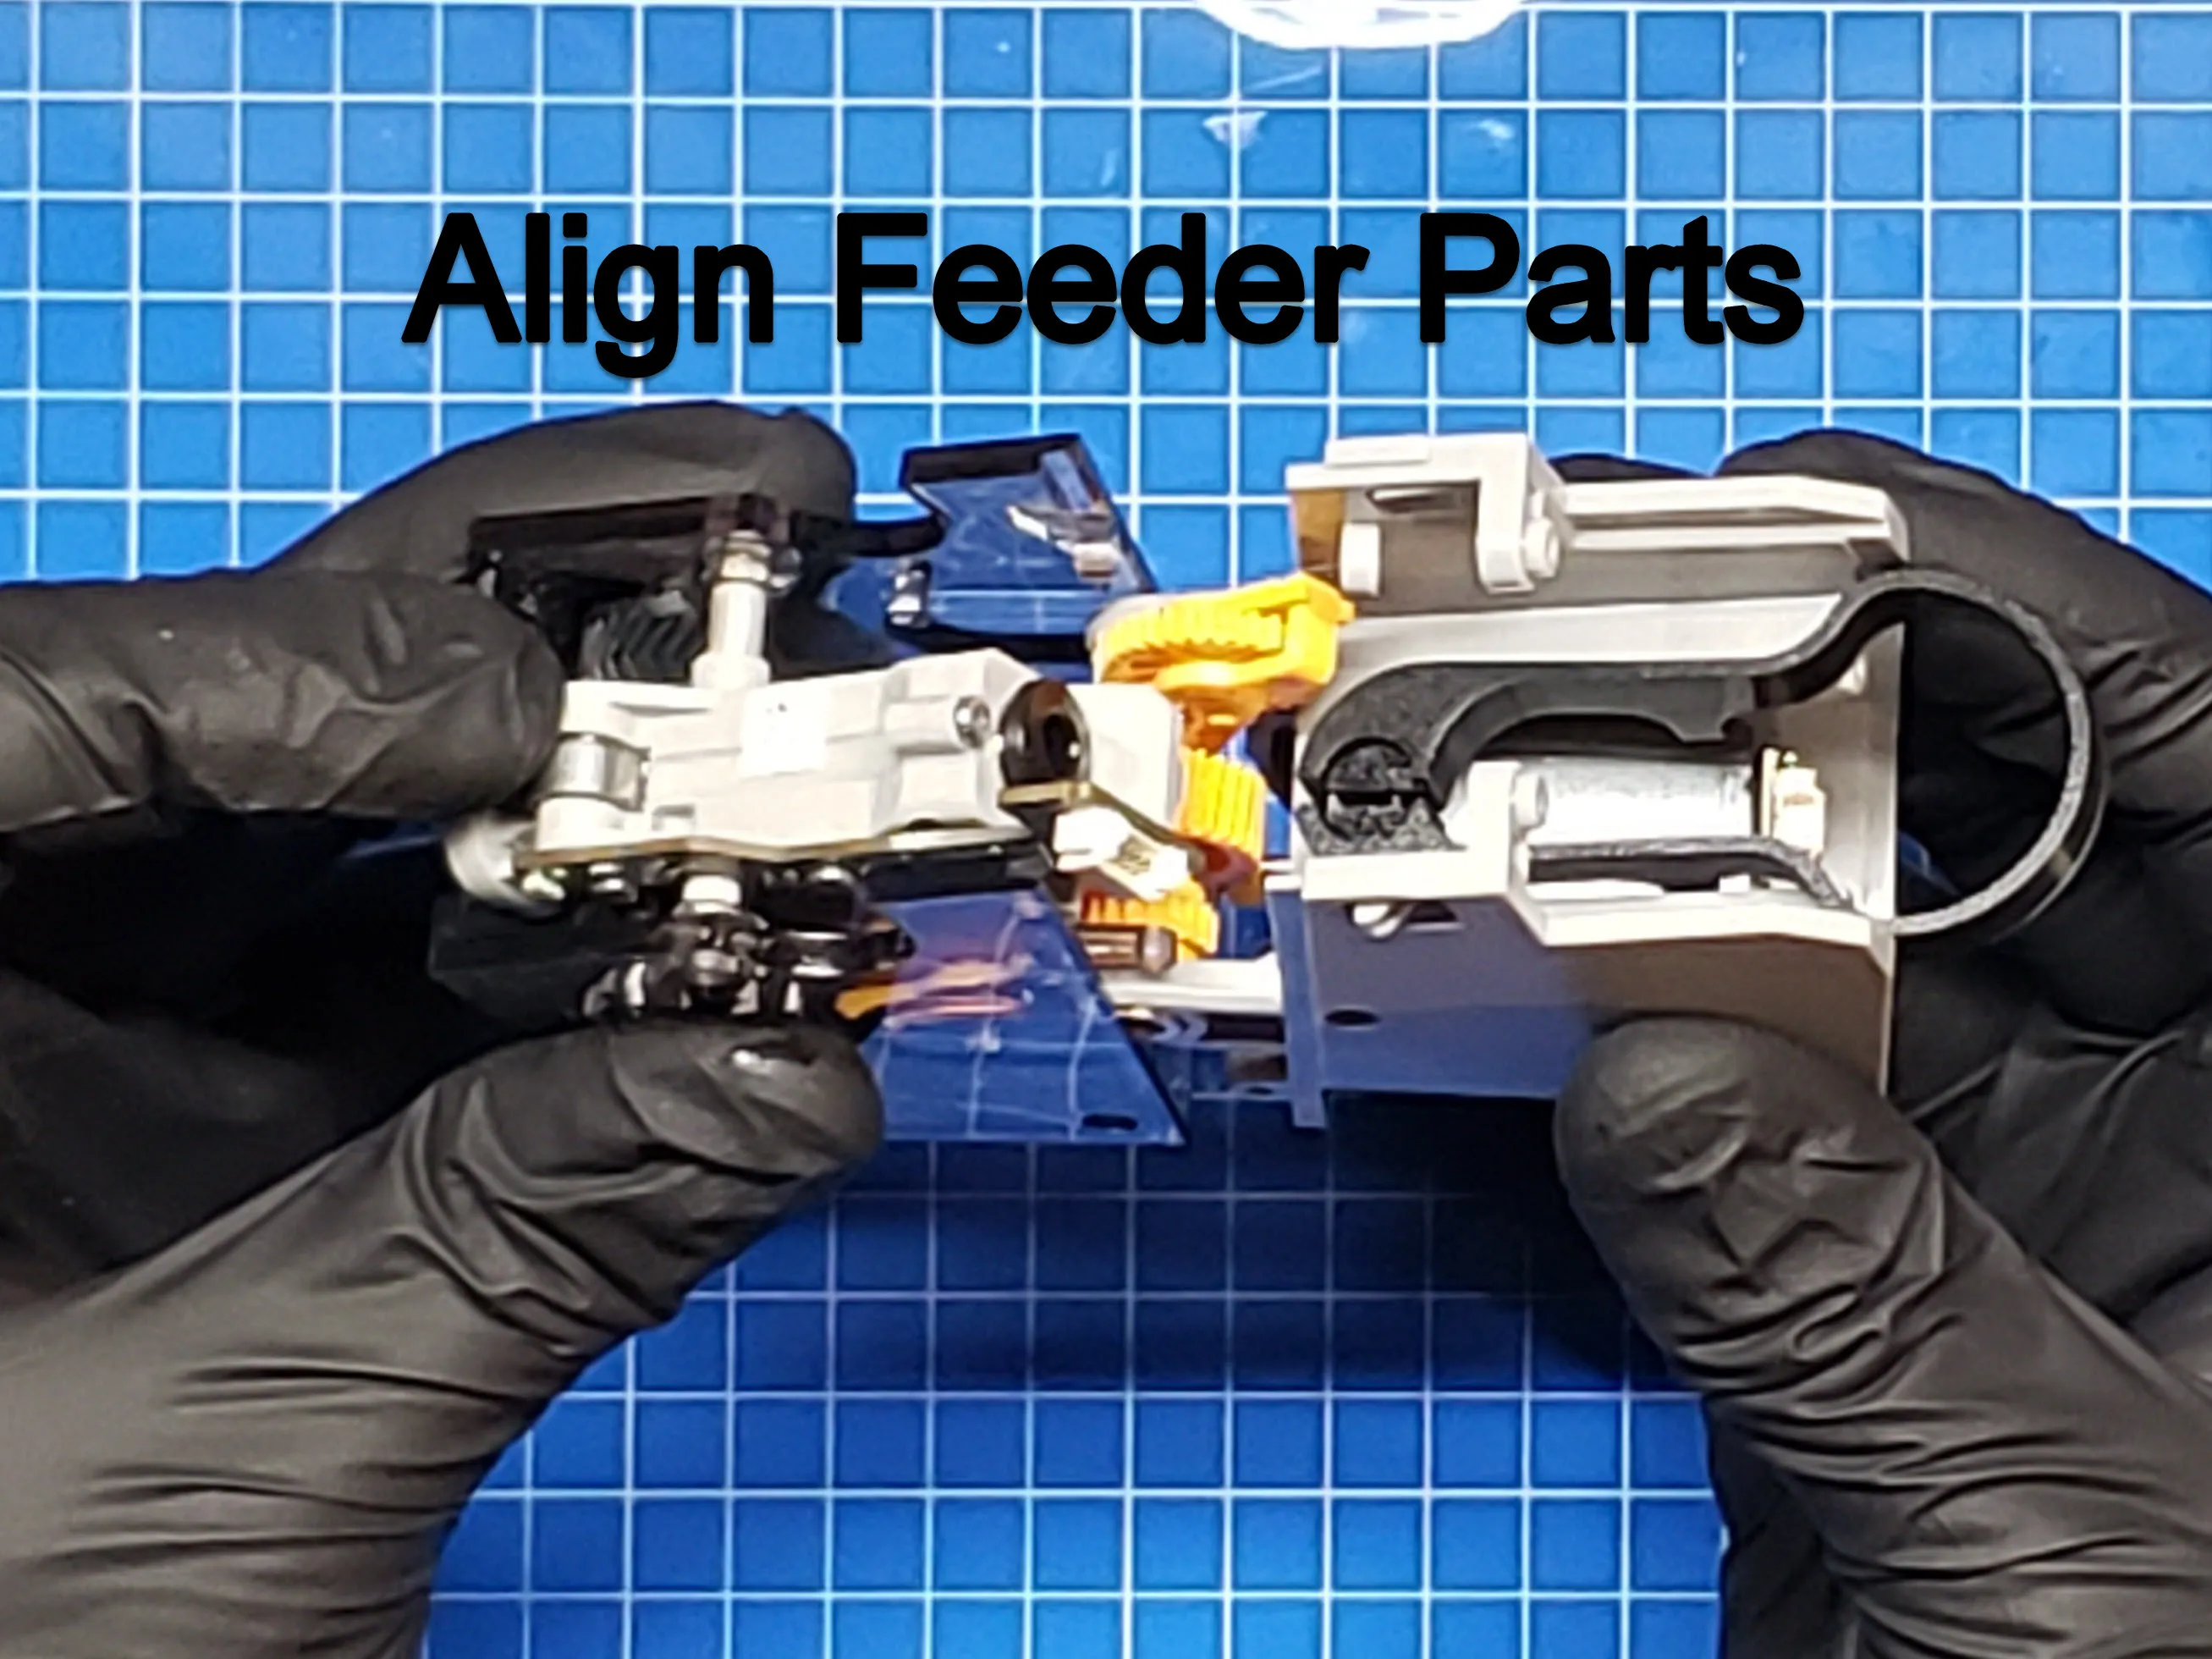
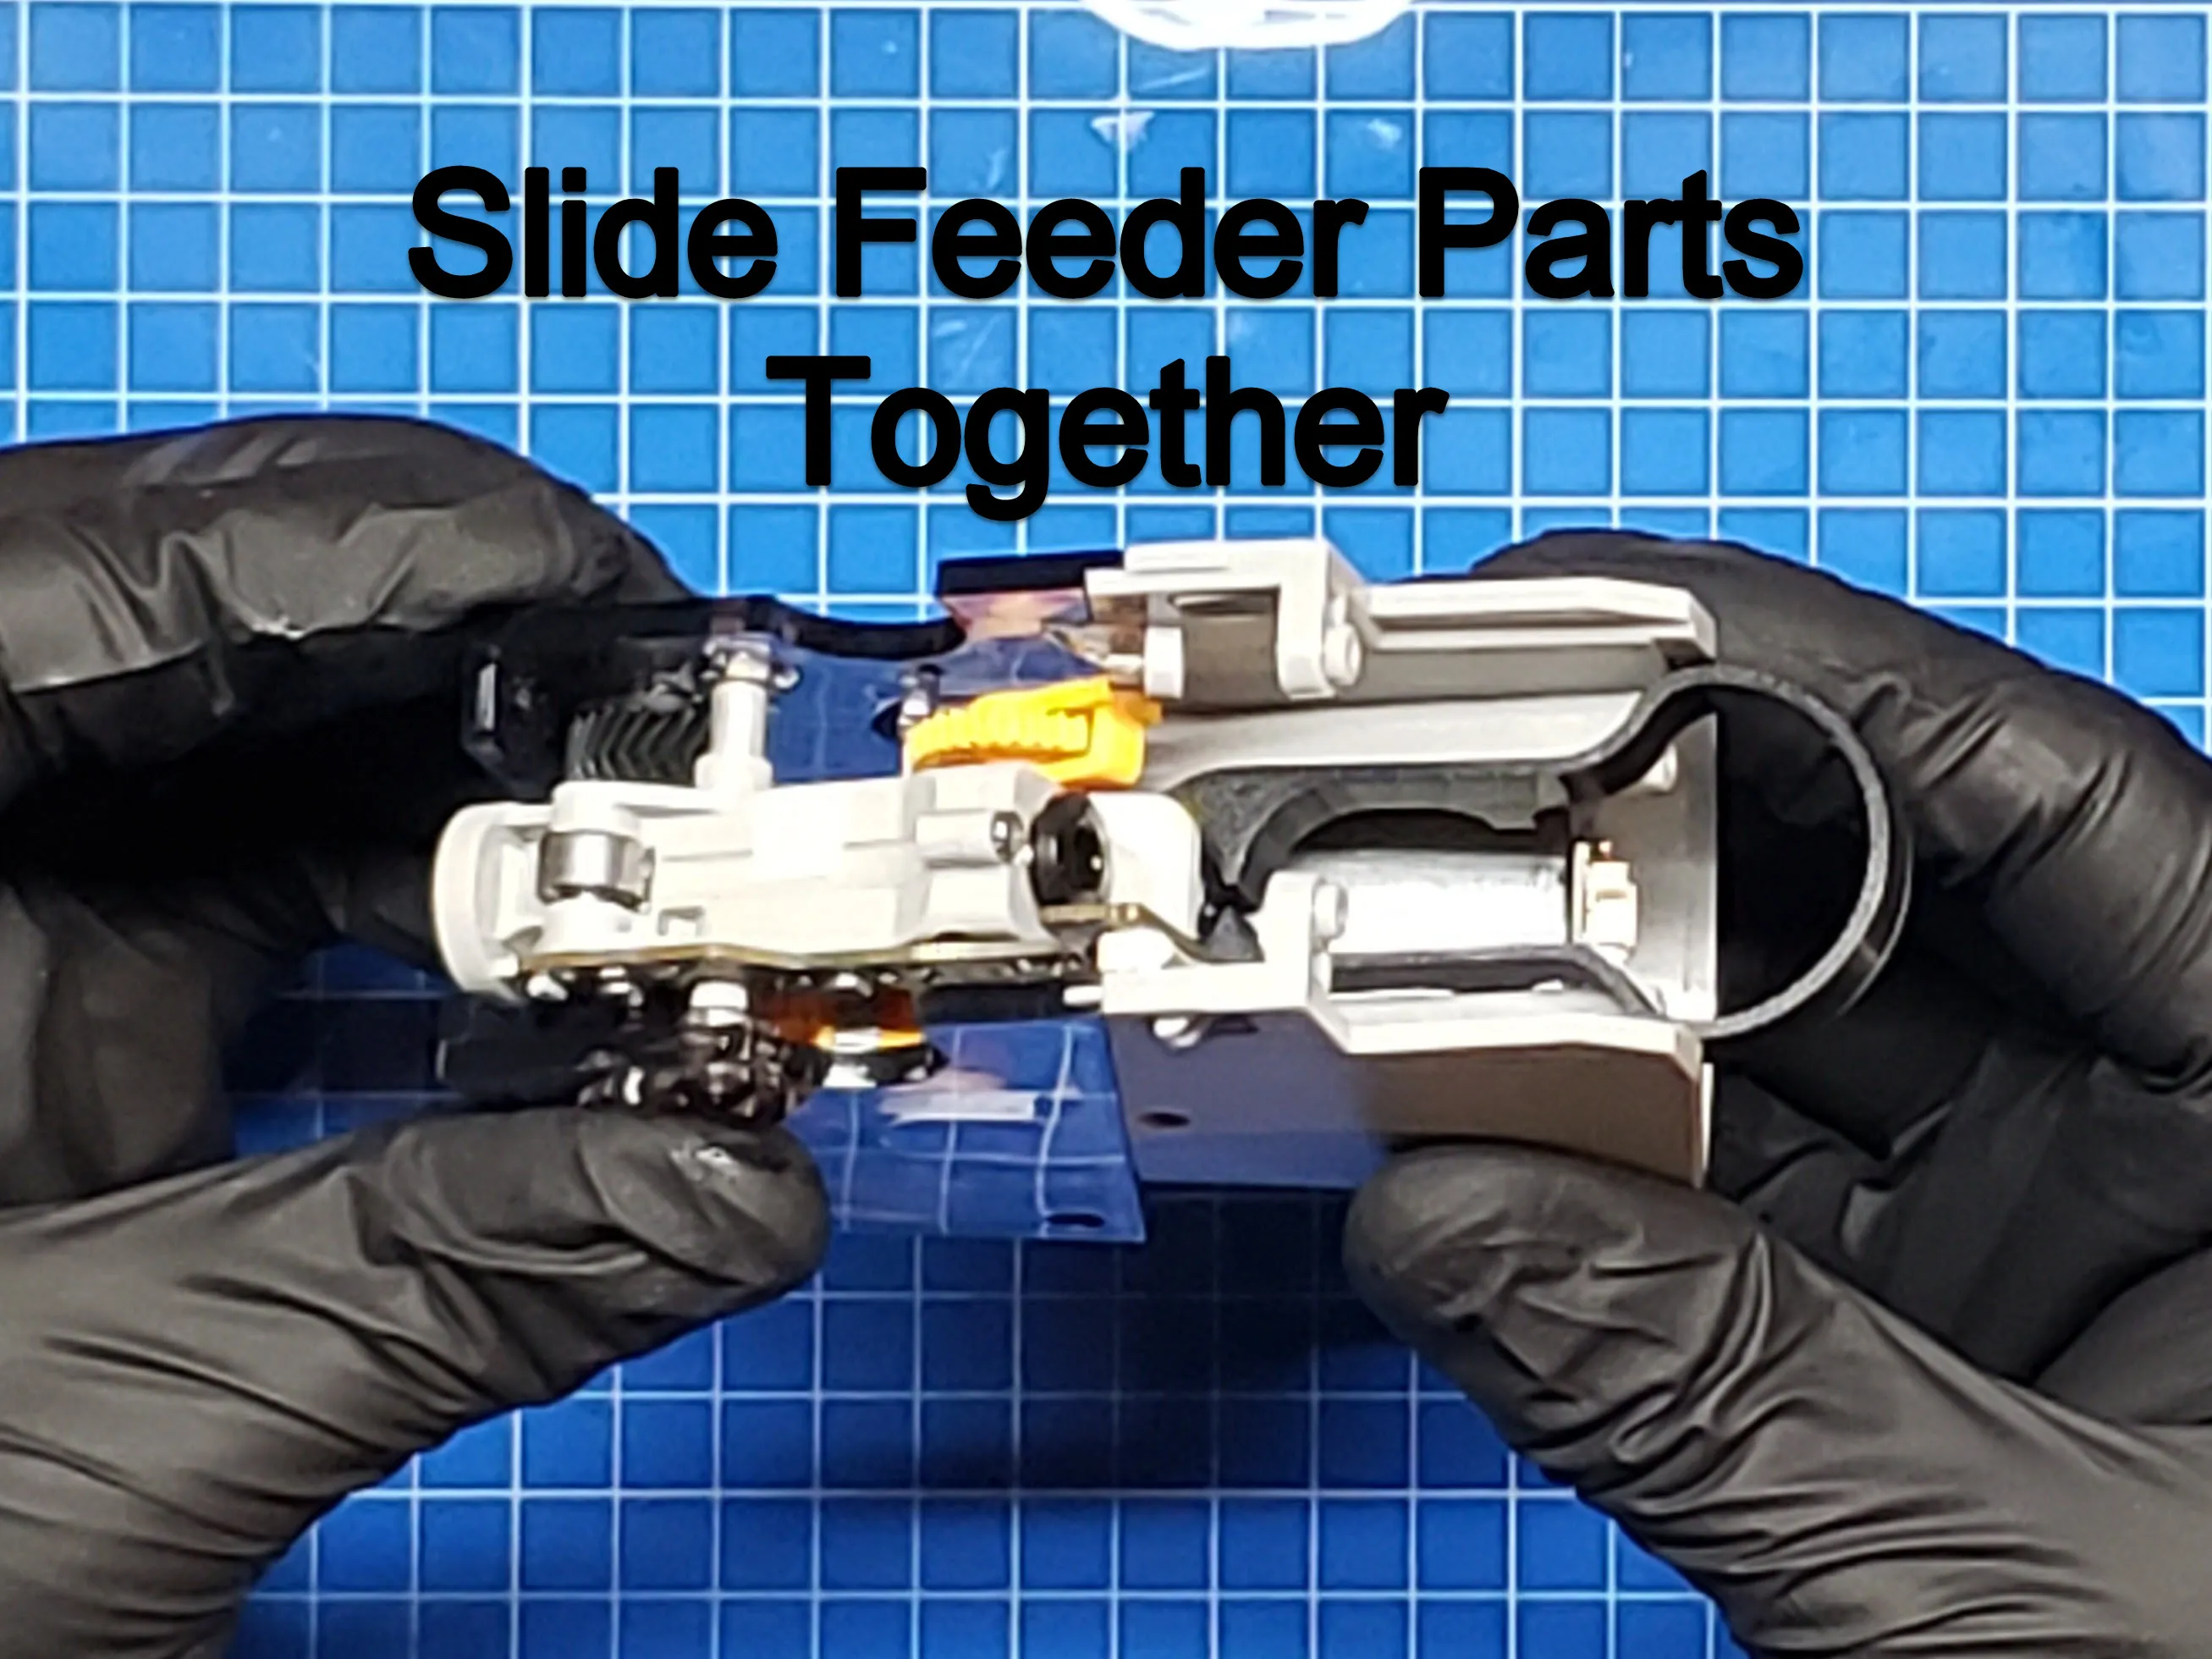
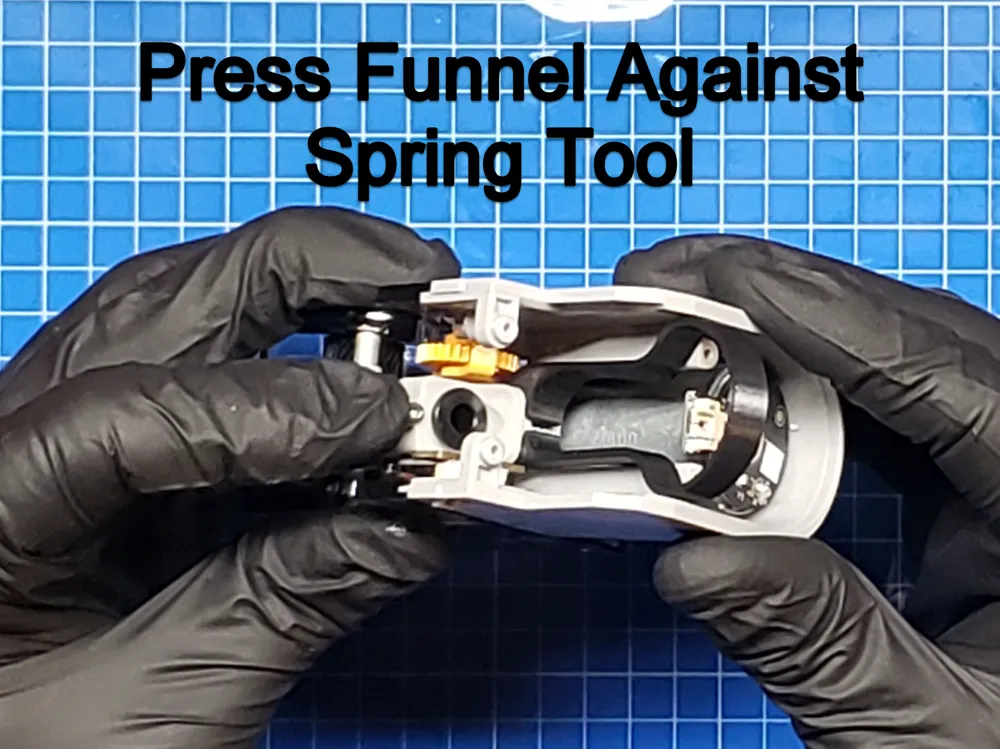
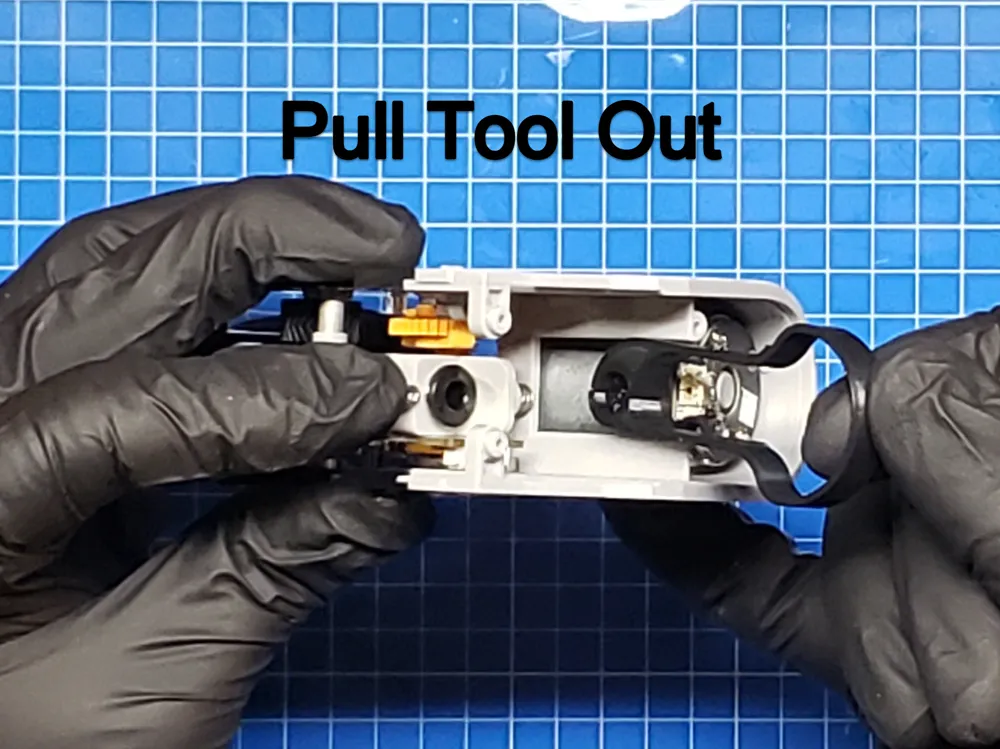
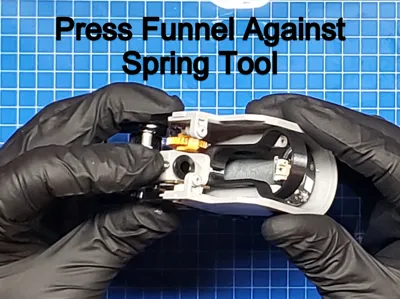
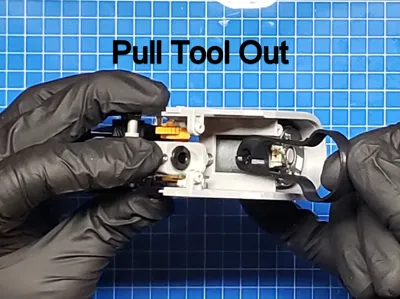
- Press the coupler-end of the Funnel to squeeze against the spring tool (it should fit into pocket), then remove the tool. The spring will stay captured in place between the Funnel and Feeder Base.
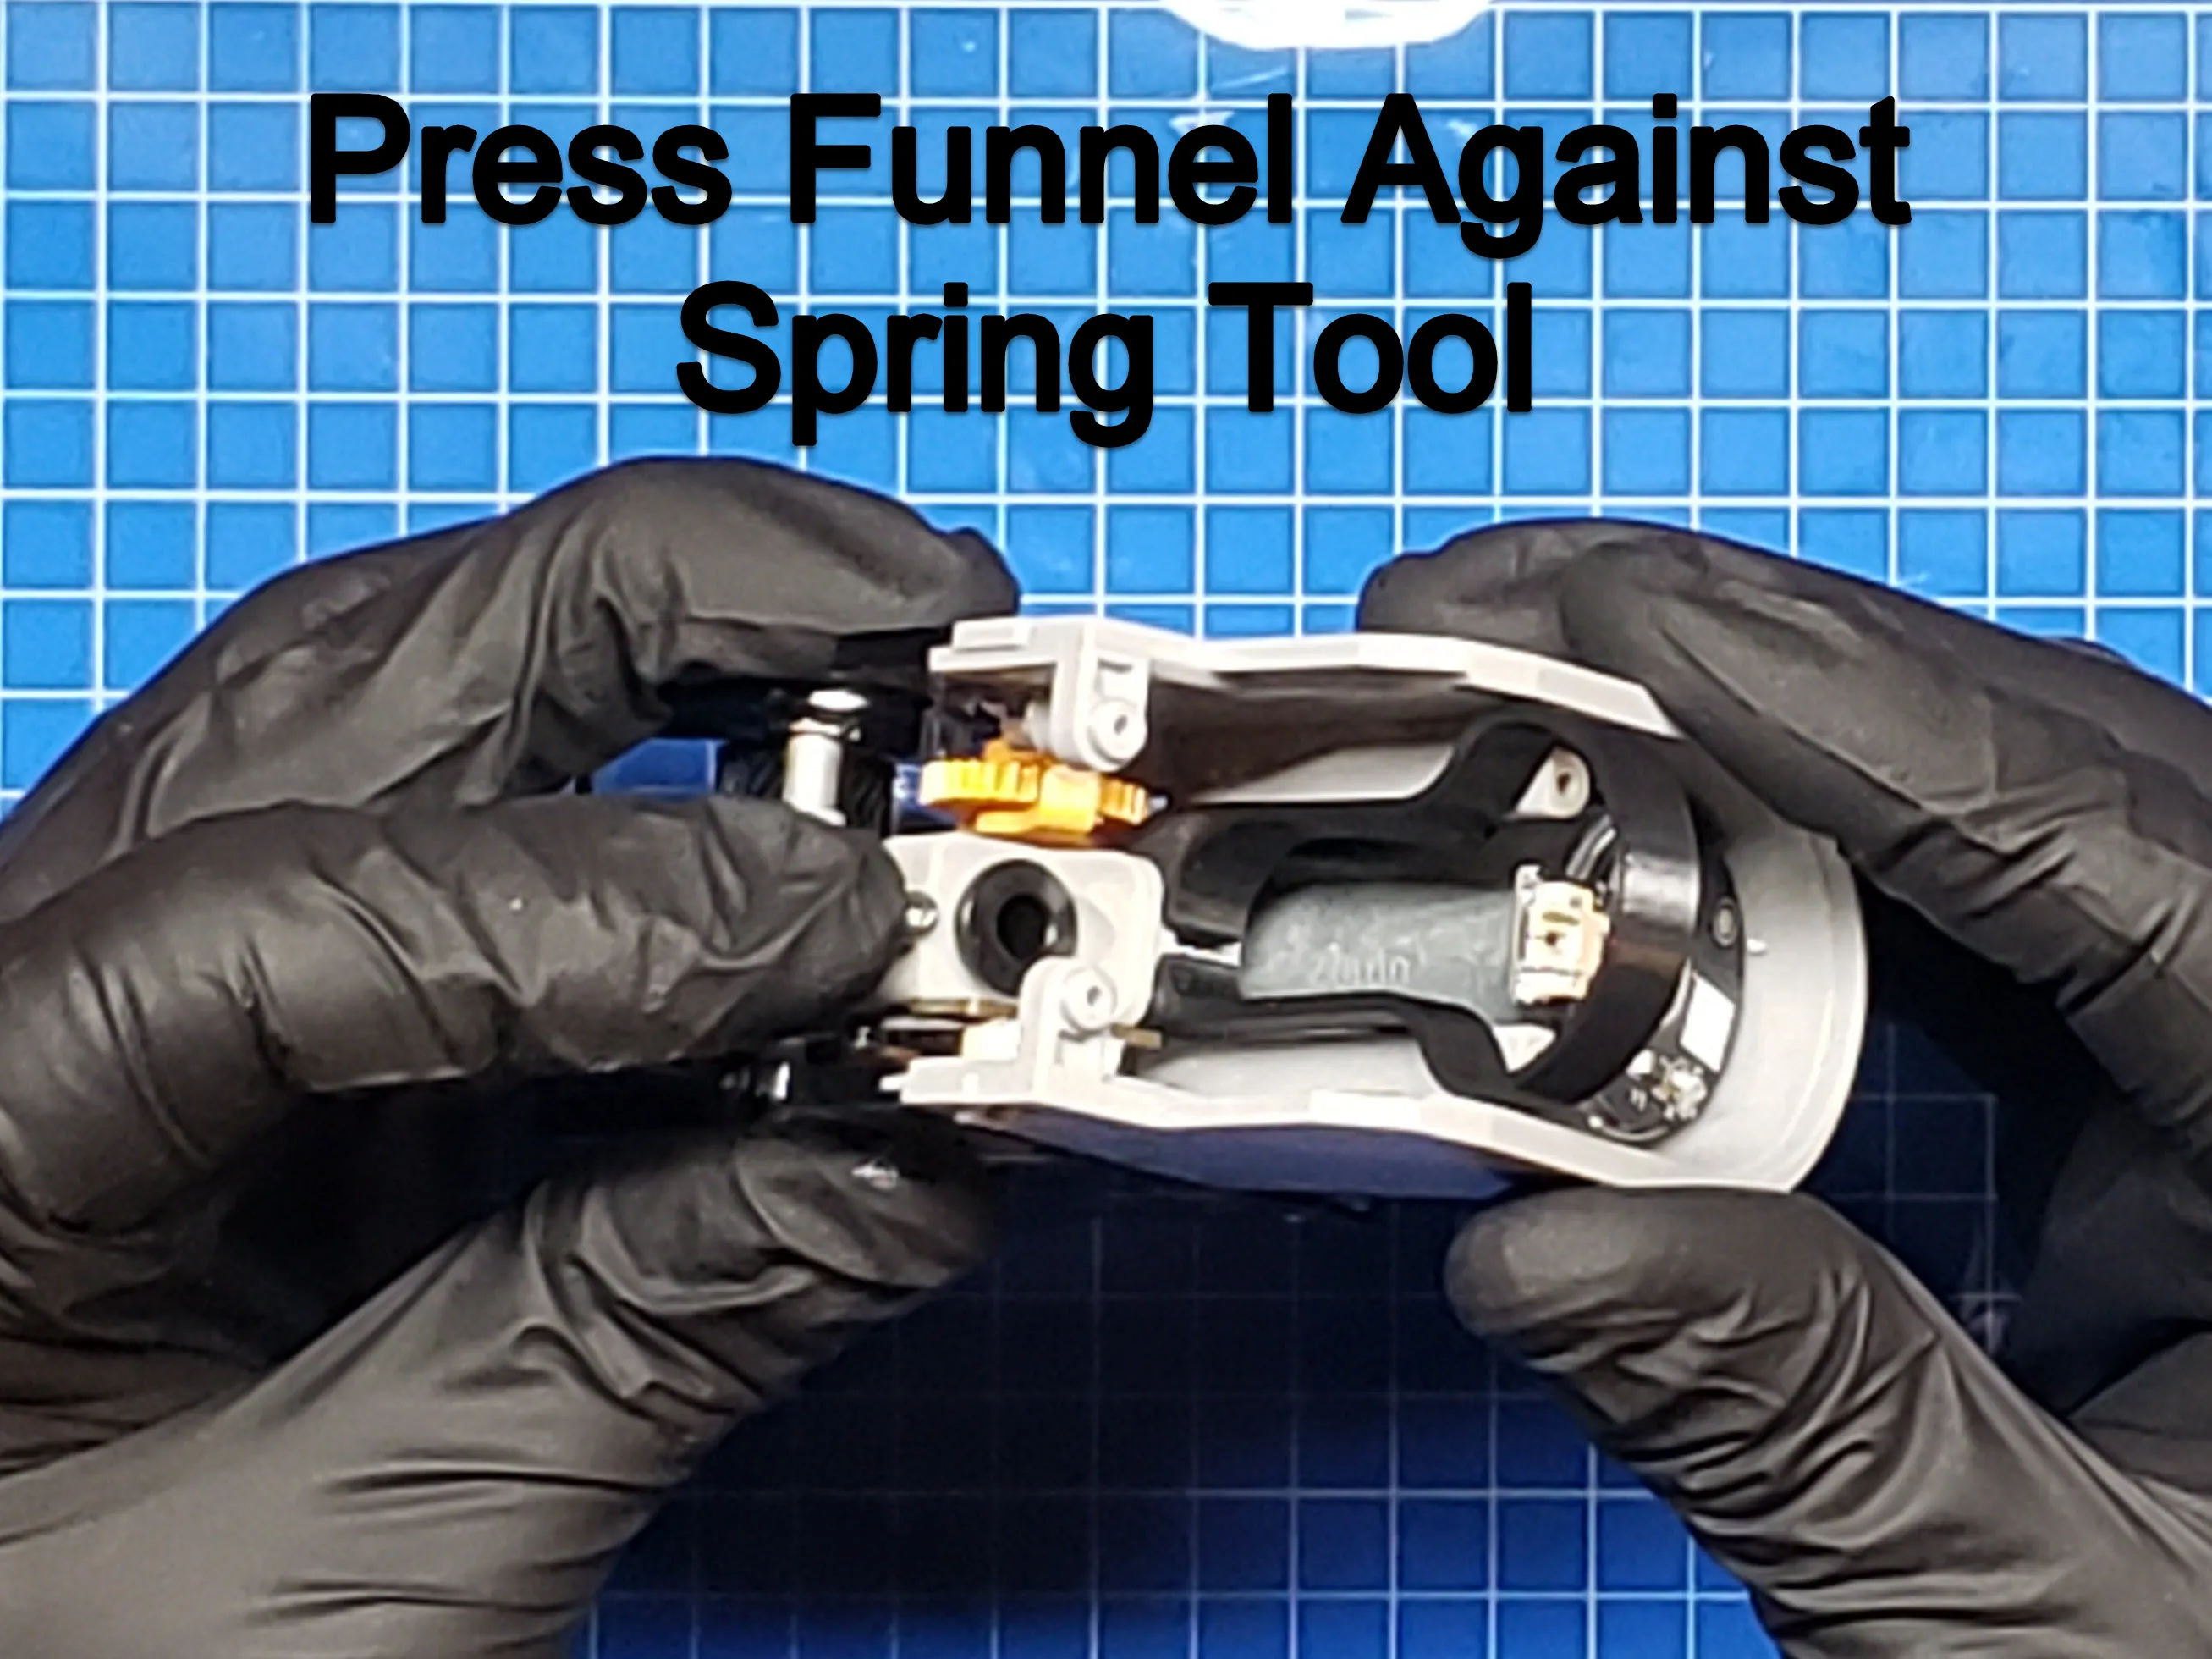
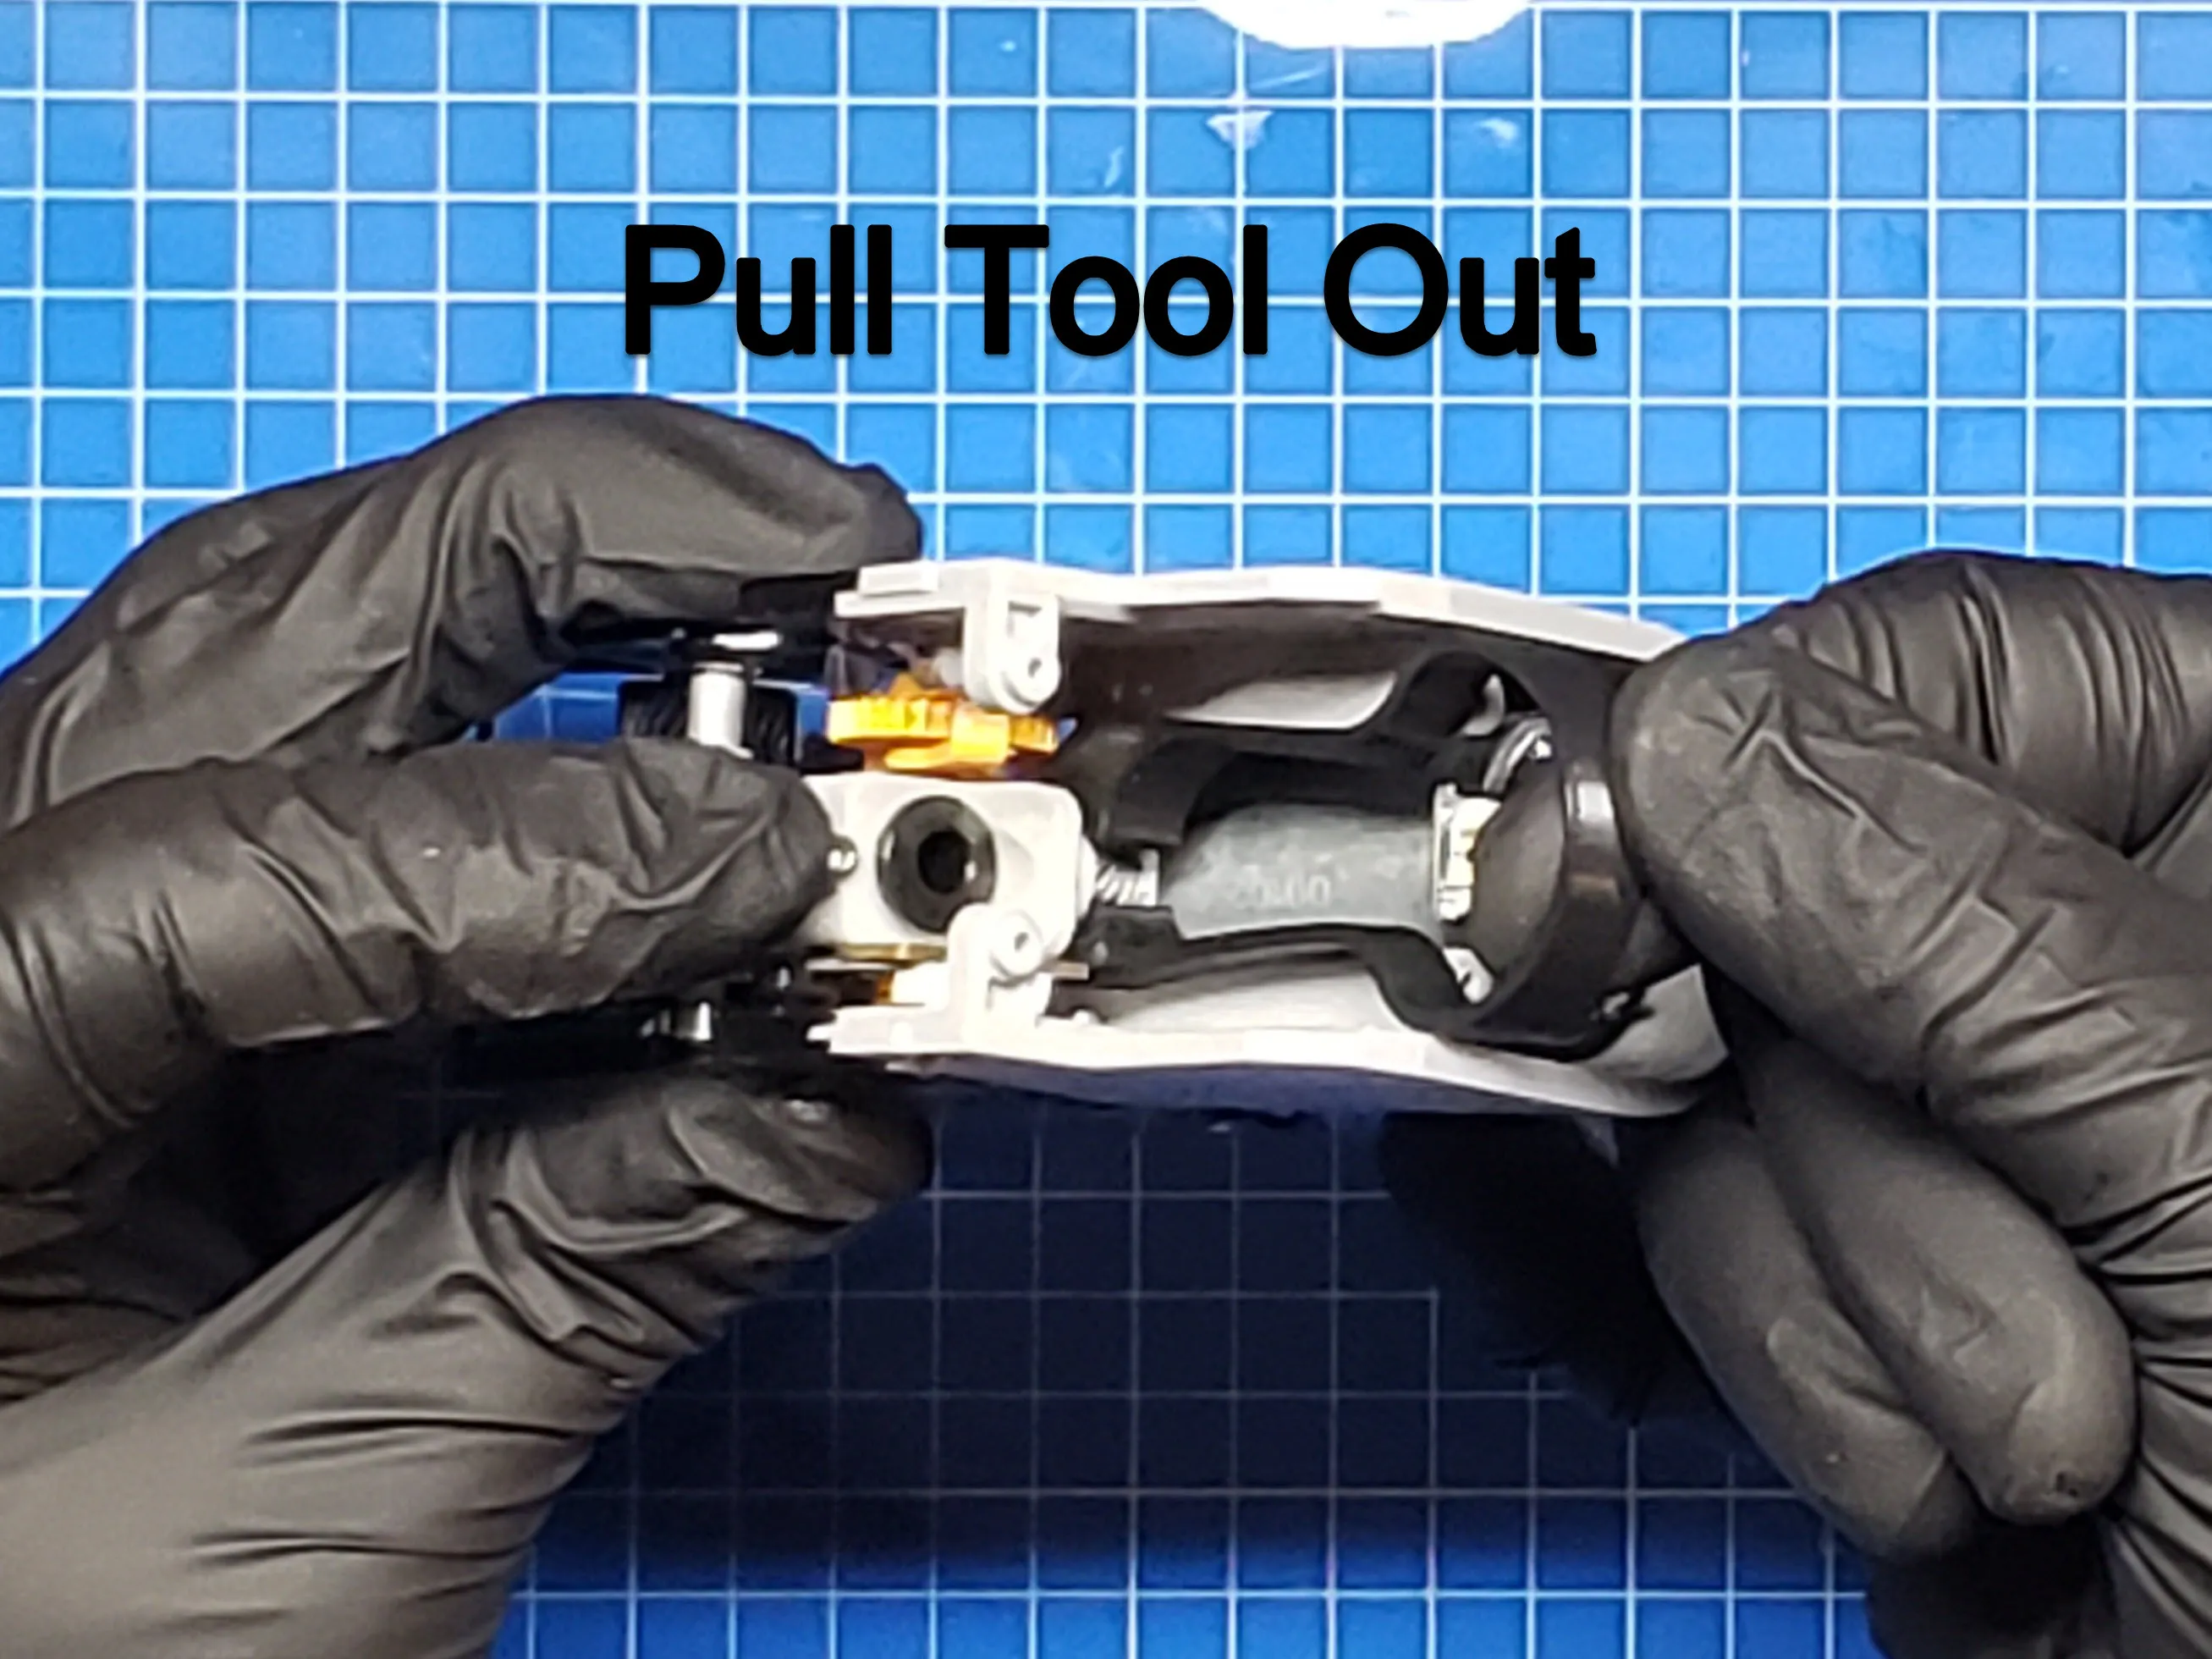
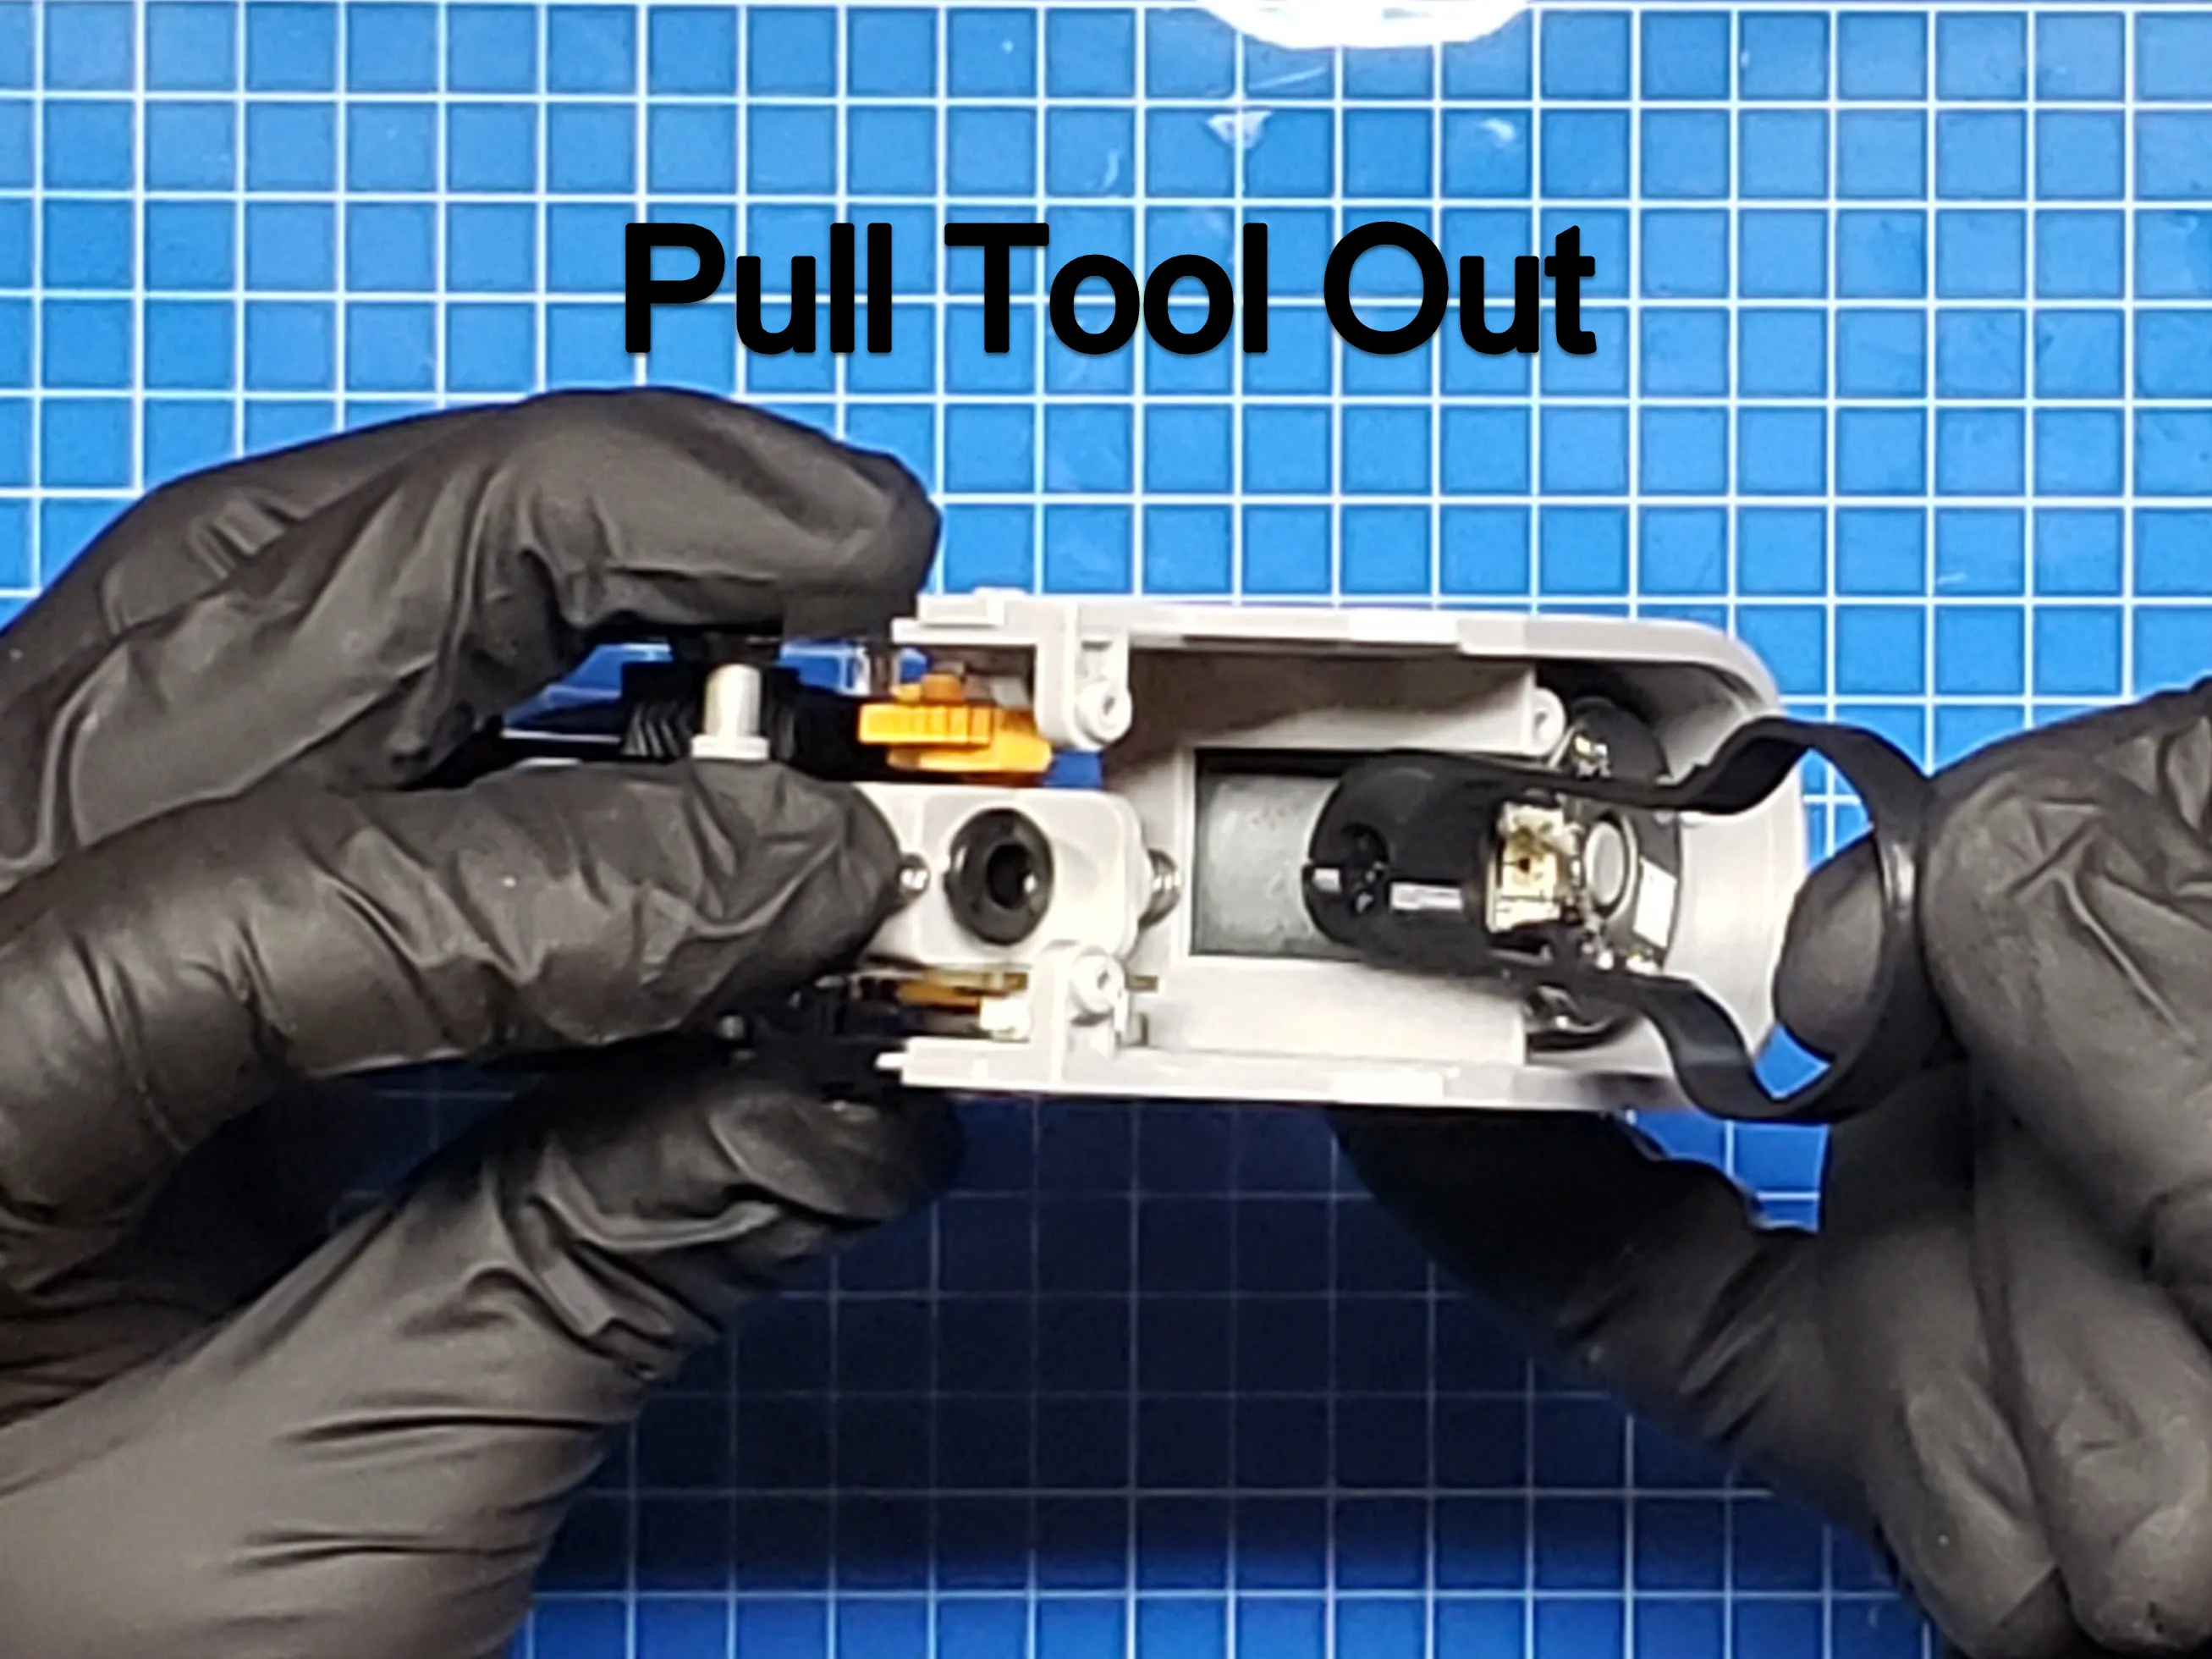
That's it! Remember, it's good practice to clean the Feeder drive gear from time to time. Hopefully this makes it a little easier!
License



Comment & Rating (2)