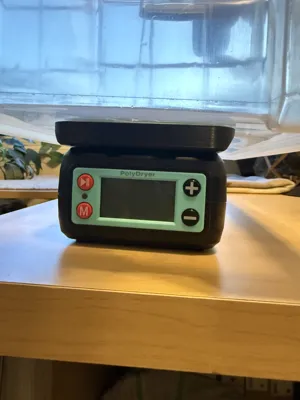
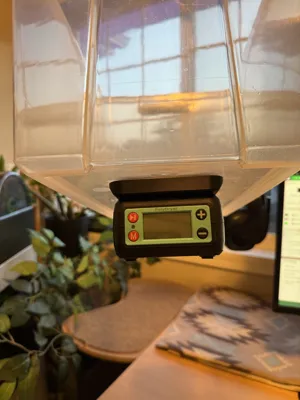
PolyDryer Adapter with TPU Gaskets (No Logos)


Print Profile(1)

Bill of Materials


Description
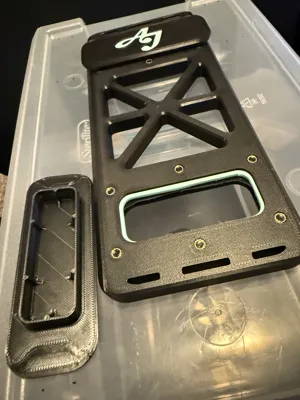
Adapter Plate Kit for Polydryer
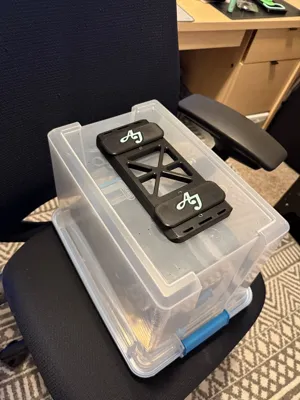
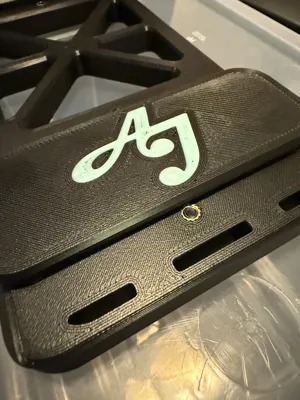
*The logos shown in the pictures are for reference only. 3MF files are blank but can be customized similarly.
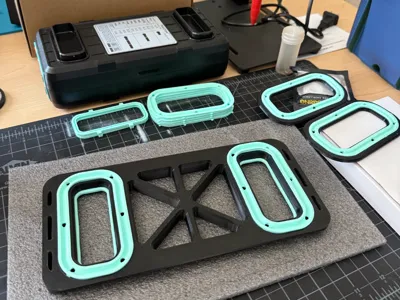
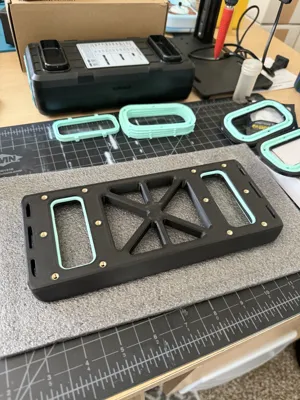
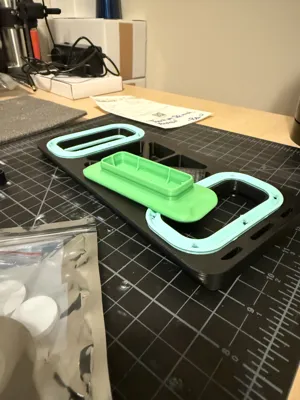
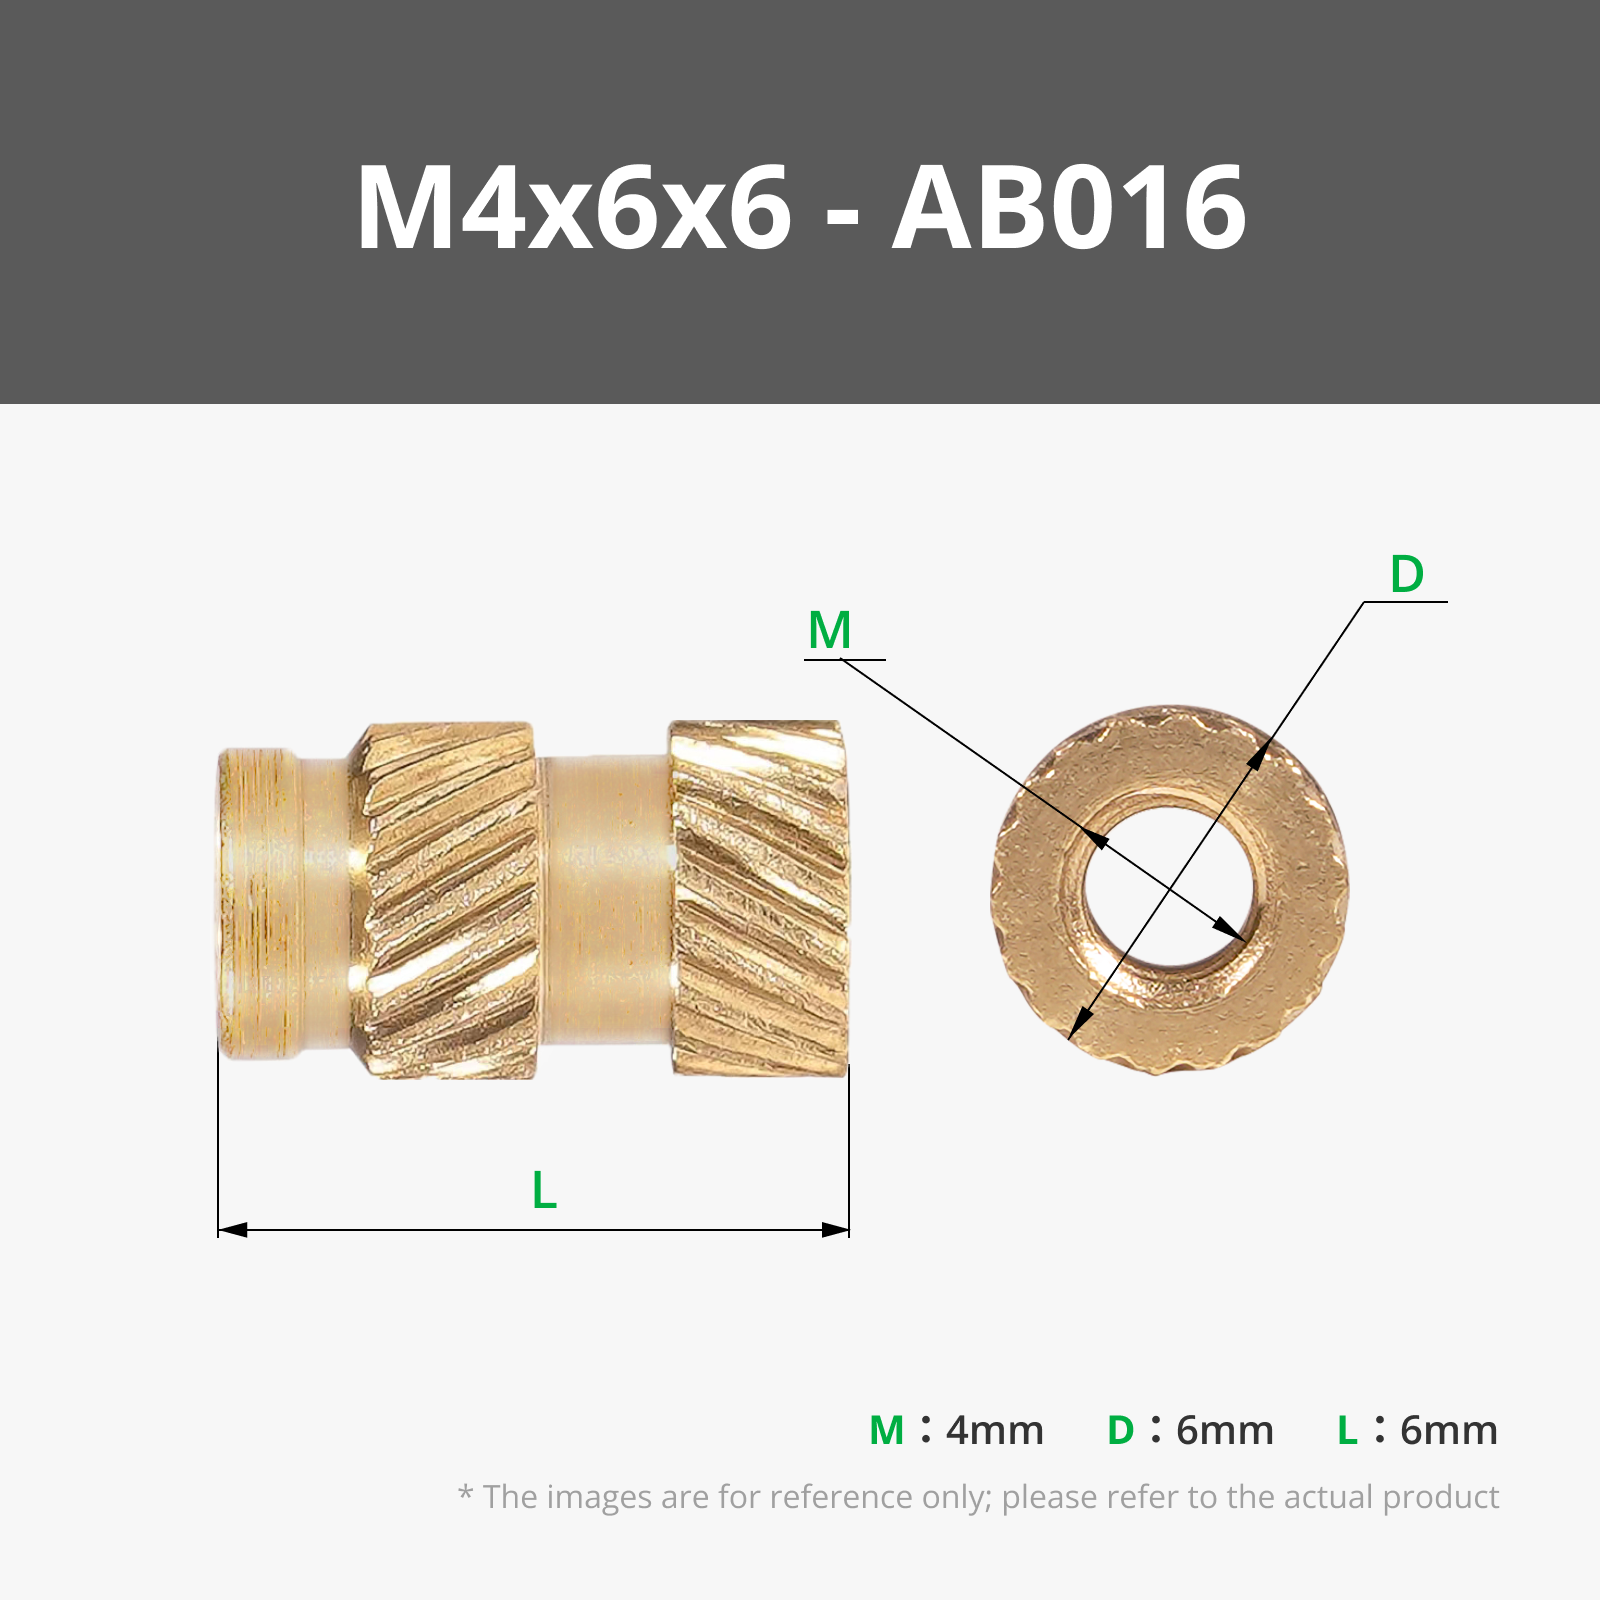
Designed for use with TPU gaskets however it can be used in some applications without them. 3MF includes the main interface plate, 2 top plates, 2 airlock covers, 6 gaskets, and a cutting/drilling template. This kit requires M4 threaded inserts. It is designed for use with 12 M4xL5xD5(5mm clearance hole) heatset inserts and 12 M4x20mm Screws. I have tested also using M4xL6xD6(5.4mm clearance hole) and this also works but is a tighter fit and may cause some minor unintended deformation. Truss head screws are recommended but any pan head should work. TPU gaskets are recommended to be printed in 85A however a harder TPU may work. I have included the STEP file so others can modify the gaskets for a custom fit.
Filaments:
- ABS/ASA/PA/Other High Temp.
- TPU(TPU 85A recommended)
Non printed parts needed:
- 12x M4 threaded inserts (M4xL5xD5(5mm clearance hole) heatset recommended)
- 12x M4x20mm Pan head screws(truss head recommended)
Assembly Instructions:
Heat-set Inserts (M4xL5xD5 recommended)
Install heat-set inserts as shown below ensuring base plate is oriented like the image.

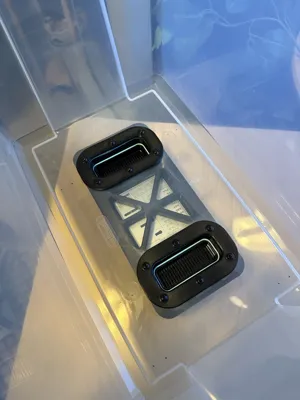
Internal Gaskets
Install the small gaskets into the channels within the base plate. It may take some time and effort to get them properly seated so. TPU 85A is recommended as it will be the best to work with when installing. Once installed the gasket is intended to fit snuggly enough to secure the Polydryer in a vertical orientation without dropping under its own weight but it is not advised to carry it this way. Ensure supports are completely remove so the gasket is unobstructed.

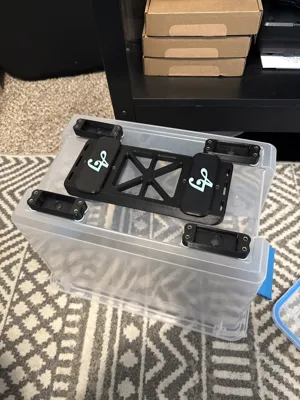
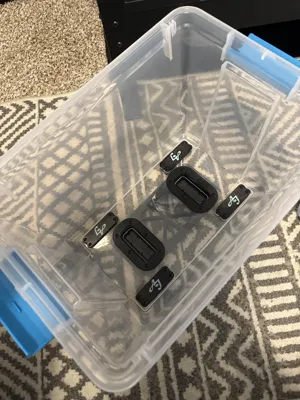
Interface Gaskets
The gaskets at the top are much easier to install. The small tabs around the gasket mate up to openings on the base plate. Install one long side at a time slightly flexing the gasket along the middle then securing the other side. The sames steps can be followed to install the gaskets on the inside plates.


Final Assembly
Use the cutting template to cut and drill the openings. This is likely the most difficult part of the project. Take your time and cut using and rotary tool if possible. Use the M4x20mm to assemble the parts together. Ensure the gaskets are secure and properly in place and all screws are installed before final tightening.


Comment & Rating (2)