
KUKA KR 210 R2700 EXTRA 6-Axis Robot
Print Profile(1)

Bill of Materials





Description
Smaller version available here:
https://makerworld.com/de/models/972378-kuka-kr-210-r2700-extra-6-axis-robot#profileId-1061023
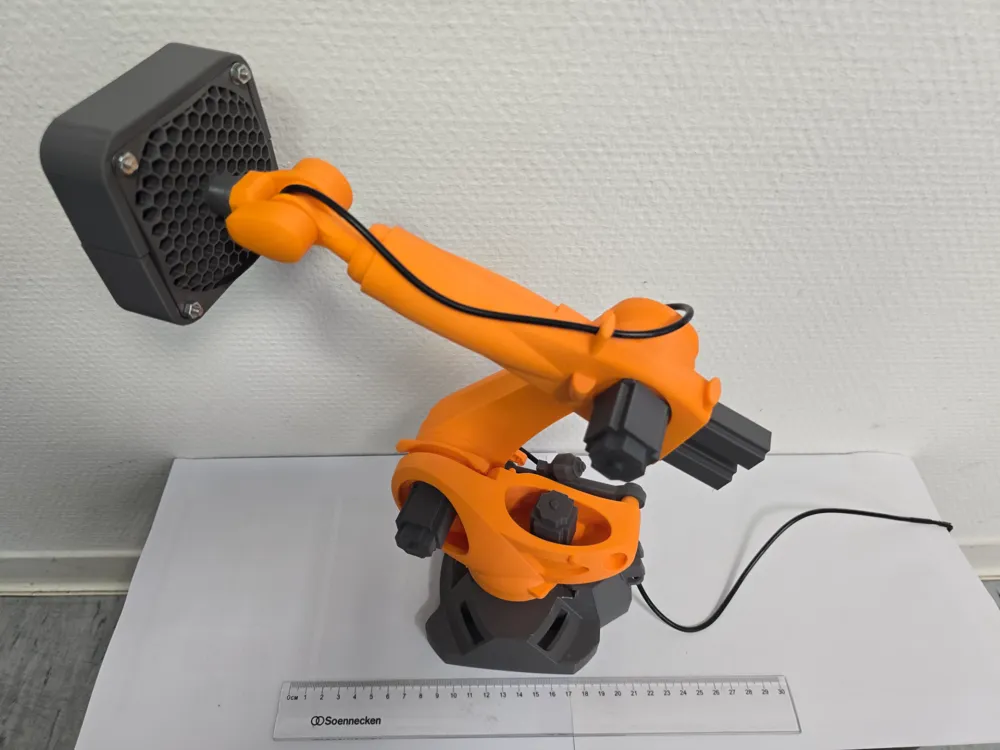
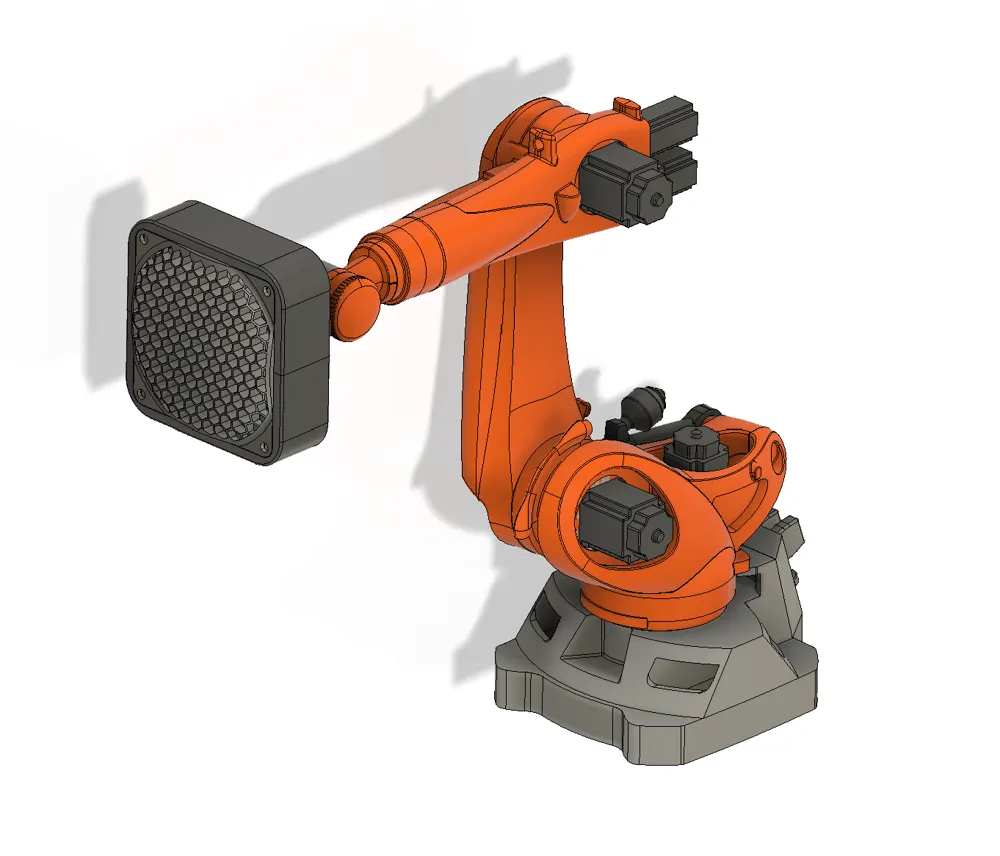
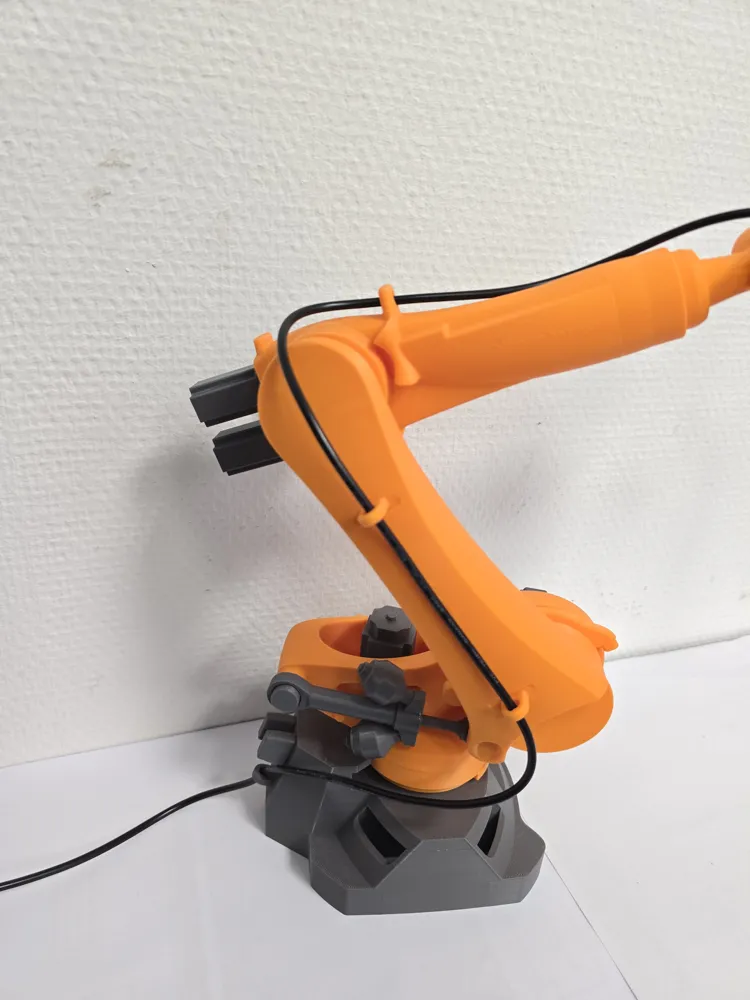
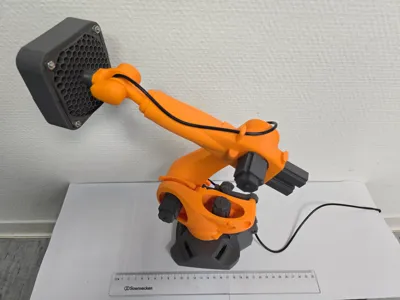
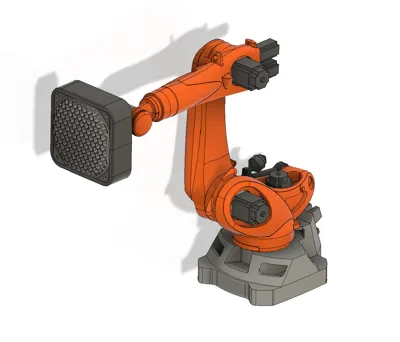
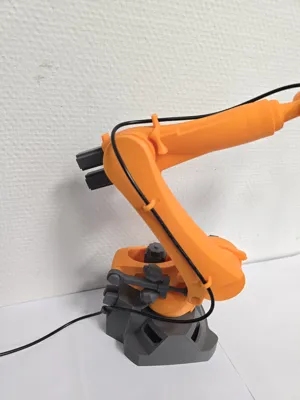
Fully articulated 6 axis robot in scale 1 : 6.75.
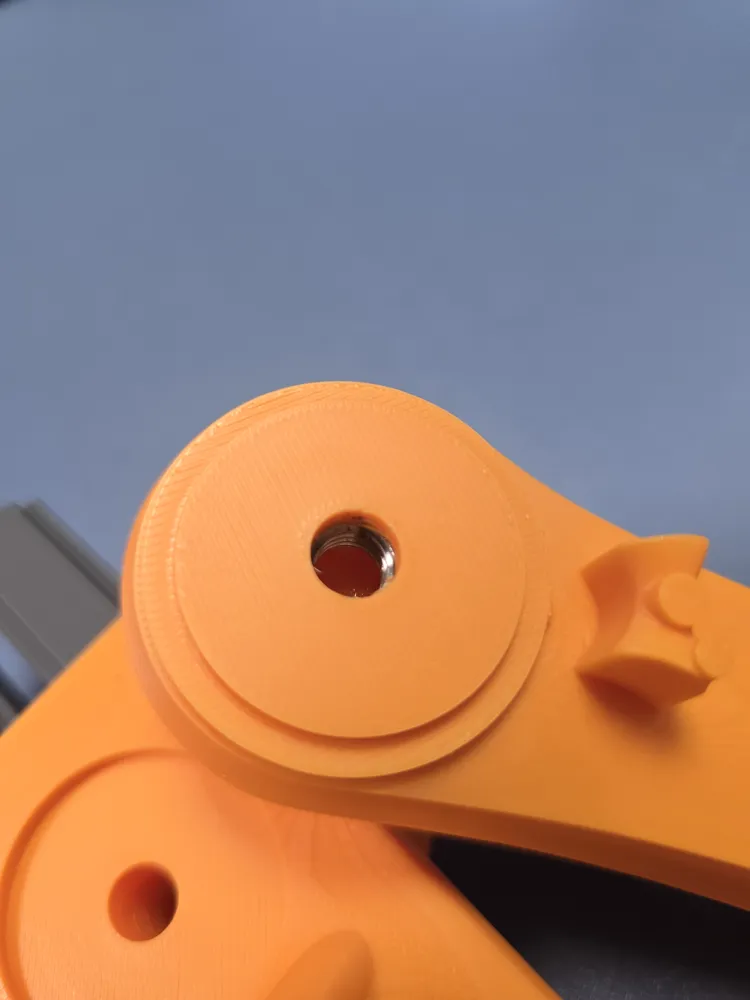
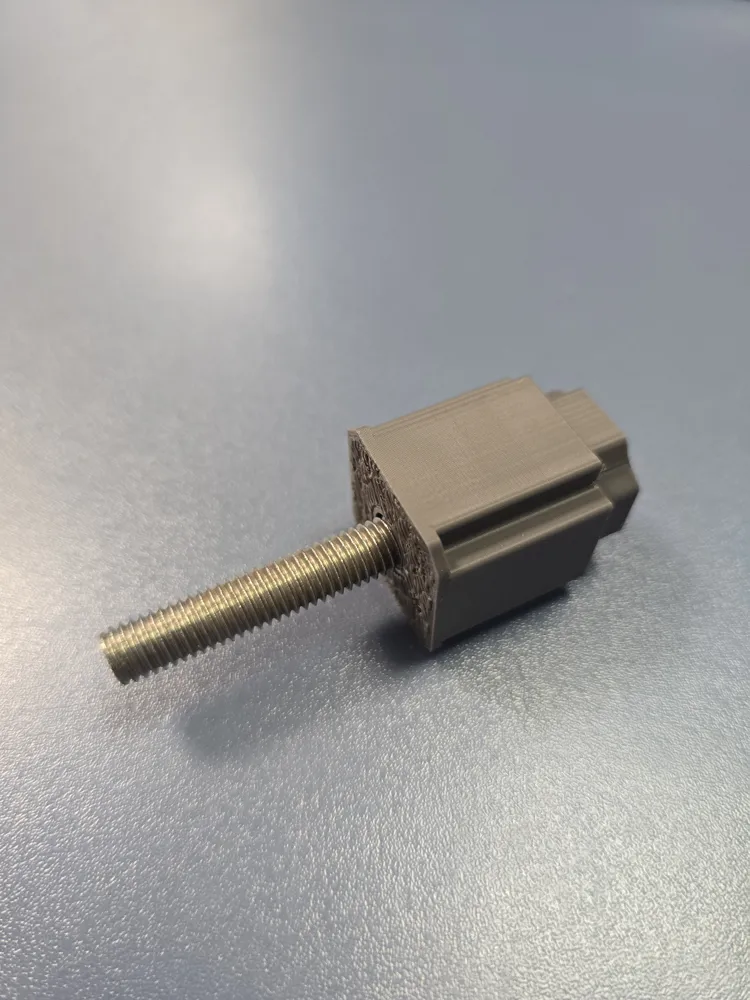
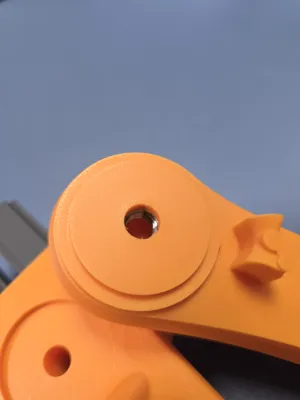
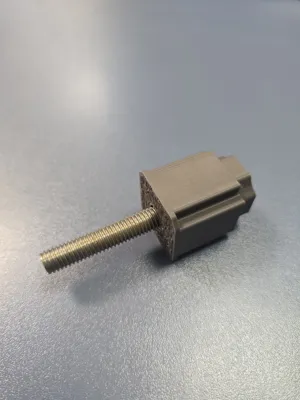
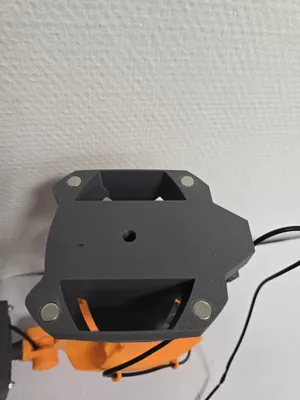
There are screws and nuts embedded into the print. Each axis can be tightened by moving the motor. On the bottom of the base there are holes for glueing in 10x10mm neodym magnets, so you can attech the robot to a magnetic surface. The motor of the base tightens the rotation of the robot by moving gears. You can use the wrench for easier tightening of the motors/screws.
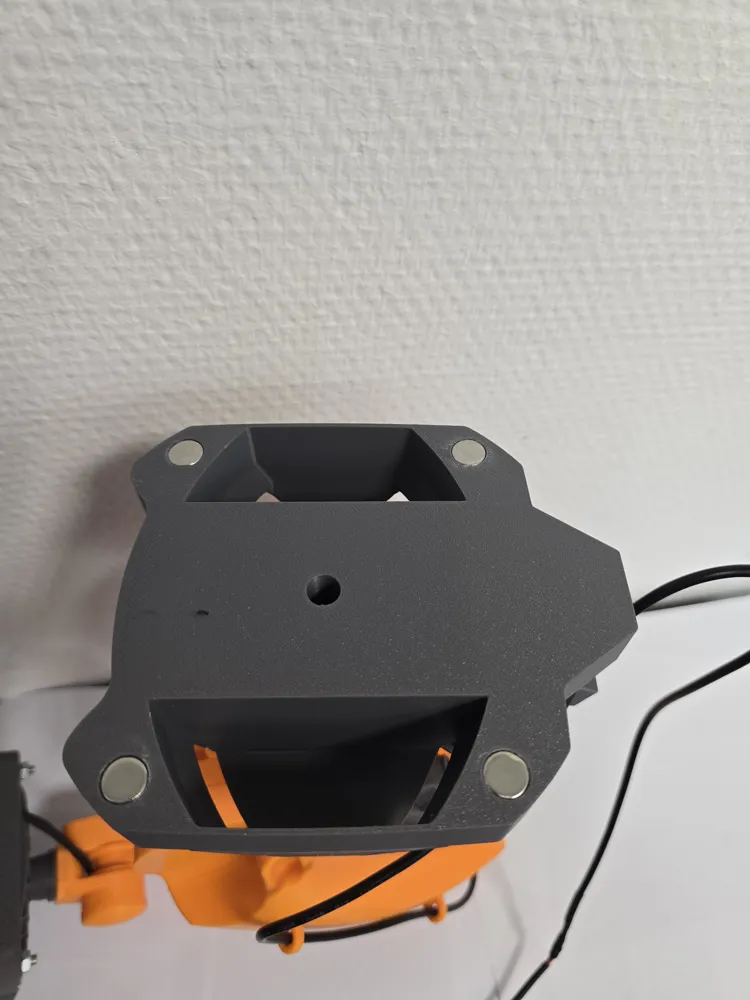
The tool interface has a cylindrical hole, so you can design your own attachments. For example I designed it to hold an eletrical fan. The robot itself is very stiff, but if you want to hold heavy weights I recommand to place it on a steel plate as a counter weight.
The print is using variable layer lines for better optics. Most of the components are sliced in half for better printing. There are still many spots which need support. I use PLA as a print material and PETG as a support interface material. Through this technique you can peel of the support easily and you will see no marks on the prints. To be sure that you purge enough material during switching filaments you should set the purge volume to 800.
For embedding the screws and nuts the print needs to be paused.
If you want to use the electrical fan attachement you have to check if your fan fits the housing I designed.
You will need the following components for embedding in the print:
- 4x Nut M8
- 1x Hexagon screw M8x50 (Motor A)
- 1x Hexagon screw M8x40 (Motor B)
- 2x Hexagon screw M8x30 (Motor Base + Head)
- (4x Neodym magnet 10x10mm)
- (4x Screw M4x35 with nut for mounting the housing of the fan)
I uploaded an assembly guide. Check it out for more information.
If there are any questions or any feedback let me know.
Boost Me (for free)
If you like my model I would appreciate your boost.
Documentation (1)
License

You shall not share, sub-license, sell, rent, host, transfer, or distribute in any way the digital or 3D printed versions of this object, nor any other derivative work of this object in its digital or physical format (including - but not limited to - remixes of this object, and hosting on other digital platforms). The objects may not be used without permission in any way whatsoever in which you charge money, or collect fees.


Comment & Rating (16)