
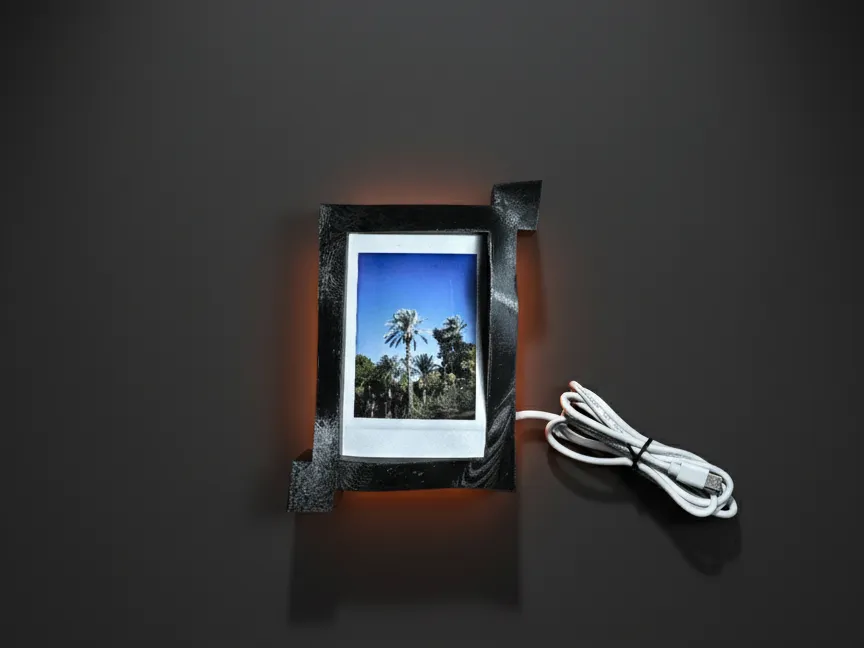
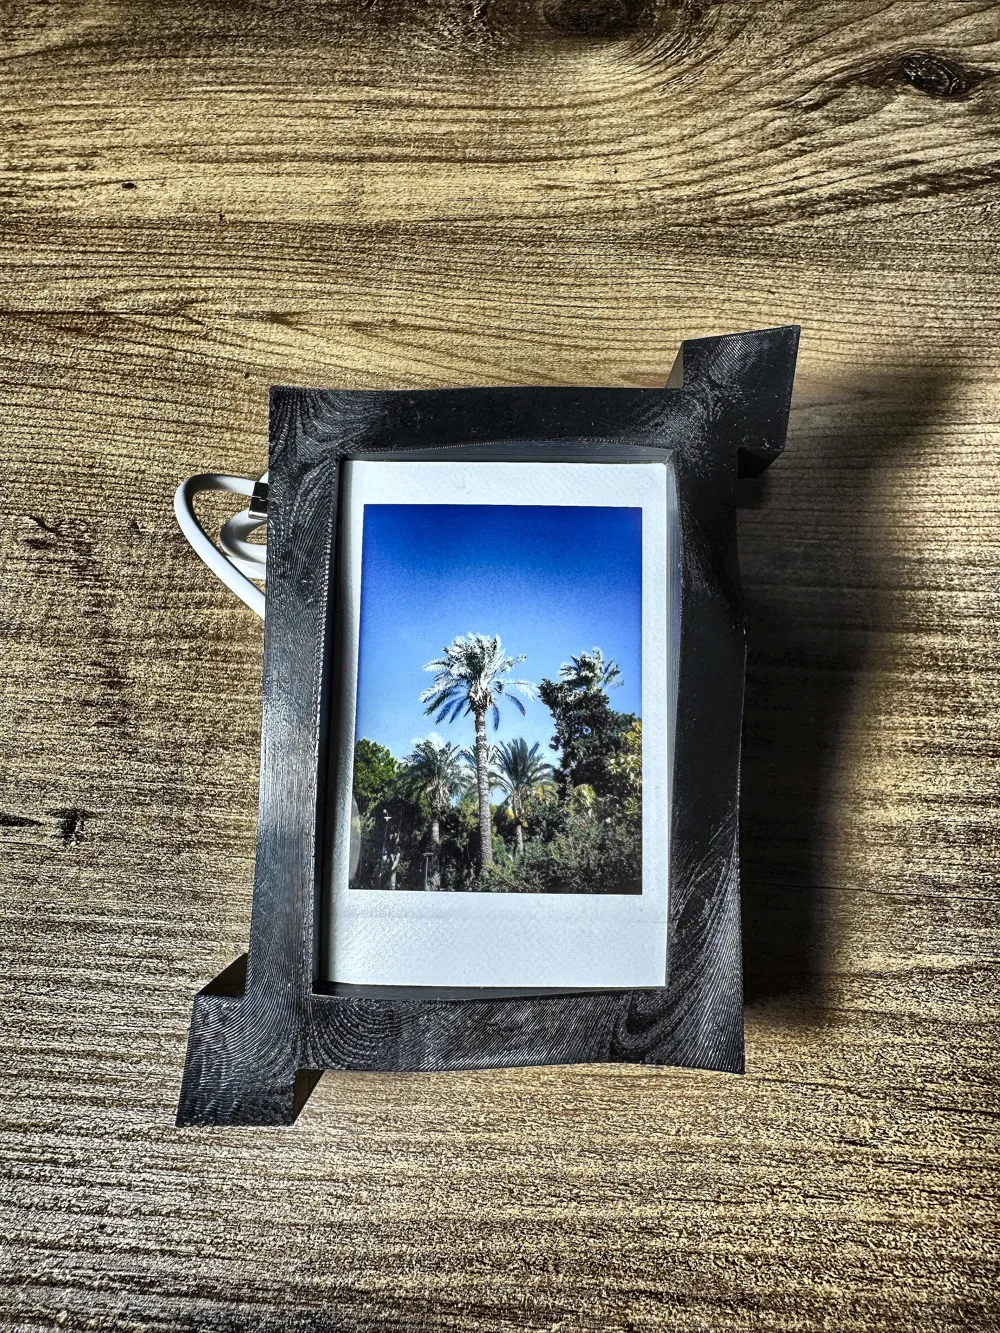
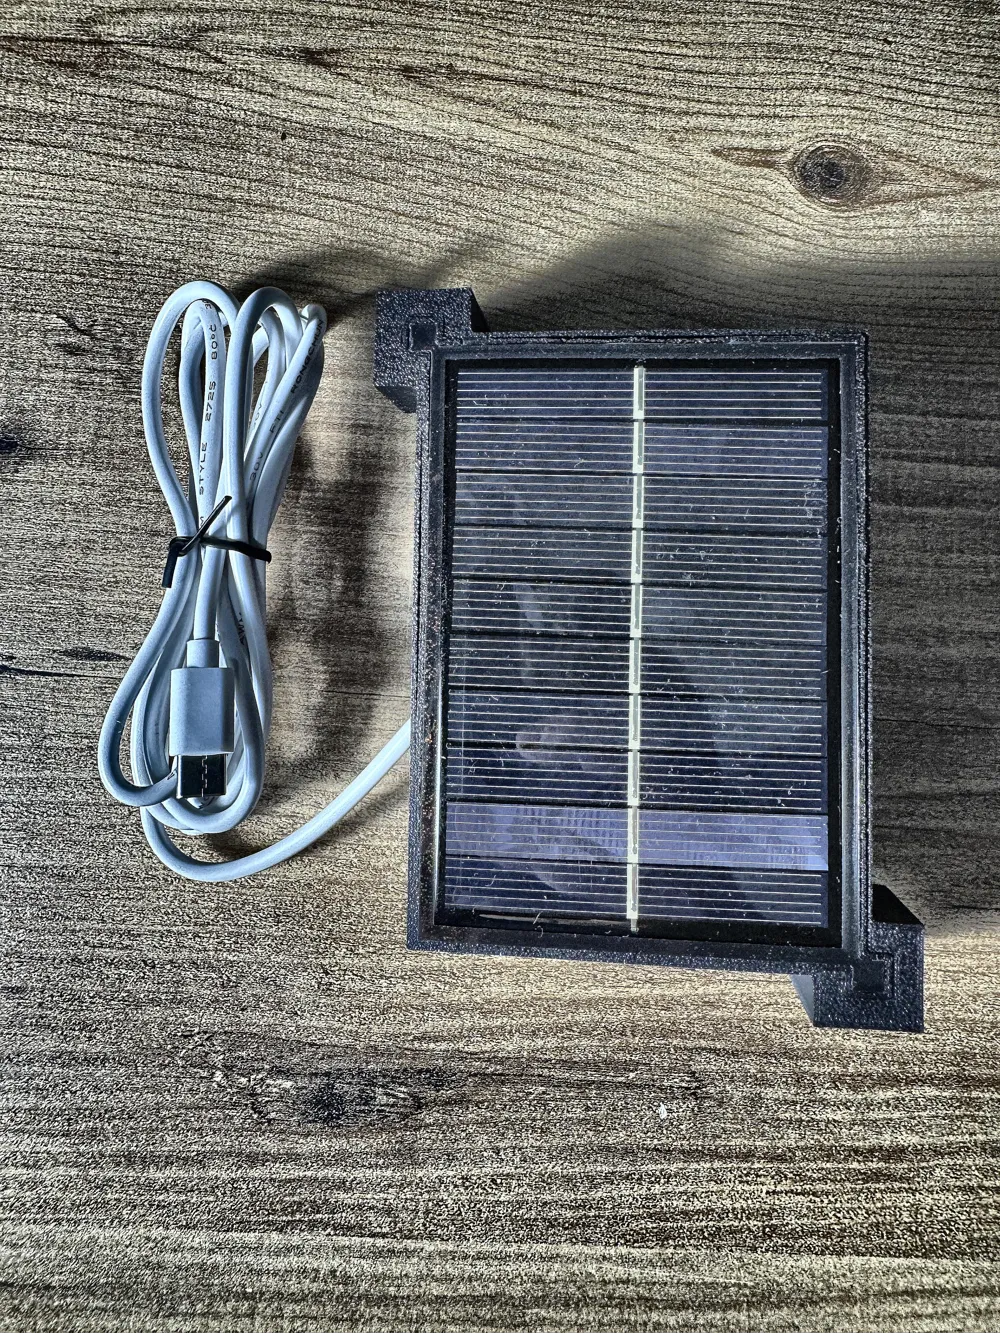
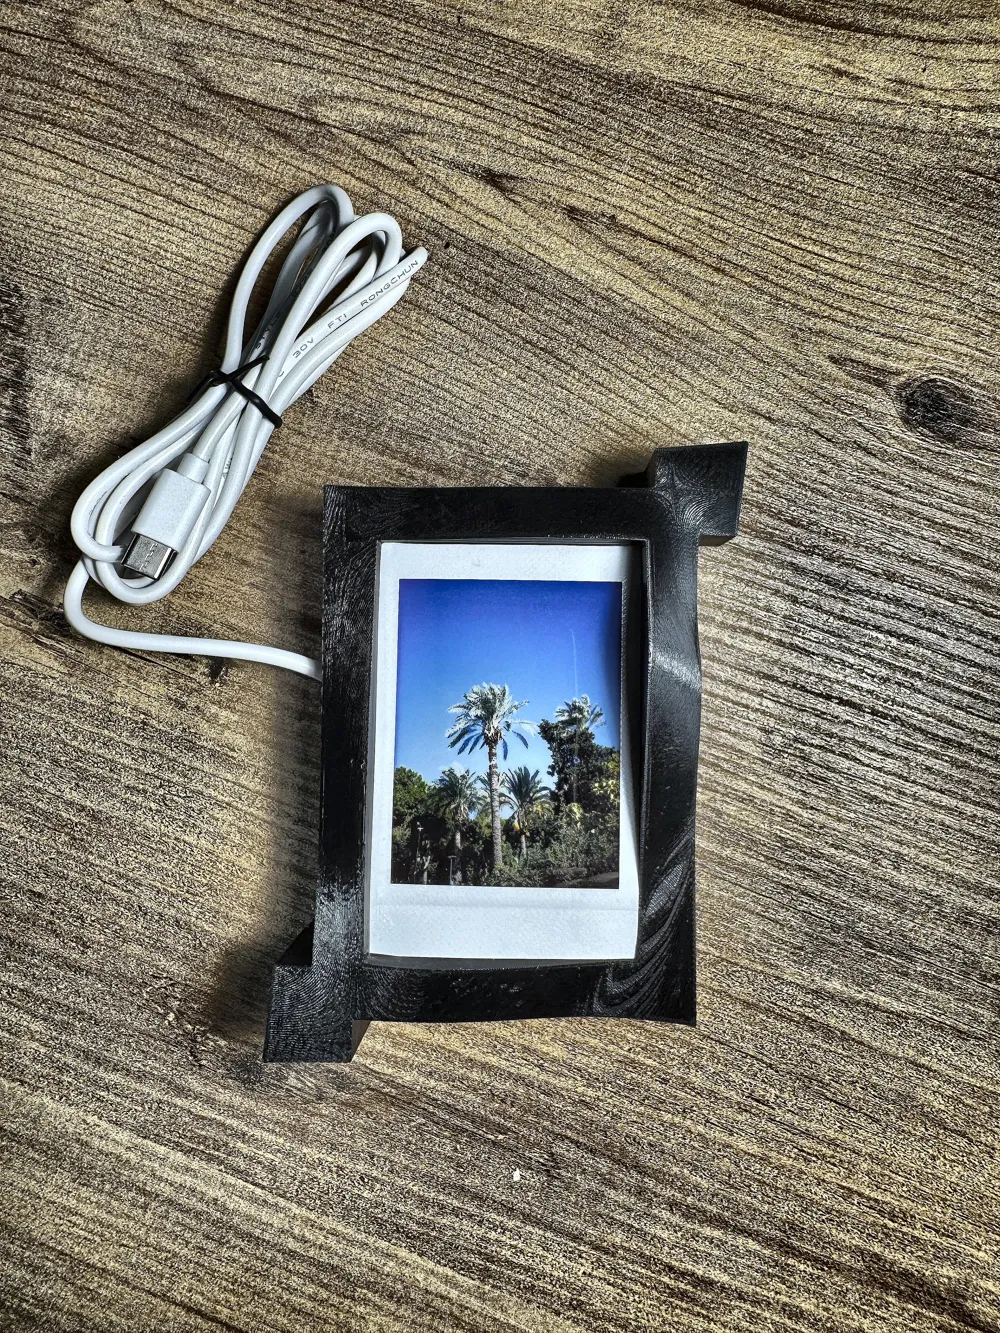
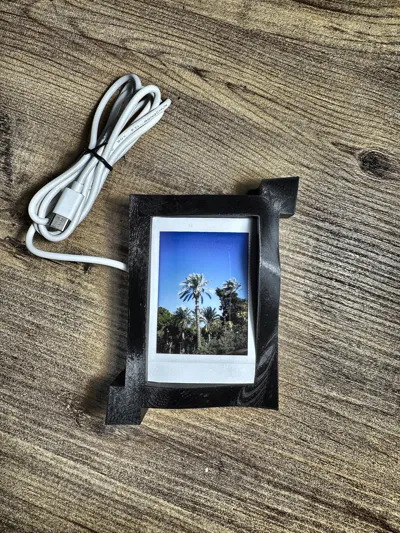
5V Solar Charger as an Instax Mini Frame
Print Profile(3)


Description
Boost Me (for free)
Out of Boost tokens﹖ A Follow is just as amazing and helps me keep prototyping and sharing new designs. Happy printing.
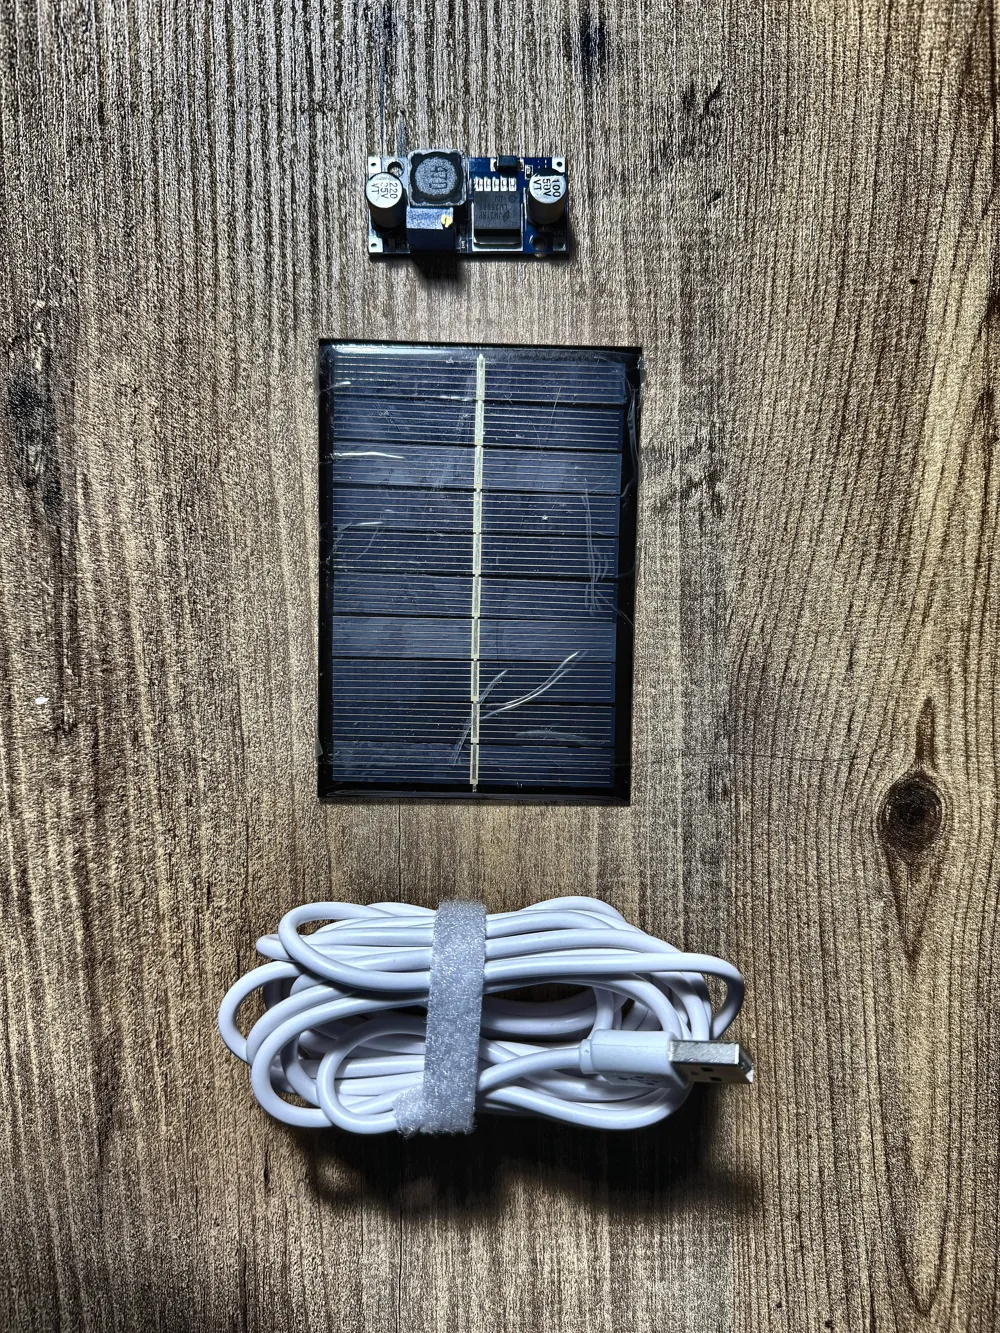
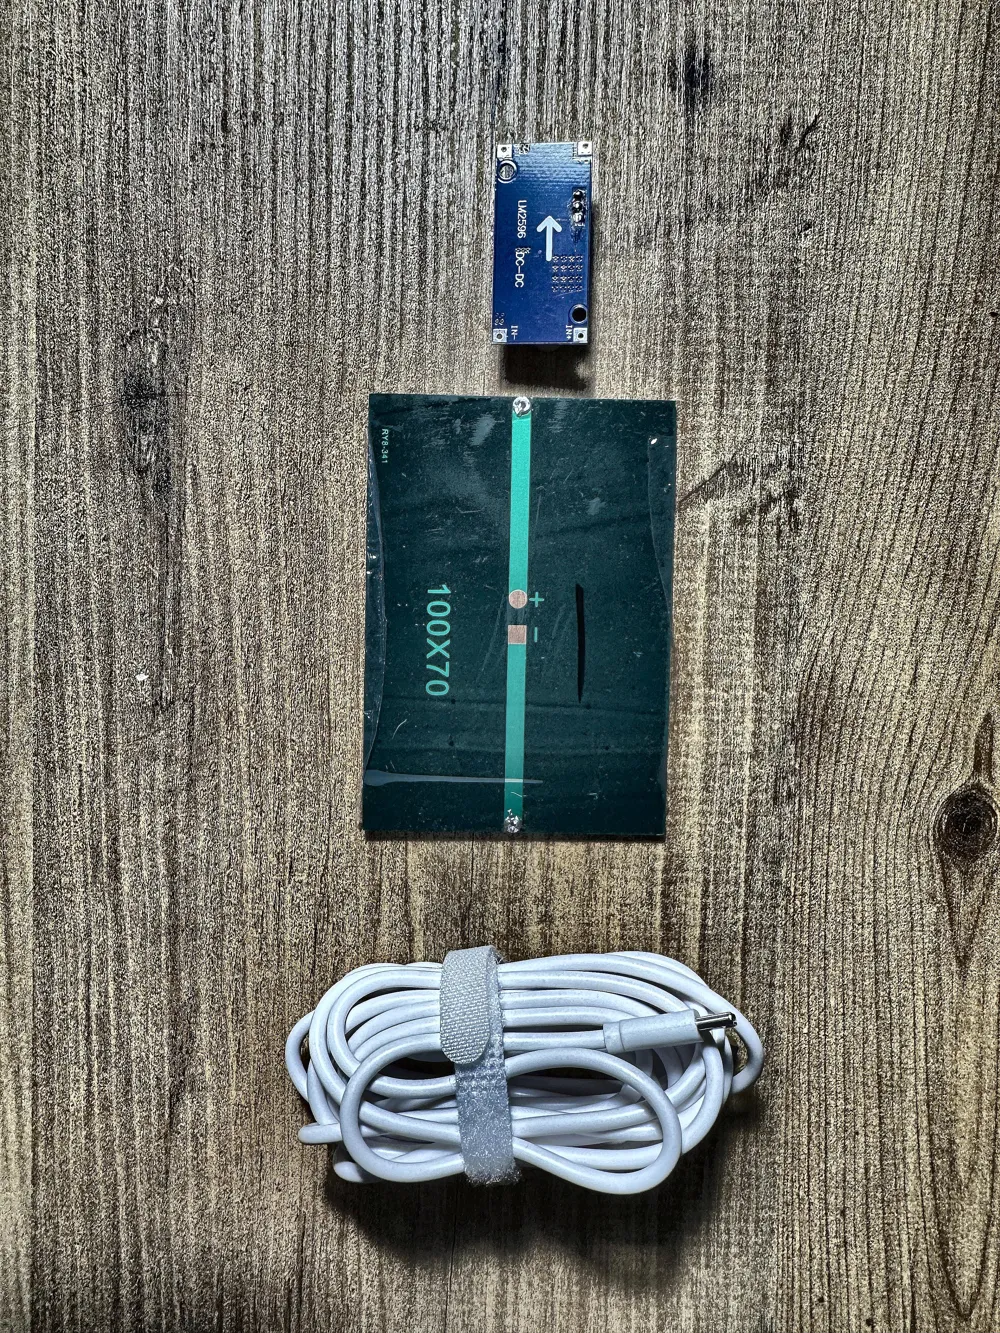
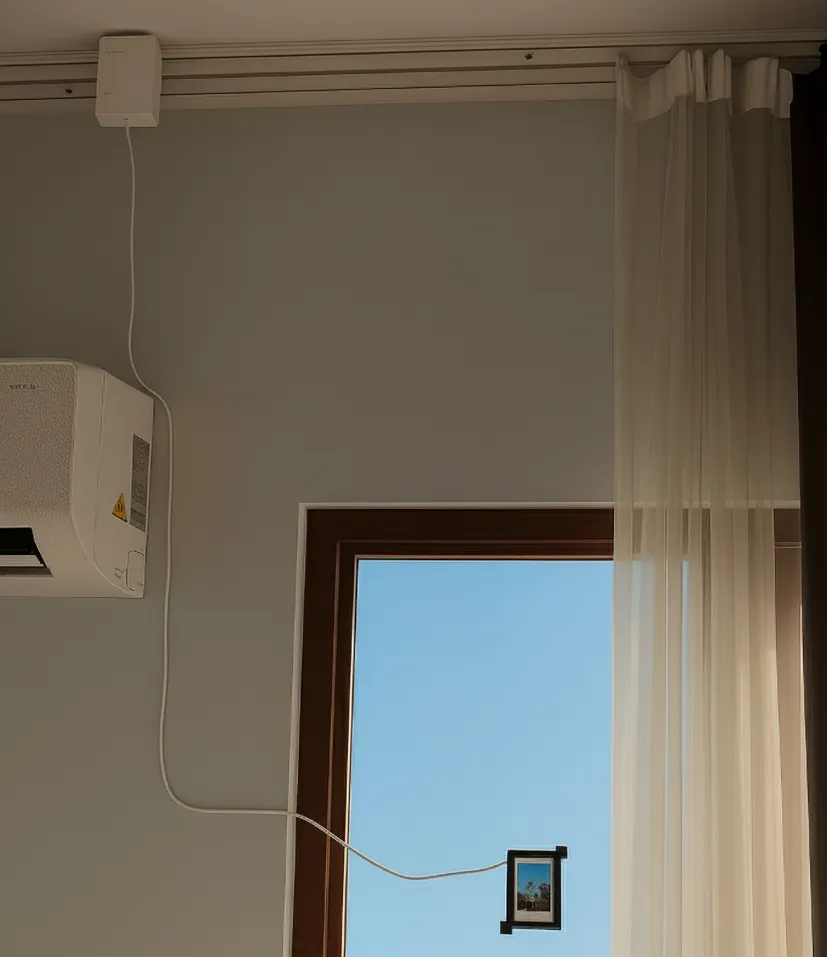
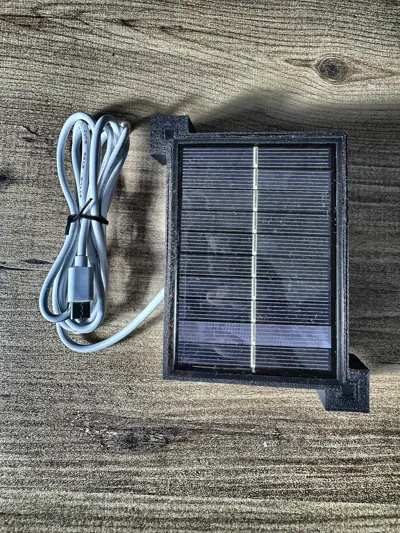
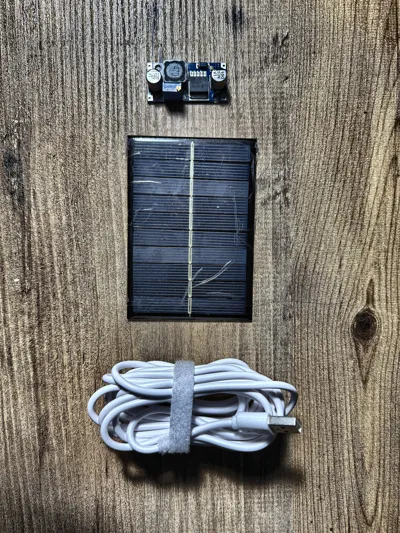
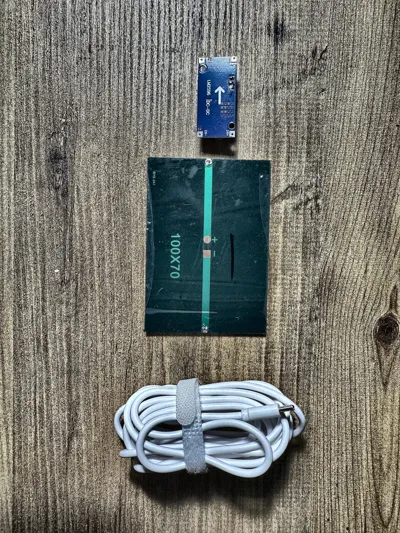
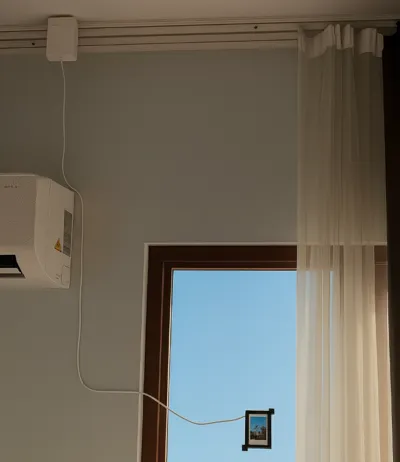
I needed to charge my curtain motors with solar power and decided to DIY myself since there was no one in the Turkish market. I had a bunch of 100x70 mm 6V solar panels, so I decided to use them with an LM2596 module.
I am not an electronics expert; all I wanted to do was something safe, because I have no idea what's inside the Sonoff Curtain Motor. They probably protect the device from low voltage, but the LM2596 step-down module is pretty cheap, and it cuts off the power if there is not enough light to produce 5V.
So our needs this time are:
- 100x70 mini solar panel
- A cable based on your needs(Type C or A)
- An LM2596 Step-down Module
- A two-sided tape or hot glue for hanging on the glass.
- And the most important one: a favorite photo!
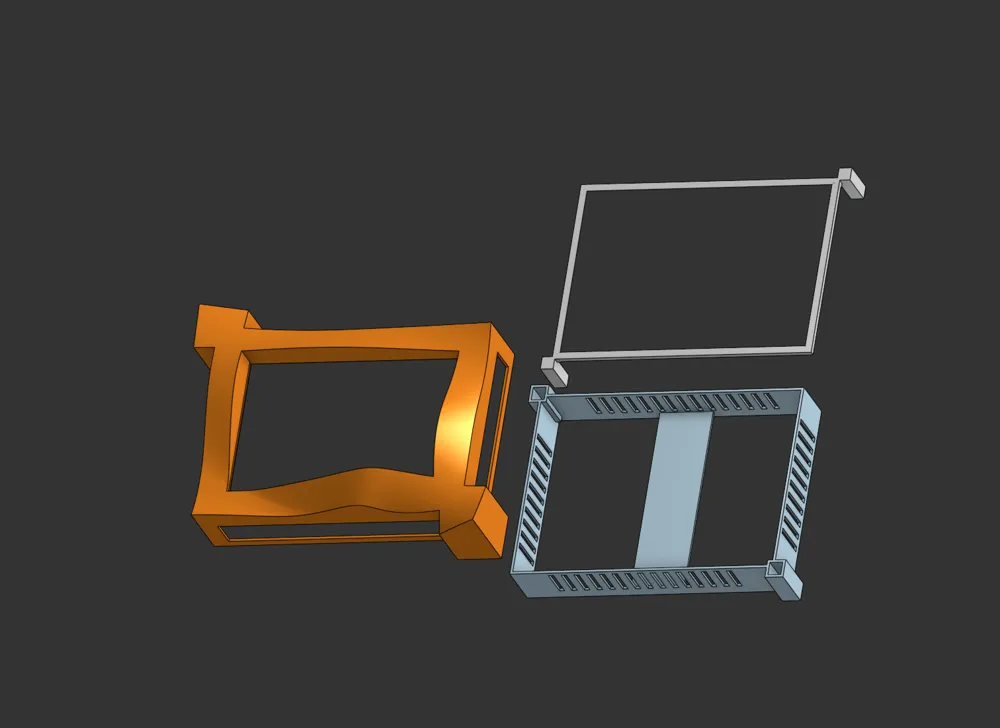
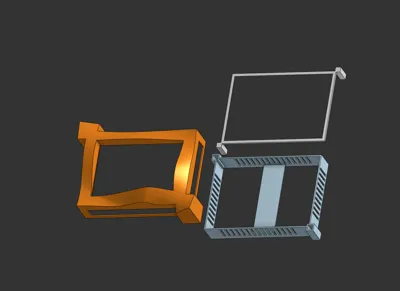
The design will have 3 plates, one of which uses a 0.2 mm nozzle. I did not try with 0.4. For the other two plates, I also used 0.4.
How to install?
First, build the circuit. We are going to connect the solar panel's positive and negative poles accordingly to the module as the input. Then we are connecting our USB cable's one side to the output, that's all.
When you successfully print all 3 plates, you will see that the mid frame has a housing belt for the step-down module, simply use a double-sided sided to tape it there. If the output cable does not fit into the grid of the mid's side, just gently break one of the columns that helps you.
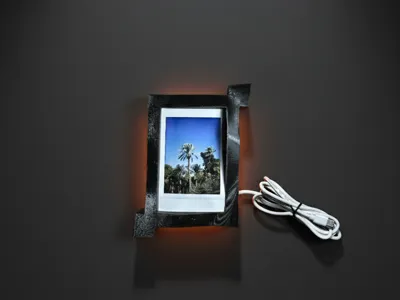
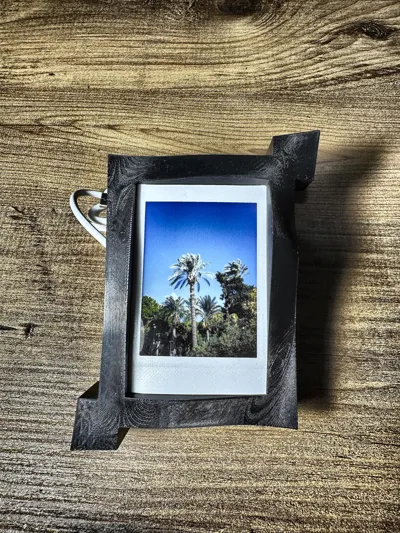
As a last stage, insert the first frame into the mid frame, make sure all get inside. While applying force, we should be gentle. Then put the photo inside the back frame, making sure it gets into the holes. And finally, insert the combined one into the back frame.
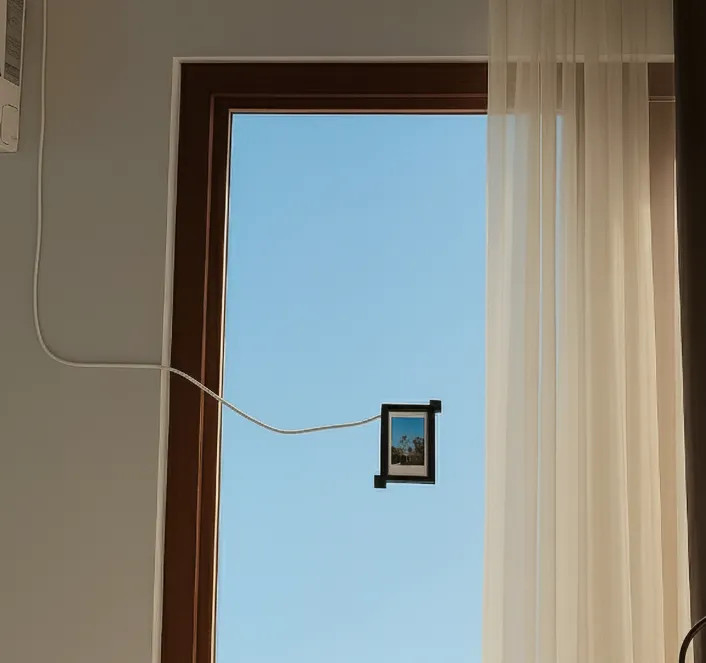
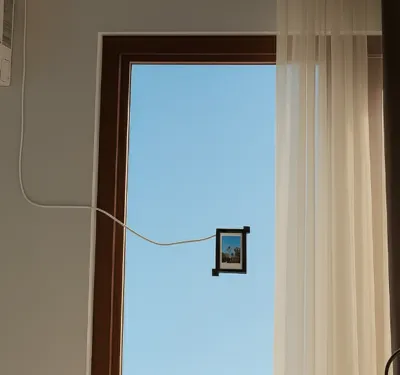
I've used the hot glue for hanging it in the right position on my window; you can use double tape as well.
⚠️ Warning! If you are going to update the default plates, please be sure that the supports are proper before printing. I've used PETG filament.
Boost Me (for free)
Did this design help you out﹖ I design these solutions to make life a bit easier, and I love sharing them with you all. If you found this useful, dropping a free Boost is the absolute best way to support my work so I can keep prototyping and sharing more designs. Thank you! Out of Boost tokens﹖ A Follow is just as amazing and helps me keep prototyping and sharing new designs. Happy printing, my friend!
License



Comment & Rating (0)