
Vega 30
Print Profile(2)


Bill of Materials
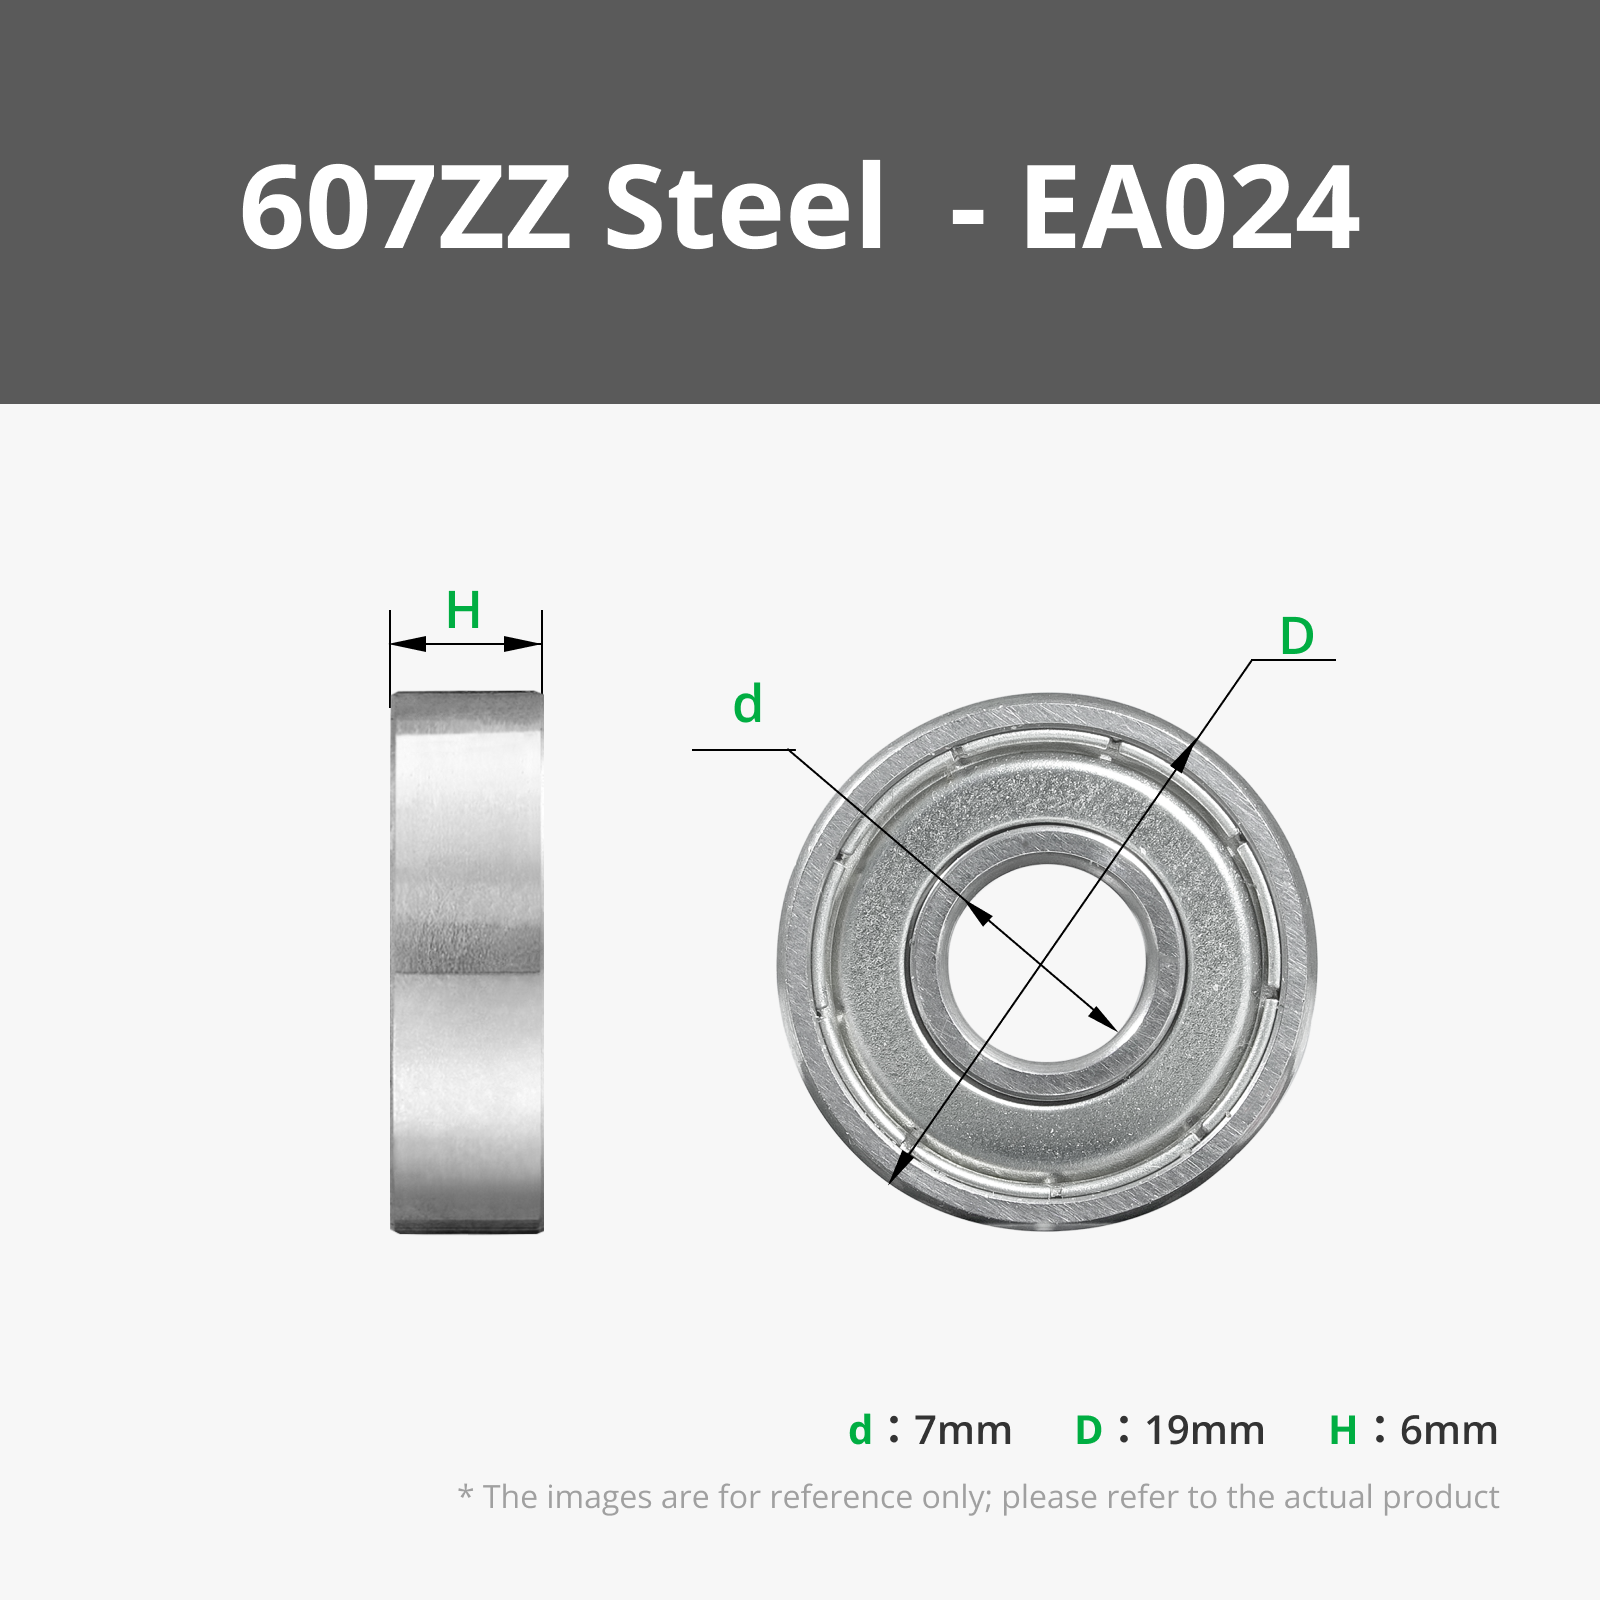


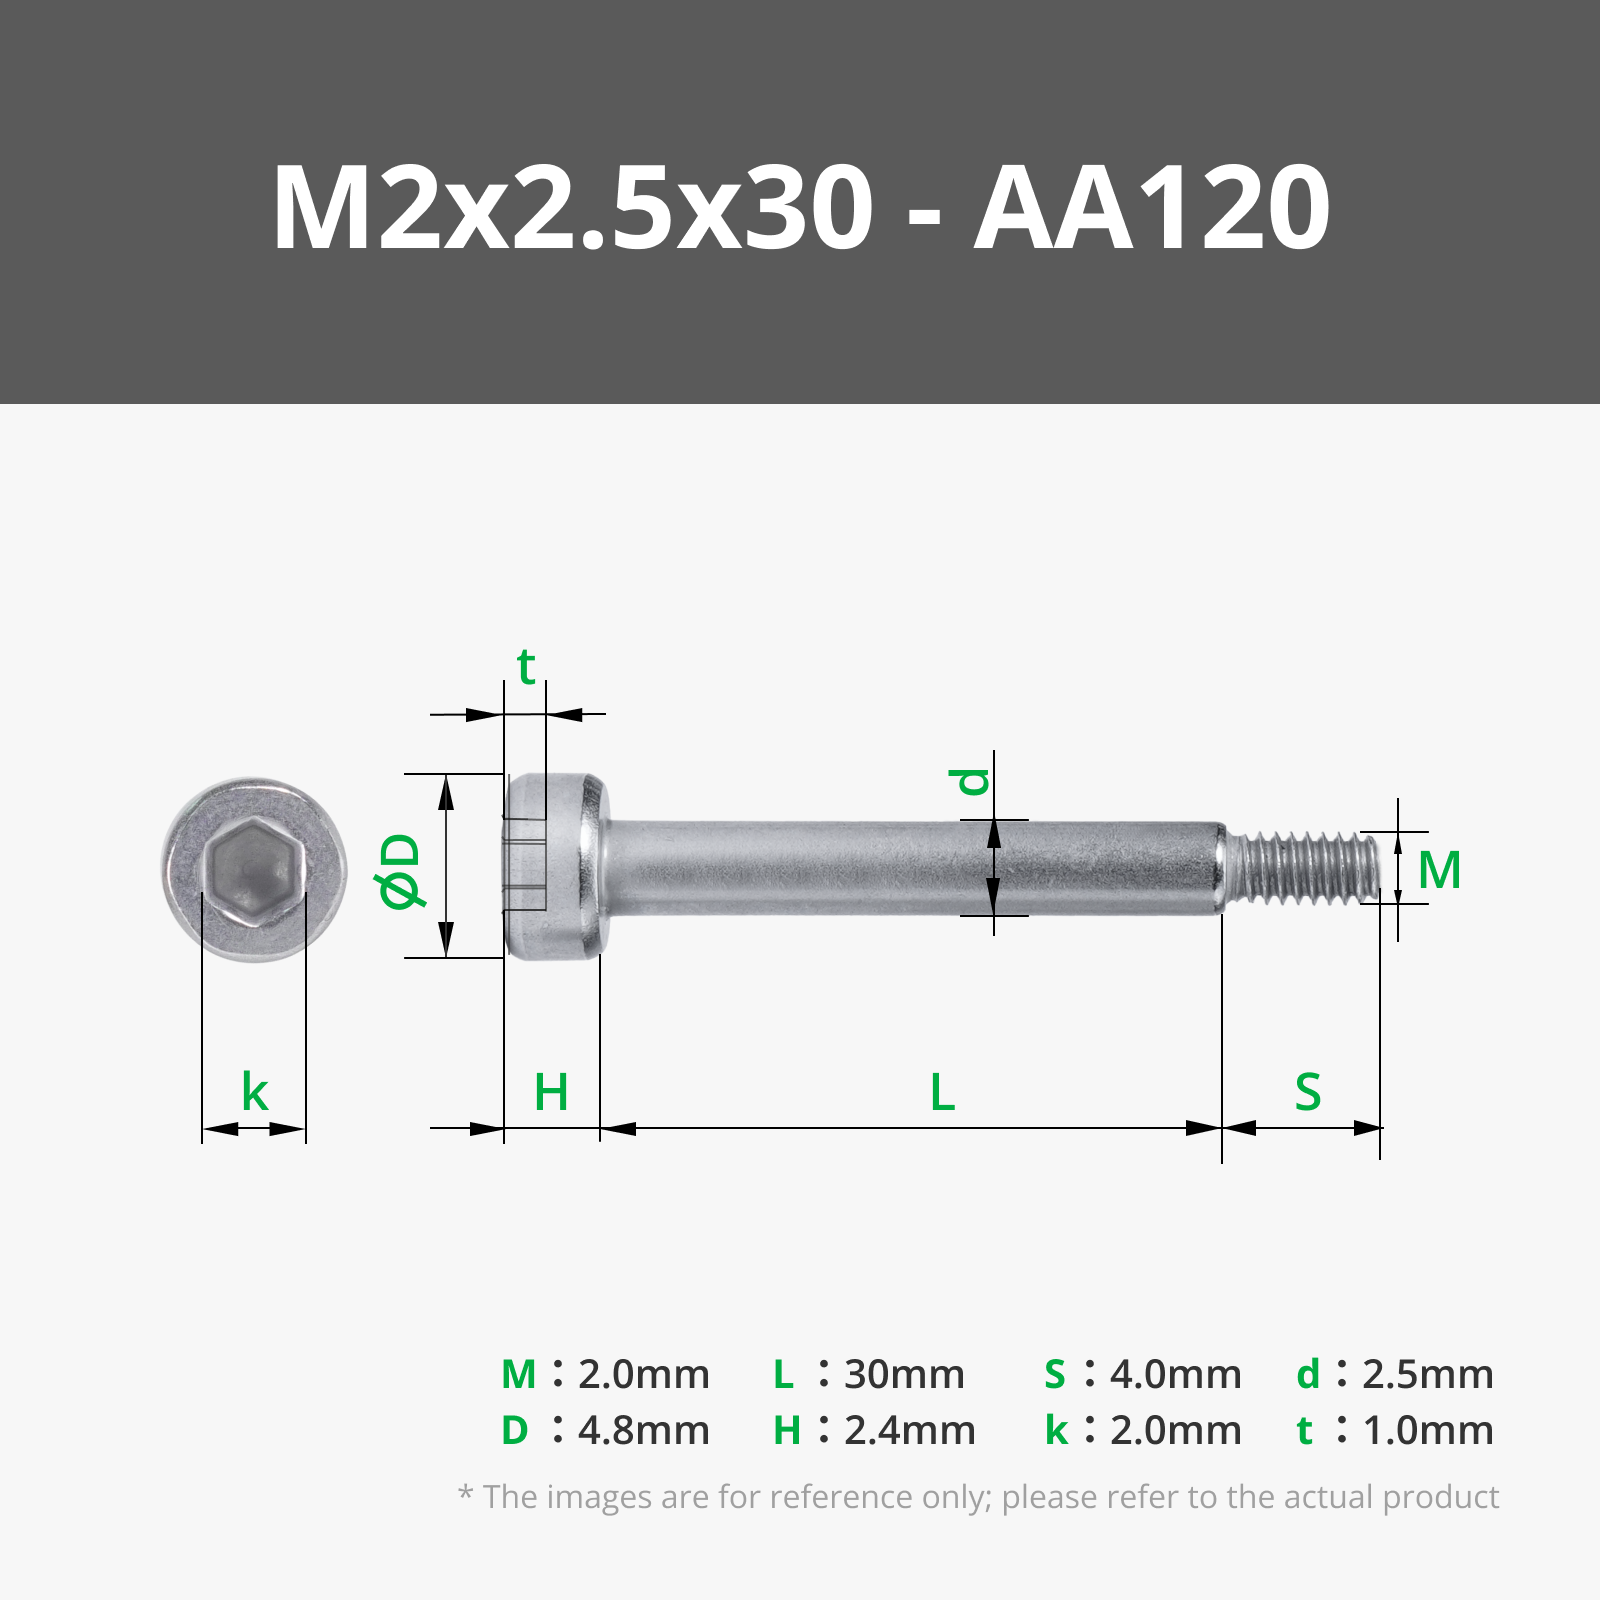



.jpg)
.jpg)

.jpg)

Description
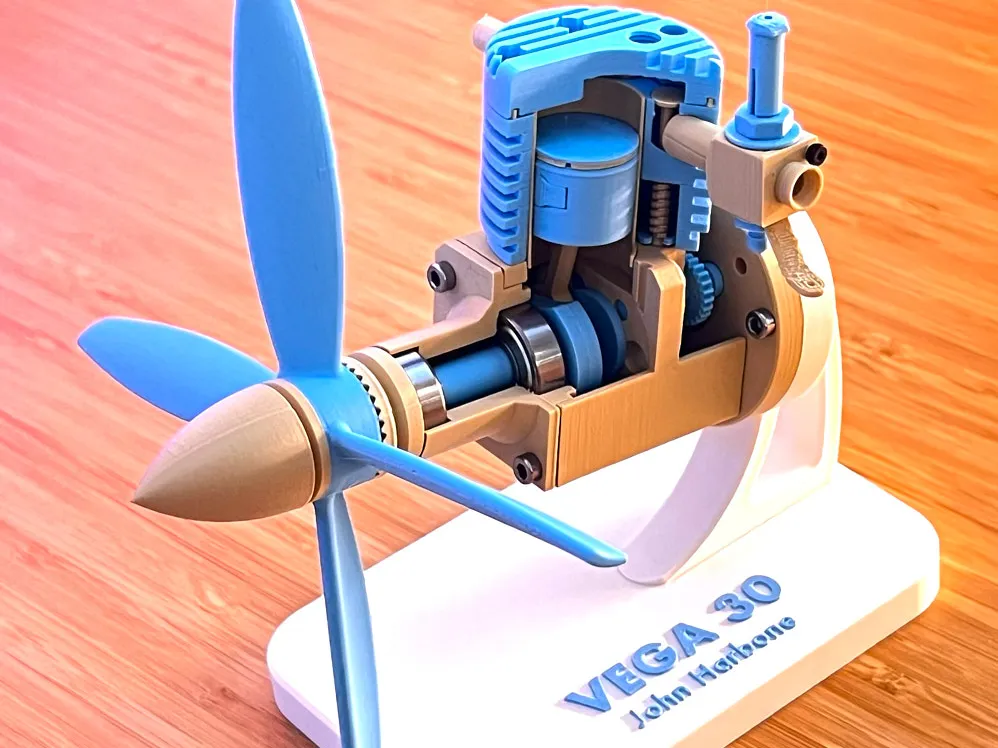
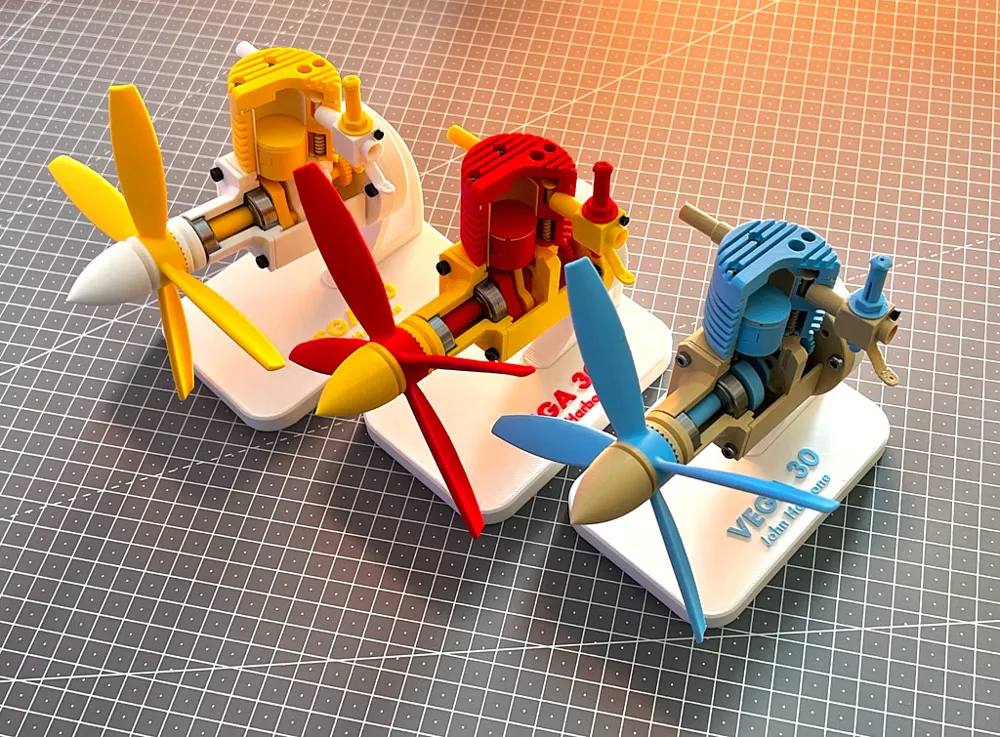

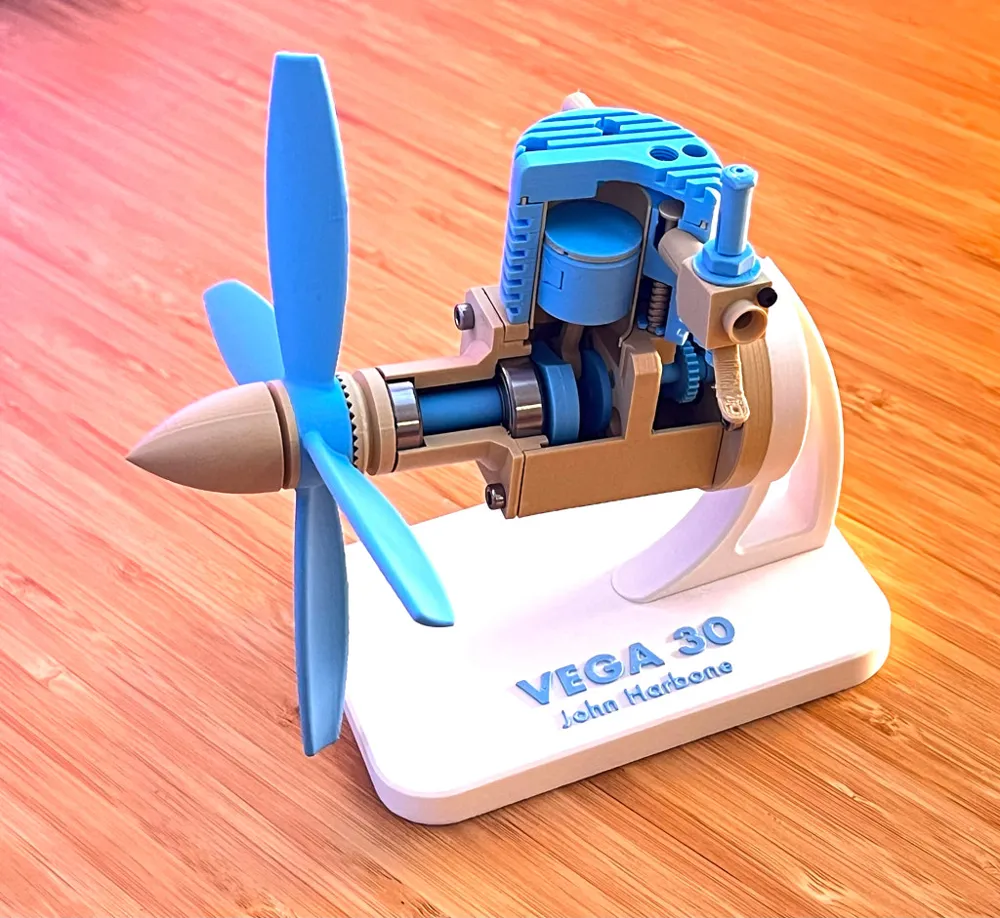
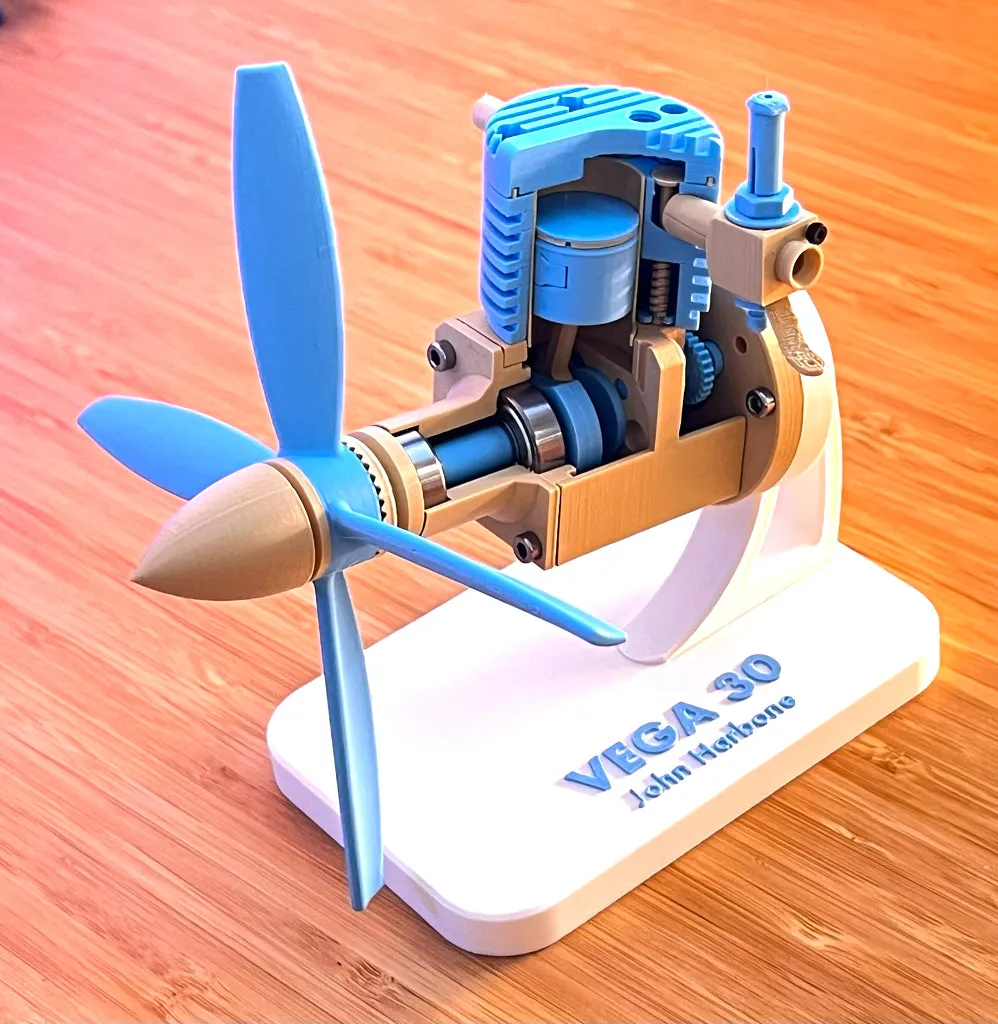
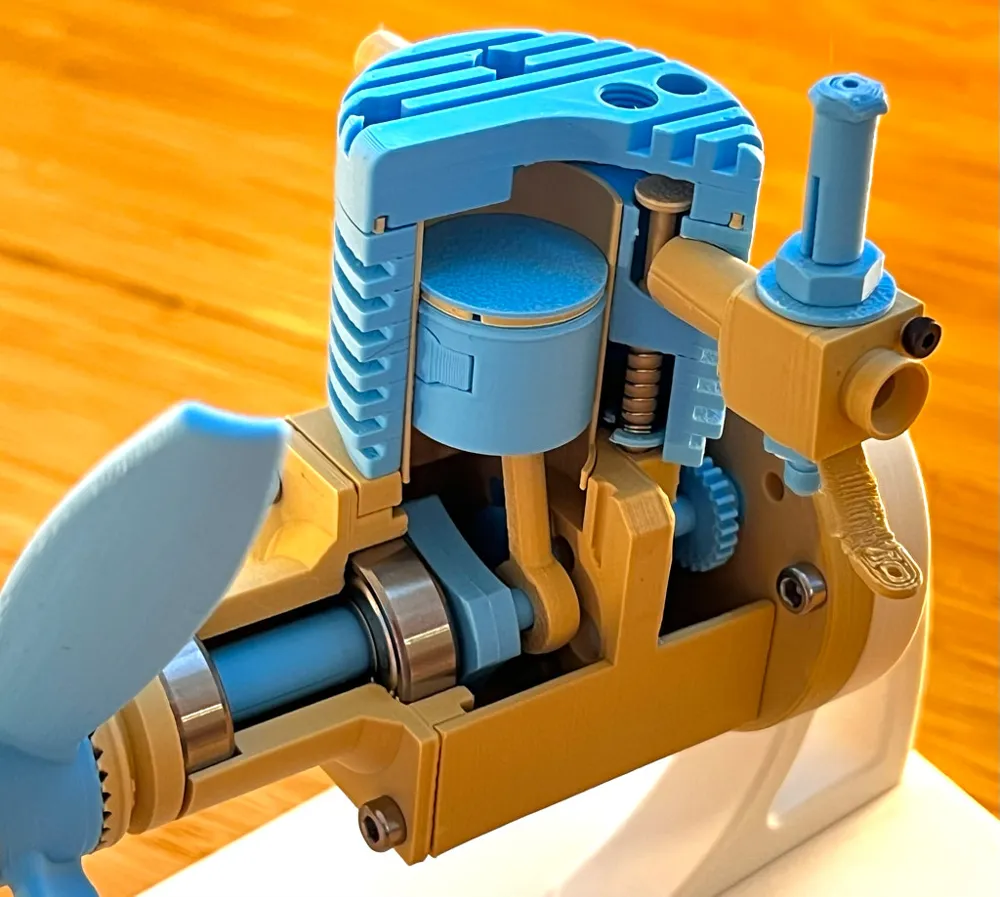
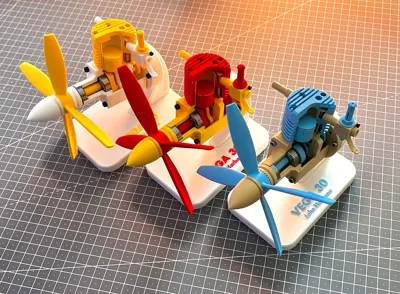
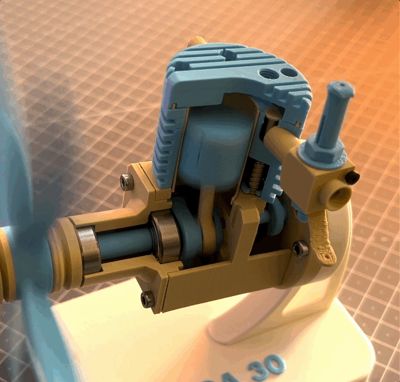
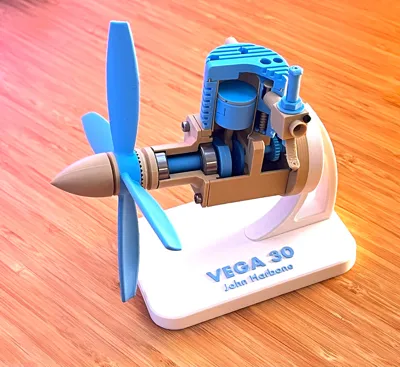
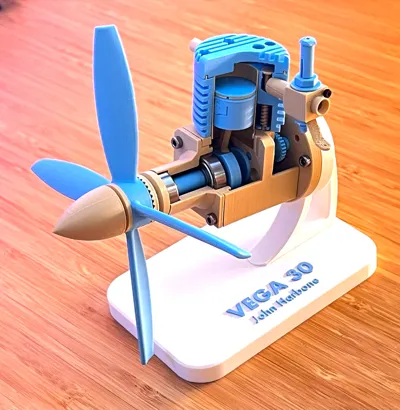
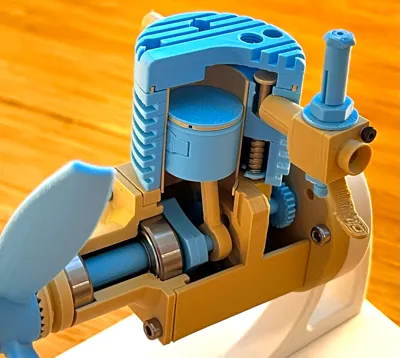
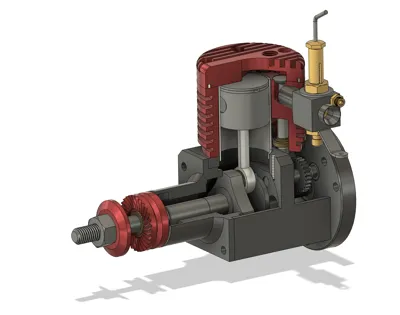
Vega 30
by John Harbone
The Vega range was designed and built from the late 1980's through to the mid 1990's by John Harbone of Birmingham, England. His intent was to provide a range of engines for sport or scale flying that would be quiet and reliable. They were manufactured in small quantities from bar-stock until ill-health forced an end to the venture.
Resources:
----
UPDATE - 11/07/2026
I swapped PLA Matte filament for PLA Tough+.
This is ideal for tiny fragile parts, making it much stronger and easier to handle
PLA Matte still does works just fine but its a bit more fragile.
----
Hello Everyone,
First of and foremost:

If you want to learn how to model this engine in Fusion 360 please visit the Learn It Youtube Channel!
If you want to support Learn It, join his Patreon!
----
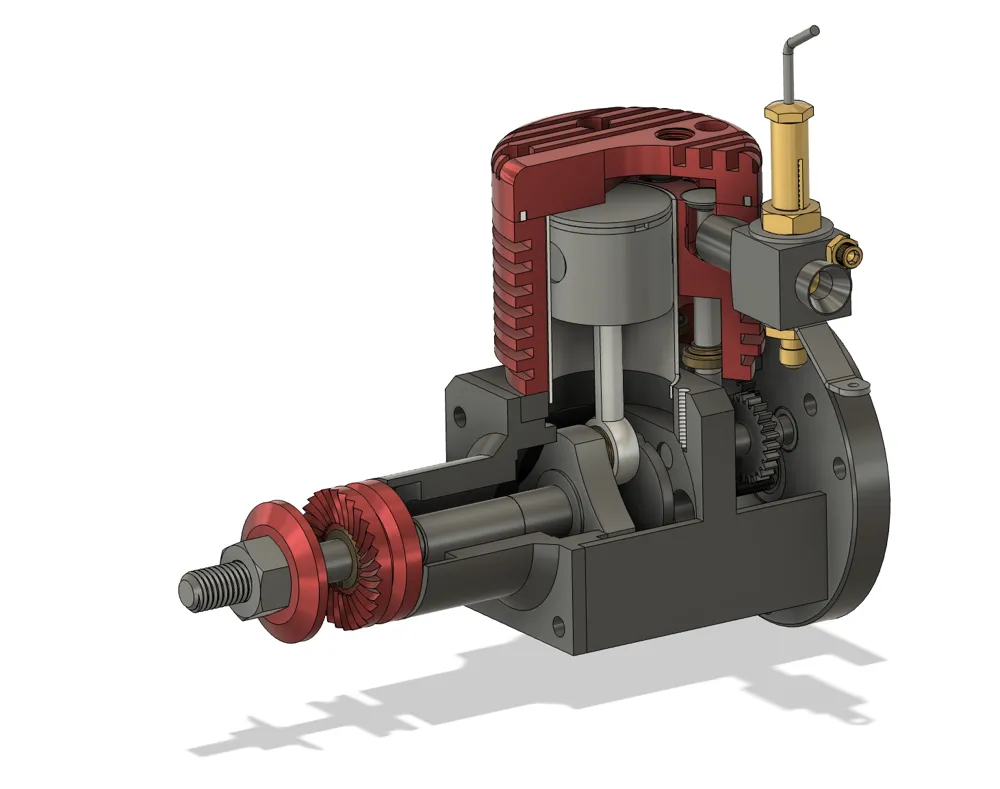
In my quest to learn more about reading blueprints I found Learn It playlist on how to model the Vega 30 engine.
I thought it looked amazing and had to 3d print it to have it in my desk. Of course I had to share this with everyone so enjoy!
Boost Me (for free)
If you want to support me, leave a Like, Comment, and a Boost!
Thank you!
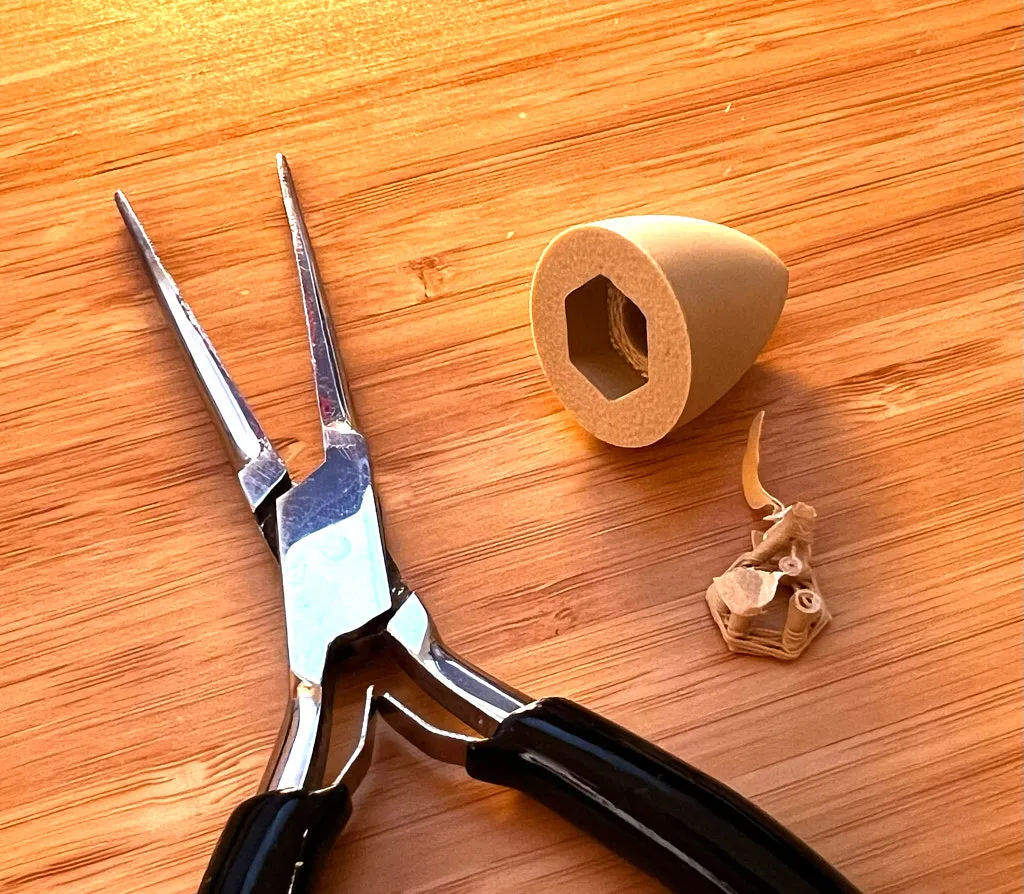
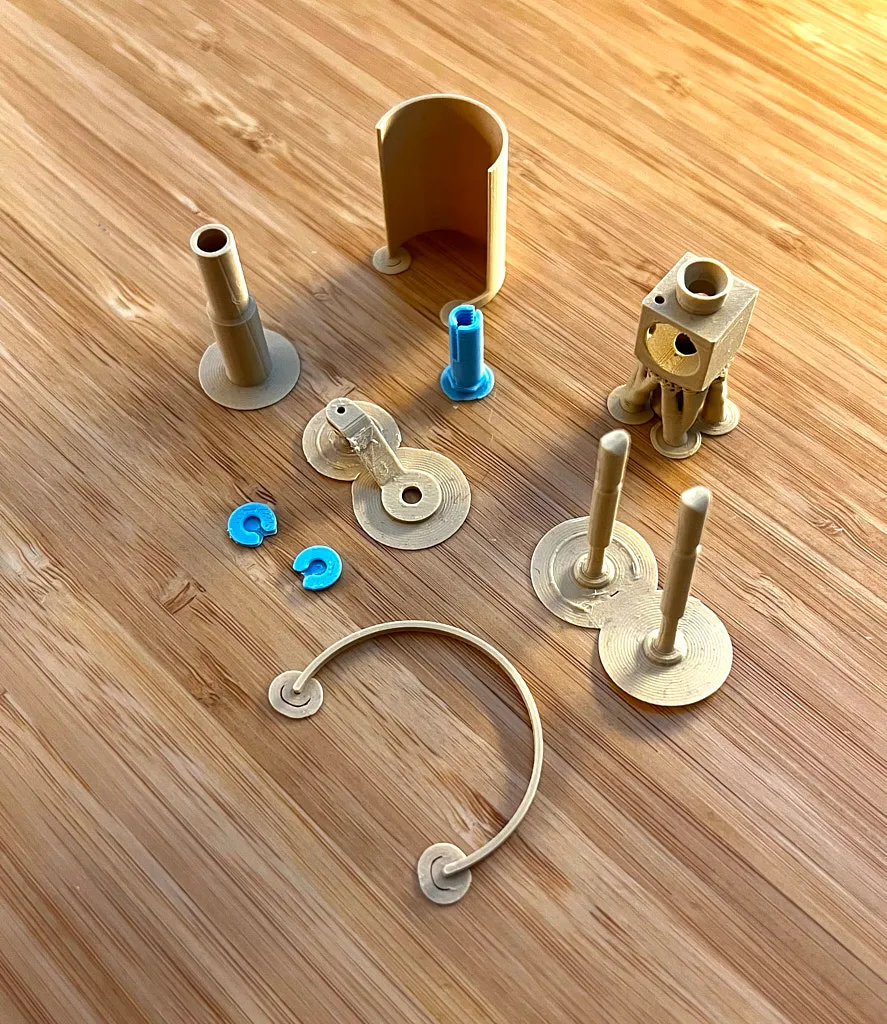
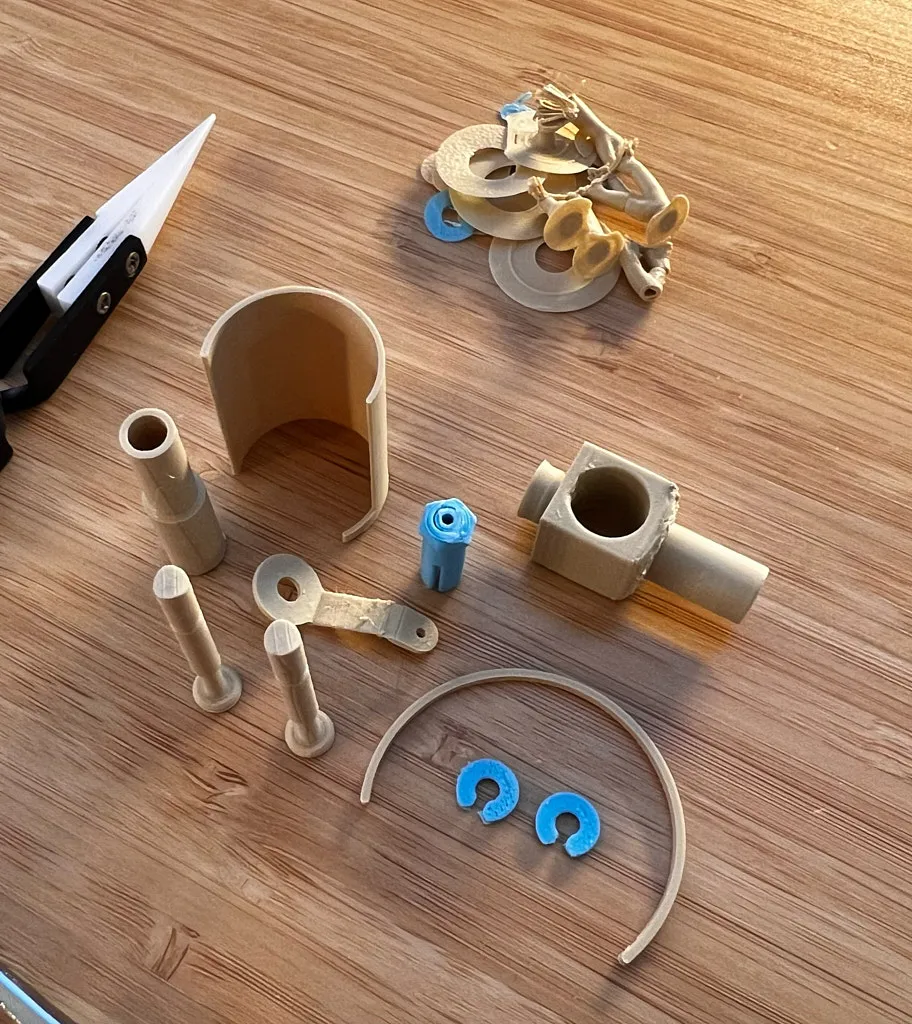
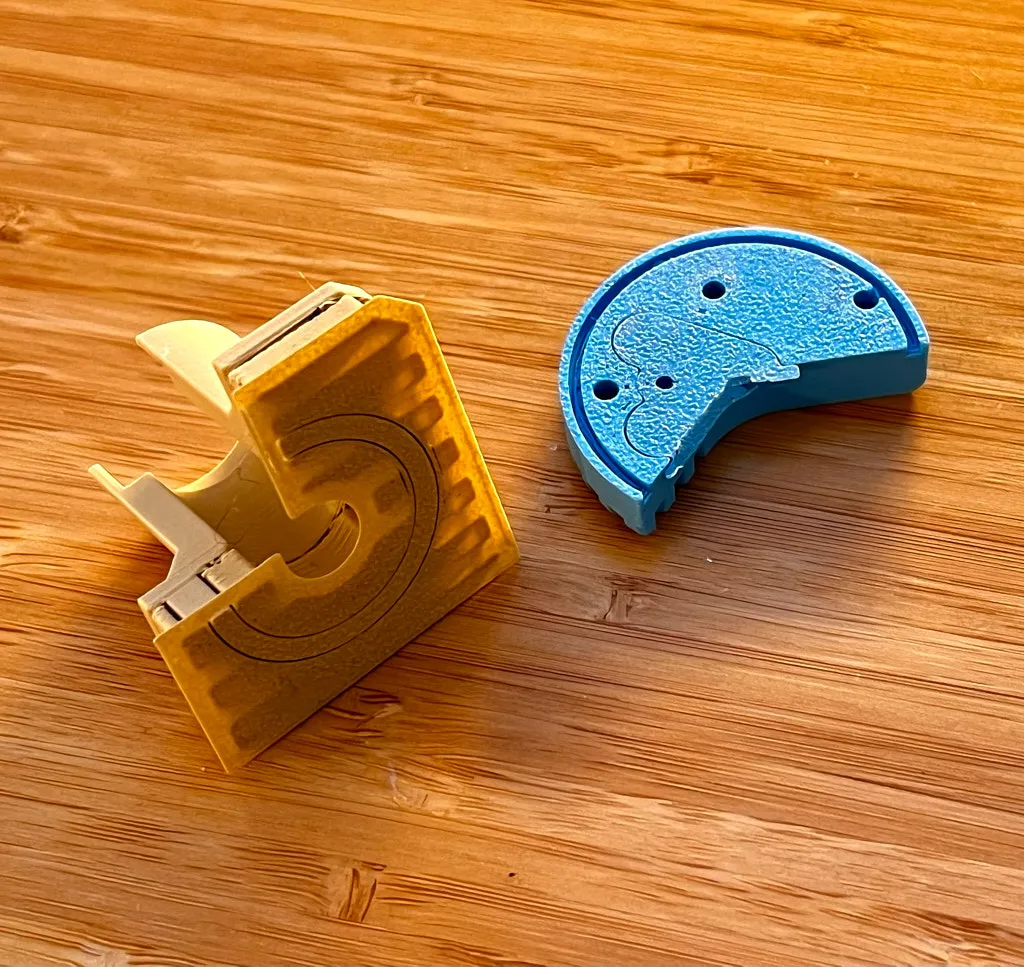
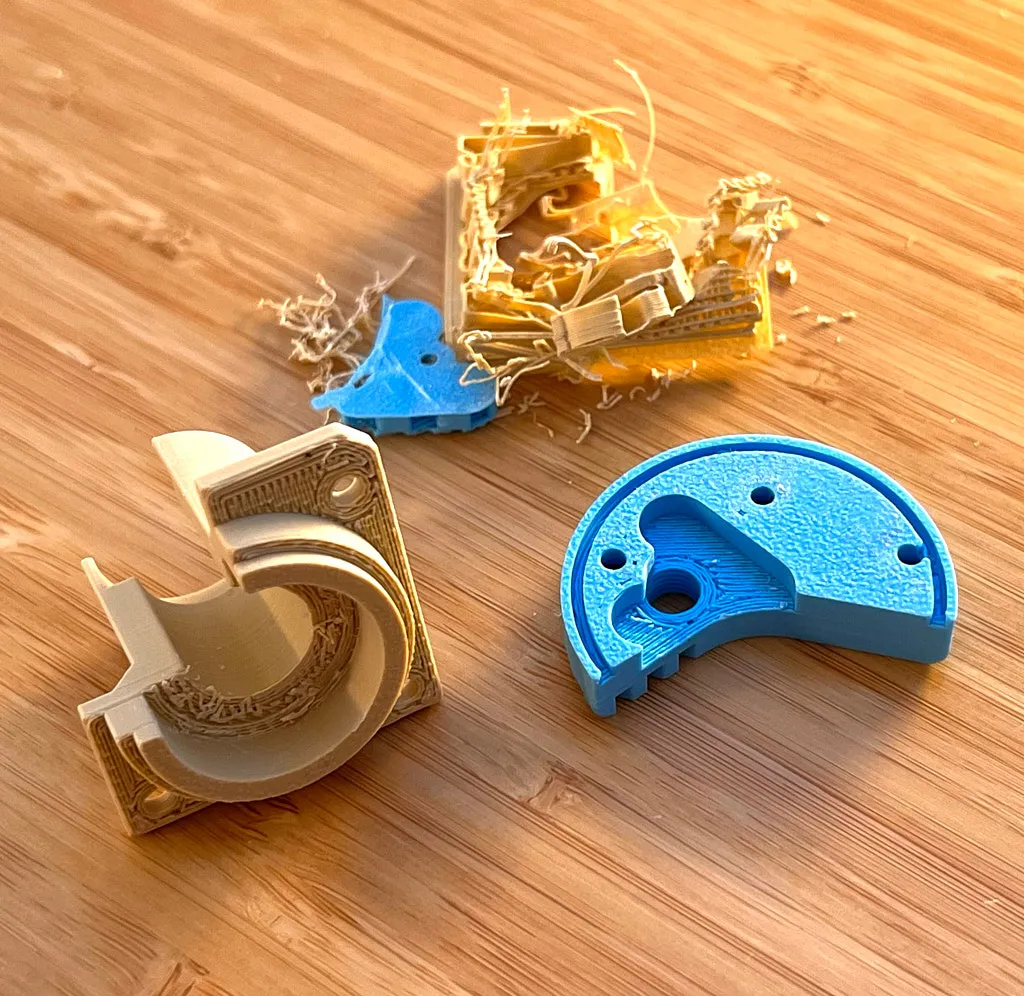
Removing Supports
Grab a cup of coffee. This is a labor of love.
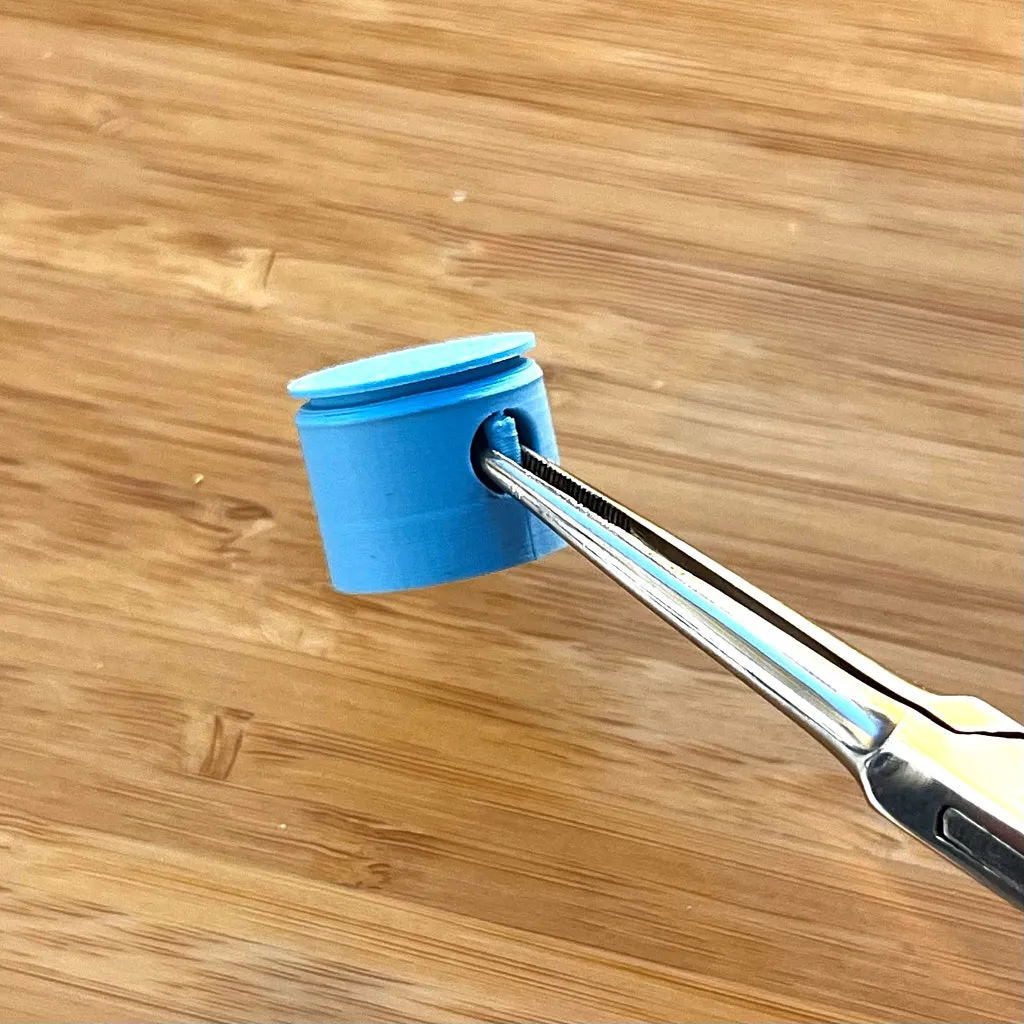
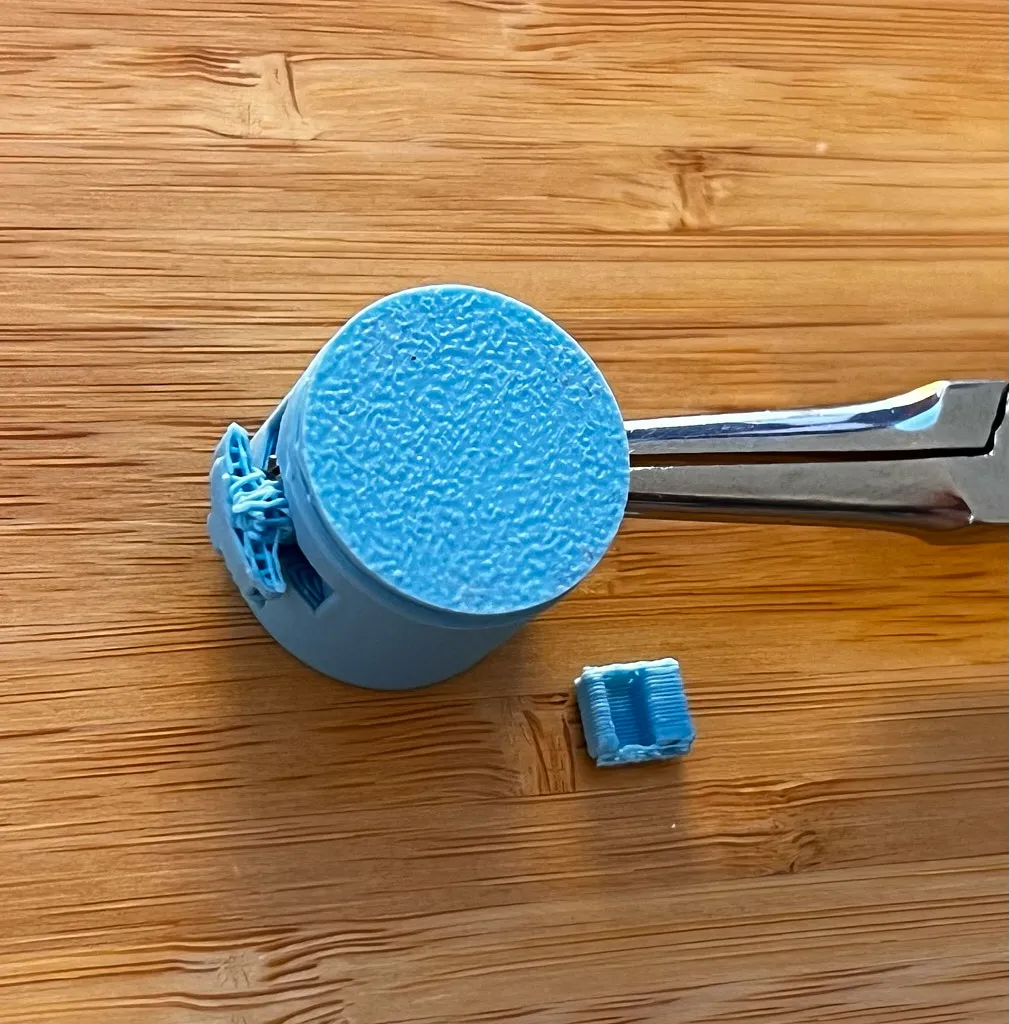
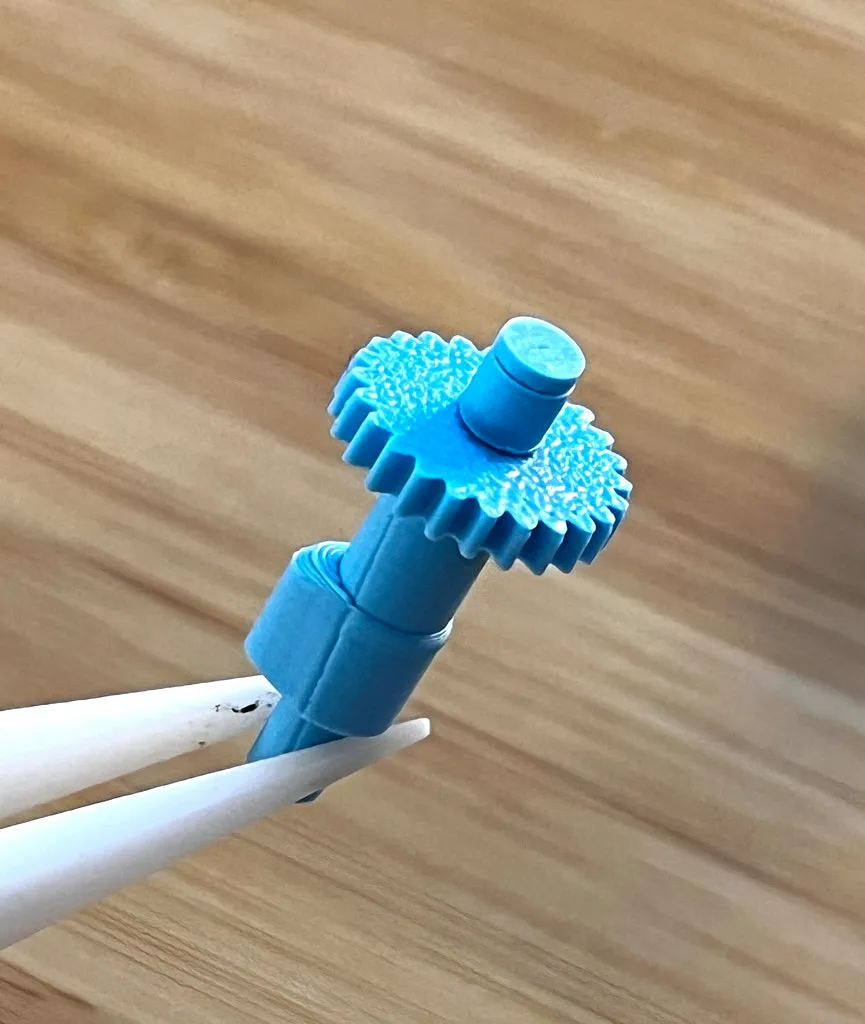
🚨 Some parts are very fragile. Handle with care. If anything breaks, just print another one.
Begin by removing all the supports from the parts:
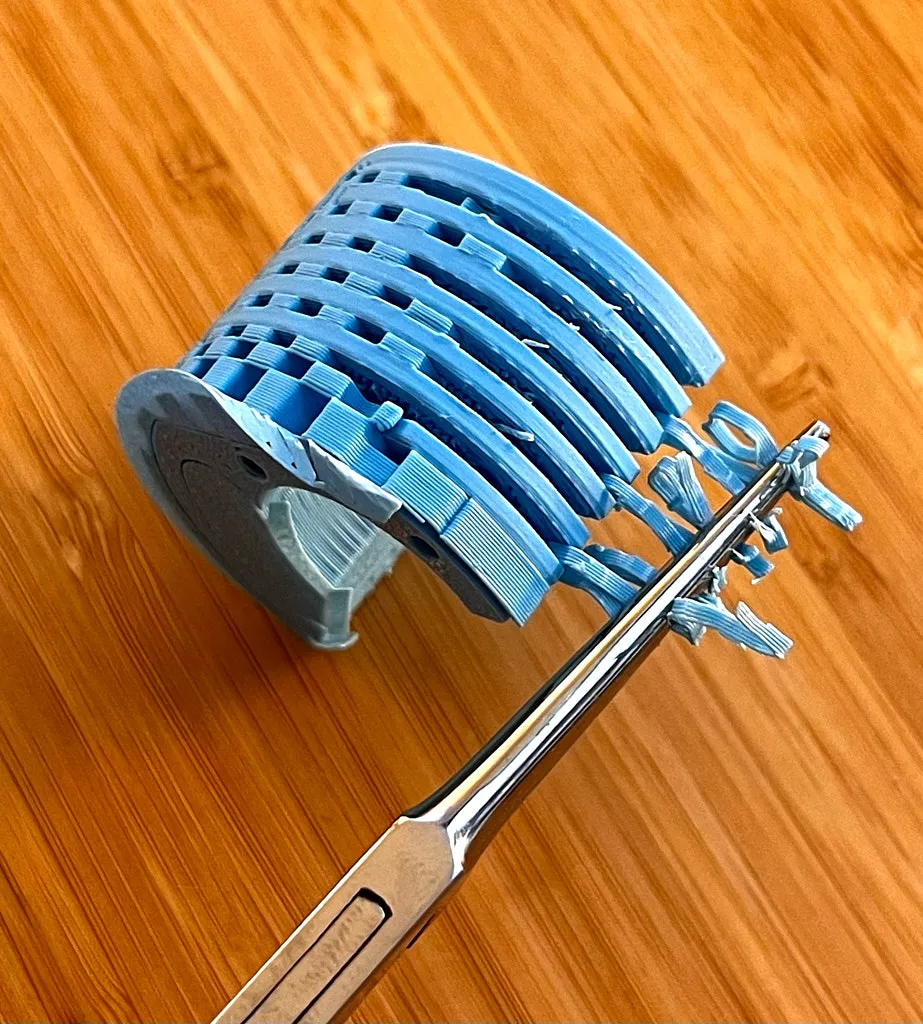
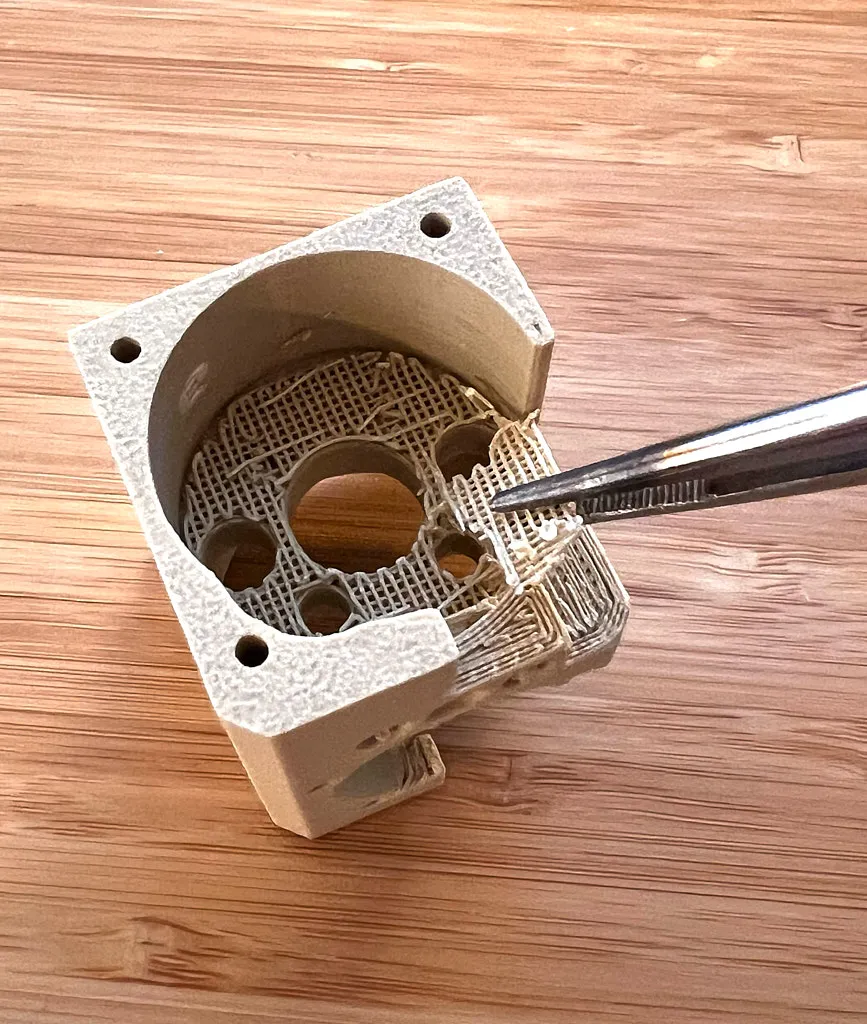
Assembly
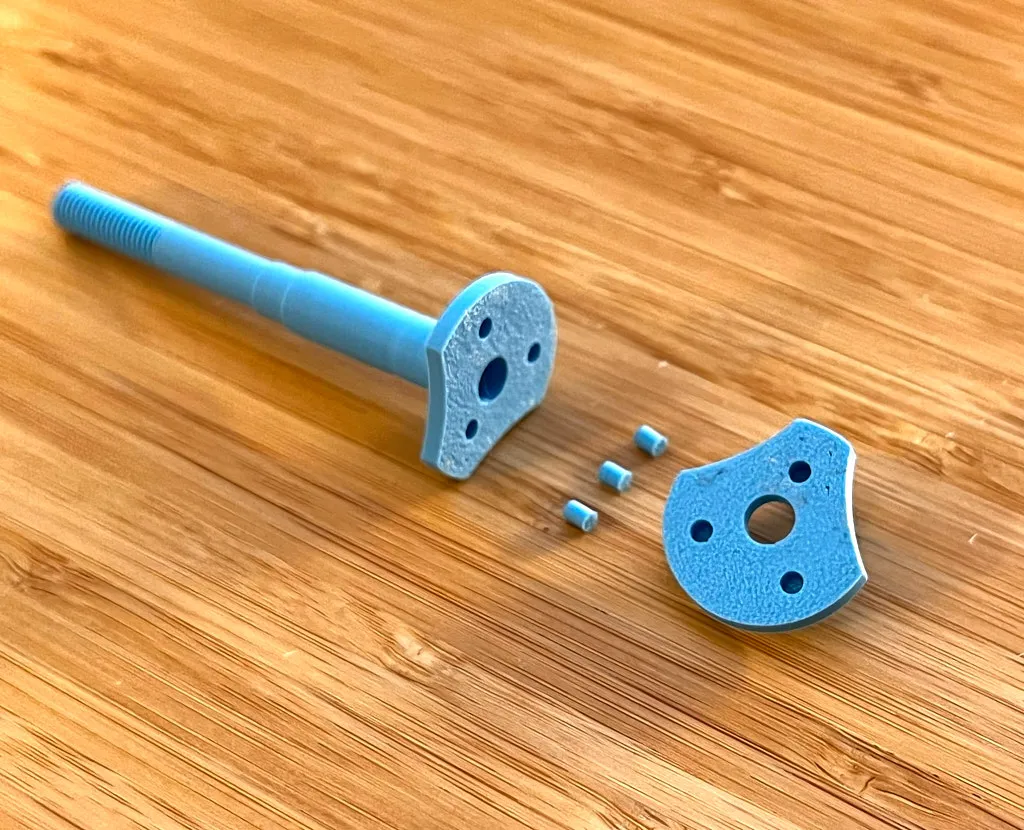
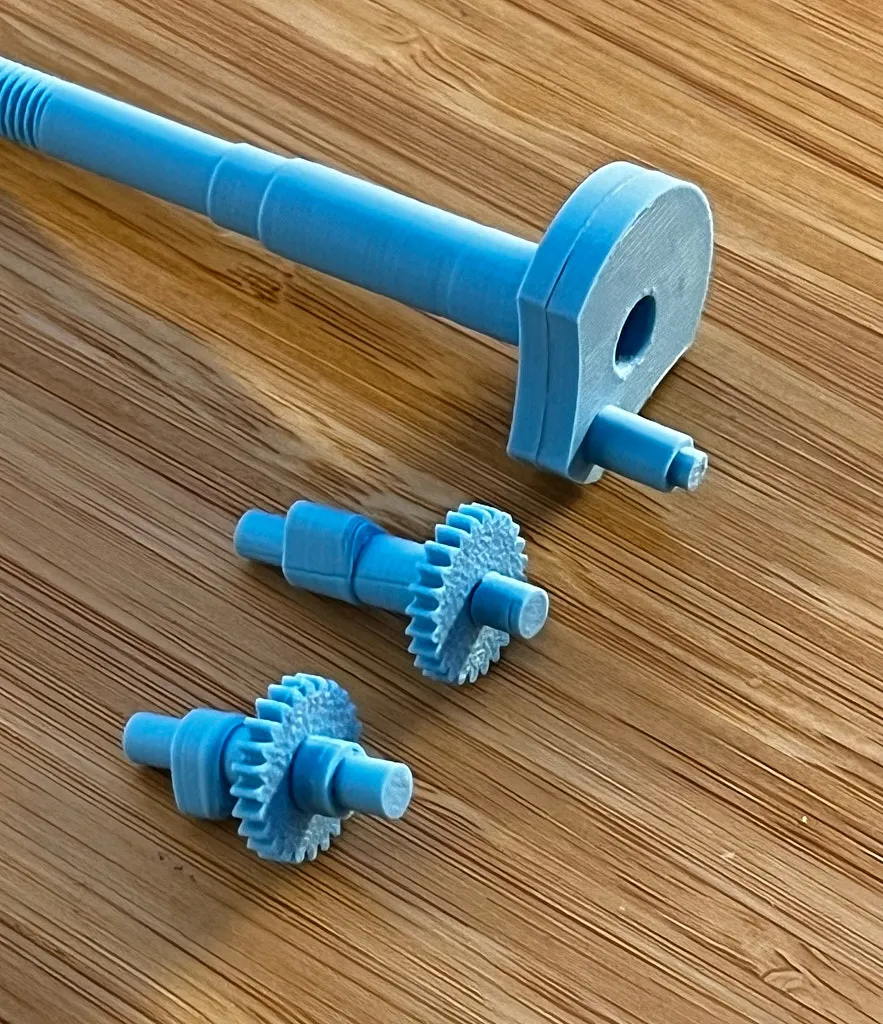
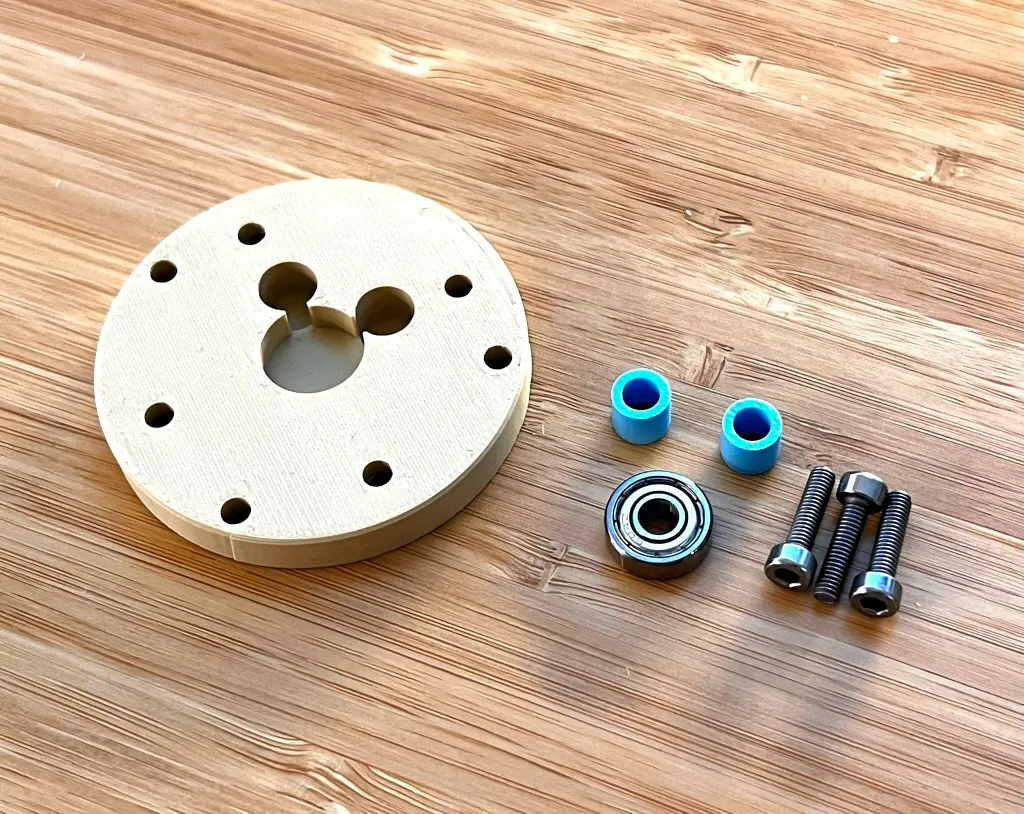
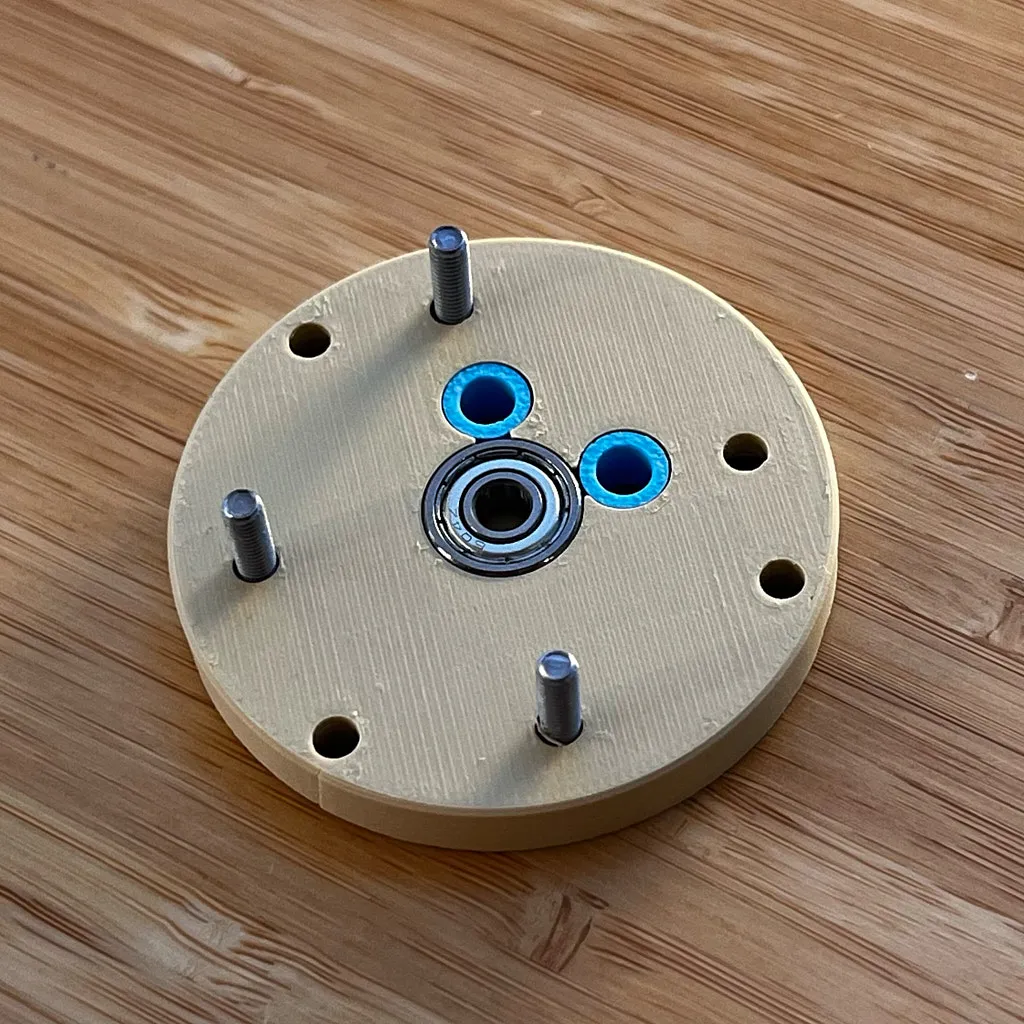
The images should help you assemble all the pieces. If you have any questions, drop me a comment.
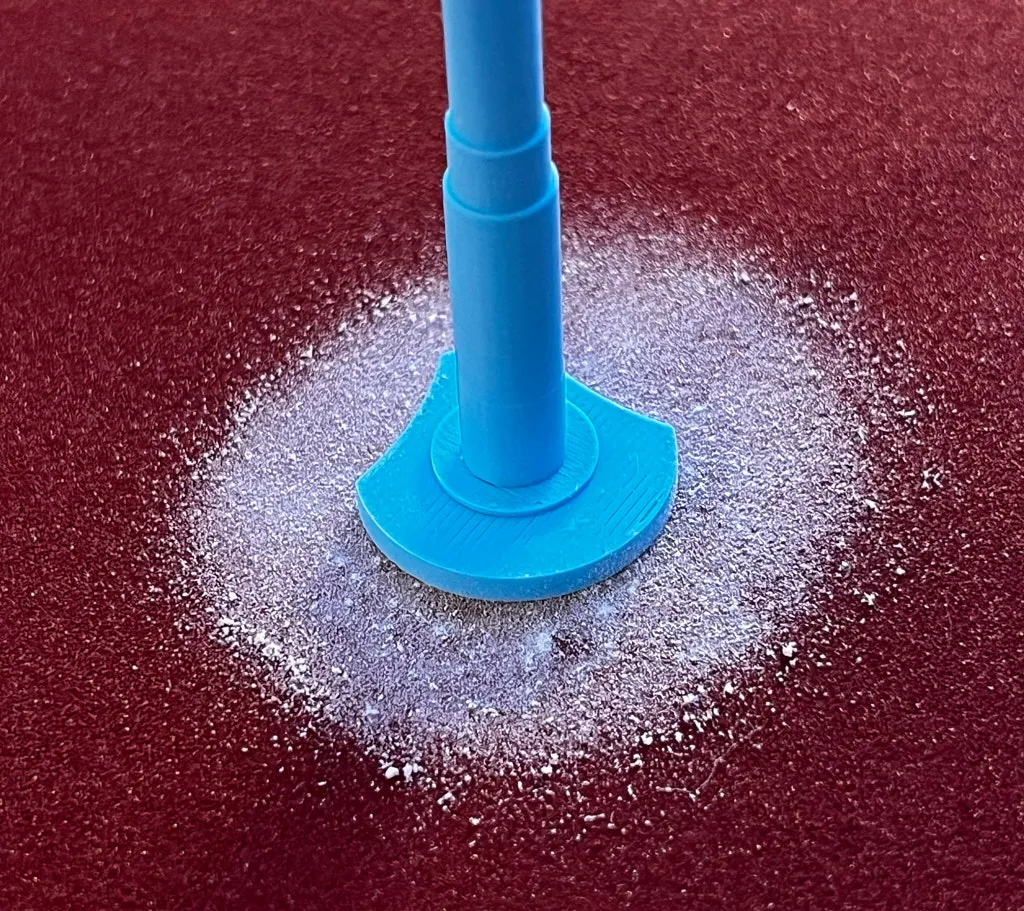
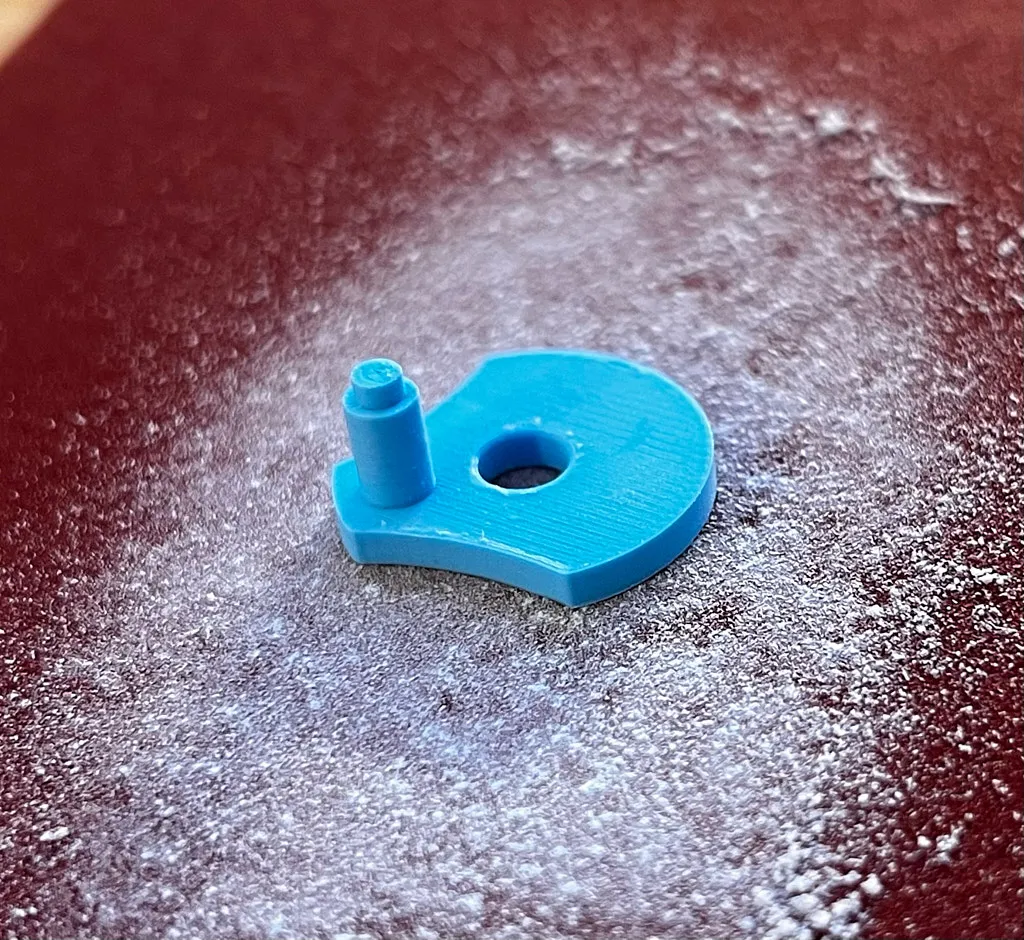
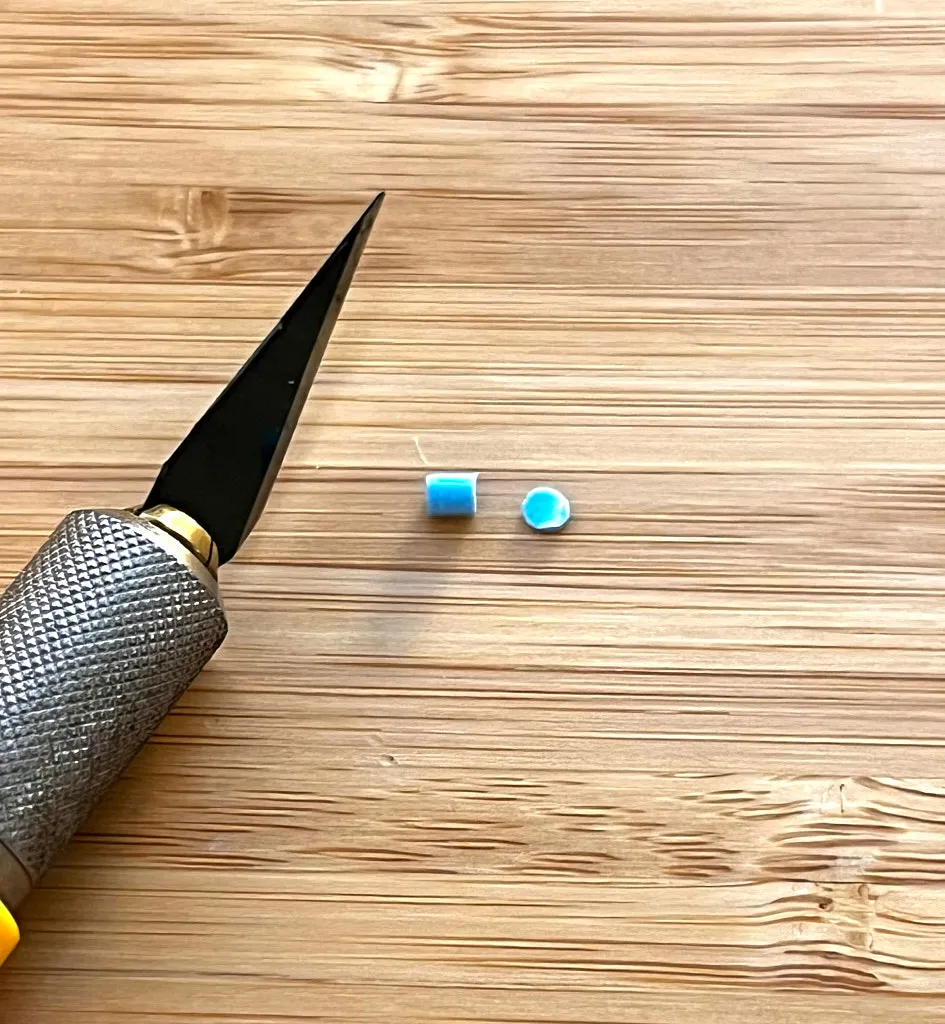
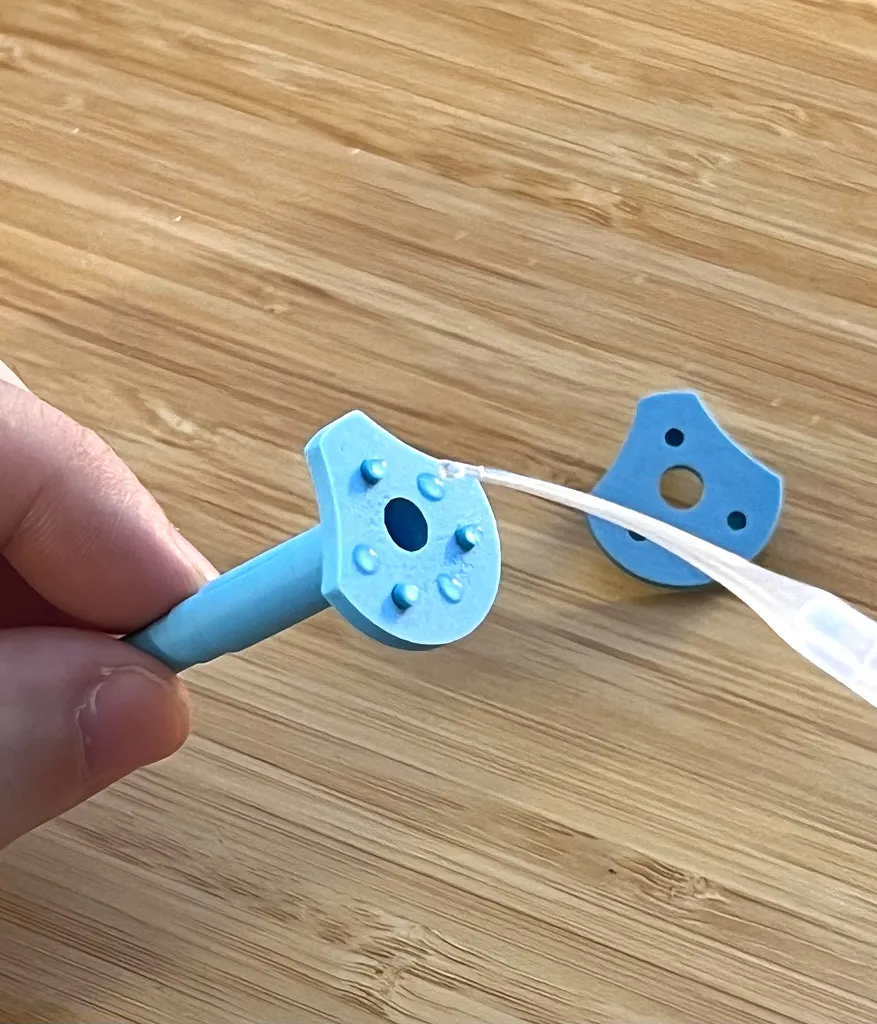
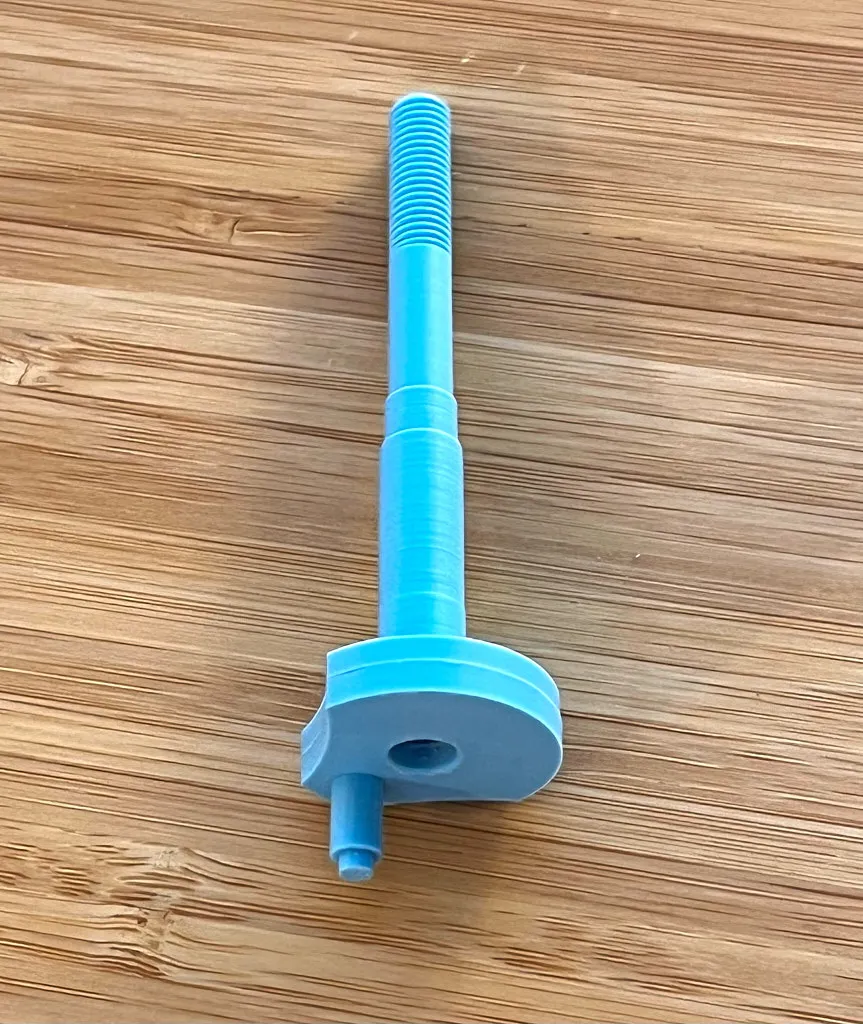
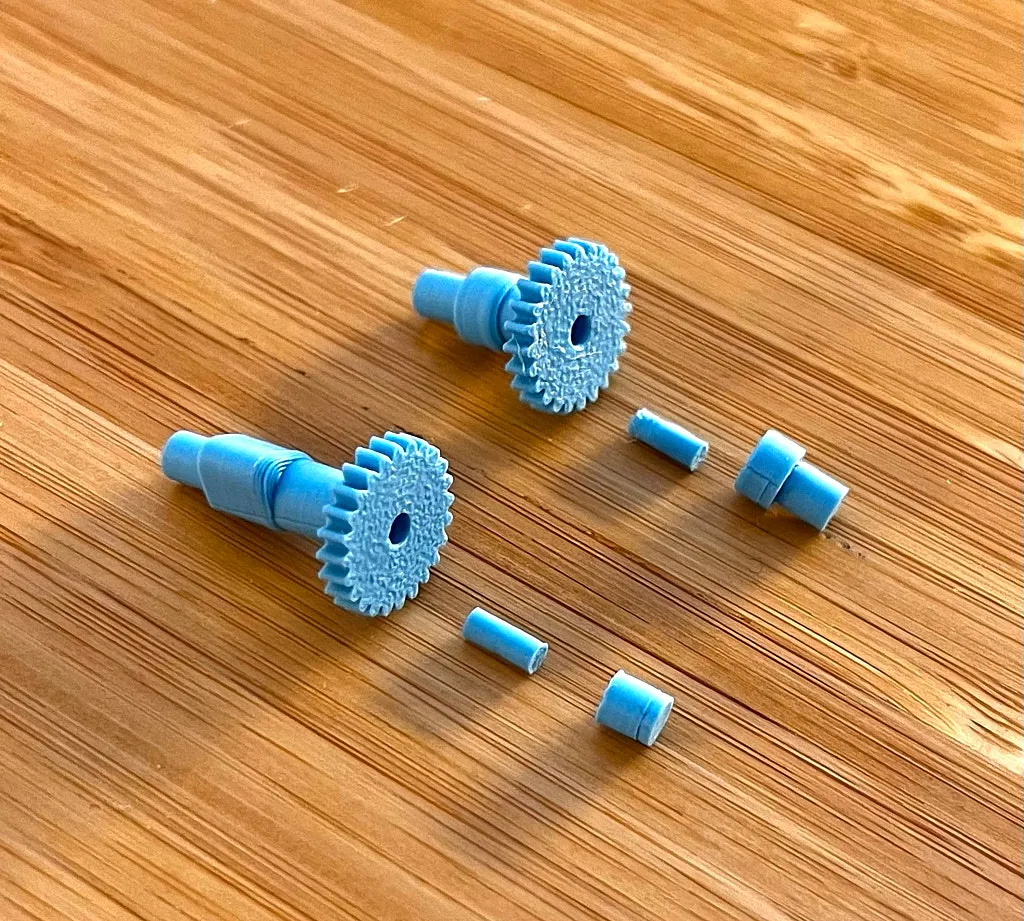
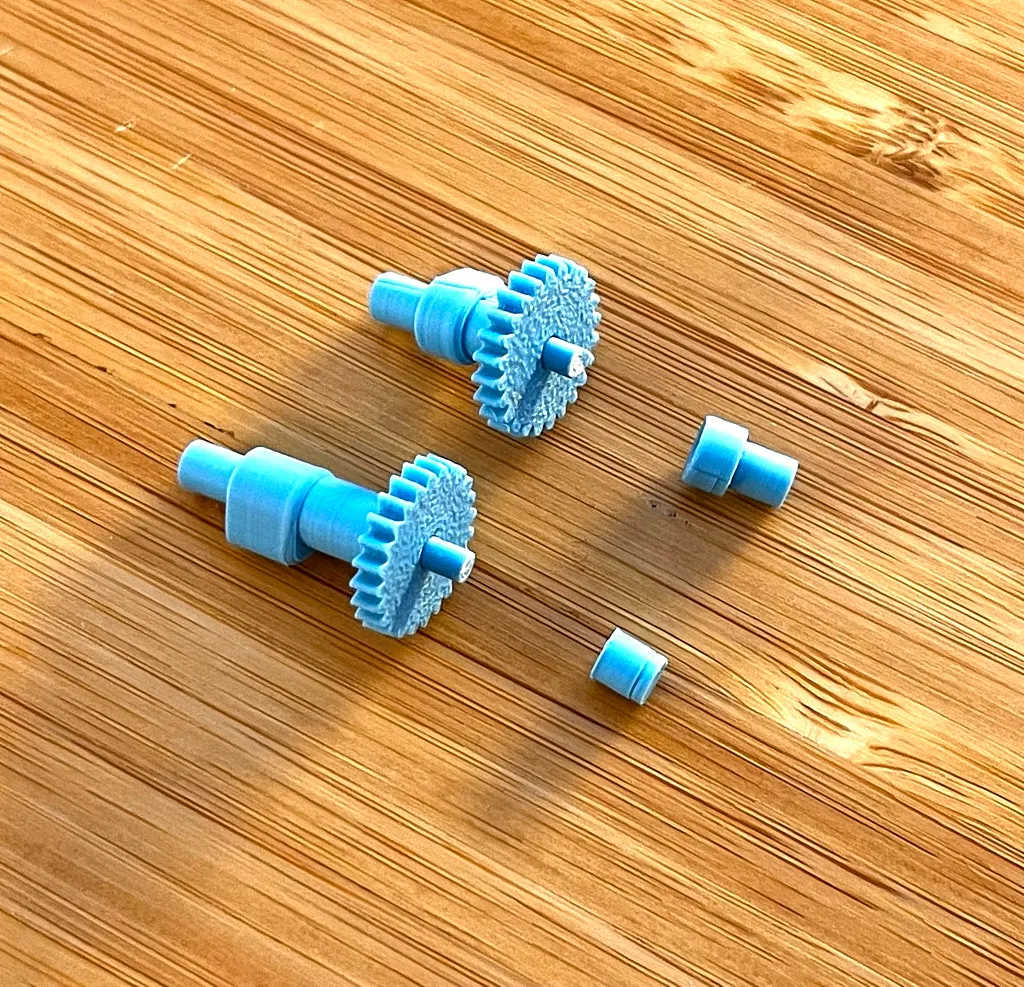
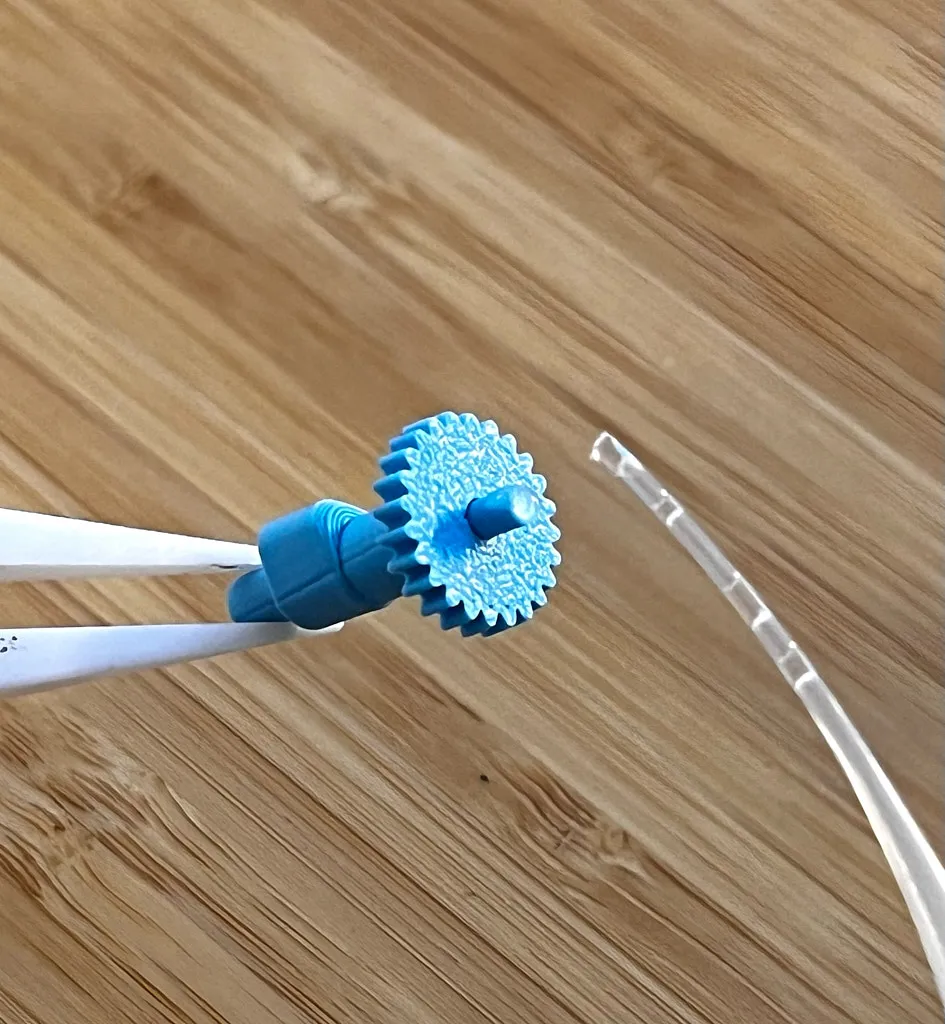
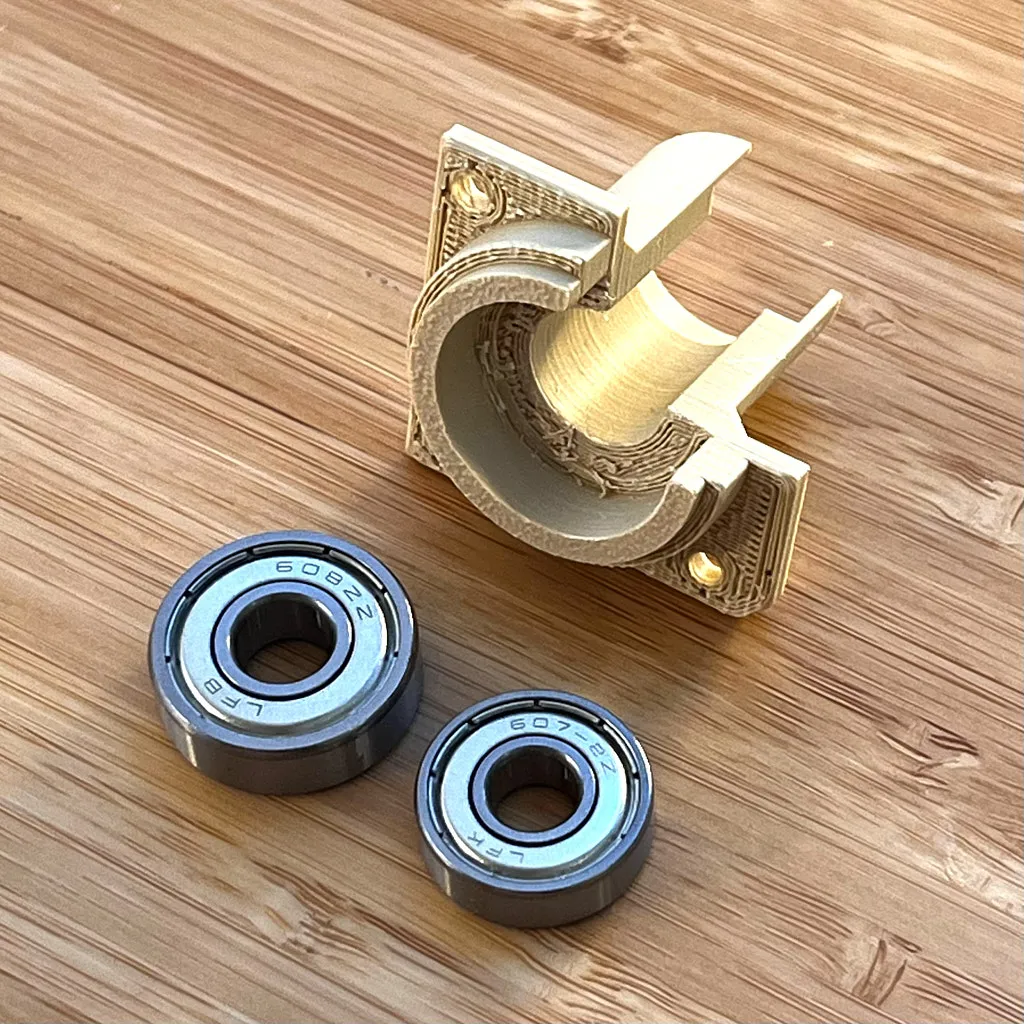
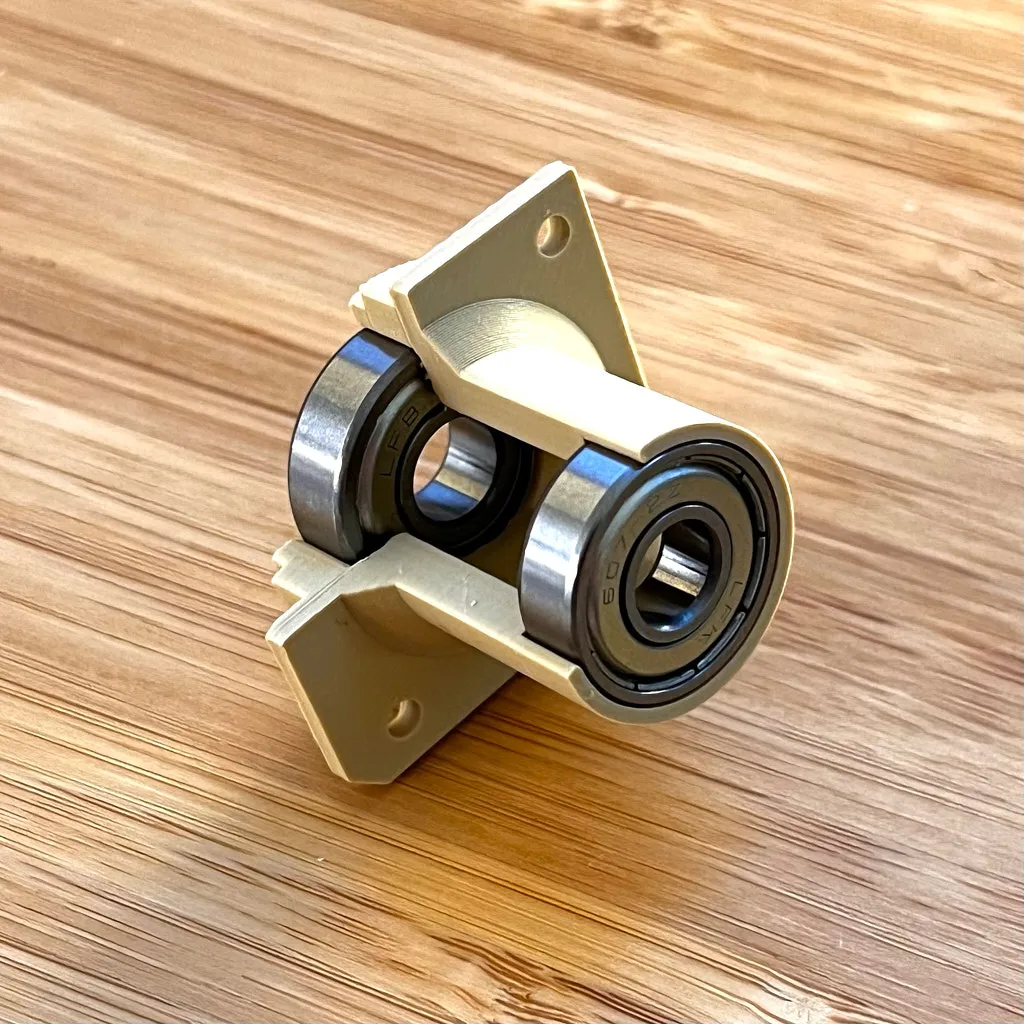
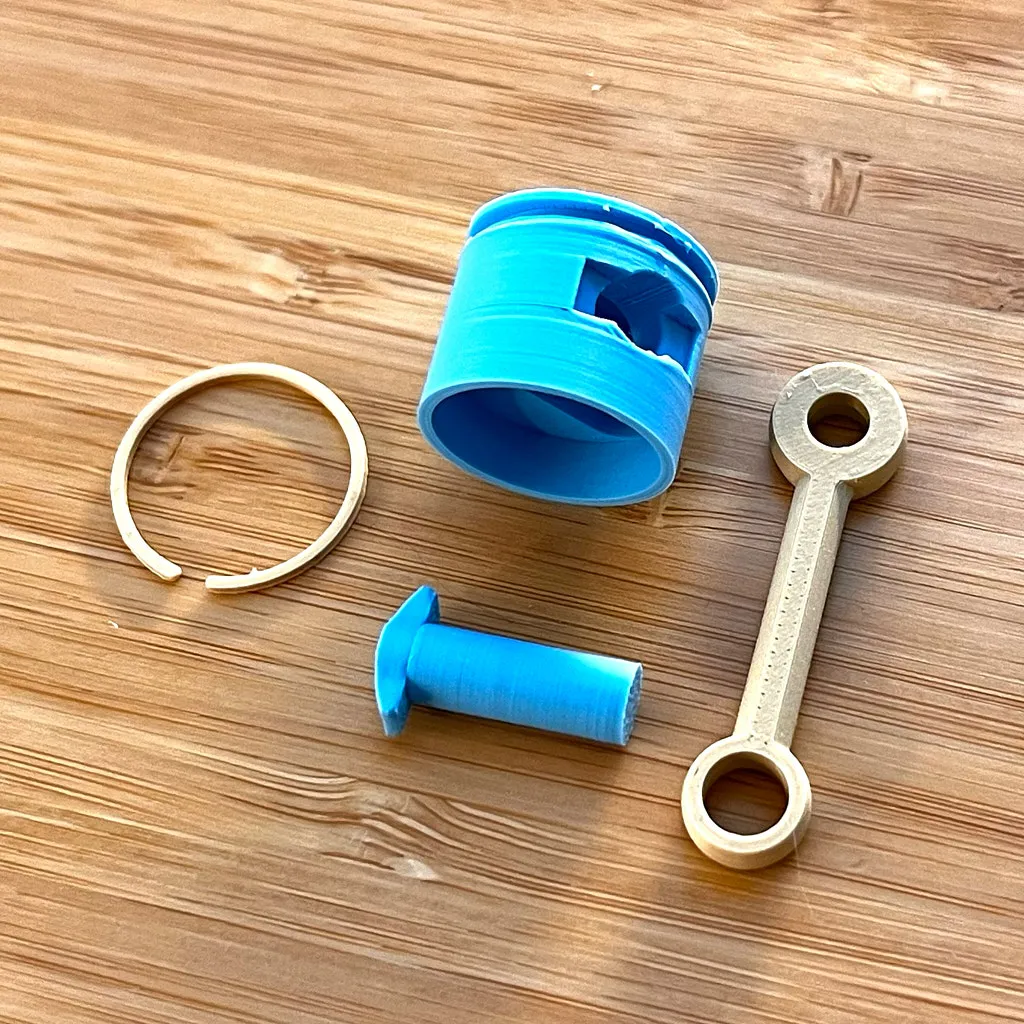
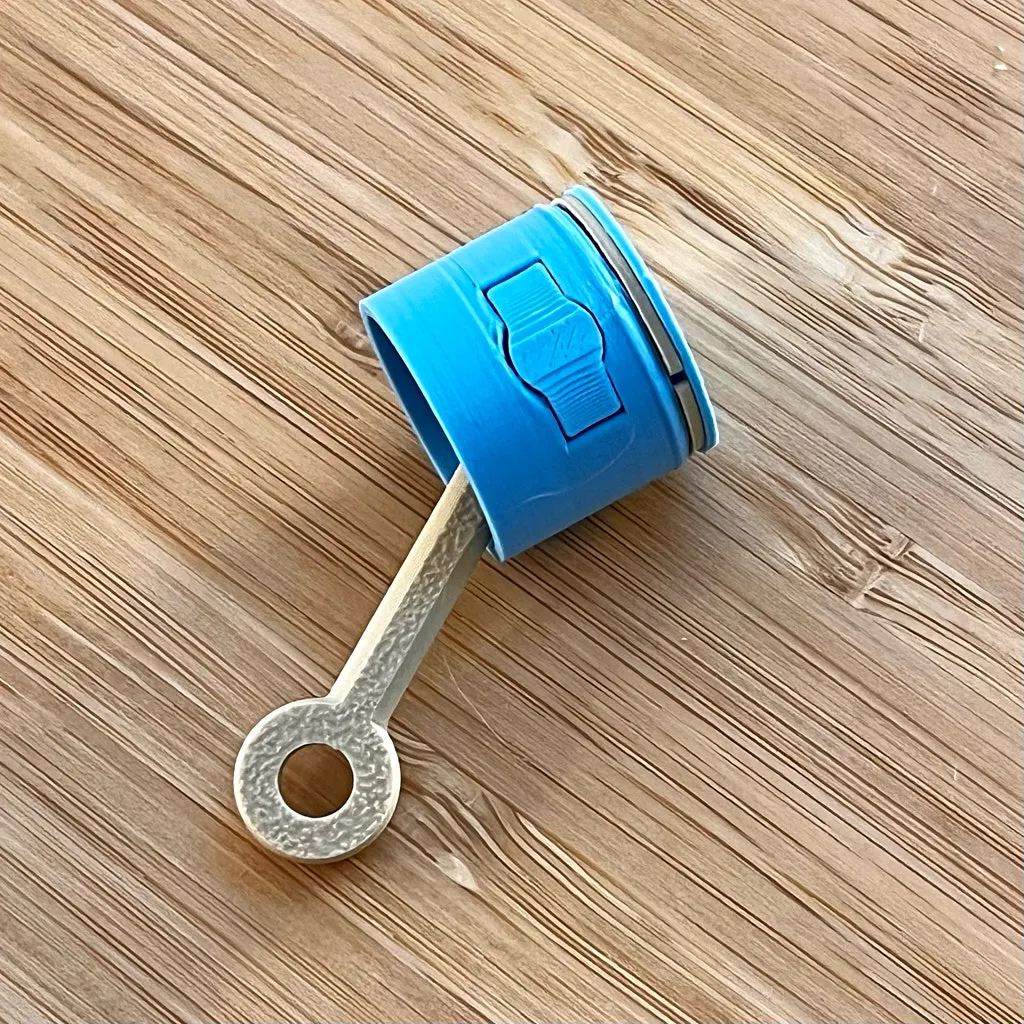
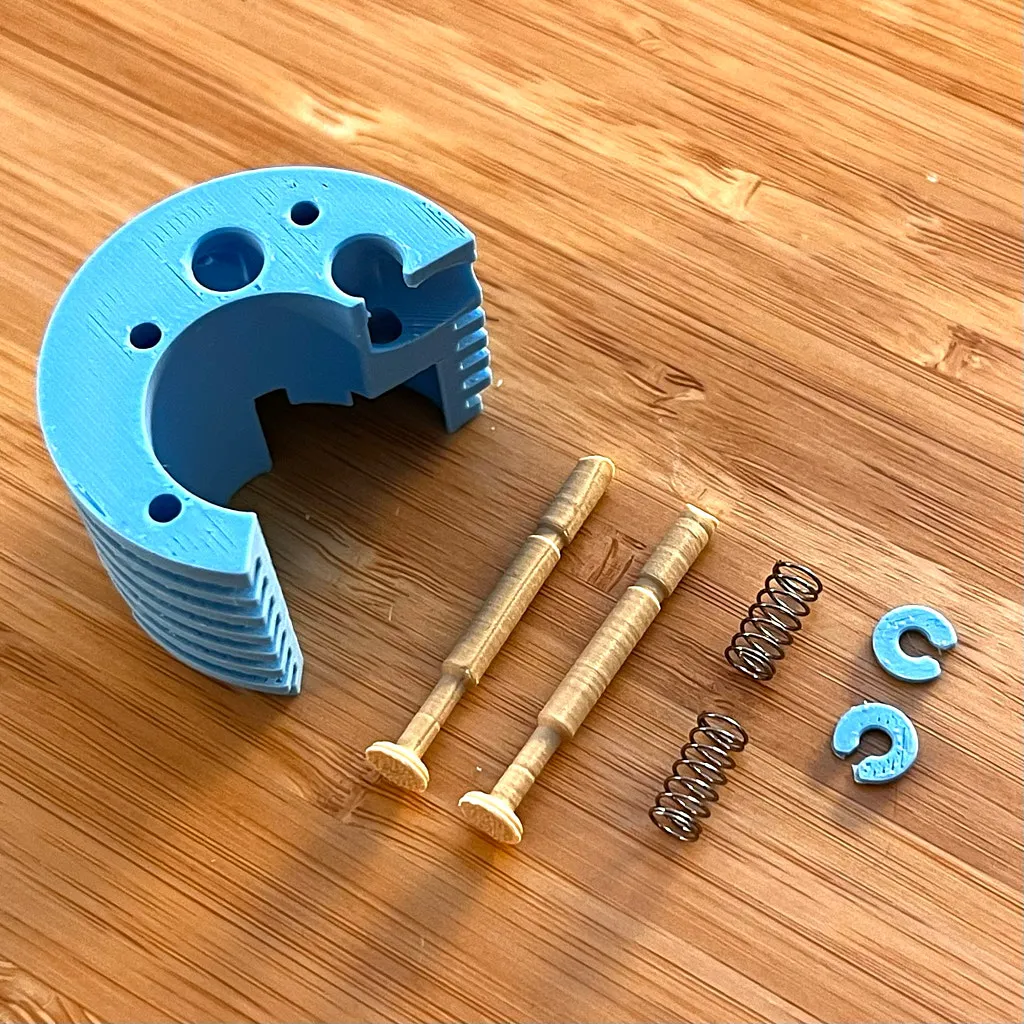
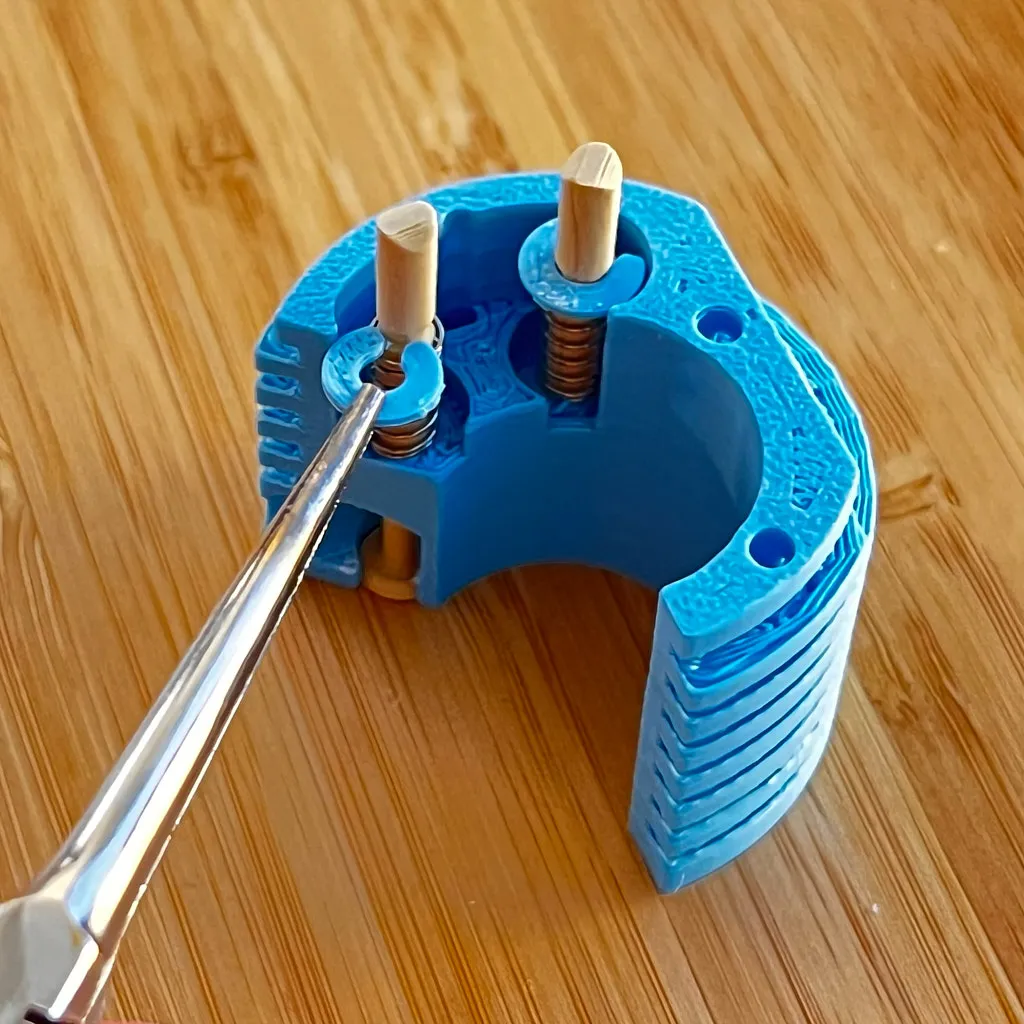
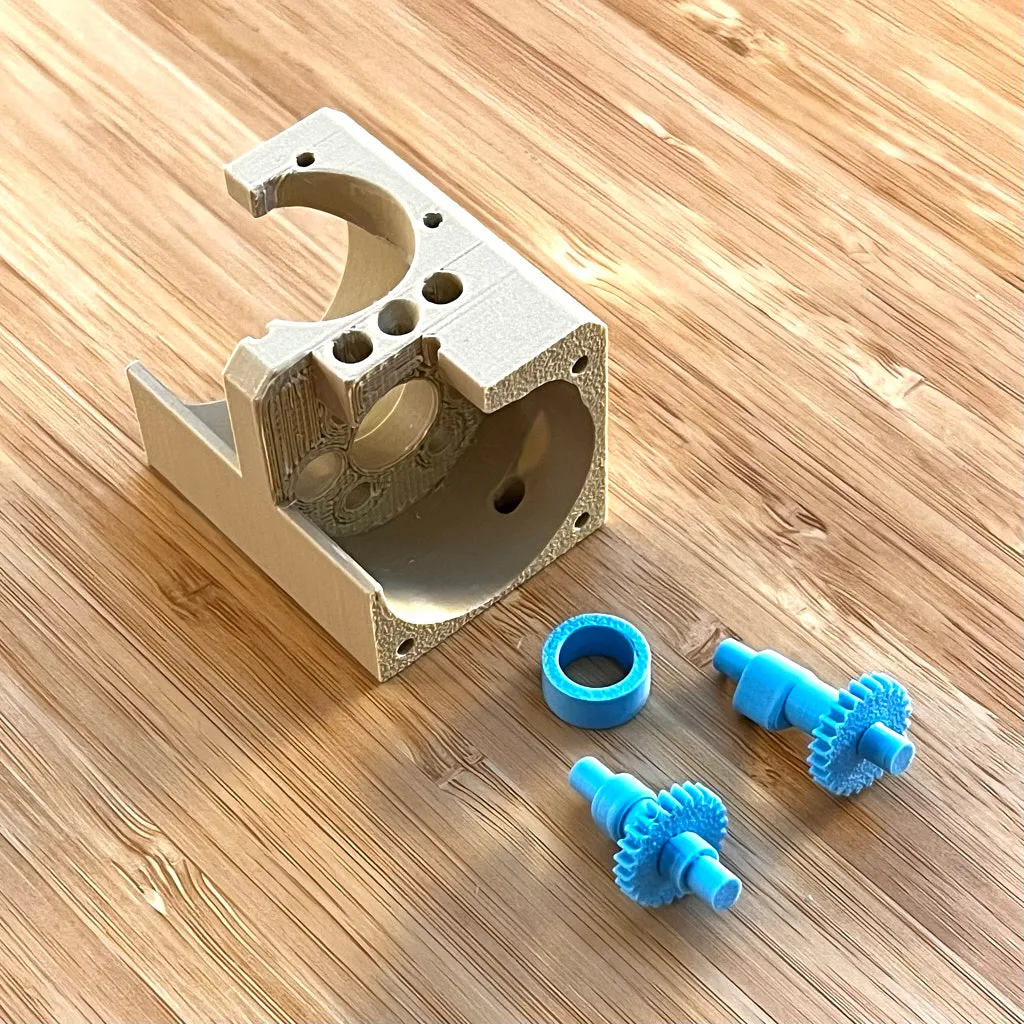
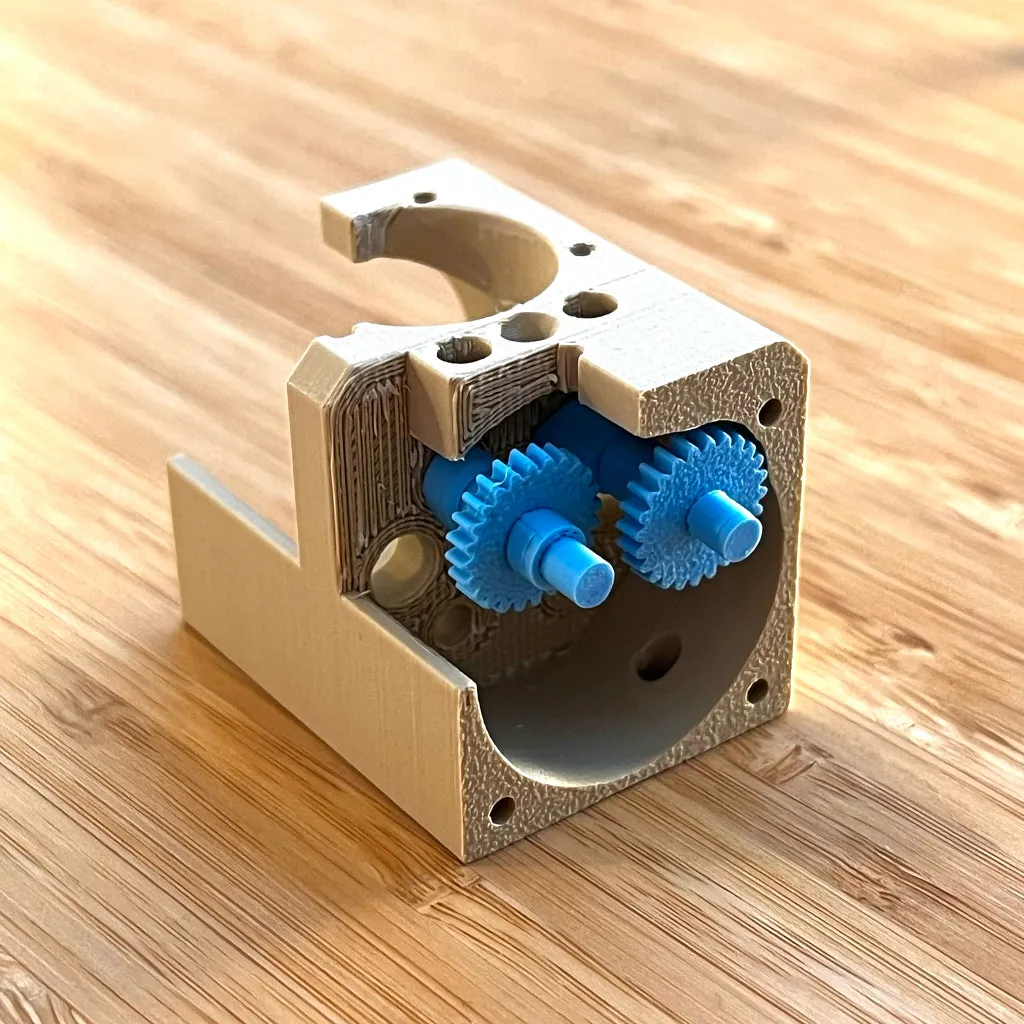
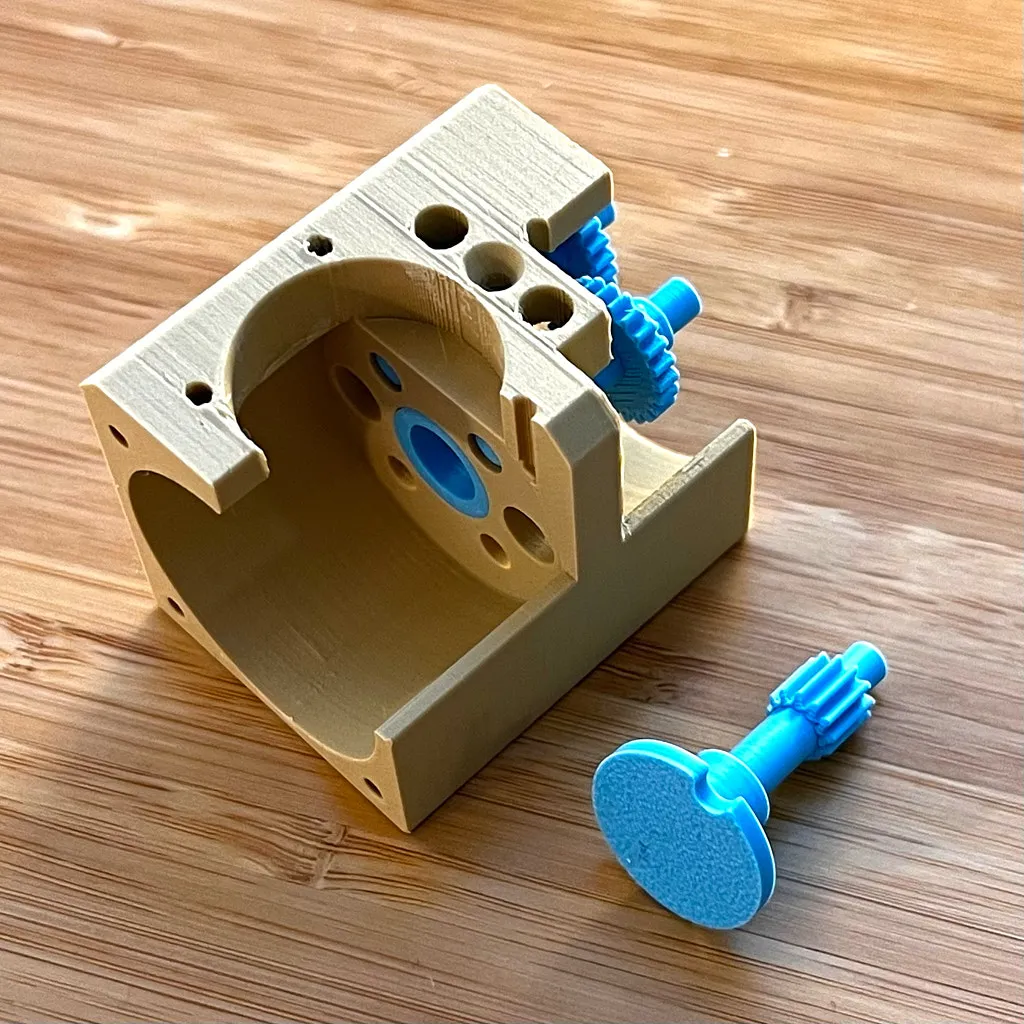
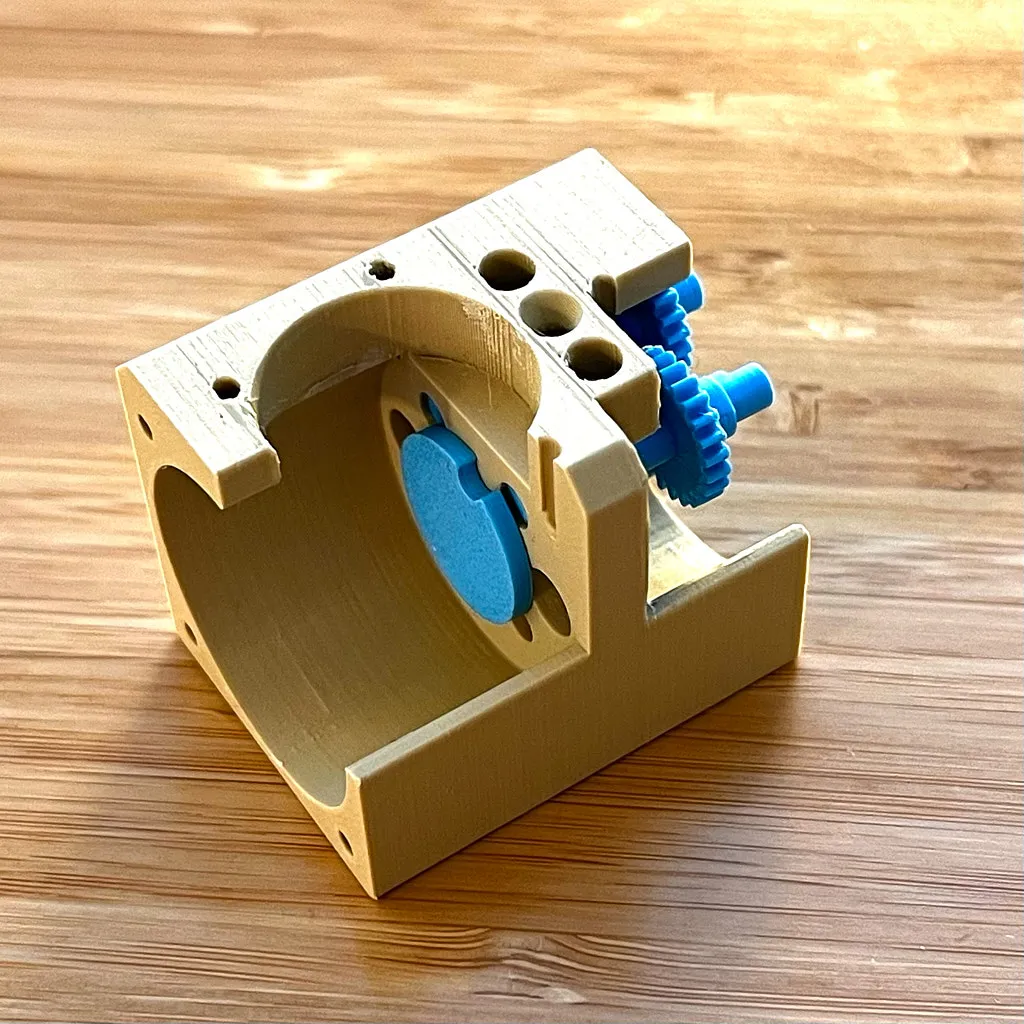
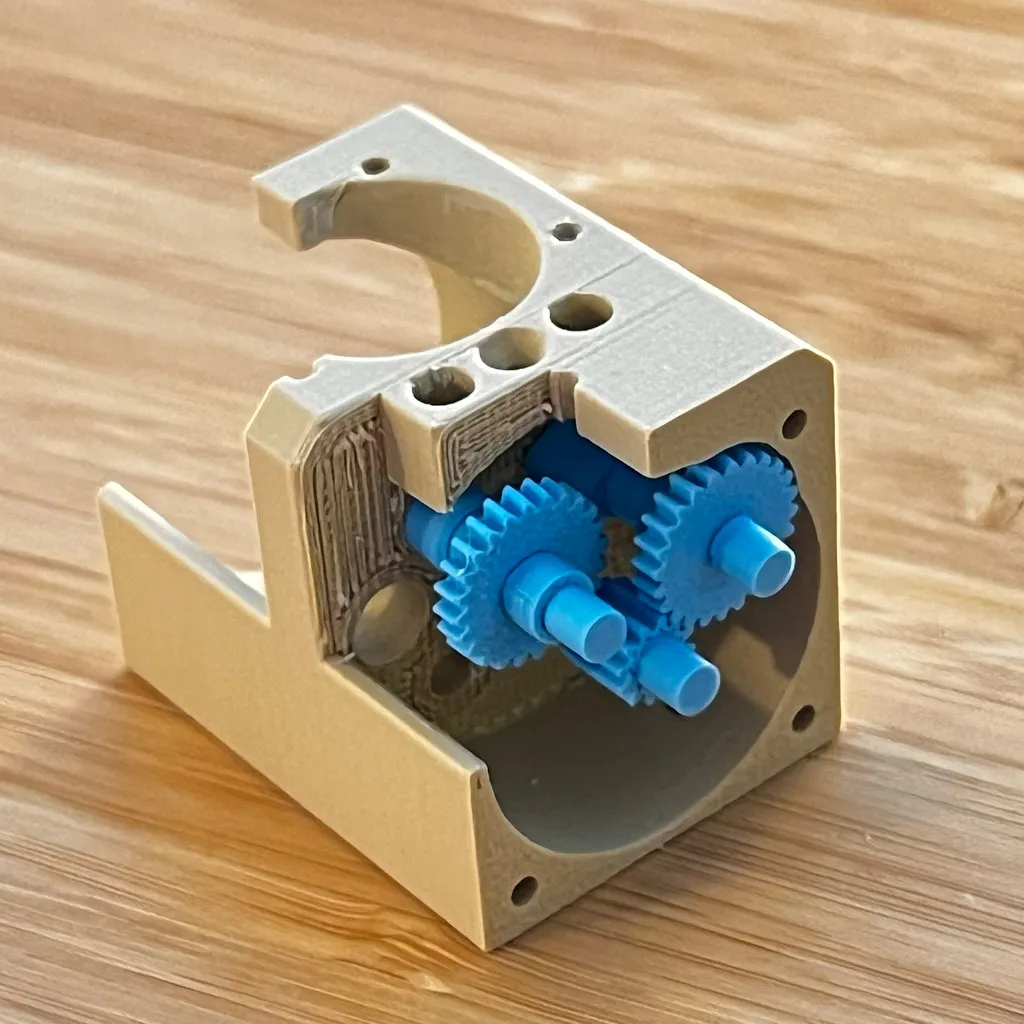
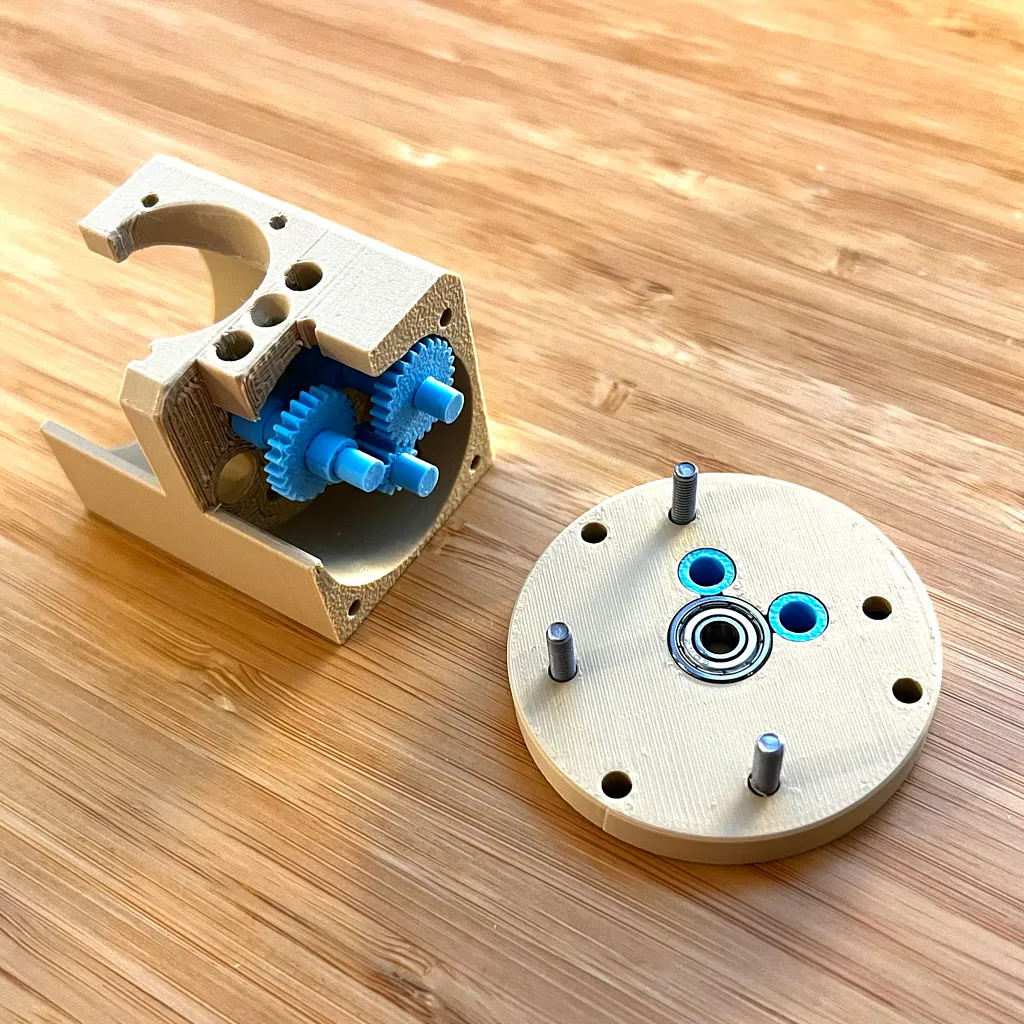
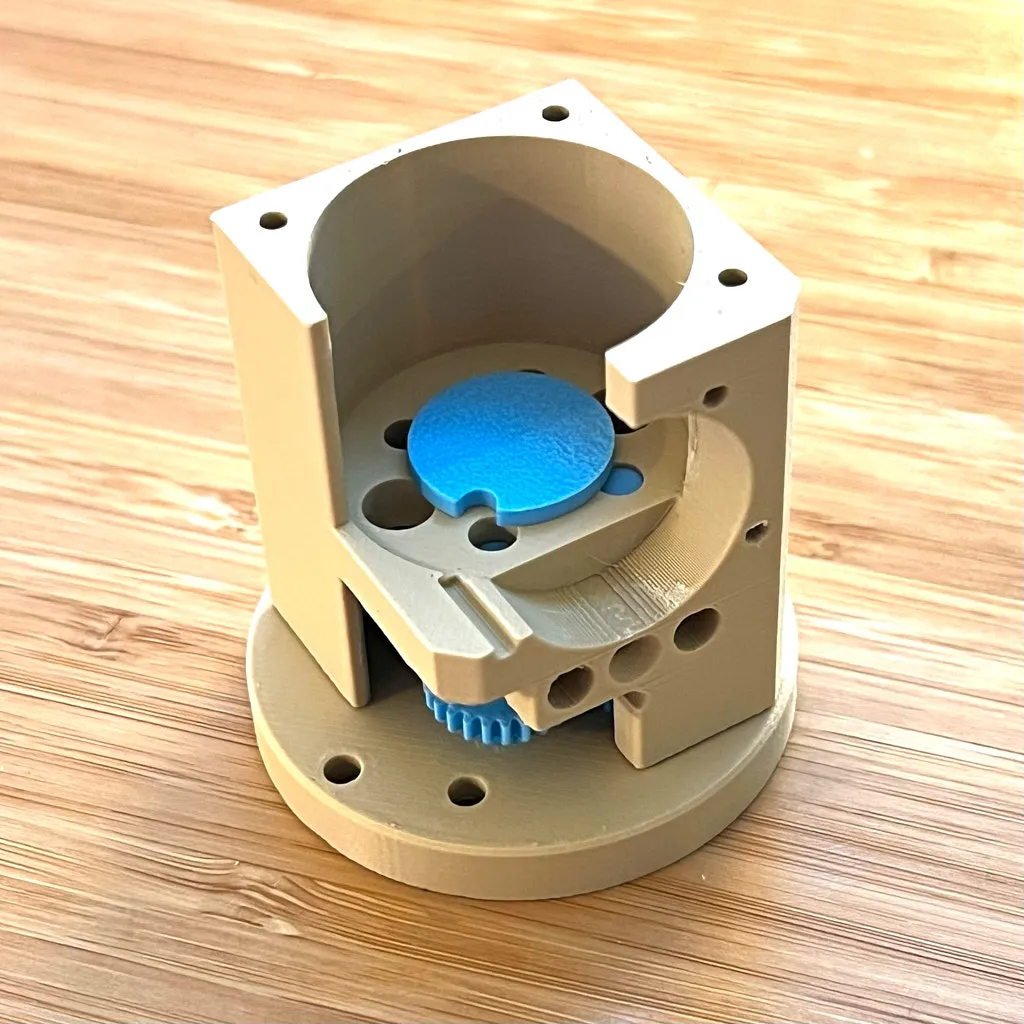
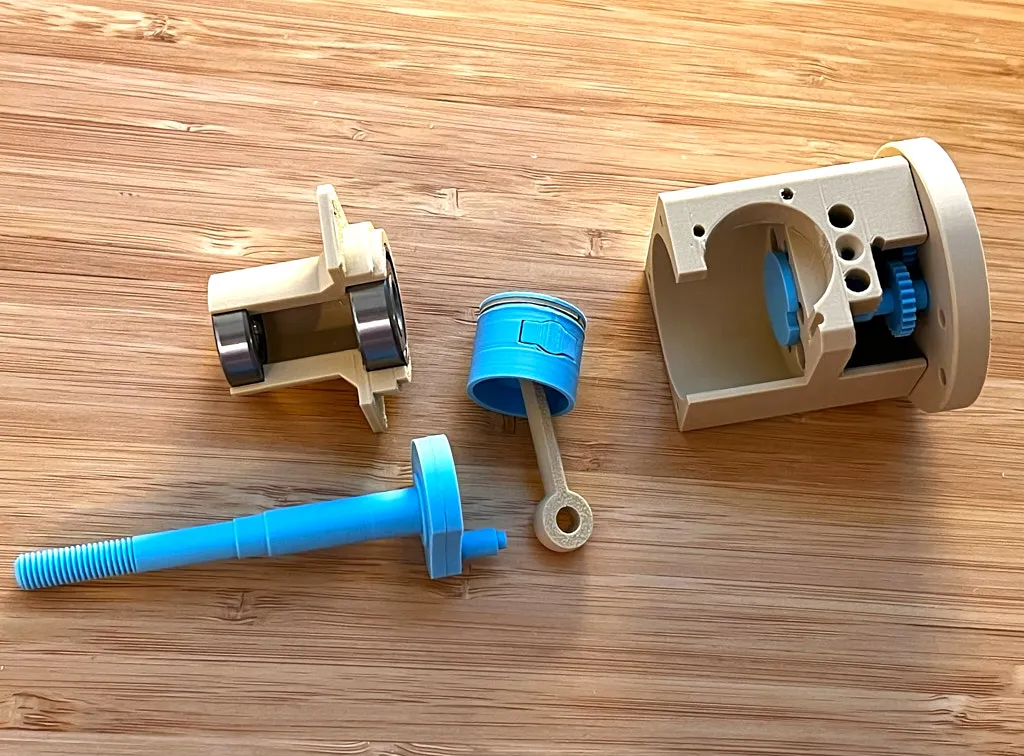
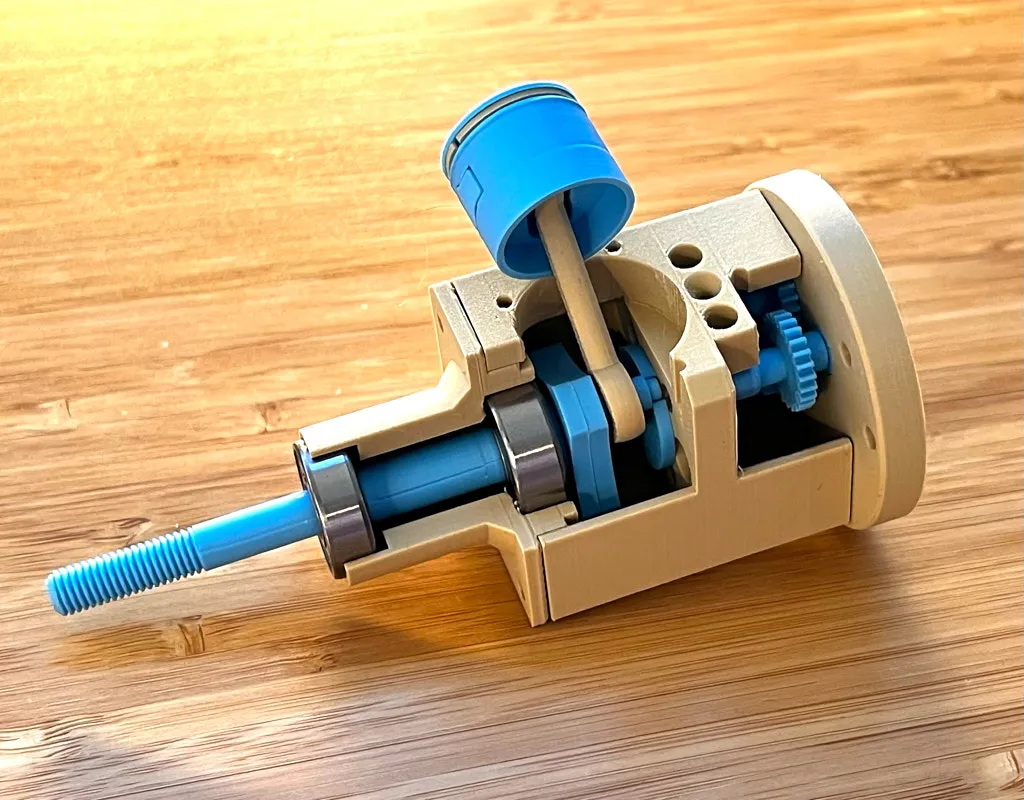
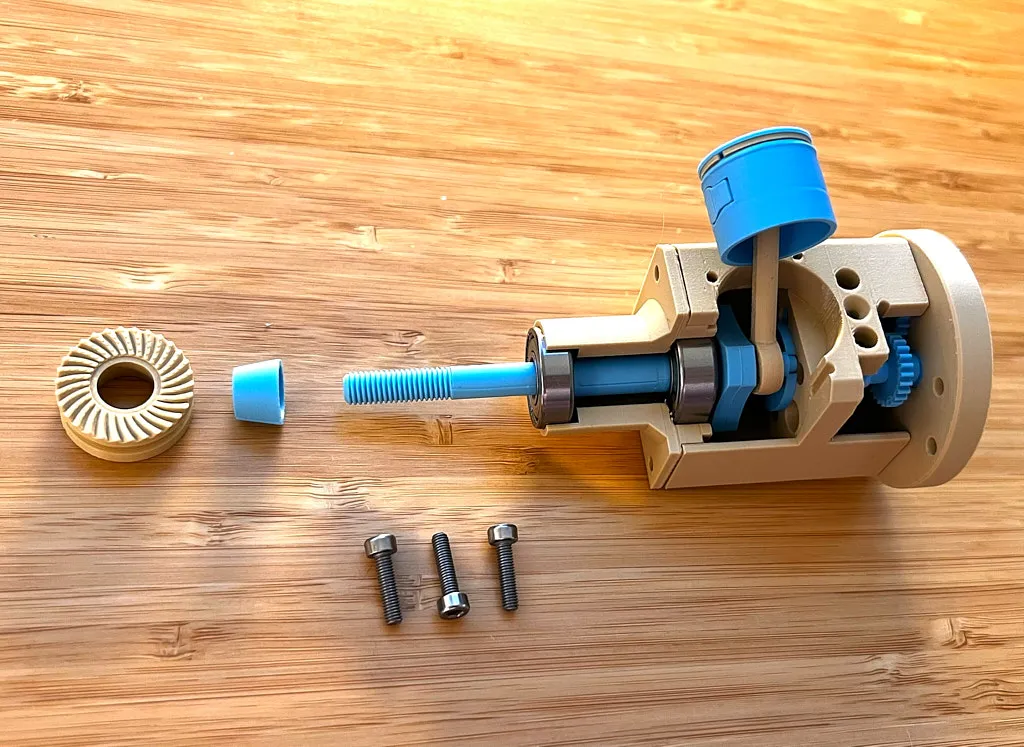
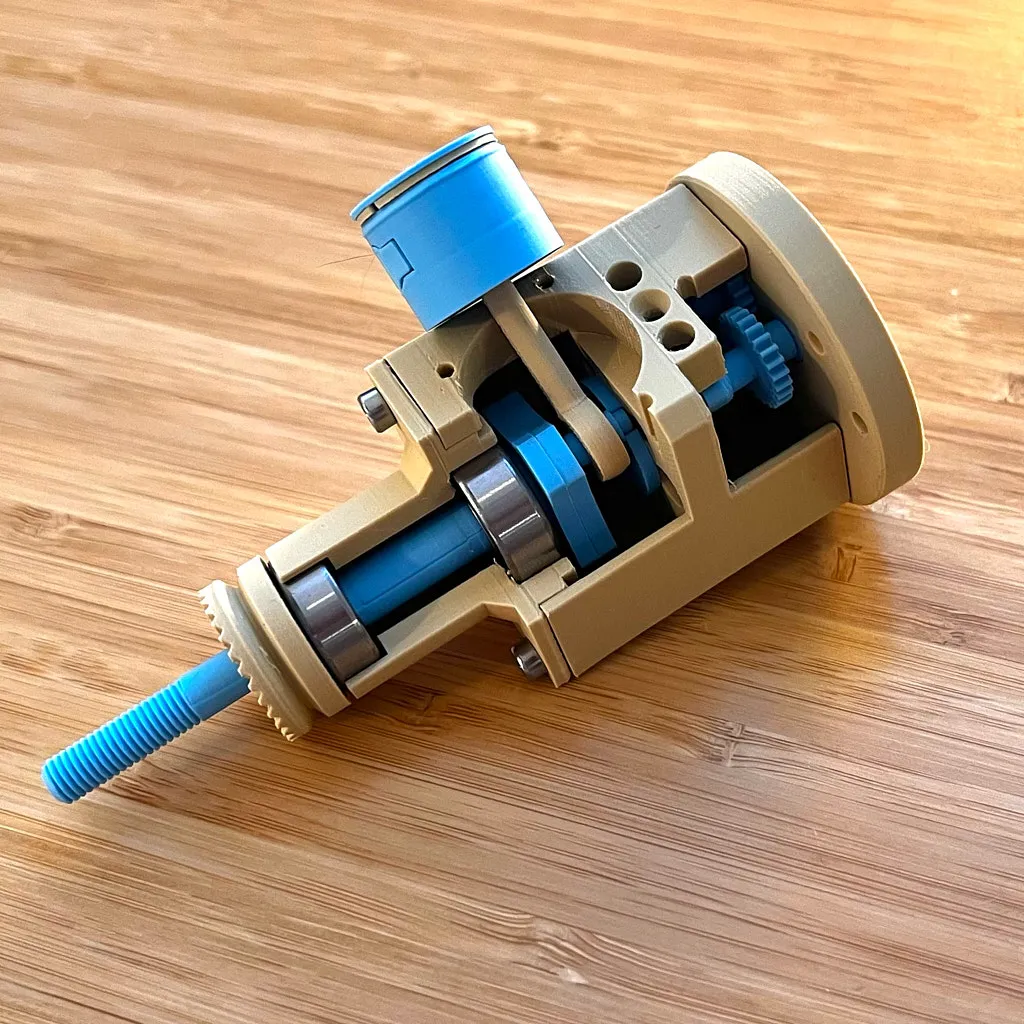
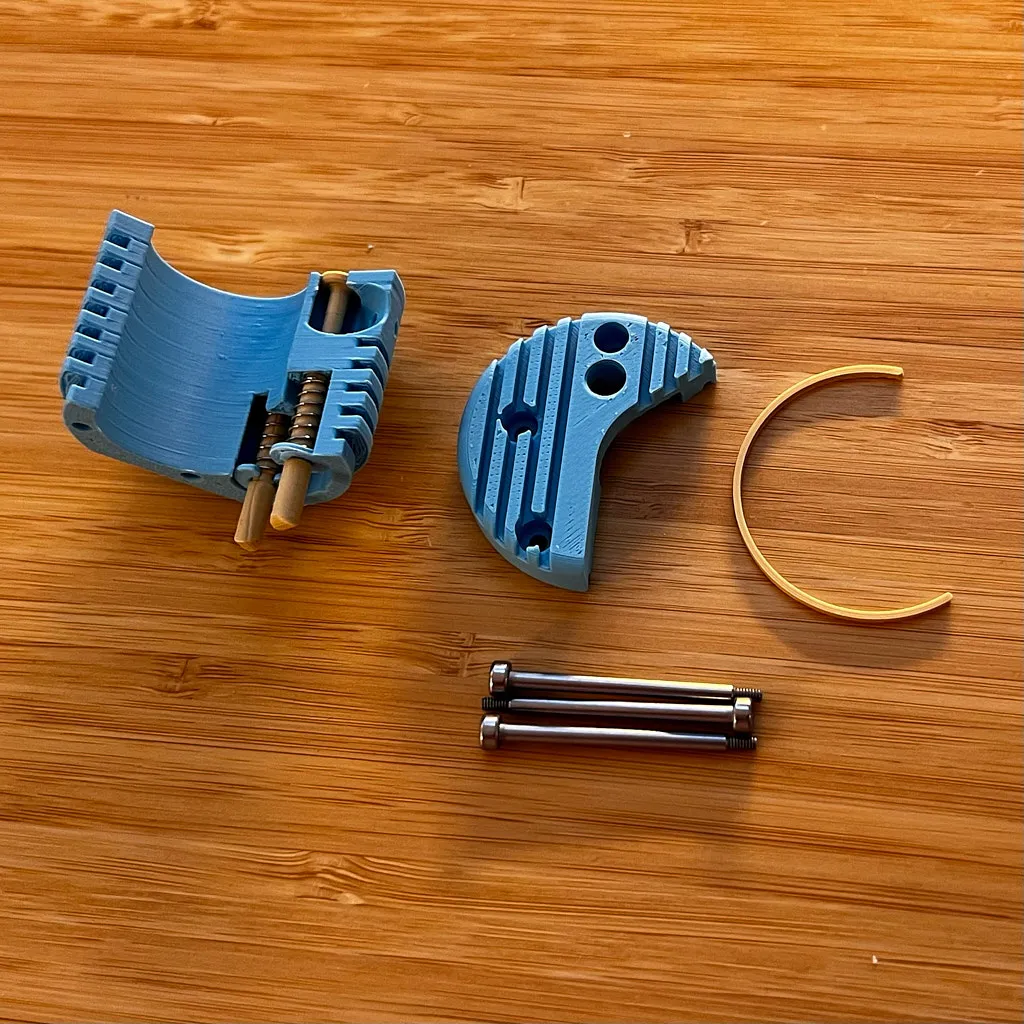
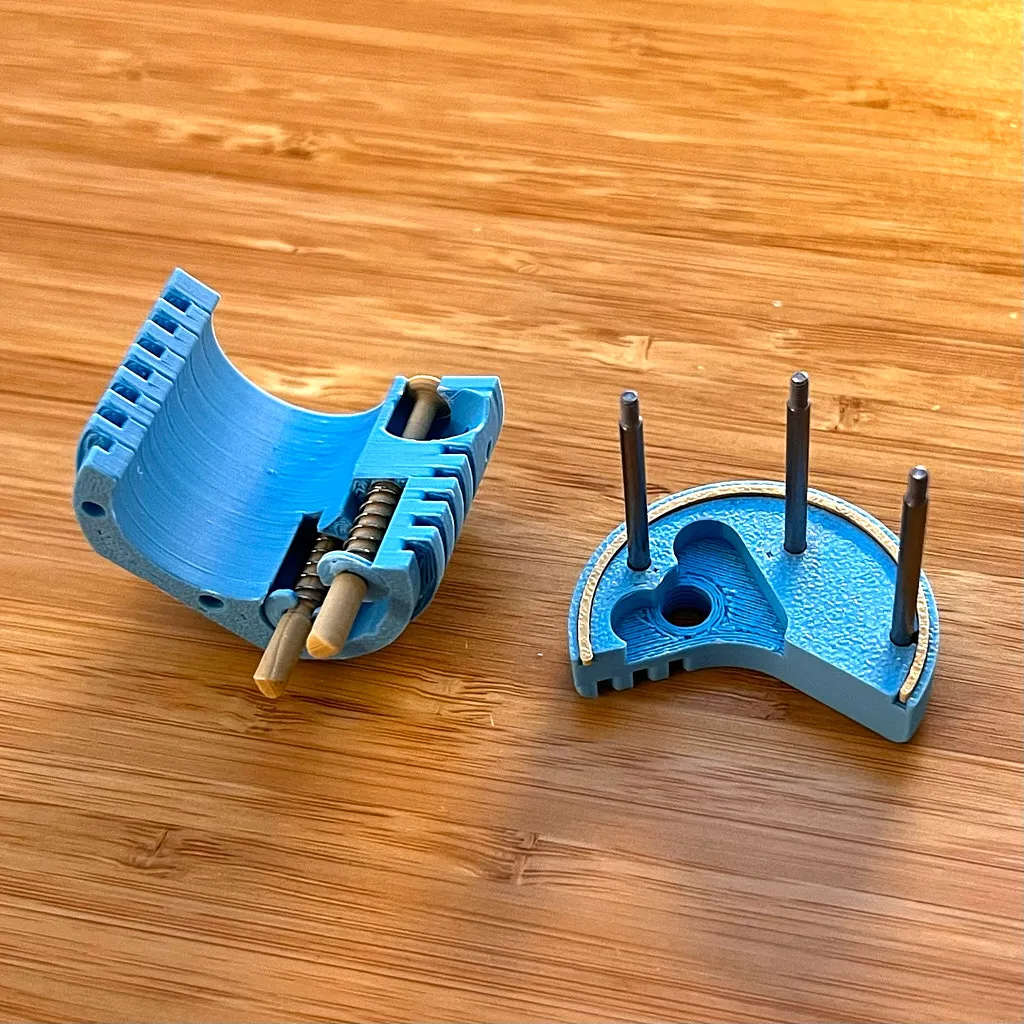
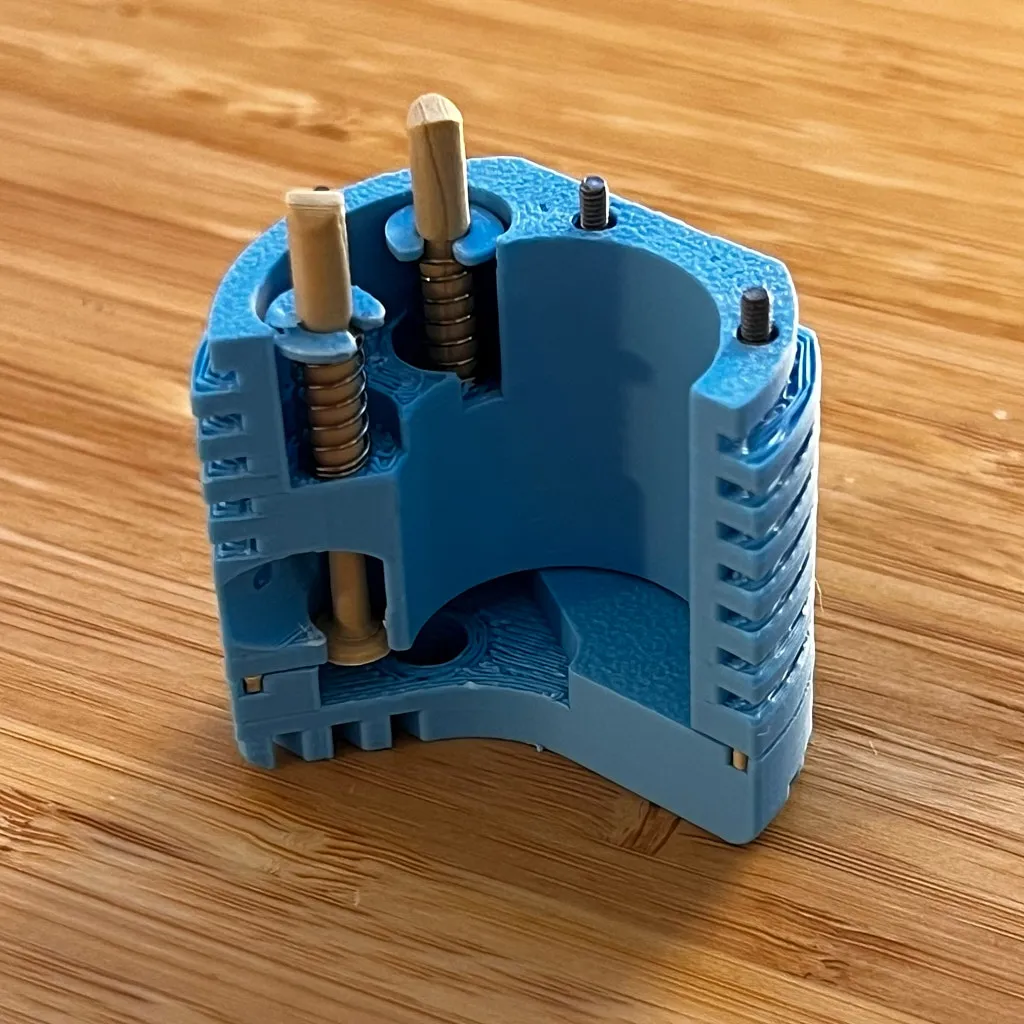
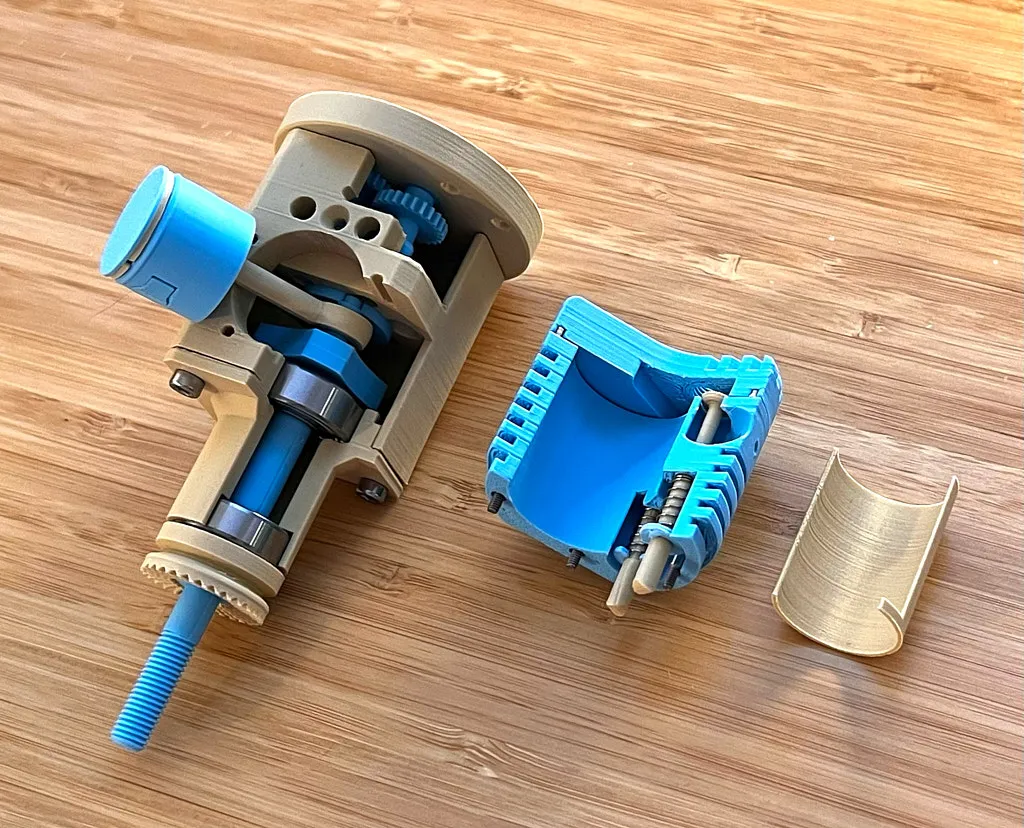
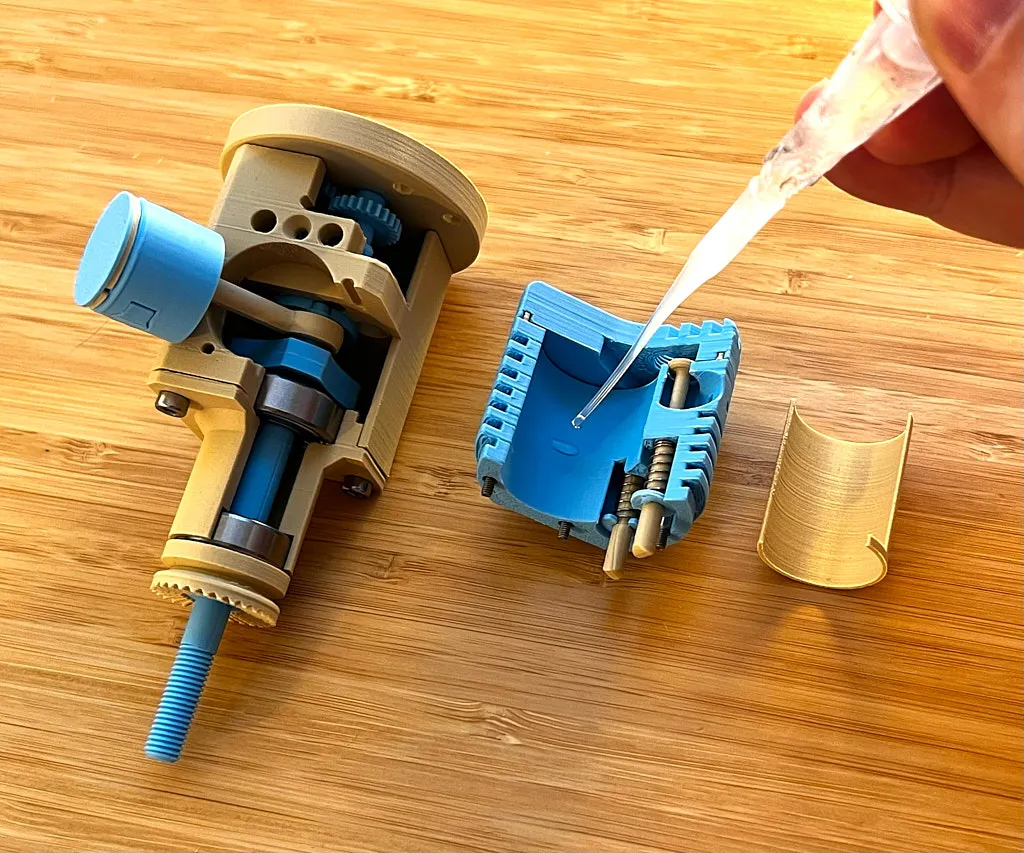
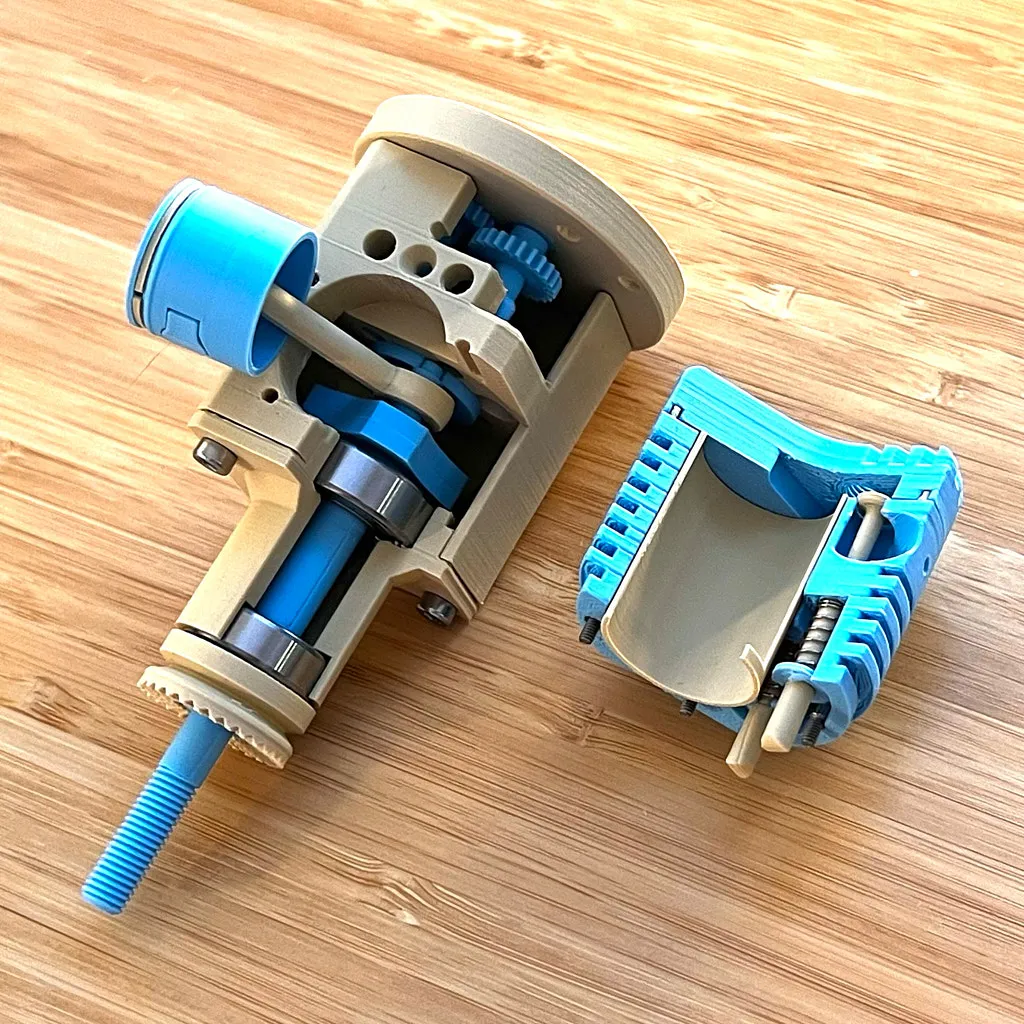
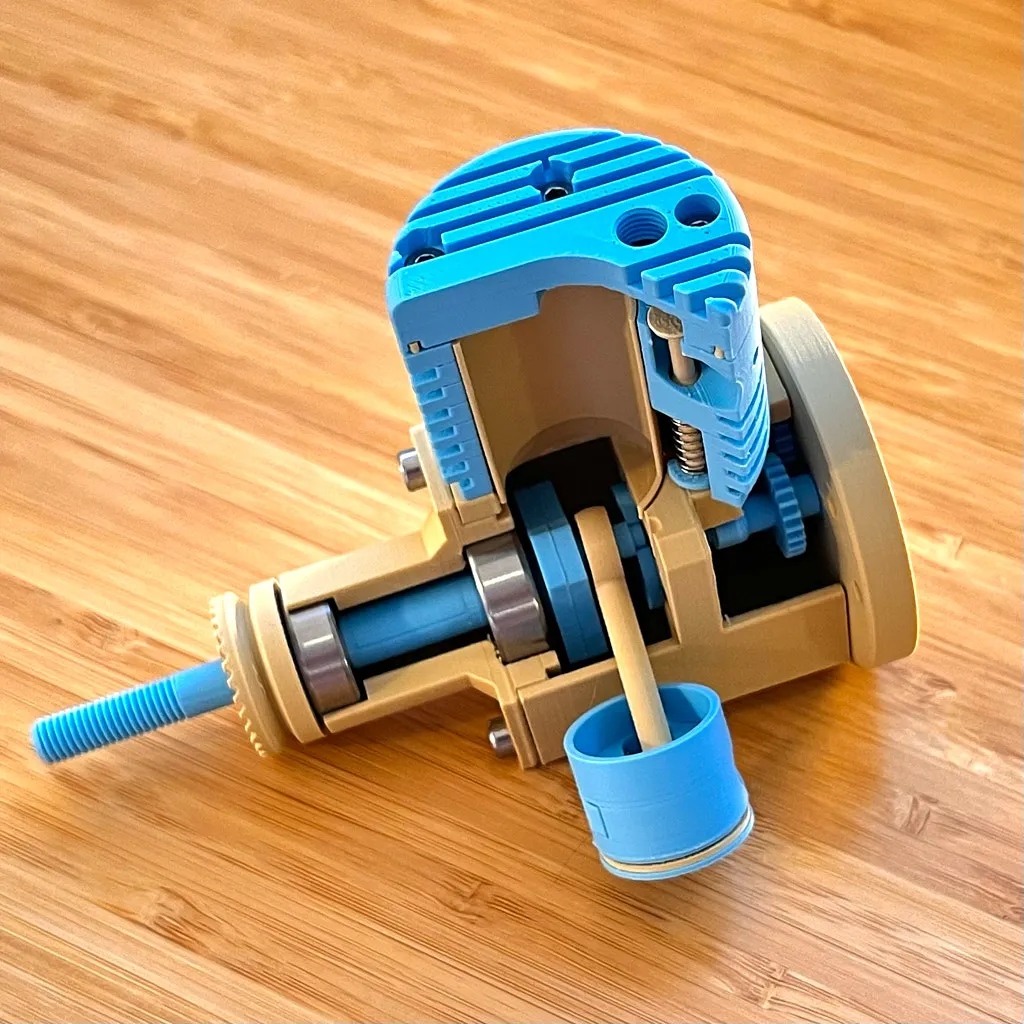
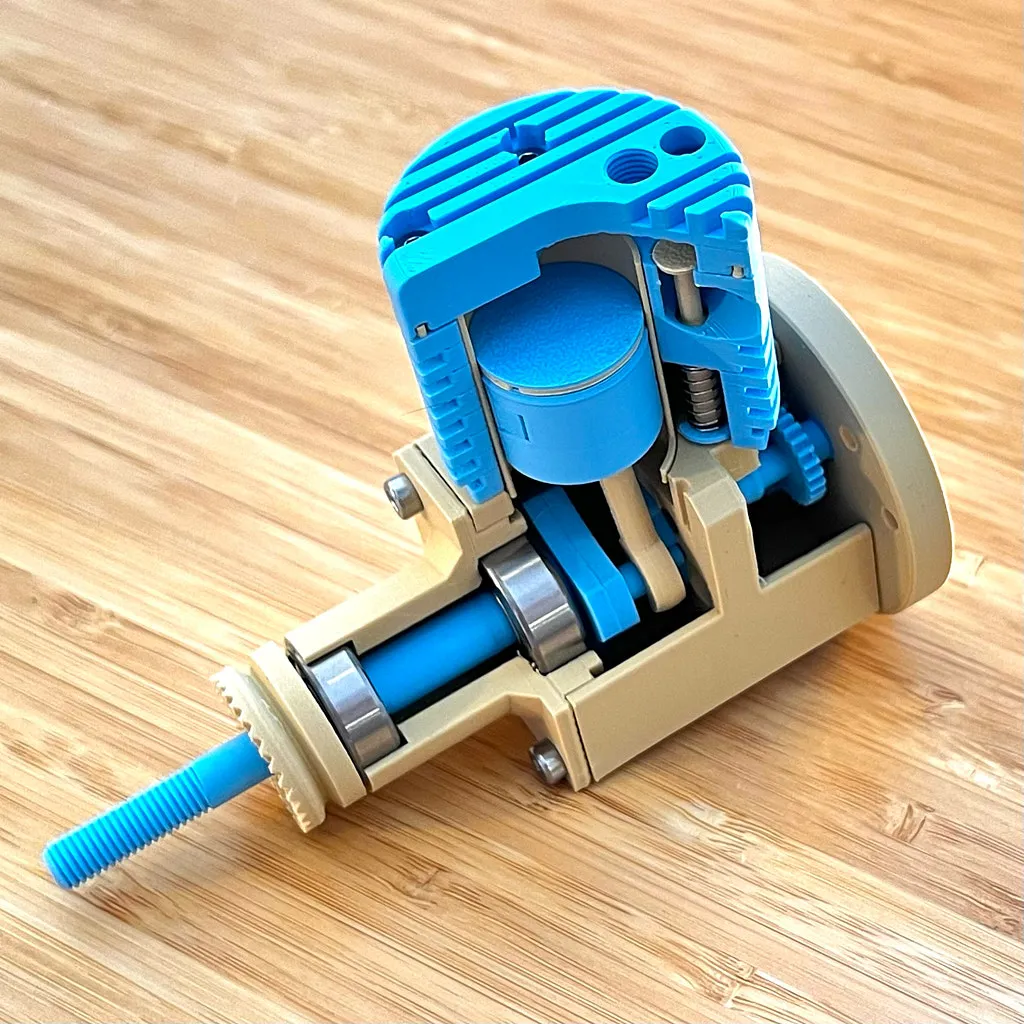
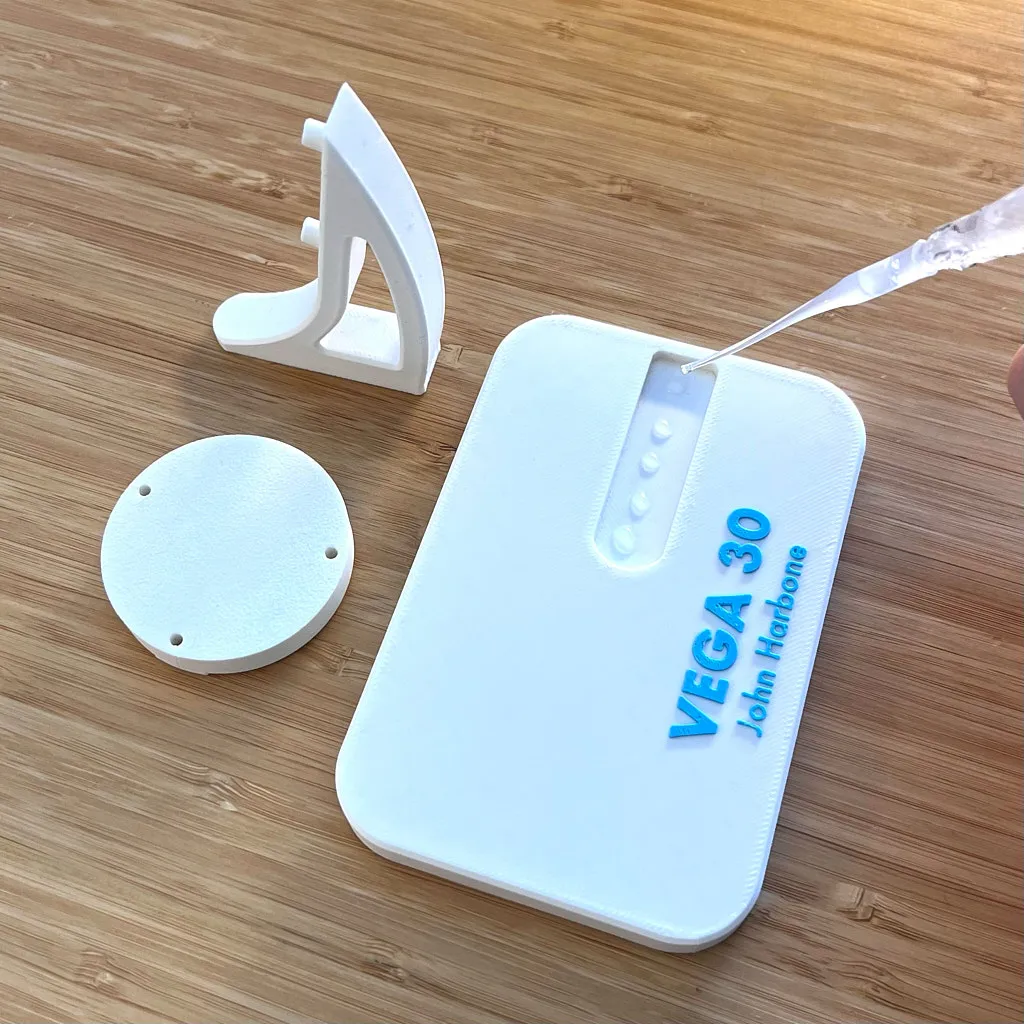
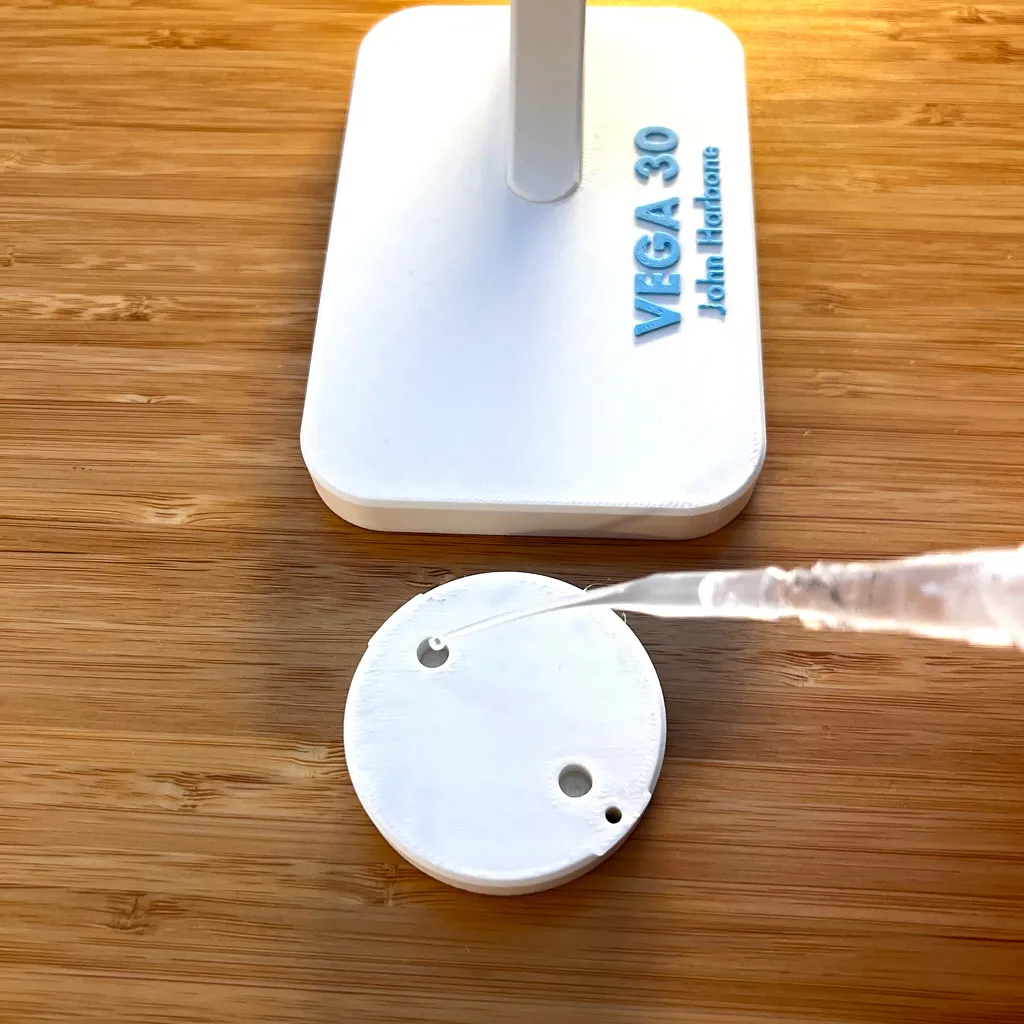
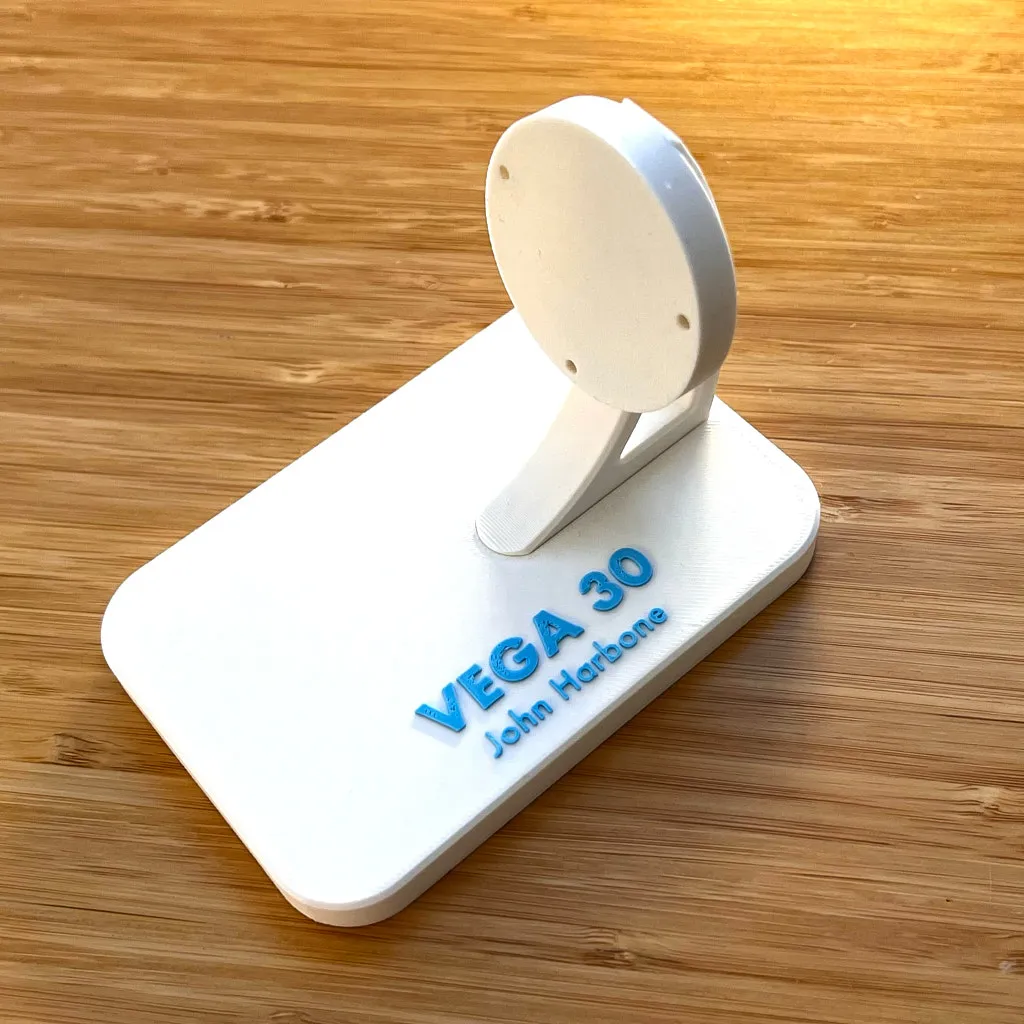
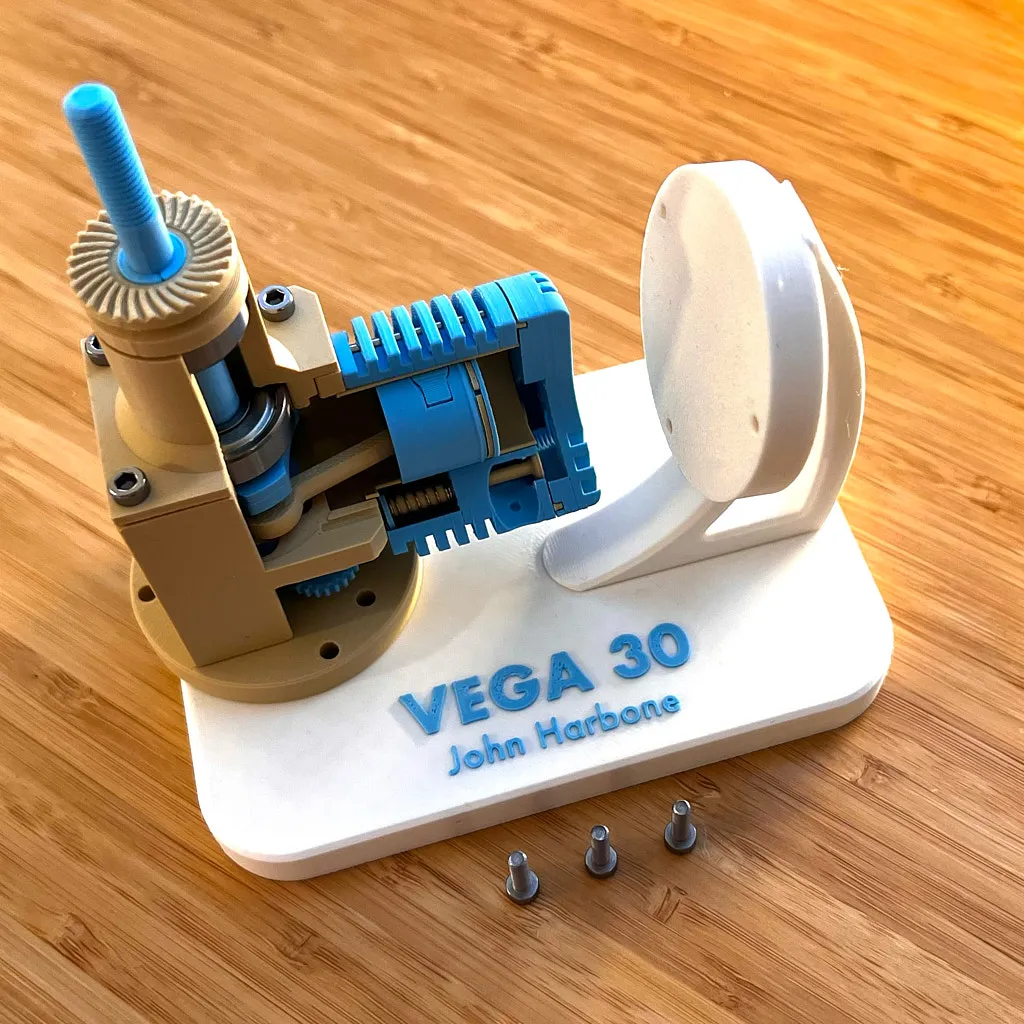
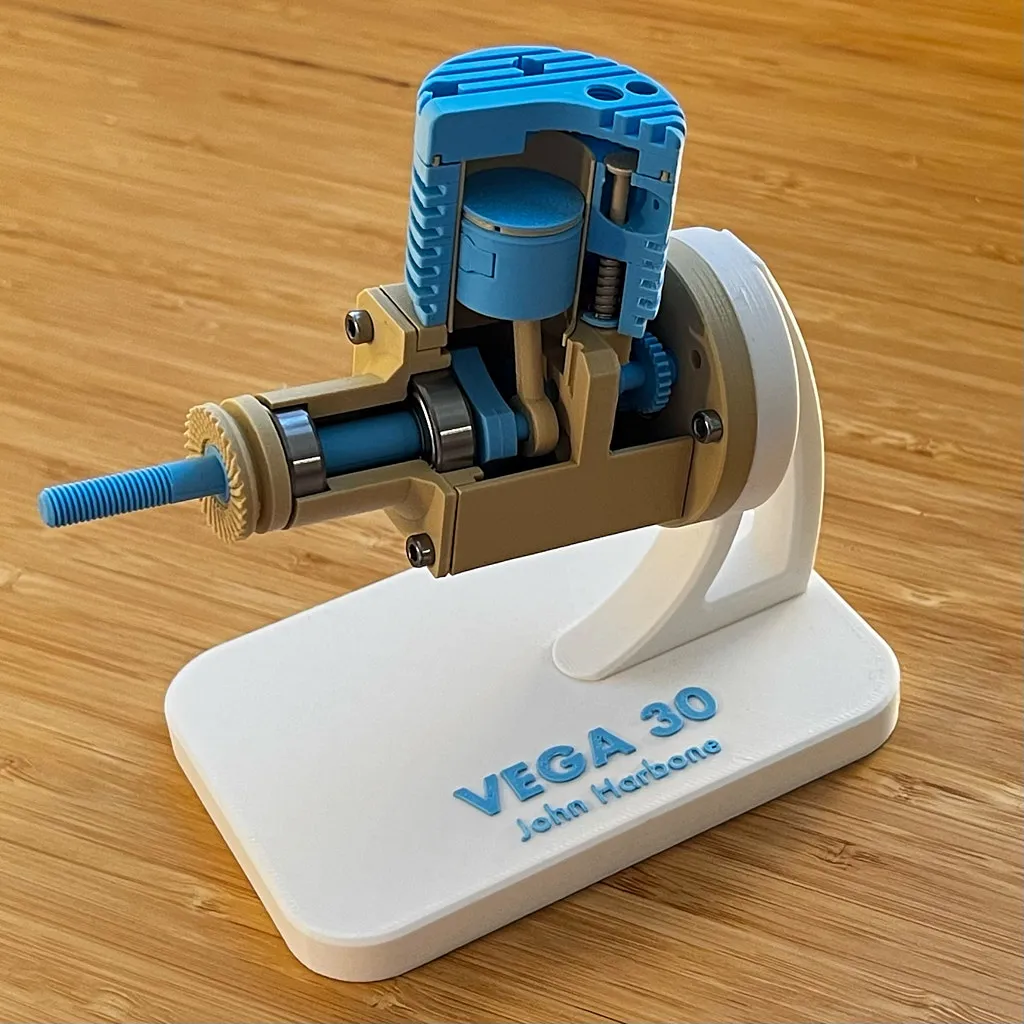
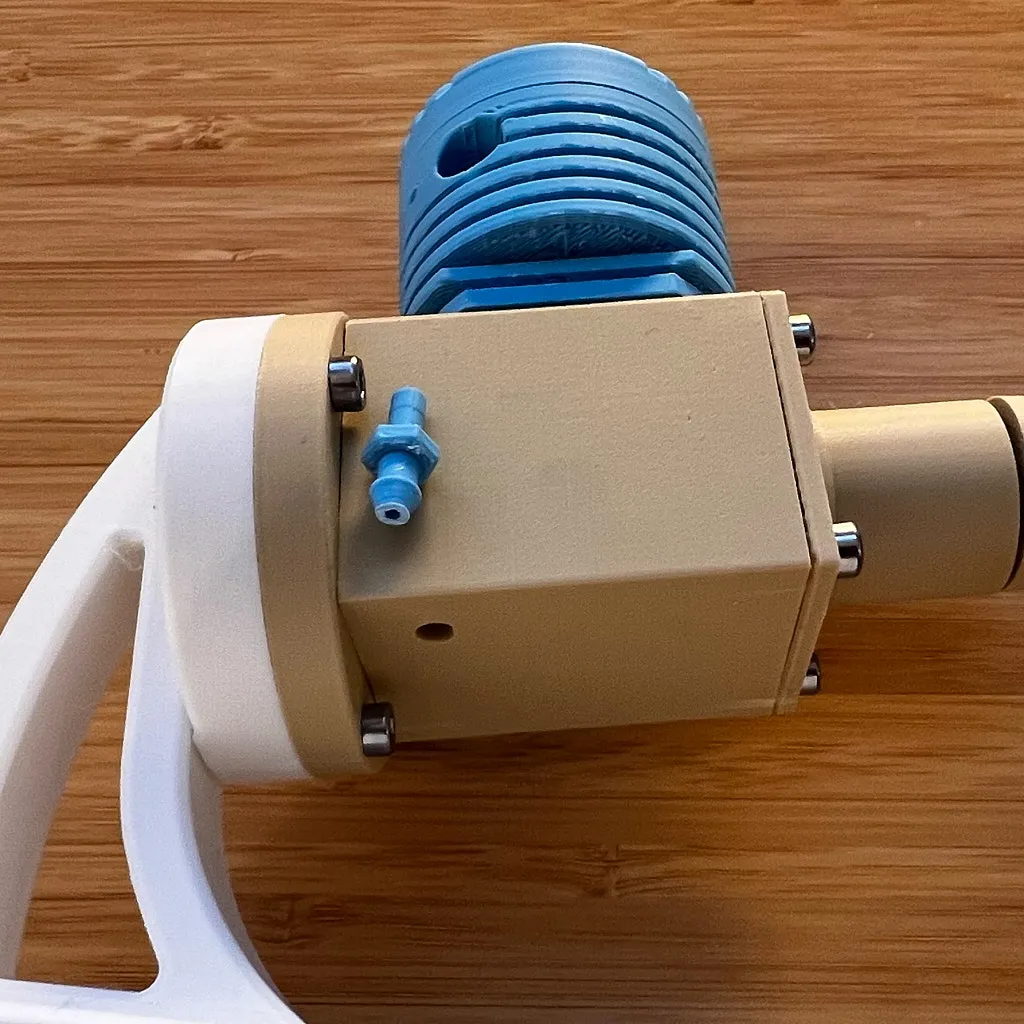
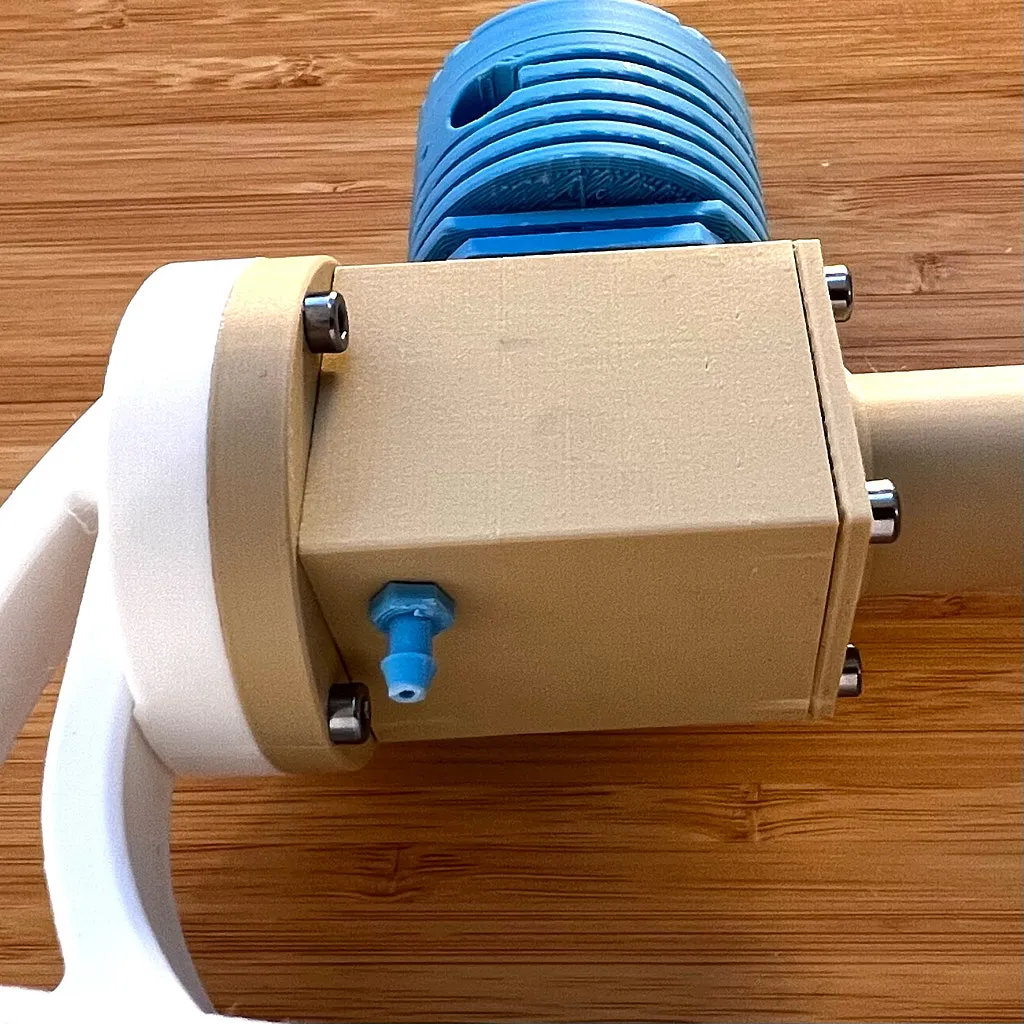
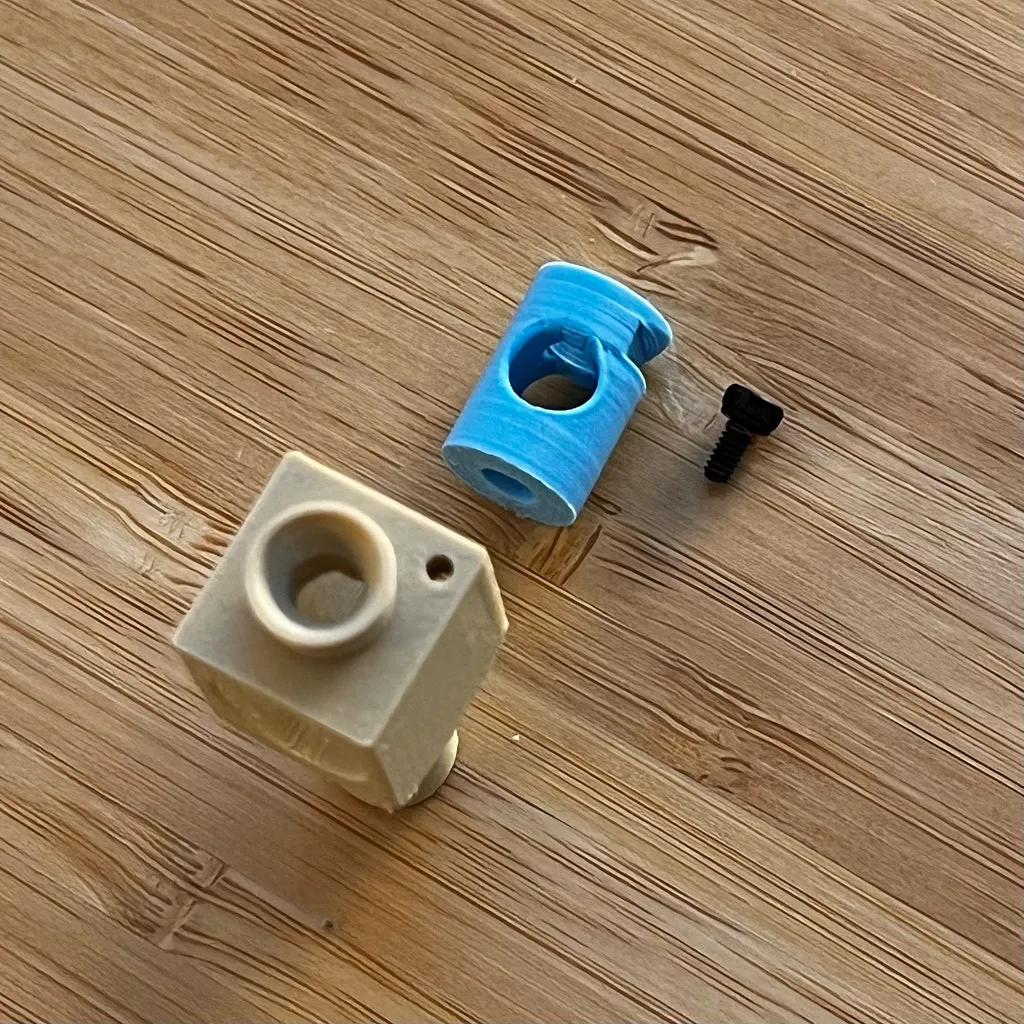
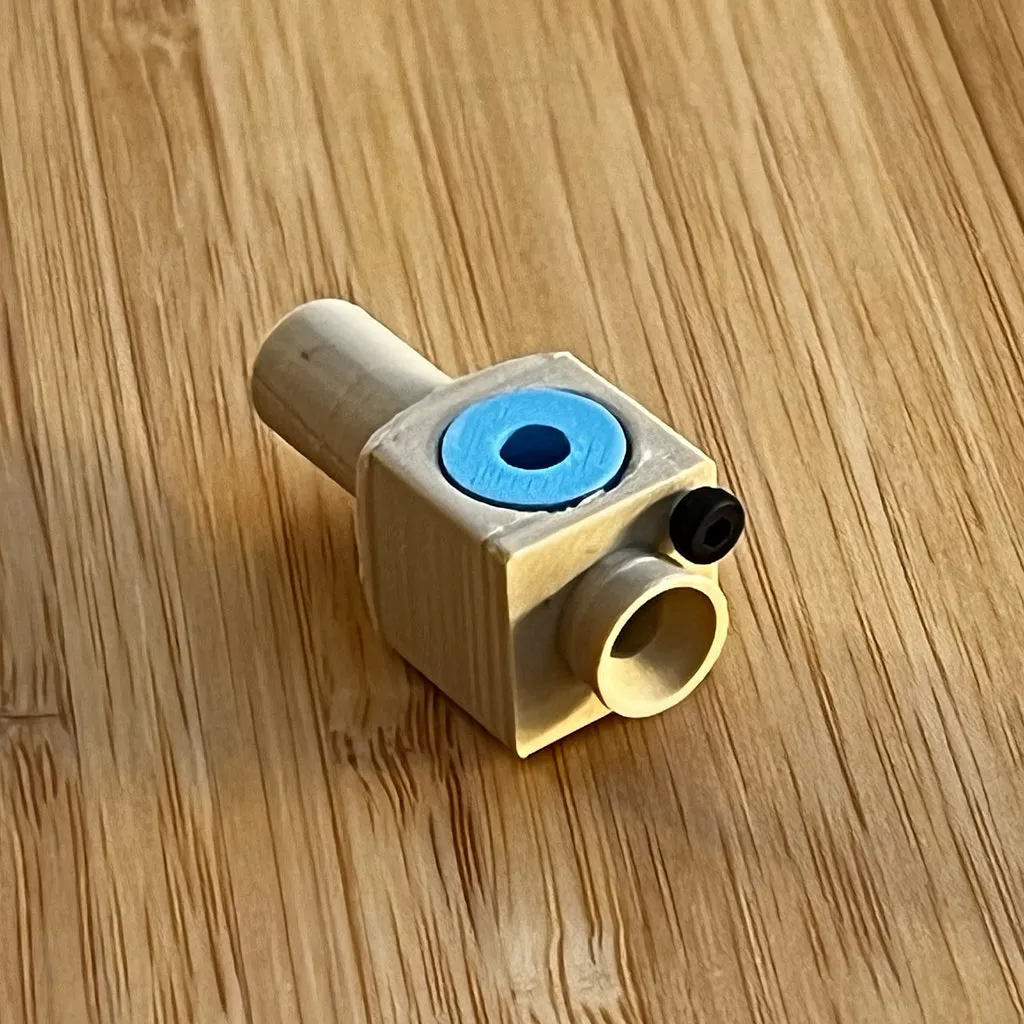
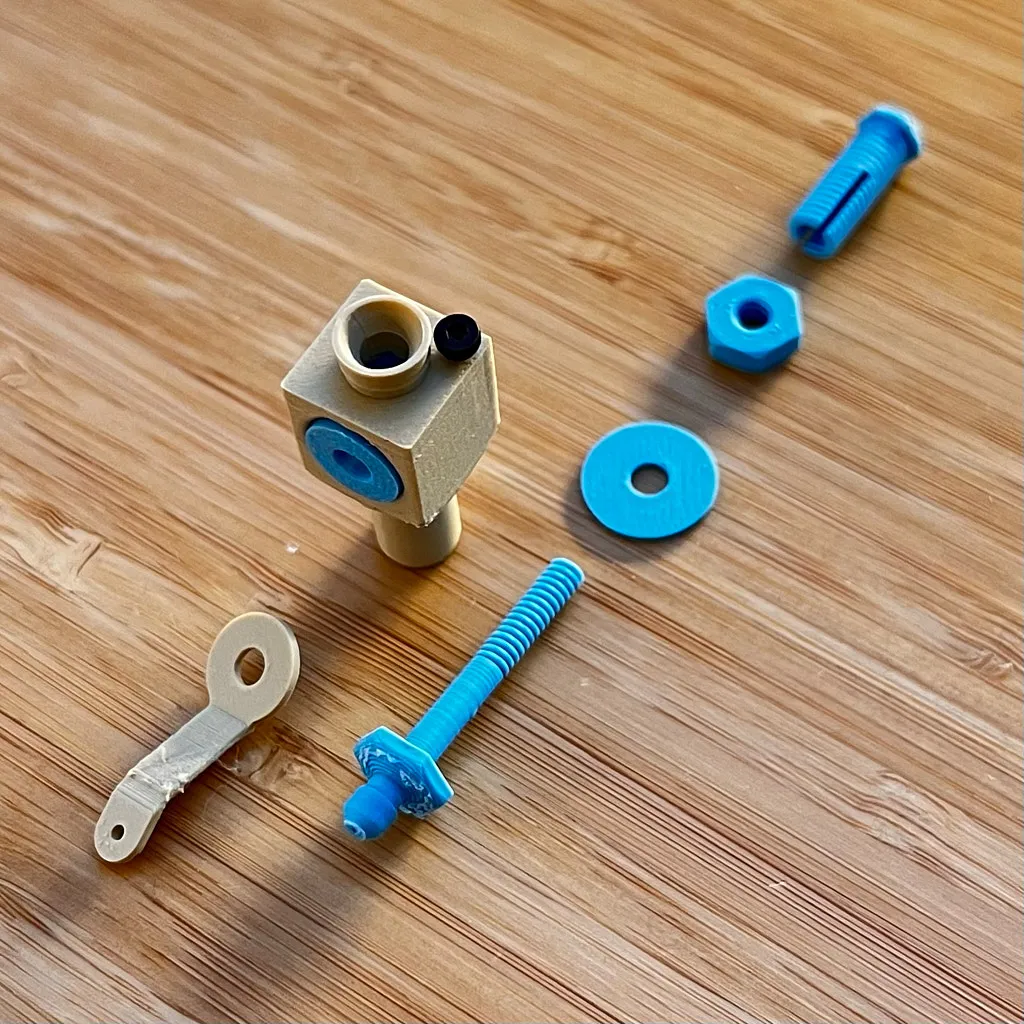
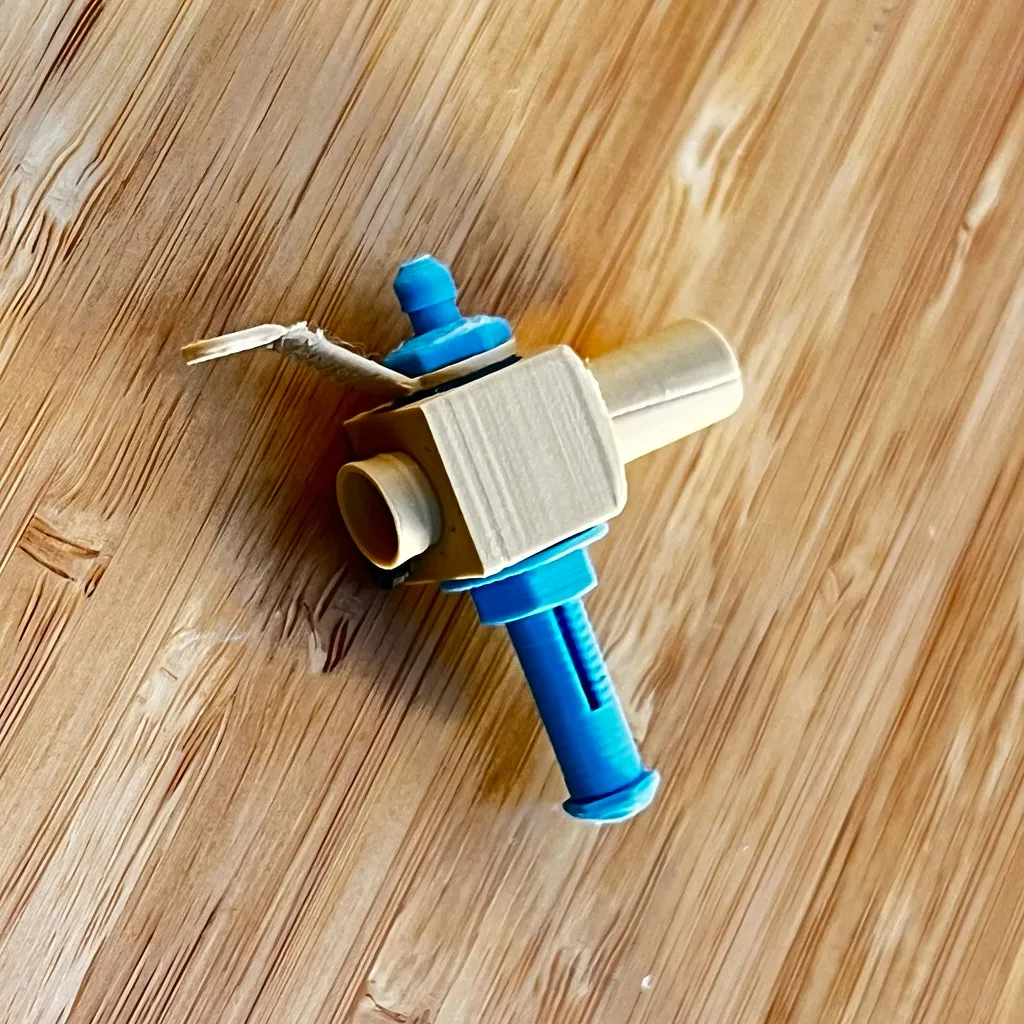
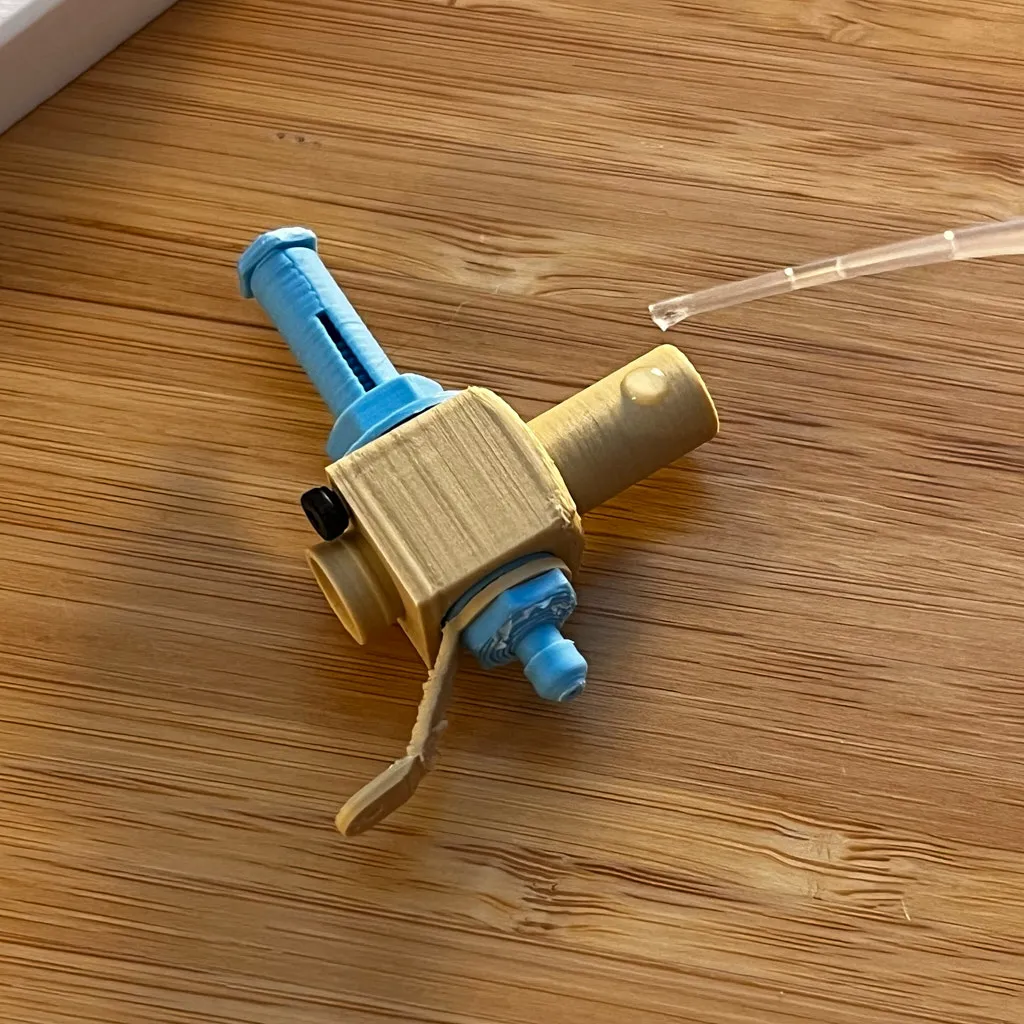
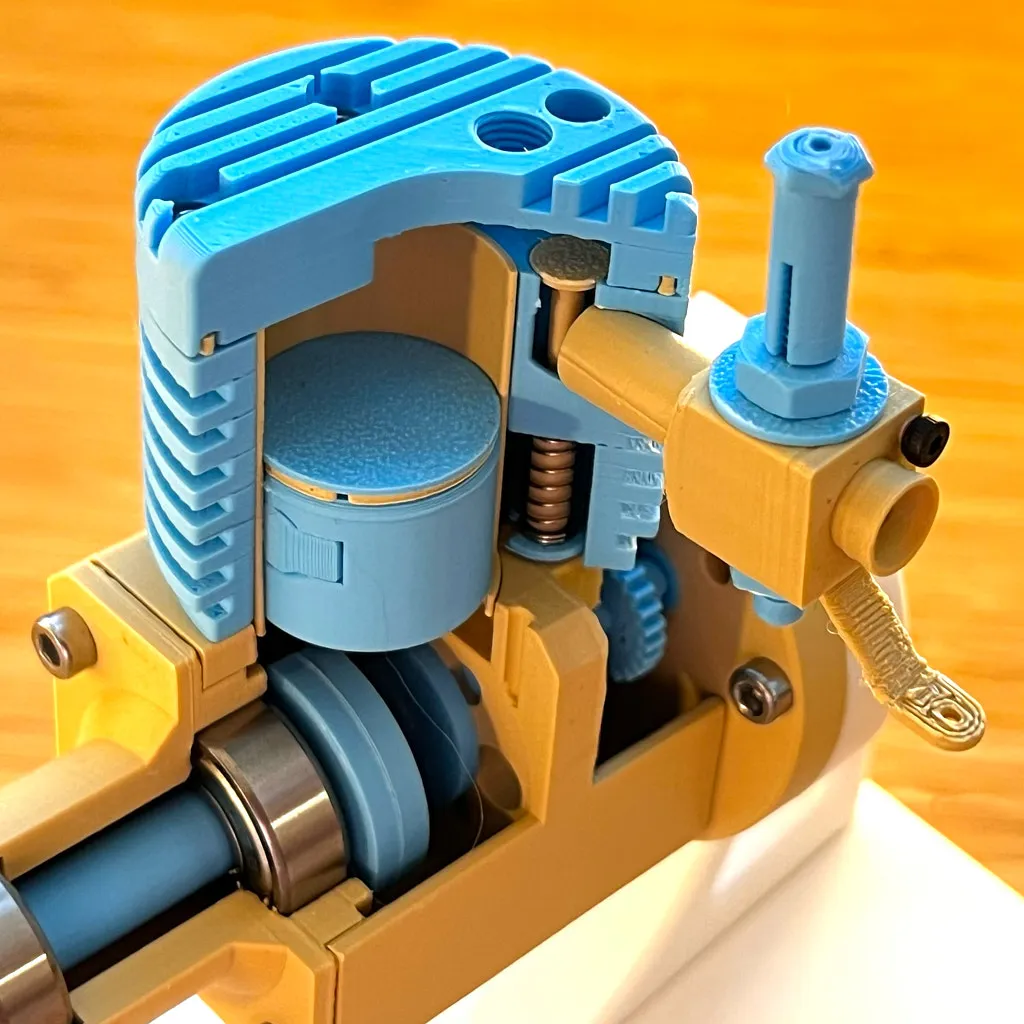
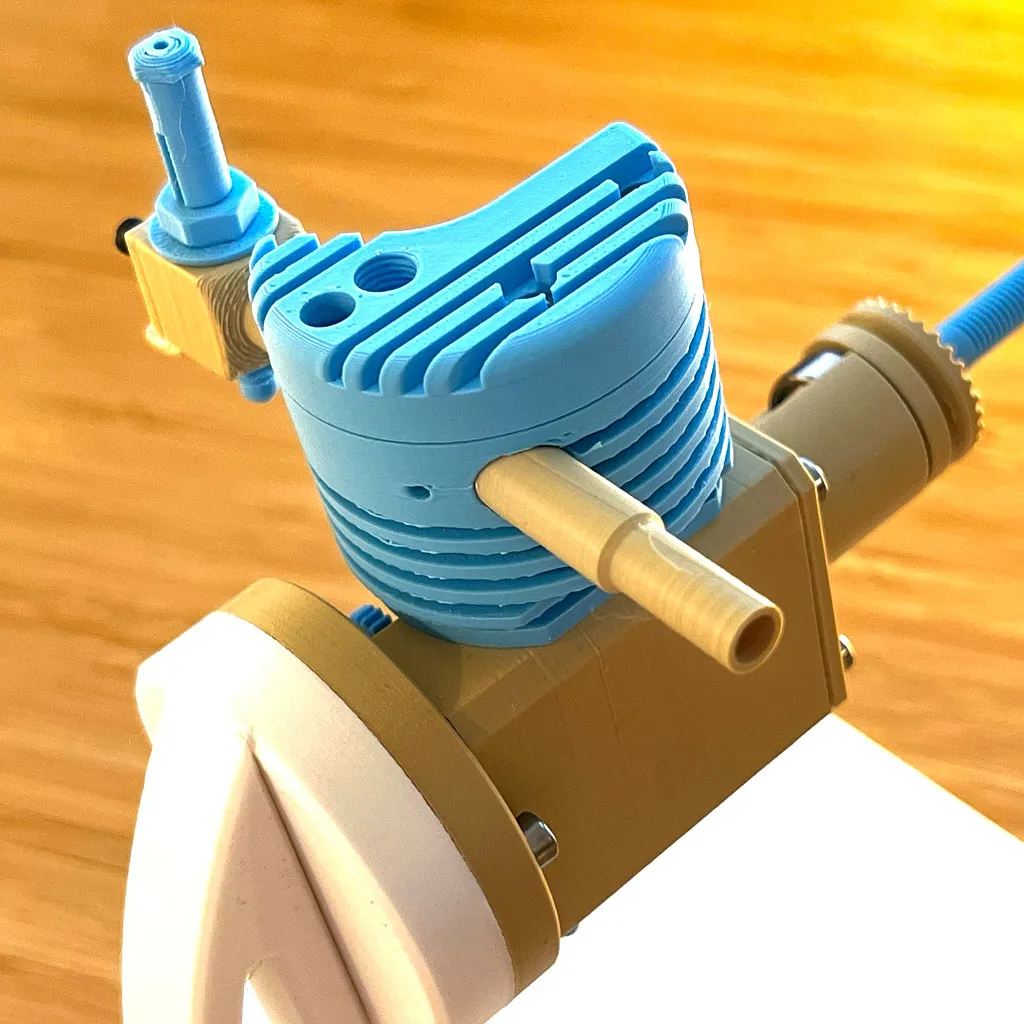
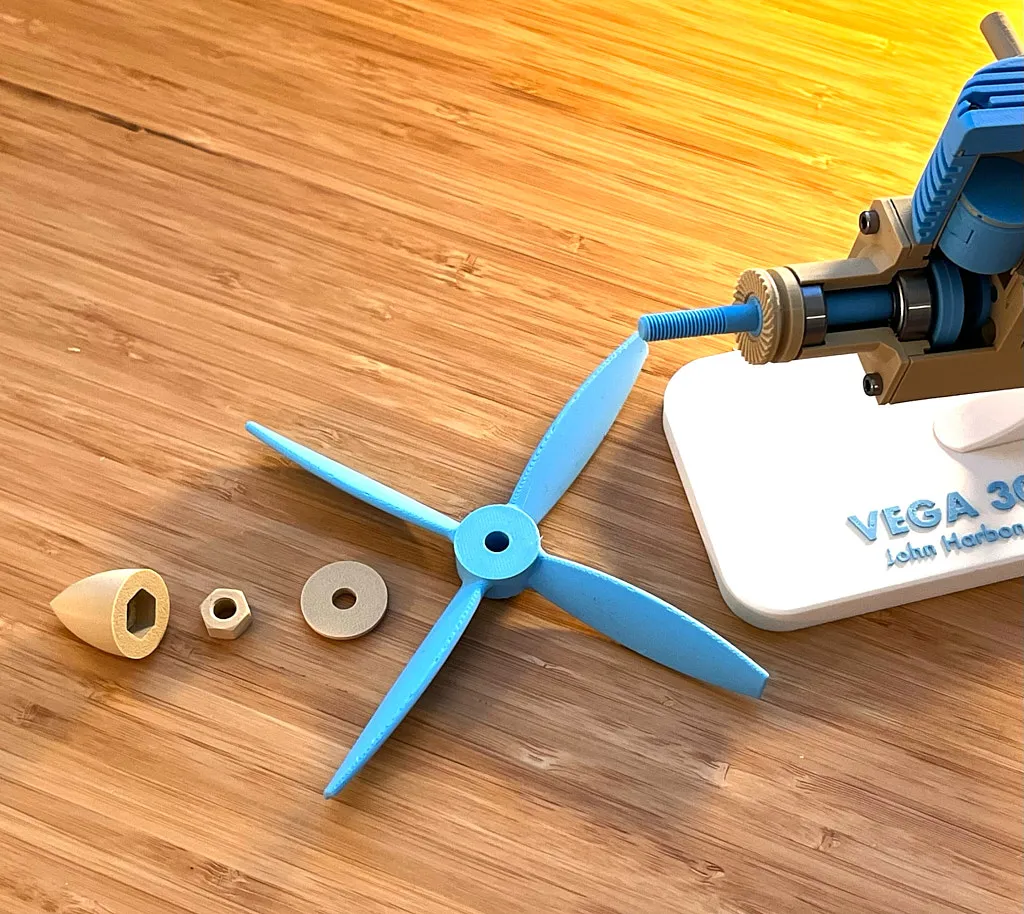
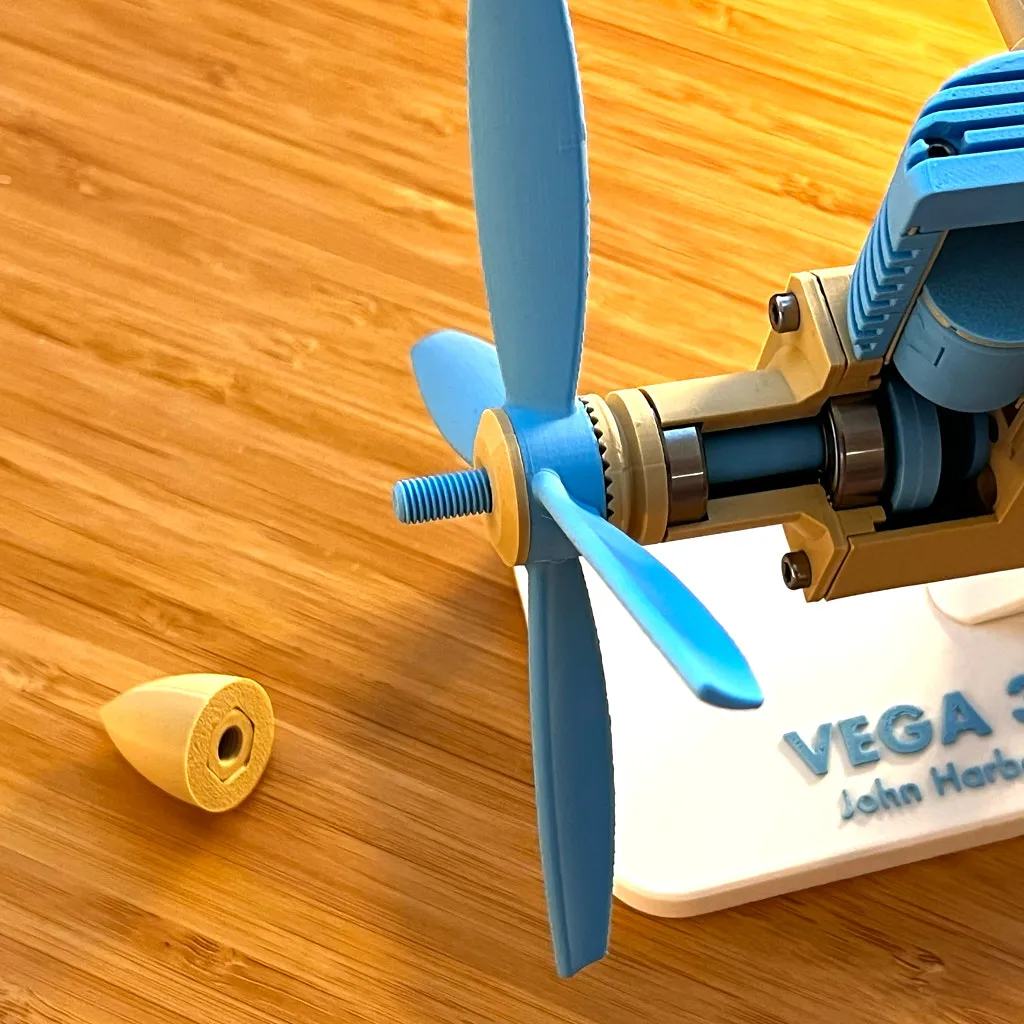
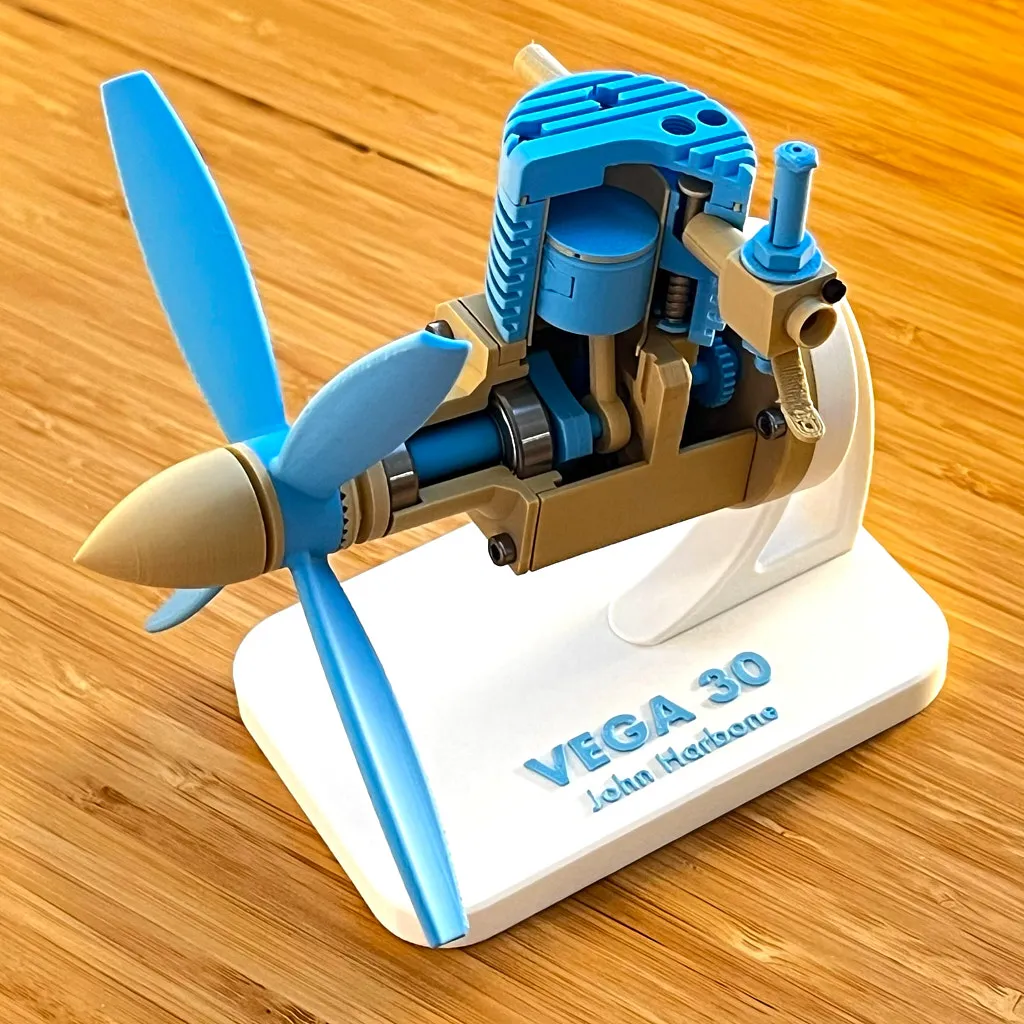
Congratulations! You did it!
Thank you for taking the time to print and assemble this awesome engine.
Be sure to Like and Boost Me if you want to support me.
One last tip. Add a few drops of Sewing Machine Oil (or any other oil) to make everything lubricated

Boost Me (for free)
If you want to support me, leave a Like, Comment, and a Boost!
Thank you!
License

You shall not share, sub-license, sell, rent, host, transfer, or distribute in any way the digital or 3D printed versions of this object, nor any other derivative work of this object in its digital or physical format (including - but not limited to - remixes of this object, and hosting on other digital platforms). The objects may not be used without permission in any way whatsoever in which you charge money, or collect fees.


Comment & Rating (130)