YAFIS - Yet Another Four Inch (10cm) Speaker box


Print Profile(4)


Description
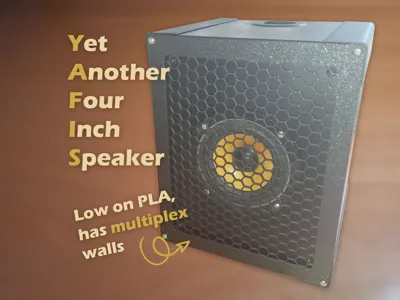
Meet YAFIS - Yet Another Four Inch Speaker
I've build these models trying to get the most out of my Vifa MG10SD09-08 drivers, that I had laying around and being workless for some time.

I have looked at many 3D printable models and, for me, all of them had some disadvantages. So I decided on designing my own models and since I wanted make very sturdy speakers I've used concrete plywood I had laying around in the shed along with some 3D printed parts to hide most edges because I'm not a woodworker :) Using plywood has another advantage, for 2 speakers only 372 grams of PLA is needed.
Expected frequency response
The hardest part when designing a box for a speaker is how to tune it. These speakers like a volume around 3.5 liter and given the resonance freqency of the speaker is 81Hz, using a bass reflex port makes a lot of sense to get a little more bass. The port in this model is tuned to around 65Hz. This gives the speaker the following expected frequency response:

So, a light enhancement of bass around 65Hz through the port. A relative flat response from ~80Hz to 14kHz. Higher frequencies will be cut off due to the driver itself.
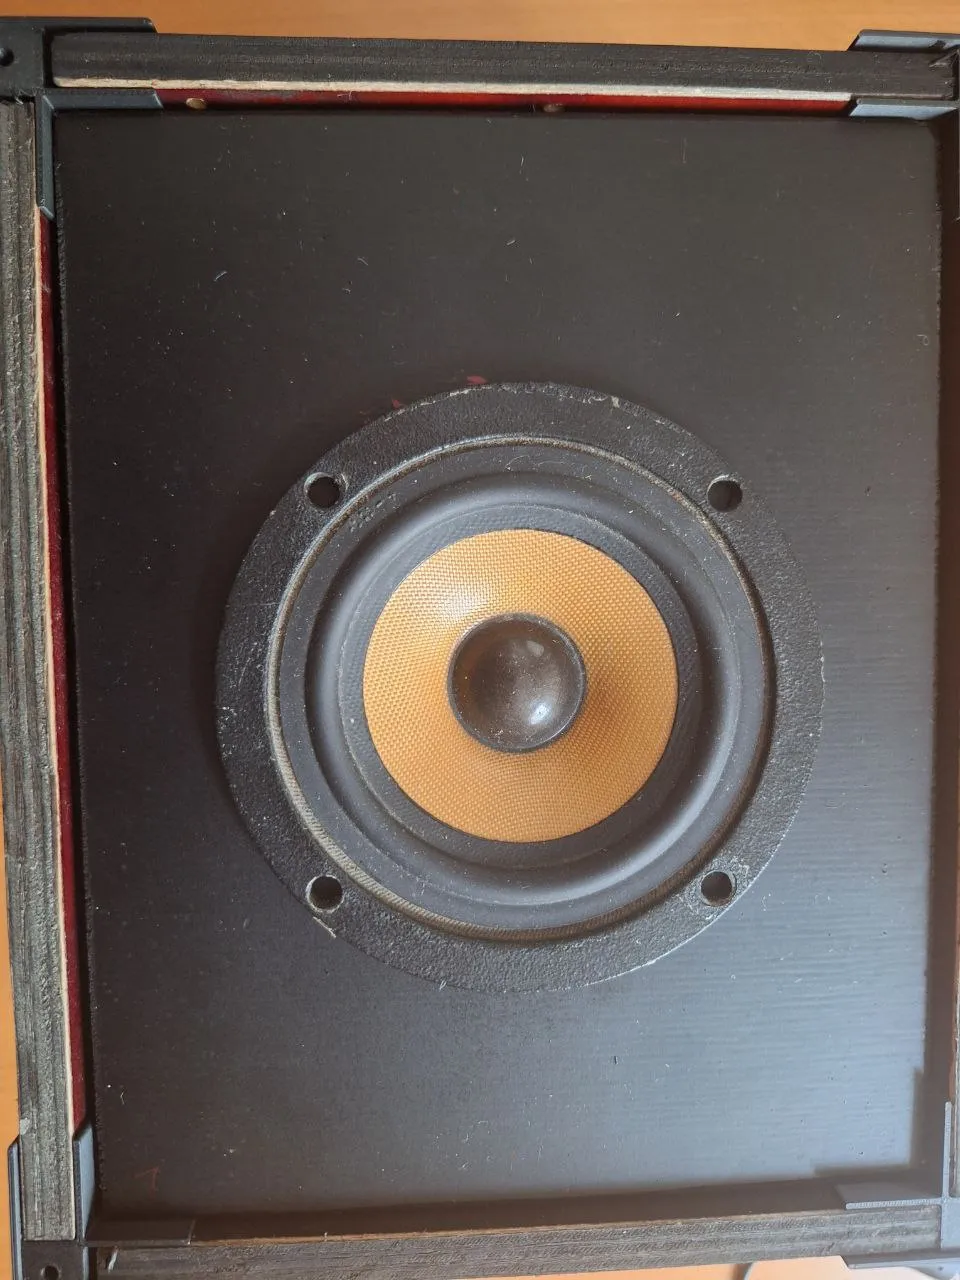
My opinion is that given the small drivers they are, these speakers have unexpected great sound! I'm very happy with my build and if you are interested, I hope you will be happy with them too! If anything, it misses a little in the high tones, but for casual music while working and regular Teams-meetings they sound great!
Needed parts
Concrete plywood or multiplex
You'll need 9mm plywood or multiplex.
Per speaker there are 4 pieces of 19x15cm and 2 pieces of 15x15cm. So for 2 speakers you'll need:
- 8x 9mm 19x15m
- 4x 9mm 15x15cm

3D Printed parts
You'll need to print 3 of my attached Print Profiles twice to build 2 speakers; the (sawing and drilling) template you'll need only once.
That will give you:
- 2x 4 corner profiles
- 2x 1 bass reflex port
- 2x 1 front shielding mesh
Hardware
- You'll need screws in several sizes (total 24 for 2 speakers), I haven't measured them. Use what makes the most sense to you :)
- (Silicone or) Acryllic kit to seal the (intentional) gaps between the plywood walls. You need to do this for the driver to build pressure! Be aware that silicone can't be painted.
- Some filters for extractor hoods, to make dempening tissue inside of the speakers
- Some speaker wire
- 2 x 4 inch (10.2cm, 10cm) speakers
- Optional: some spraypaint to paint the plywood or multiplex
- Optional: an amplifier; I've used a Sinilink XINYI Sini Audio XY-C100L with great succes using the bluetooth connection!

Building instructions
Step 1 - Make holes for the speaker and bass reflex port
Using the template draw a circle in the center of a 19x15cm piece of plywood for the speaker in the front

And a small circle in a 15x15cm piece of plywood on one of the sides

Turn the circles you drew into big holes by whatever means you want, e.g. using drills, saws, your teeth, leafblowers, whatever works for you.
Step 2 - Attach the corners to the back
Start with 1 piece of plywood of 19x15cm and make small holes in the 4 corners using the template and an awl

Next, screw the 4 corner profiles on it from the top. The piece of plywood will become the back of the speaker.

Step 3 - Add the walls and the port
With a little (acryillic) kit around the neck of the bass reflex port, glue it in place. Slide the 4 walls in the profiles:

And seal all gaps with kit so the speaker becomes air tight:

Put the speaker on one of it's long sides to let the kit set for a day, but be sure to align the walls to the front of the profiles:

As you can see the outside of the profile sticks out a little to accomodate the front shielding mesh. The plywood must align with the inside of the profiles.
Step 4 - Add fiber and connect the driver
Drill a small hole for the wire in the back of the box

Put 2 to 3 layers fiber around the back (underneat the pipe) and walls of the speaker

Drill 4 holes in the front plywood panel for the screws, using the template

Solder the speaker wire to the speaker and tie a knot (for stress relief) in the cable at around 35-40cm from the speaker.
Pull the wire though the front plywood panel, and through the small hole in the back panel, and screw the front panel and speaker in place.
Seal the front panel with the acrylic kit and let it set for another day

Step 5 - Finishing touches
Use a little spray paint to hide the kit on the front, back and maybe around the bass reflex pipe.

Screw the 3D printed front shielding mesh on front of the speaker, and you're ALL DONE!

Enjoy listening to your self made speakers!

License
You shall not share, sub-license, sell, rent, host, transfer, or distribute in any way the digital or 3D printed versions of this object, nor any other derivative work of this object in its digital or physical format (including - but not limited to - remixes of this object, and hosting on other digital platforms). The objects may not be used without permission in any way whatsoever in which you charge money, or collect fees.
Comment & Rating (0)