Search models, users, collections, and posts

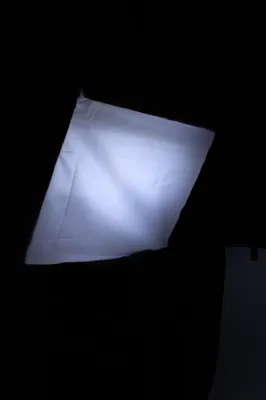
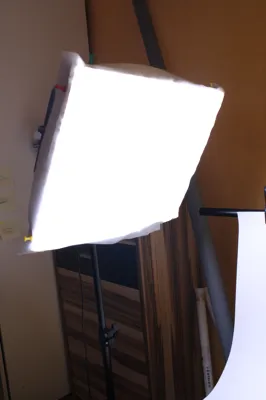
DIY Photography Softbox for LED Panels
IP Report
Print Profile(1)

0.2mm layer, 2 walls, 15% infill
Designer
7.8 h
2 plates
Open in Bambu Studio
Boost
27
55
1
0
10
0
Released
Bill of Materials
Bambu Filaments
Select all

Description
My "Zero-Budget" Softbox for Professional Photos
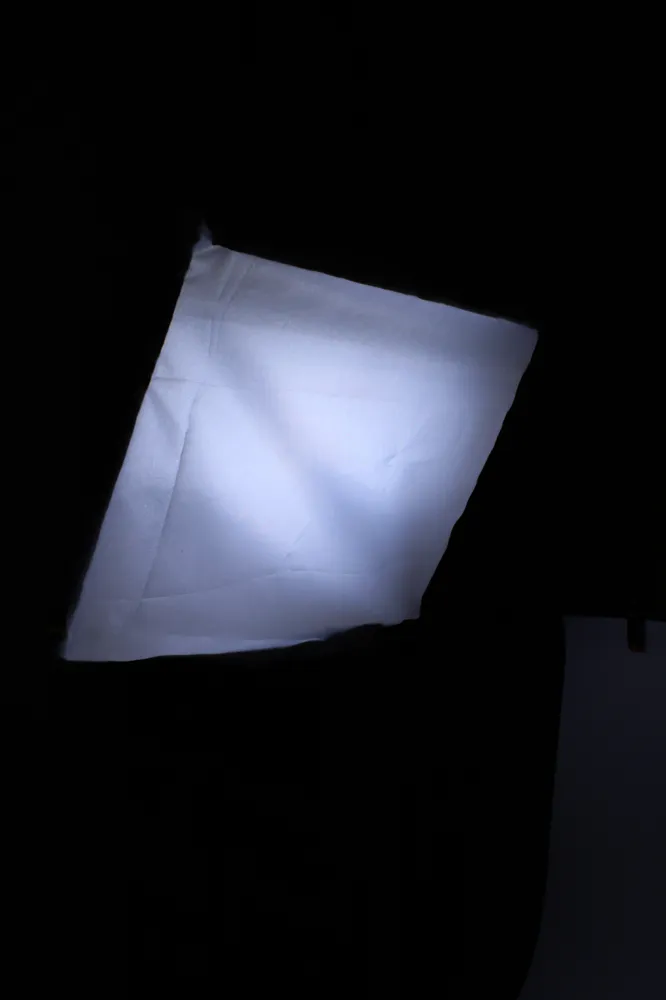
I recently invested in some basic equipment to improve my product photography for my MakerWorld and Printables models. While the LED light panel I got is bright, the light was too harsh and created strong reflections.
Professional softboxes are expensive, so I decided to design and build my own using the tools I have: my 3D printer and some basic materials.
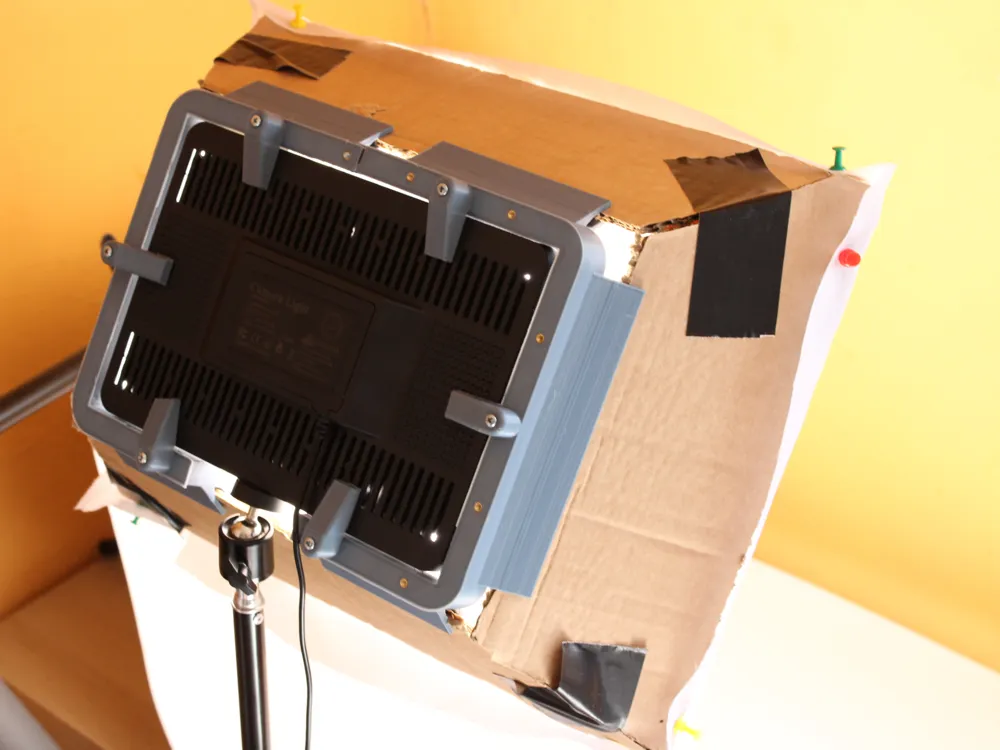
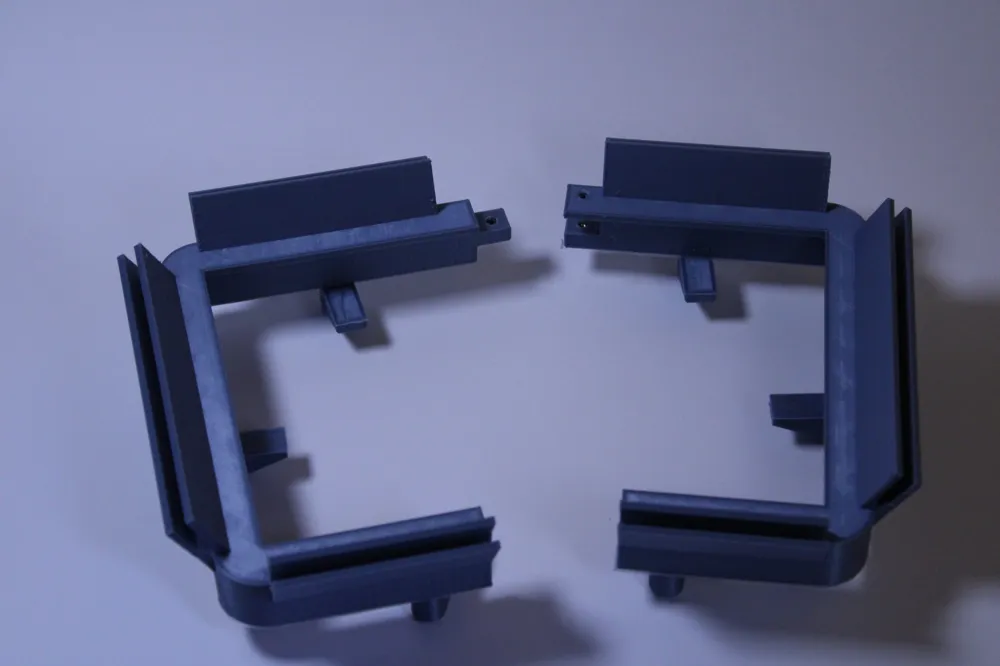
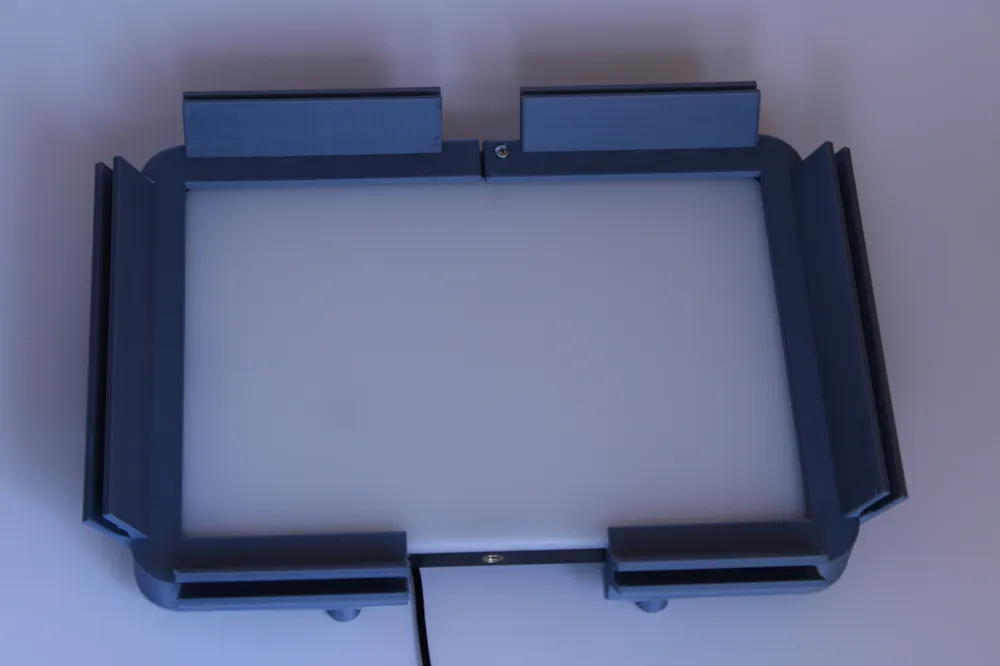
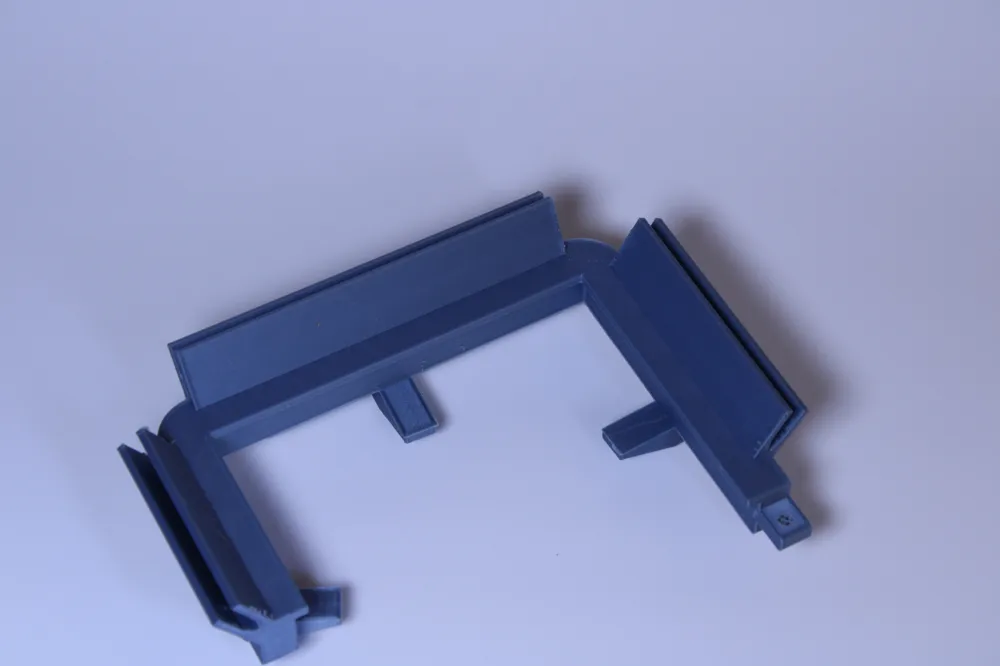
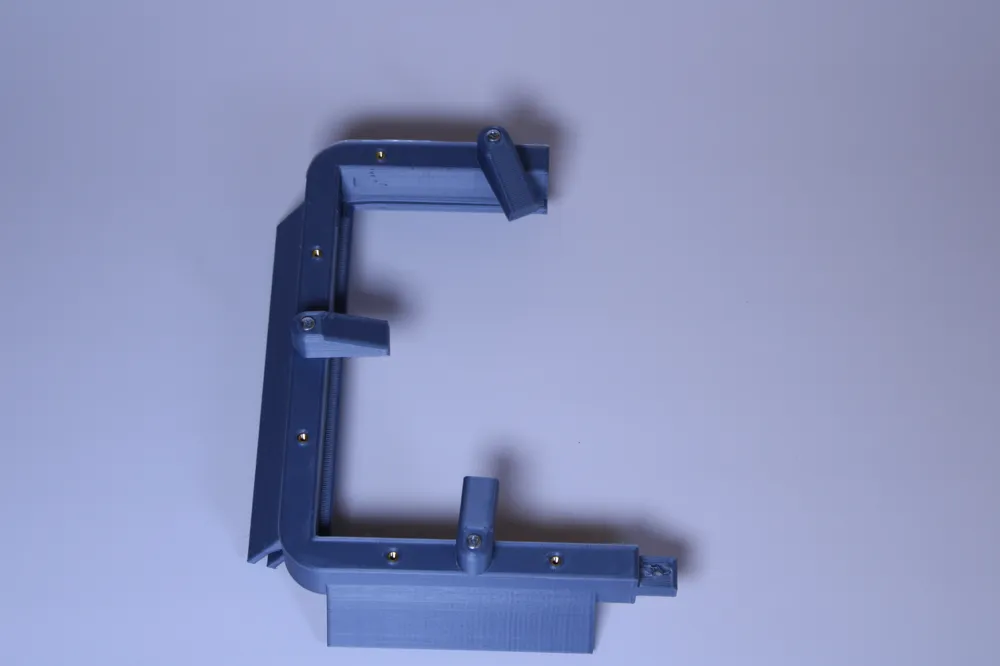
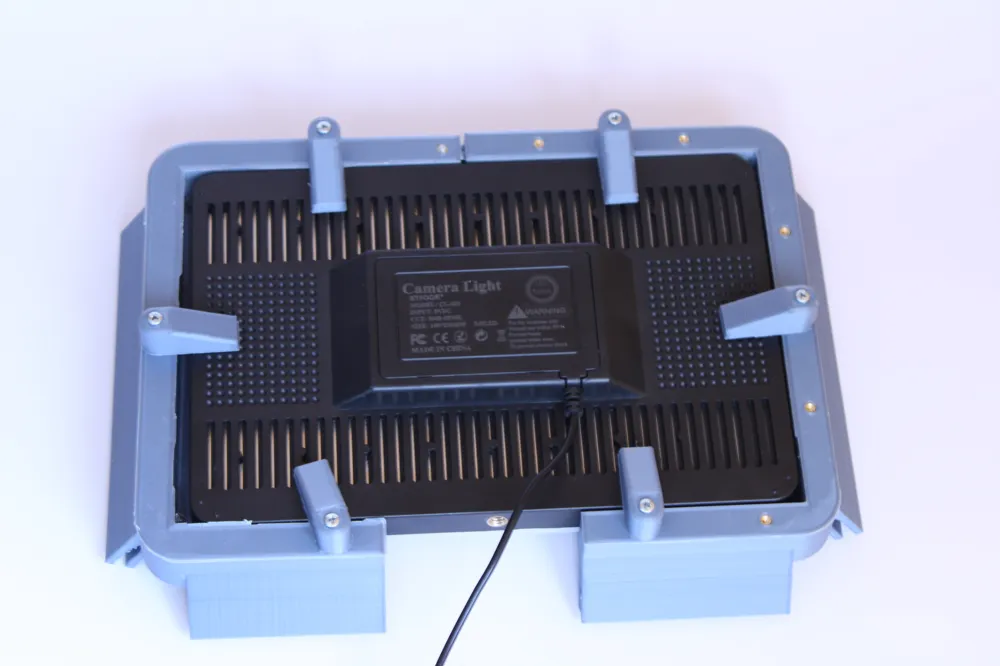
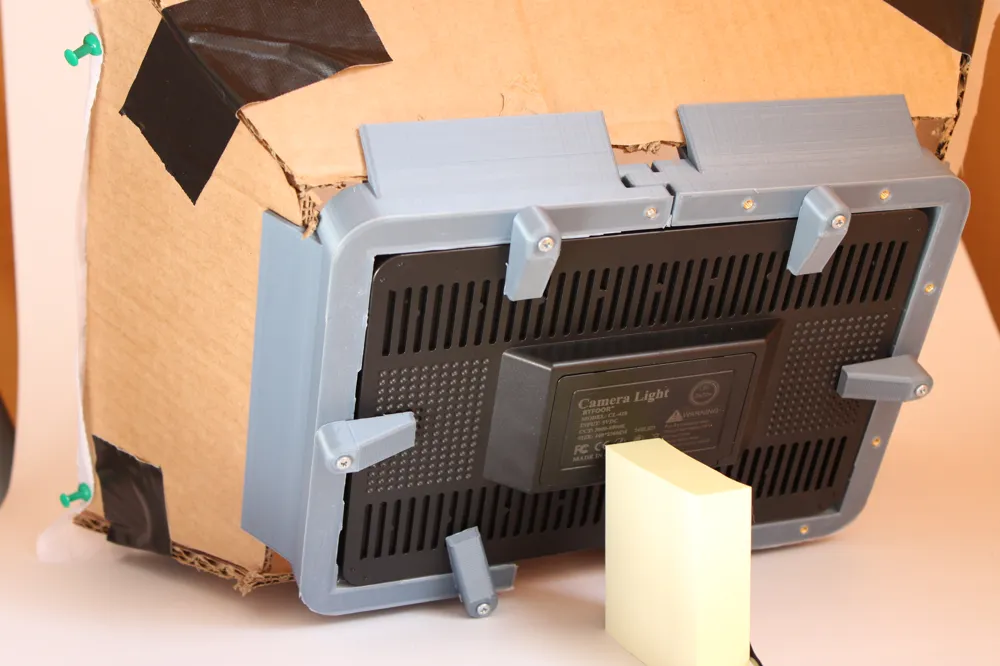
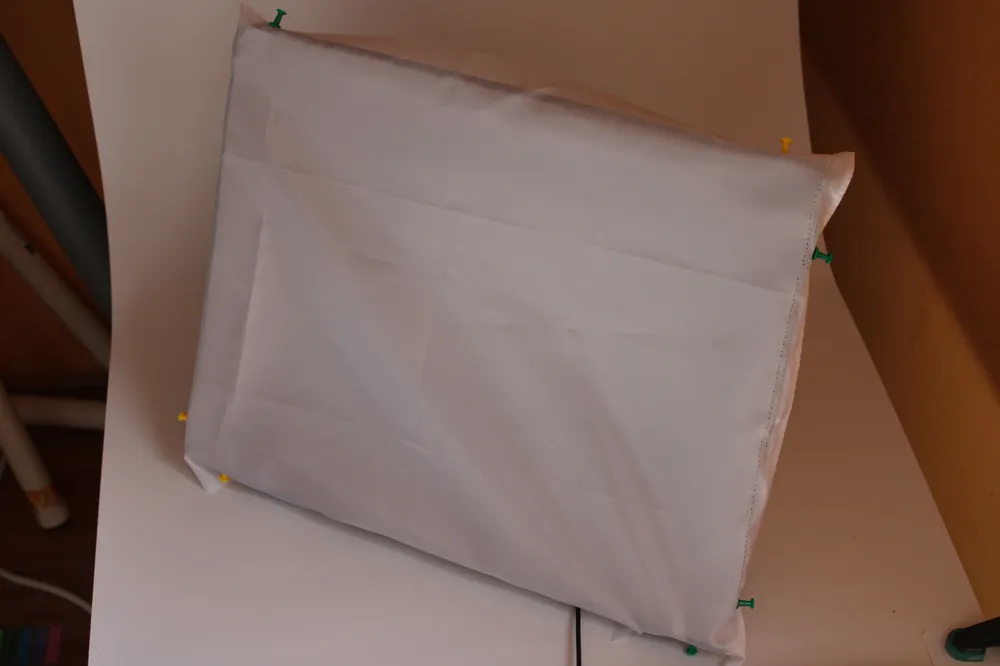
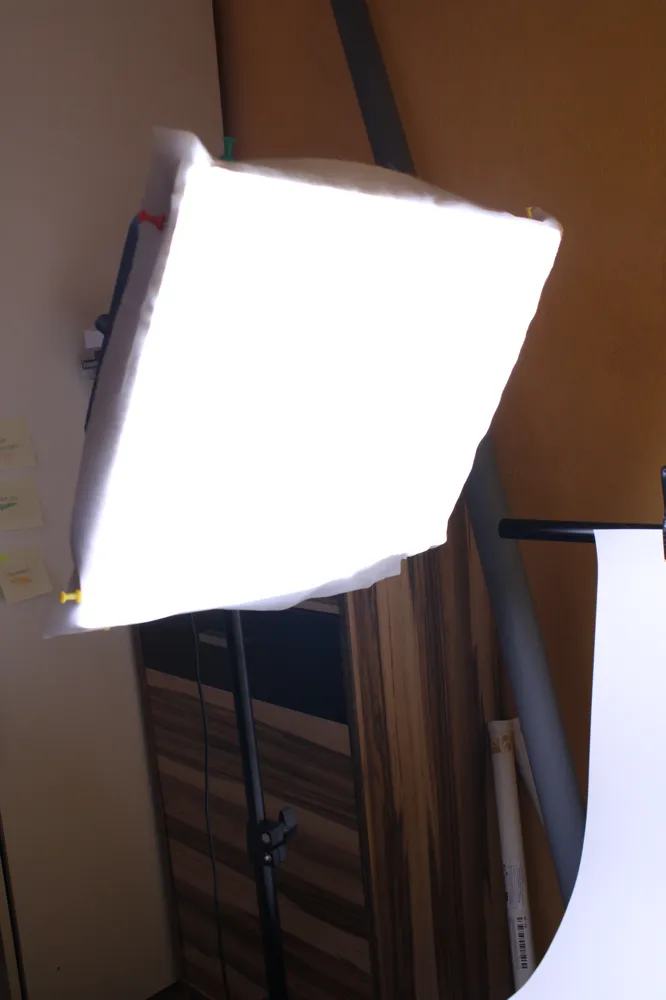
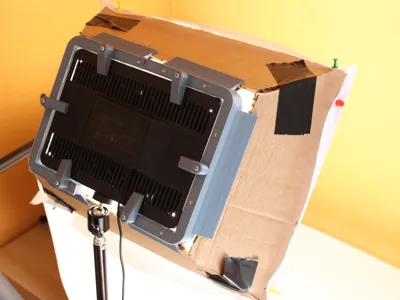
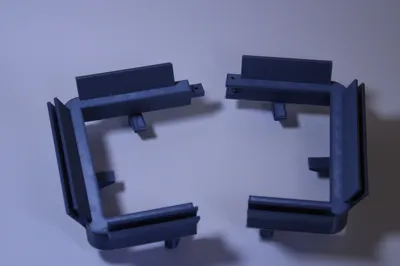
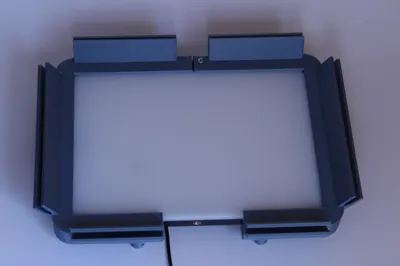
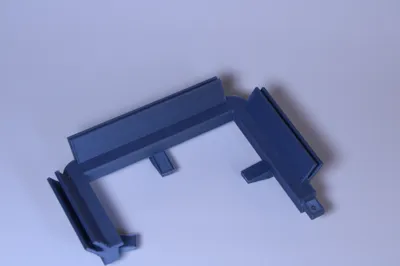
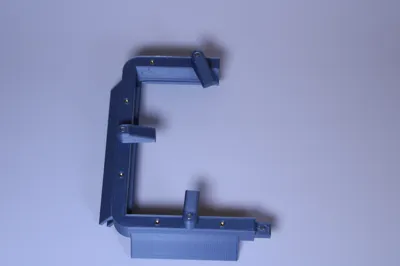
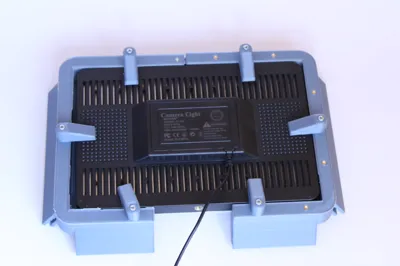
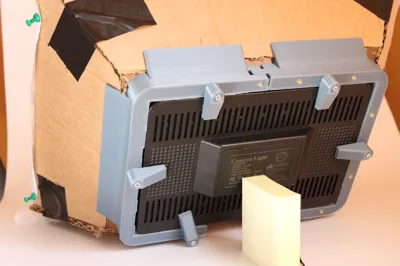
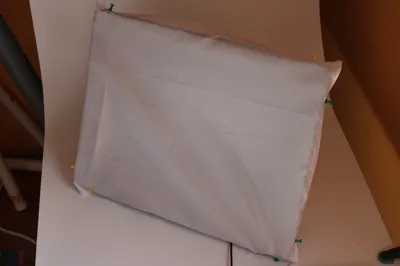
This project uses 3D-printed brackets to create a lightweight but sturdy frame for a DIY softbox. The walls are made from simple cardboard, and the front diffuser is a basic white fabric which is fixed with thumbtacks to the cardboard.
I hope this helps other makers on a budget to elevate their product photography!
What You'll Need (BOM):
- 3D-Printed Parts:
- 1x "SoftboxMale.3mf"
- 1x “SoftboxFemale.3mf”
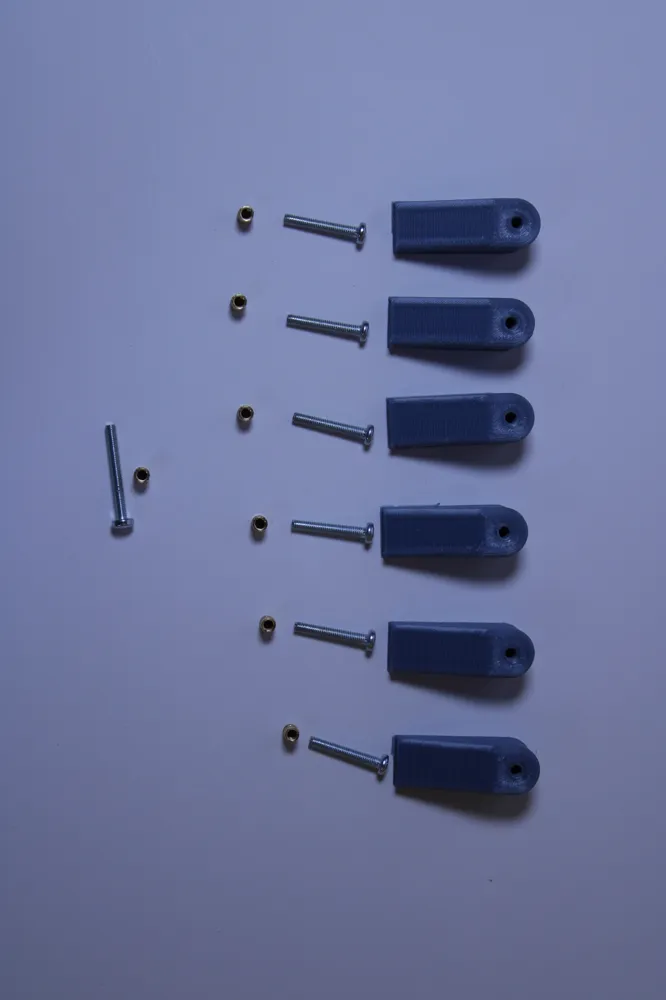
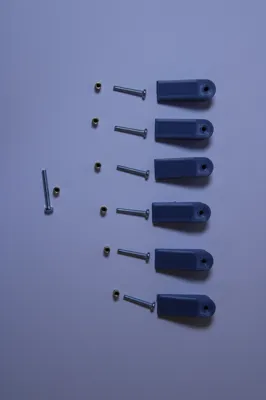
- 6x “Fixture 6x.3mf”
- Non-Printed Parts:
- Cardboard for the 4 side walls.
- A piece of white, translucent fabric (an old white t-shirt, a bedsheet, or baking parchment paper works well).
- Aluminum foil to line the inside walls.
- 6x Heated inserts for M3 screws, 6mm long
- Hot glue or strong tape to assemble everything.
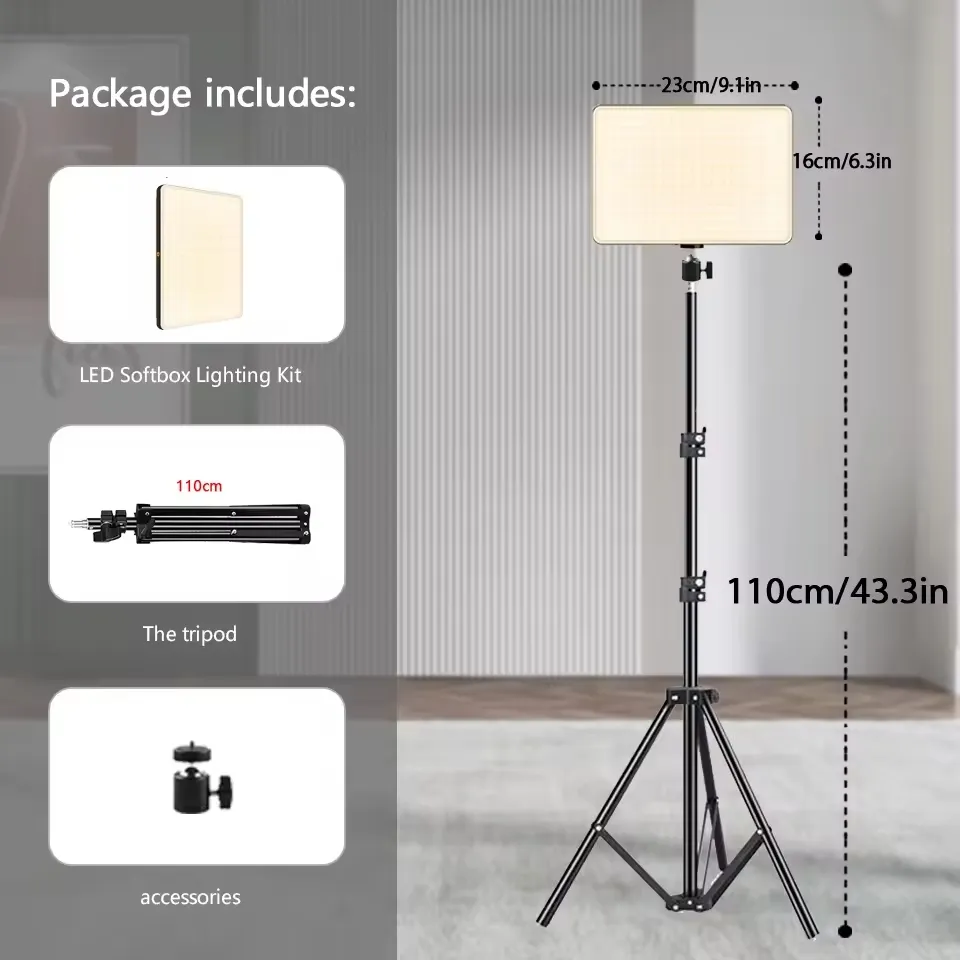
- I bought this light from Aliexpress
License

This user content is licensed under a
Creative Commons Attribution-Noncommercial-Share Alike


Comment & Rating (1)