
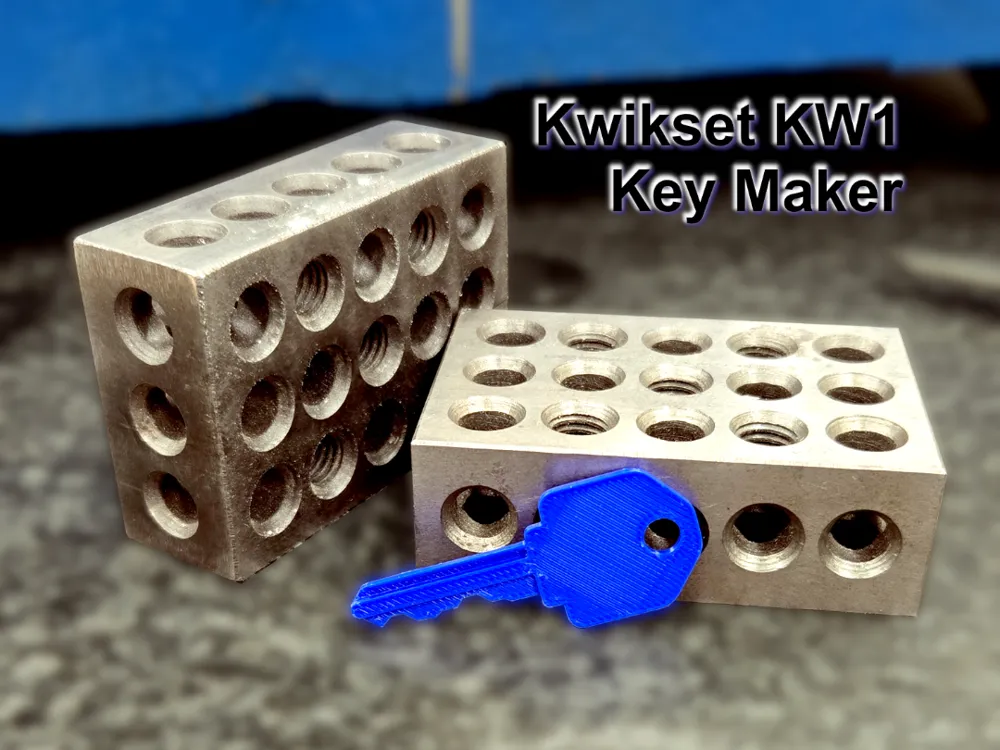
Kwikset KW1 Key Maker - Make real *working* keys
Print Profile(1)

Description
*UPDATE: 1/9/2026*
I've included the parametric Fusion file that can be edited directly in MakerWorld via the Parametric Model Maker - Just type in your keycode and wait for the model to update.
Customizable KW1 Key Blank
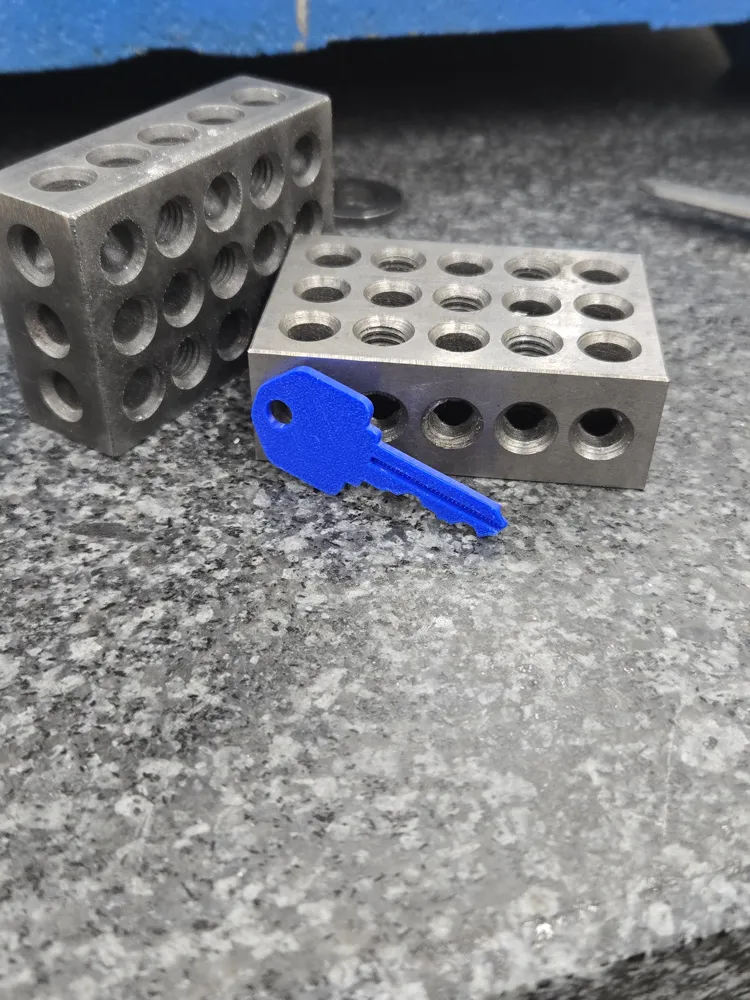
*this is not a key chain, it is a real working key*
This is a KW1 key blank model with editable bitting positions. It will create an actual working key, I give these out when people are watching our cats - cheaper than buying a replacement key that I'll probably never see again, every time. The project includes the full key blank plus 35 modular negative cut shapes representing all standard cut depths (1–7) across 5 pin positions.
With your decoded key code in hand, you can delete the negative inserts that don't apply to your key, leaving behind a printable, bitted key customized to match your existing one.
NOTE: I usually turn the handle with the key - don't do that with these - Unlock the door, remove the key, then turn the handle, you don't want these things breaking off in your lock!
[A real youtubey call to action: I'm working on a Schlage SC1 (for my parents house). If you could use that or any other key standards, leave comment below. If this thing works out for you, considering leaving a like (or a boost) and a follow]
About the KW1 Keyway
The KW1 key profile, introduced by Kwikset in the mid 20th century, has become the most common household keyway in North America. It’s a 5-pin tumbler lock system with standardized cut depths ranging from 1 to 7.
Its simple geometry and mass adoption have made it a favorite among homeowners, locksmiths, and hobbyists alike.
This tool exists to enable hobbyists and professionals to model and print bitted keys—useful for:
- Replacing lost or worn keys (with permission)
- Learning lock mechanisms and cut depths
- Prototyping master keys or restricted systems
The 3MF file includes:
- 1 base KW1 key blank
35 negative cut objects, each precisely positioned to simulate a specific depth (1–7) at each of the 5 pin locations
Each negative shape subtracts material from the key blank, forming a cut at that location and depth.
How to Use This Model in Bambu Studio
Firstly, you'll need to find your keycode. The keycode is a 5 digit number, consisting of numerals 1-7. Most original keys have this stamped on one side of the bow (the part you grab), though it would be unlikely that a replacement key would have this number. Either way, if you don't have the keycode there's a few ways to figure it out - with calipers, or a key decoder card (instructions for both methods below).
Open the included .3mf file in Bambu Studio.
All negative cutouts and the key blank will be pre-aligned and grouped by position.
Decode your existing KW1 key using a decoder card or manual measurement (e.g., 3-1-5-4-2).
Delete all negative cuts that do not correspond to your bitting code:
For each pin position (from bow to tip), keep only the one cut depth that matches your key (e.g., if position 1 is 3, keep the cut depth 3 object at position 1 and delete 1, 2, 4, 5, 6, 7).
Repeat for all five positions.
Slice and print the final model. The cutouts will be subtracted automatically, leaving behind a printable, bitted KW1 key.
Boost Me (for free)
Shoot a boost my way, it helps!
How to Decode
Caliper Decoding
Starting at the cut nearest the bow (the cuts are the flat areas about 2mm wide), measure the distance from the spine of the key to the bottom of the cut, and reference the chart below to determine the code.
The standard calls for a tolerance of ±0.003" (±0.075mm), but realisically, with a 0.023" step between cuts, if your measurement is within ±0.008 (±0.200mm) that'll be close enough to call it with some degree of confidence
| CODE | METRIC | INCH |
|---|---|---|
| 1 | 8.357mm | 0.329" |
| 2 | 7.772mm | 0.306" |
| 3 | 7.118mm | 0.283" |
| 4 | 6.604mm | 0.260" |
| 5 | 6.020mm | 0.237" |
| 6 | 5.436mm | 0.214" |
| 7 | 4.851mm | 0.191" |
Decoder Card
Print out the decoder card found here. It's quick, and only costs a few cents to print.
Insert the key, teeth up, through the largest opening, up to the first bitting cut. With the spine of the key resting on the bottom edge of the opening, begin sliding the key to the left. The cut code is the smallest opening the bitting cut will fit into. Start at the bitting cut closest to the bow, and work your way toward the tip of the key, record all 5 cut codes to determine your entire key code.
Honorable Mentions
The KW1 standard calls out a blade width of 0.335". If you take a picture of the key, and open that up in GIMP, drop a guide along the X axis, align the spine of the key to that guide line, then drag down another guide line to the thickest part of the blade (immediately adjacent to the bow), and more guides at each cut depth, you can use the measure tool ([CTRL] + [M]) to find the pixel height of the blade, and the pixel height of each depth. Knowing that the pixel height of the blade is equal to 0.335", you can divide that 0.335 by the pixel height height, and multiply that by the pixel height of each bitting cut to get some numbers you can compare to the chart above. Alternatively, you could do similar in any cad software that lets you pull in a reference image, but at that point you might as well just trace the whole key, and print that out.
Legal & Ethical Reminder
This tool is for legal, ethical use only. Do not decode or duplicate keys you do not own or have permission to handle. Unauthorized use of key decoding tools may be illegal in your area.
Boost Me (for free)
I do most of my printing in ABS, but the points from boosting me help me to get stuff like PLA and PETG so I can make print profiles that other people will actually use
License

You may create derivative works based on this object, provided that all such derivative works are published exclusively on the MakerWorld platform and include proper attribution to the original creator. You may not share, upload, host, distribute, or publish this object—or any derivative work of this object—on any other digital platform, marketplace, or distribution channel. Commercial use of this object and any derivative works is strictly prohibited. This includes, but is not limited to, selling, renting, sublicensing, or using the object in any context in which you receive monetary compensation or other financial benefits.


Comment & Rating (38)