
Precision Sander
Print Profile(4)



Description
Boost Me (for free)
If you like my work please consider giving it a boost! This goes a long way to allowing me to keep designing and bringing my models here for all of you to enjoy. Thank you!
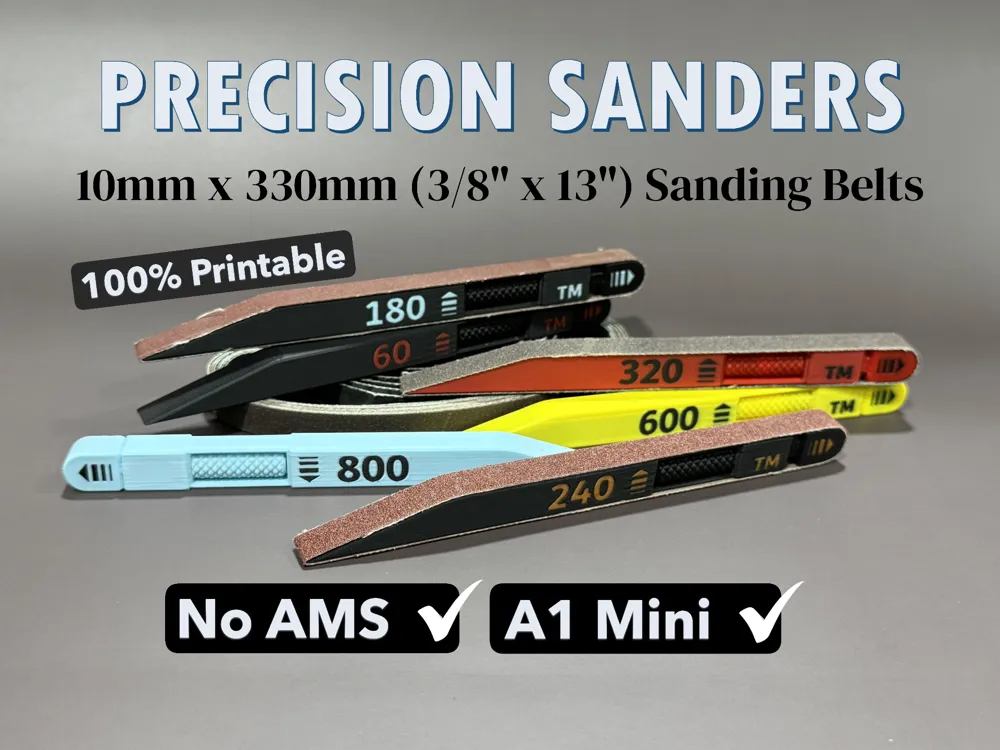
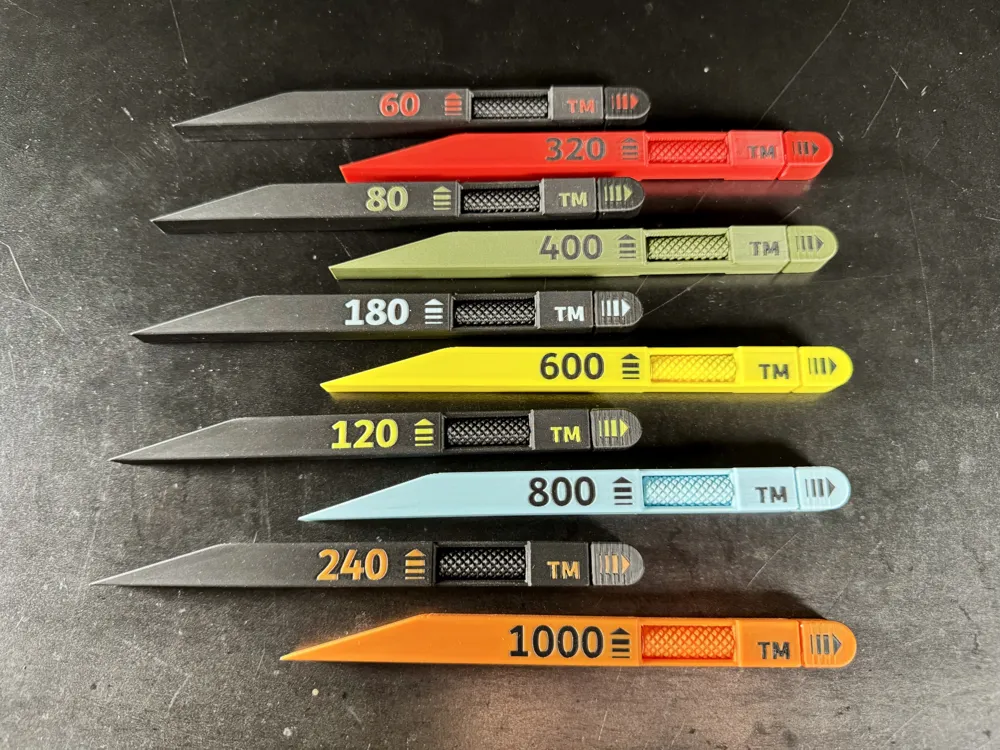
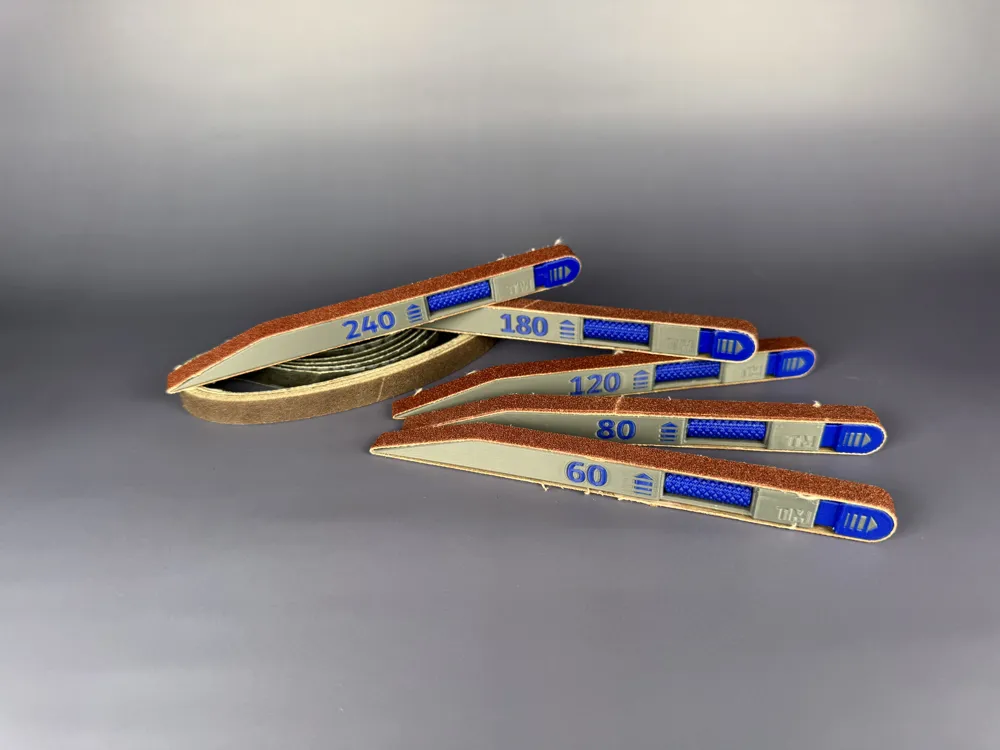
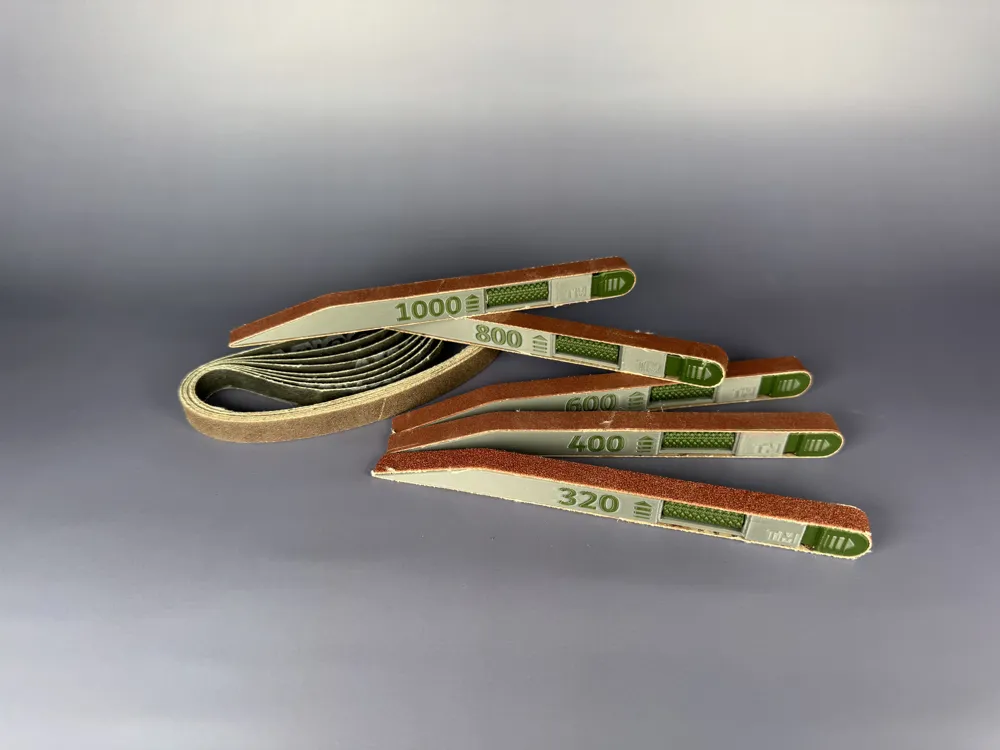
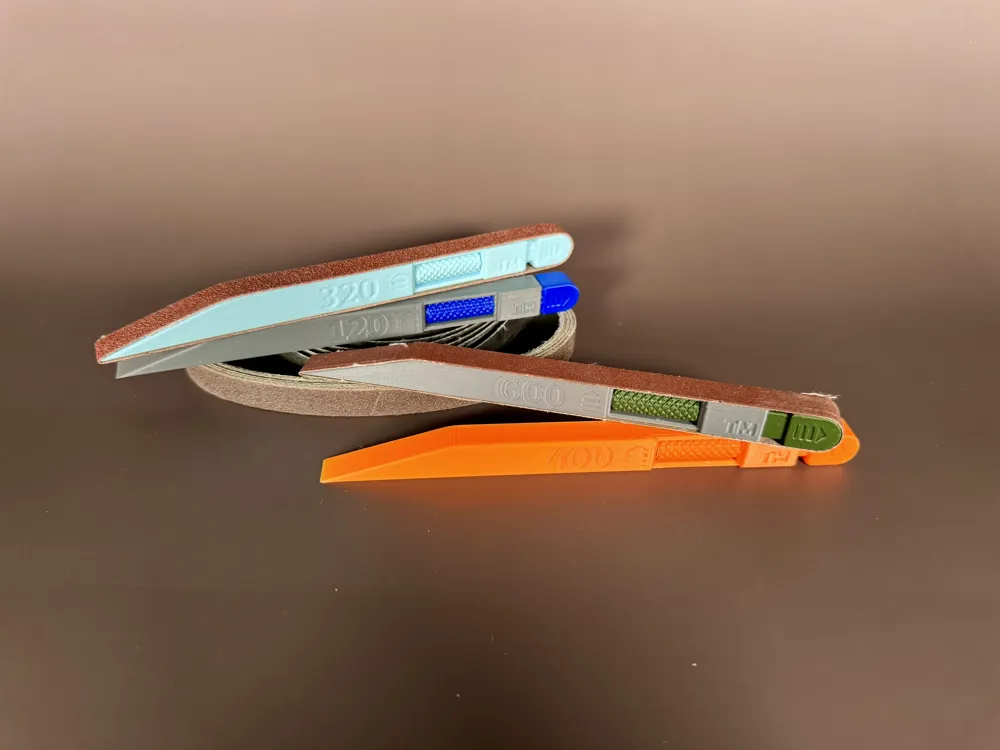
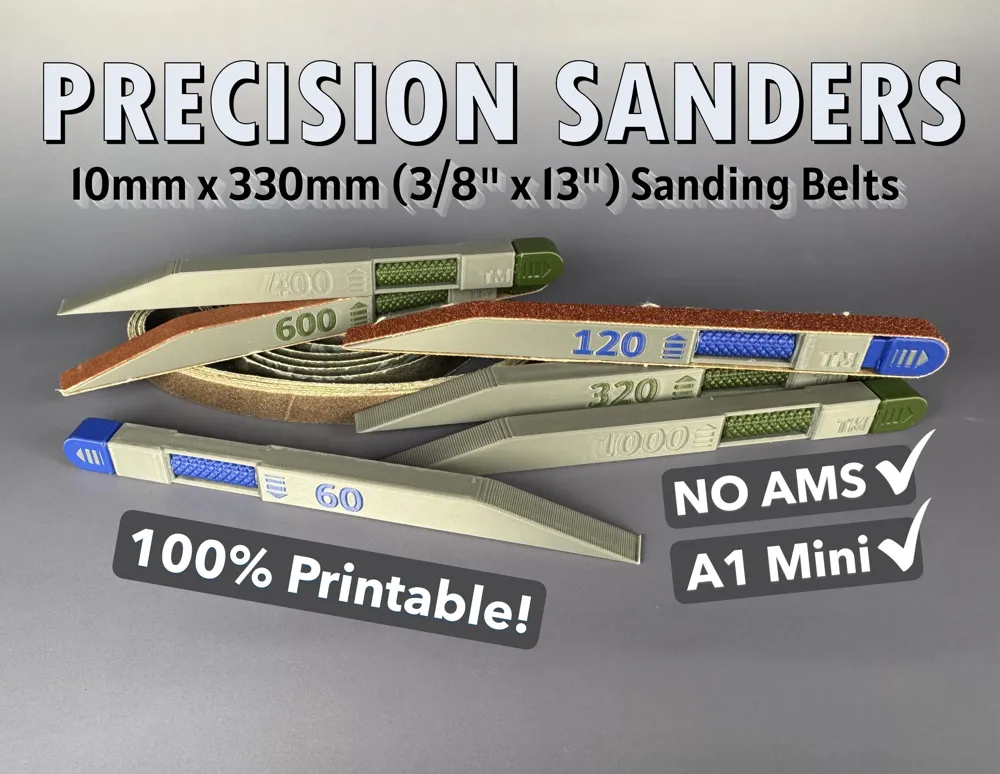
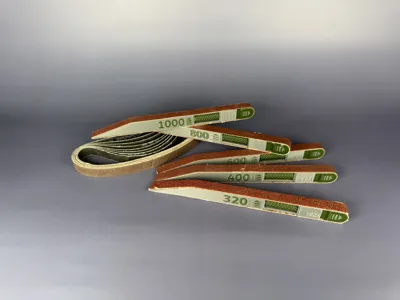
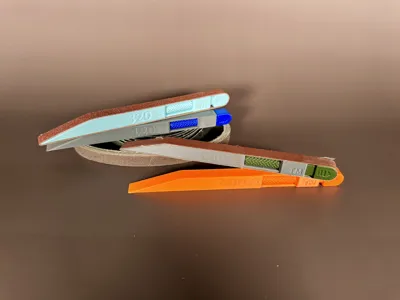
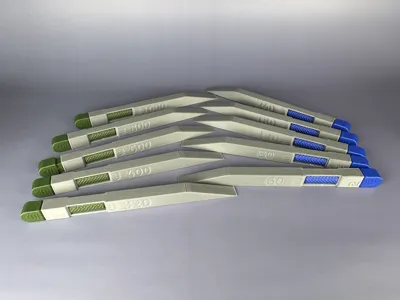
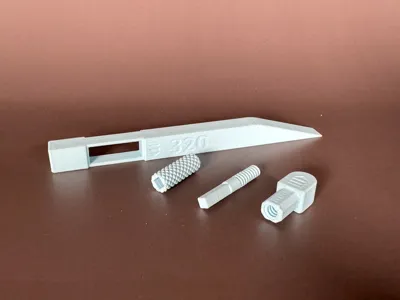
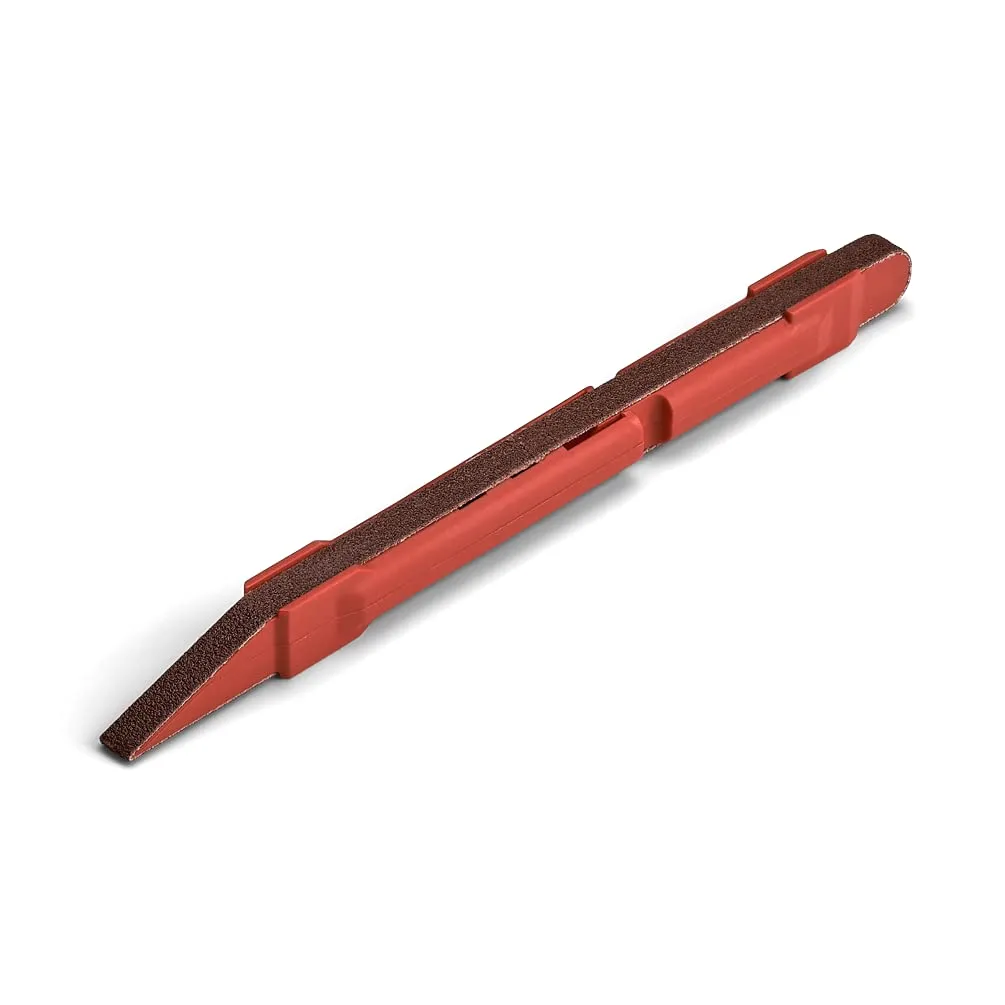
This is my take on the popular “Sanding Detailer” in the image below. I thought the price tag was a little excessive, and I didn't like how they were held by spring tension in the middle. I made these threaded to maintain tension as you use the sander. Because of this design, I was able to get rid of the side runners along the sanding edge allowing you to use the entire sanding surface. Unlike the commercially available detailers, these won't lose tension if you put pressure in the wrong spot while sanding. The threaded design keeps tension on the belt the entire time unless you loosen it to remove the belt. That said, you can still easily rotate the belt to get a new sanding surface by loosening the thumb screw, rotating the belt, and tightening it back again.
Sander Info
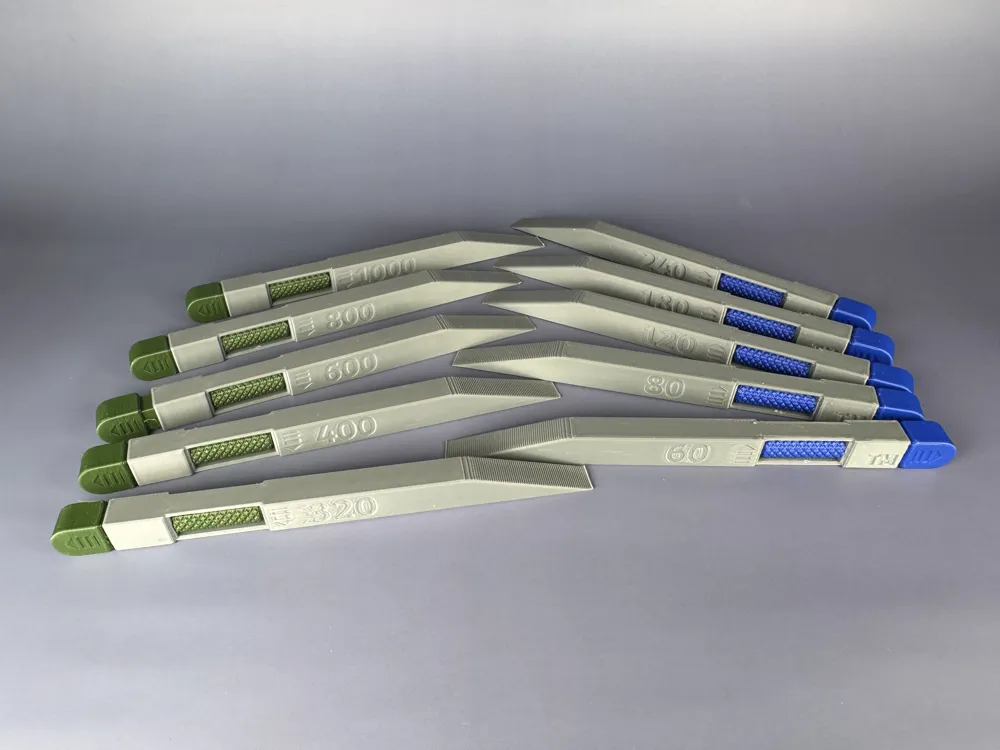
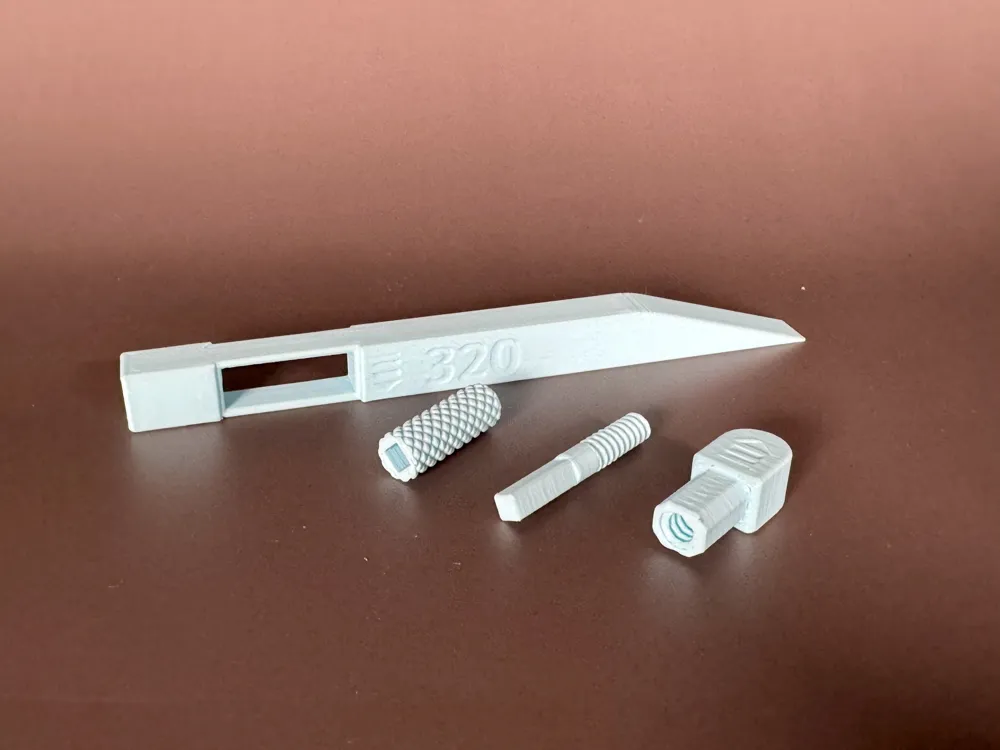
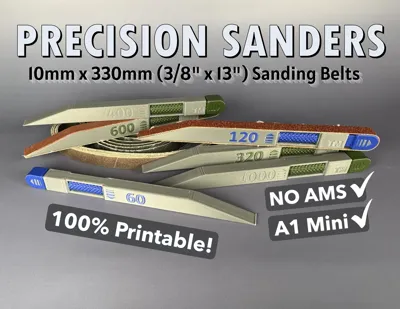
These are made for 10mm x 330mm (3/8" x 13") sanding belts. I put a couple hundred printer hours in the thread design to make sure these will work without having to run threads in and out over and over, and that they would work well with different types of filament. The print profiles are set for .16 layer height. The very small threads just can't handle the .2 standard layer height so it's best to keep that setting. The end cap, tension screw, and thumb screw are set to print with brim. Brim is necessary to ensure you have a successful print.
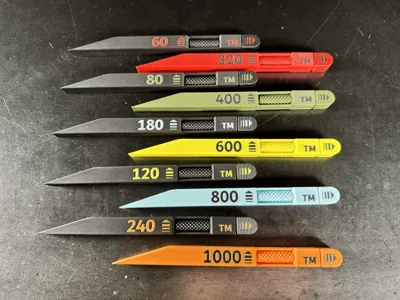
Filament tested:
Bambu Lab -PLA matte - 4 colors
Bambu Lab -PLA basic - 3 colors
Bambu Lab -PLA metal - 1 color
Bambu Lab -PETG-HF - 4 colors
Assembly:

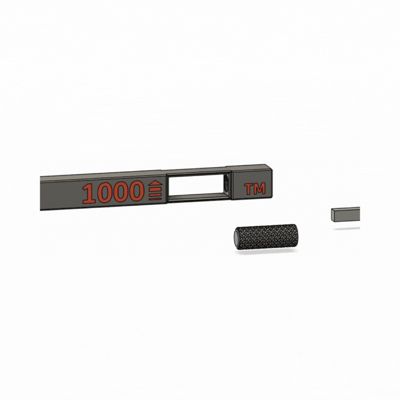
After removing all the supports take the end cap and slide it in and out of the back of the main body a couple times just to clear any residual supports. Thread the tension screw into the end cap, place the knurled thumb screw in the main body cutout, then slide the end cap in to the back of the main body. You're ready to go!
NEW UPDATE**
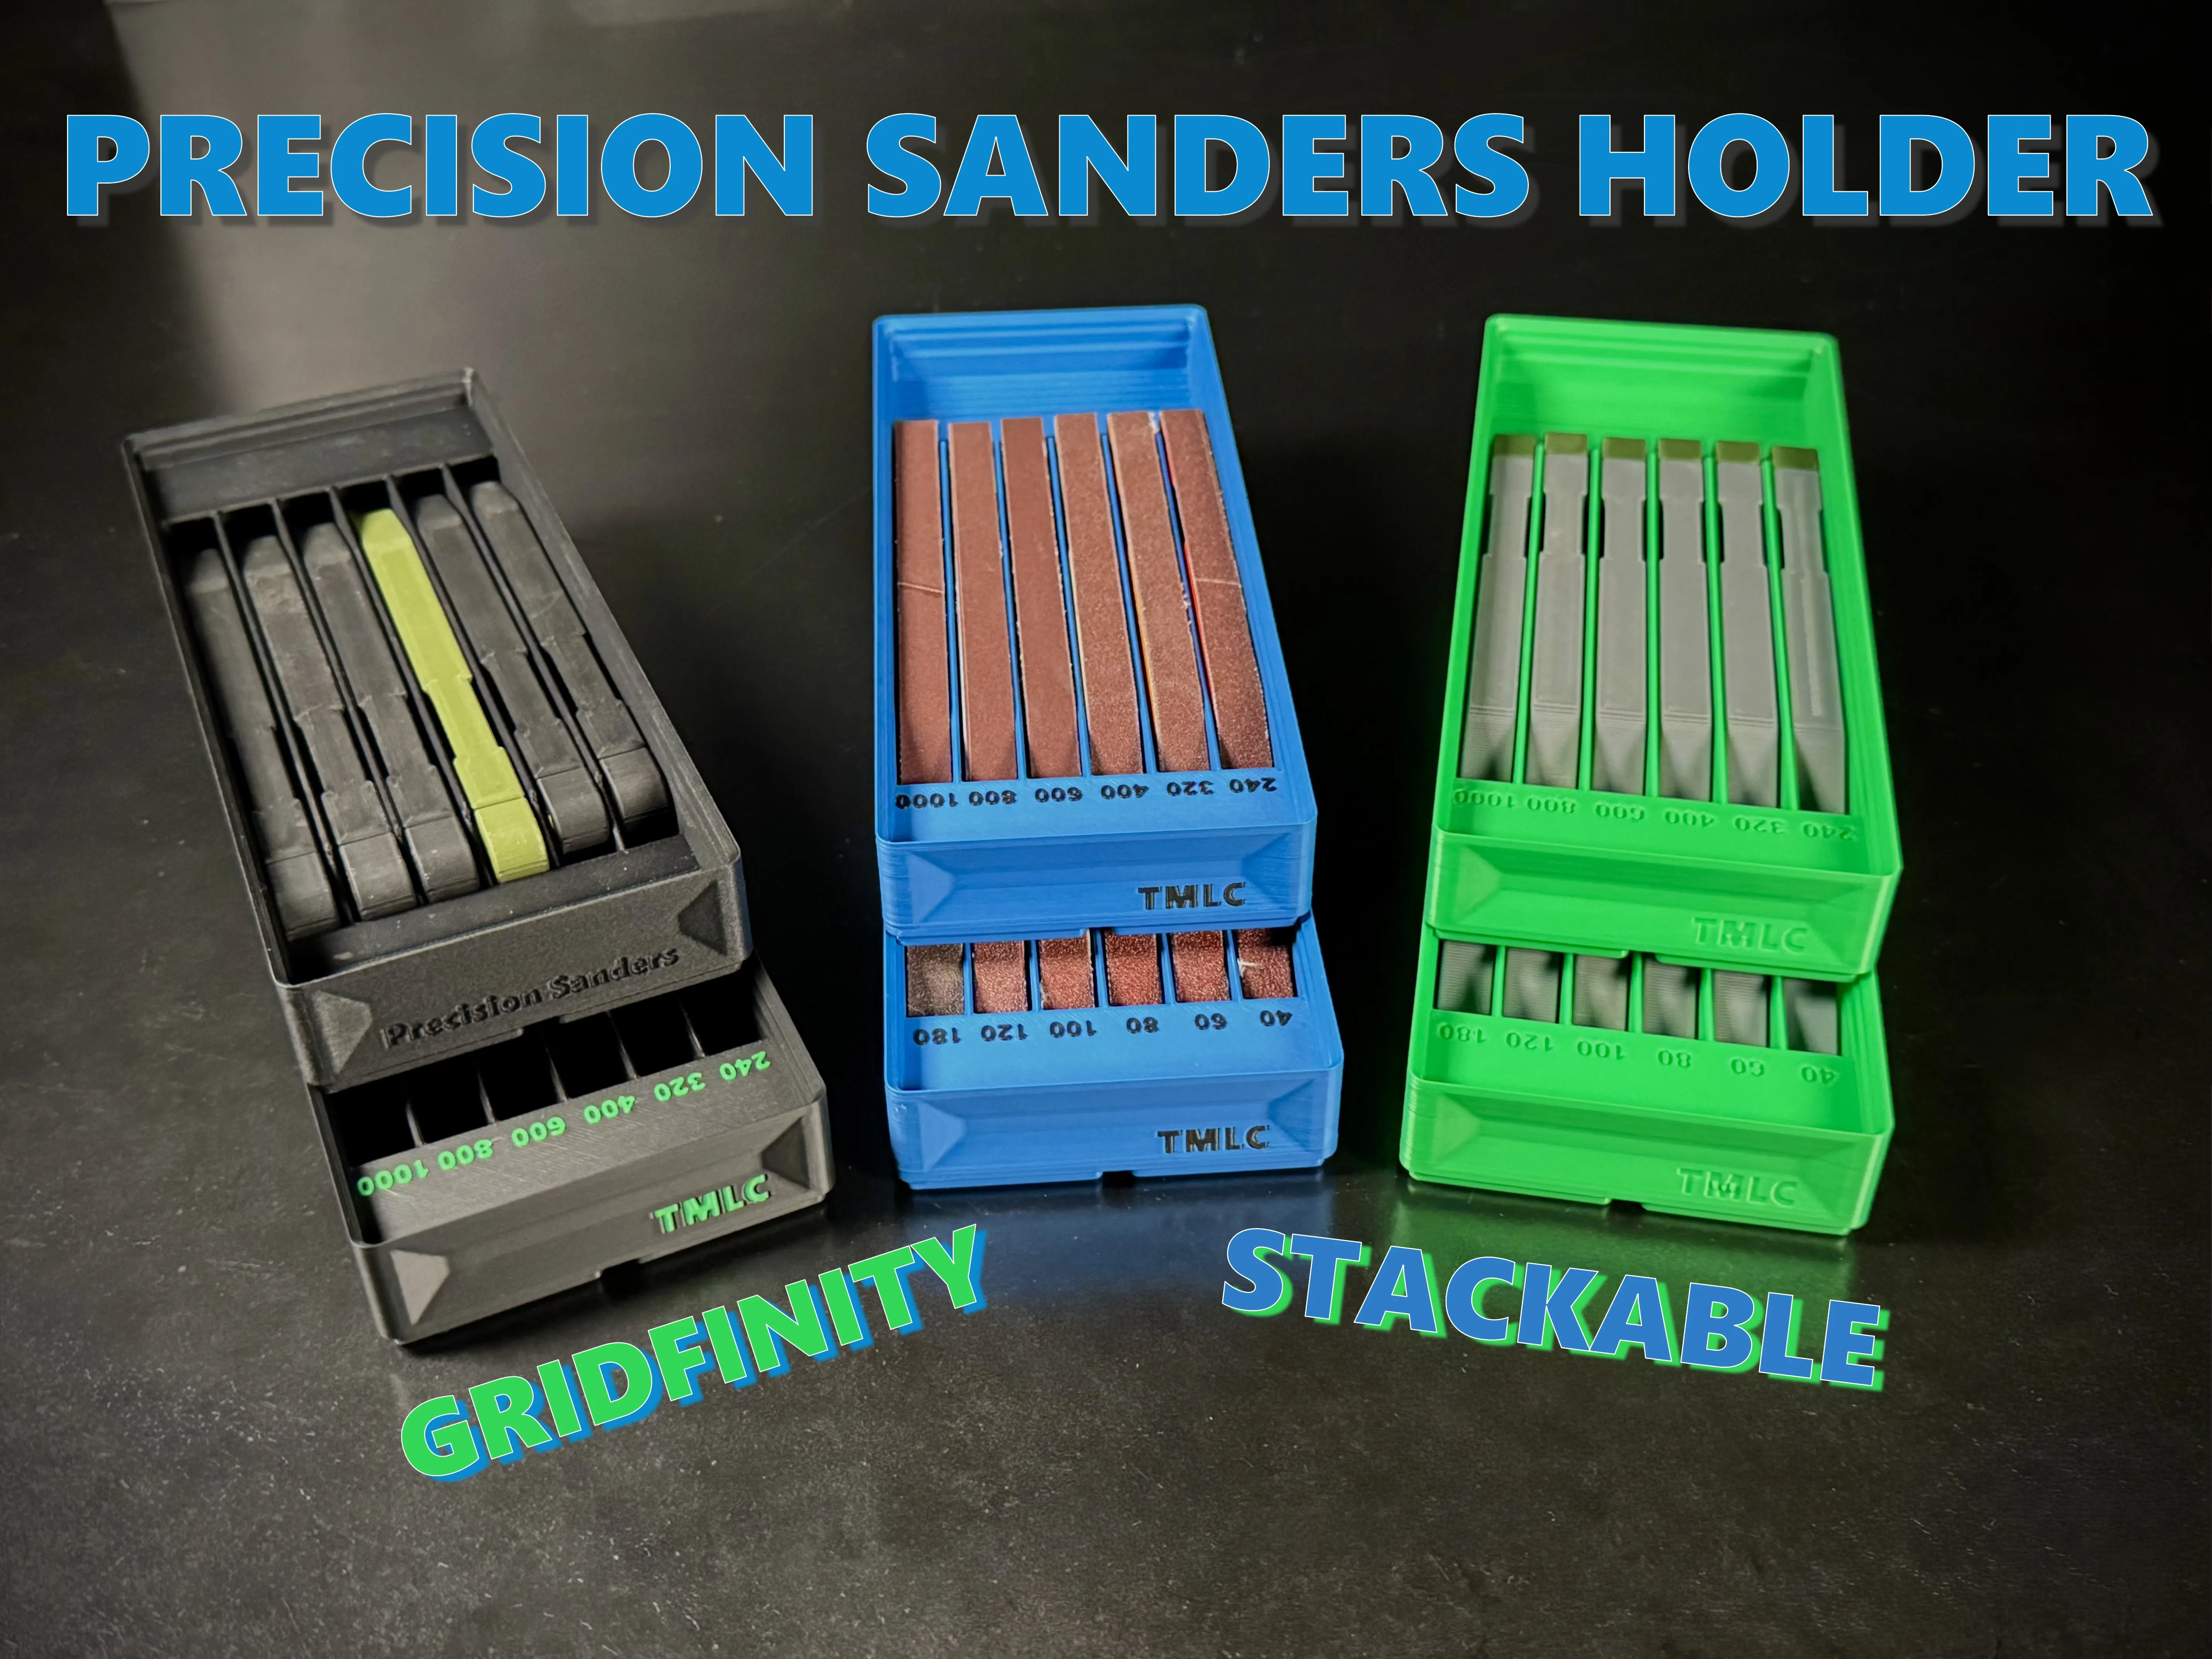
I have just released a new Gridfinity Holder for the Precision Sanders! Click the link in text or the image below to check them out. Thanks!
License

You shall not share, sub-license, sell, rent, host, transfer, or distribute in any way the digital or 3D printed versions of this object, nor any other derivative work of this object in its digital or physical format (including - but not limited to - remixes of this object, and hosting on other digital platforms). The objects may not be used without permission in any way whatsoever in which you charge money, or collect fees.


Comment & Rating (149)