
Instax Mini Photo Rolodex | Vertical


Print Profile(7)


![[A1 Mini] 0.2mm layer, 2 walls, 15% infill](https://makerworld.bblmw.com/makerworld/model/USac1eb3e6df9cc0/394963623/instance/2025-08-30_c42022a3c4ed78.png?x-oss-process=image%2Fresize%2Cw_100%2Fformat%2Cwebp)


Description
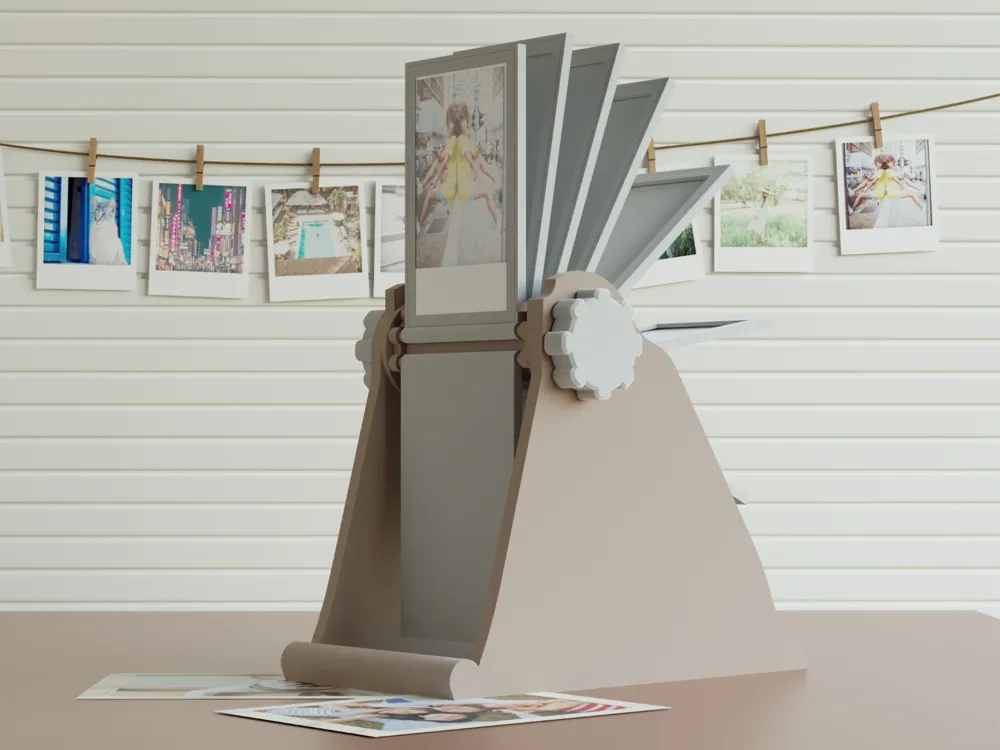
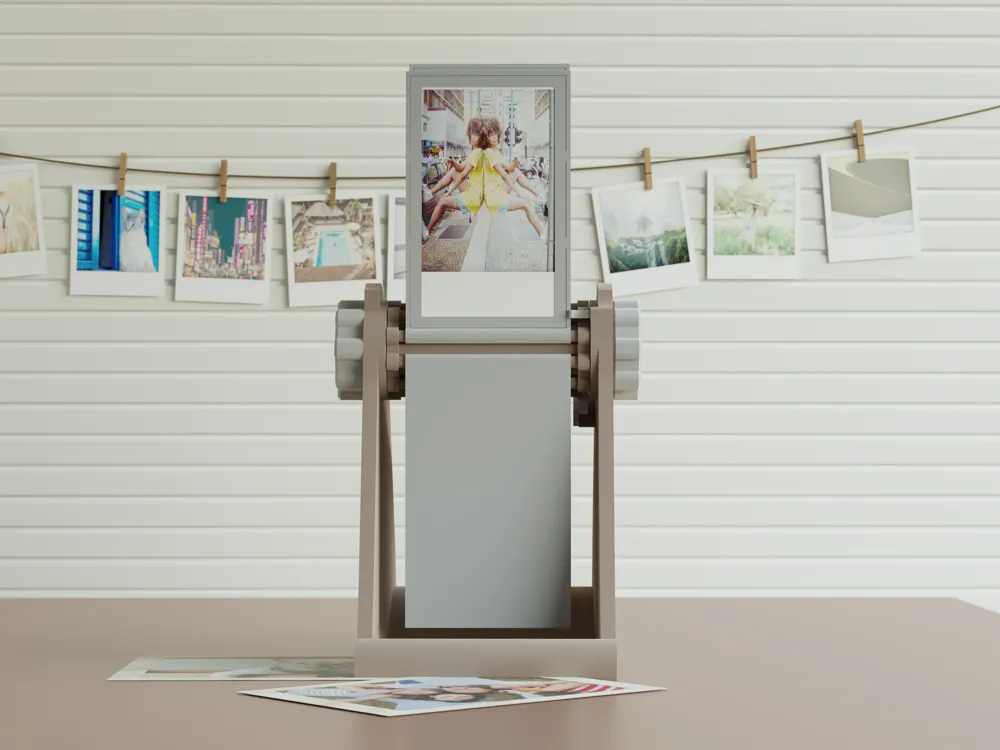
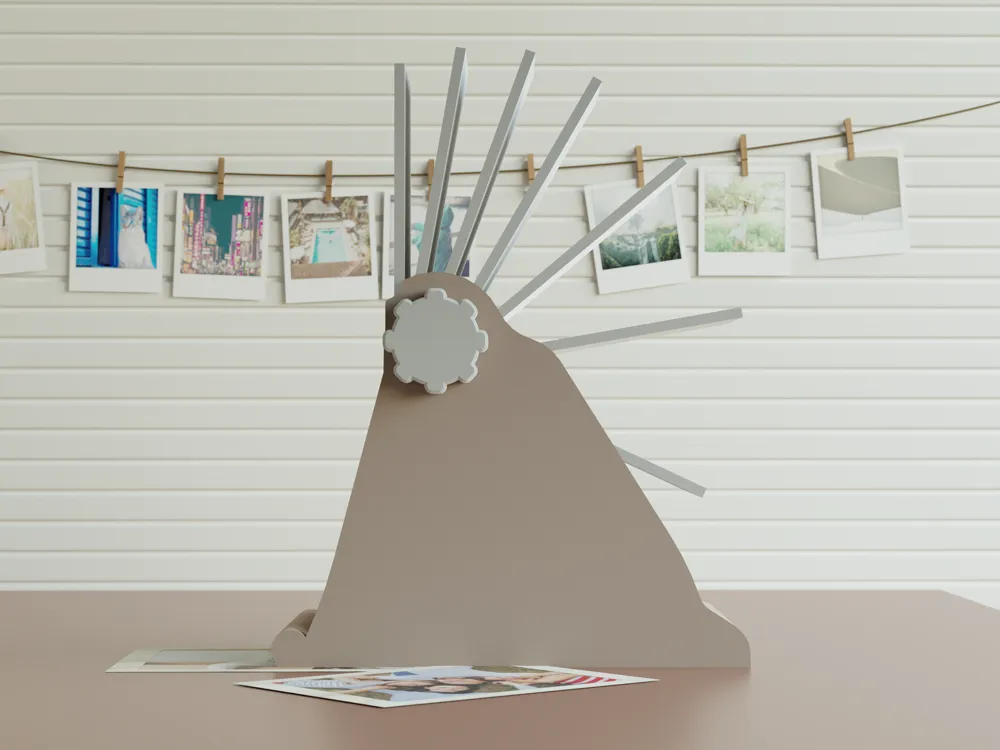
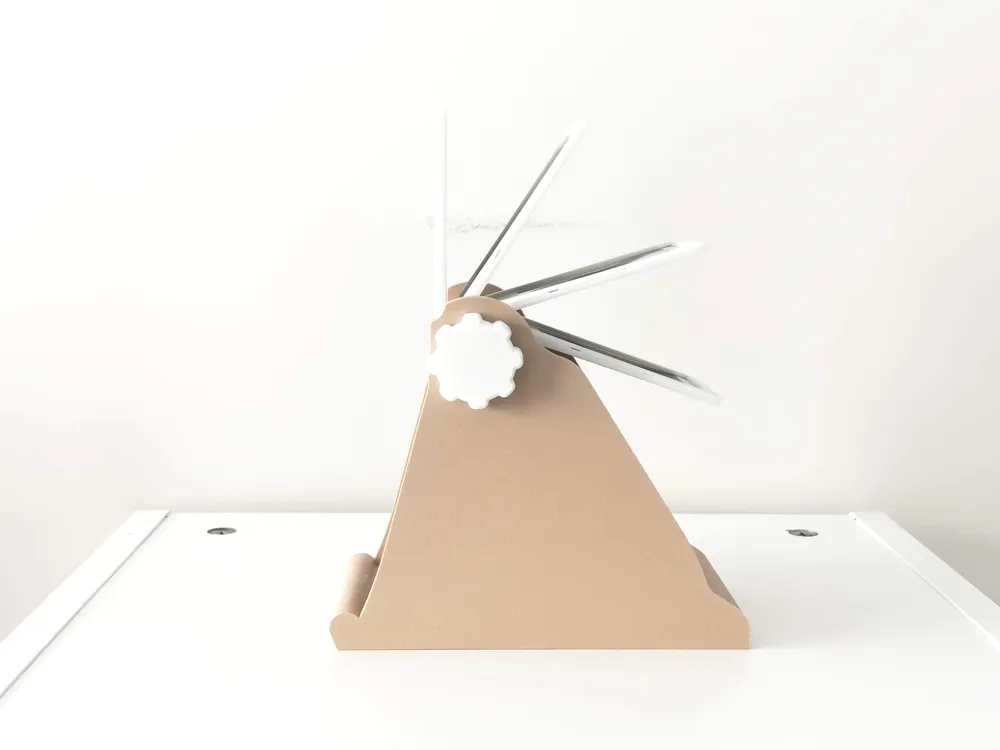
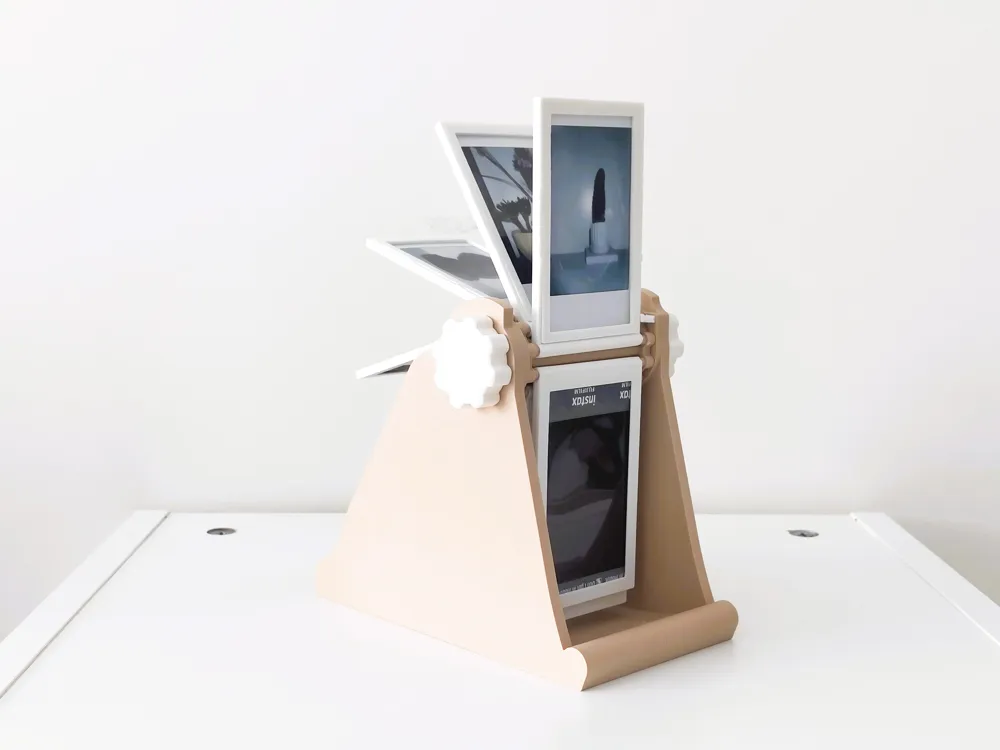
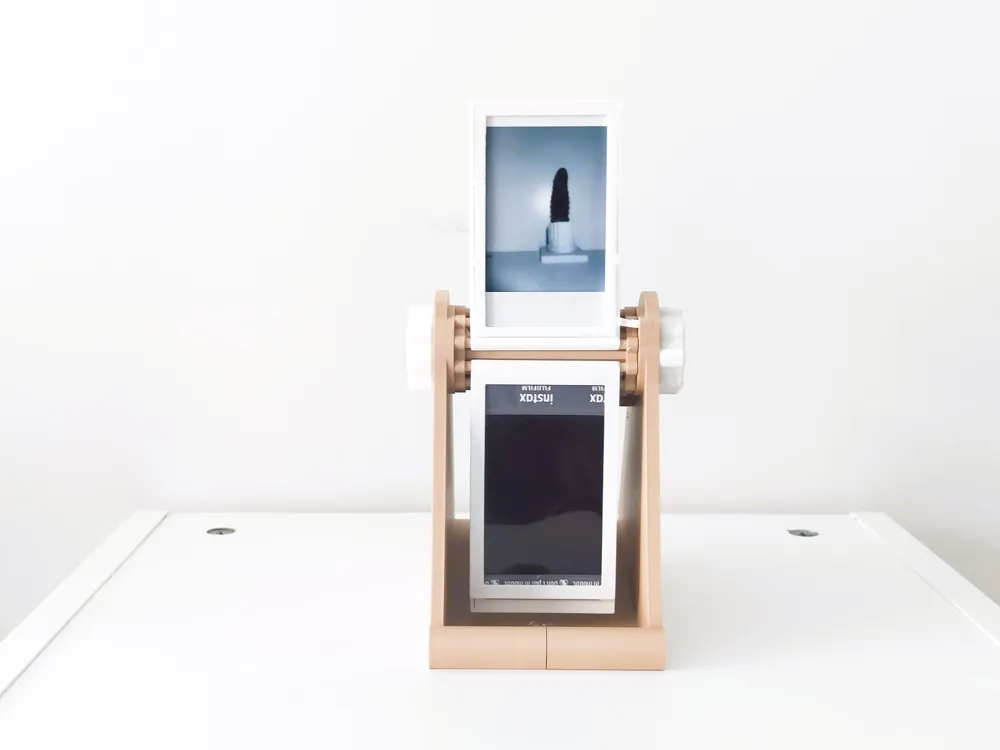
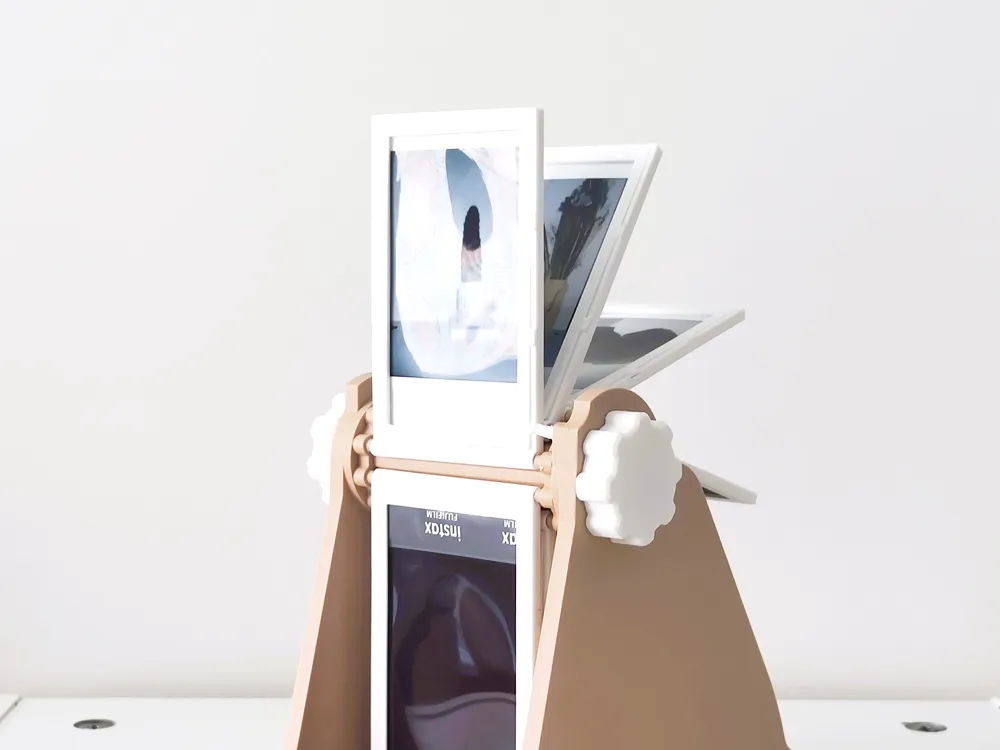
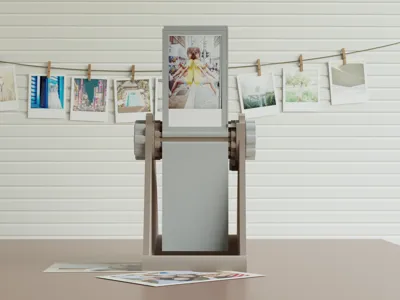
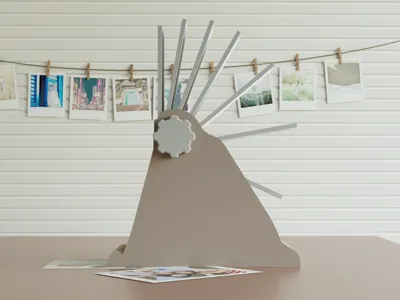
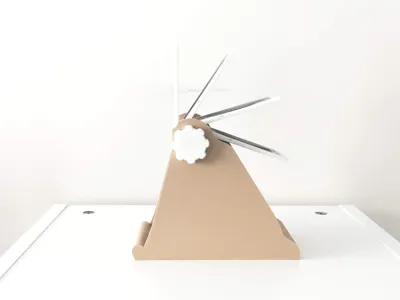
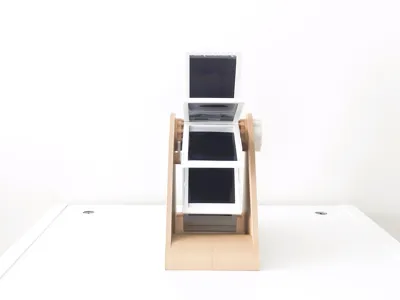
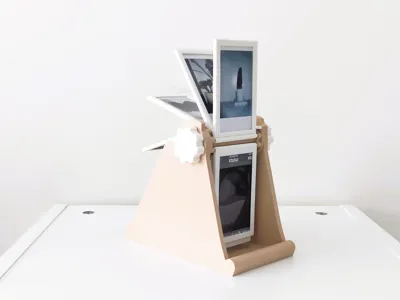
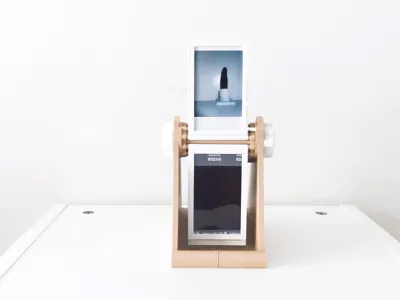
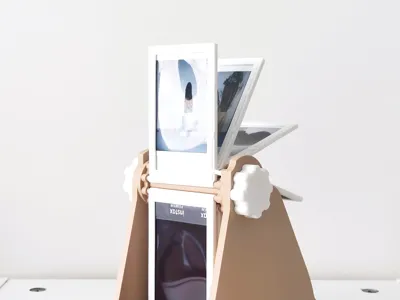
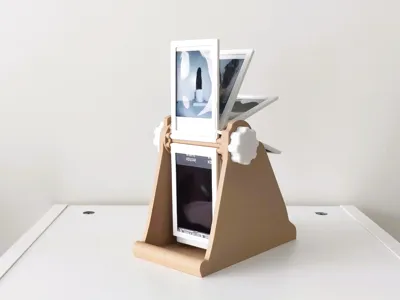
📸 Instax Mini Photo Rolodex – Vertical version V2.0
A fun and functional way to store and display up to 20 Instax Mini photos! Just snap your pictures into the rotating frames and flip through them like a vintage Rolodex 🔄✨
Below is the the description and the assembly guide to the upgraded version.
🚀 What’s New in The Version V2.0?
Improved Picture Frames – Easy to print and assembly, better look.
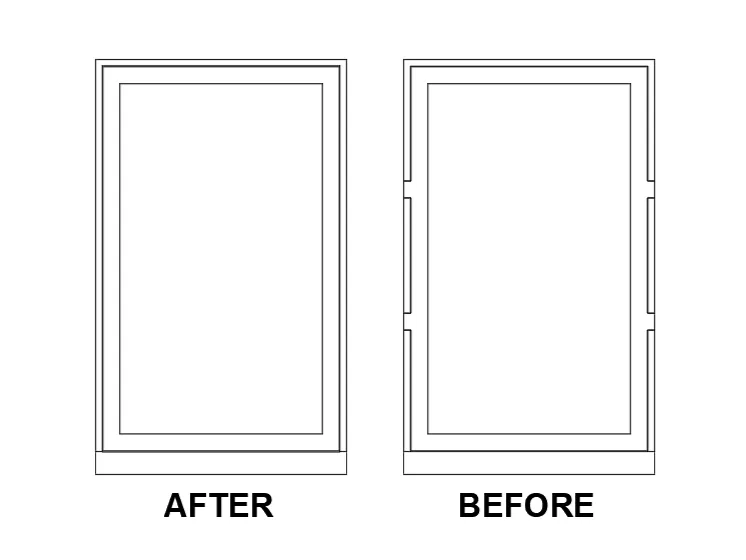
- Improved Frames Inserting Mechanism – easier assembly, no falling frames.
- Improved tolerances
⚙️ Assembly Note:
Please read the assembly guide carefully for an easy, smooth build!
🛠️ Assembly Guide for Version 2.0
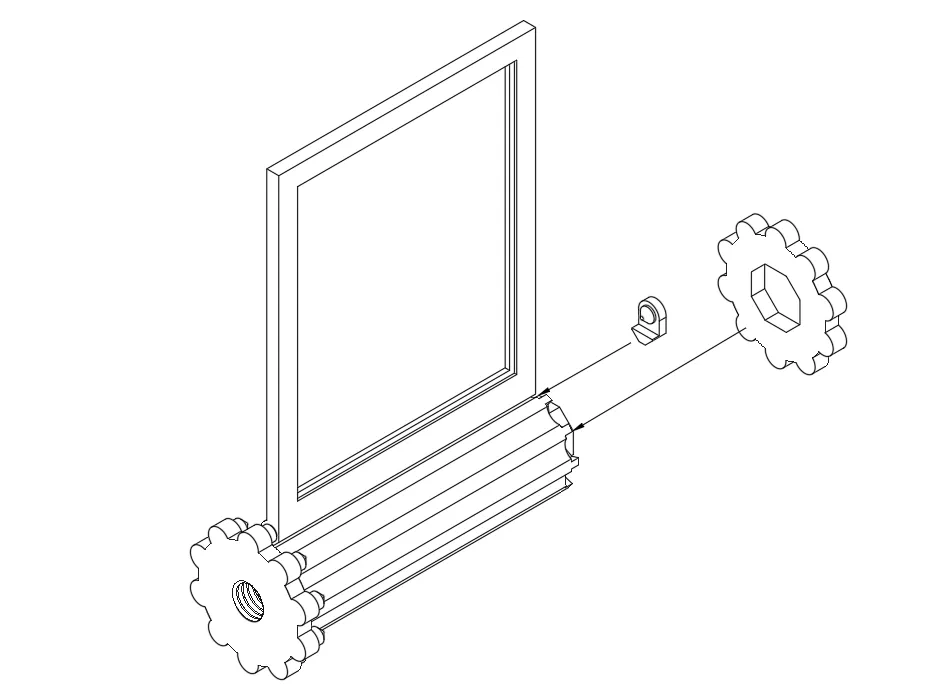
- Insert Photos into Frames
Place each photo into the Bottom Part of the frame, then snap on the Top Part to secure it.
🔁 Repeat for all frames. Insert the frames to the drum and lock it with Drum Insert. Repeat for all frames. Finish with Drum Lock as shown in the picture.
Install the Clicker and Extender
Insert the Clicker and Extender (for Square and Wide modification only) into its dedicated slots and secure the Clicker with the Clicker Screw.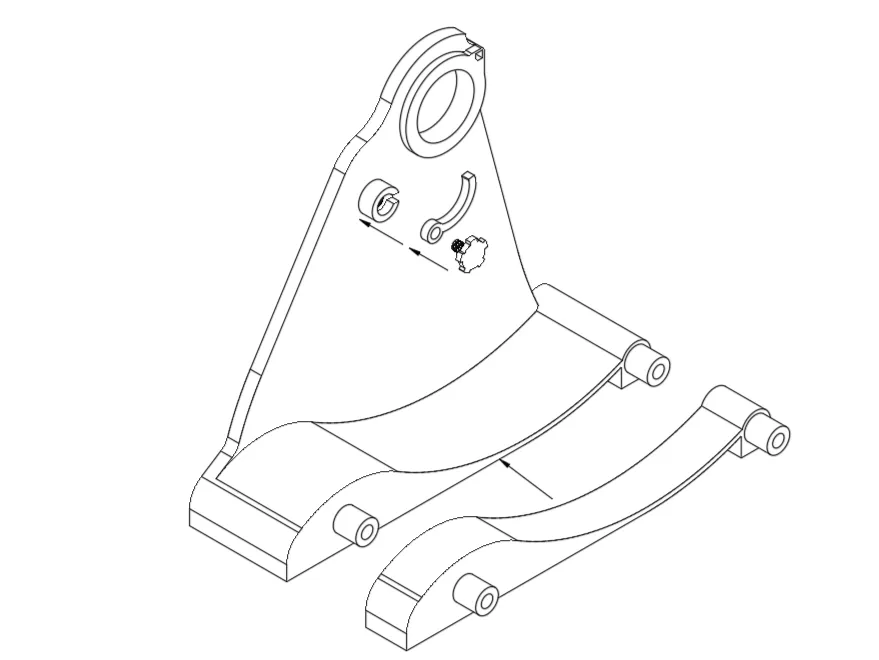
Insert the drum with frames
Secure the drum with picture frames using the Left Knob.⚠️ Important: The threads are left-handed — rotate the knobs counter-clockwise to tighten.
This is intentional and prevents loosening during rotation.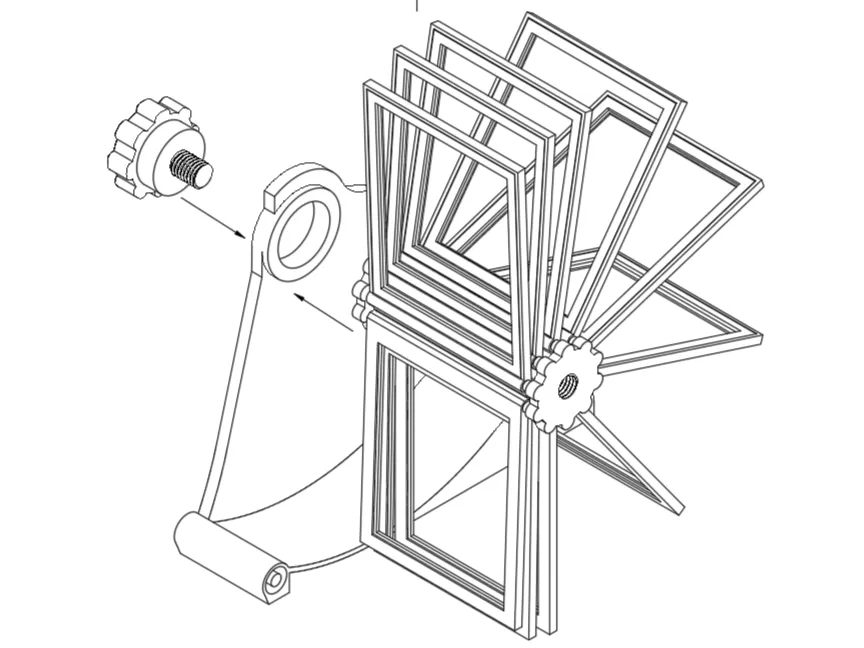
Assemble the Case
Align and attach Case Right and Case Left using the guiding pins. Secure the assembly with the Right Knob.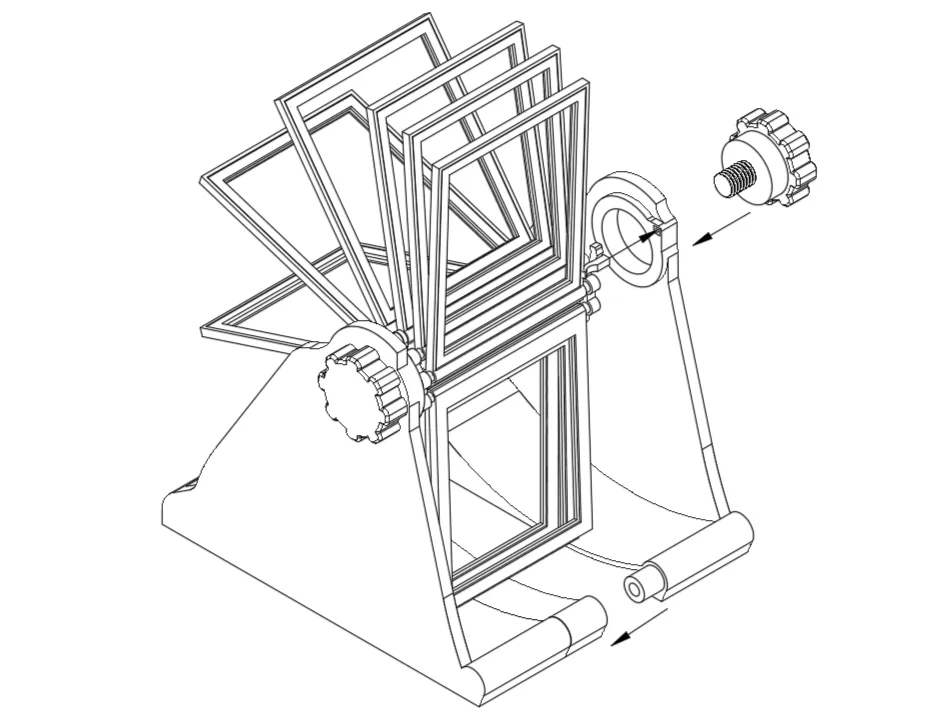
Insert the Stopper (Optional)
Place the Stopper into its designated slot to complete the assembly. This feature is optional to hold the picture in perfect vertical position and prevent it from falling.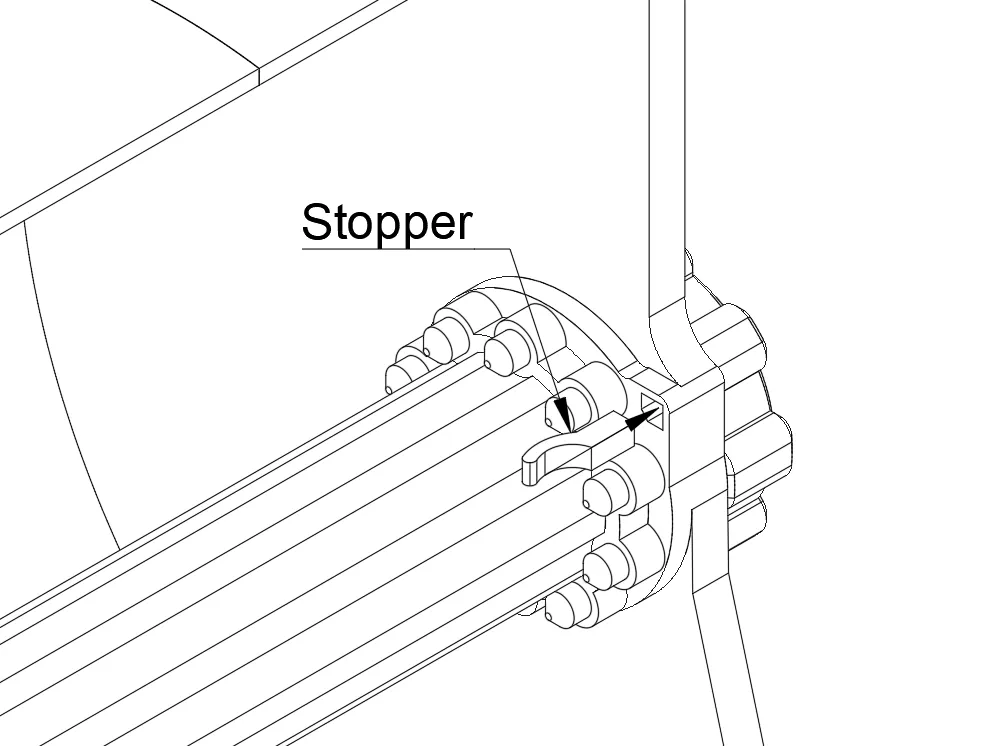
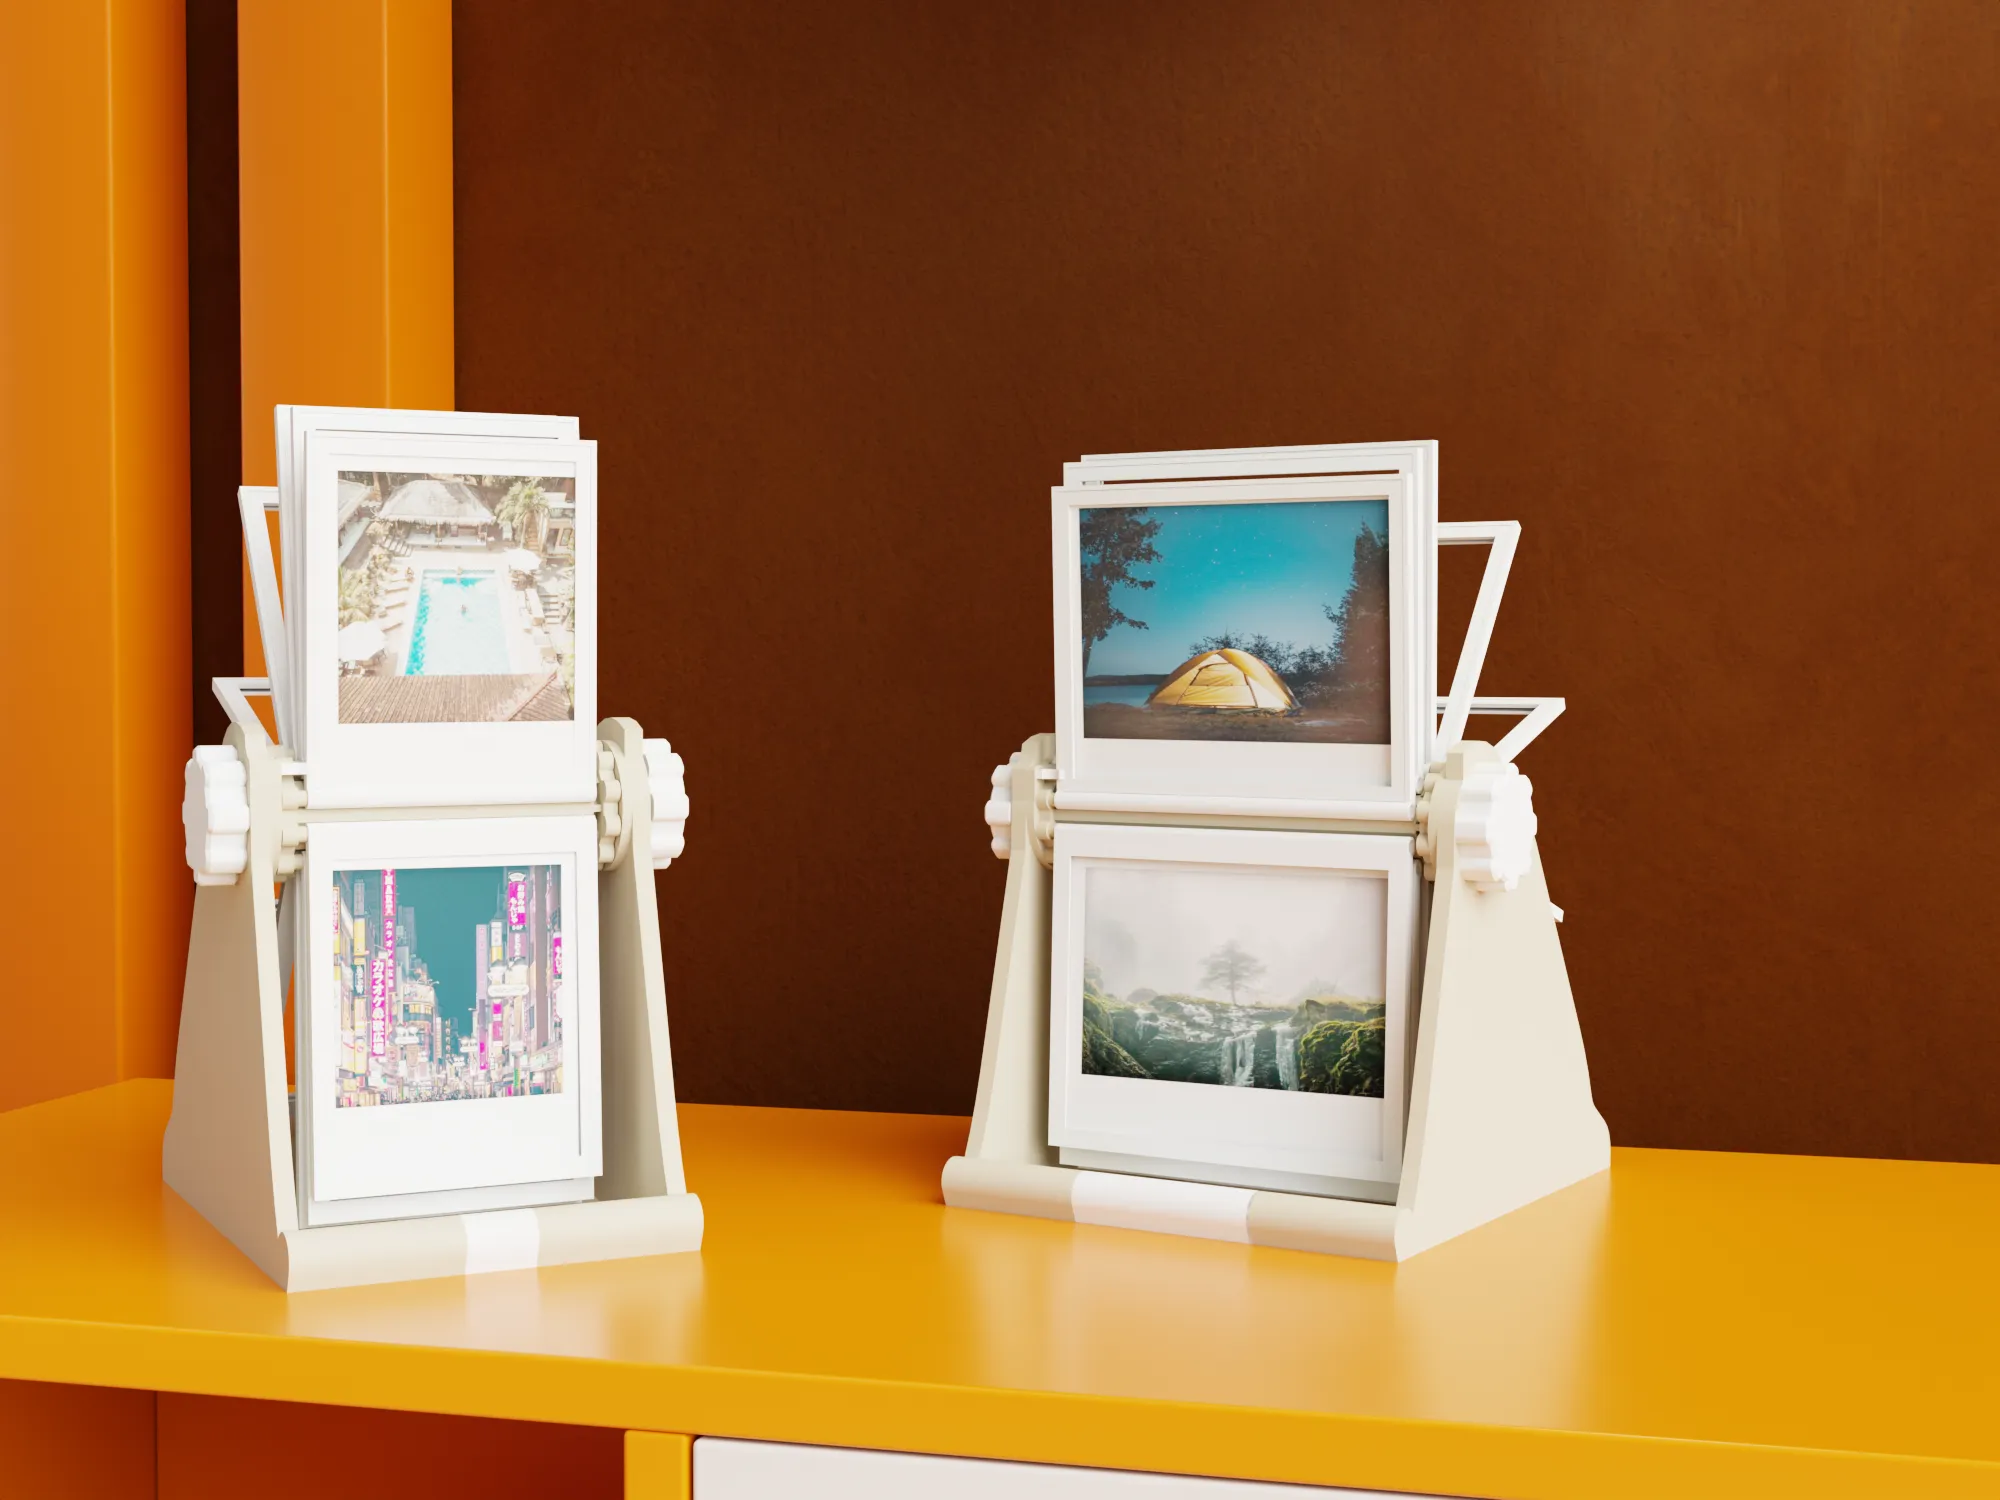
📸 Version for Square and Wide is available now!
Many of you were asking about the version for Wide and Square Instax pictures. Thank you to your support and interest:) Now it's available! I hope you will enjoy your memories!
🛠️ Assembly Guide for Old version
Insert Photos into Frames
Place each photo into the Bottom Part of the frame and snap the Top Part on to secure it.
🔁 Repeat for all 10 pictures.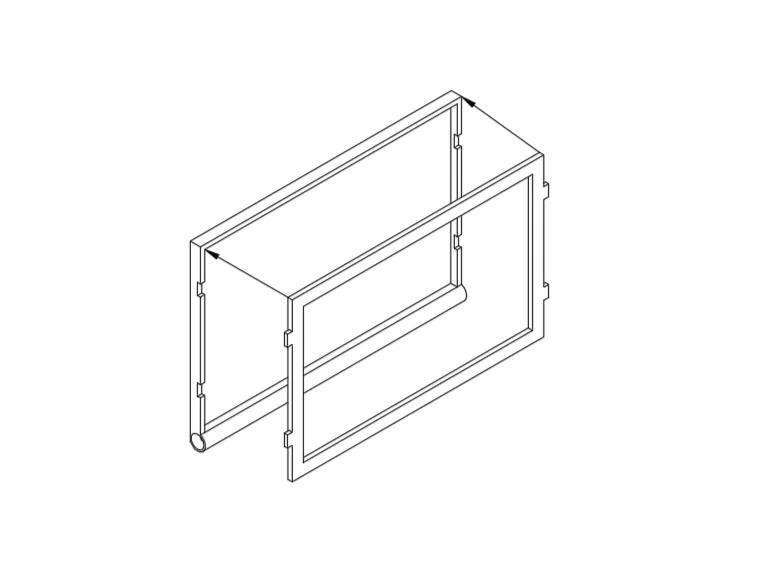
Install the Clicker
Insert the Clicker into its dedicated slot and secure it with the Clicker Screw.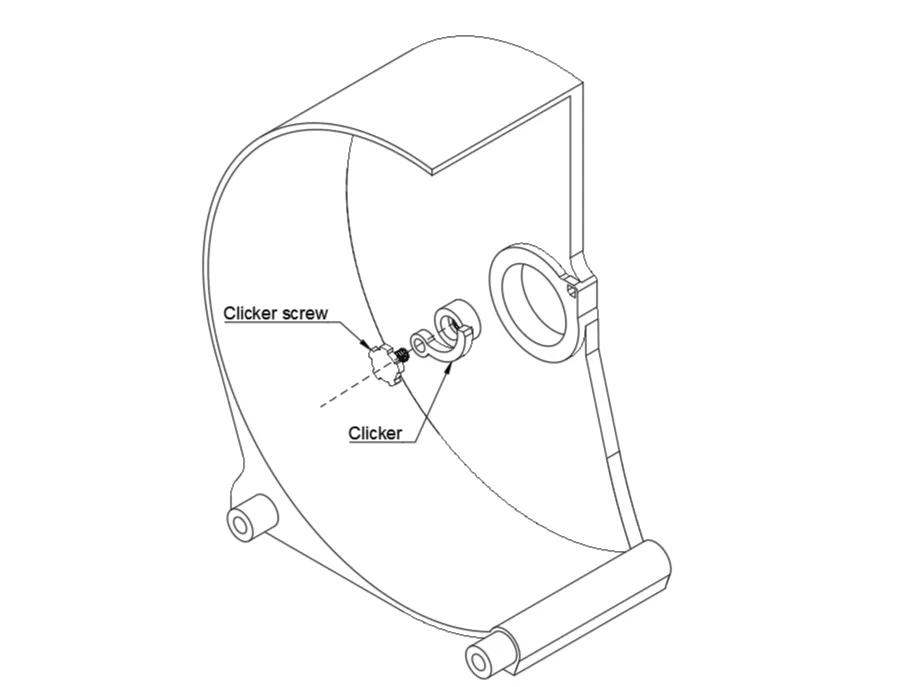
- Assemble the Main Case
Align and attach Case 1 and Case 2 using the guiding pins. - Insert the Second Drum
Place the Second Drum into the main Drum part, ensuring the pins are properly aligned. Secure the Drum Assembly
Insert the assembled drum into the case and secure it with the Right and Left Knobs.
⚠️ Important: The threads are left-handed – rotate the knobs counter-clockwise to tighten.
This is intentional to prevent loosening during rotation.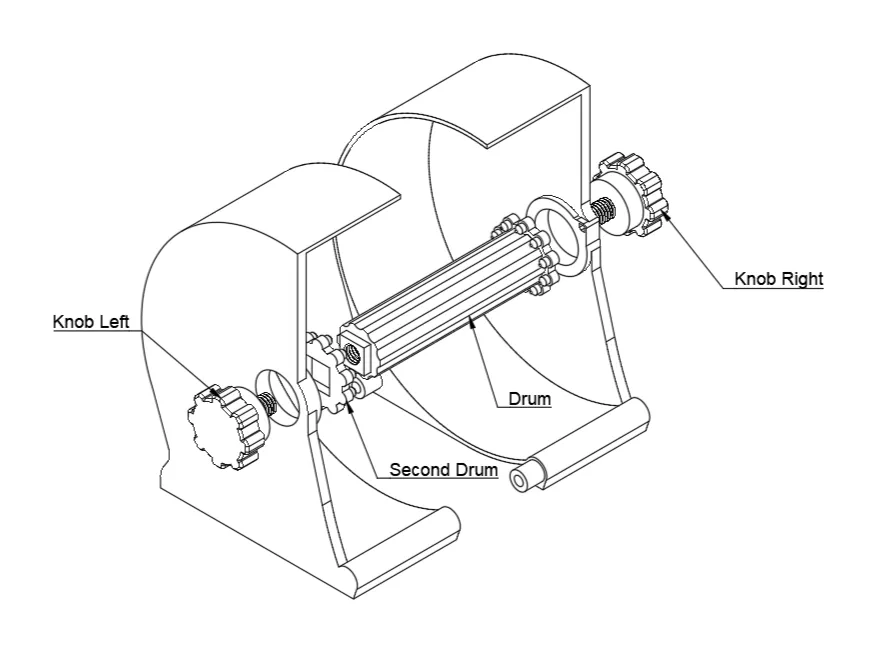
- Do Not Over-tighten
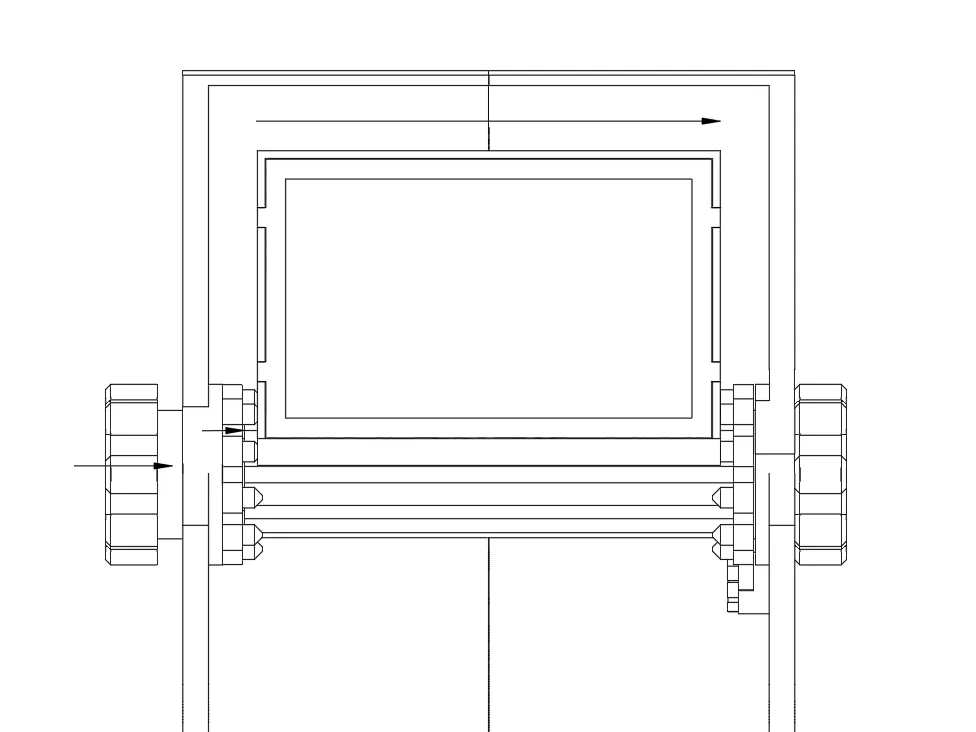
Leave a slight gap so the frames can still be inserted smoothly. Insert the Frames
This part can be a little tricky — here's the easiest method:
• Start by placing the right pin of the frame onto the right drum post.
• Slightly loosen the left knob to fit the left pin of the frame.
• Once in place, tighten the left knob just enough to hold the frame.
• Then, rotate the right knob until you hear a click to lock it.🔁 Repeat this process for all 10 frames.
Insert the Stopper
Place the Stopper into its designated slot to complete the assembly.
Perfect for your desk, shelf, or coffee table – and a great conversation starter too!
Easy to print, assemble, and enjoy 💛
🤖 AI Use Disclosure:
This model description and text were created with help from AI to improve clarity and presentation. The design itself is fully original.
Boost Me (for free)
Love this design? Show some love with a boost, share it with your fellow makers, or leave a review! It’ll help me keep creating (and maybe fuel my coffee fund for late-night design sessions). Let’s keep the 3D-printing magic alive!
Membership
If you like the design and want to just support me or get the commercial license? Check out available subscriptions. Let's make more printings together :)
AI Use Disclosure
The design and idea are original. All 3D model parts were designed and created manually, without using AI for the CAD/modeling process.
AI was used only to create the background/environment for the cover image.
The product itself, the printed parts, and the other images are based on real photos of the actual 3D-printed model.
AI was also used to help improve and polish the description text.
Boost Me (for free)
Boost Me (for free) Love this design? Show some love with a boost, share it with your fellow makers, or leave a review! It’ll help me keep creating (and maybe fuel my coffee fund for late-night design sessions). Let’s keep the 3D-printing magic alive!
Membership
If you like the design and want to just support me or get the commercial license? Check out available subscriptions. Let's make more printings together :)
License

You shall not share, sub-license, sell, rent, host, transfer, or distribute in any way the digital or 3D printed versions of this object, nor any other derivative work of this object in its digital or physical format (including - but not limited to - remixes of this object, and hosting on other digital platforms). The objects may not be used without permission in any way whatsoever in which you charge money, or collect fees.


Comment & Rating (155)