H2D Baseframe – Modular AMS Tower & Tool Drawer


Print Profile(1)

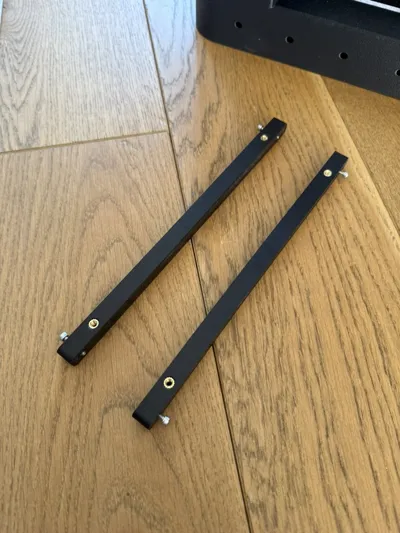
Bill of Materials


- Drawer Slide x 6: https://amzn.eu/d/eICeVrT
- ruthex® threaded insert M4 x 30: https://amzn.eu/d/6wBuJAR
- Screws M4 16mm x 30: https://amzn.eu/d/5TXFZ0q
- 6pin 1500mm Bambu Bus Cable x 1: https://eu.store.bambulab.com/de/products/bambu-bus-cable?id=48836361290076
Description
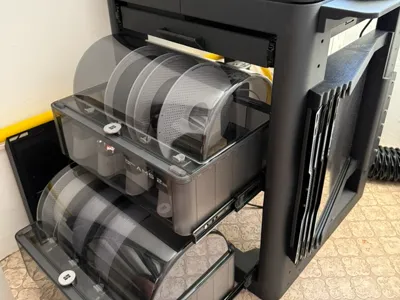
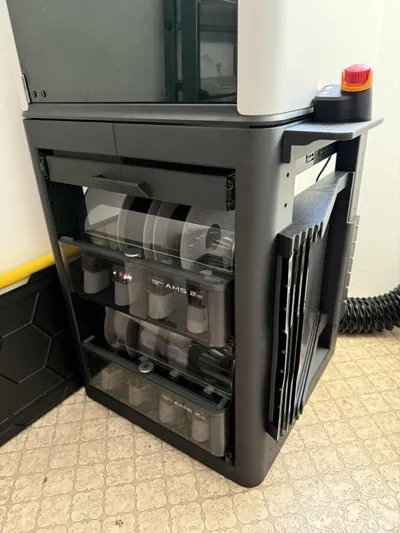
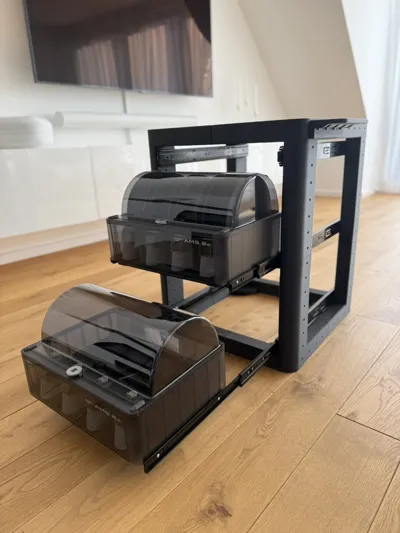
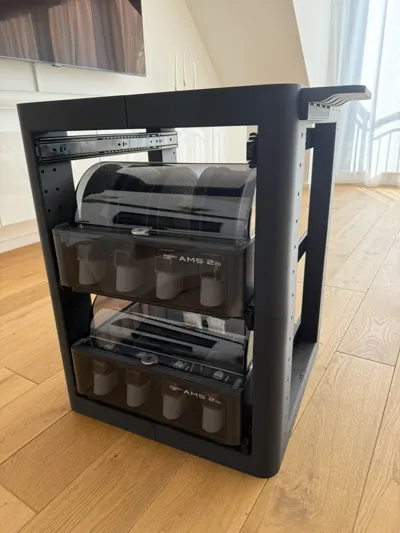
Level-up your Bambu Lab H2D – print, store, repeat.
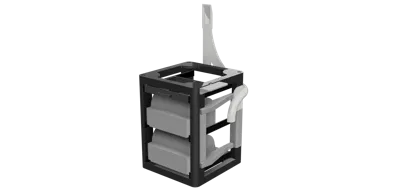
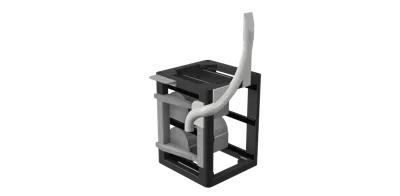
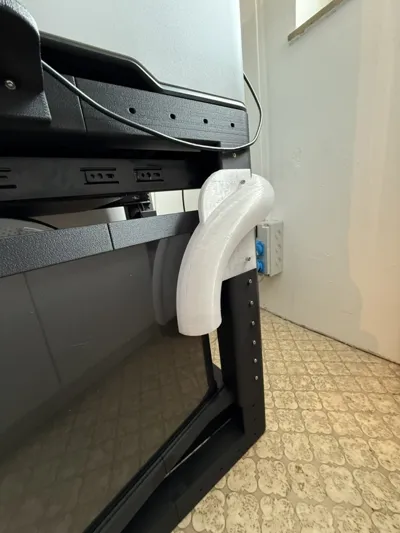
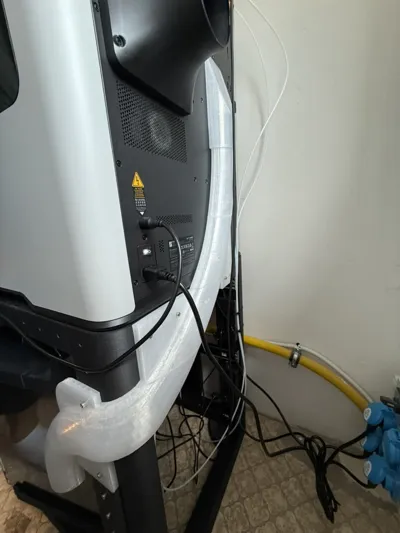
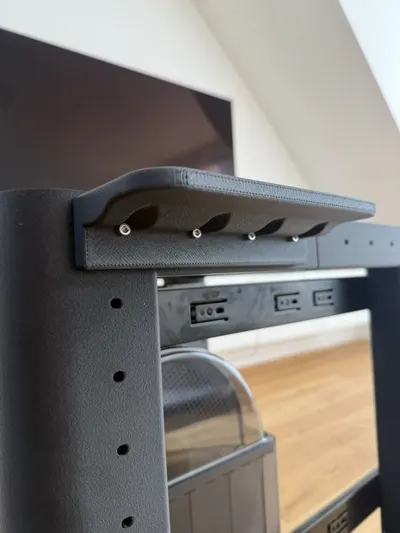
The H2D Baseframe is a drop-in, no-compromise stand that piles up to 4 × AMS 2 units, parks a full-width tool & hardware drawer, slots five build plates on the flank and funnels all purge junk through a crystalline PC PoopRamp – right into your bin.
Why you’ll care
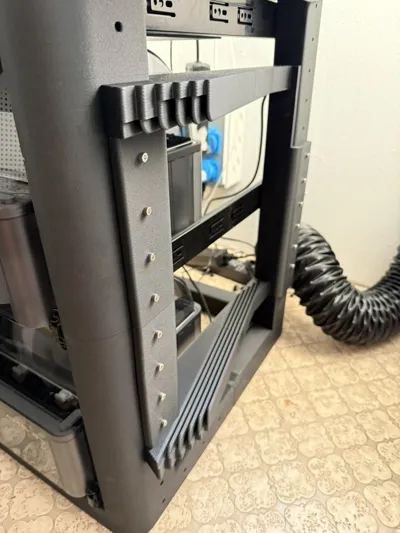
• Rigid ASA-CF skeleton – 2.4mm walls + M4 (16mm length) bolt stack tame the 35 kg printer/AMS combo.
• Print-ready & split – all parts fit the H2D bed (330 × 335 mm)
• Thermal match – ASA-CF for the frame (250 °C / 110 °C bed), PC just for the PoopRamp (275 °C / 110 °C) to shrug off nozzle temps.
• Modular rail grid – bolt-on plate rack or future mods.
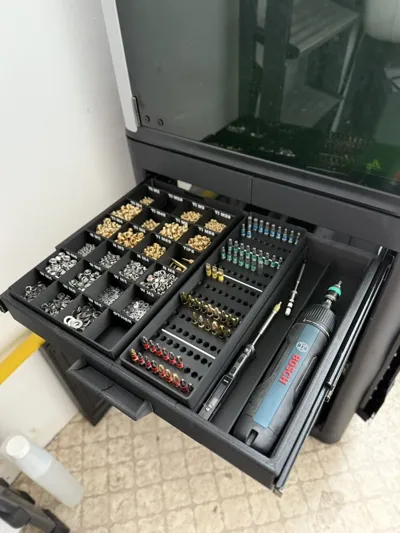
• Drawer ecosystem – tuned to my H2D ScrewBox (link) and bit-tray inserts; slide, grab, build.
Print profile (tested on H2D)
║ Nozzle 0.8 mm ║ Layer 0.32 mm ║ 3 walls / 15 % 3D Honeycomb ║ Fan off for ASA-CF ║ Chamber 60 °C ║
Strong, scalable, maker-grade – share your build!
It is recommended to print with air purifier. Please be aware, that you have to reduce the output of the purifier, so that the chaimber can be heated to 60 degrees.
Comment & Rating (122)