
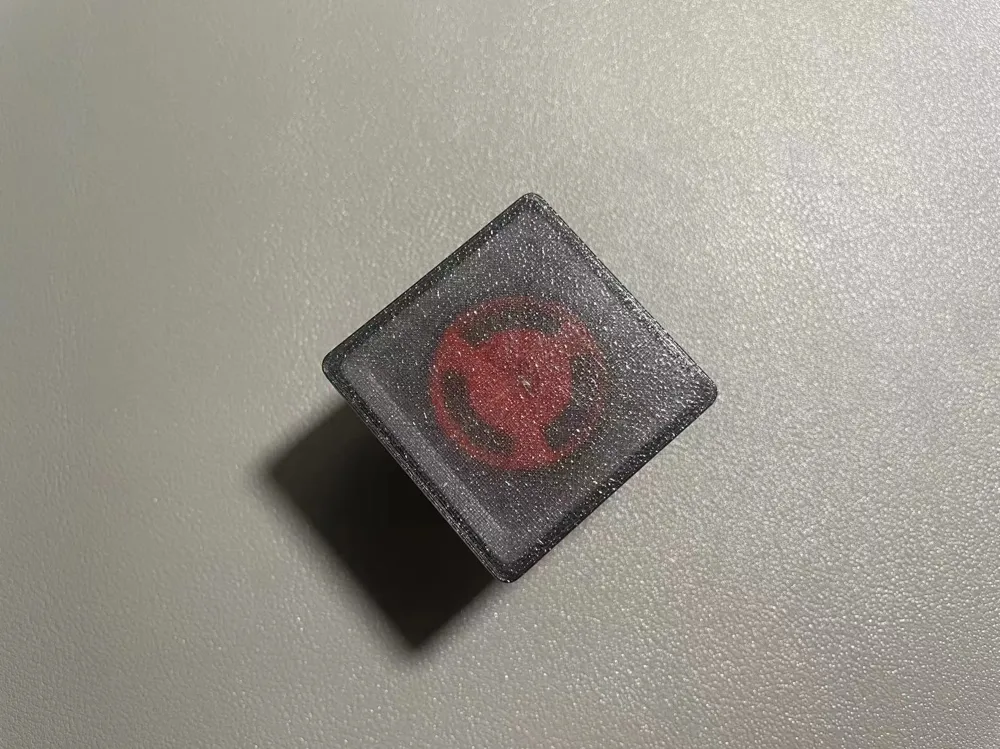
Fidget EDC Nautical Ship Wheel Ratchet Block




Print Profile(1)

Description
Personal Compendium No. 59+, Production Difficulty: ★★★


Navigation Control Room. The previous navigator's ratchet mechanism proved effective, so I've incorporated its locking structure into a new cuboid base. Compared to the previous version: EDC Ship Anchor-Shaped Navigator Irregular Fidget Spinner from Gobi's Rush of Horses and Cattle MakerWorld: Free 3D Model Download, only four additional M2*4 countersunk screws are needed. The cuboid design exudes a sense of solemnity and mission, making it more suitable for occasional contemplation in an office setting.
PETG printing necessitates adhesive application; otherwise, failure is highly probable!
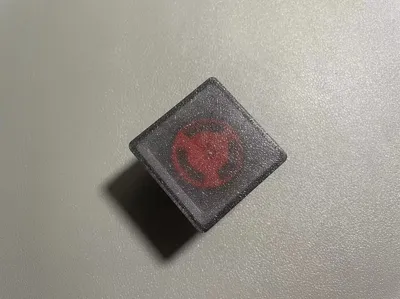
Standard printing plates 1-3; plate 4 is the base frame without lanyard holes. Those who dislike the two holes can choose to print this one; use as needed.
The base frame currently lacks clearance. If the material exhibits high expansion, it may become difficult to dislodge once inserted. Slight scaling may resolve this.
Required Components:
- 1 high-quality R188 bearing (existing)
- 1-3 0.3*3*5 or 0.25*3*5 springs (existing)
- 1-3 3mm glass or steel beads (existing)
- 1 pair of M3*16 hex screws and nuts (existing)
- 4 M2*4 countersunk screws (new)
Parts Overview (only the three new square parts on the right):
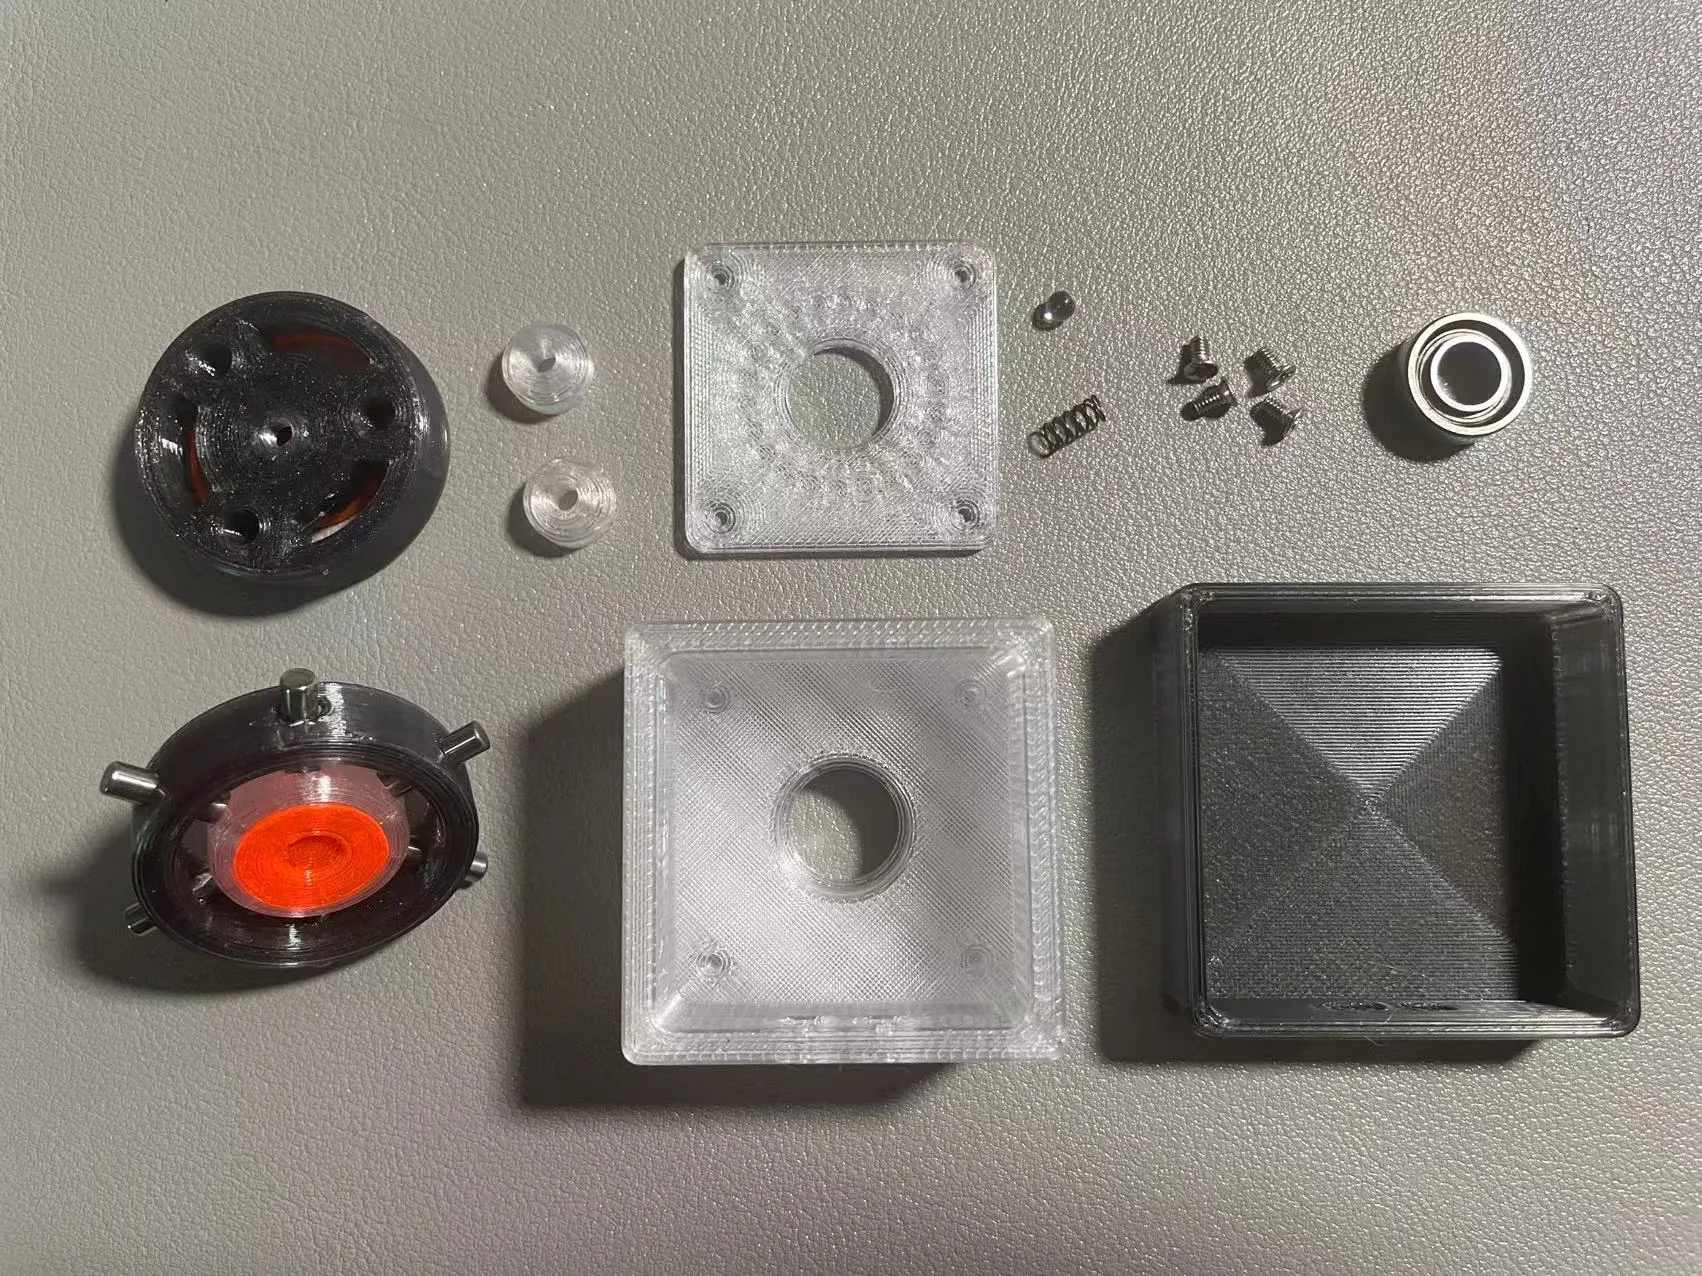
Assembly Instructions (cuboid base only; refer to the original blueprints for the rest):
①Take the cuboid main body, insert the R188 bearing into the holes, attach the ratchet panel, noting the orientation, and fasten the four M2*4 countersunk screws.
②Insert the springs and beads into the original locking structure, attach the small cube using the locking connector, tighten it, and test whether the bearing and ratchet are functioning correctly.
③Attach the outermost square frame to complete the assembly.
License

You shall not share, sub-license, sell, rent, host, transfer, or distribute in any way the digital or 3D printed versions of this object, nor any other derivative work of this object in its digital or physical format (including - but not limited to - remixes of this object, and hosting on other digital platforms). The objects may not be used without permission in any way whatsoever in which you charge money, or collect fees.


Comment & Rating (3)