
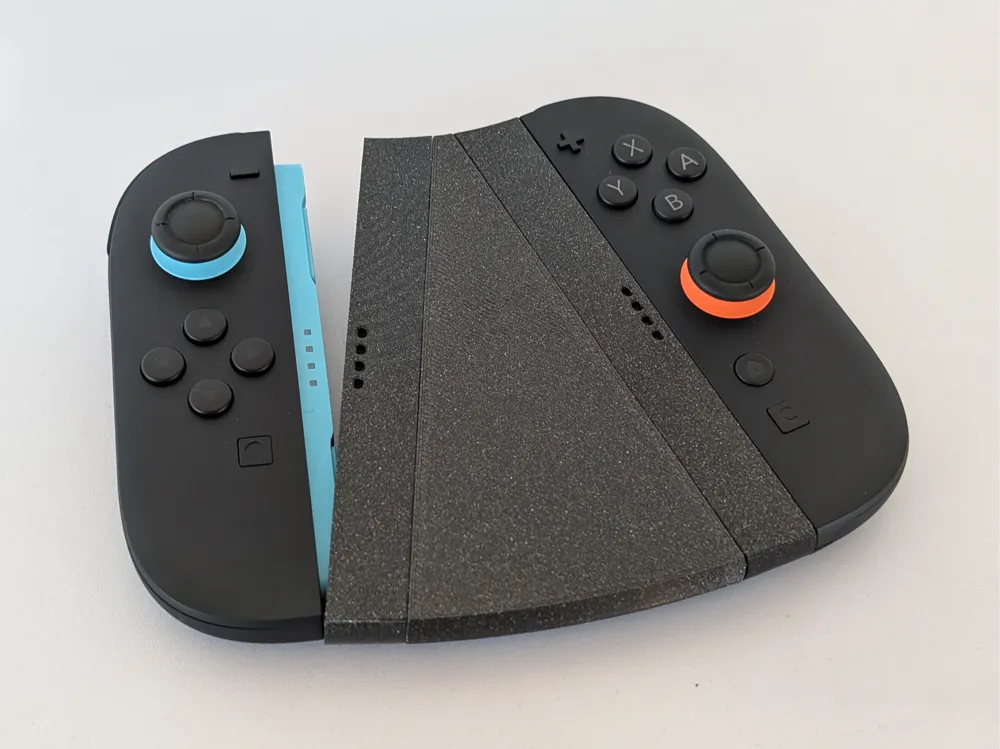
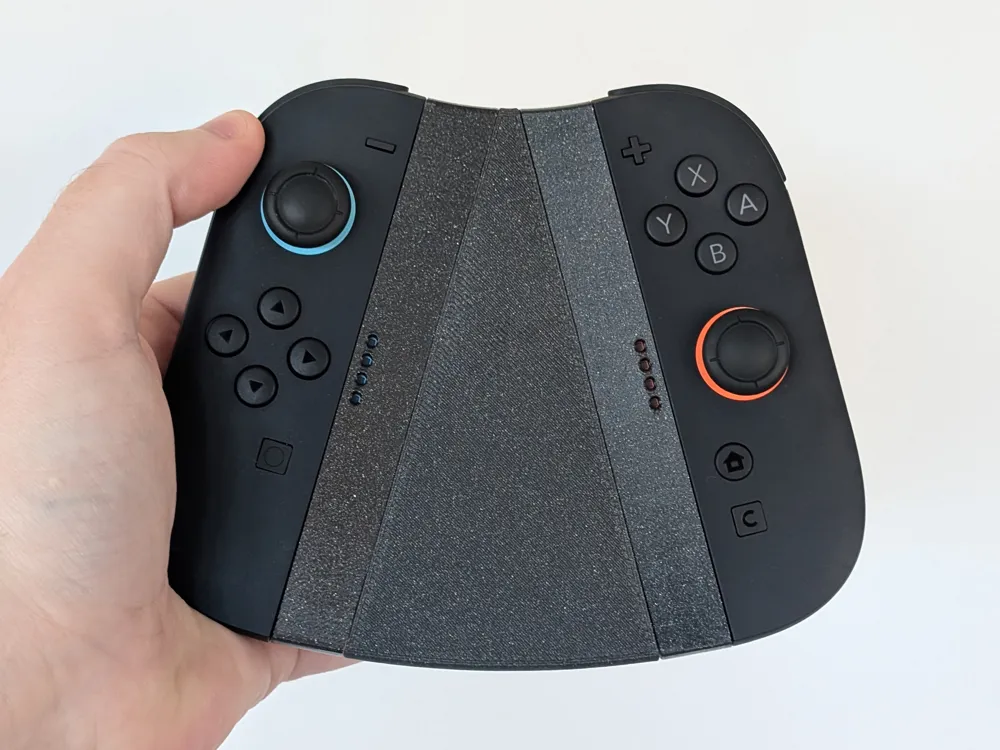
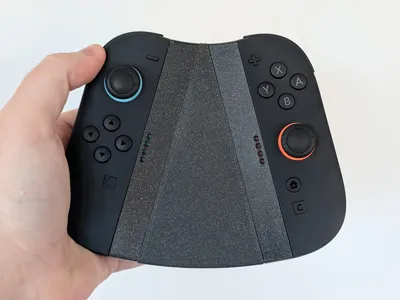
Comfy Angled Grip for Joy-Con 2 Controllers
Print Profile(2)


Bill of Materials

Description
- This 3D-printed grip holds your Joy-Con 2 controllers at an angle, providing a more comfortable and ergonomic grip.
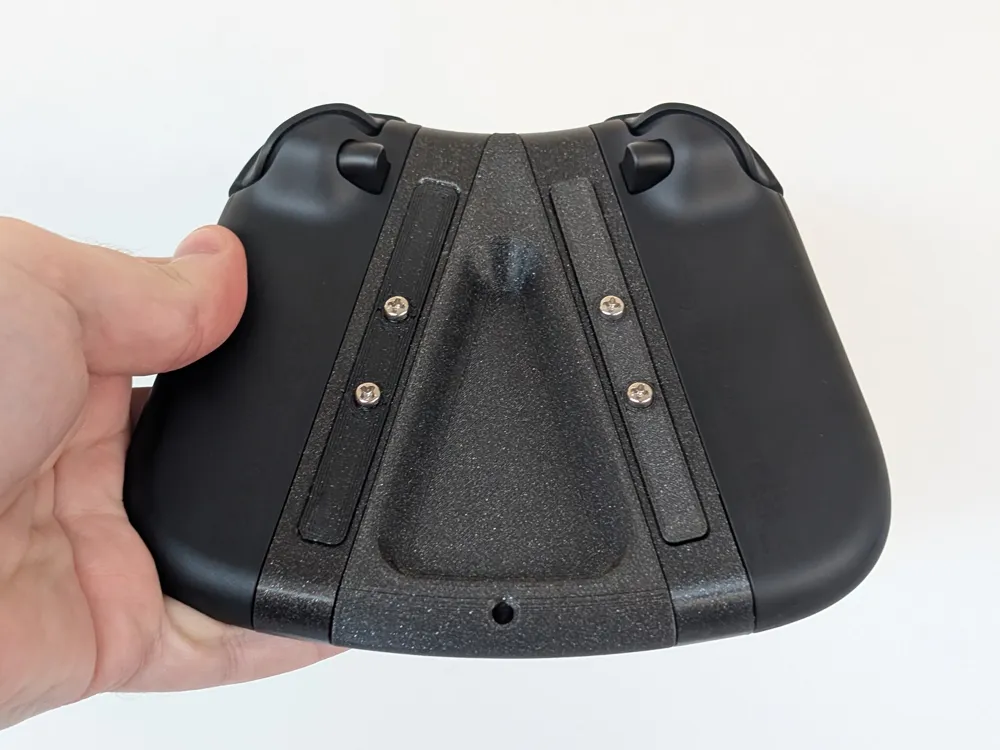
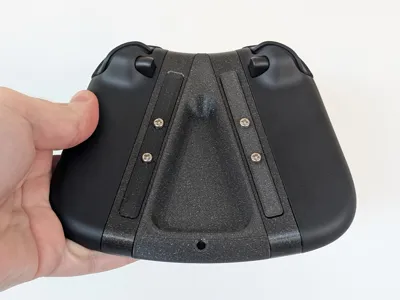
- Features a rear finger rest for a more secure and comfortable grip.
- There's also a hole at the bottom to allow you to attach a wrist strap or lanyard for added security.
Compatibility: This model is for Joy-Con 2 controllers for the Nintendo Switch 2.
Boost Me (for free)
I make free 3D models in exchange for internet points :)
Version Comparison
| Multipart Version | Single Part Version |
✅ Less support material to remove ❌ Requires more screws ✅ Slightly better fit | ❌ More support material to remove ✅ Requires less screws ❌ Slightly worse fit |
Required Parts
- 12 x D6x3mm Magnets (other sized magnets might also fit!)
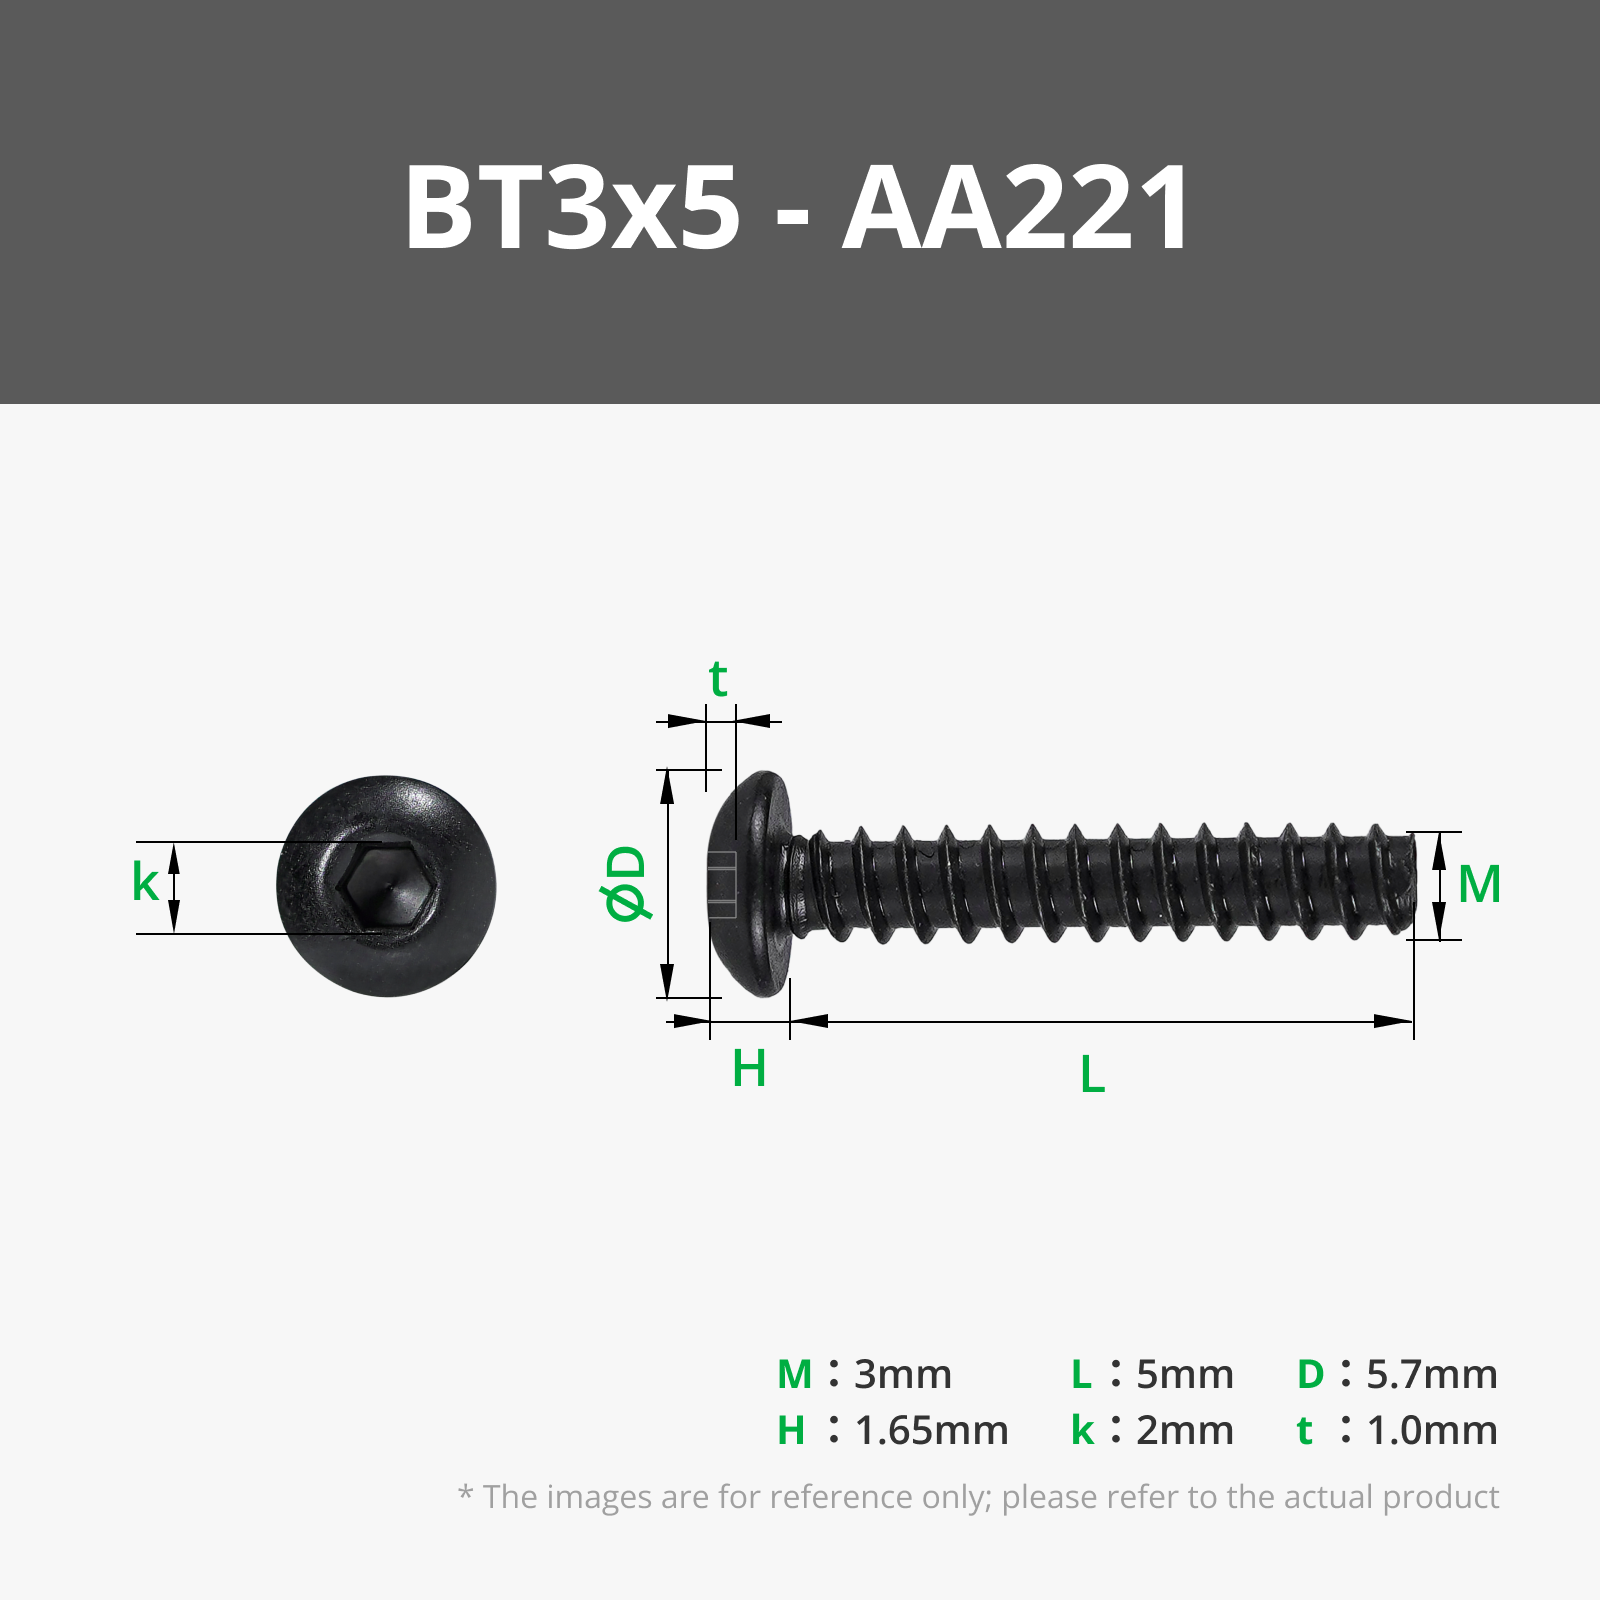
- 4 x M3x5mm (or similar size) Screws. Alternatively you can use glue instead of screws.
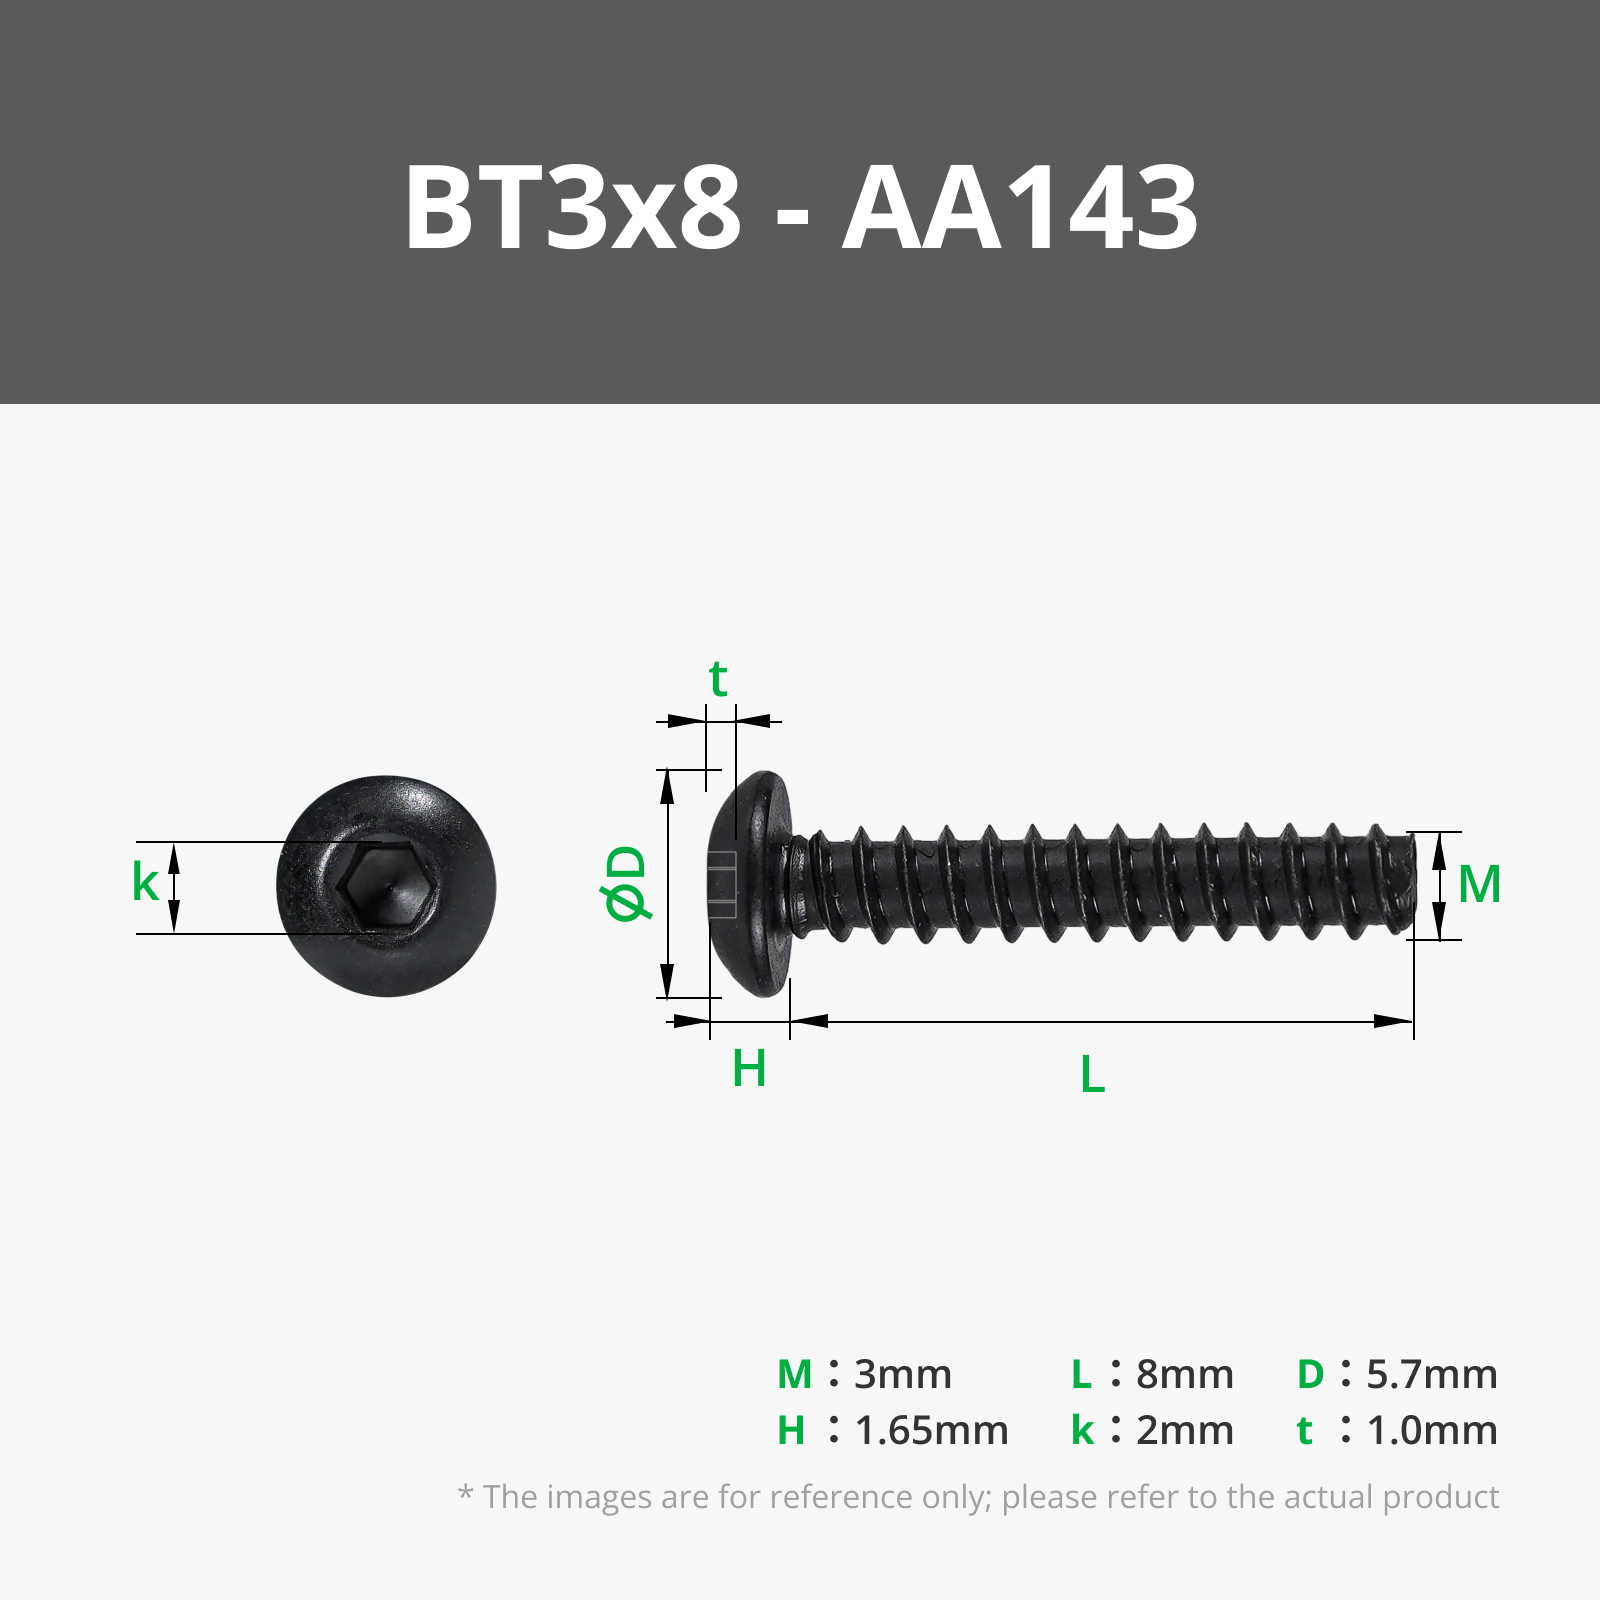
- For multipart version only: 6 x M3x8mm Screws (and optionally superglue).
Assembly
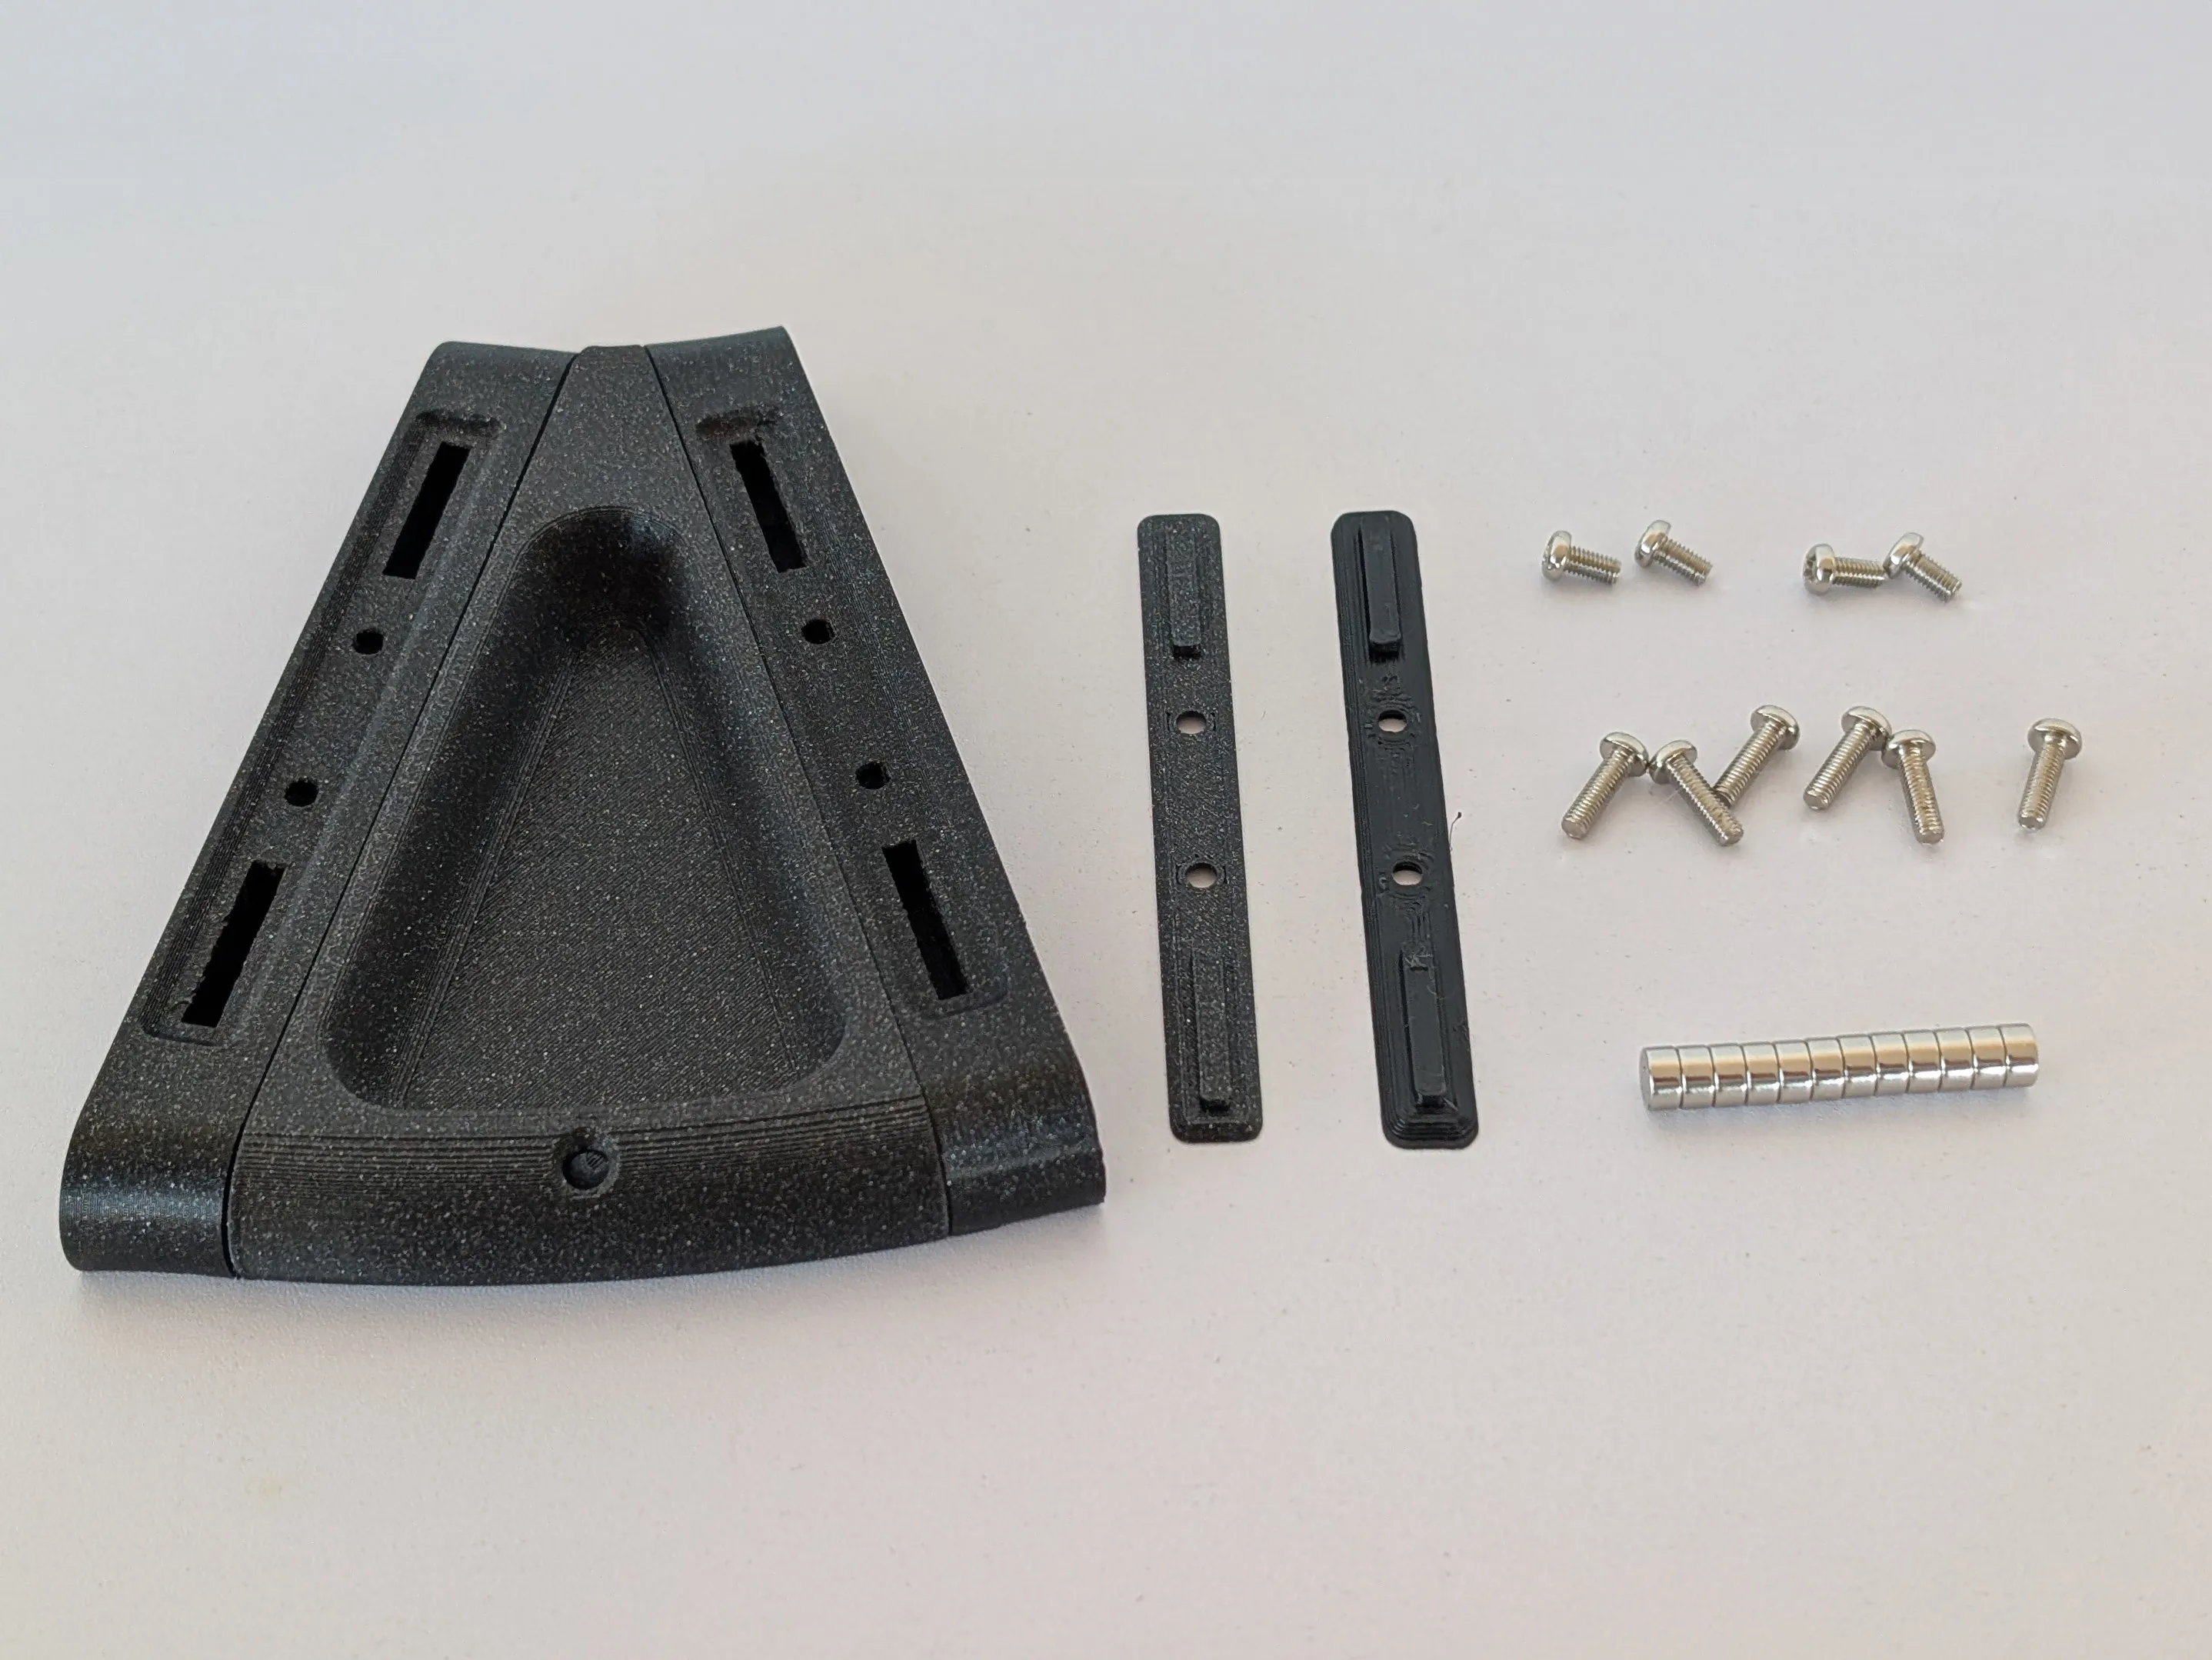 | Step 1:3D print the parts and acquire the magnets and screws. Make sure to remove the supports!
If you printed the single part version, make sure you've removed 100% of the support material. If there's any leftover support material it may scratch your joycons. |
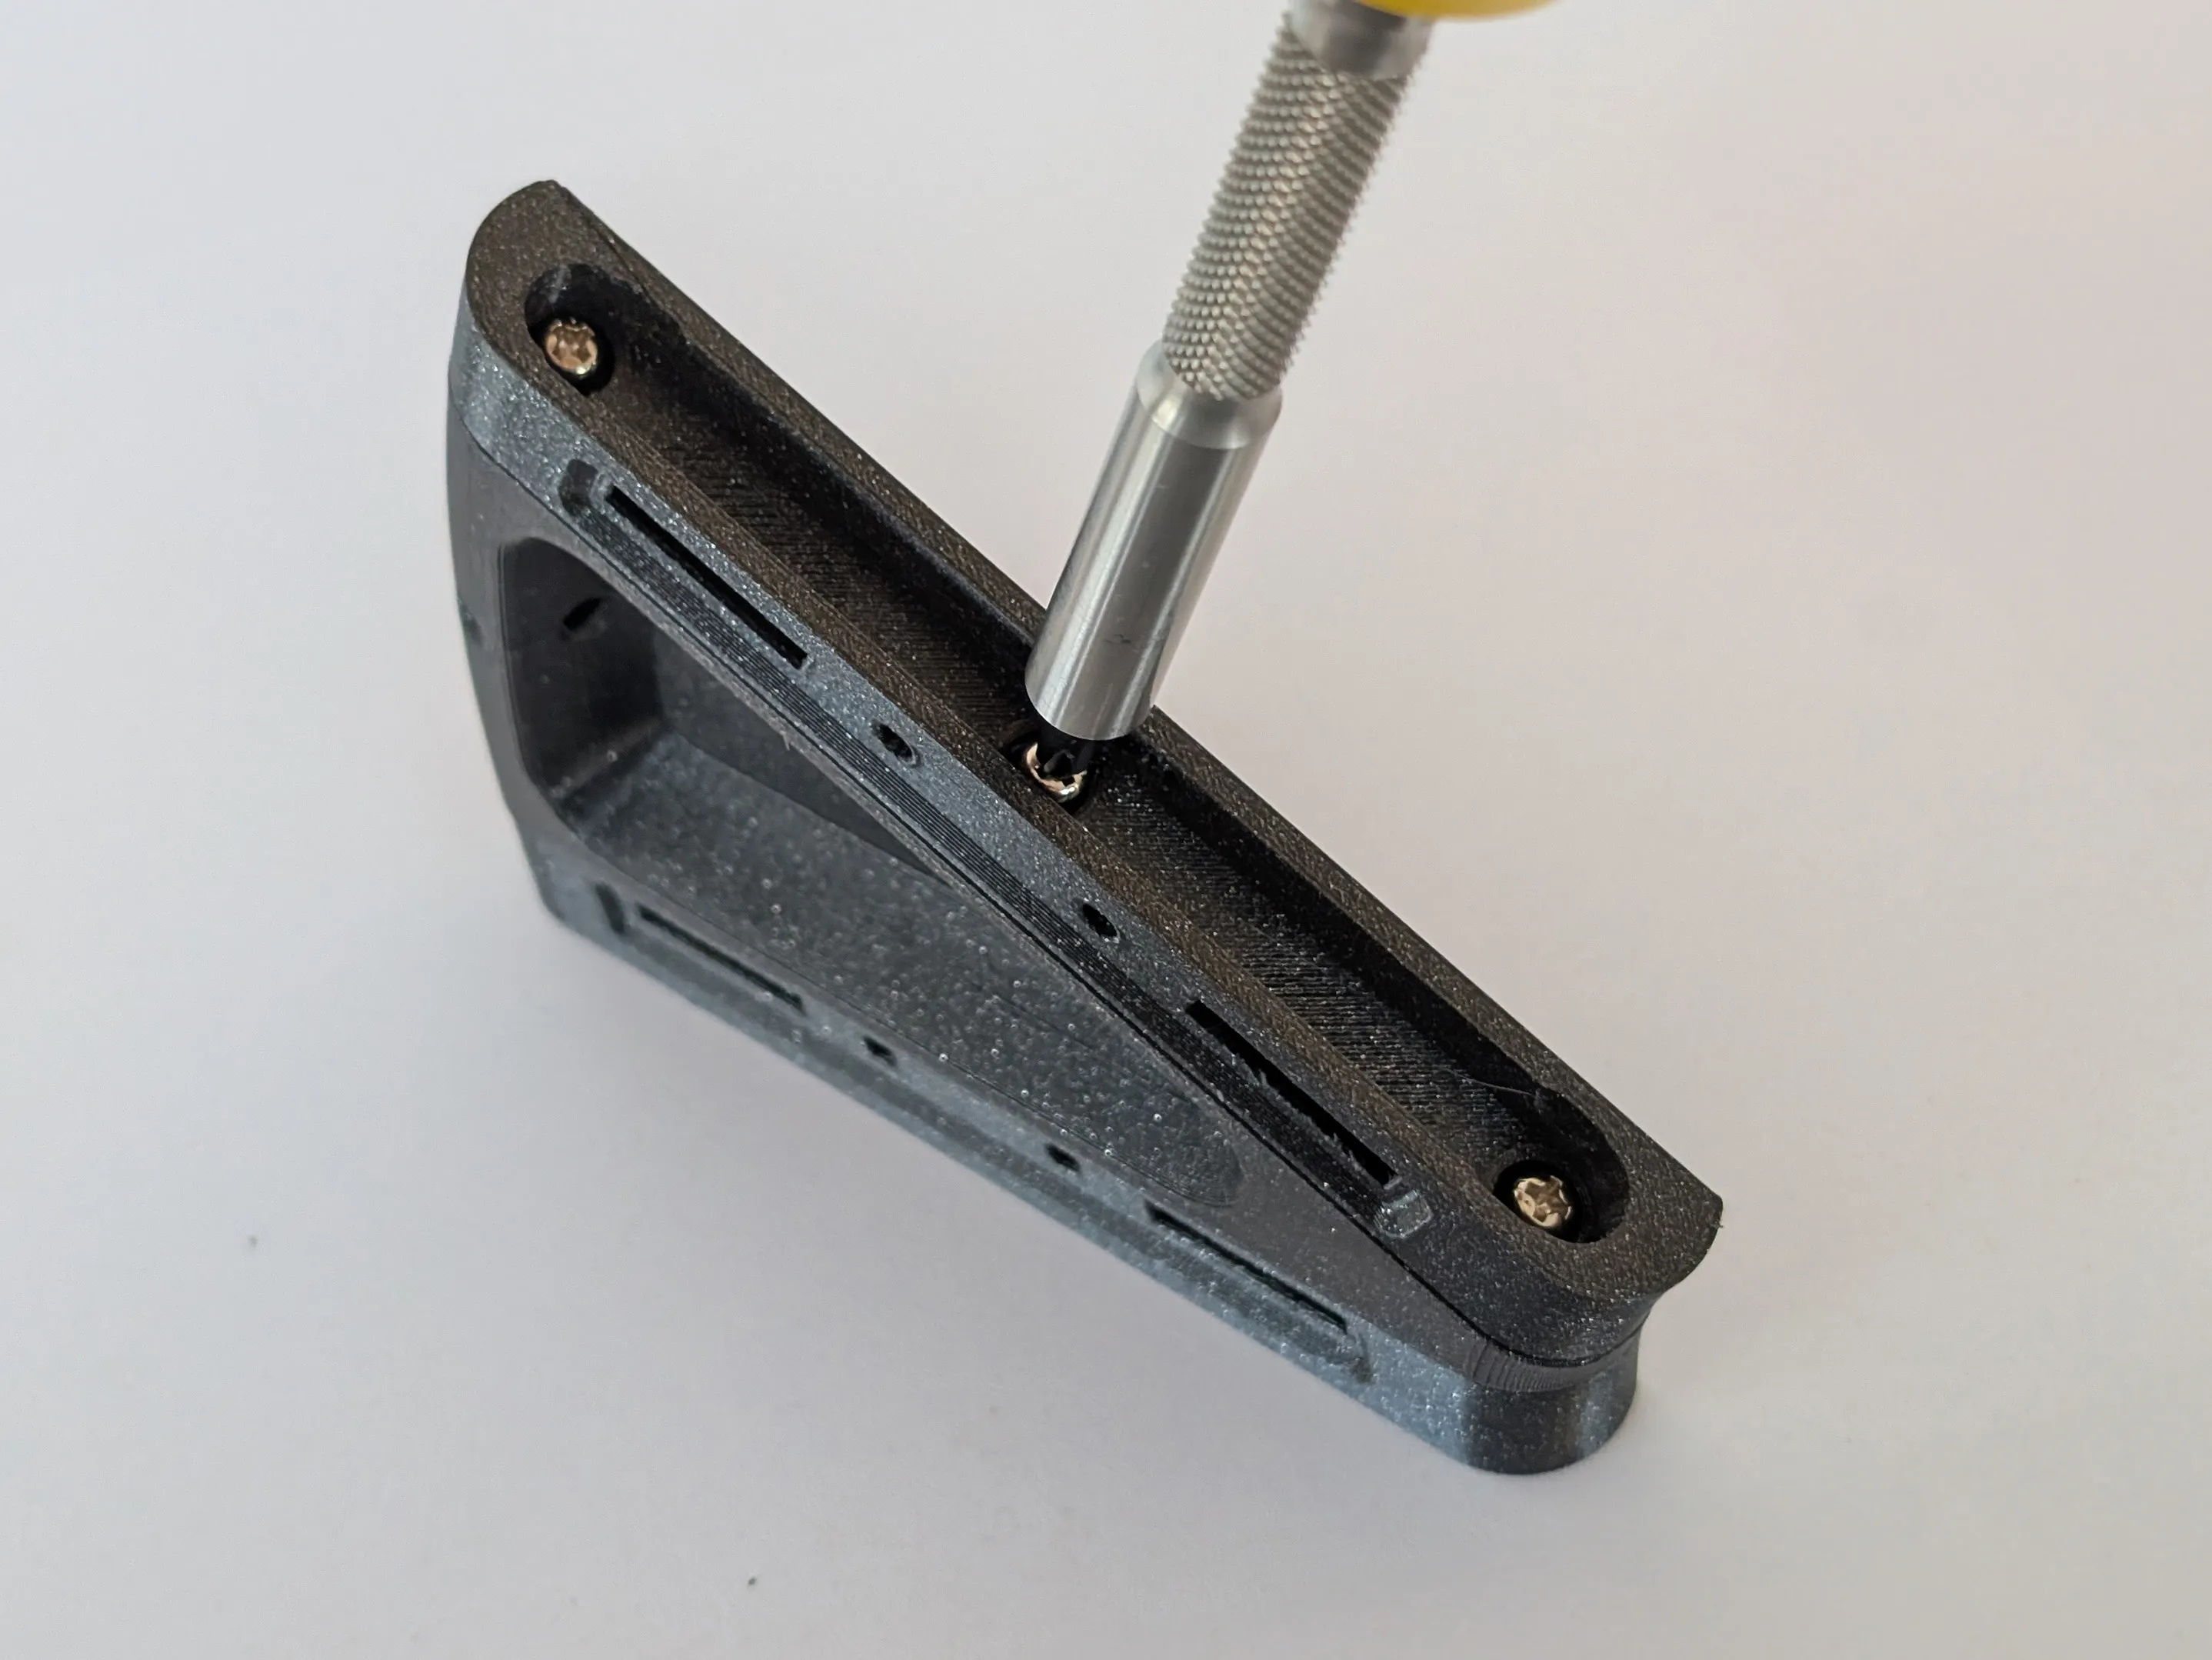 | Step 2:If you printed the multipart version, assemble the main body using the M3x8mm screws. I also recommend adding superglue between the parts. |
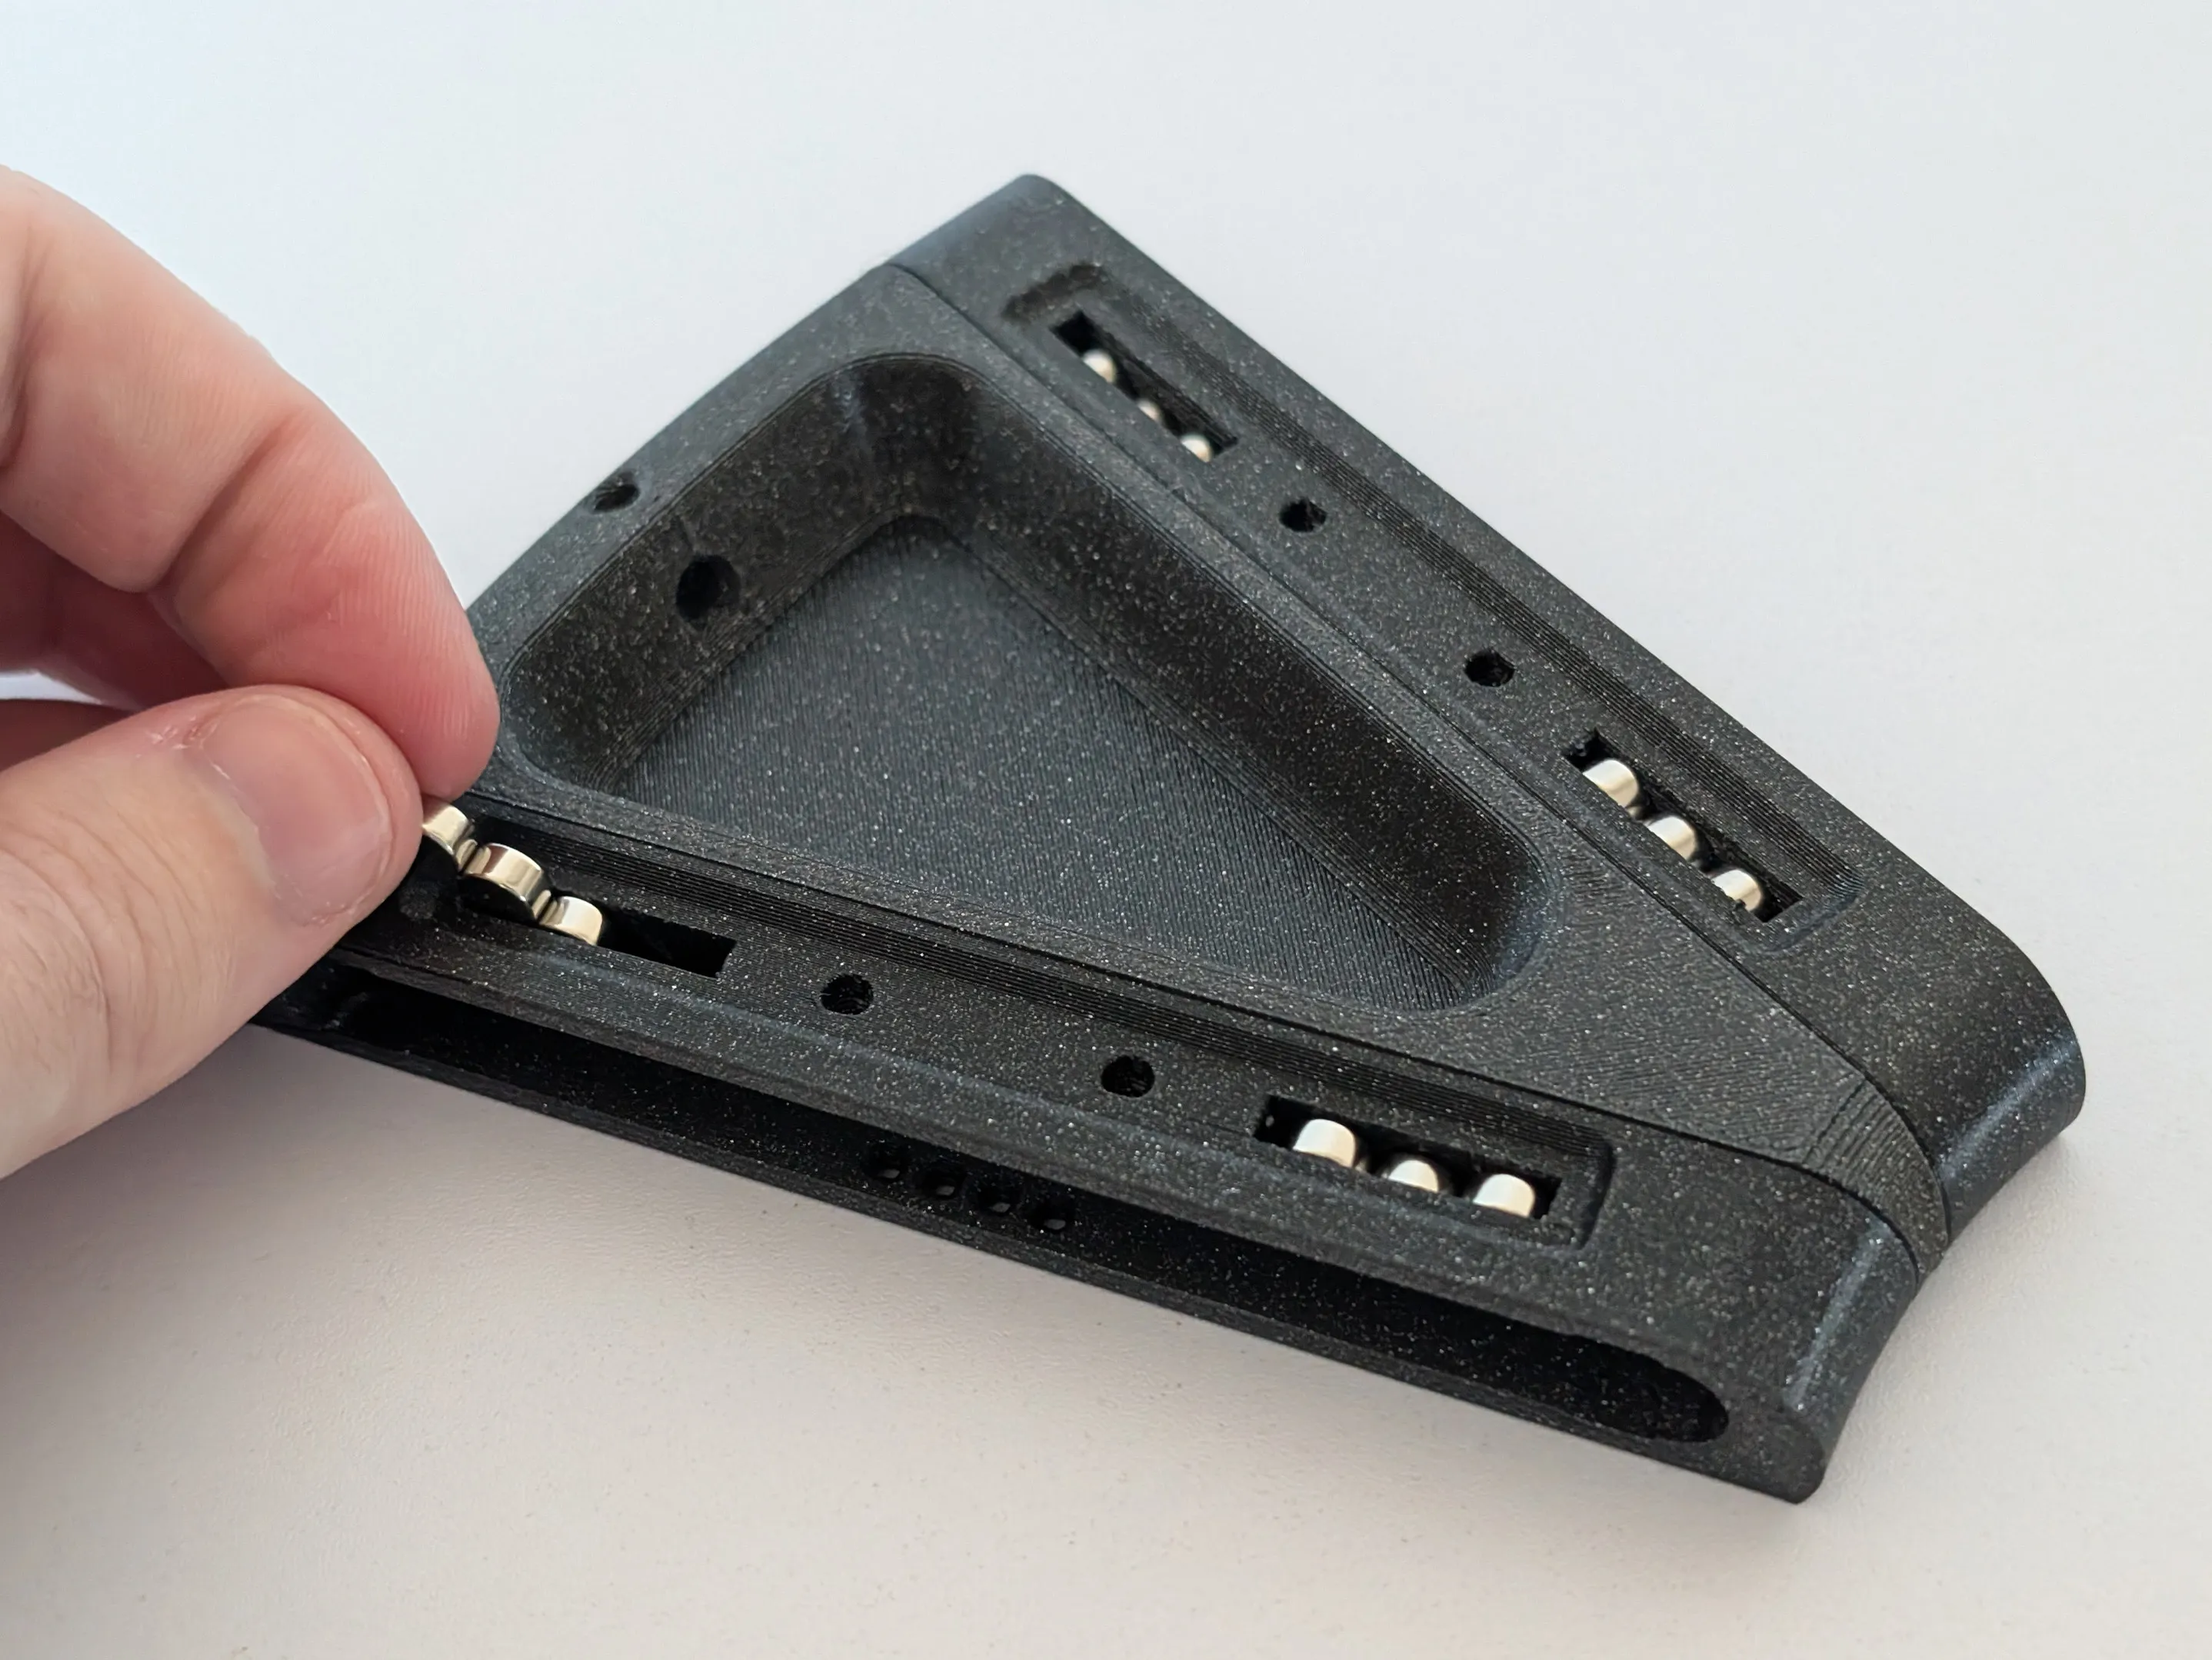 | Step 3:Place the magnets inside the grip. |
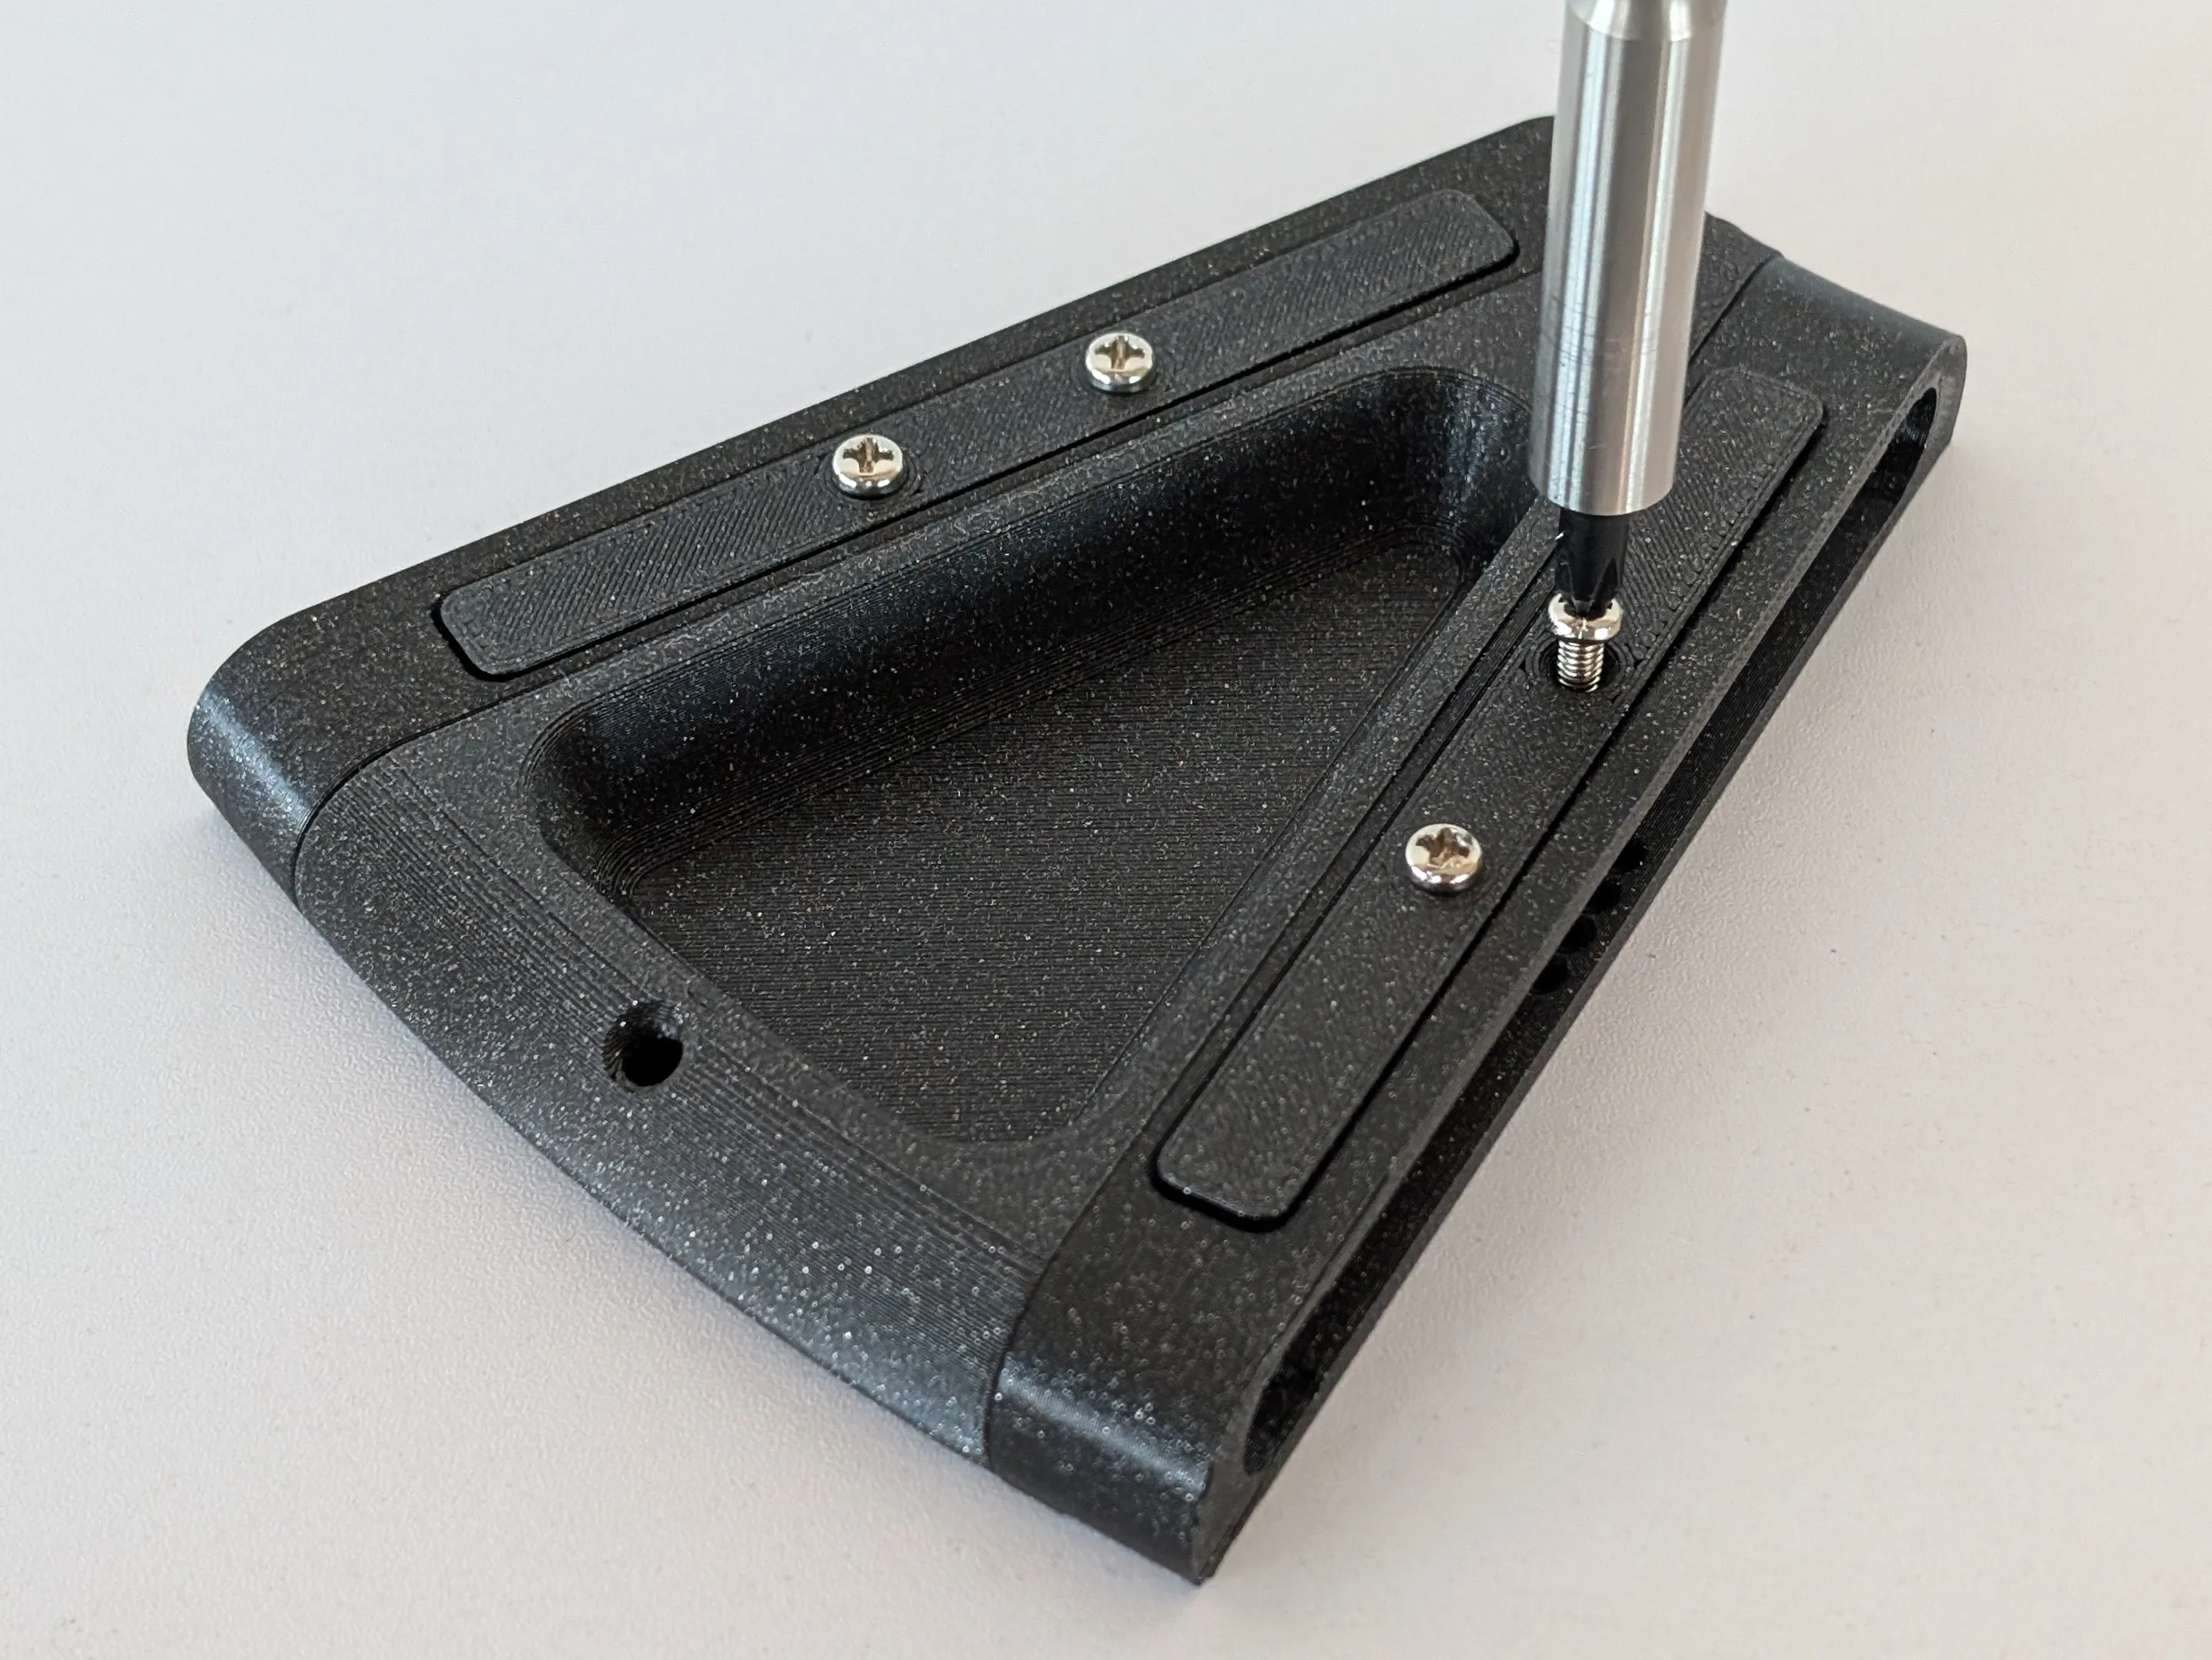 | Step 4:Screw the back cover into place over the magnets. Alternatively, you can use glue. |
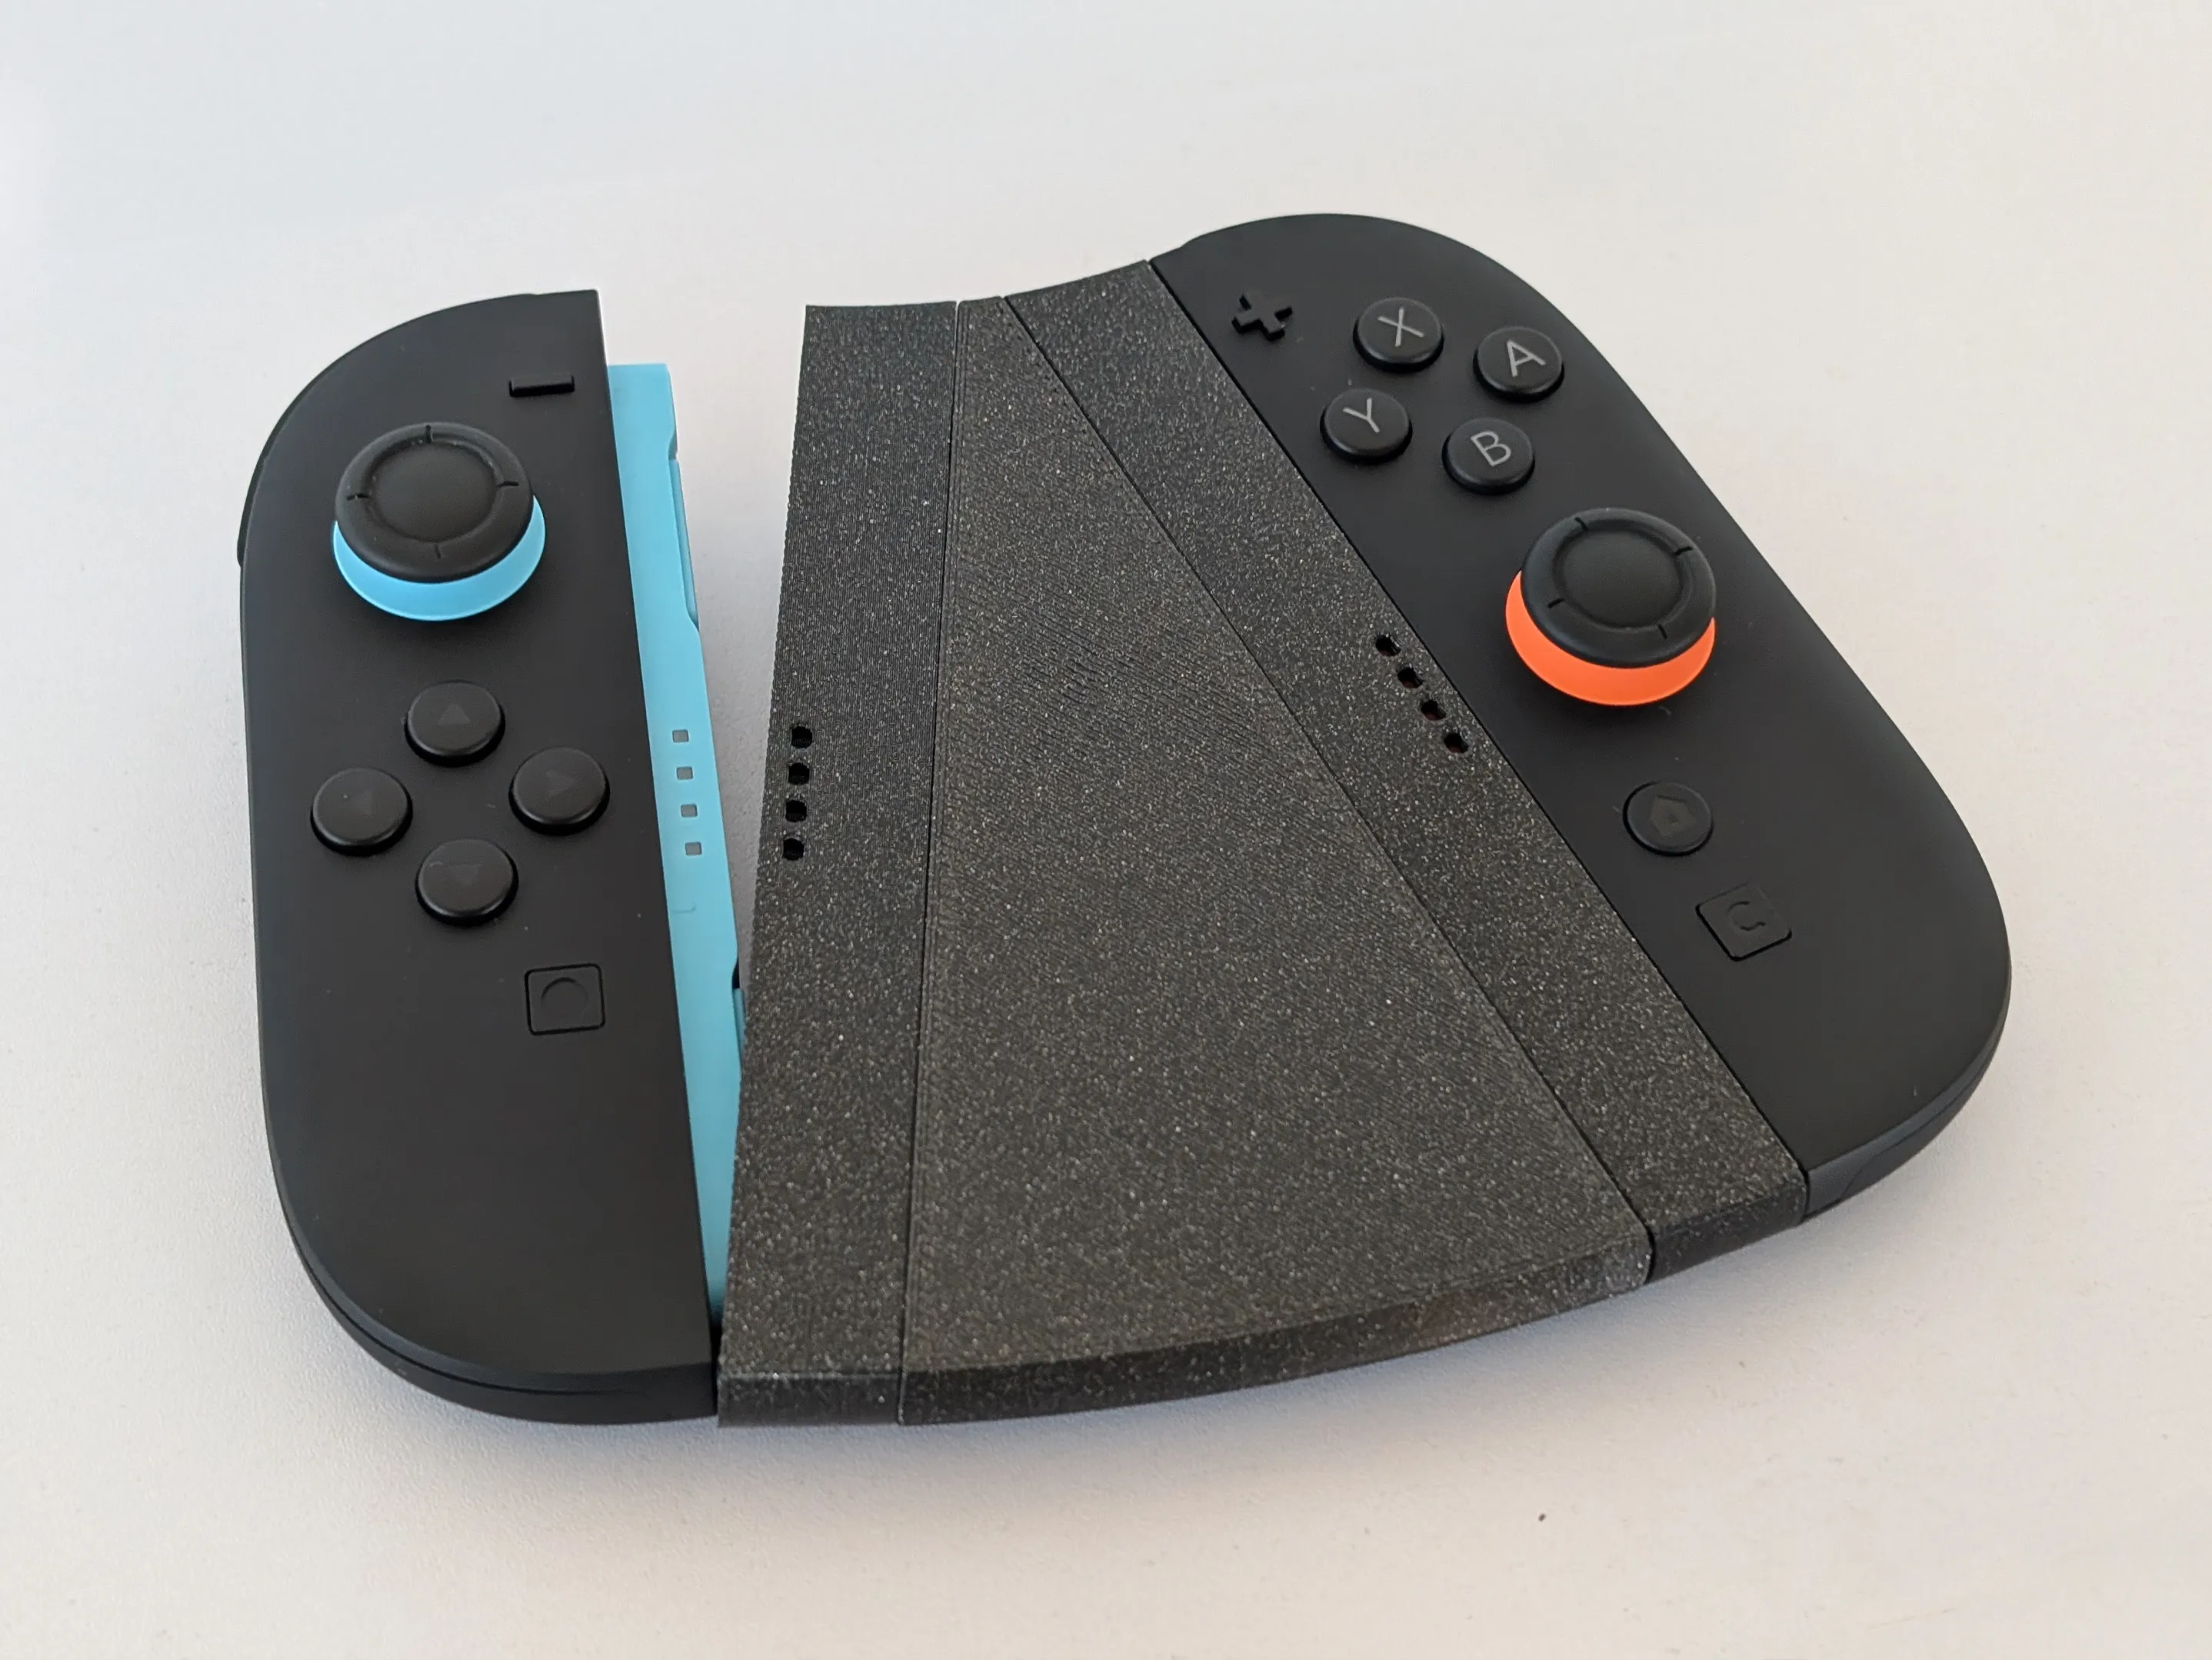 | Step 5:Attach Joy-Con 2 Controllers |
My Other Joy-Con 2 Models
My Other Joy-Con 2 Models
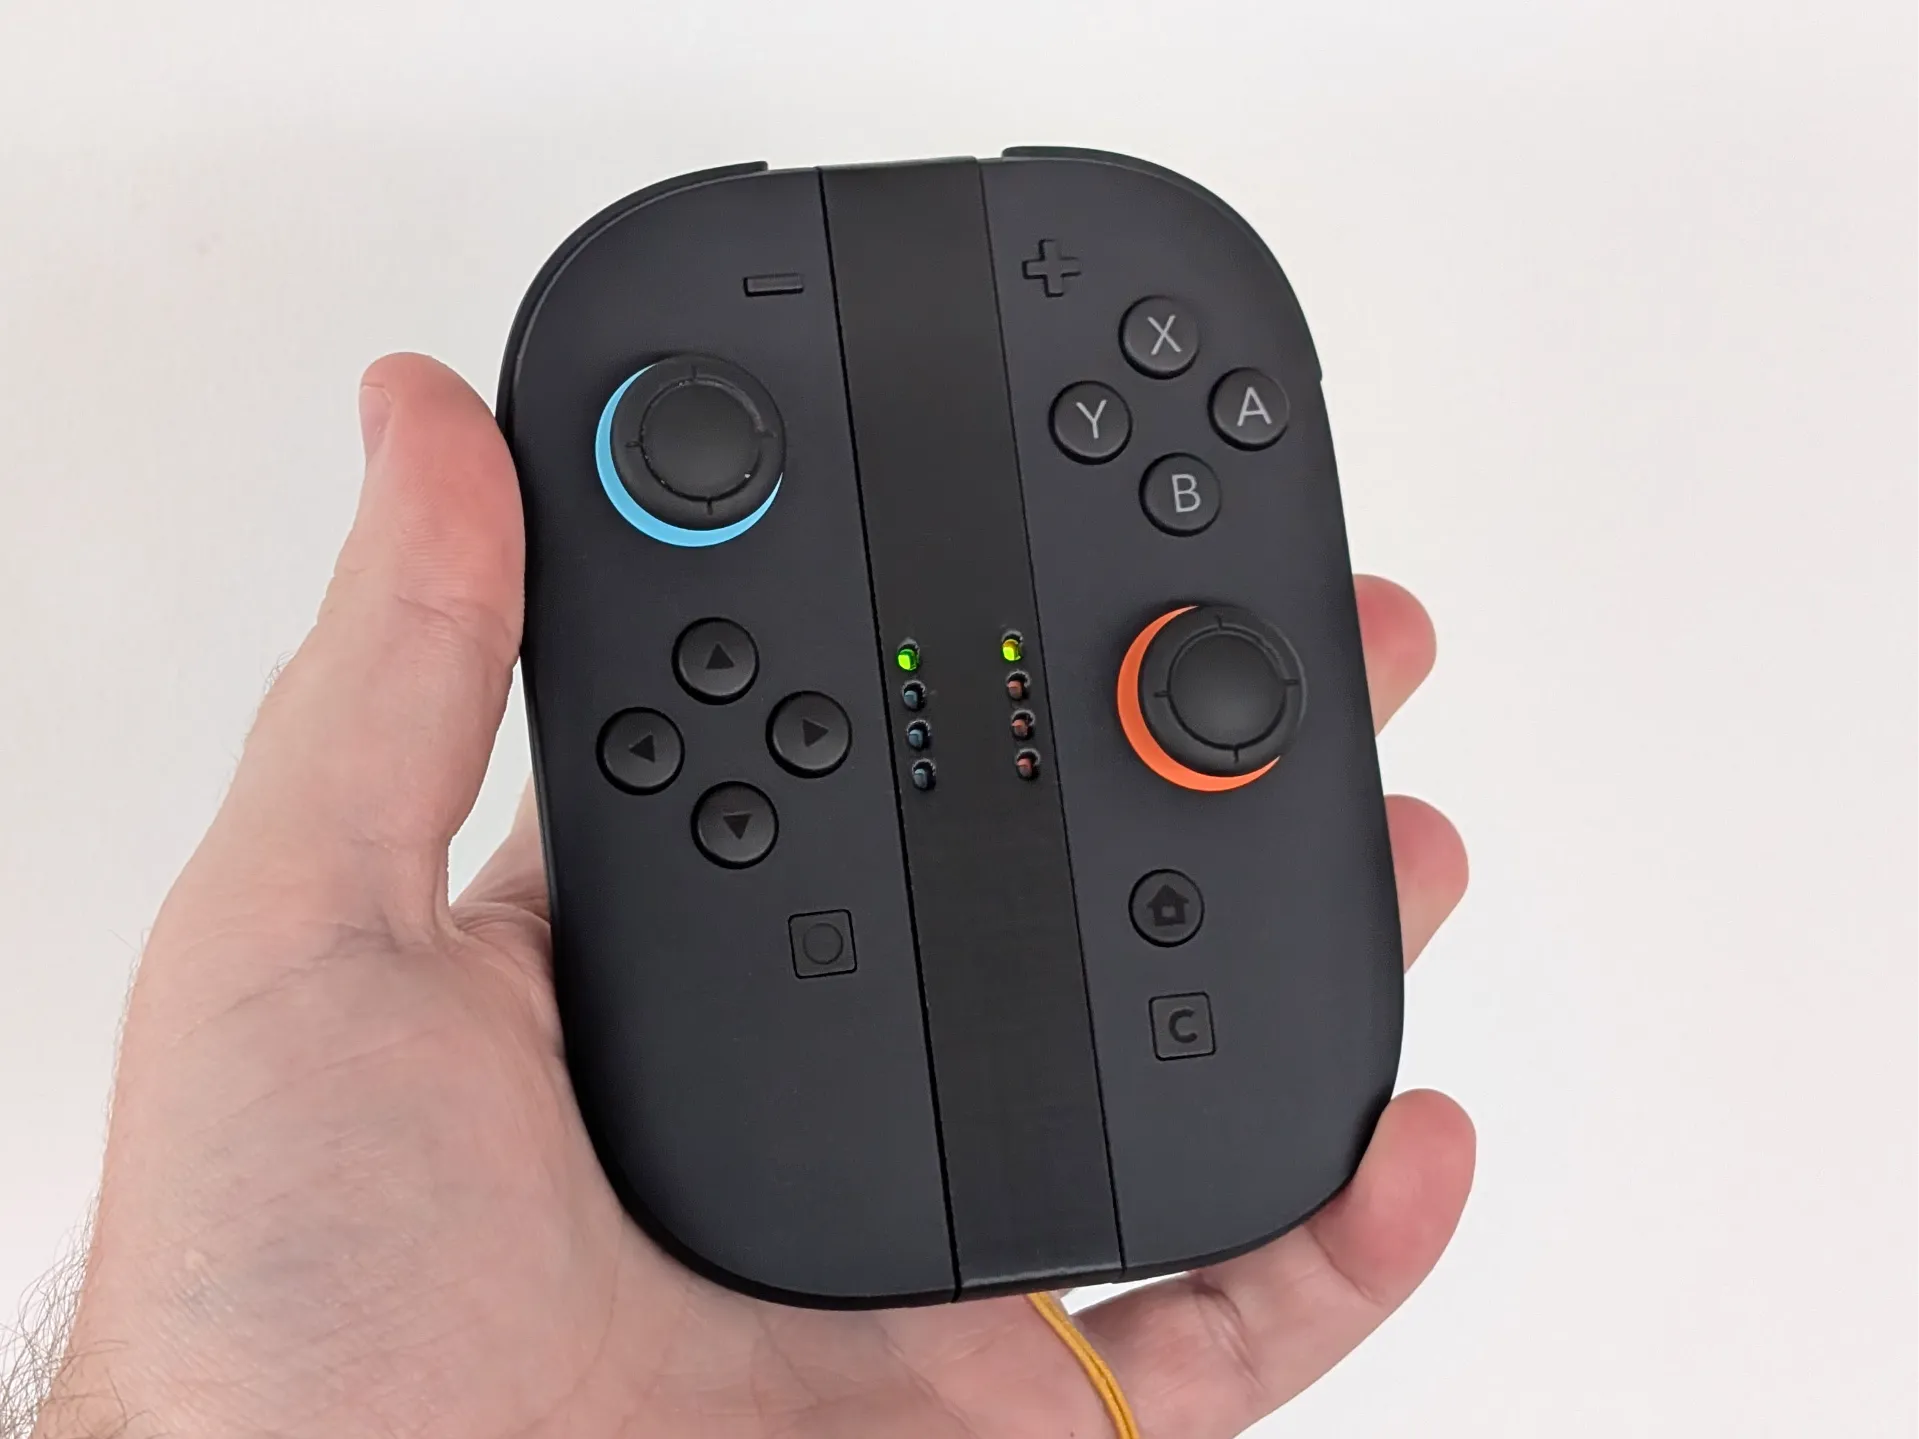 | One-Hand Grip for Joy-Con 2 ControllersThis 3D-printed grip holds two Joy-Con 2 controllers close together, enabling one-handed control of both. |
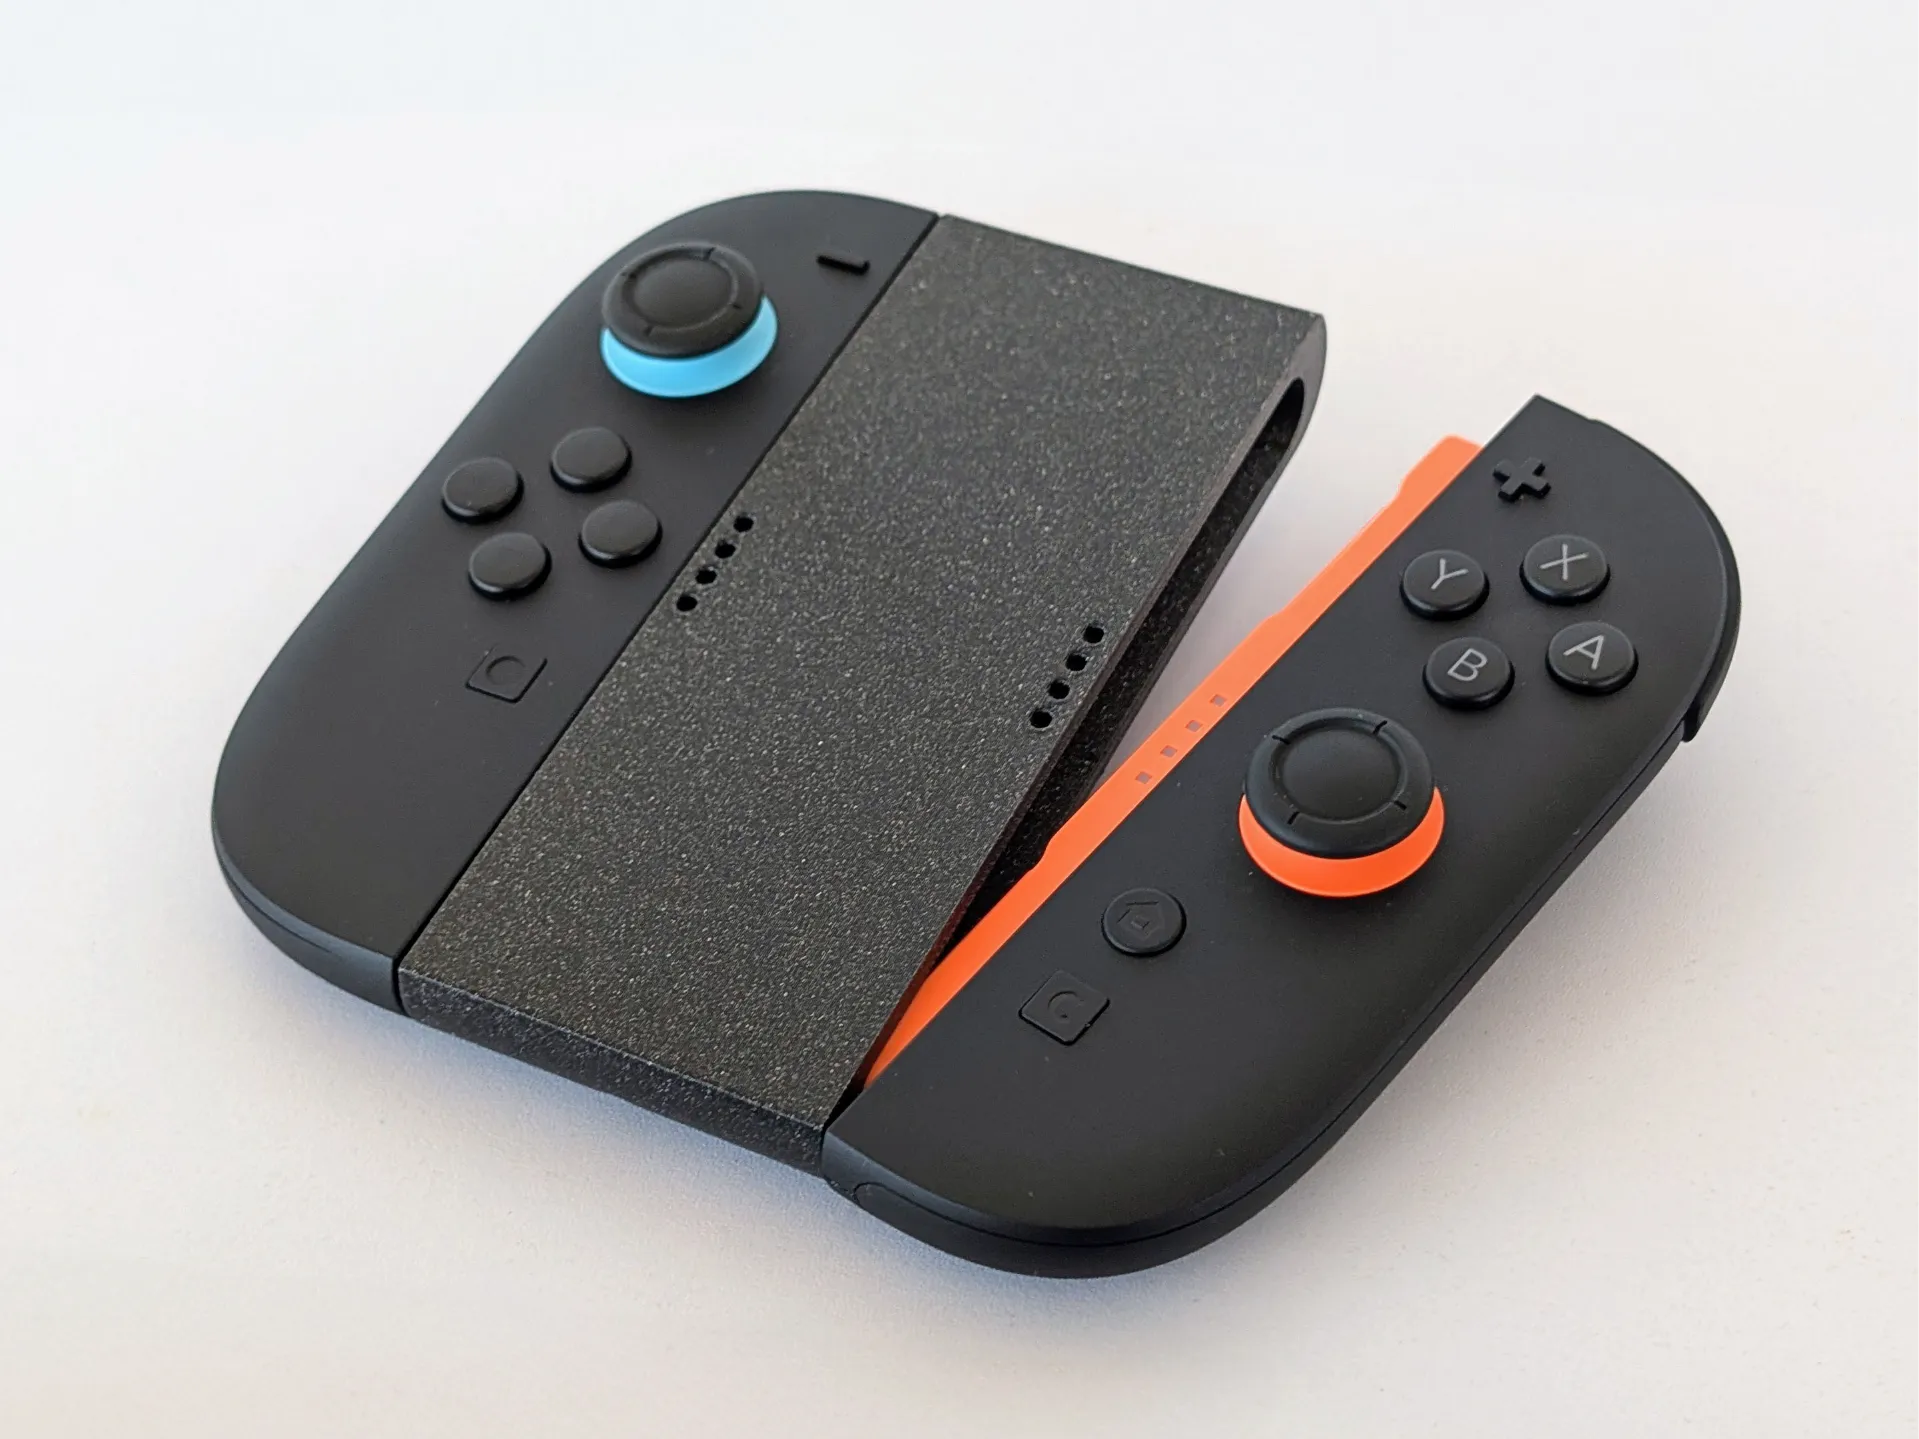 | Simple Grip for Joy-Con 2 ControllersThis 3D-printed grip is the same size as the official Joy-Con 2 controller grip, but without the rear handles. |
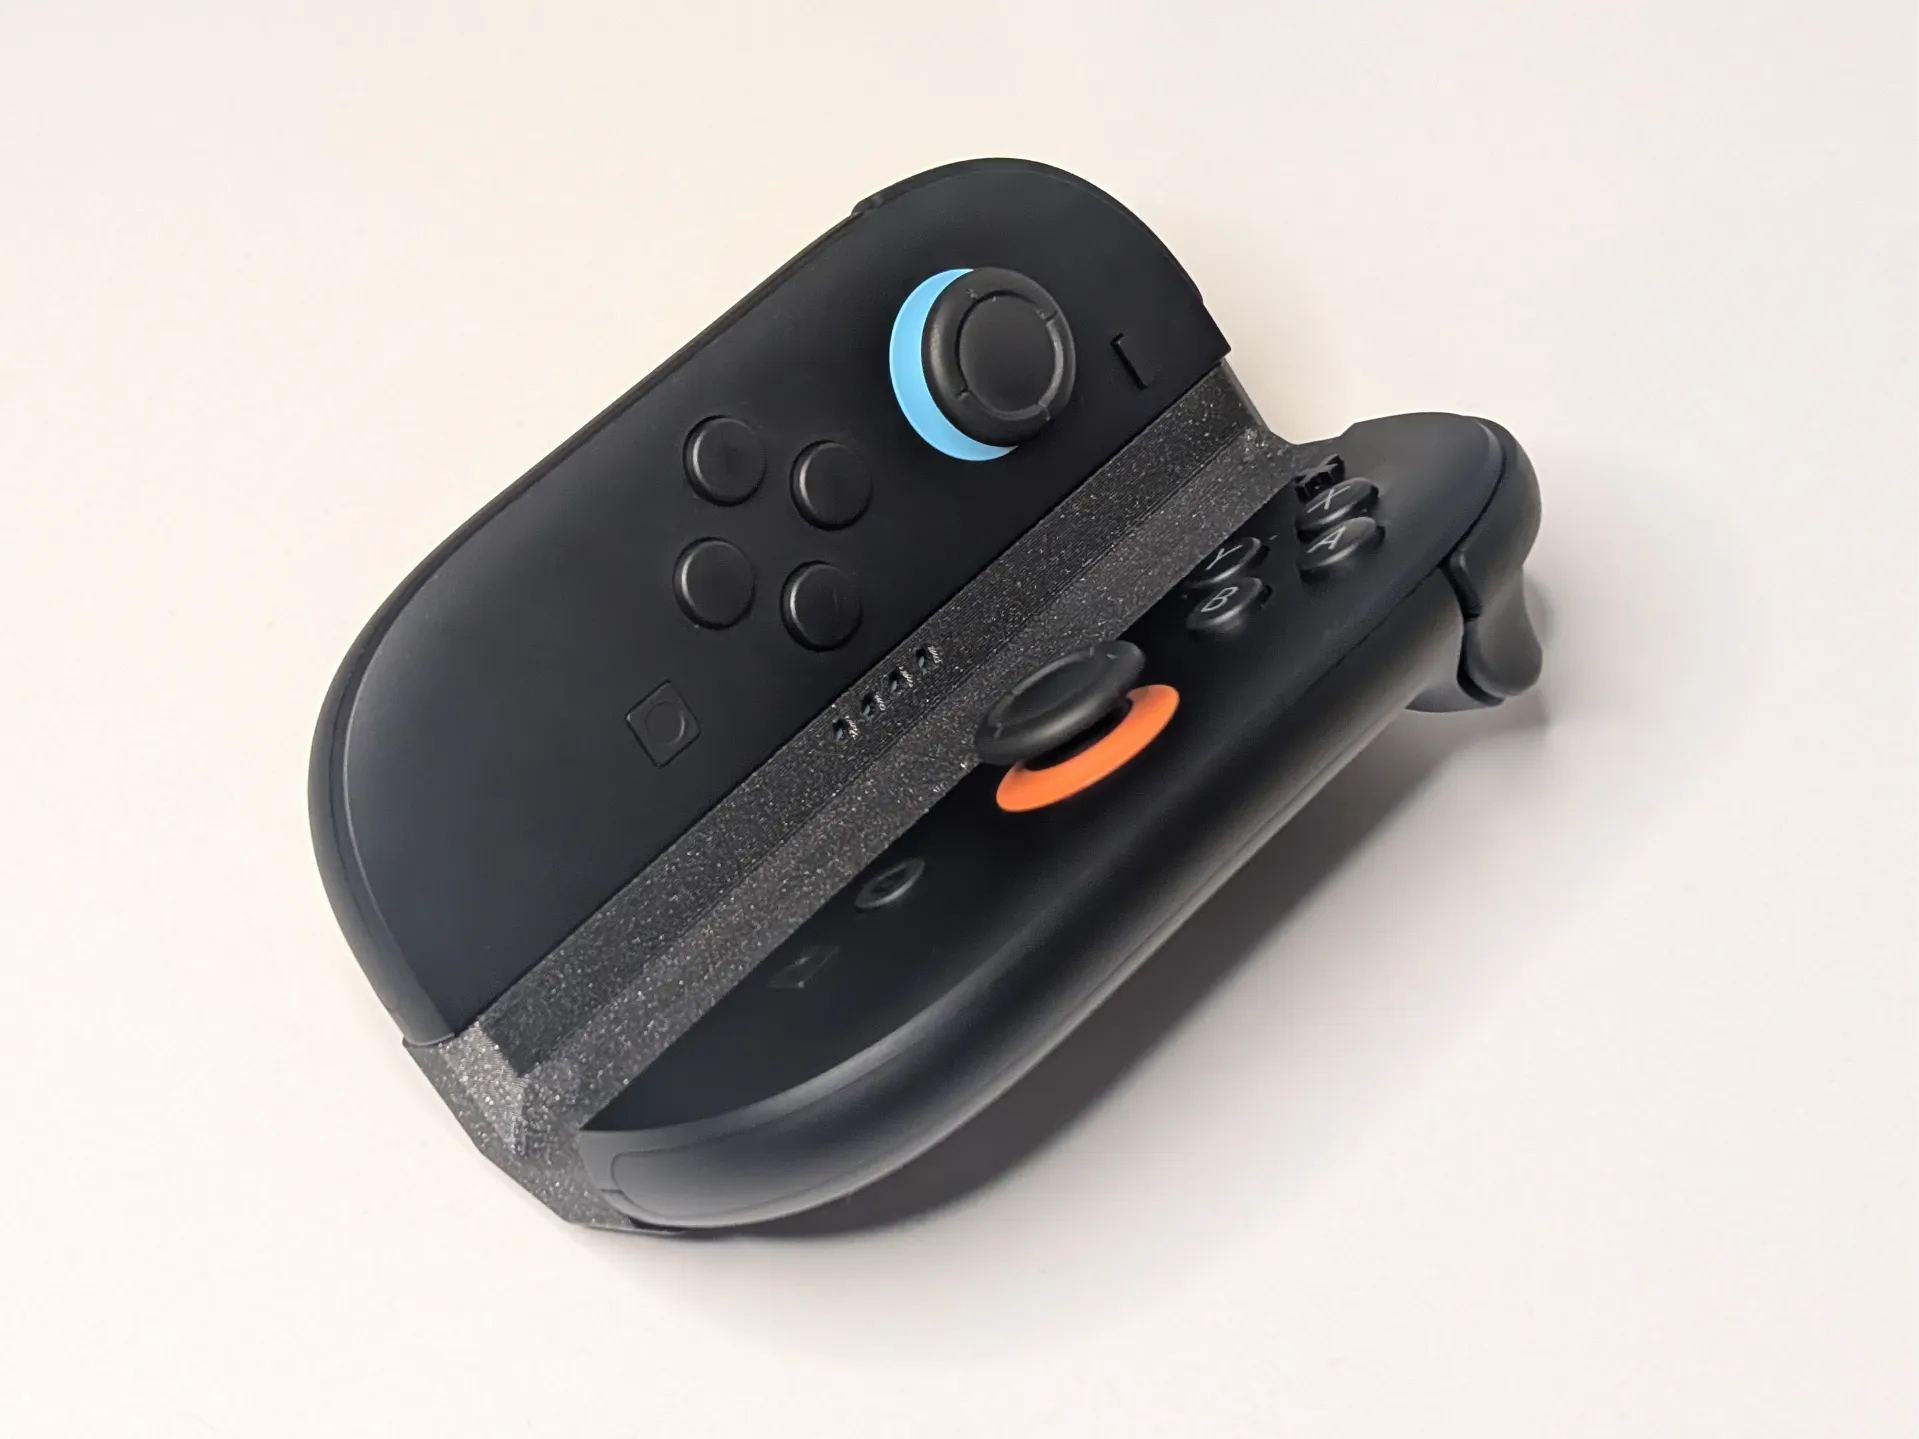 |
|
License

You shall not share, sub-license, sell, rent, host, transfer, or distribute in any way the digital or 3D printed versions of this object, nor any other derivative work of this object in its digital or physical format (including - but not limited to - remixes of this object, and hosting on other digital platforms). The objects may not be used without permission in any way whatsoever in which you charge money, or collect fees.


Comment & Rating (9)