
MS Teams control panel - Mic, Camera, Raise hand
Print Profile(1)

Description
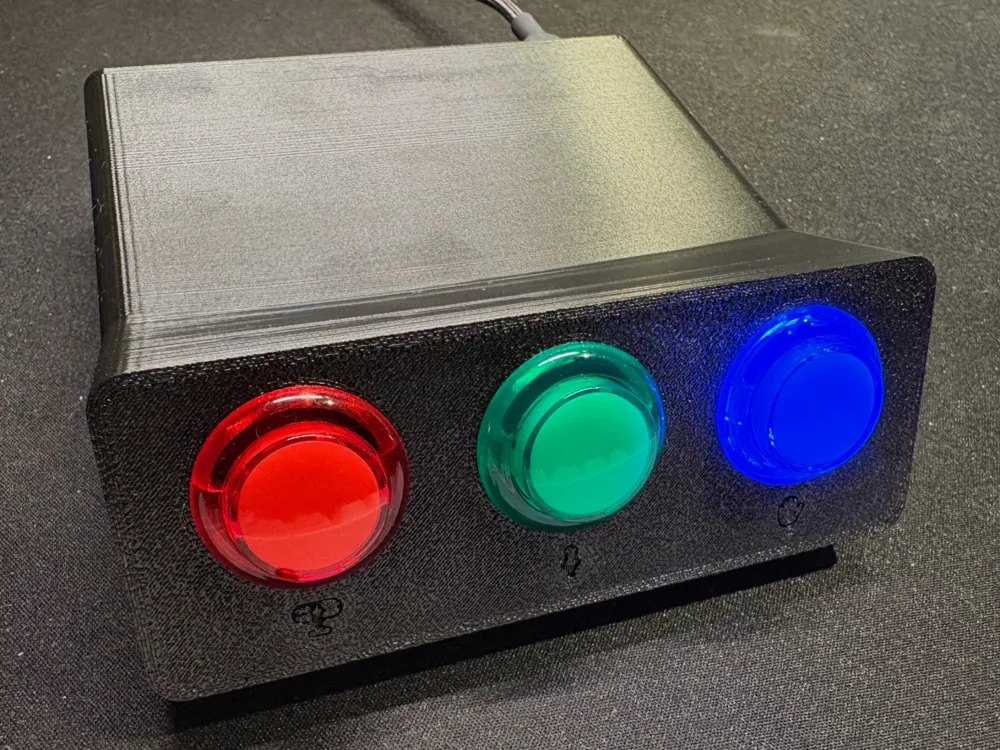
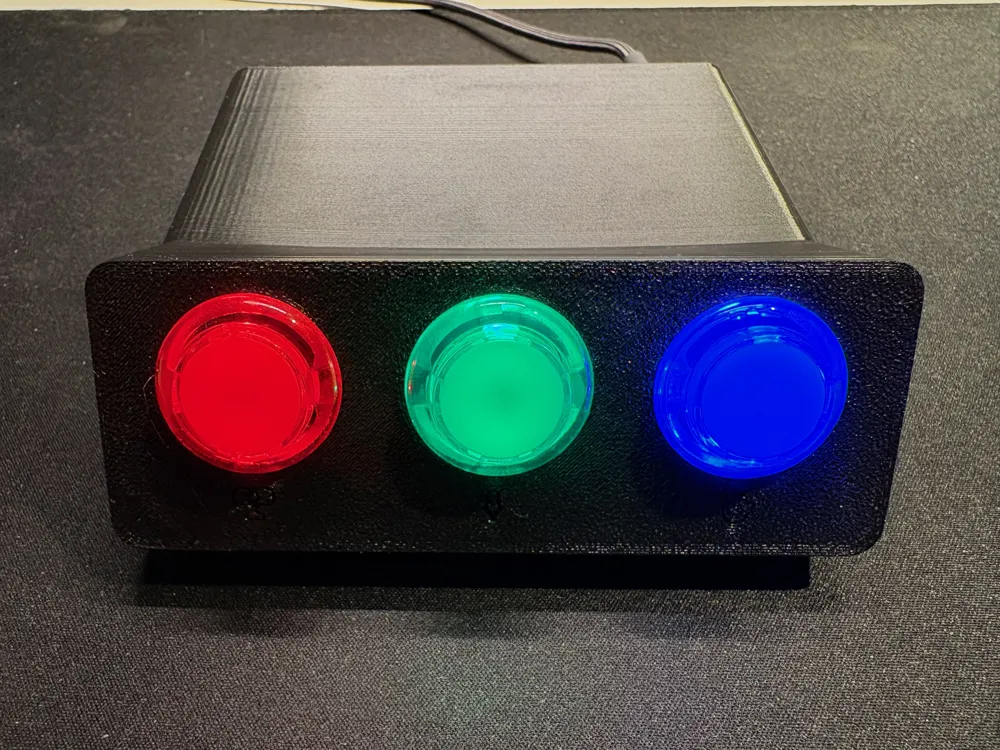
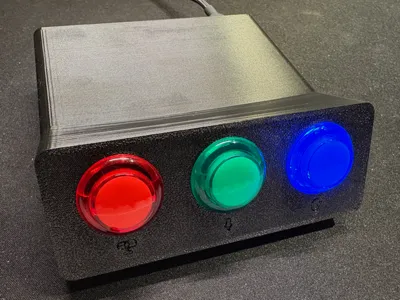
Many meetings in Microsoft Teams? Make your life easier with MS Teams Control Panel.
You can easily control status of camera, microphone or raise a hand with push of a button.
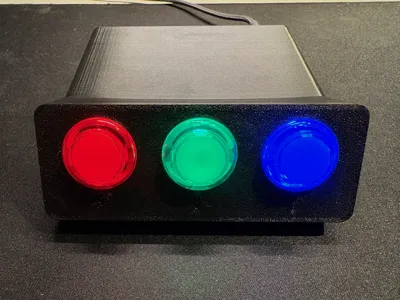
When button is activated, it stays lit until you press it again, so you know if your mic/camera is on just by looking on buttons.
This project was inspired by another MakerLab user project: https://makerworld.com/en/models/1436571-teams-shortcut-buttons - Give him a Boost!
(It uses same code for controlling buttons - more on that below)
You need only few things to make it work:
- 5V LED Arcade buttons - size: 3 x 24mm (3 pcs)
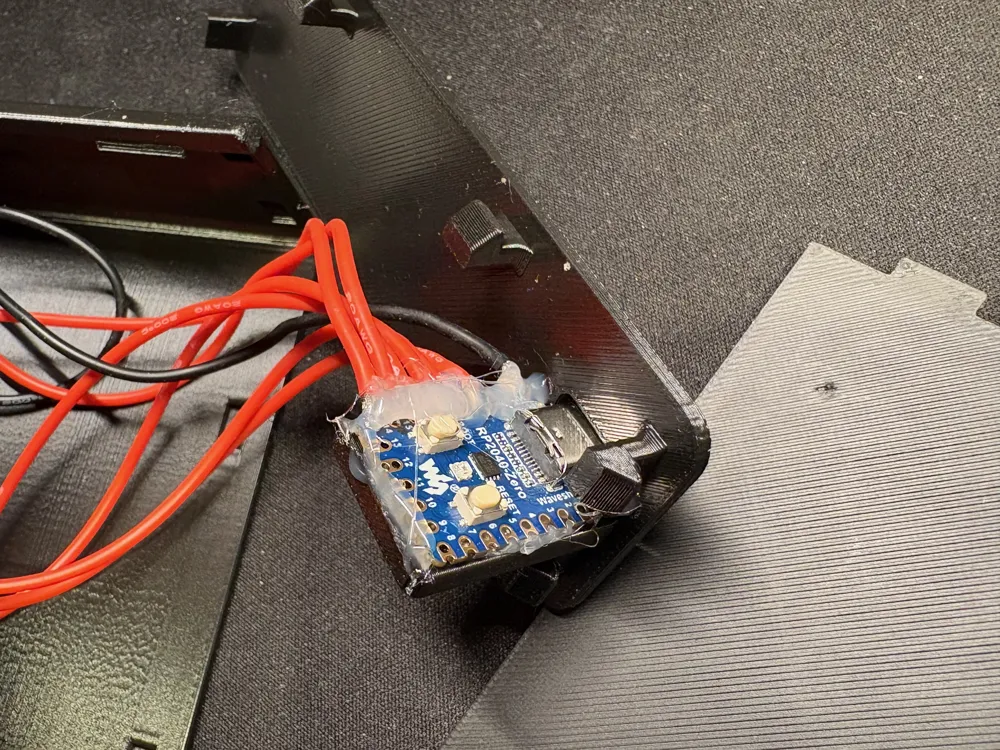
- Microcontroller - Waveshare RPI2040 - Zero with USB cable (Buy one that fits your port needs. I used RPI2040-Zero with USB-C port)
- Wires + spade connectors or complete daisy chain wire (buttons need spade connectors or you can also solder wires directly to connectors)
- Soldering equipment
- Optional: Glue gun
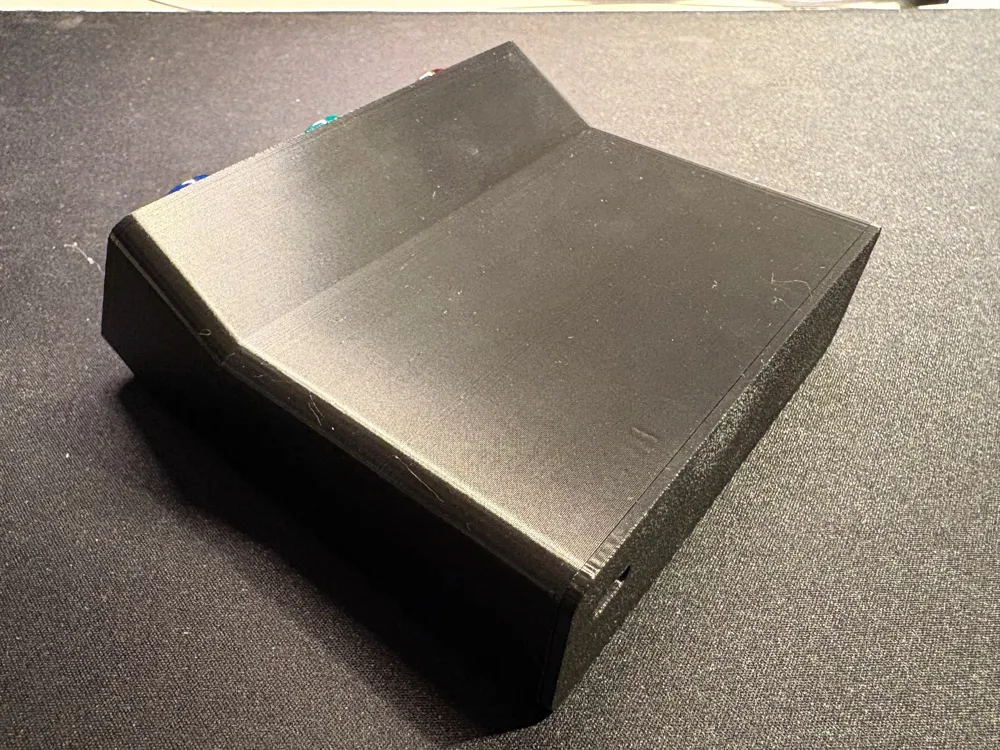
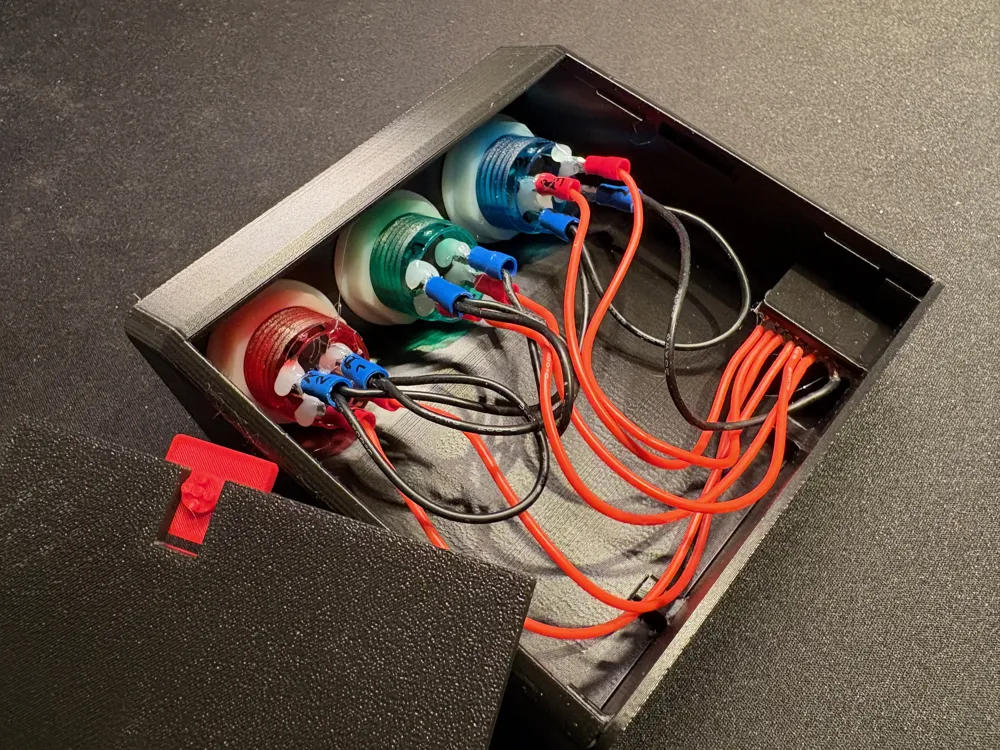
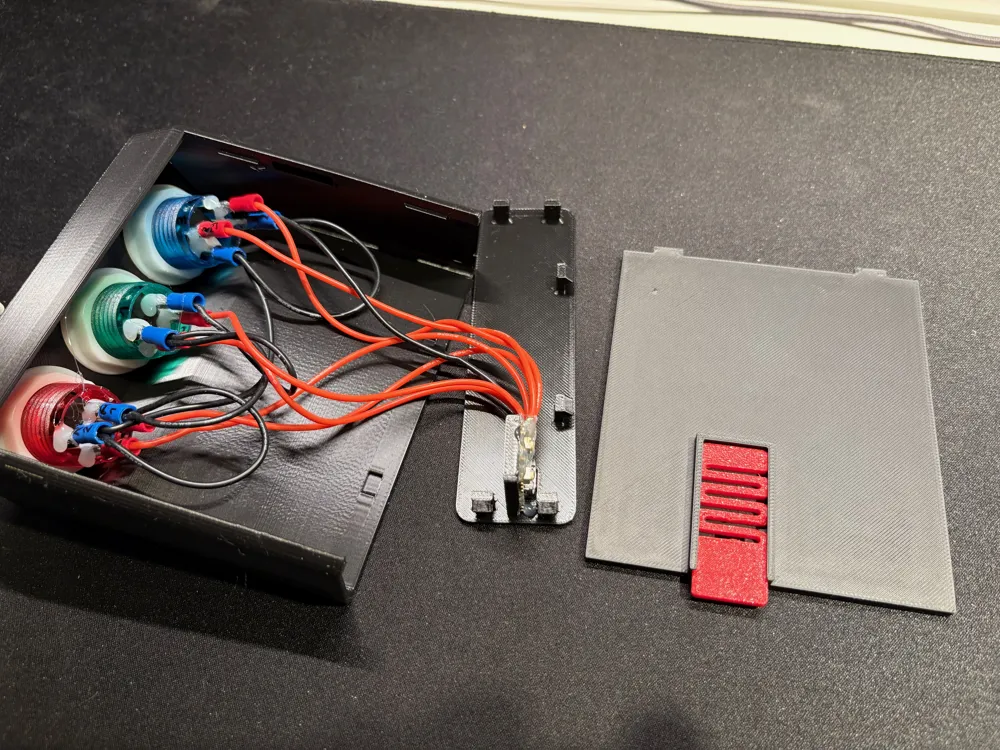
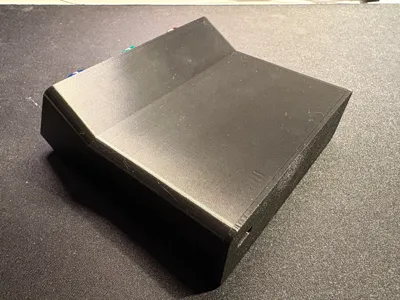
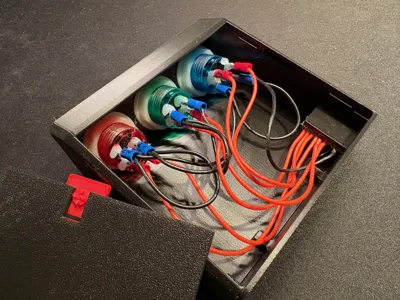
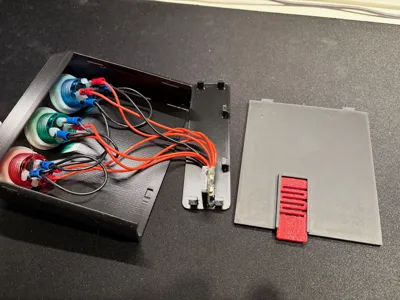
The case is designed in a way to make printing and assembly easy. It consists of 4 pieces
- Main case
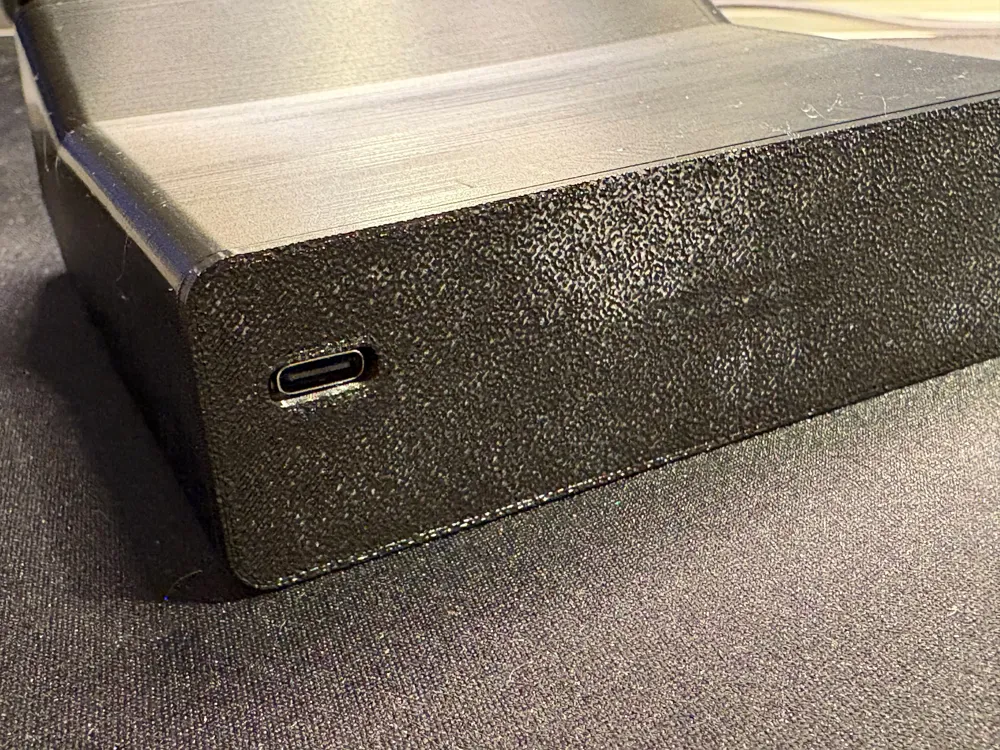
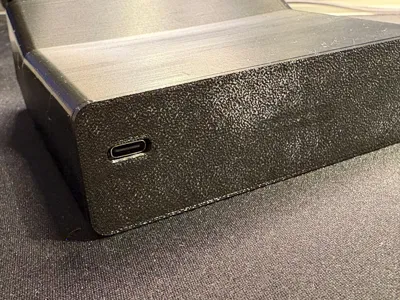
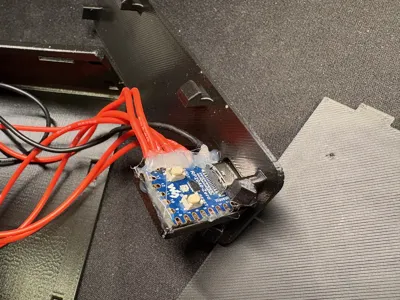
- Back cover with USB-C port hole and RPI2040-Zero bracket with snap on latches
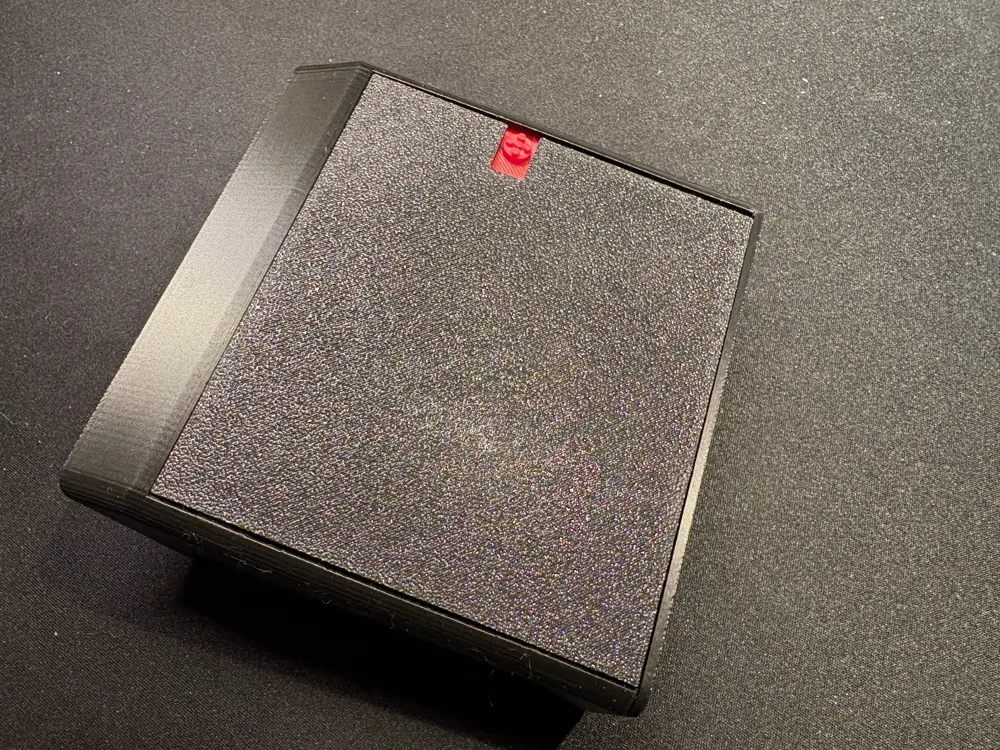
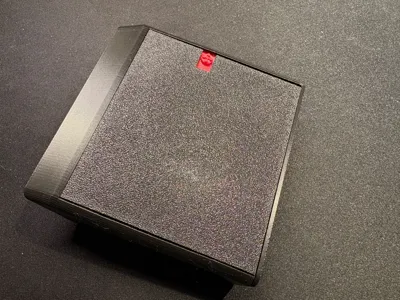
- Bottom cover
- Spring latch for bottom cover
You can print with any filament. I used PETG and PLA with 15% infill and 0.2mm layer height. You can use supports for back cover but I printed it without supports and it's fine.
Microcontroller uses Circuit Python to control LEDs and input (this device basically works as a keybord sending specific shortcut combinations). To make it work you have to:
- Connect RPI2040-Zero to your device while holding boot button. It will appear in file explorer as RPI-RP2 storage.
- Download a CircuitPython software (.uf2 file) from https://circuitpython.org/board/waveshare_rp2040_zero/ and copy it to device (it will disappear but that's fine).
- Unplug device and connect it again (without holding any buttons). It will appear in file explorer as CIRCUITPY.
- Download Adafruit HID library from this repo: https://github.com/adafruit/Adafruit_CircuitPython_Bundle/releases (for example adafruit-circuitpython-bundle-10.x-mpy-20250617.zip). Unzip it and copy directory lib/adafruit_hid to your RPI2040-Zero.
- Copy code.py from this repo: https://github.com/TellinStories/Teams-Shortcut-Buttons to your RPI2040-Zero. (main directory).
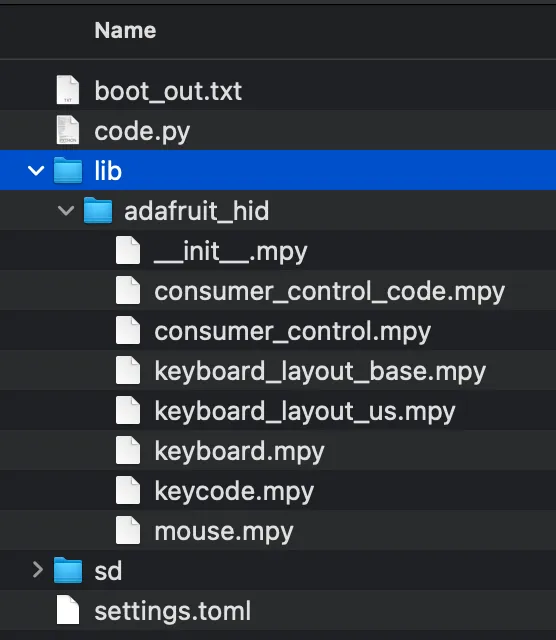
Your RPI2040-Zero file structure should look like this:
Wiring/Soldering
Your arcade buttons have 4 pins:
Two ground pins (one for LED and one for button)
Two active pins (one for LED on/off, and one for button output)
Solder daisy chain ground wire or prepare a wire that will connect to two ground pins on each button and GND pin on RPI2040-Zero - basically you have to connect all ground pins to ground pin on microcontroller (there is only one).
Solder rest of the wire according to instructions from project I mentioned before (https://makerworld.com/en/models/1436571-teams-shortcut-buttons ) or instructions below.
Solder:
- Raising hand button: Button pin to pin 14, LED pin to pin 15
- Camera button: Button pin to pin 26, LED pin to pin 27
- Microphone button: Button pin to pin 28, LED pin to pin 29
Connect all wires to buttons and plug in device. Check if LEDs are working by pressing the buttons and check if proper key combinations are sent on https://keyboard-test.space/
Install buttons in case. Use glue (best option hot glue gun) or double sided tape to place RPI2040-Zero on dedicated bracket while positioning USB-C port in the hole. I've also glued soldered wires on buttons and microcontroller due to lack of confidence in my soldering work :)
To finish case assembly:
- Put back cover first (you can bend it very gently)
- Put bottom cover spring latch into bottom cover guided hole
- Put bottom cover on by positioning cutouts into holes on one side and compressing the spring latch on another side. It should snap on easly.
There you go. Your MS Teams Control panel is ready. Enjoy your meetings!
Boost Me (for free)
If you this 3d project, consider giving me a boost :)
License



Comment & Rating (1)