
Print Profile(1)

Description
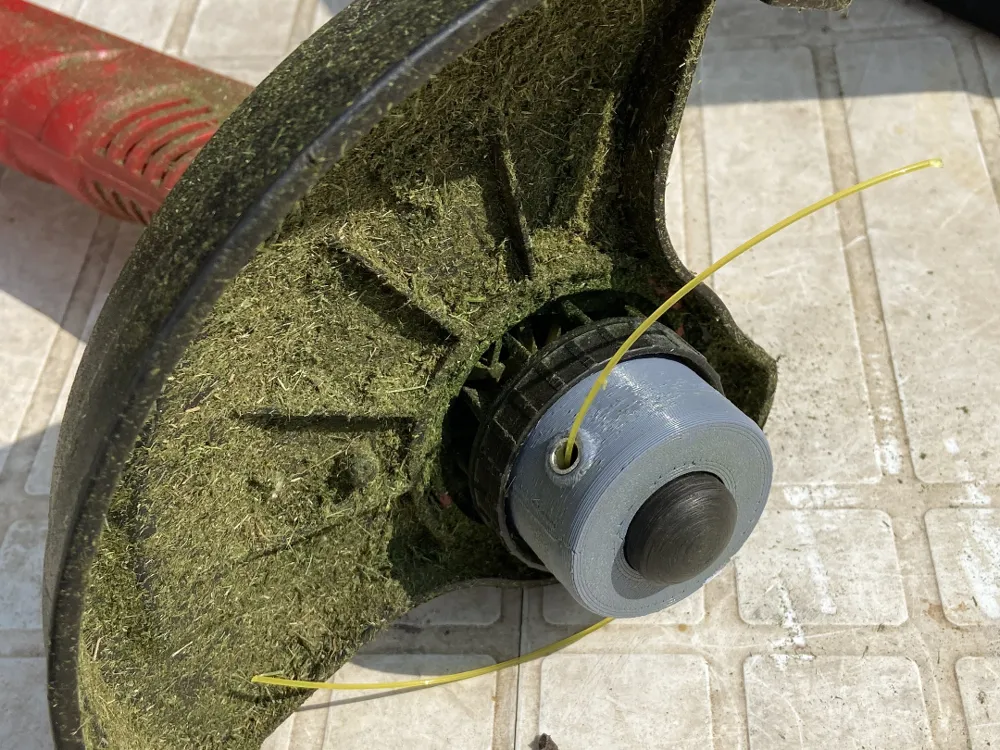
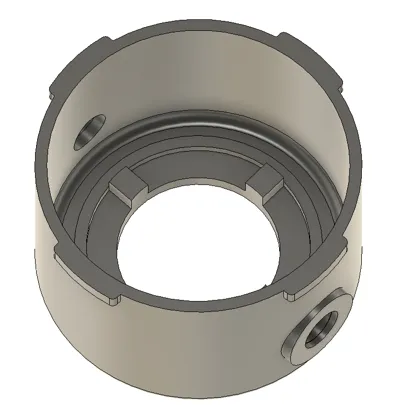
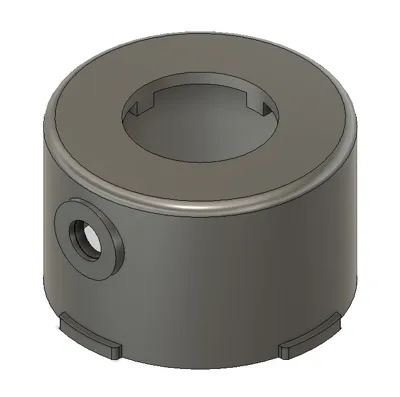
Tired of a broken brushcutter head? I designed this solid replacement part for the Einhell GC-ET 2522 after the original failed. This isn't just a copy; it's an upgraded design focused on durability and overcoming the common failure points of the stock head.
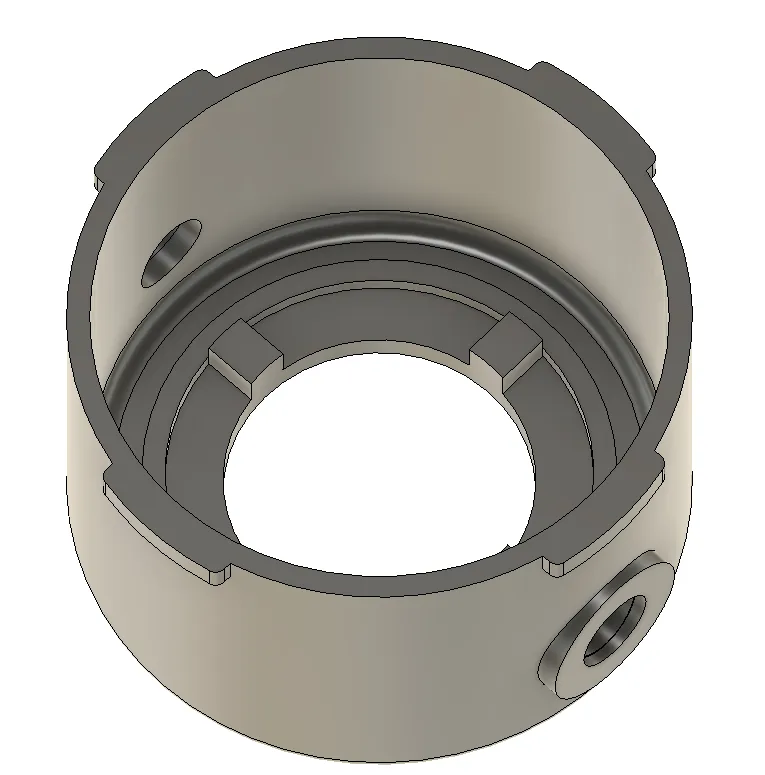
The key improvement is a reinforced, solid-body construction paired with a durable aluminum insert for the line port. This prevents the trimmer line from cutting into the plastic, a frequent issue with fully plastic heads.
Key Features:
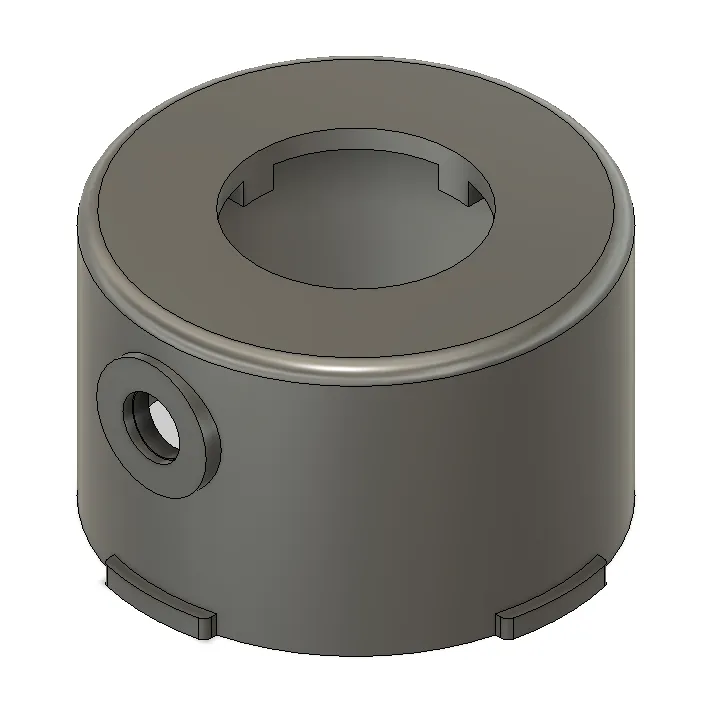
- Solid-Body Design: Offers superior mechanical strength and impact resistance compared to the original.
- Metal-Reinforced Line Port: An 8mm aluminum tube insert provides a smooth, wear-resistant guide for the trimmer line, preventing melting and friction damage.
- High-Temperature Resistance: Designed specifically for PETG to handle the heat generated during use.
Printing Instructions:
I highly recommend printing this part with PETG only. PLA is not suitable as it will warp and fail under the combined heat and mechanical stress of a brushcutter.
- Layer Height: 0.2mm
- Infill: I suggest a robust 40-50% for optimal strength.
- Supports: Depending on your printer's bridging capabilities, you may need supports for the line port cavity.
Required Hardware & Tools:
- A standard 8mm (outer diameter) aluminum tube.
- A pipe/tube cutter or hacksaw.
- A de-burring tool or small file.
Assembly - Simple & Effective:
- Prepare the Metal Insert: Cut a small piece from the 8mm aluminum tube, just long enough to span the line port in the printed head.
- De-burr for Smoothness (Critical Step!): Carefully smooth the cut edges of the aluminum insert with a de-burring tool or file. Sharp edges will shred your trimmer line. The goal is a perfectly smooth, rounded-over edge.
- Installation: Firmly press-fit the smooth aluminum insert into its designated slot on the printed brushcutter head.
Enjoy a more reliable and longer-lasting brushcutter! Please share your makes!
Important Safety Disclaimer
This part is intended for a high-speed power tool and carries inherent risks. The final performance, durability, and safety of this printed part depend entirely on the quality of your specific filament, the accuracy of your printer, your print settings, and the quality of your assembly.
Printing with improper materials (e.g., PLA) or using inadequate print settings can result in sudden and catastrophic failure during operation, which could lead to damage to your equipment or serious personal injury.
By downloading and producing this design, you acknowledge and agree that you are doing so entirely at your own risk. The designer assumes no responsibility or liability for any damage to property (including your brushcutter) or injury to yourself or others that may result from the use, misuse, or failure of this part.
Always wear appropriate Personal Protective Equipment (PPE), including safety glasses, when operating your brushcutter.
License



Comment & Rating (0)