
FMS FCX10 LC80 Roof Rack
Print Profile(4)


Description
Boost Me (for free)
Please consider giving me a boost if this worked out well for you.
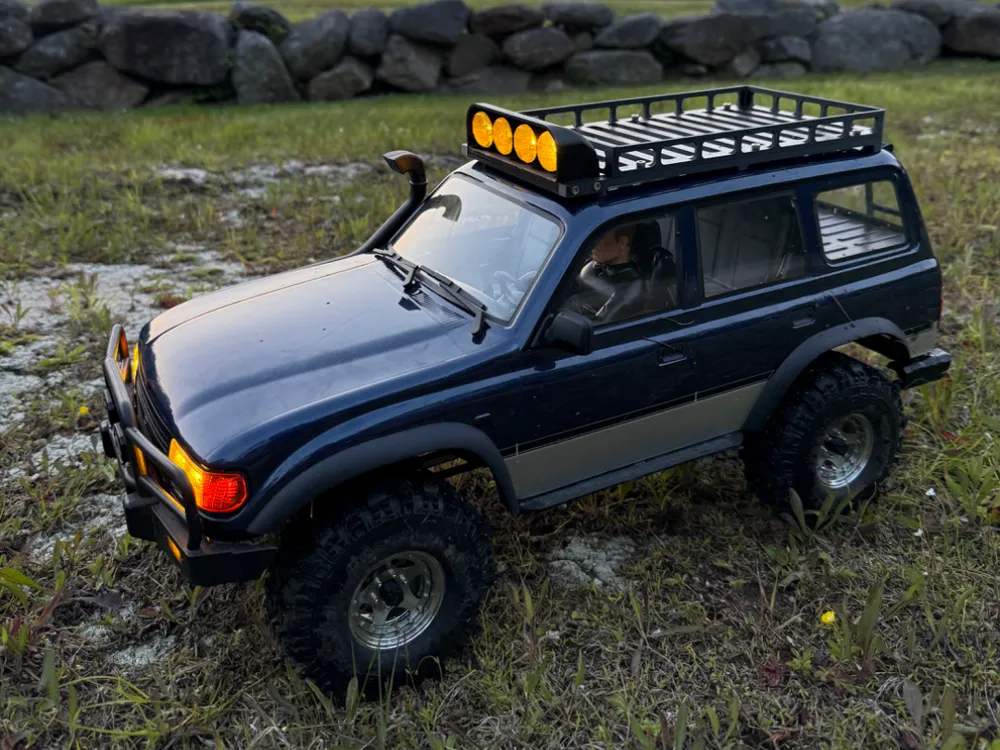
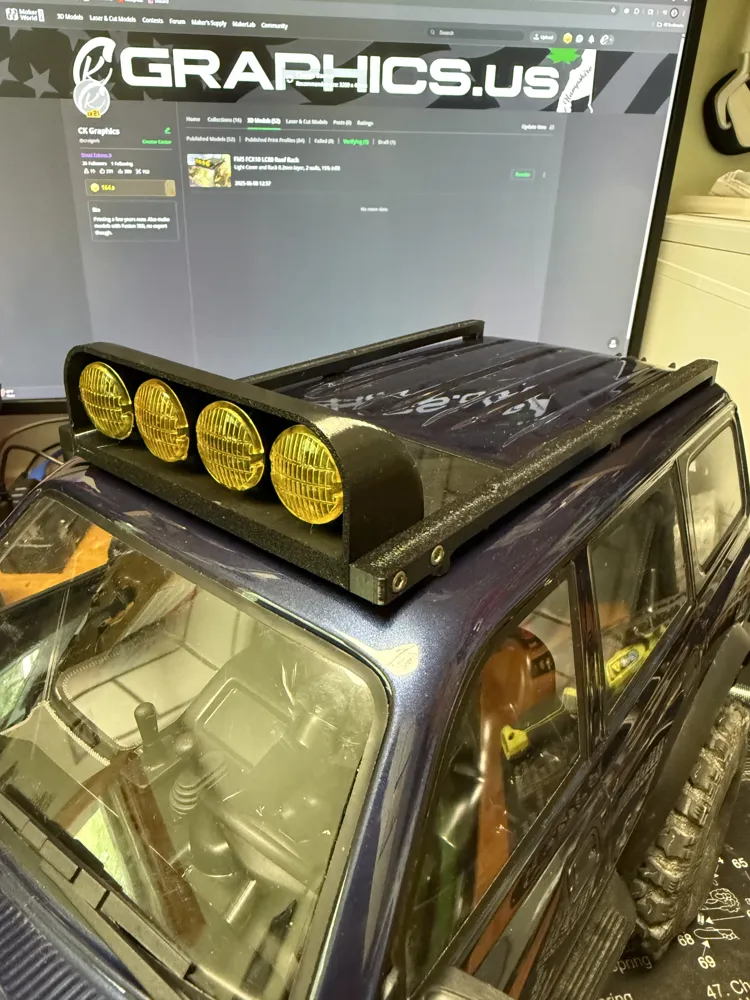
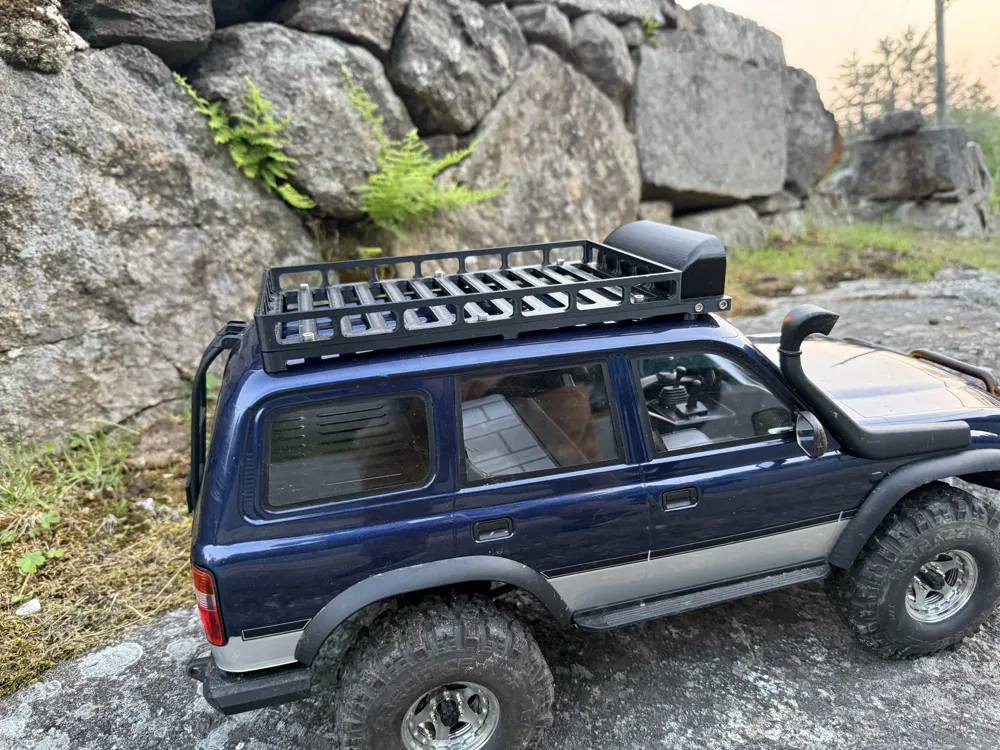
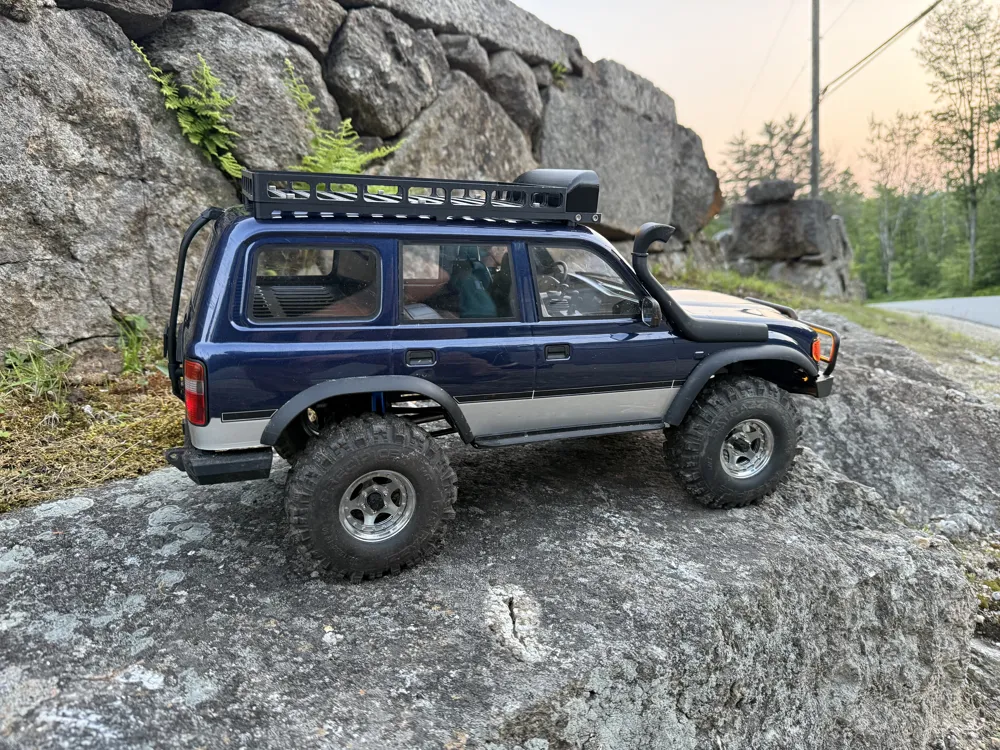
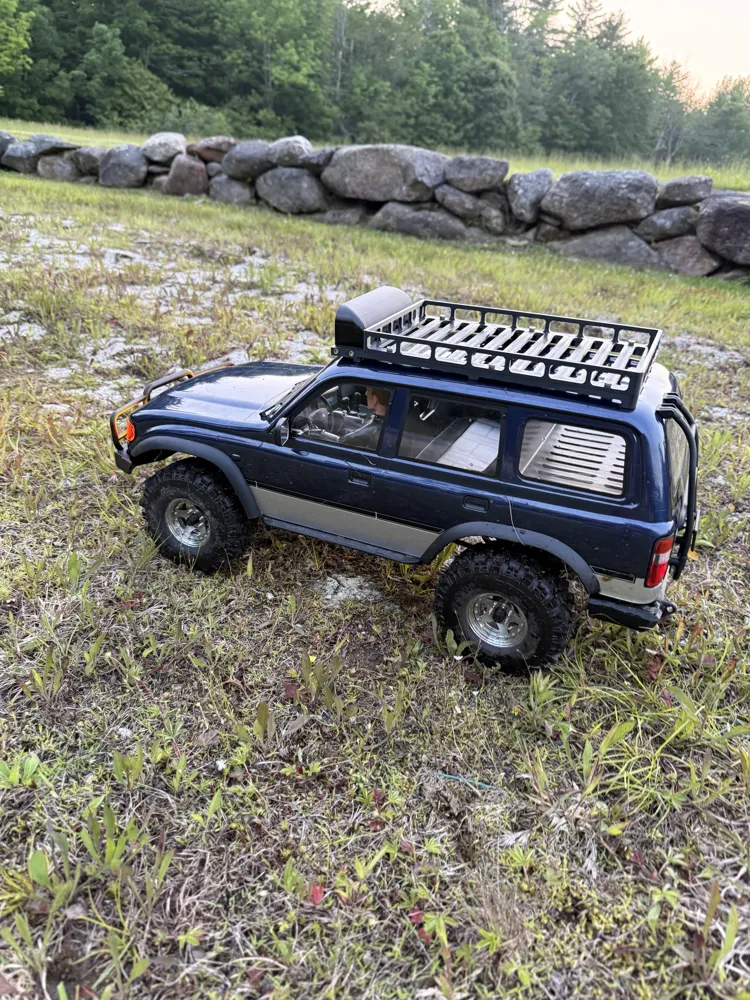
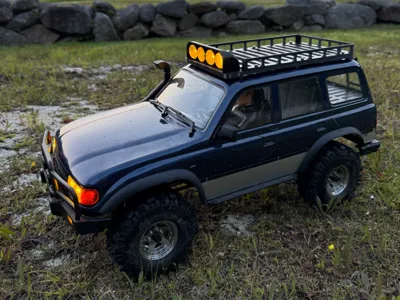
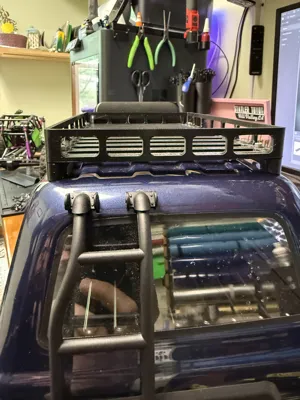
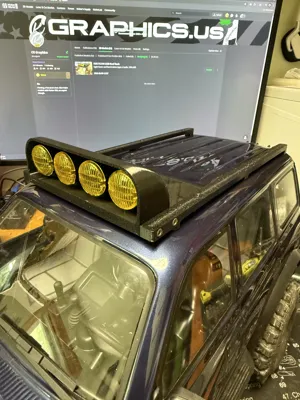
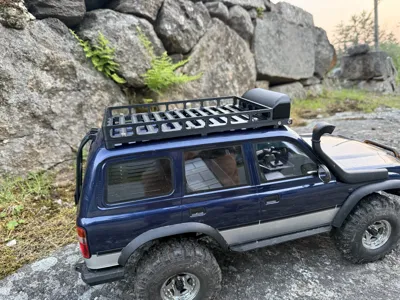
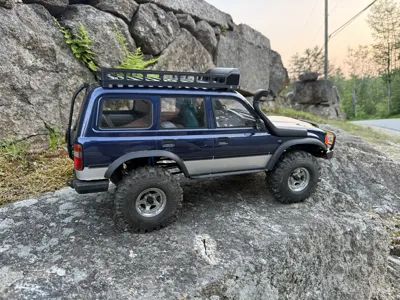
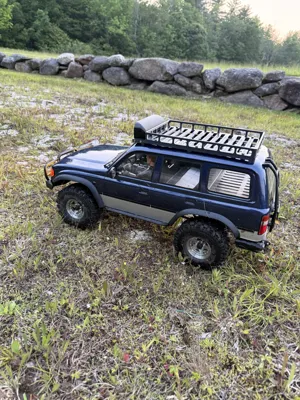
This is a replacement roof rack system for the FMS FCX10 LC80. Mine's a pro but original and pro should be the same from my research.
Mine broke the first small rollover it had. I was gonna remove it but the holes annoyed me. I made this so it would be stronger than the original, but also if I broke part of it in a tumble, I could just replace the part instead of waiting weeks from FMS.
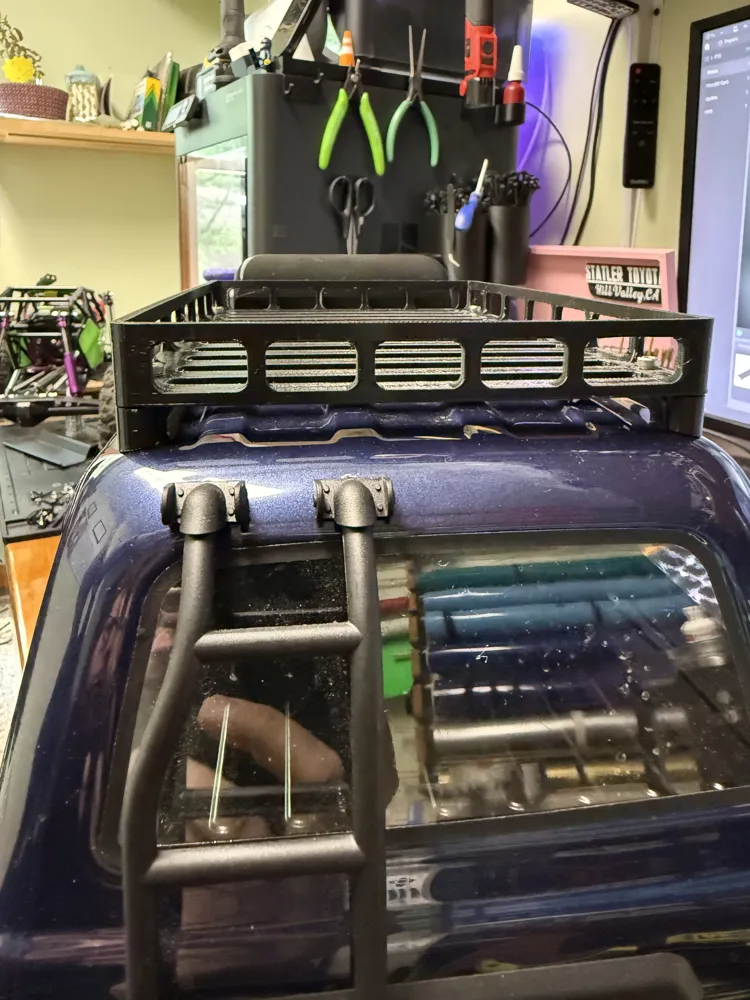
I assembled the whole thing first, then installed onto the truck. The mounts that go into the holes in the roof are undersized since I believe these are not always cut the same from factory. My stock roof rack mount holes barely lined up to the roof rack mounts. Just center the whole rack as best you can when tightening.
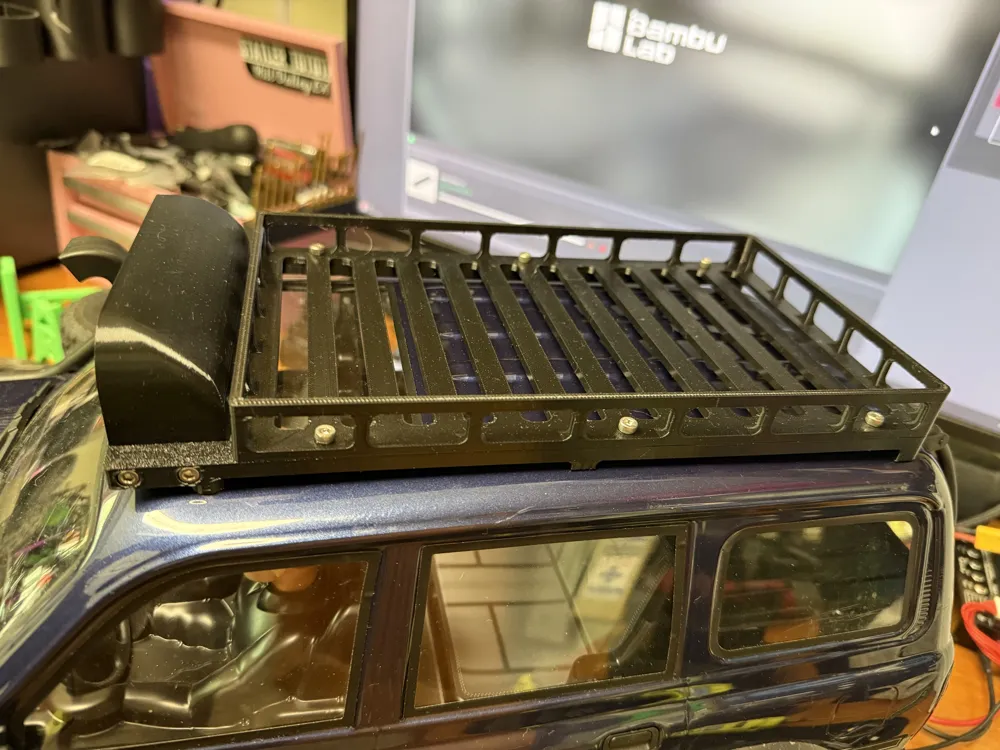
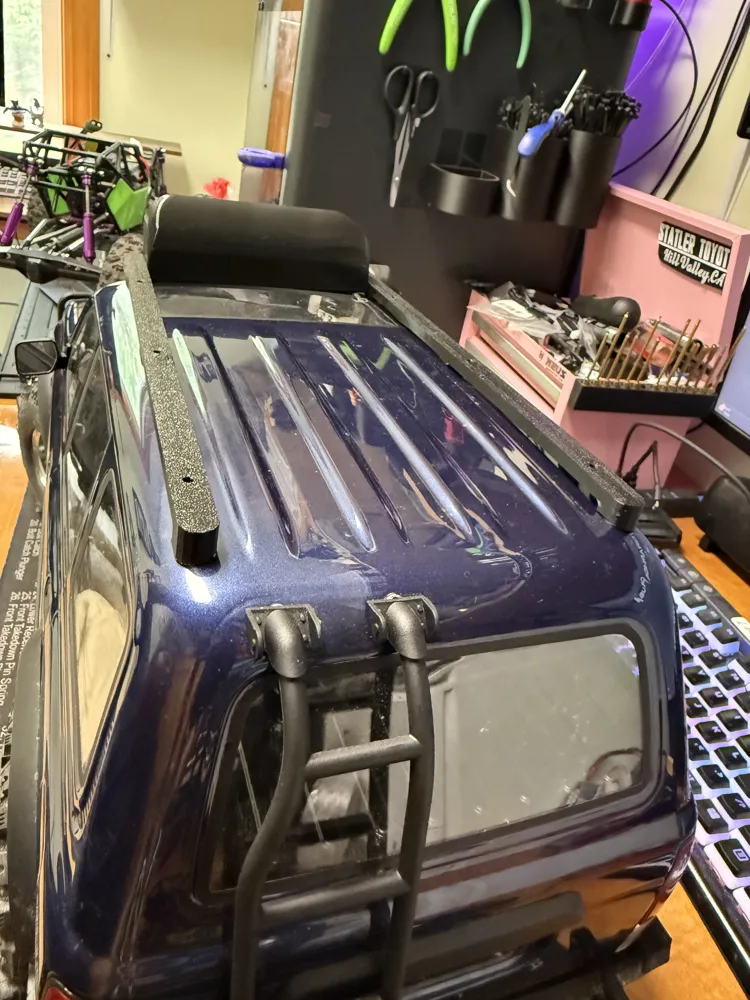
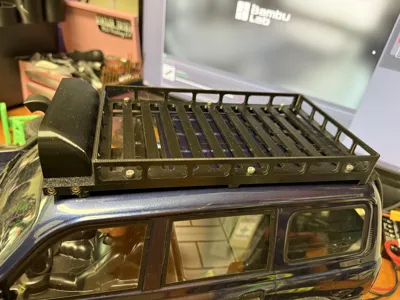
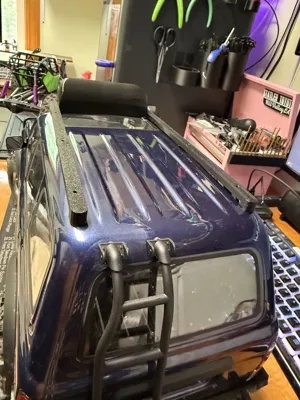
The smaller “rails” are like the stock inside clamp plate. It will flex with the roof.
You can use it with just the rails and light bar mount if you don't want a rack and want to cover the holes.
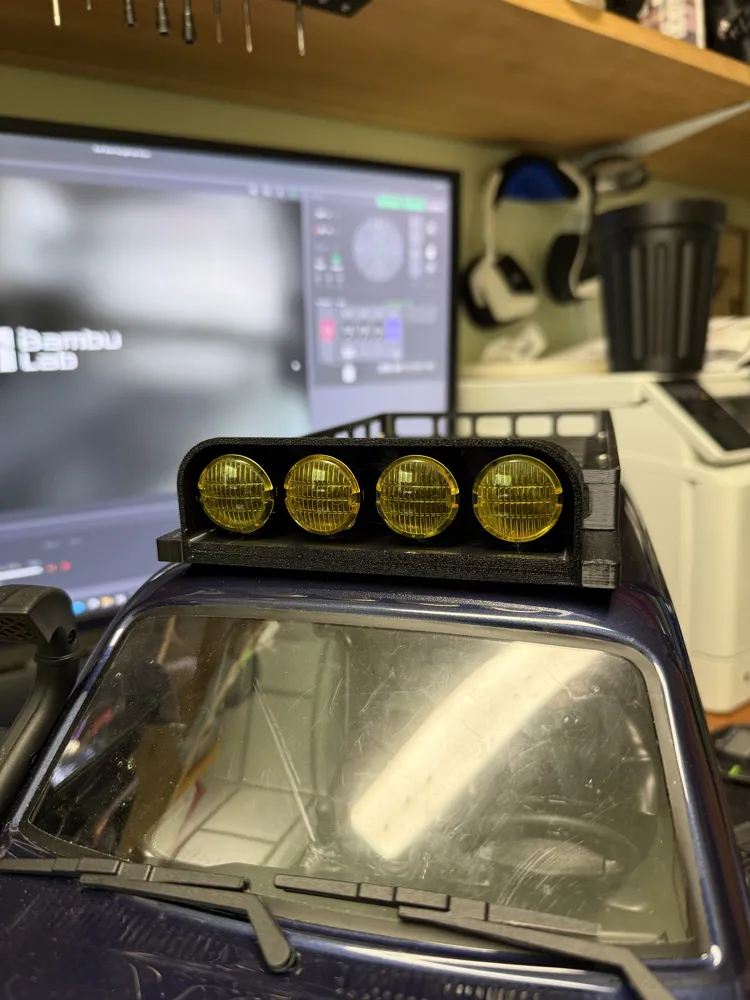
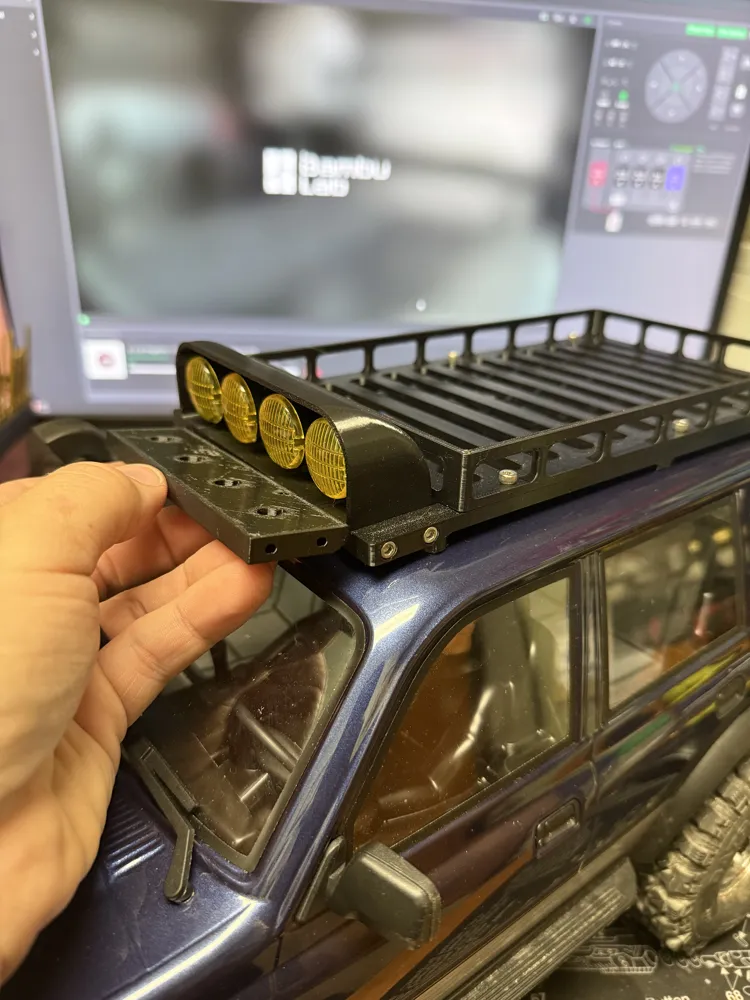
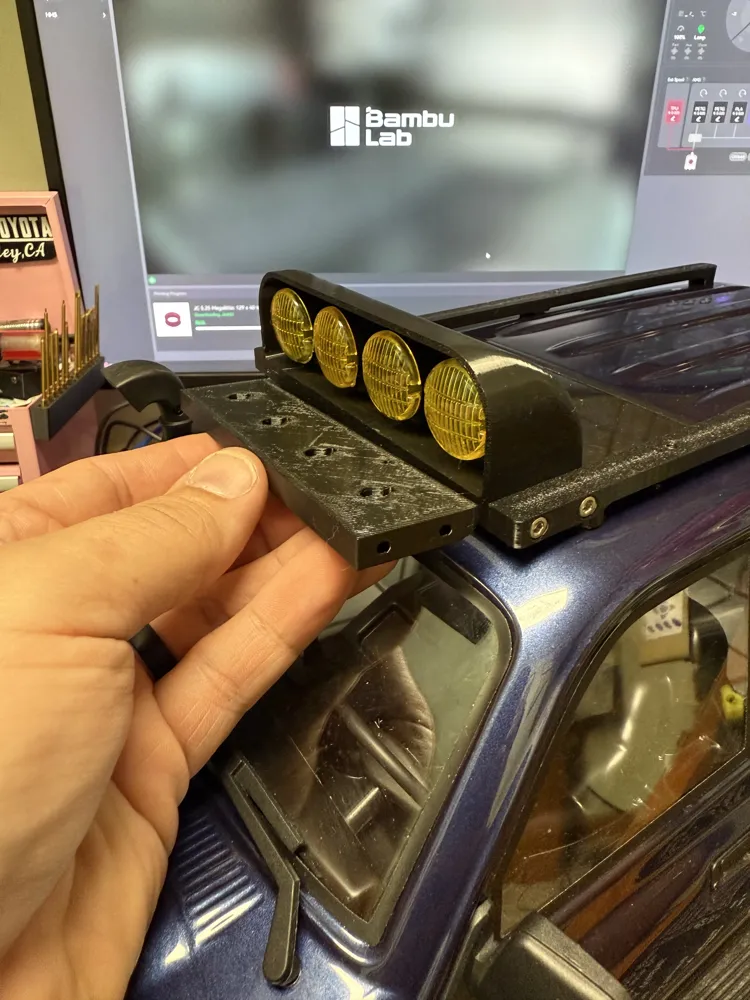
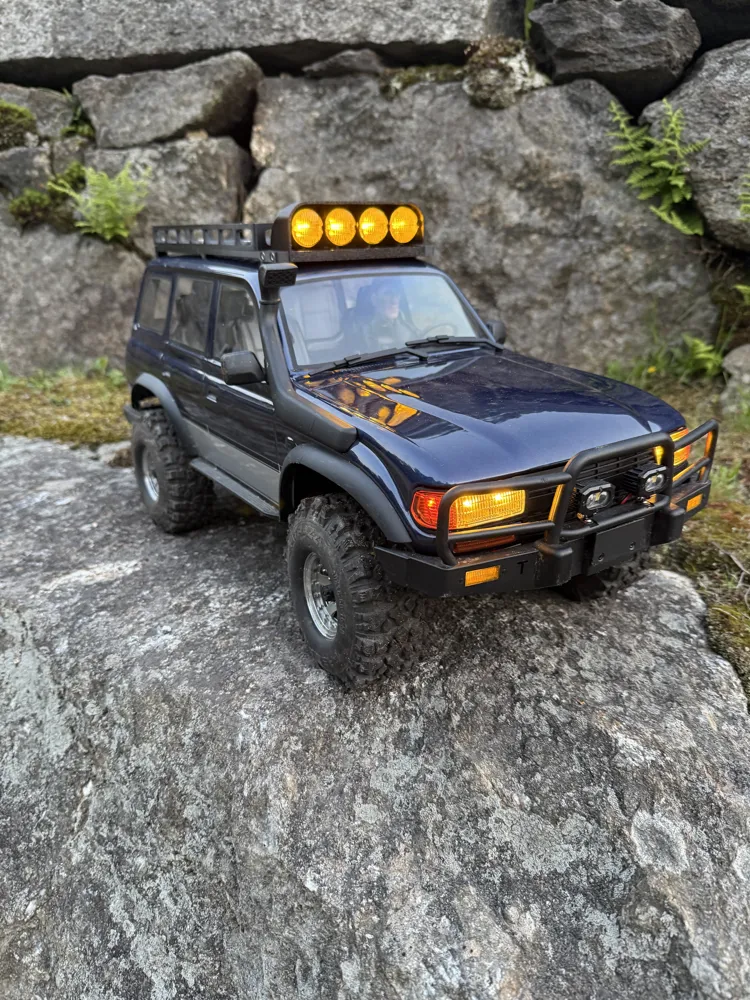
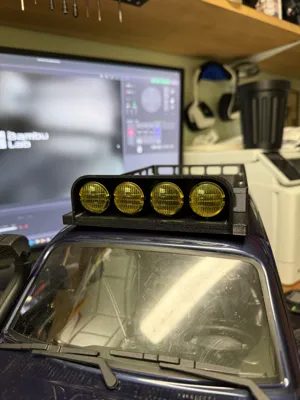
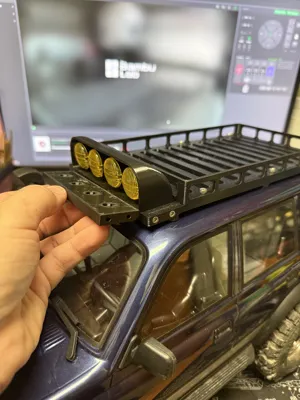
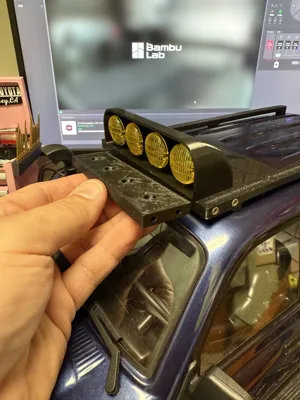
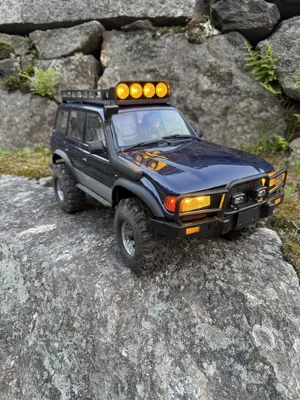
There are two light bar mounts. They use the stock light screws.
- One has the cover to protect the lights in a rollover. When installing the lights I put the connector through the hole first. Then I started with the light furthest away from the hole. Needle nose pliers may help when installing them. The bottom of the mounts fit in like factory.
- Second one is flat, kind of like the stock one.
Hardware, I'm waiting on some black button head bolts to come in, button or socket head will work:
- You can use the stock bolts to mount the rails to the body.
- M3x16mm bolts or longer to mount the Light Bar Mount to the rails.
- M3x8mm to mount the rack to the rails. They can be a little longer like 10mm maybe 12mm but then you'll see the threads sticking out below the rail.
- M3 nuts in the bottom of the rails to mount the rack. Easier to install these before you mount the rack. You could forgo these but not a lot of meat to grab.
M3 Button head bolts and nuts:
Instagram: https://www.instagram.com/ckrcgarage
YouTube: https://www.youtube.com/@CKRC-Garage
License

You shall not share, sub-license, sell, rent, host, transfer, or distribute in any way the digital or 3D printed versions of this object, nor any other derivative work of this object in its digital or physical format (including - but not limited to - remixes of this object, and hosting on other digital platforms). The objects may not be used without permission in any way whatsoever in which you charge money, or collect fees.


Comment & Rating (5)