
Altimeter Desk Clock
Print Profile(3)


Bill of Materials




Description
Boost Me (for free)
Costs you absolutely nothing, but provides me with so much motivation! :) Have a nice day!
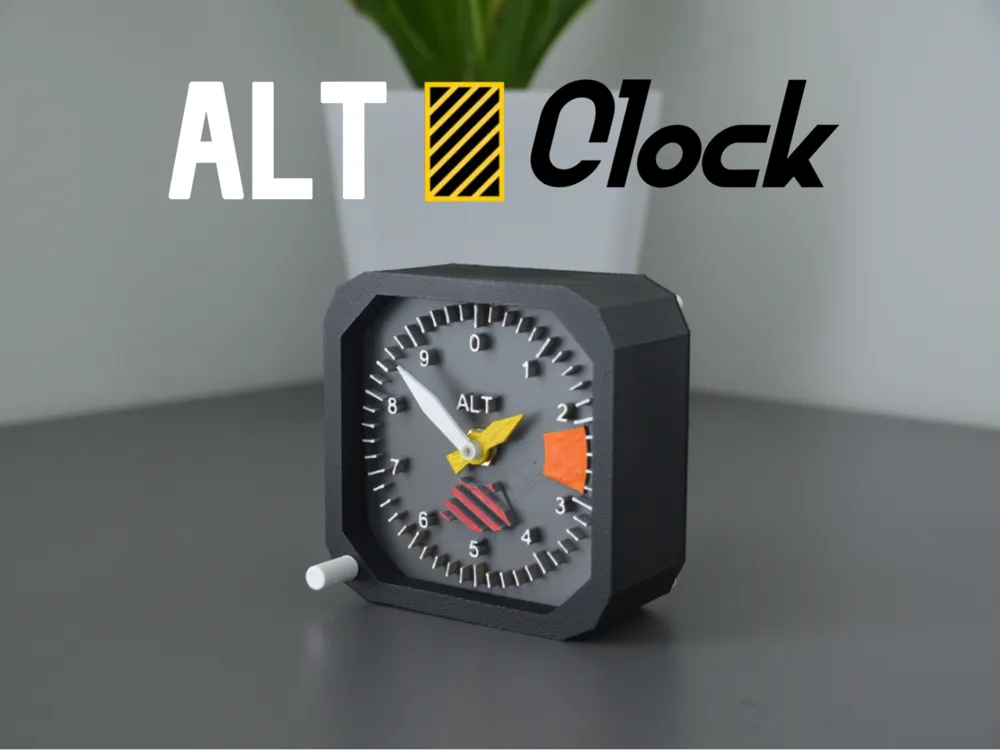
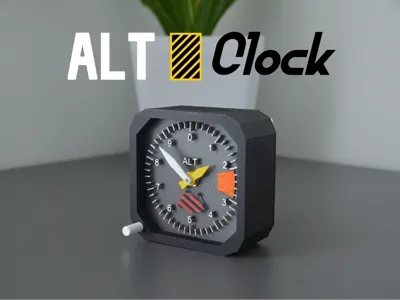
✈️ Altimeter Desk Clock
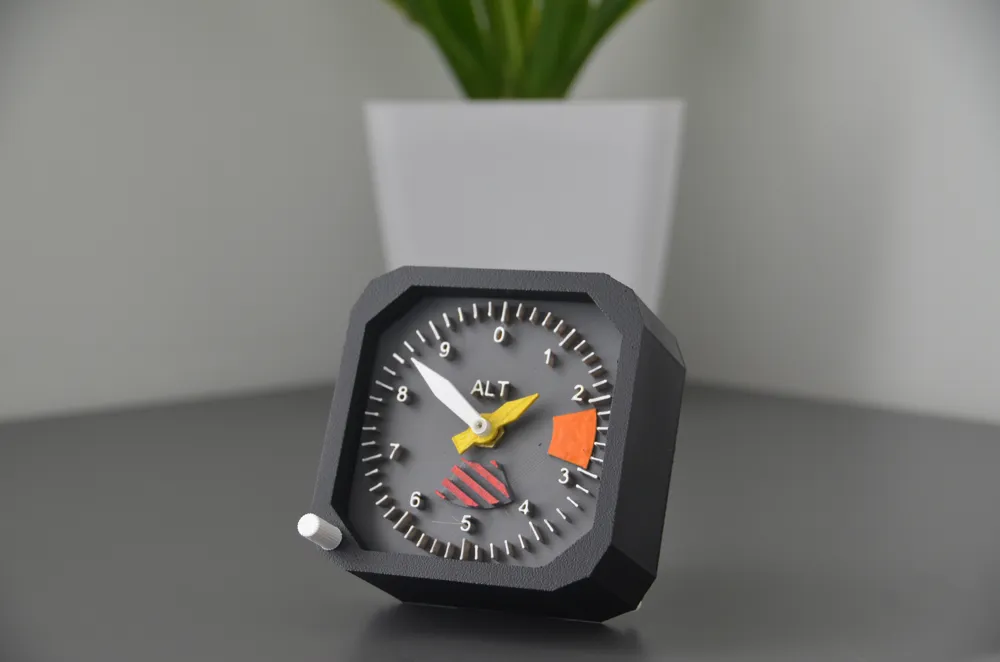
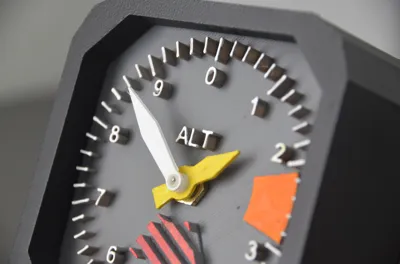
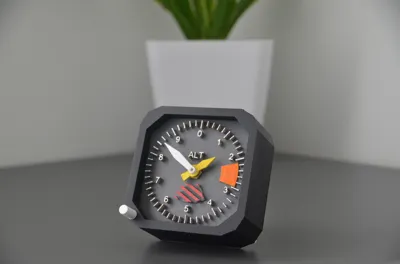
A desk clock styled like an aircraft altimeter — perfect for aviation fans and enthusiasts!
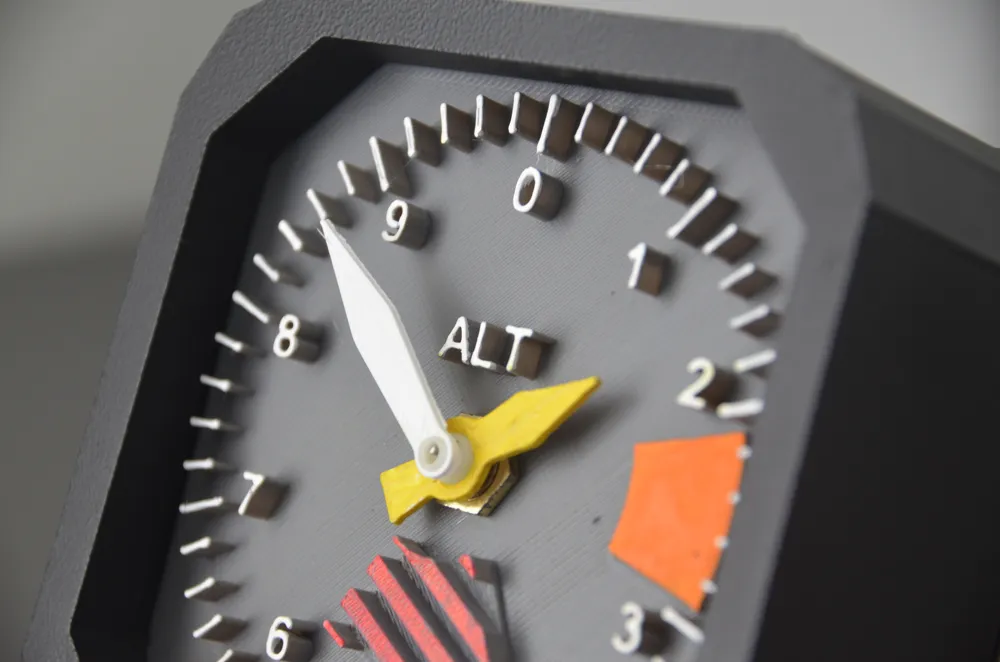
The numbers are arranged like a real altimeter dial, giving it an authentic cockpit feel.
Laboratory Contest: This model is related to the Lab Contest because it is inspired by precision instruments used in scientific and aerospace labs. The altimeter clock mimics the look of real lab gauges, reflecting the importance of measurement and data in experimental environments.
⏰ Print Time: 3 Hours
🛠️ COMPATIBLE WITH
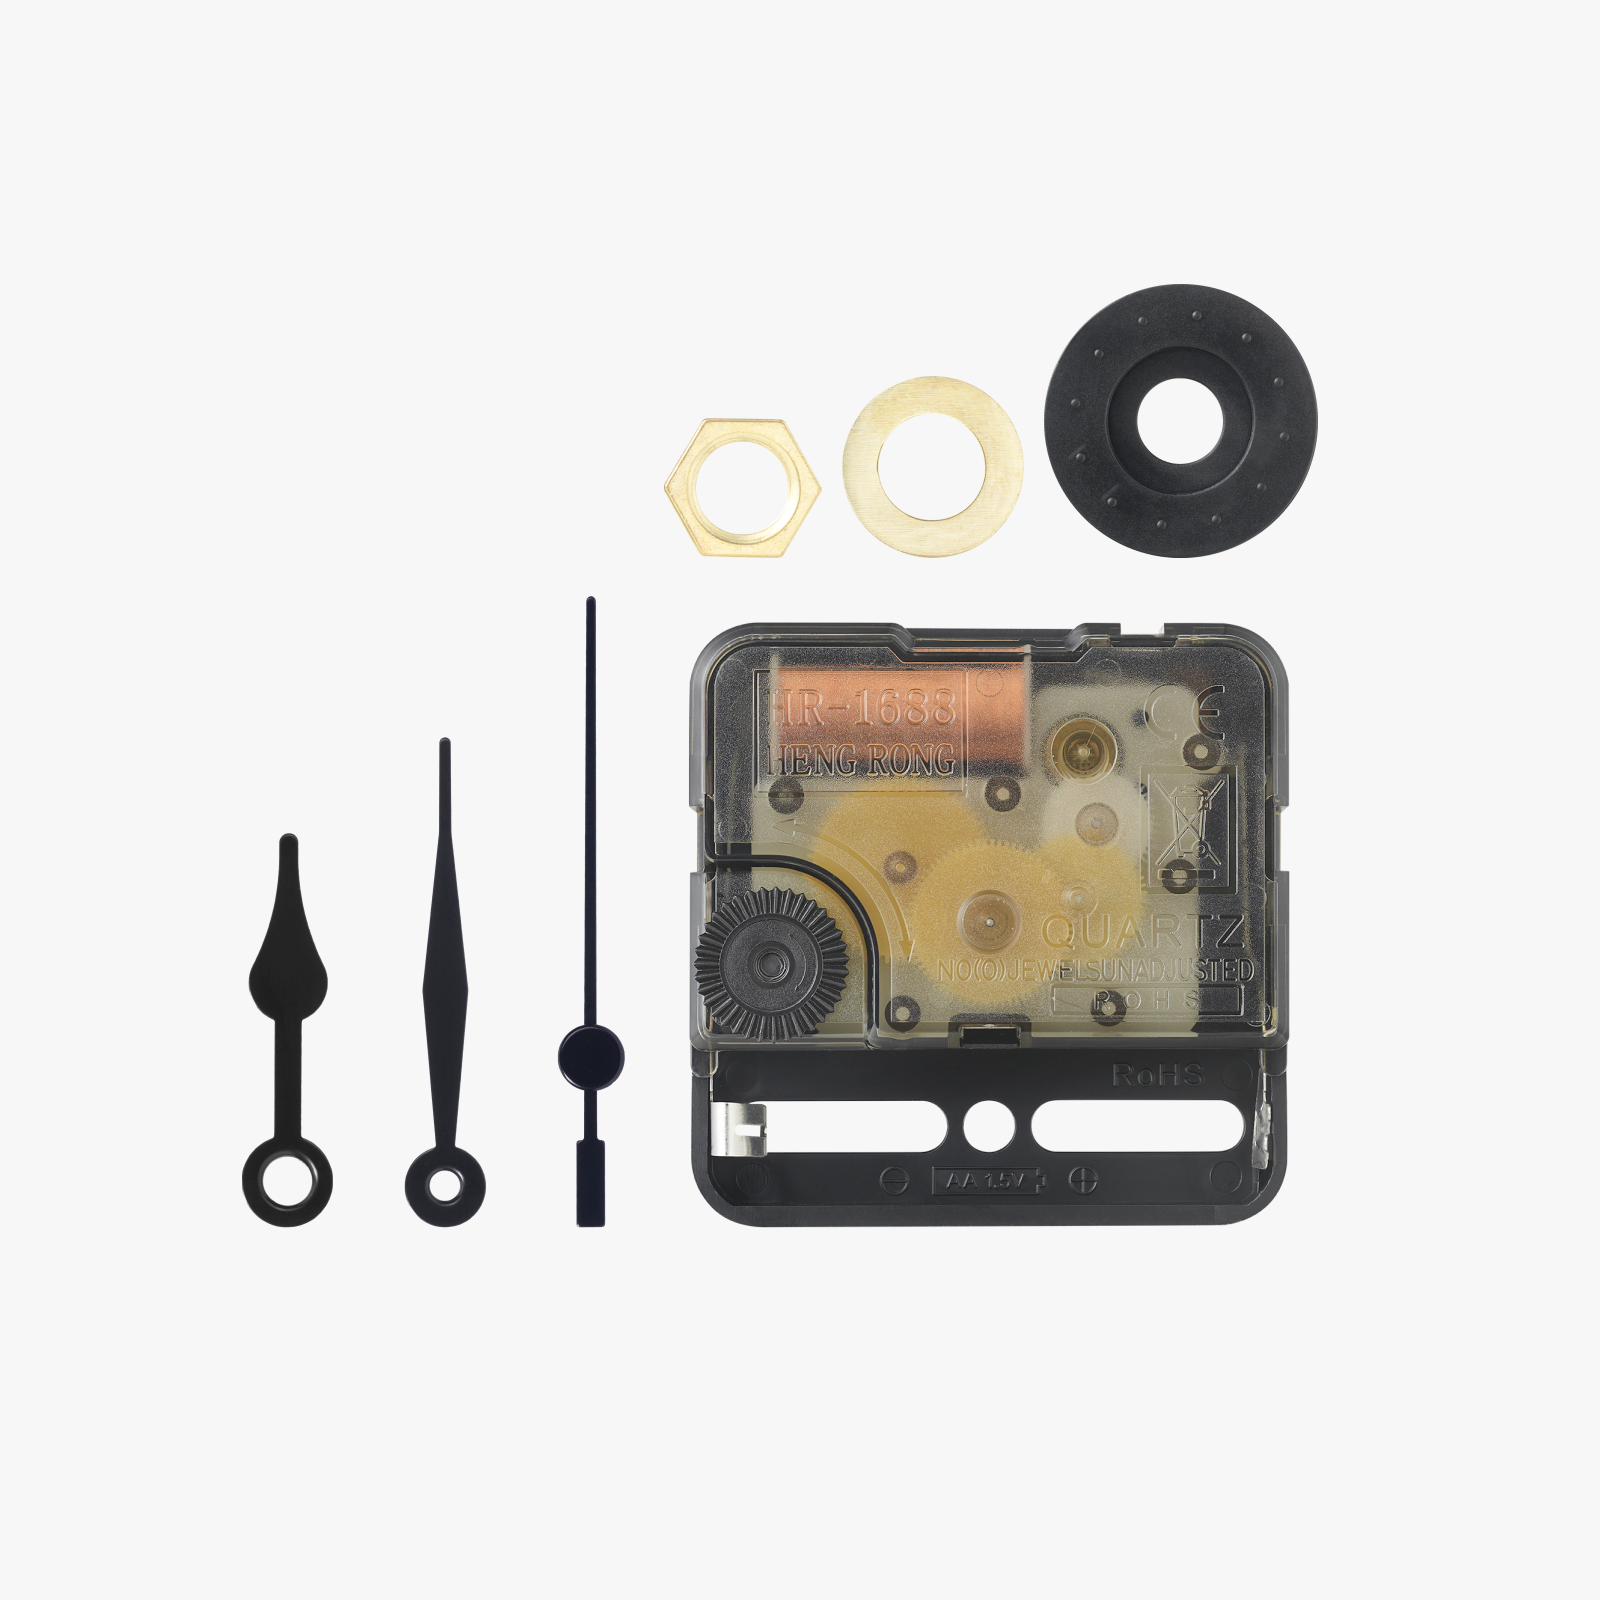
Bambu Maker Supply Clock Kit: 011
📦 Includes 3D Printed Parts:
- Altimeter Housing
- Altimeter Faceplate
- Altimeter Backplate
- Altimeter Dial
- Hour Hand
- Minute Hand
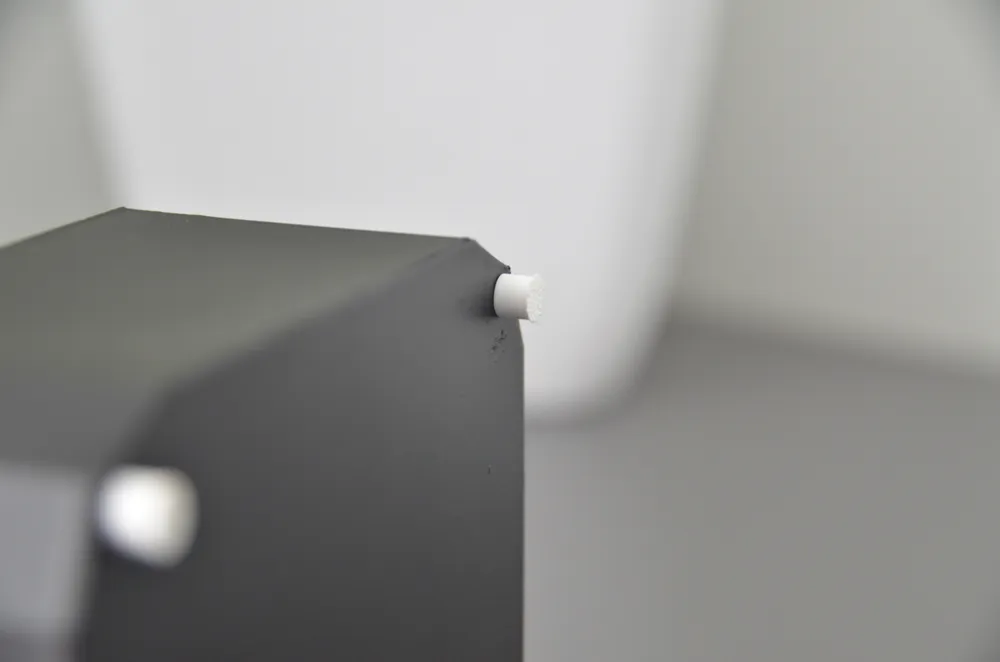
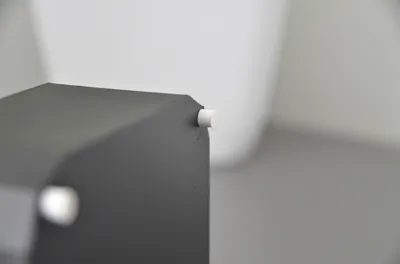
- Housing → Backplate Pins ×4
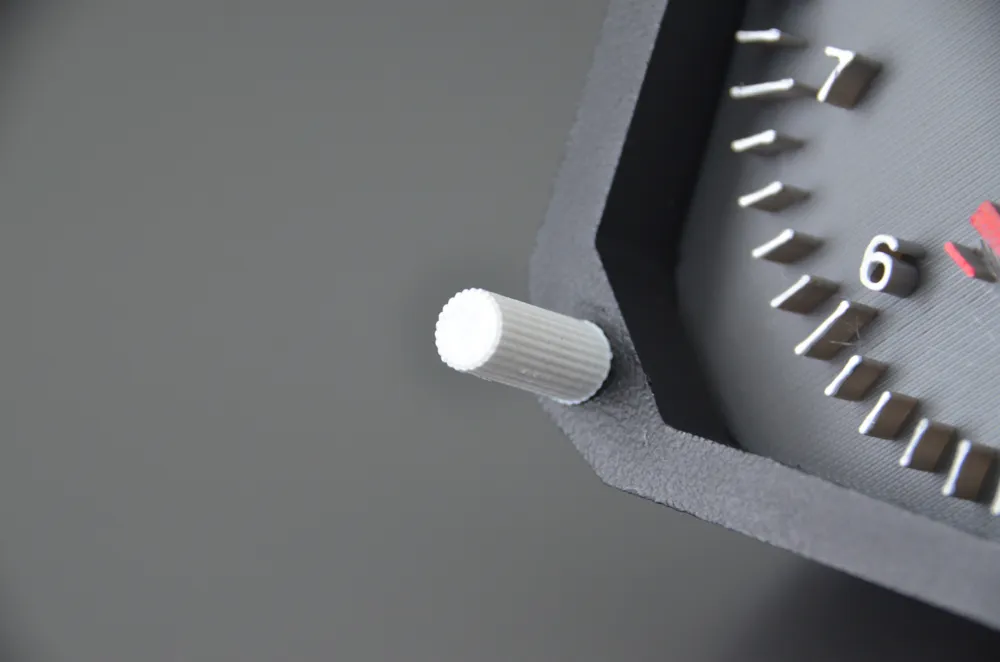
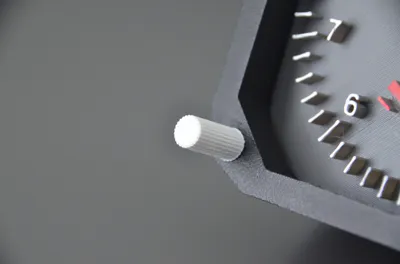
- Dial → Housing Pin ×1
🧩 Assembly Instructions:
- Insert the Faceplate into the Housing.
➤ Make sure the dial hole is at the bottom right — that’s the correct orientation. - Attach the Clock Mechanism through the center hole.
➤ Screw the gold nut (included with the clock kit) onto the front of the faceplate. - Install the Hour and Minute Hands.
➤ Push them in firmly — it might take a bit of pressure. - Insert a Battery and Set the Time.
➤ Need help? Watch this short tutorial. - Attach the Backplate:
➤ Insert the 4 Housing → Backplate pins into the Backplate.
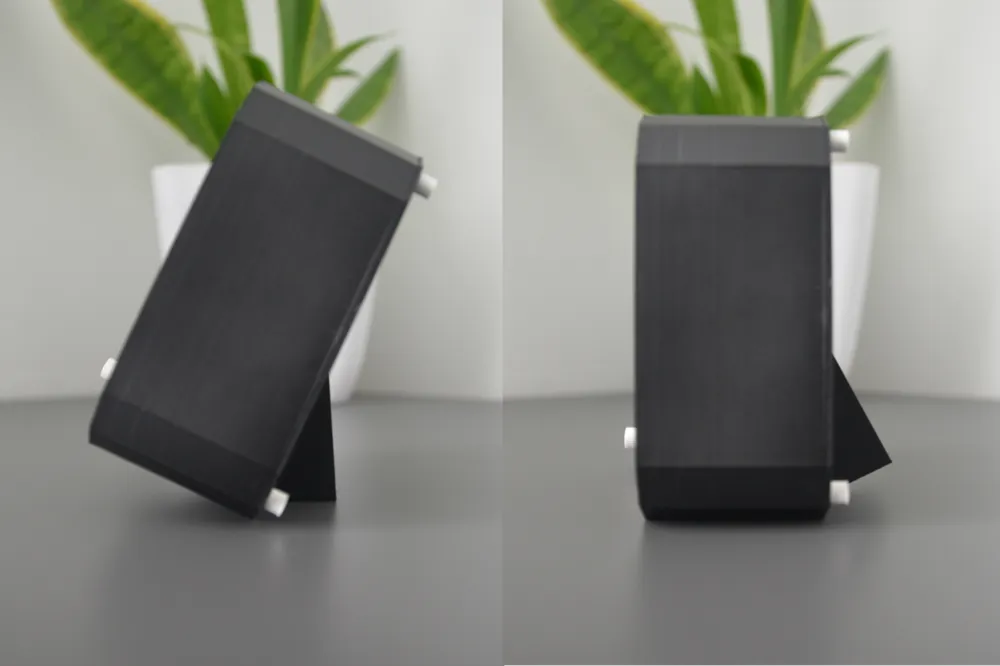
➤ Slide the Backplate onto the back of the Housing.
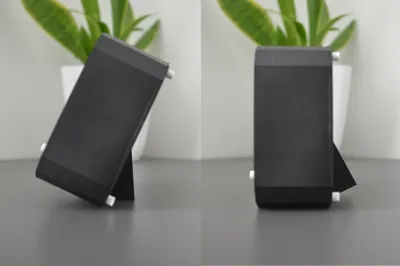
➤ Make sure the stand will sit in the correct position. - Add the Dial:
➤ Insert the Dial → Housing Pin into the Housing. Use force if needed, or drill slightly if tolerances are tight.
➤ Place the Dial on top of the pin.
✅ Done! You’ve built your own Altimeter Desk Clock!
💬 Enjoying the build?
Leave a rating and review!
Questions or problems? DM me or drop a comment — I respond quickly!
License

You shall not share, sub-license, sell, rent, host, transfer, or distribute in any way the digital or 3D printed versions of this object, nor any other derivative work of this object in its digital or physical format (including - but not limited to - remixes of this object, and hosting on other digital platforms). The objects may not be used without permission in any way whatsoever in which you charge money, or collect fees.


Comment & Rating (100)