
Automatic Shot Dispenser v2 | PCB Battery-Powered
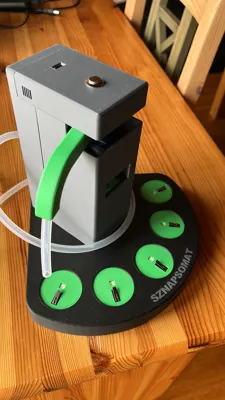
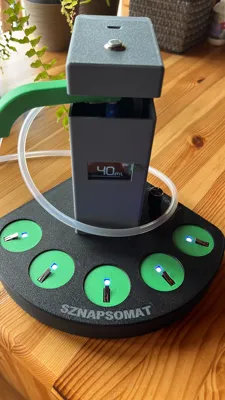
Print Profile(1)

Bill of Materials


- PCB x 1: https://pasieka-g.pl/produkt/plytka-pcb-do-nalewaka-sznapsomat-projekt-diy/
- 5V | Type-C 15W 3A 18650 Lithium Battery Charger Module x 1: https://de.aliexpress.com/item/1005006860598580.html?spm=a2g0o.order_list.order_list_main.162.56505c5f3zk3zr&gatewayAdapt=glo2deu
Description
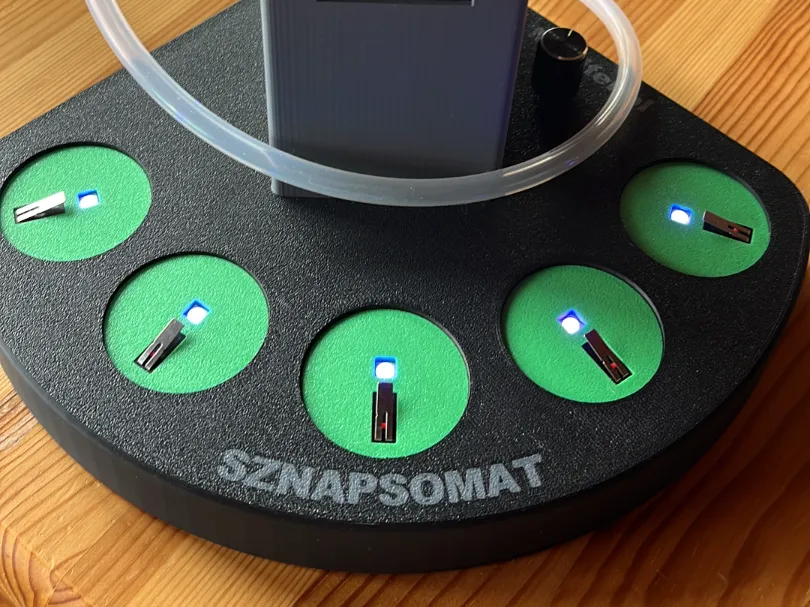
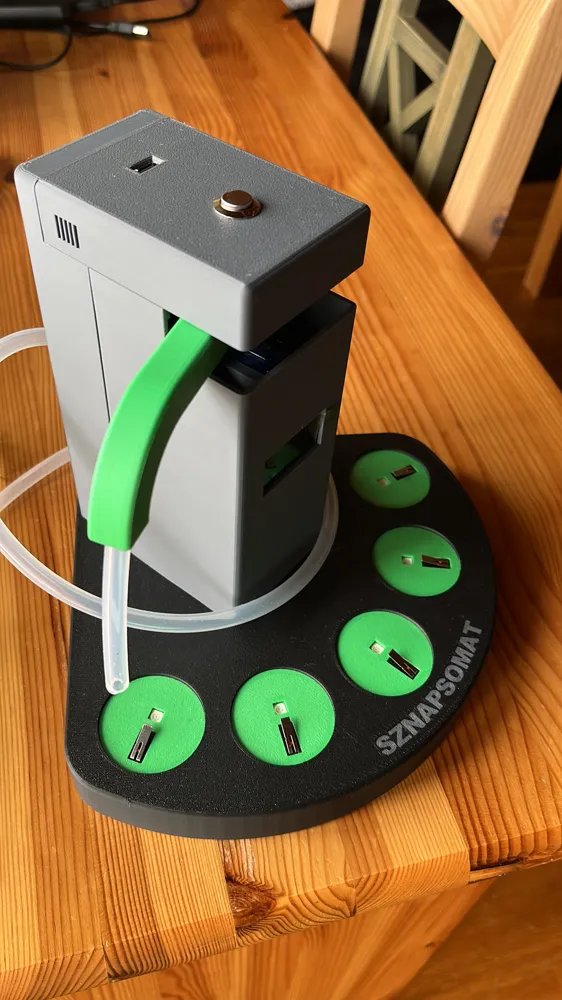
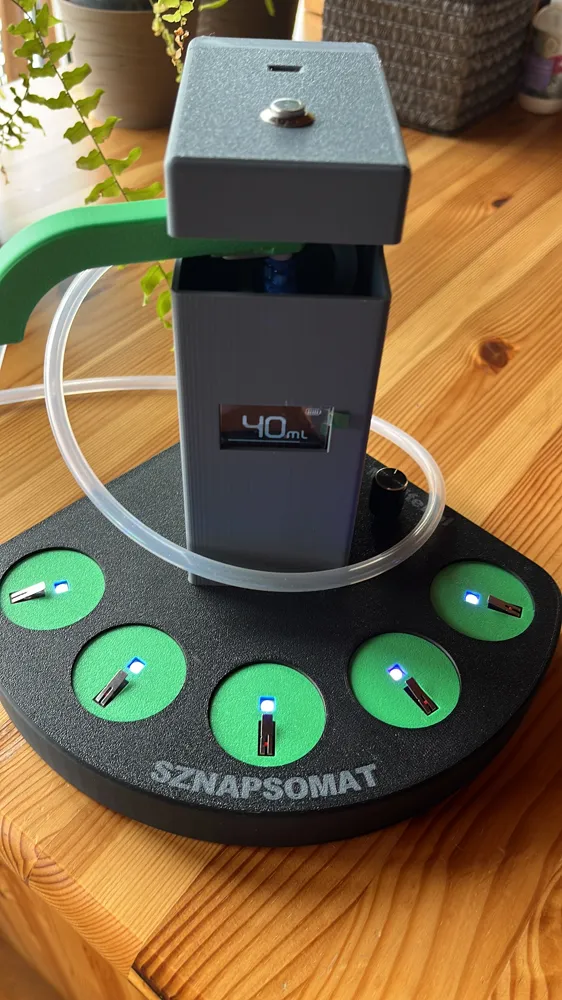
Step-by-step guide to building a fully automatic drink dispenser – now in an improved version with a custom PCB and rechargeable battery power (2x 18650 cells)!
Boost Me (for free)
Boost it if you enjoy the files!
In this project, I’ll show you how to build an automatic drink dispenser completely from scratch. I started with an existing design and made several important modifications:
- Added a dedicated PCB for better reliability and easier assembly.
- Switched to a battery-powered system using two 18650 lithium cells for portability and convenience.
- Improved component layout and functionality.
If you're curious about the original design I started from, you can find it here: OrginalProject
🎥 Watch the full build video here: [VideoLink]
If you enjoy this project, leave a like and subscribe to support more DIY builds!
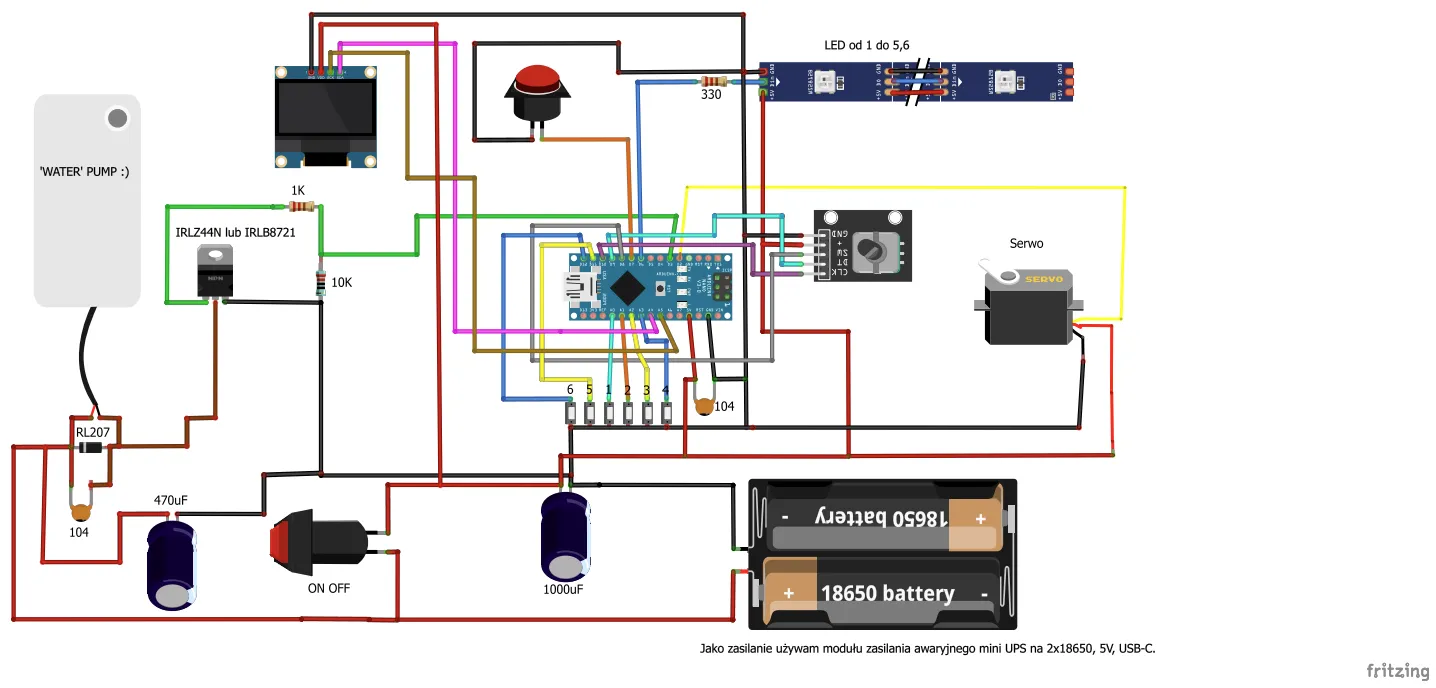
🧰 Part List:
- Drink pump with tubing (or compatible copper tube)
- Arduino Nano
- PCB (custom for this version)
- IRLZ44N MOSFET (important: logic-level gate for 5V control)
- 330Ω resistor
- 2x 10kΩ resistor
- 1kΩ resistor
- 2x Ceramic capacitor
- 1000uF Electrolytic capacitor
- 470uF Electrolytic capacitor
- RL207 diode
- 5x Limit switch
- 5x LEDs or LED strip
- Rotary encoder KY-040
- 1.3" OLED display
- Servo motor SG90 180
- Momentary push button 12mm
- ON/OFF switch 15mm
- 5V | Type-C 15W 3A 18650 Lithium Battery Charger Module
- Variety of jumper wires
- Solder
- Wires (3 types depending on connection)
- Hot glue (for mounting and cable management)
🛠️ Tools Required:
- Soldering iron
- Hot glue gun
- Basic electronics tools
This project is great for learning about electronics, Arduino programming, and simple automation. With the new version, it’s also a lot more practical thanks to the standalone power supply.
Support future projects: [buymeacoffee.com/yourlink]
Let me know if you build one too – I'd love to see your version! 🚀
License



Comment & Rating (17)