
Ultimate AMS lite Top Mount V0.3
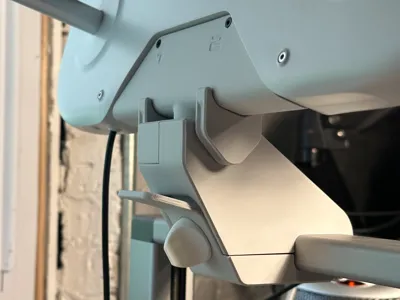
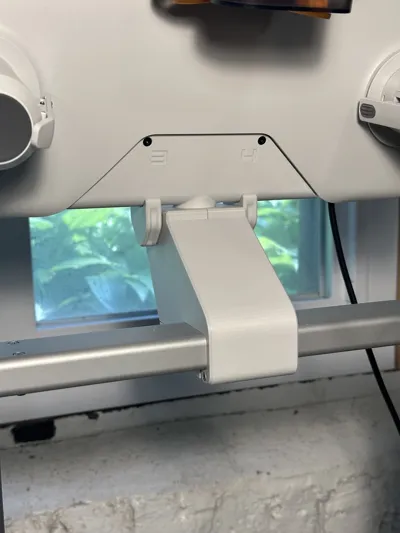
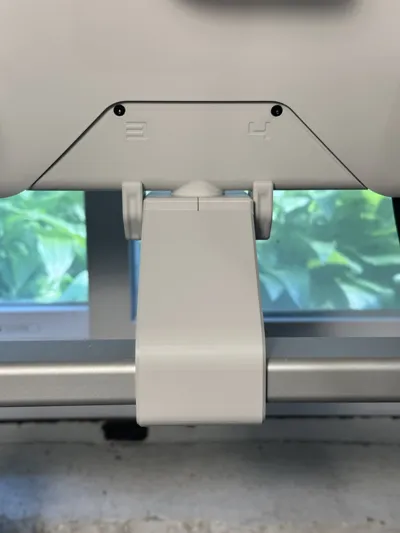
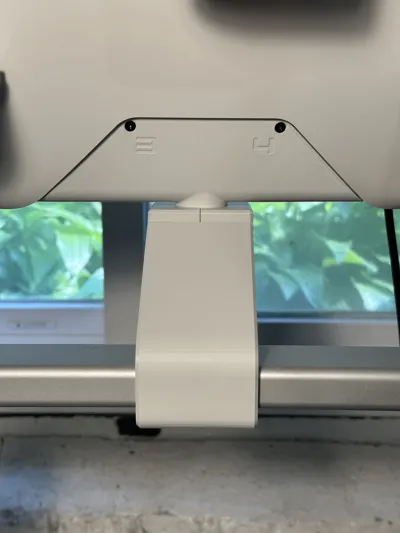
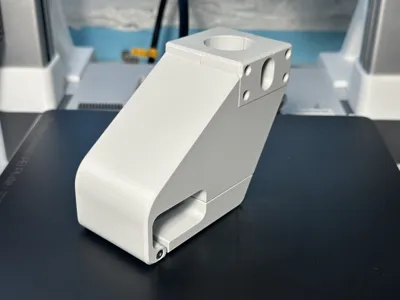
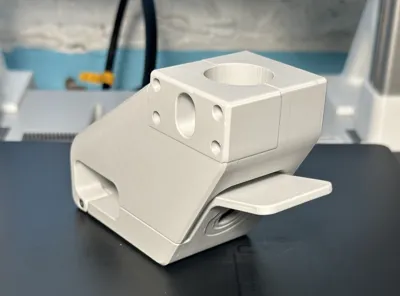
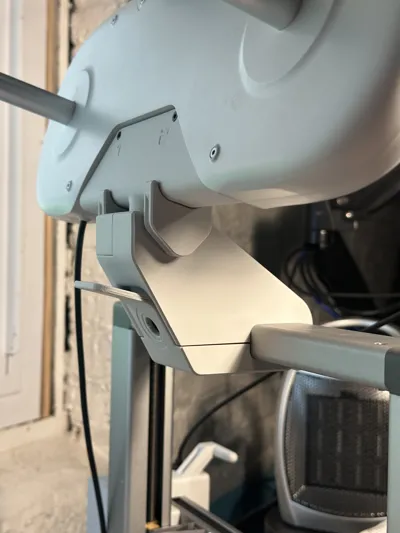
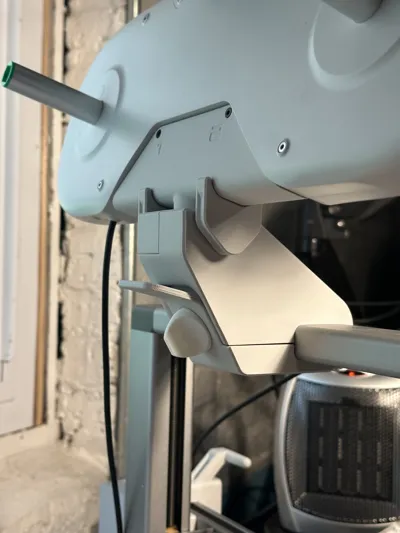
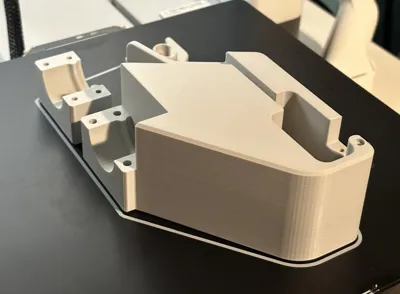
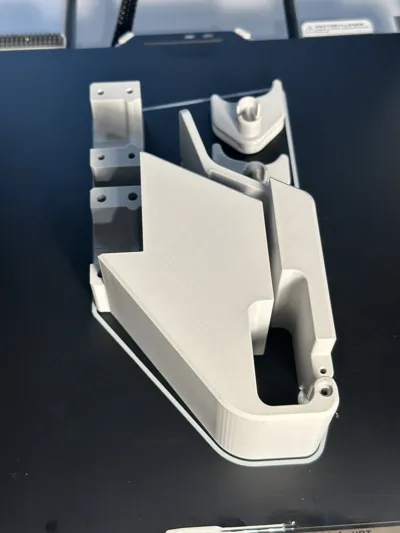
Print Profile(2)


Description
This is the next iteration of my previous top mount model, AMS Lite Top Mount - GRIP-compatible swivel V0.2
For first time visitors, this project started for me when I tried to combine the Ultimate Filament Spool Enclosure with the BambuLabs AMS lite Top Mount for A1. I quickly realized that the swivel functionality of the original top mount wasn't really compatible with the enclosure, since the enclosure covered up the location of the locking screw. That set me on the mission of finding a top mount that was compatible with the enclosure, and I discovered the amazing AMS lite Bracket for A1 - GRIP, which was an awesome mount and solved the swivel problem with an ingenious swivel bracket + retainer clip solution.
But the GRIP mount still had a couple issues. First, it attached to the A1 with 5 screws that needed to be screwed in on the back of the mount while it was in place. This was a huge pain for me to do with limited space and my A1 situated on a high table against a wall. This was the first problem I set out to solve with my previous iteration, which basically took the top part of the GRIP mount and merged it with the bottom part of the Bambu mount, and incorporated a rear screw for good measure.
V0.2 was working nicely for a while for me, but I eventually realized the mount had another, more serious problem: Near the max Z height of the print volume, the toolhead would collide with the enclosure. This was clearly a more critical issue than the annoyance of needing to use screws to attach the mount, so I went back to the drawing board for V0.3.
My new set of requirements were as follows:
- Keep the awesome swivel functionality of the GRIP mount
- Keep the latch attachment mechanism of the original BambuLabs mount
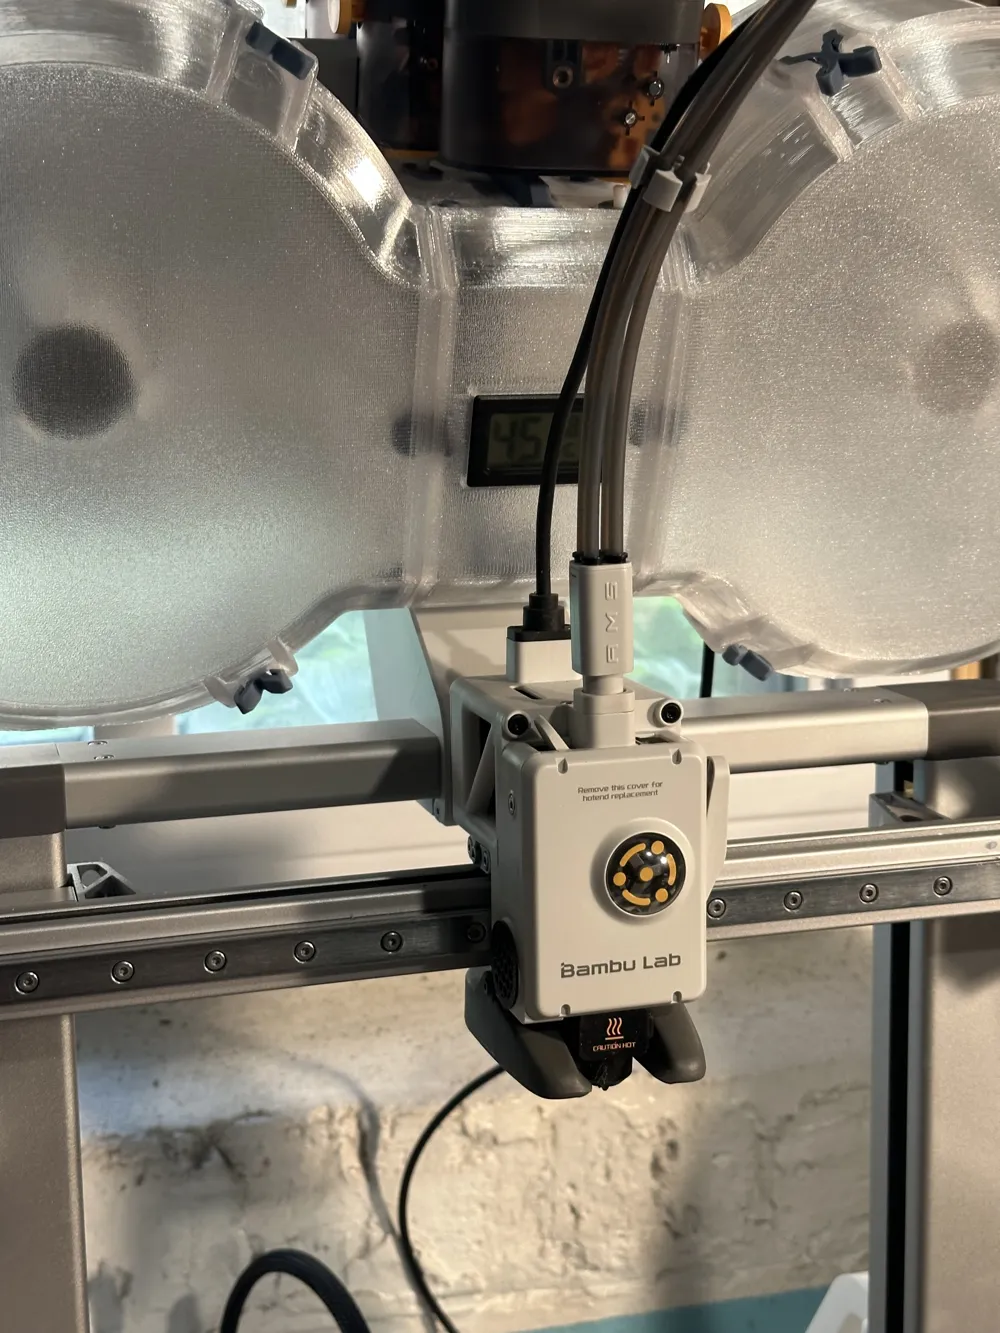
- Ensure the mount gives enough clearance for full compatibility with the Ultimate Filament Spool Enclosure
- (stretch goal) Fix the minor “Retainer clips sometimes fall out” issue
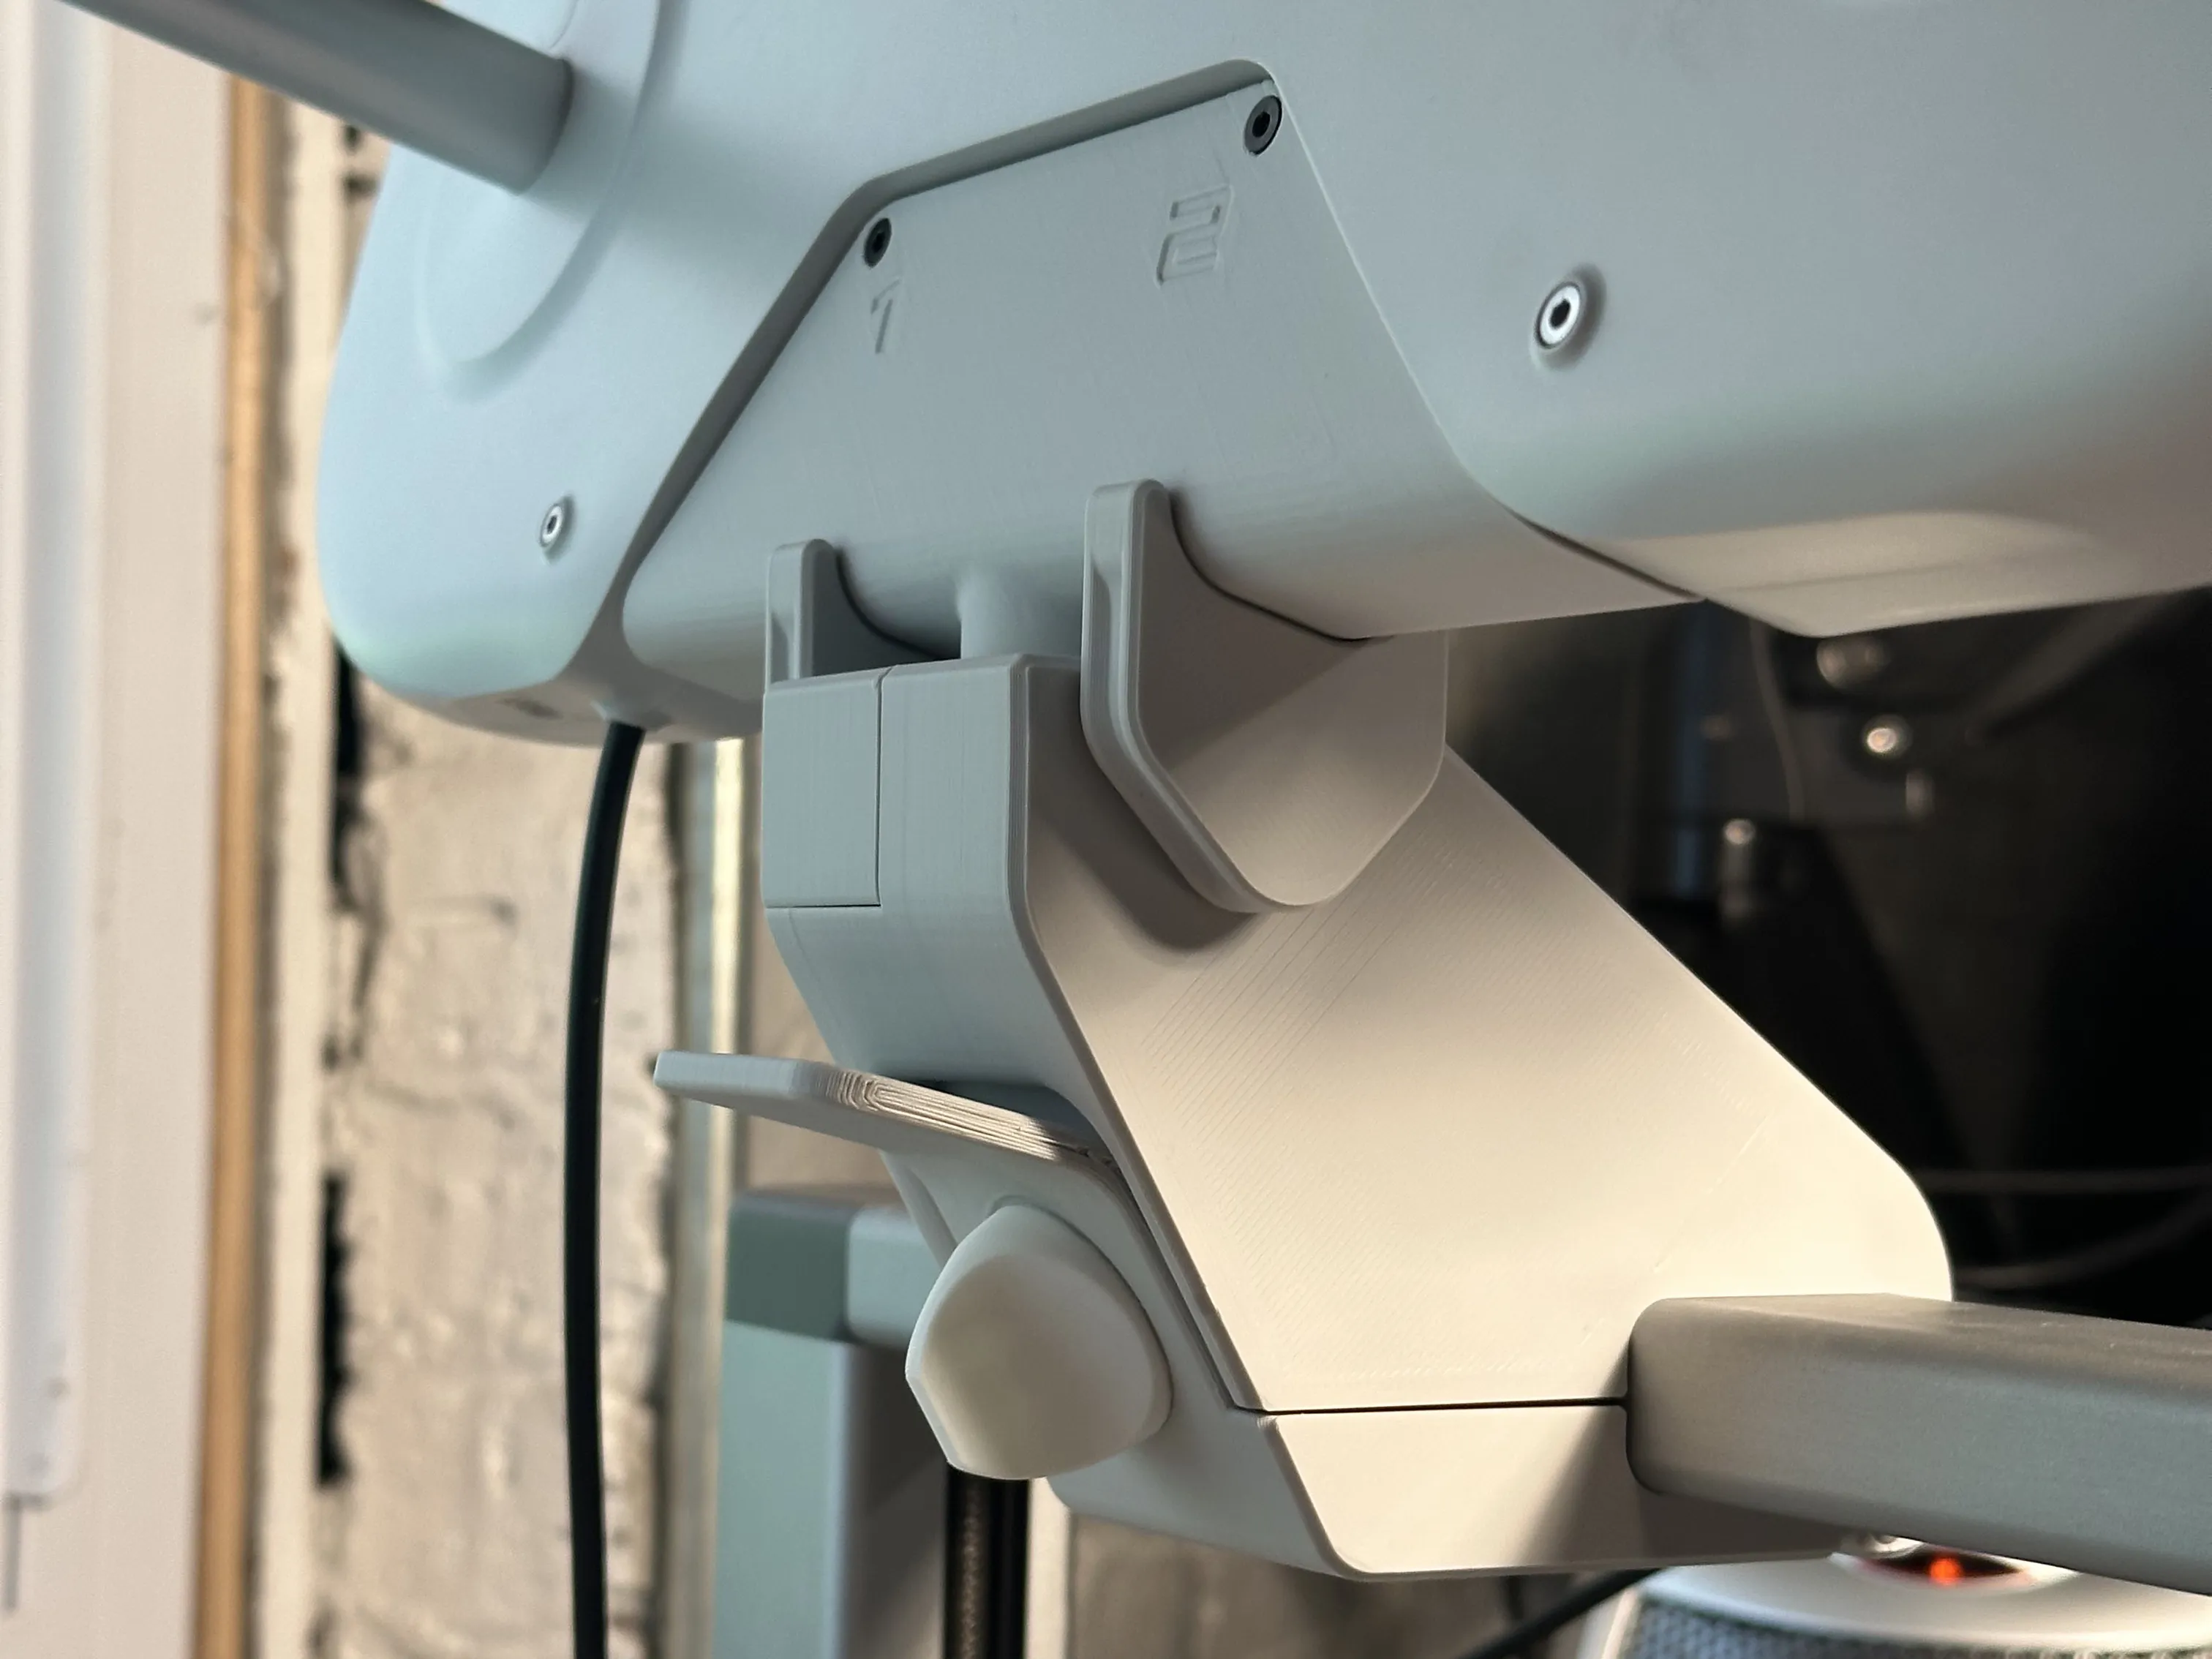
So in order to accomplish all of these goals, I ended up redesigning every part of the top mount from scratch. V0.2 reused a few pieces from the original GRIP mount, but V0.3 uses fully original parts (excluding the stabilizer feet and latch screw). Below is a breakdown of the changes in this iteration:
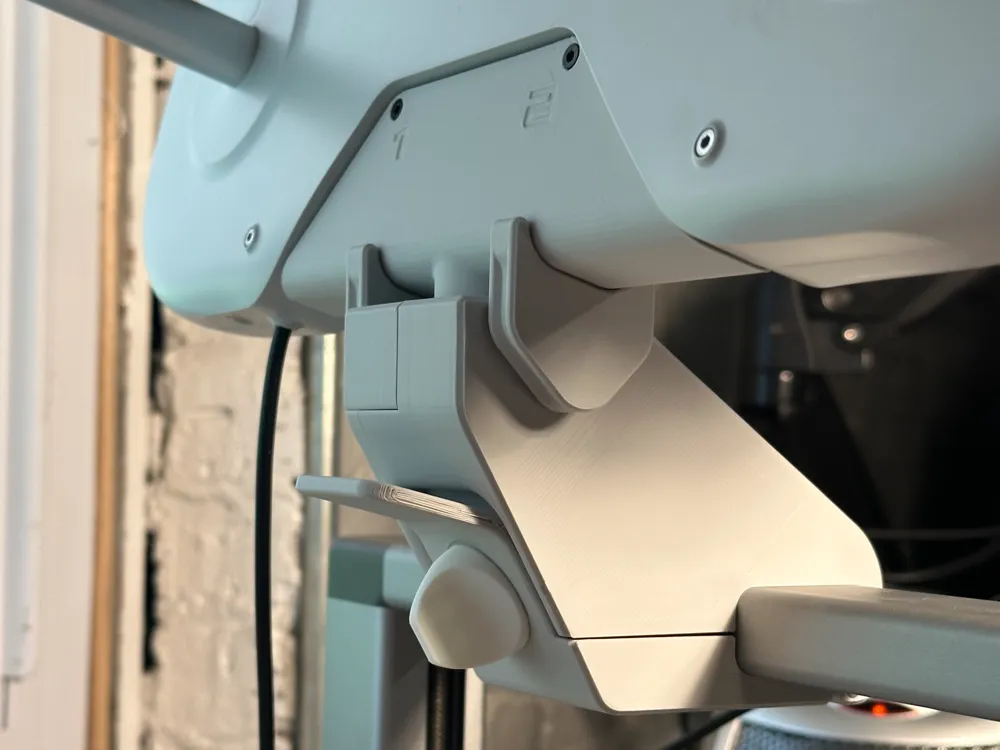
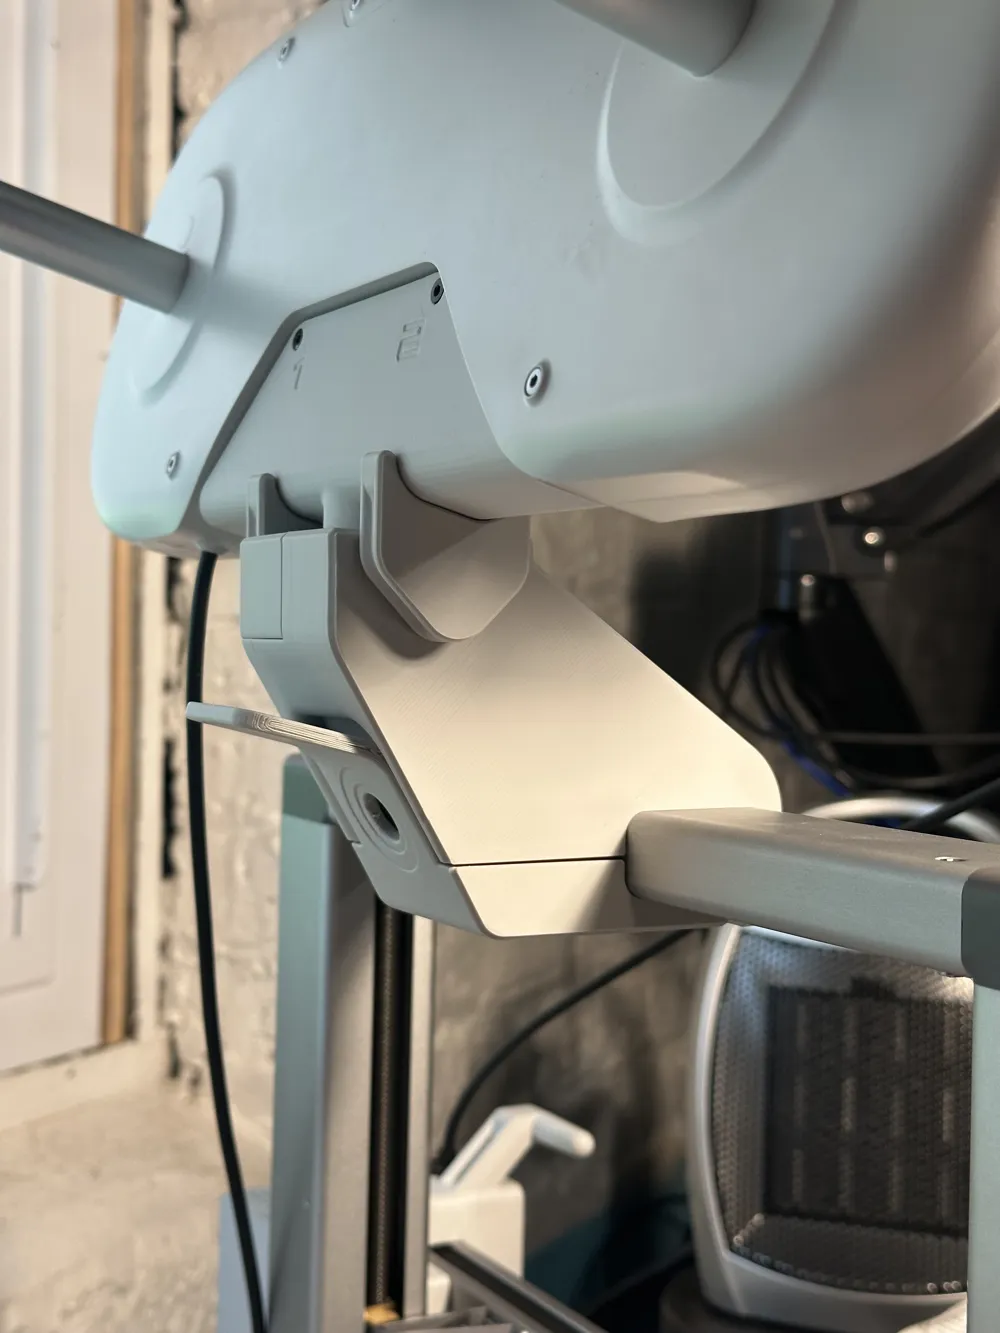
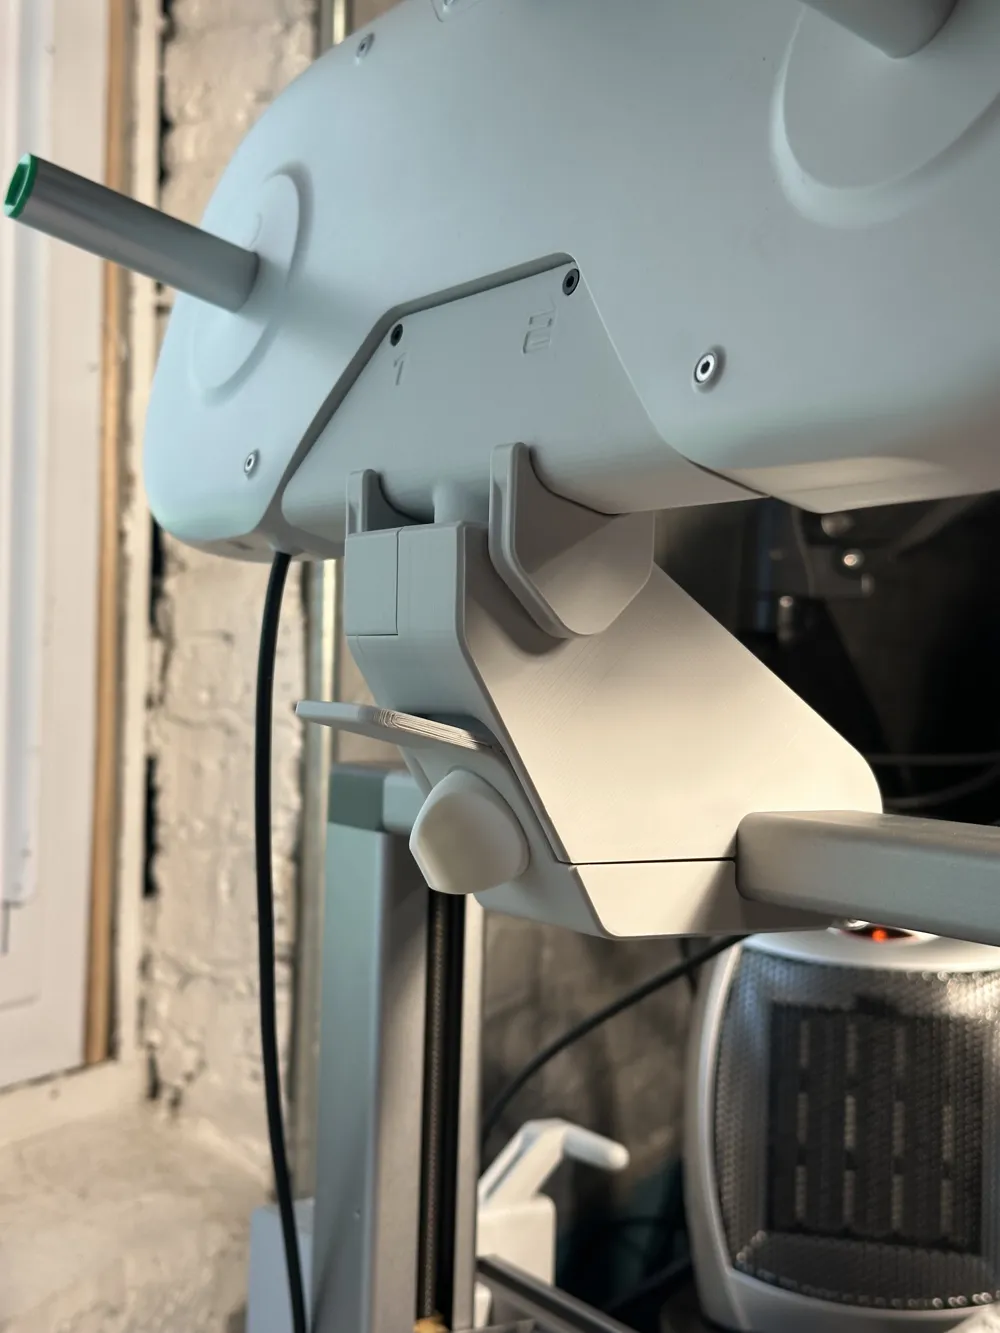
- The swivel bracket that attaches to the AMS lite was redesigned from scratch to add tilt
- Most of it uses the same shape/measurements as the GRIP swivel bracket, but the stem now has a 15 degree angle to it
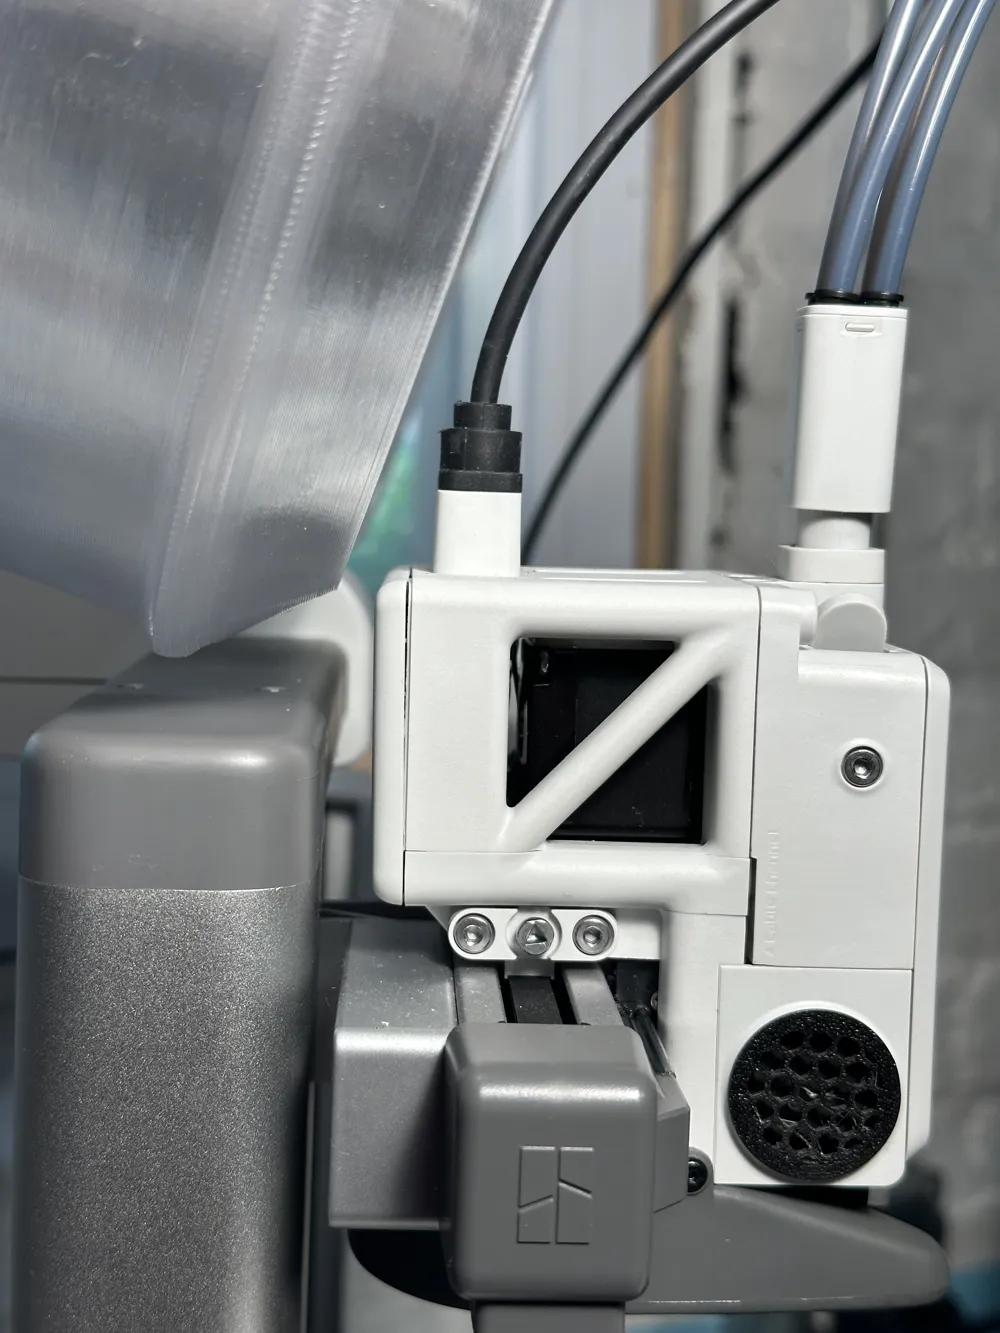
- This angle matches the original BambuLab top mount's angle. I chose this angle partially because it had that established example that it works, and also because it reduced the amount I needed to move the location of the mount for ample clearance between the toolhead and enclosure
- I also found that the angle helps a bit with the tension on the PTFE tubes while printing compared to the no-tilt stem
- Most of it uses the same shape/measurements as the GRIP swivel bracket, but the stem now has a 15 degree angle to it
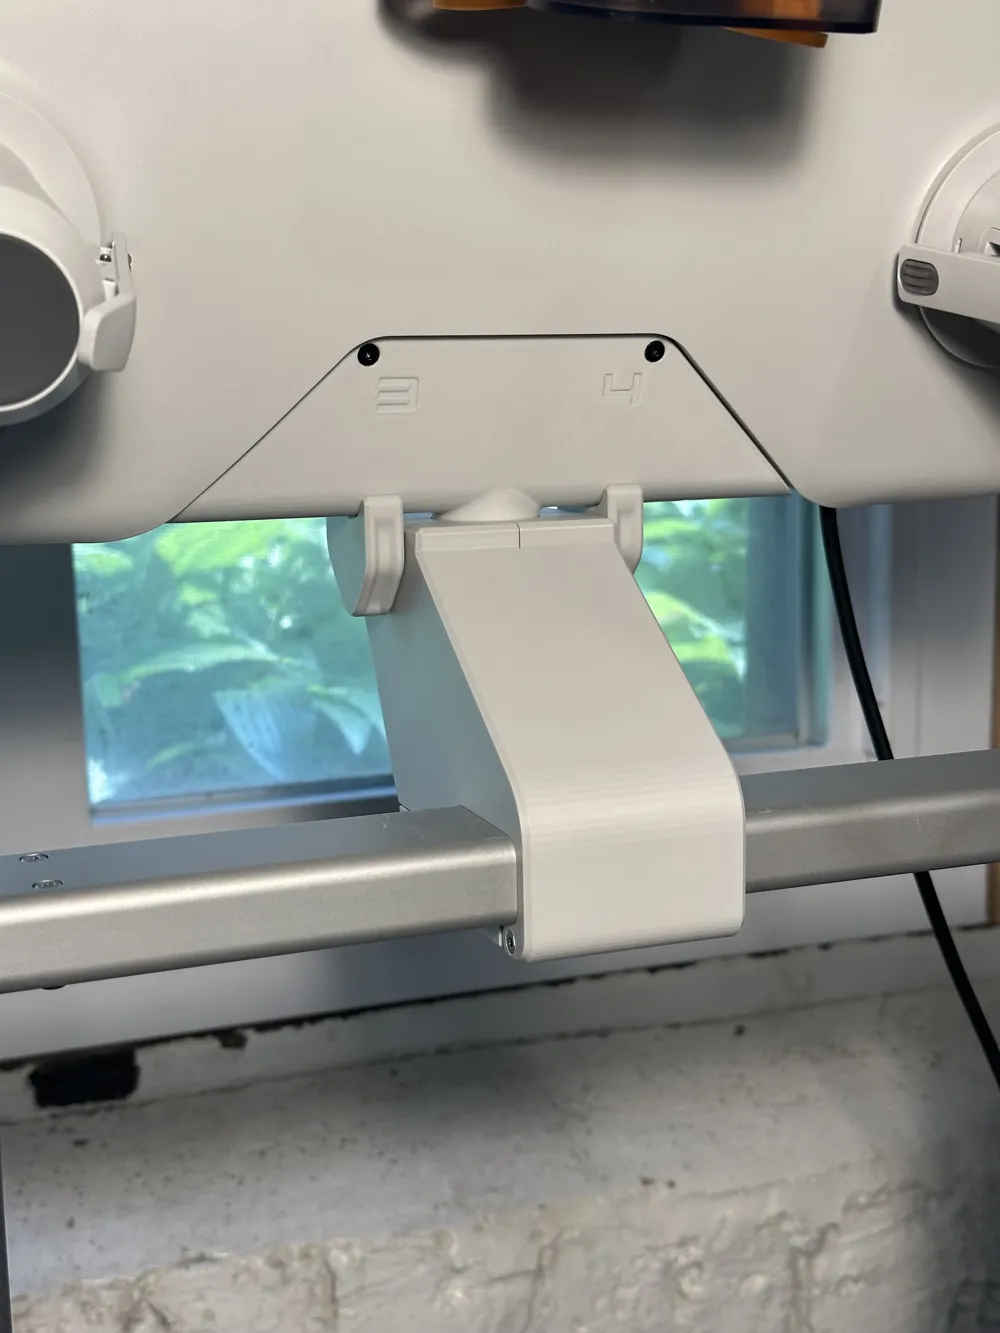
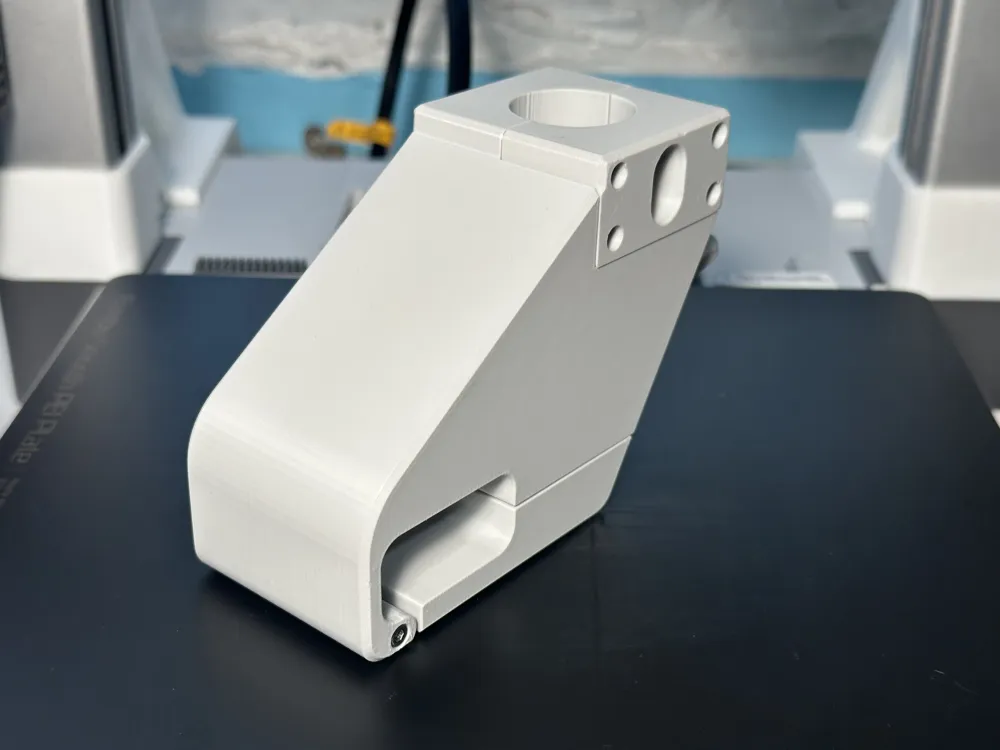
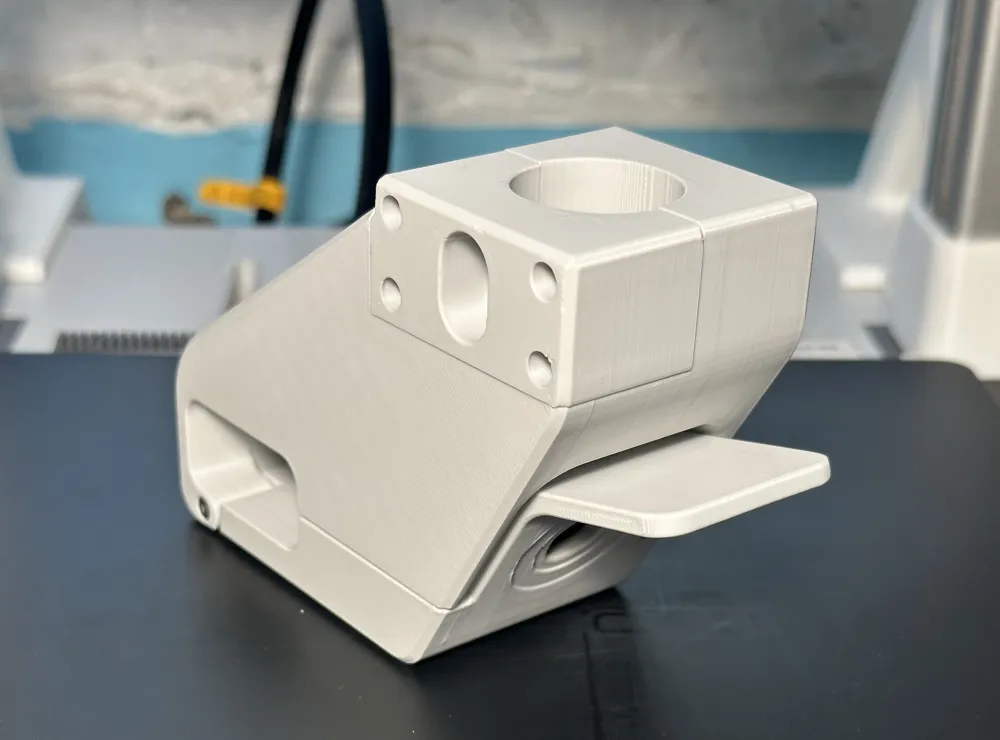
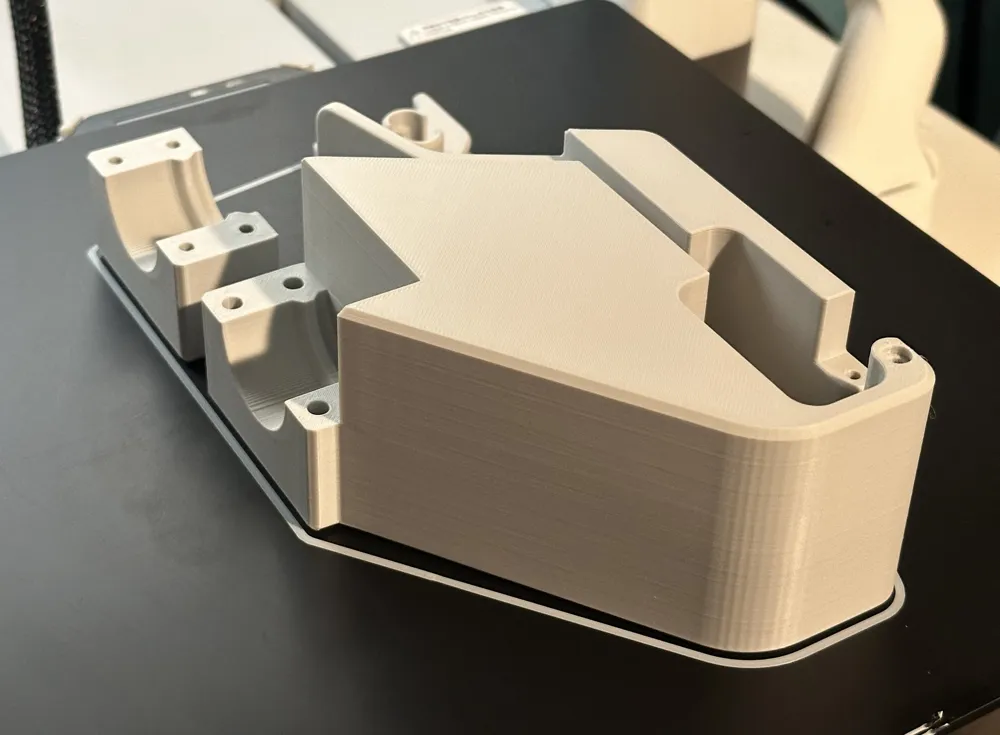
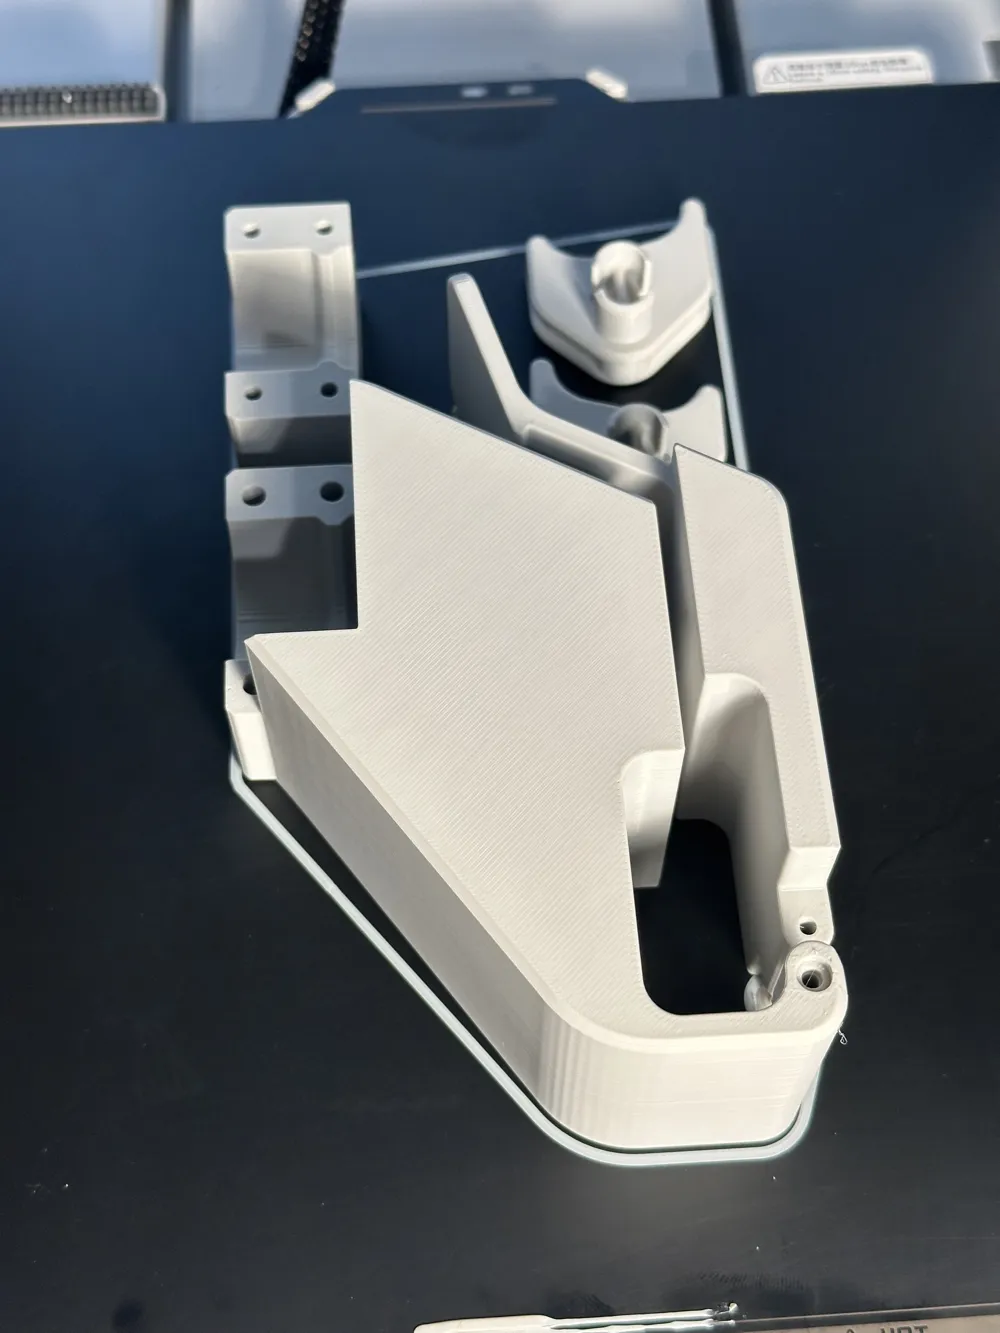
- The mount body was redesigned from scratch to ditch the shoulders of V0.2 and move the location of the swivel point to increase clearance for the enclosure
- The swivel point was moved up by 3mm and back by 7mm to ensure ample clearance for the enclosure
- This change combined with the 15 tilt on the swivel bracket adds plenty of clearance, so even reasonably sized mods around the toolhead/tubes/wire areas should have enough room
- The shoulders were cut off to streamline the model and get back a form factor similar to the GRIP
- In order to keep enough room for the latch joint, the width of the V0.3 mount is 4mm wider than the GRIP
- Chamfers and fillets were adjusted all over to try and optimize for printability and aesthetics
- The swivel point was moved up by 3mm and back by 7mm to ensure ample clearance for the enclosure
- The retainer clips were also redesigned from scratch to become compatible with the new tilt
- I thickened the clips and added grooves on the side to make them stronger and easier to grab
- Though they're kinda too hard to remove now, because their prongs are also now 2mm longer and slightly stiffer
- They should wear down eventually with use and become easier to get in/out, but for now I recommend not pushing them in all the way if you plan to use the swivel soonish
- There is now a right and a left clip instead of one clip that can be duplicated, unfortunately
- I considered modifying the swivel bracket so that the portion contacting the retainer clips would be symmetrical, but this seemed like too much effort for a minor issue. I might try this out in a future iteration if anyone pipes up saying they like the idea though.
- I thickened the clips and added grooves on the side to make them stronger and easier to grab
TL;DR - This is an original mount inspired by AMS lite Bracket for A1 - GRIP and AMS Lite Top Mount Screw Latch Modification to be able to use the Ultimate Spool Enclosure more smoothly and without any toolhead clearance issues!
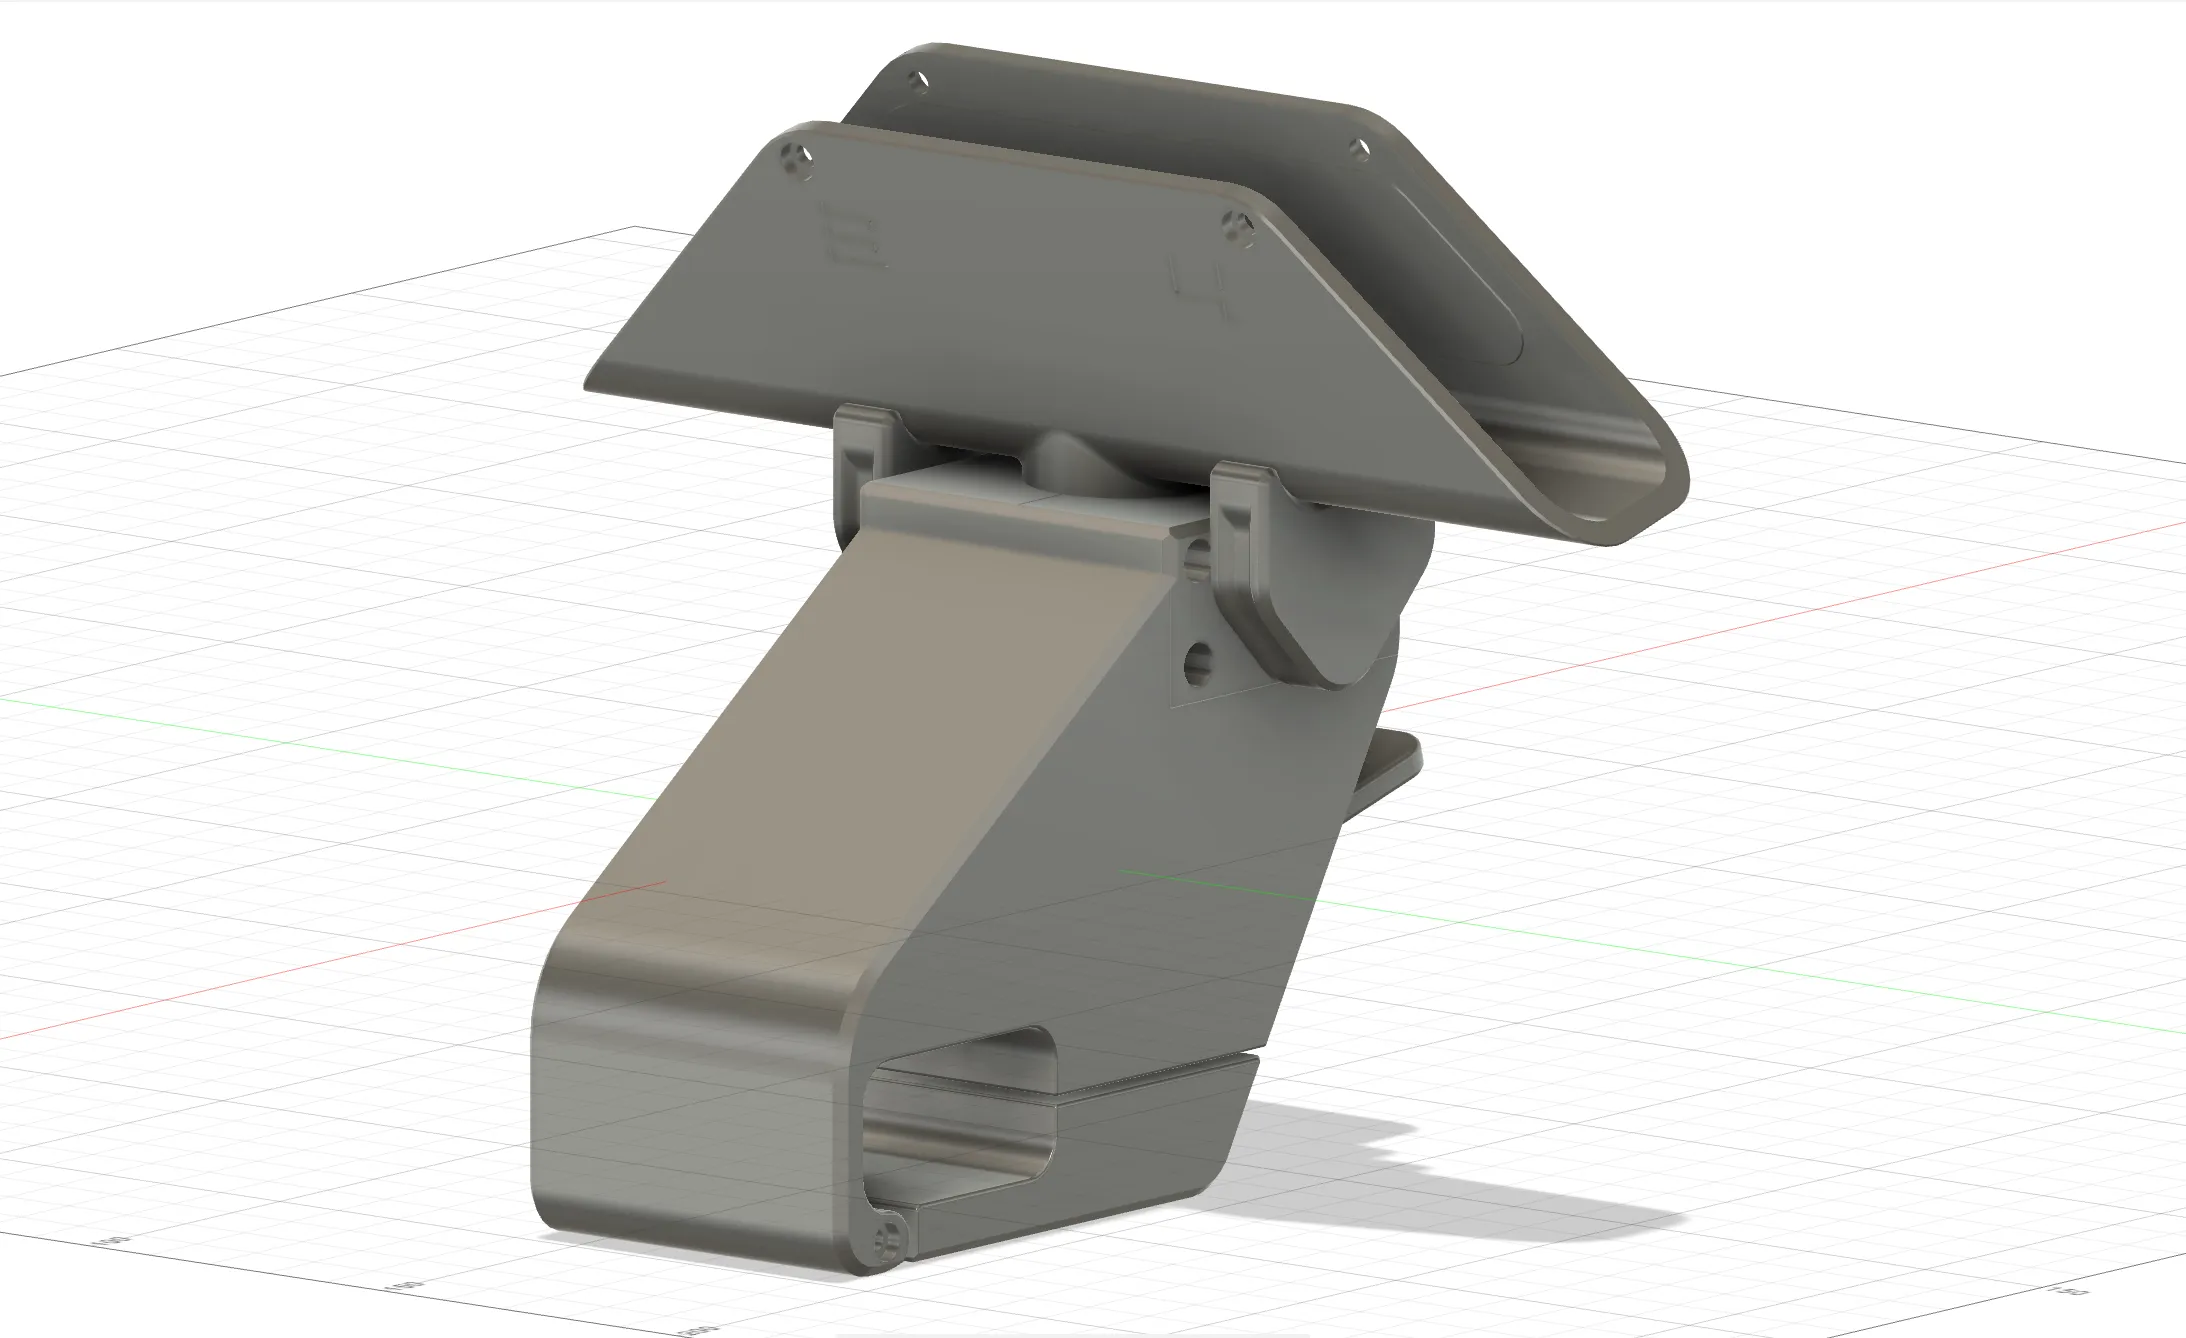
(I still haven't figured out how to make cool renders like @thrutheframe)
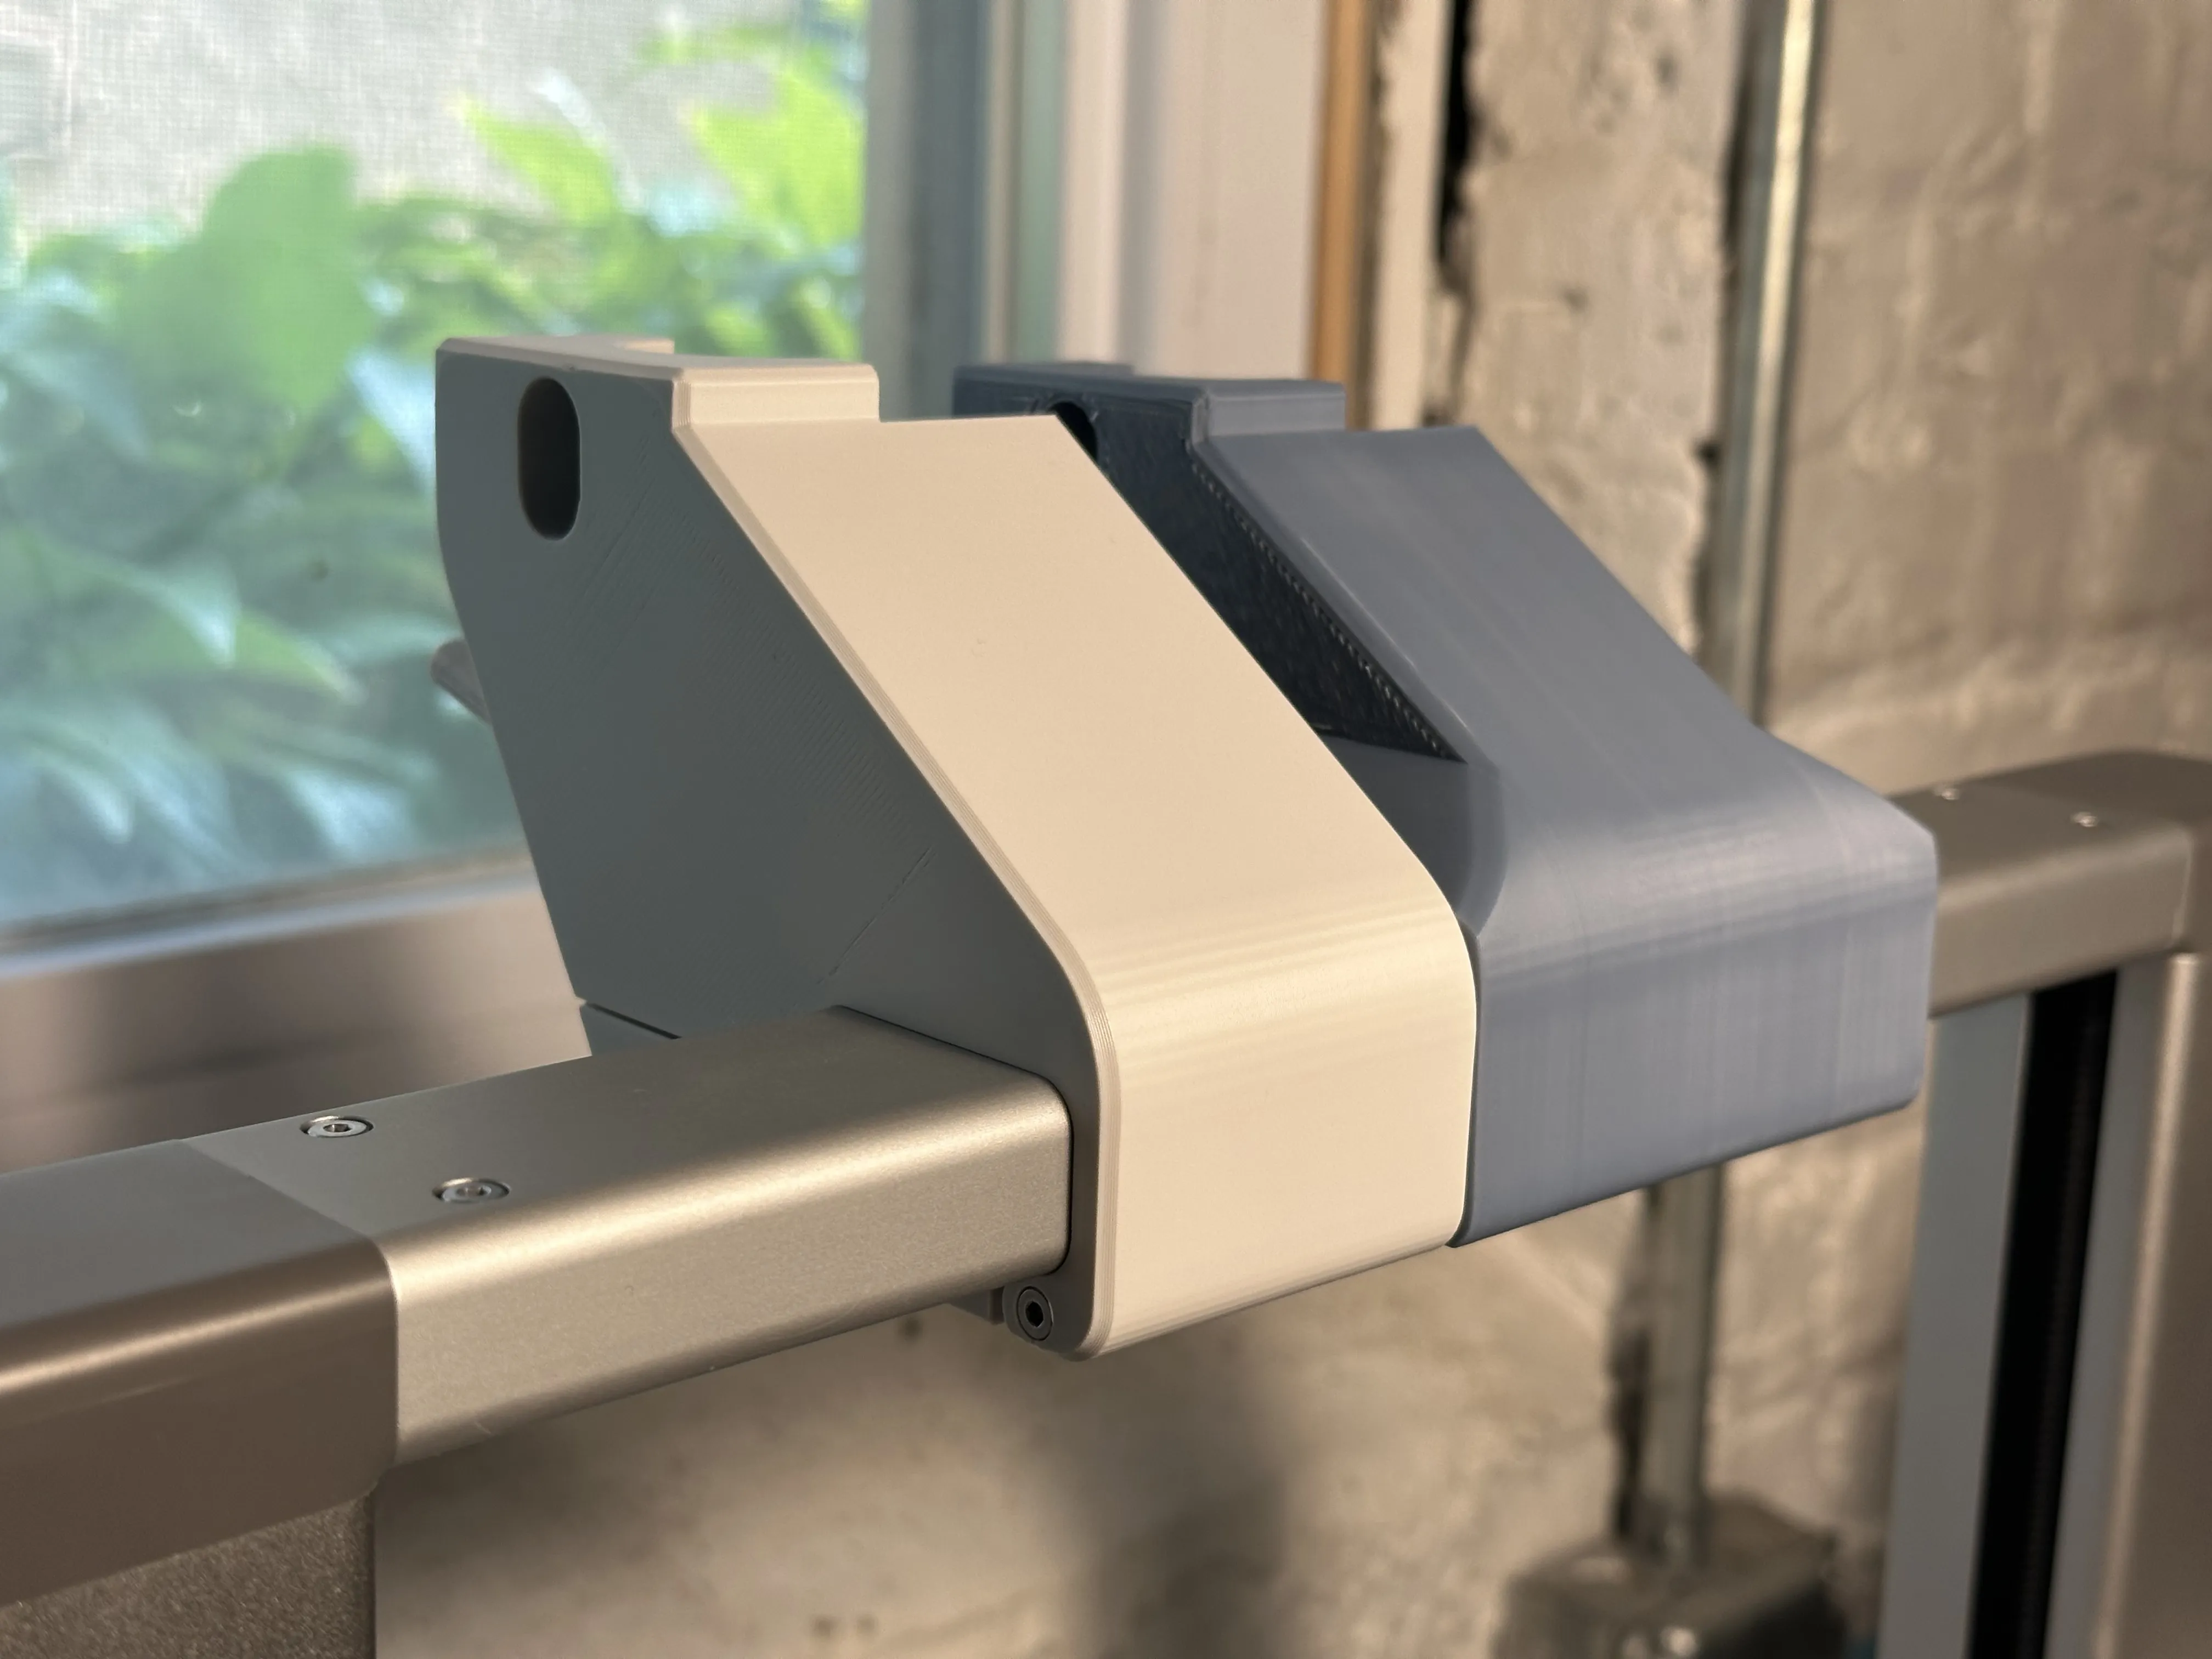
Side by side comparison with V0.2:
- Goodbye ugly shoulders and support surface!
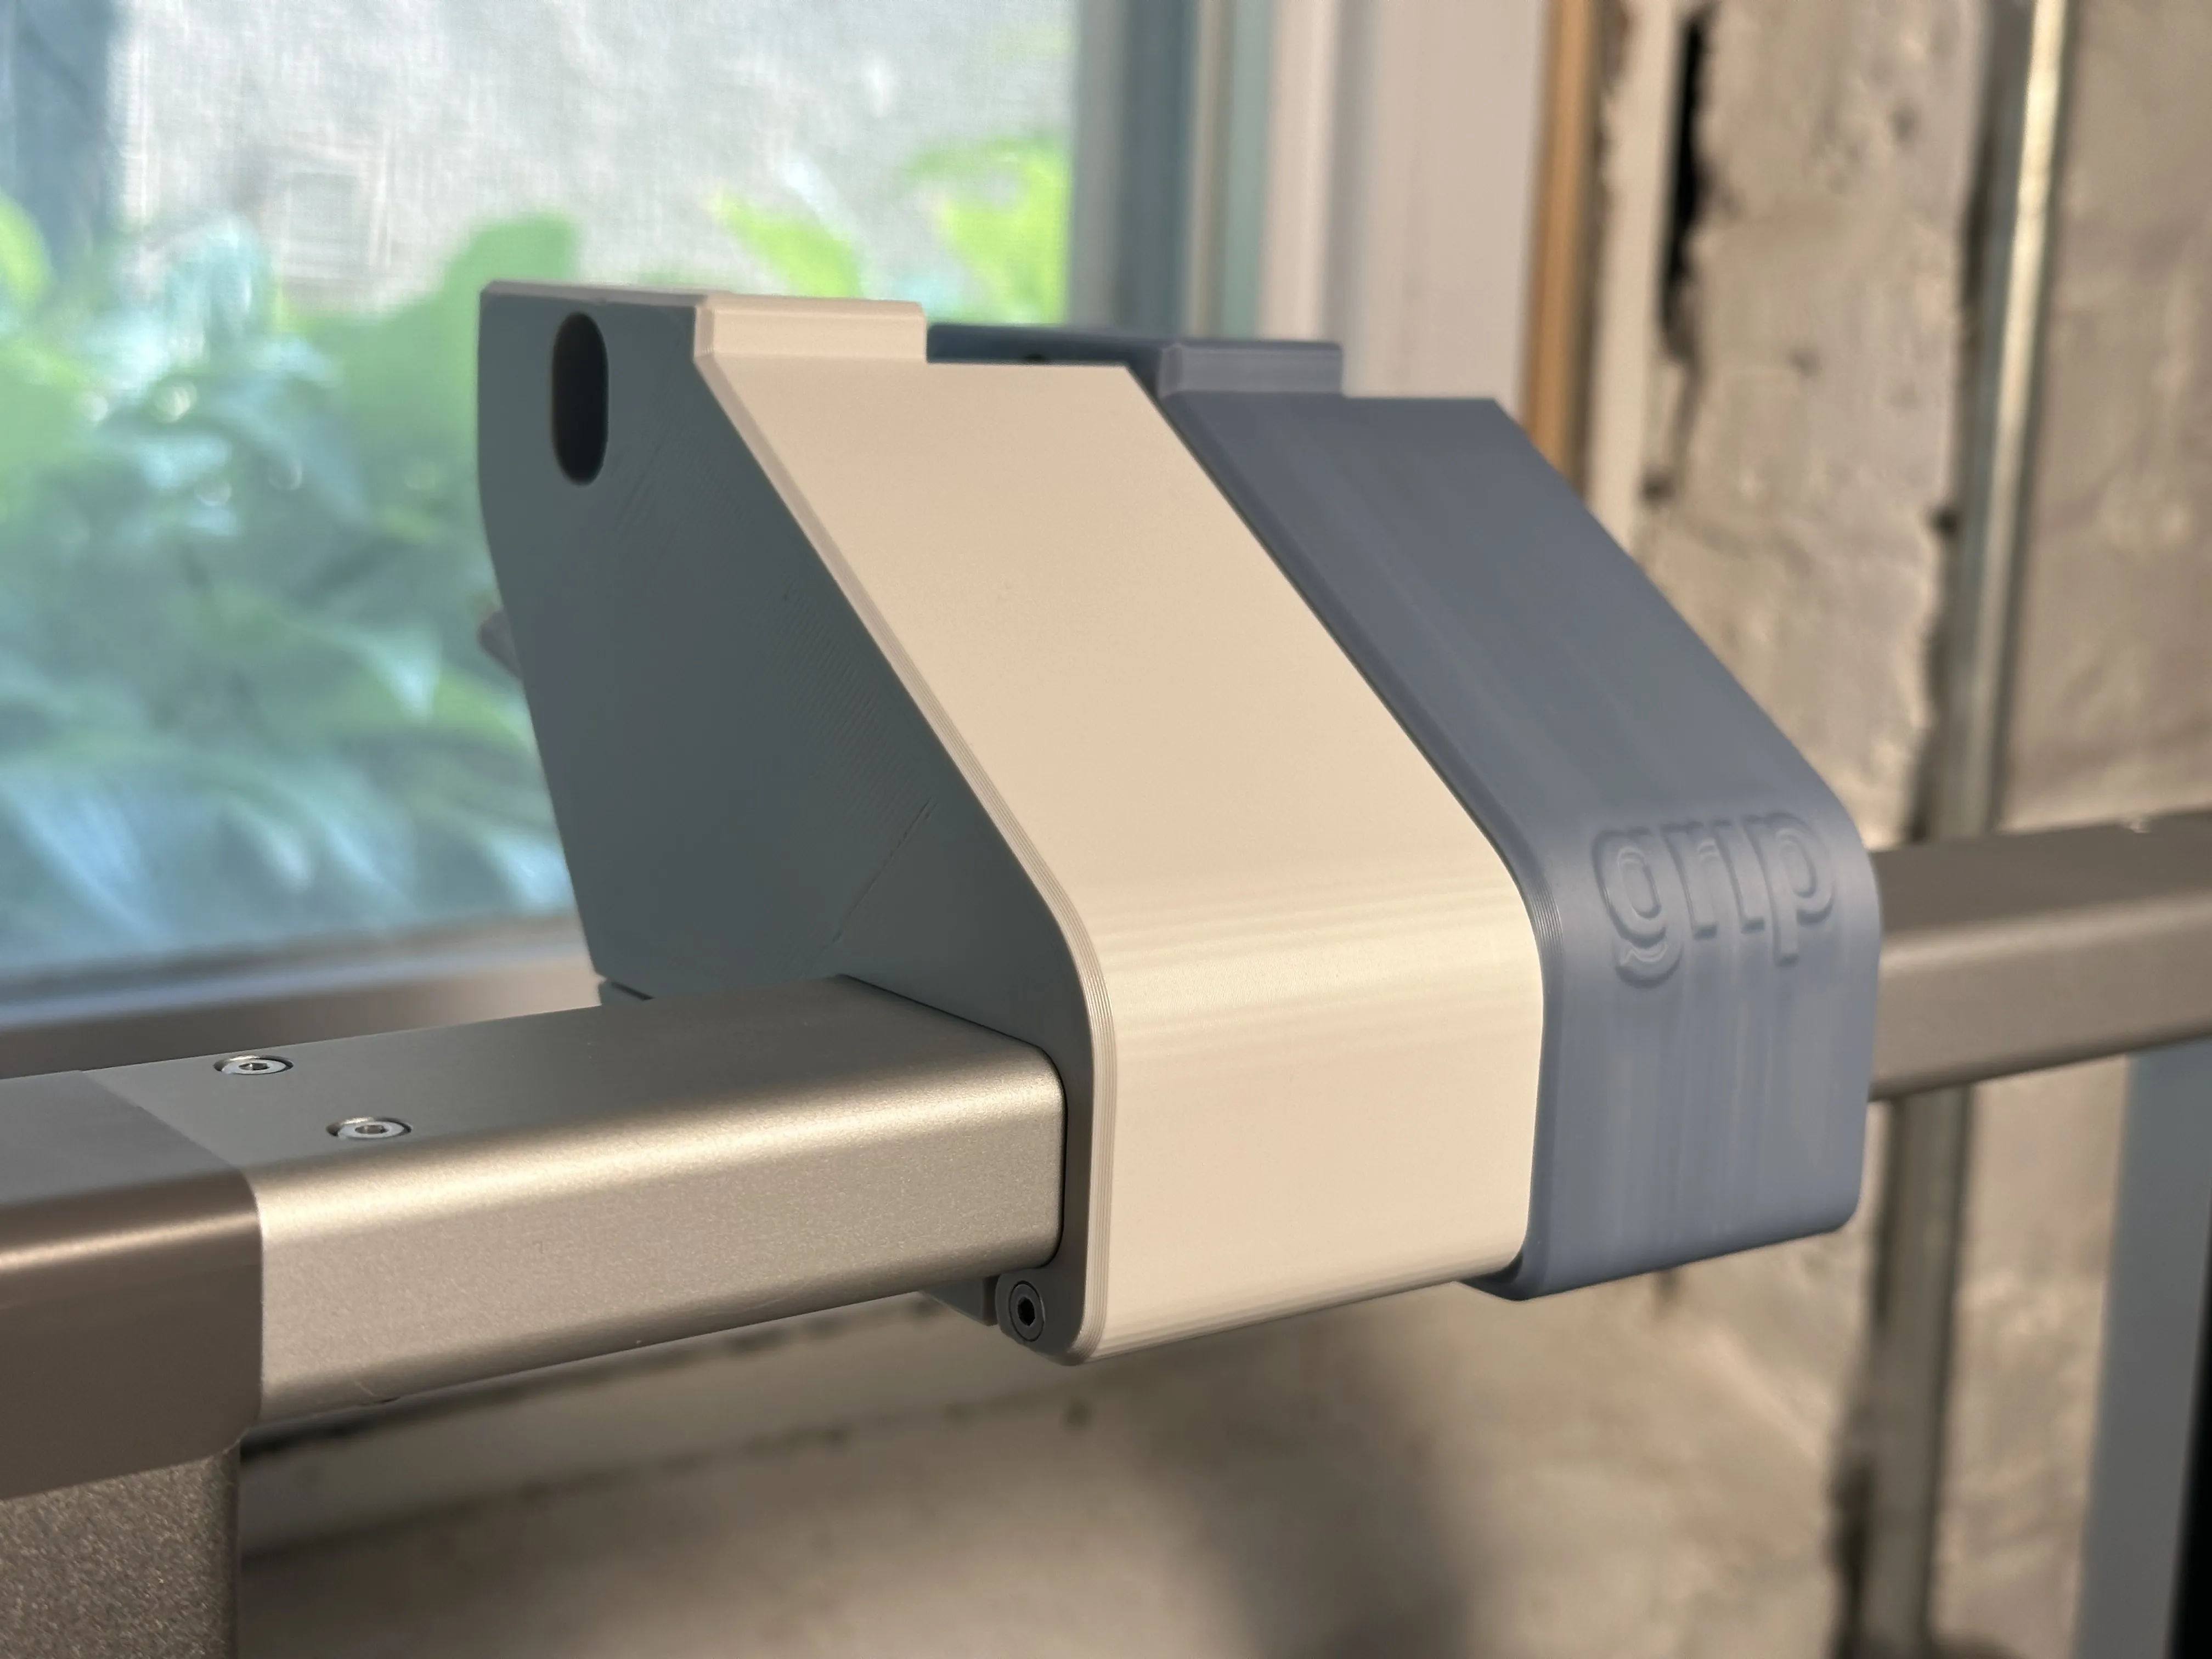
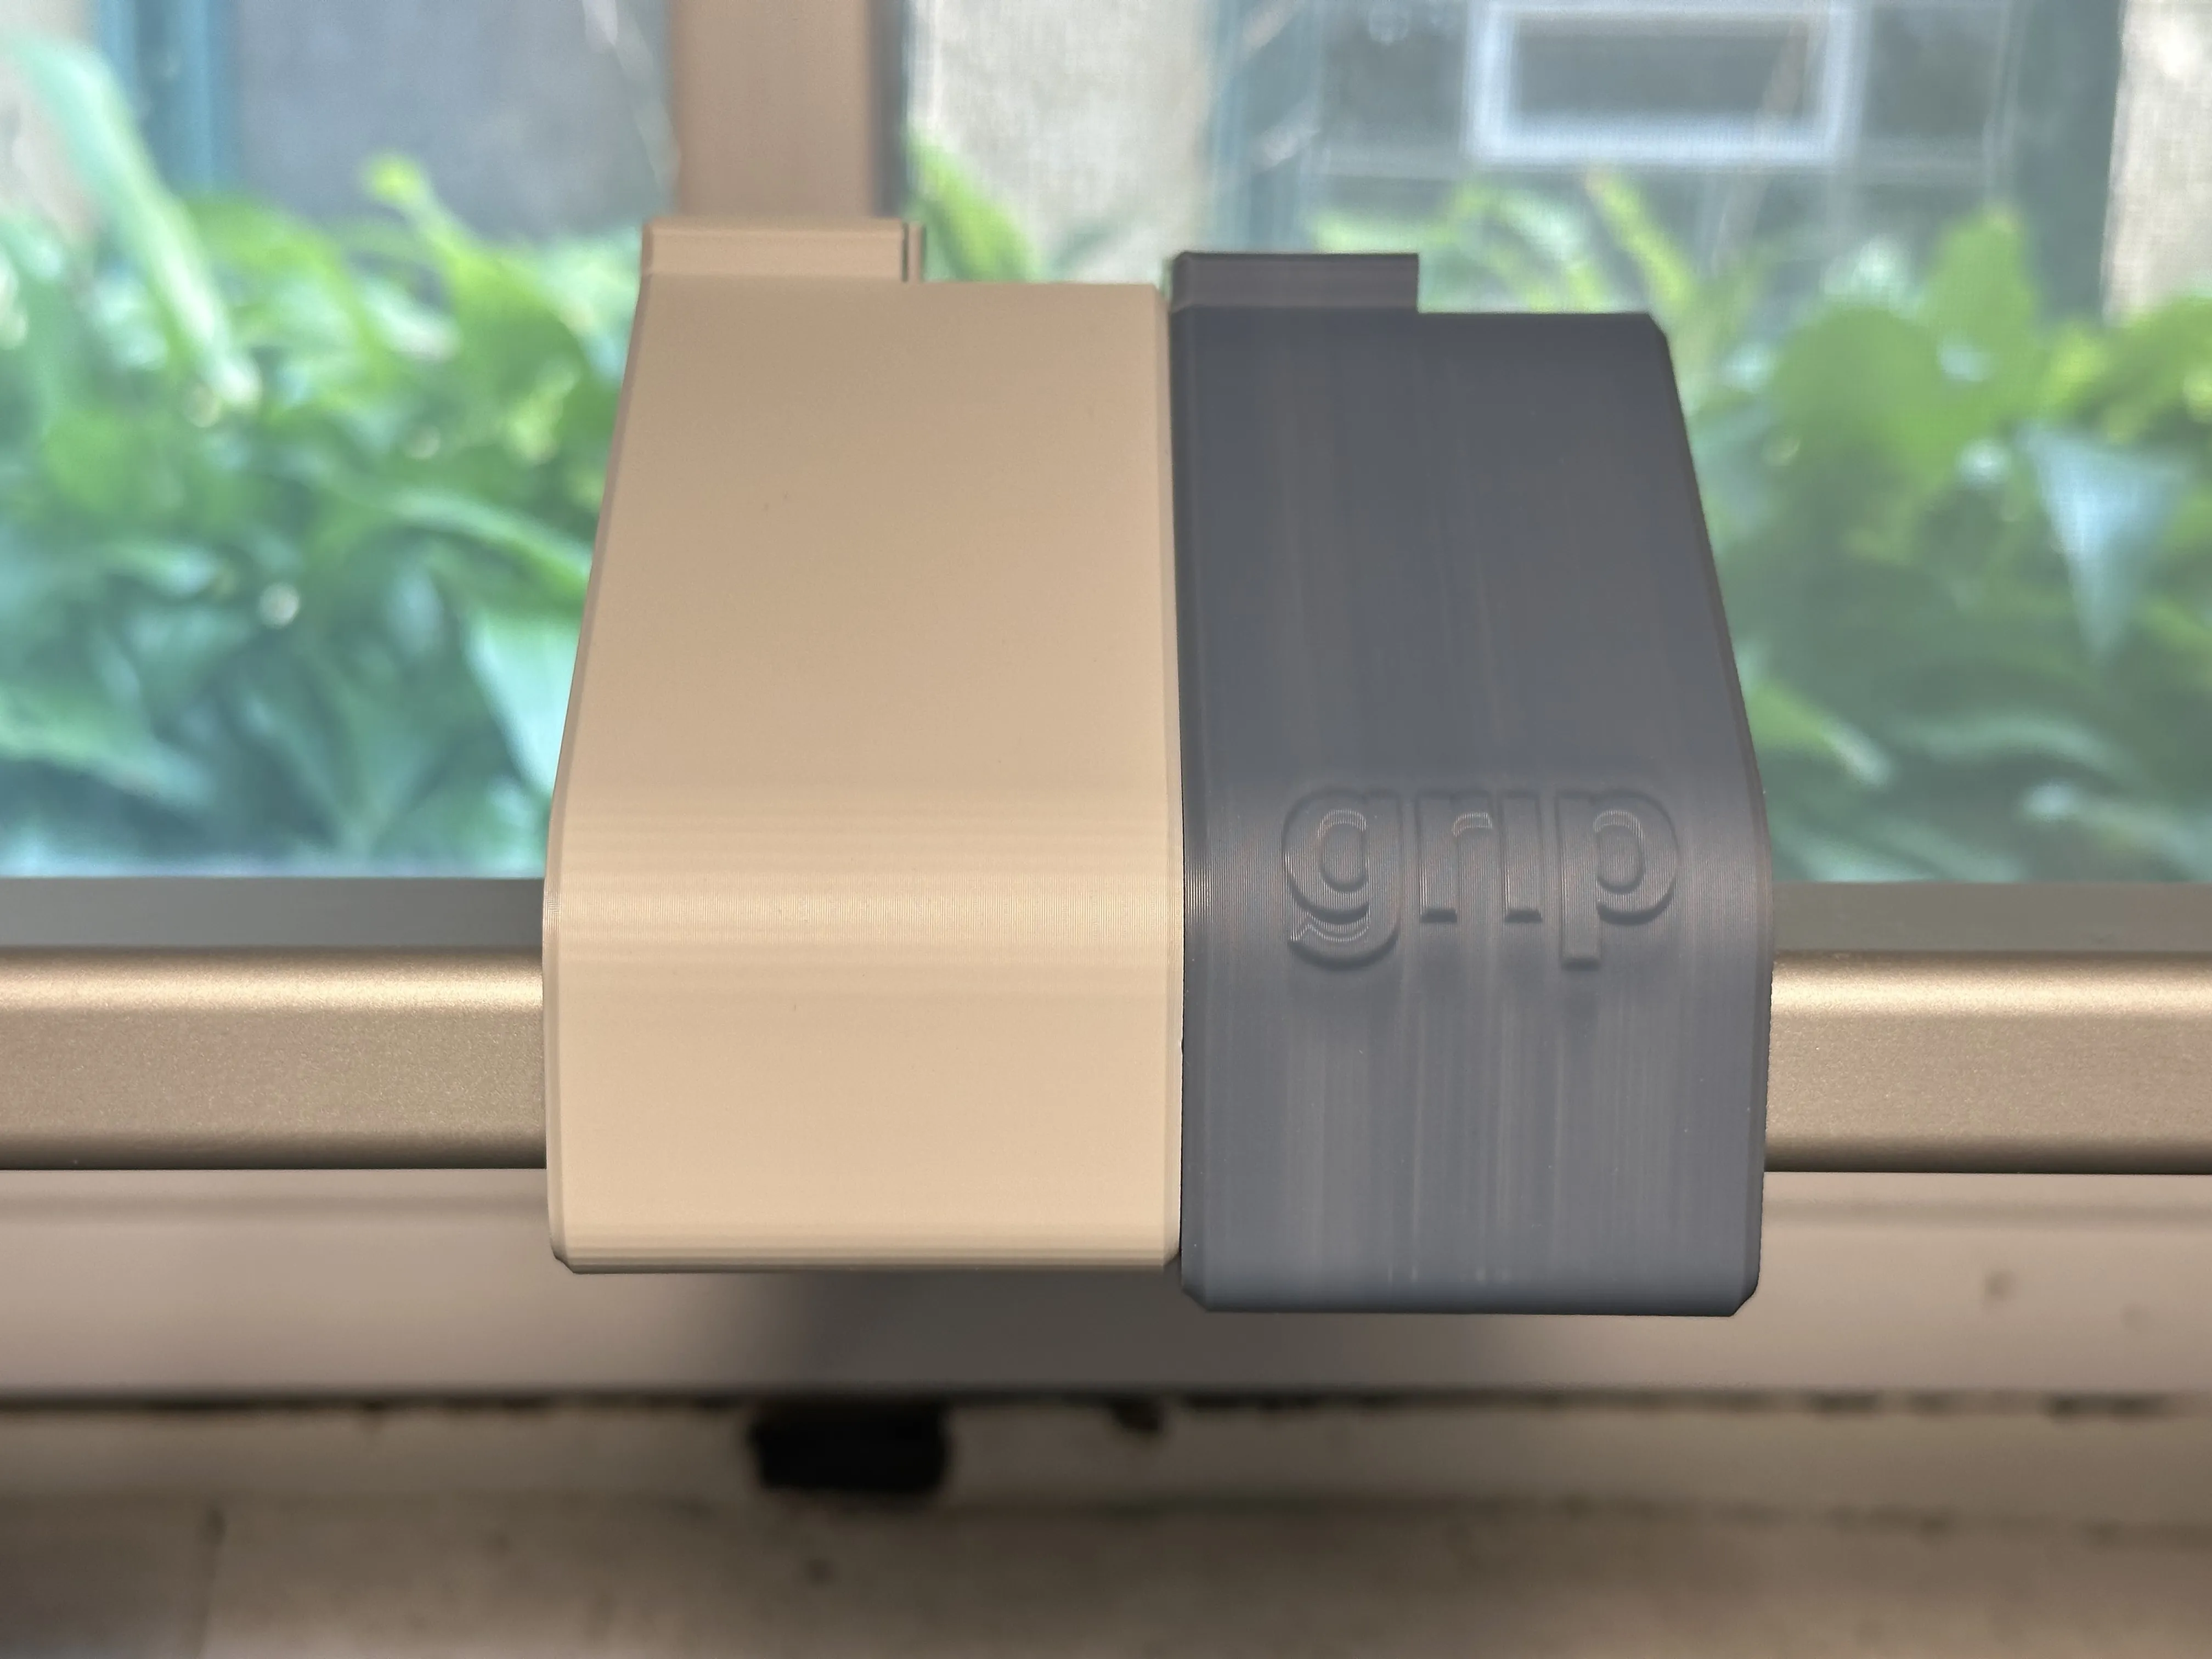
Side by side comparison with GRIP:
- A bit taller, a bit wider, pretty different on the back
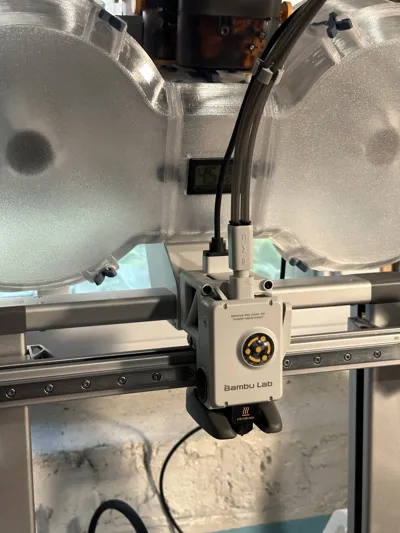
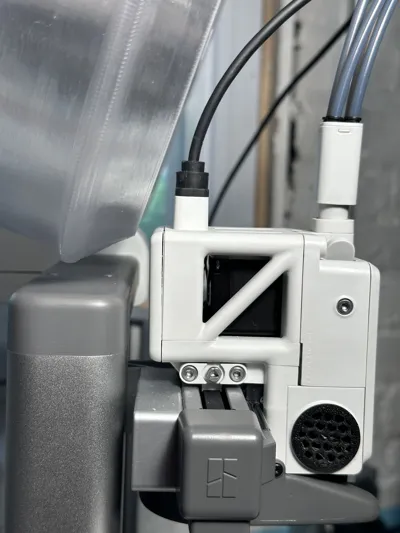
Position of AMS lite and clearance with toolhead is similar to the original BambuLab top mount, but raised up and forward a bit. See the following screenshot comparing the original mount's position (blue outline) to the Ultimate Top Mount V0.3's position. There's about a 9mm diff in location.
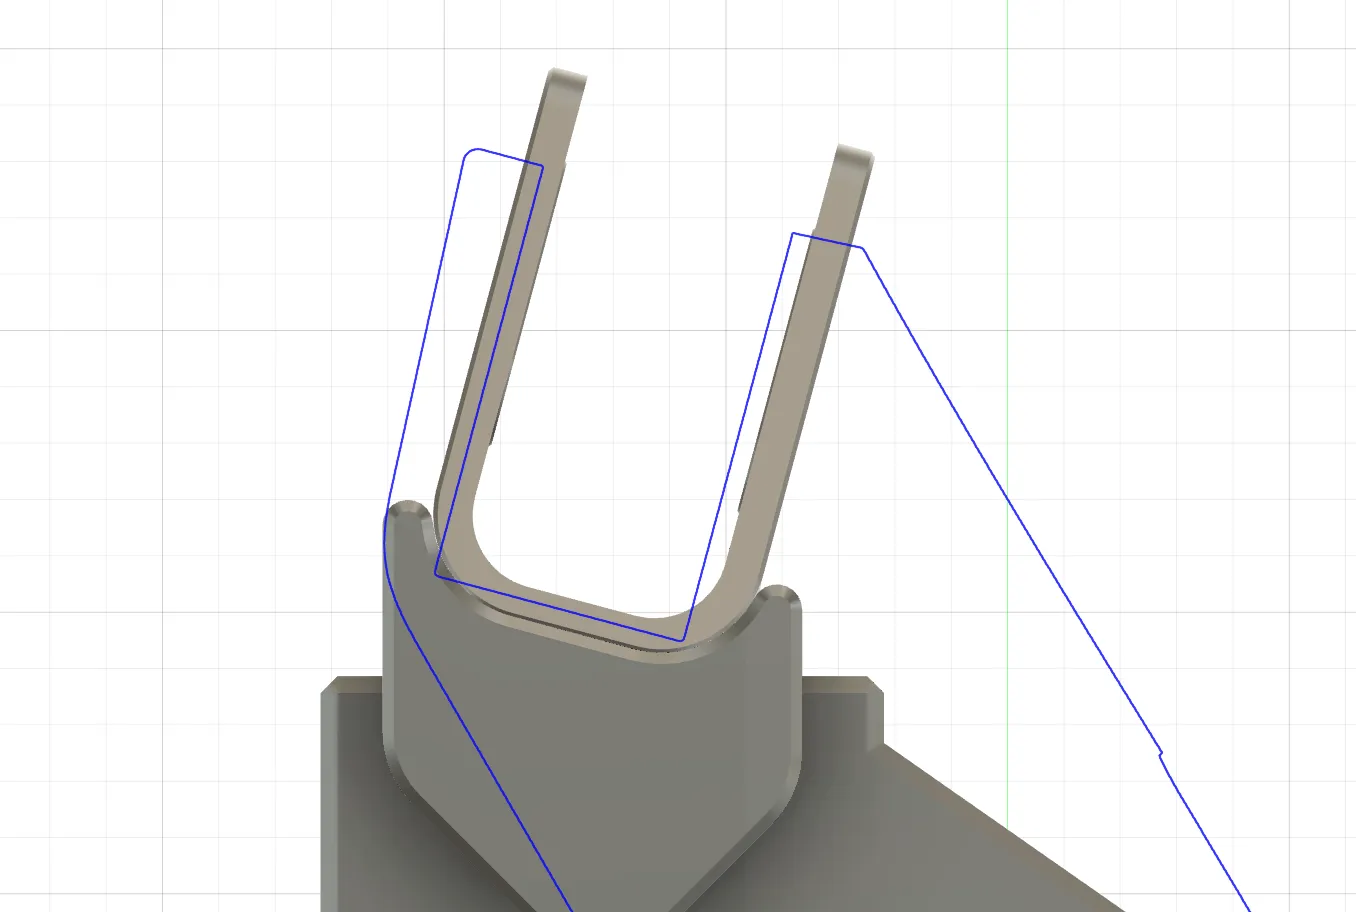
- Screw hole and orientation of latch hole are identical to those on the AMS Lite Top Mount Screw Latch Modification
- This model must be combined with pieces of other models from other designers in order to assemble a complete top mount (see printing instructions below for details)
BOM:
- 4 - Brass inserts M3 x D5mm x L4mm
- 4 - M3 10mm screws
- All the top mount-related hardware that came with your A1 combo
- 4 screws for AMS bracket
- 2 for top mount latch
- plus stiffener-related screws, if using
Printing instructions:
- Print out the two plates for the mount out of this profile. I used Bambu PLA Basic Light Gray, but any PLA or PETG should work fine, just make sure to calibrate and dry your filament if you want the appearance to look good.
- The first plate contains the main mount body pieces and the retainer clips. Feel free to split these apart to different plates as desired, but don't change their orientation
- The second plate contains the 15 degree tilted swivel bracket that connects to the AMS. Make sure to print this separately to minimize appearance of layer lines and do not change its orientation
- (Optional) Go over to AMS lite Bracket for A1 - GRIP and print out the stabilizer feet on plate 2
- I opted to keep using my existing Z-axis stiffeners from the original Bambu Labs top mount instead
- Make sure to use some kind of stabilizer solution, if not the GRIP stabilizer feet or the Bambu Z-axis stiffener.
- I can't guarantee this top mount won't wobble your printer onto the floor either way, but I can at least attest that my setup has been working fine, and I have been using the Z-axis stiffener
- (optional) Print out the improved screw from AMS Lite Top Mount Screw Latch Modification
- I've been using the original screw from the Bambu top mount but I did have one break on me, this one might be stronger. Printing it in PETG might also be a good idea.
- The flat headed screw I got off the Ultimate Filament Spool Enclosure profile linked on V0.2 also broke eventually, so I think the key to getting a strong enough screw is to print it in horizontal orientation
- Also, the mount latch is pretty solid even without the screw so using one is definitely optional and just for a little extra peace of mind
- (optional) Print out the Z-axis stiffener parts from the original Bambu Labs AMS-lite Top Mount
- If you don't have these already and opt not to use the GRIP stabilizer feet - (optional) Print out some slick PTFE tube guides over here (use plate 2) to replace the Bambu ones
- The GRIP or Bambu tube guides also work
Assembly Instructions:
- Turn off your A1 and unplug the AMS-lite, disconnect all PTFE tubes.
- Disassemble and save all the hardware from your existing top mount, if you have one already. If you don't have one already, go find or buy the set of hardware that comes with the A1 combo for the top mount.
- Use a soldering iron to install the 4 brass inserts in the holes on the main mount body next to the swivel slot.
- Make sure not to push them in too deep!
- Let them absorb the heat from the soldering iron until they sink about 75% of the way into the plastic and then use a flat, heat-safe object to push them flush to the surface.
- Attach the latch to the main mount body using the two 23mm screws from the Bambu mount latch
- These screws are a bit tedious to screw in since they screw tightly through the main body as well as the latch
- screw them in on both sides until the tip of the screw is flush with the inside of the latch joint, then insert the latch and screw in the rest of the way, ensuring the holes are lined up
- Install the the tilted swivel bracket onto the AMS using the 4 screws from the Bambu mount/AMS stand
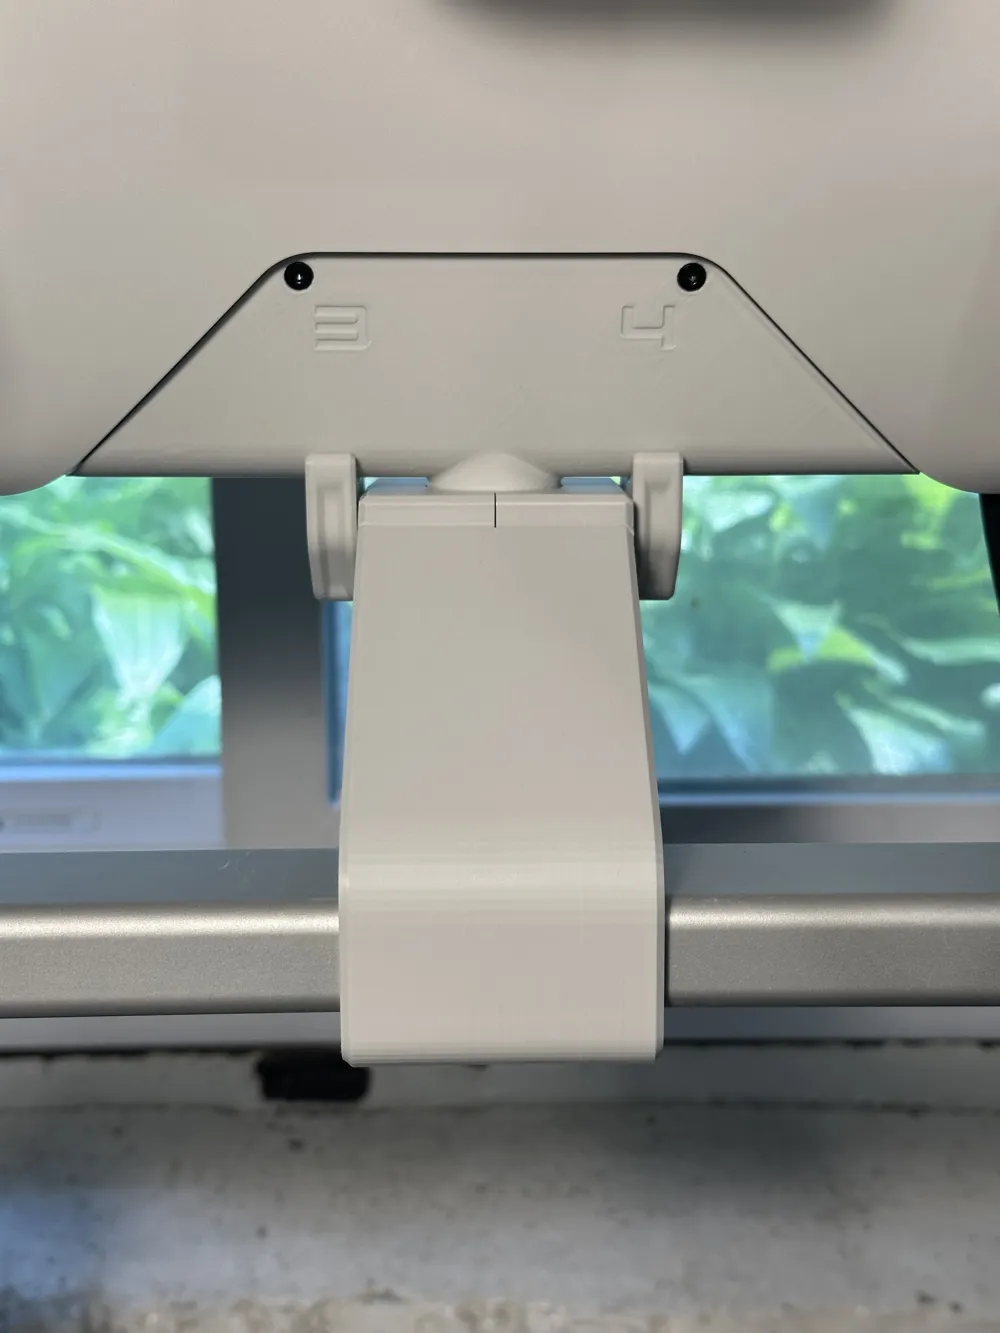
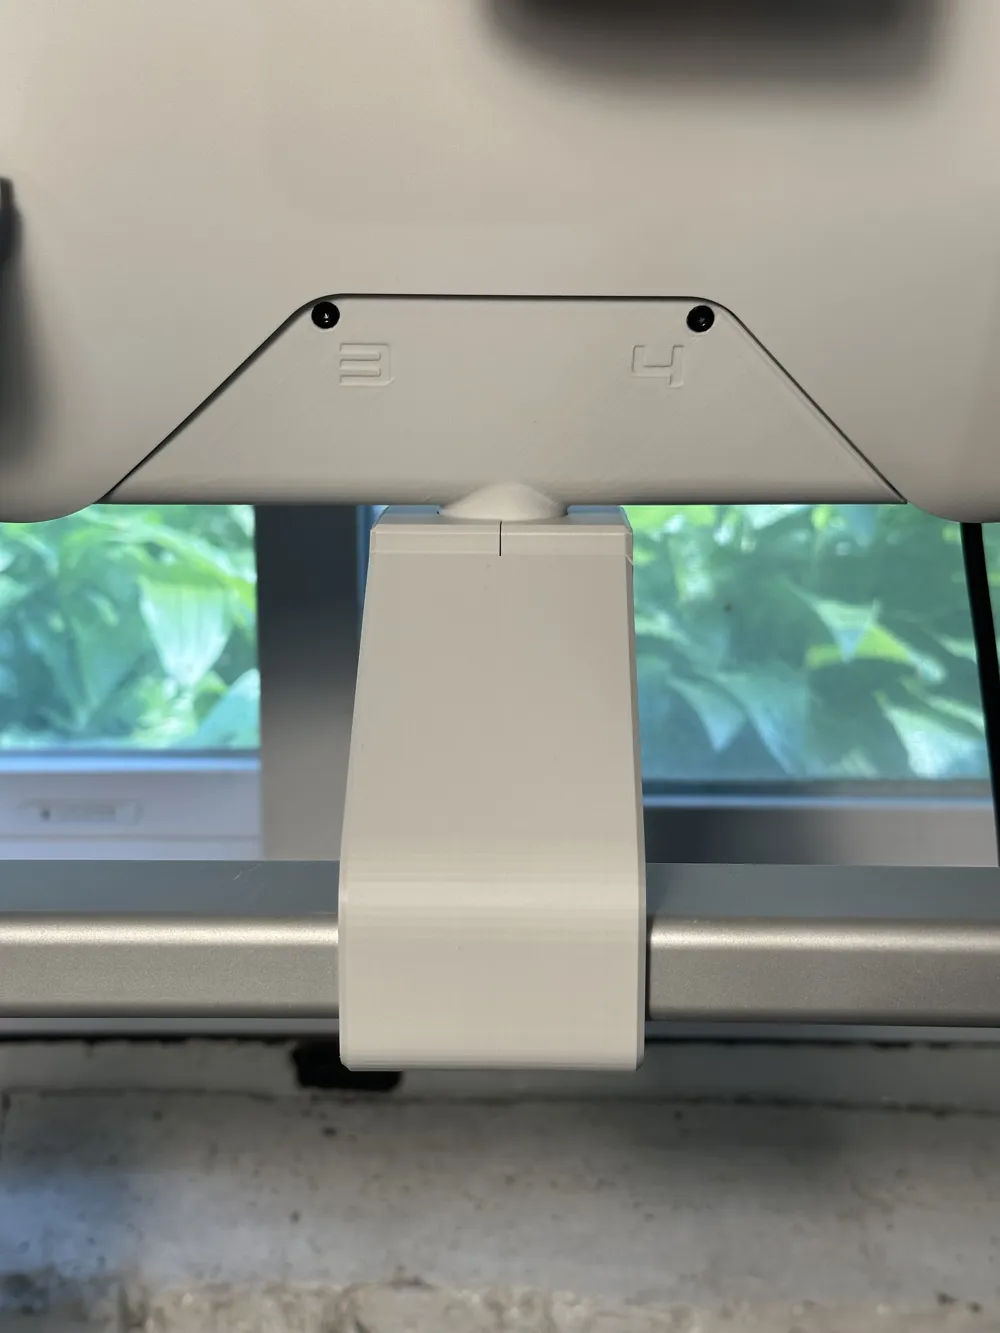
- ensure that the 1/2/3/4 are matching their respective spool locations (the mount should tilt forward, and 3+4 are on the front)
- Insert the swivel bracket into the slot on the main mount piece and secure it using the small piece and the 4 M3 10mm screws
- Place the assembled AMS swivel mount in the center of the A1's top gantry
- Angle the mount so that the front of the latch hooks under first before leaning it back to its snug position
- click the latch shut and optionally screw in the modified top mount screw to secure it in place
- Insert the 2 retainer clips on either side of the swivel mount to prevent it from swiveling during printing
- Remove and replace these as needed to access the rear spools
- Follow Instructions for your stabilizers of choice (but definitely don't go without one of these)
- GRIP stabilizer feet/wobble reduction brackets
- Bambu top mount Z-axis stiffeners
- Install tube guides
- See links above
- Reconnect PTFE tubes, ensuring long ones go to spools 1&2 and the shorter ones go to 3&4
- Turn your printer back on, home the toolhead, ensure all clearances look good and you should be good to go!
License

You shall not share, sub-license, sell, rent, host, transfer, or distribute in any way the digital or 3D printed versions of this object, nor any other derivative work of this object in its digital or physical format (including - but not limited to - remixes of this object, and hosting on other digital platforms). The objects may not be used without permission in any way whatsoever in which you charge money, or collect fees.


Comment & Rating (86)