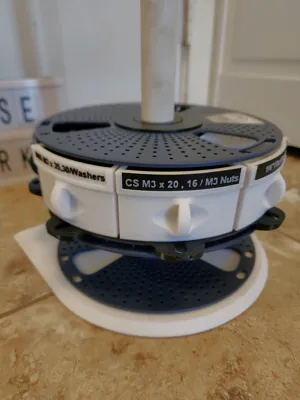
Hardware rack using empty Sunlu spools


Print Profile(1)

Description
Version 2 of my original design on Makerworld, I was unhappy with the overall complexity of the bins themselves and wanted to make it simpler to print.
Version 1 found here : https://makerworld.com/en/models/1446739-sunlu-spool-hardware-rack
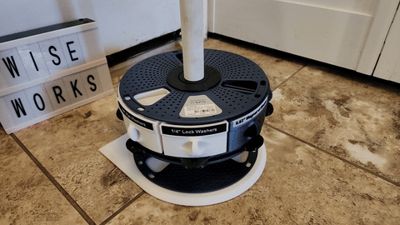
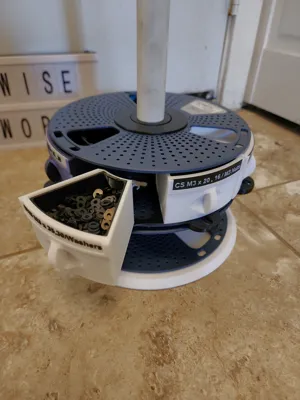
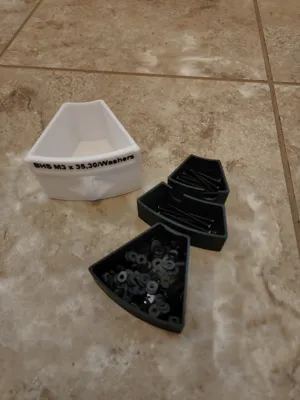
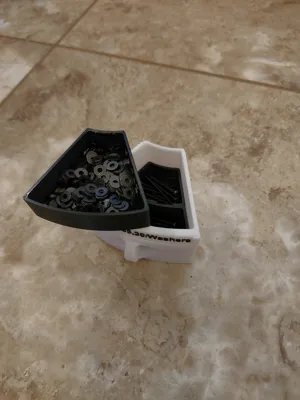
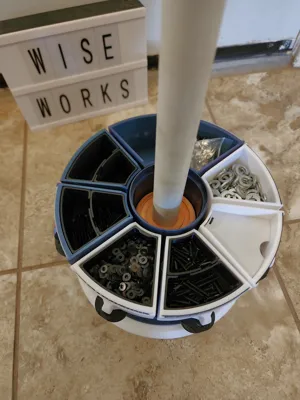
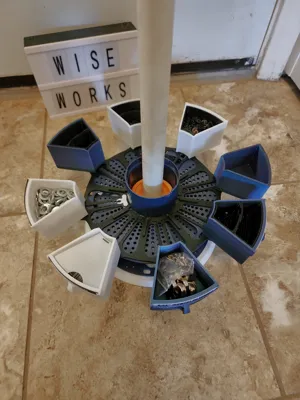
Use up all your empty Sunlu reusable filament spools and organize your 3D printing area by printing this easy rotating hardware rack. Can easily be expanded to accept more spools. Each drawer can have either the full drawer size, 2 full depth dividers, or 3 half depth dividers (1 full tray and 2 dividers). Complete with customizable labels so you know the contents!
HARDWARE NEEDED
1 - M4 Heat set insert (6mm high) INTO BASE
1 - M4 screw (10mm long) INTO BASE
1 - ¾" ID PVC pipe (cut to desired length)
Superglue
Rubber feet for base
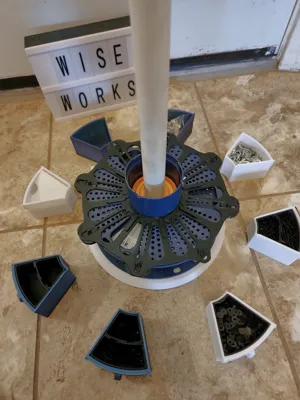
Easy print in place rail with guide system (built in glides may need to be broke free depending on your printer). Clips contour can be adjusted depending on how much holding force you want. Glue clips onto the end (inner diameter) of each track on the rail, 2 pegs on clip should align with holes on rail system (PLEASE SEE INCLUDED PHOTOS FOR REFERENCE). Glue rail onto inner side of Sunlu reusable spool being careful not to get glue into the track system or the glide with seize up. Press bearings into each side of spool (this should be a tight fit).
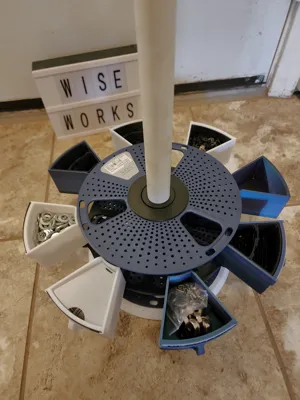
IF WANTED, glue edge supports onto end of track (outer diameter) around to spools outer face. (Please see included photos in Assembly Guide) this will provide extra support if you plan and hanging the bins out like in the photos. DO NOT PLACE GLUE WHERE GLIDE WILL GO, this is represented by the U shaped cutout on the upper face.
Heat press insert into base then insert cut PVC pipe into hole, flush it with the bottom of the plate then snug up the M4 screw to hold pipe in place (sharp point may be added to end of screw for a better hold)
Some rubber pads might be needed on the bottom of the base to keep it from rotating, or you can mount it to your table however your heart desires, screw it in for all I care! lol
If using 3mf, you will have to edit the text for the Bin labels by going through the “Objects” tab on Bambu slicer. Once there, scroll to Plate 6, right click on one of the "text_shape#" and hit edit text, there you will find the dialog to change the font to what you need.
If using stl file, just add text to surface of Bin label model.
STL files include different bases. If printing from STL files a complete print will include:
1 - Base
1 - Rail
8 - Clips
8 - Bins (label or no label)
2 - Bearings
2 - Washers
8 - Bin labels (if desired)
8 - Bin covers (if desired)
8 - Edge supports (if desired)
Dividers / Liners of your choice
Update 1 (6/9/2025) - Added bin liners, full size and angled.
Documentation (5)


License
You may create derivative works based on this object, provided that all such derivative works are published exclusively on the MakerWorld platform and include proper attribution to the original creator. You may not share, upload, host, distribute, or publish this object—or any derivative work of this object—on any other digital platform, marketplace, or distribution channel. Commercial use of this object and any derivative works is strictly prohibited. This includes, but is not limited to, selling, renting, sublicensing, or using the object in any context in which you receive monetary compensation or other financial benefits.
Comment & Rating (61)