
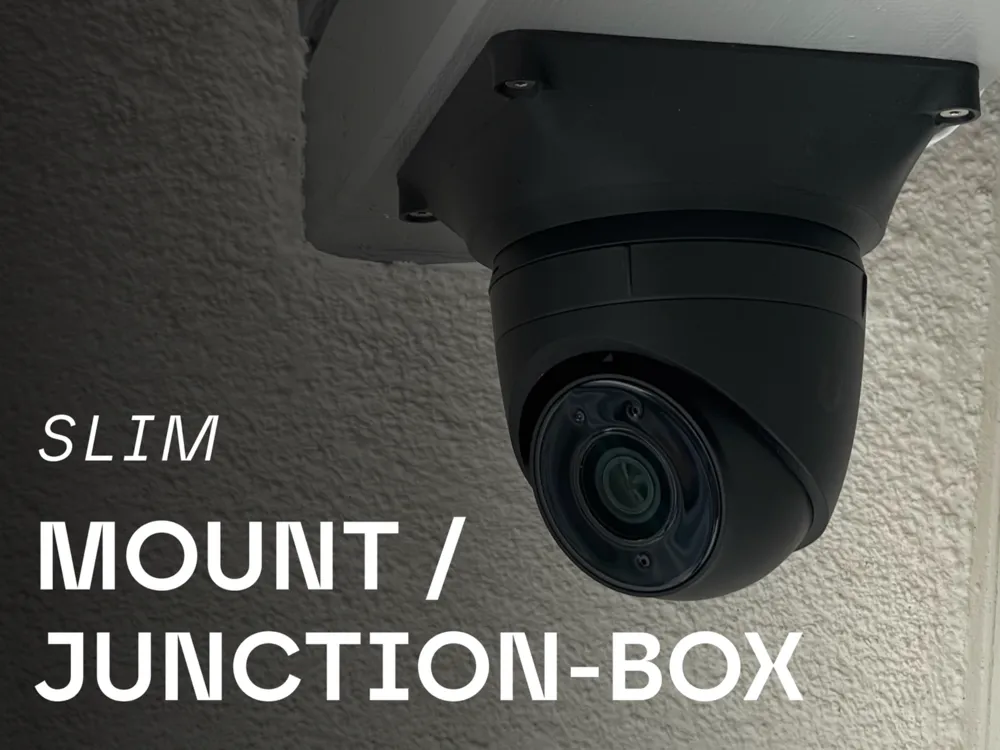
Slim Junction Box for UniFi Cameras
Print Profile(4)


Description
Description:
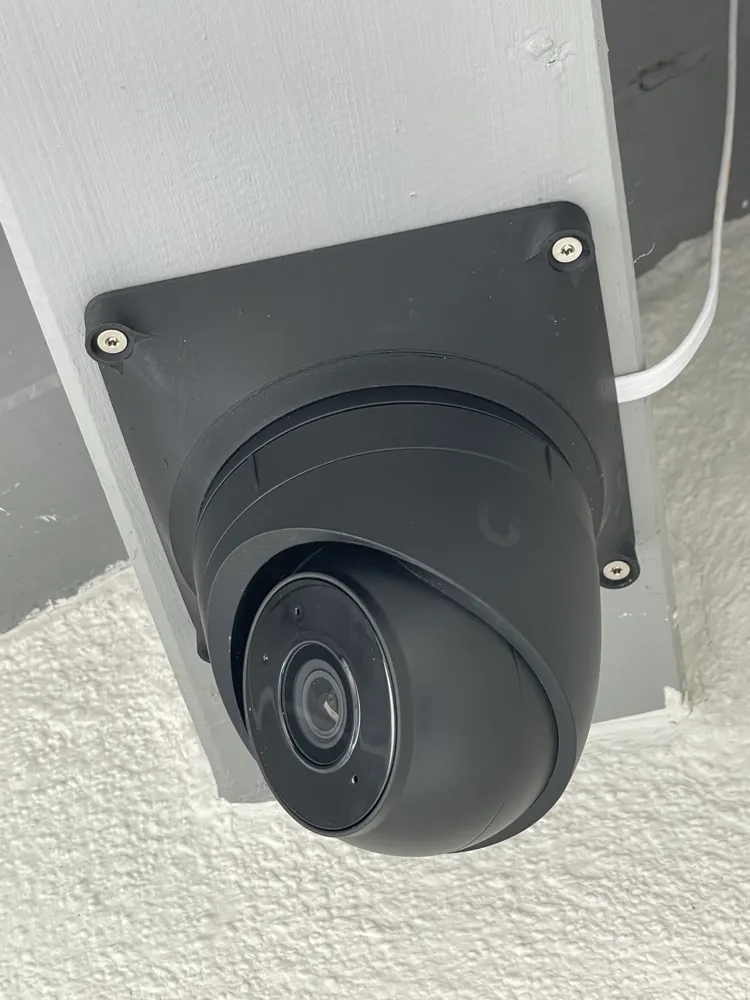
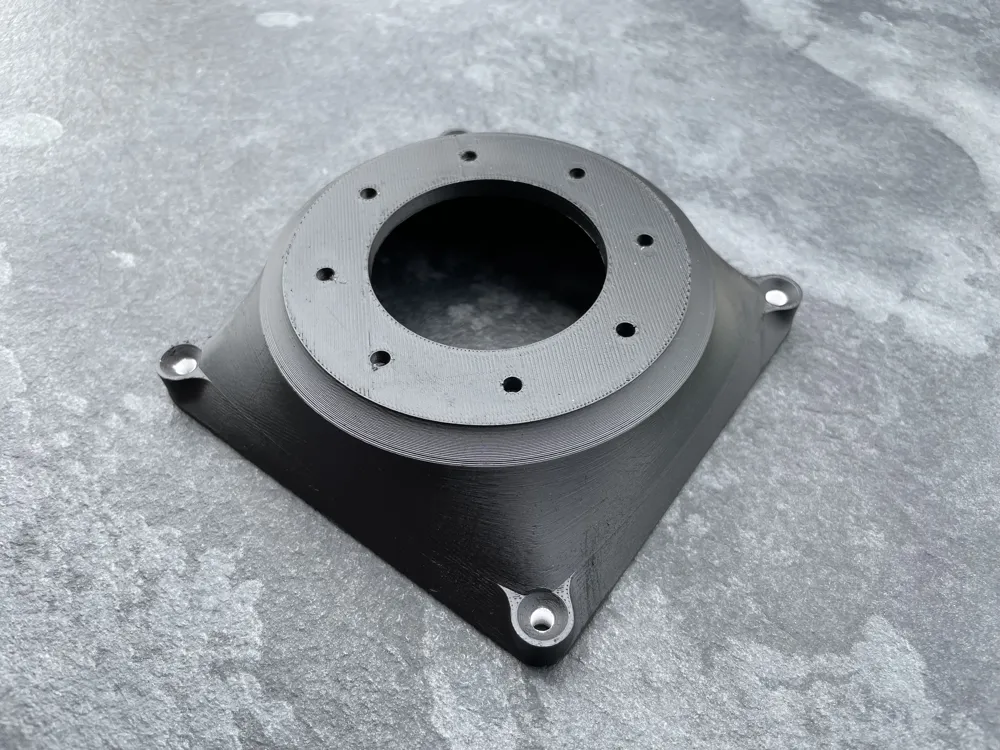
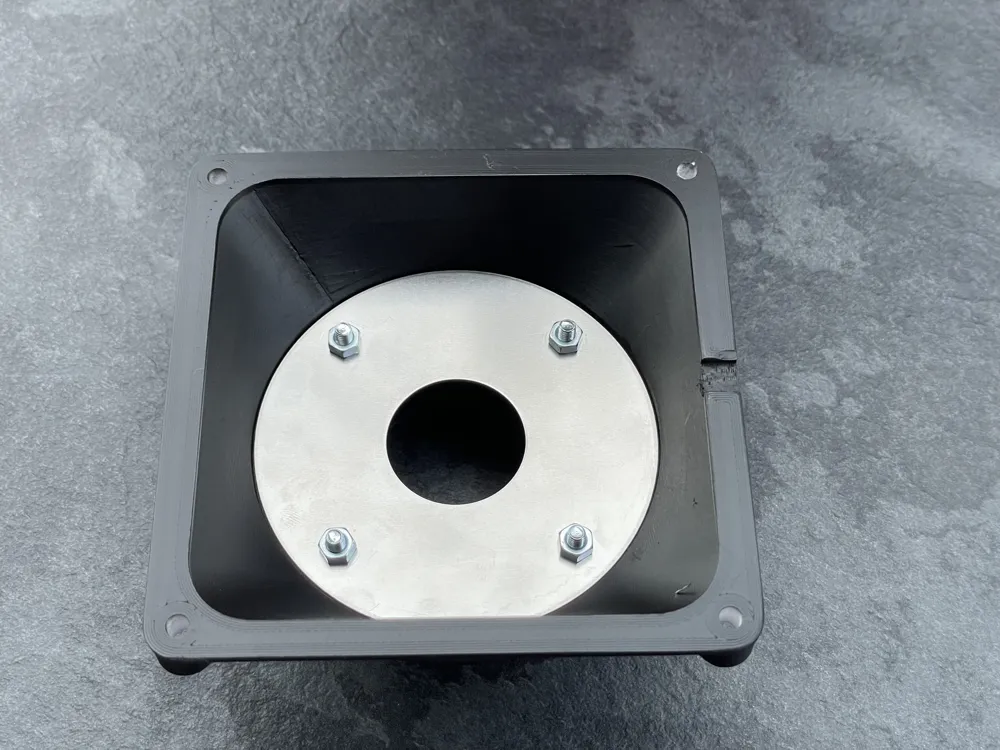
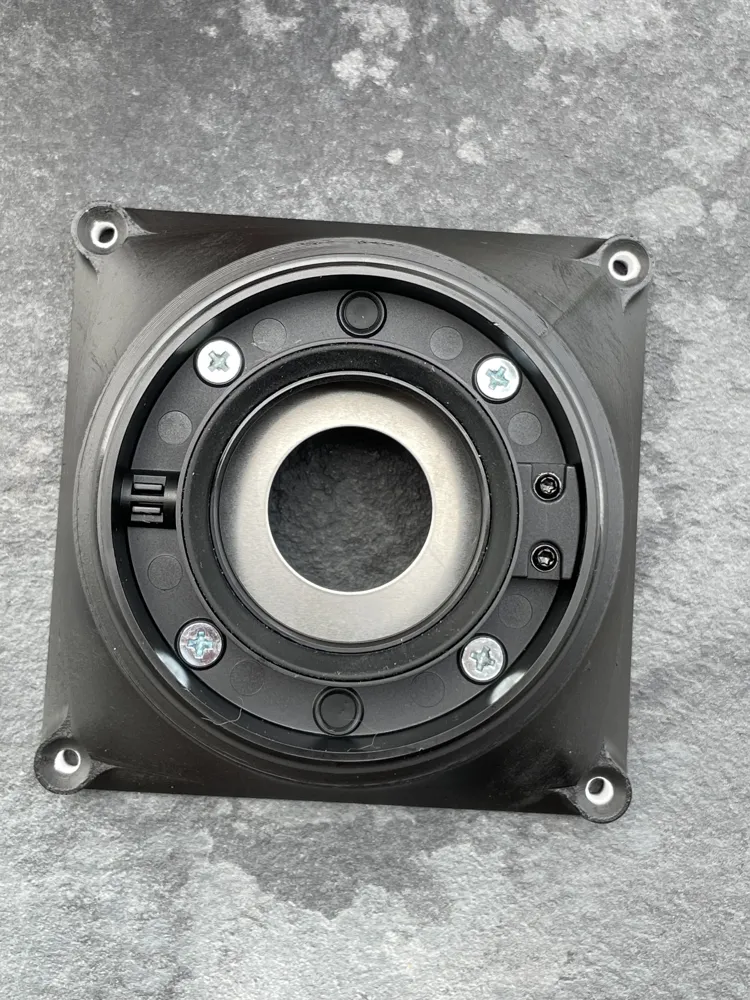
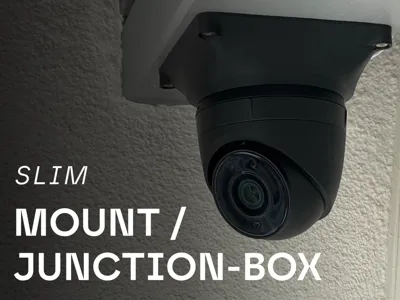
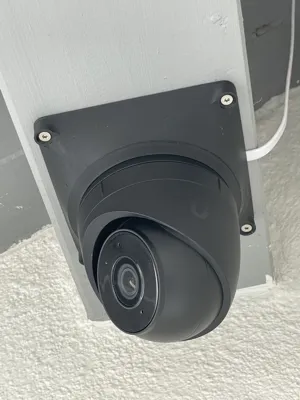
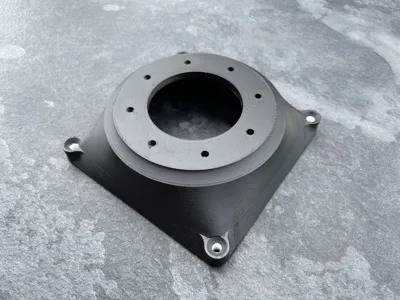
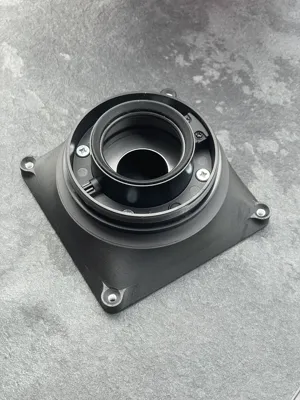
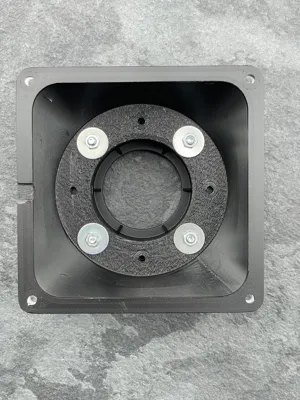
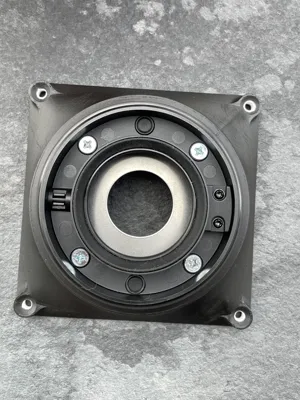
I have designed and printed this slim and durable Junction Box for UniFi Cameras (or any security camera) with a 70mm hole circle diameter for mounting the cameras to beams and other mounting scenarios where you may want to hide the connector and weather shielding.
From Ubiquiti/UniFi, it fits the following cameras:
- G5 Turret Ultra (UVC-G5-Turret-Ultra)
- G6 Turret (UVC-G6-Turret)
- AI Turret (UVC-AI-Turret)
NOT compatible with the G5 Dome Ultra! (UVC-G5-Dome-Ultra)
Boost Me (for free)
Like the model? Boost me (for free) - it helps me develop more fancy things of you! Thank you!
If you like this model and would like to help even more with future developments, you can buy me a coffee! Thank you!
Usage:
Depending on your preferences, you may eiher:
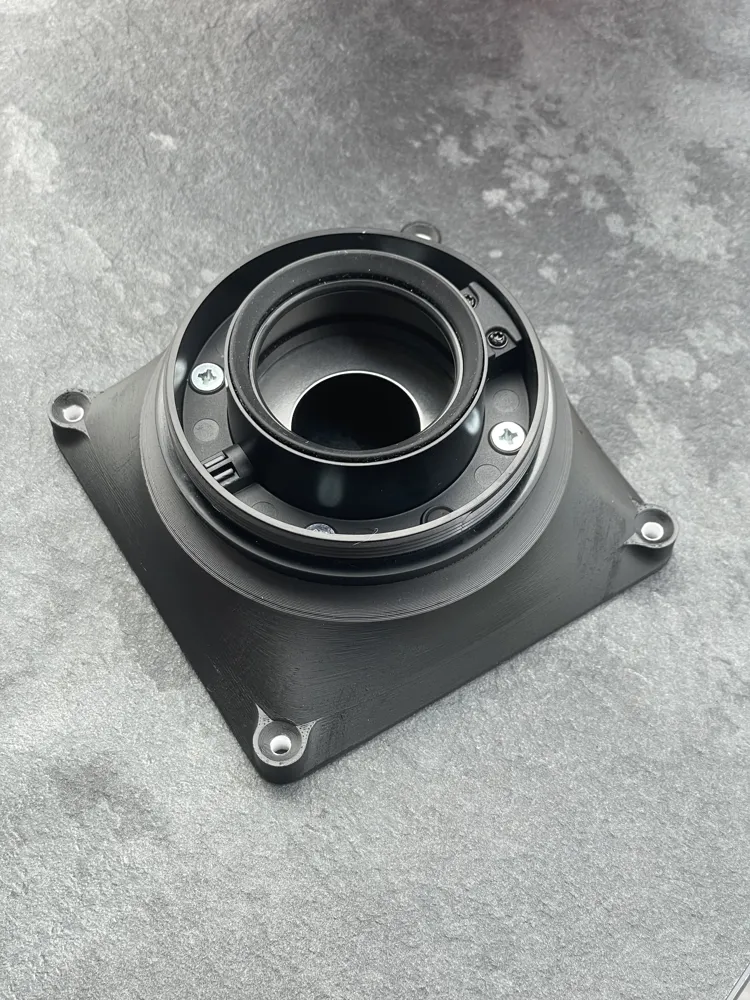
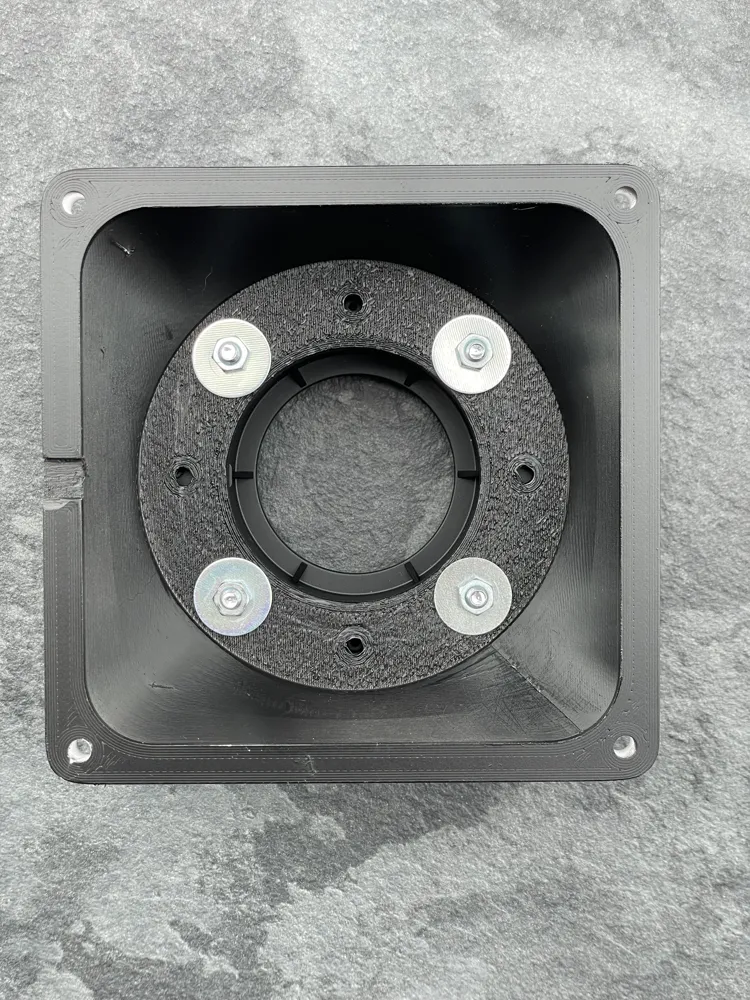
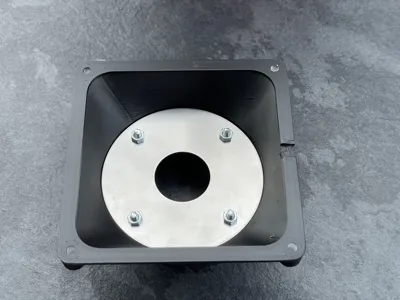
- use the metal plate that comes with the camera, and drop it into the mount, then secure your mounting plate to that using 4 M3x15 screws and nuts,
- put washers between the nuts and plastic,
- or just go bare with screw and nuts.
Once the mounting plate is secured, you can install the junction box using screws with a countersunk head. I have used 3.5x35 wood screws - choose what fits your installation.
( ! ) If you do not have a 3D printer, yet found this model and are interested, you can buy one at:
→ currently shipping to: Germany, Austria, USA, Canada. For other countries, please message me.
Note: if you choose not to use the metal plate that comes with the camera, you can push the waterproof cap/Easy-Cable in after the junction box has been mounted to a beam/wall; if you do choose to use the metal plate, make sure to tuck the cable in the way you want it before screwing the box in place fully, be careful not to pinch your cable!
Versions:
There are 4 versions currently available:
- a standard one with no cutout.
- one with a cutout for slimmer cables up to 5.5mm.
- one with a cutout for thicker cables up to 6.5mm.
- one with a cutout for a slim/flat cable with a standard 7mm width.
Recommended print settings:
Material: choose either PETG, ABS or ASA.
Walls: 3 or more.
Infill: 20-25% gyroid or similar strength.
Bottom and Top Layers: 5 or more.
⚠ with most printers and materials, you will need to add supports, if you are printing from the obj files!
License

You shall not share, sub-license, sell, rent, host, transfer, or distribute in any way the digital or 3D printed versions of this object, nor any other derivative work of this object in its digital or physical format (including - but not limited to - remixes of this object, and hosting on other digital platforms). The objects may not be used without permission in any way whatsoever in which you charge money, or collect fees.


Comment & Rating (48)