H2D Quadruple AMS Mega Riser


Print Profile(1)

Description
H2D Quadruple AMS Mega Riser
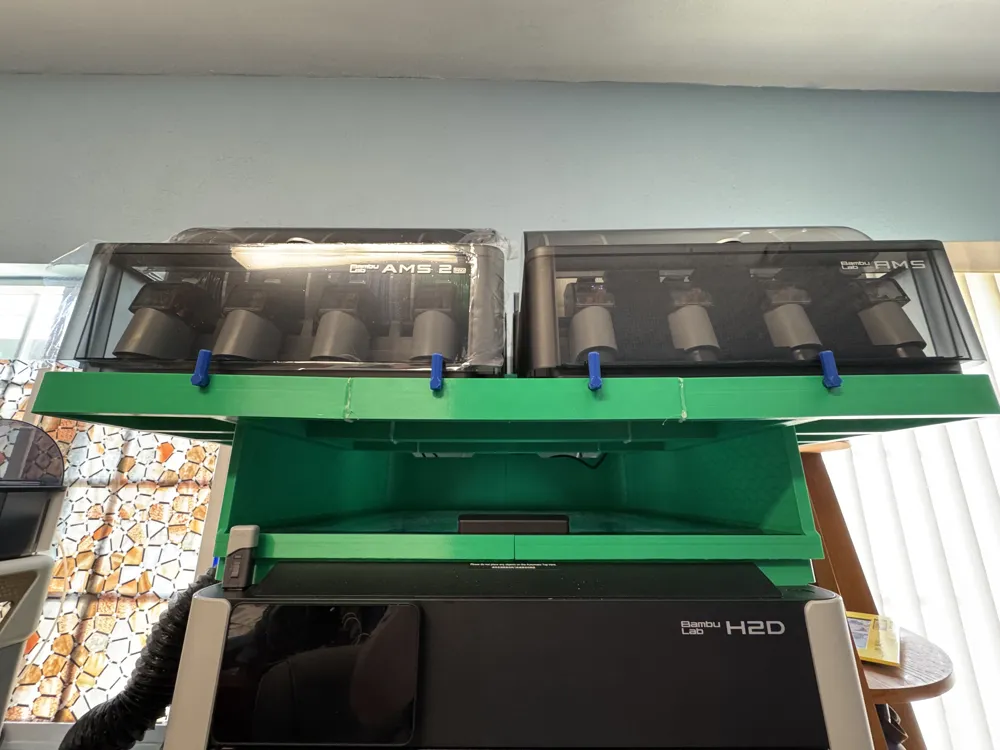
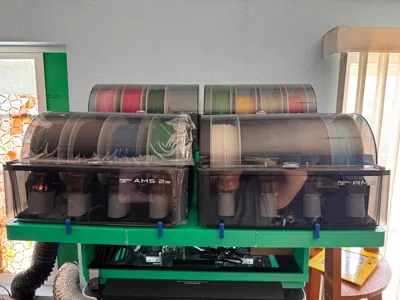
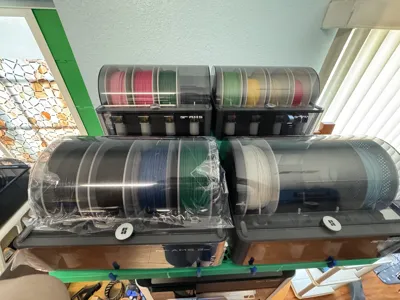
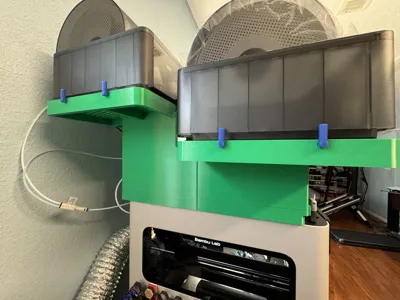
This 3D-printed H2D accessory is designed to accommodate 4 AMS units (AMS or AMS 2 Pro) in the space above the printer (as opposed to 1 AMS unit). The riser retains clearance above the top glass plate, allowing it to still be accessed and to allow storage of small items. The riser positions the AMS units in a way that allows the top covers of all units to open all the way and the PTFE/cable routing of each unit to not block one another. The riser allows the Automatic Top Vent to still open.
As the H2D is already a tall printer, adding this modification may make it such that height plays a significant role in accessing the AMS units. It is either recommended that the user be of tall height, have the printer situated at a low elevated surface, or to have a stool at hand ready to ensure physical access to all AMS units on the riser.
UPDATE:
I've added new objects called reinforced fence walls (included as raw files and in the updated print profile). They connect to the four front most and back most octagon slots on the front platform. The goal of these are to improve the rigidity of the front platform, allowing it to be sturdy for use without the need to seal it with hot glue (or equivalent).
READ ME:
Please read the Required Hardware, Known Issues, and Assembly sections before printing to determine if this model is acceptable for your needs. Thanks!
Required Hardware:
Space:
- 203.2 mm (8") of space behind the H2D back-most face
- This allows space for the PTFE/cable routing of the 2 AMS units in the back
- 146.05 mm (5.75") of space to each side of the H2D side panels
Filament
- 2848.79 g of PETG (from Bambu Studio slicer)
- PETG is recommended as model was designed with PETG dimensional tolerancing in mind.
- 133.66 g of TPU (from Bambu Studio slicer)
Tools
- A flat-head screwdriver
- Used to fasten locking screws (see Assembly section Step 6)
- Hot glue or equivalent
- Used to reinforce the front platform (see Assembly section Step 8)
Recommended Hardware
Tools
- A mallet or equivalent
- To assist in the assembly the mainframe portion of the riser (see Assembly section Step 1)
Known Issues
- Whenever a print starts, HMS in Bambu Studio/ Bambu Handy will notify you that “The top cover is open.”
- This warning will not stop your print nor does it send a notification. It is merely a callout letting you know that your top cover is open.
- Front platform will bend to the center a bit upon placing the AMS systems on it.
- Since the front platform lacks the center support the back platform has, this is to be expected. As long as the platform's seams are reinforced with decently strong adhesive (such as hot glue), then the front platform should have enough support the hold the weight of both AMS systems fully loaded.
Assembly Instructions
- Assemble the mainframe by connecting parts in plates Q1, Q2, Q3, and Q4 at matching dovetail joints
- Q1 goes to the back-right of the printer
- Q2 goes to the back-left of the printer
- Q3 goes to the front-left of the printer
- Q4 goes to the front right of the printer
- Assemble the gasket by connecting parts in plates G1, G2, G3, and G4 at matching dovetail joints
- G1 goes to the back-right of the printer
- G2 goes to the back-left of the printer
- G3 goes to the front-left of the printer
- G4 goes to the front-right of the printer
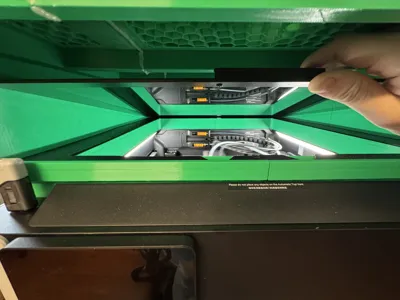
- Connect the gasket to the mainframe by pressing the gasket into the slot near the inner edges of the mainframe
In the image below, the gasket goes to where the red arrows are pointing to.

- Assemble the back platform by connecting parts in plates back.platform.L, back.platform.M, and back.platform.R at matching dovetail joints
- Use 12x fencePins from the small parts plate and insert them in the octagon holes on the sides of the back platform
- Shorter side goes into the hole, long side should point up.
- If inserted incorrectly, pliers can be used to removed them.
- The pins should look something like this below:

- Assemble the back platform to the mainframe using 2x lockScrew from the small parts plate to fasten the back platform onto the mainframe
- Do not over-tighten.
- Assemble the front platform by connecting parts in plates front.platform.L, front.platform.M, and front.platform.R at matching dovetail joints
- On the underside of the platform and the sides, seal the seams with an ample amount of hot glue.
Below is an example of mine:

- Like the back platform, use 12x fencePins from the small parts plate and insert them in the octagon holes on the sides of the front platform.
- Like the back platform, assemble the front platform to the mainframe using 2x lockScrew from the small parts plate to fasten the front platform onto the mainframe
- Do not over-tighten.
- To install the riser, remove the top glass plate on the H2D, place the riser on top of the foam, then place the top glass plate on top of the TPU gasket.
- For ideal AMS positions, AMS systems in the back should be placed closest to the center as possible; AMS systems in the front should be placed to the edges as close as possible.
Comment & Rating (6)