
Wind-up aircraft "JetBuzz"
Print Profile(7)
Bill of Materials



Description
SIMPLE. FLYING. FUN.

I’m excited to share my new model, JetBuzz, which I’ve been working on for a few weeks. Along the way, I lost two prototypes in the neighbor’s garden and spent quite some time tweaking the size and adjustments. But honestly, the result turned out really fun and playful!
1 - Model Description
JetBuzz — wind-up fun in miniature!
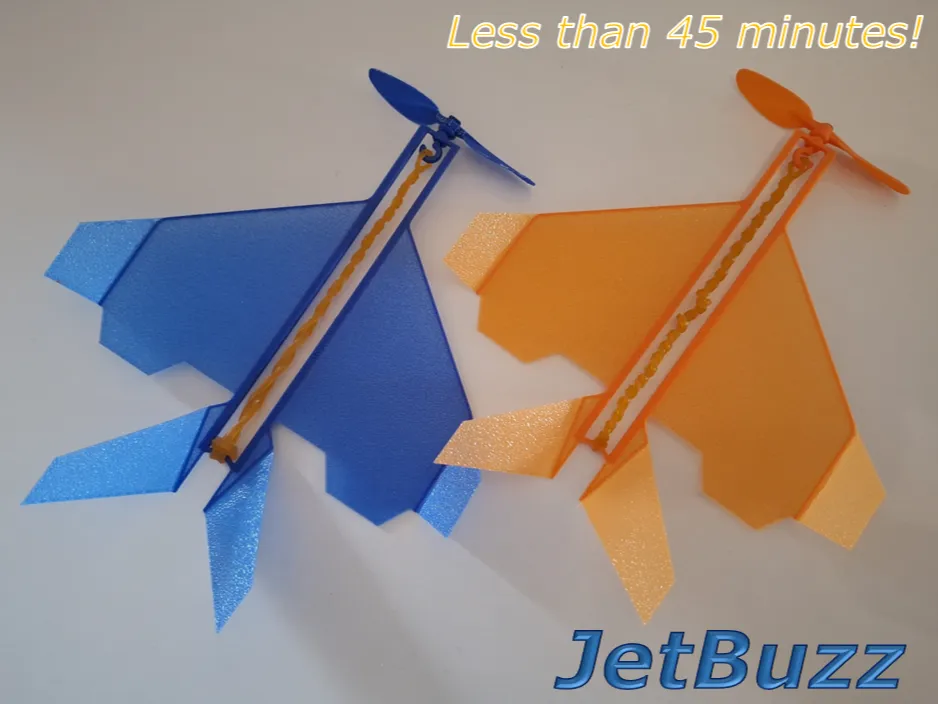
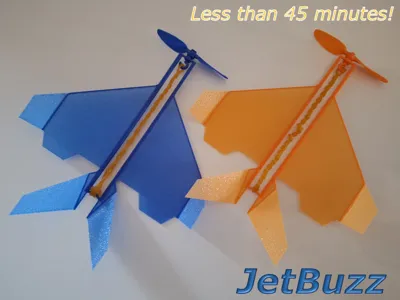
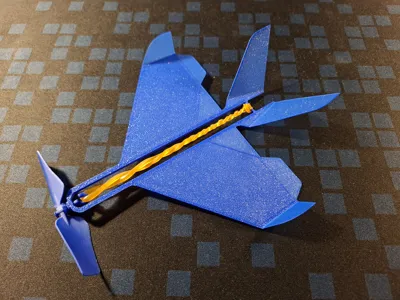
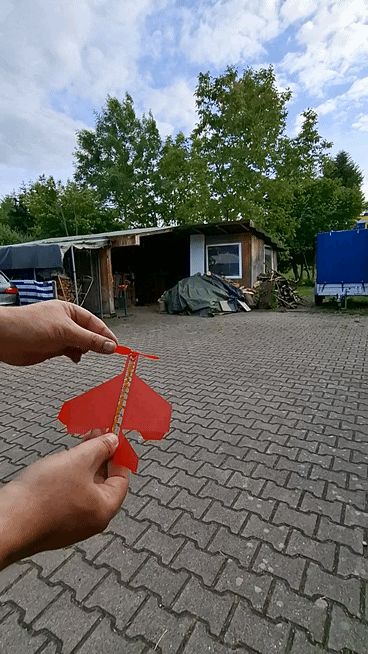
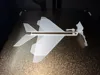
JetBuzz is a series of lightweight and playful rubber-powered simple airplane models designed to be 3D printed with minimal time and effort.

The models fly with a lively, often surprising character — both indoors and outdoors in calm weather.
Tune the flight and compete with friends for the highest or farthest launch! Or simply enjoy the spontaneous, animated motion — even the most unexpected flights bring plenty of joy.
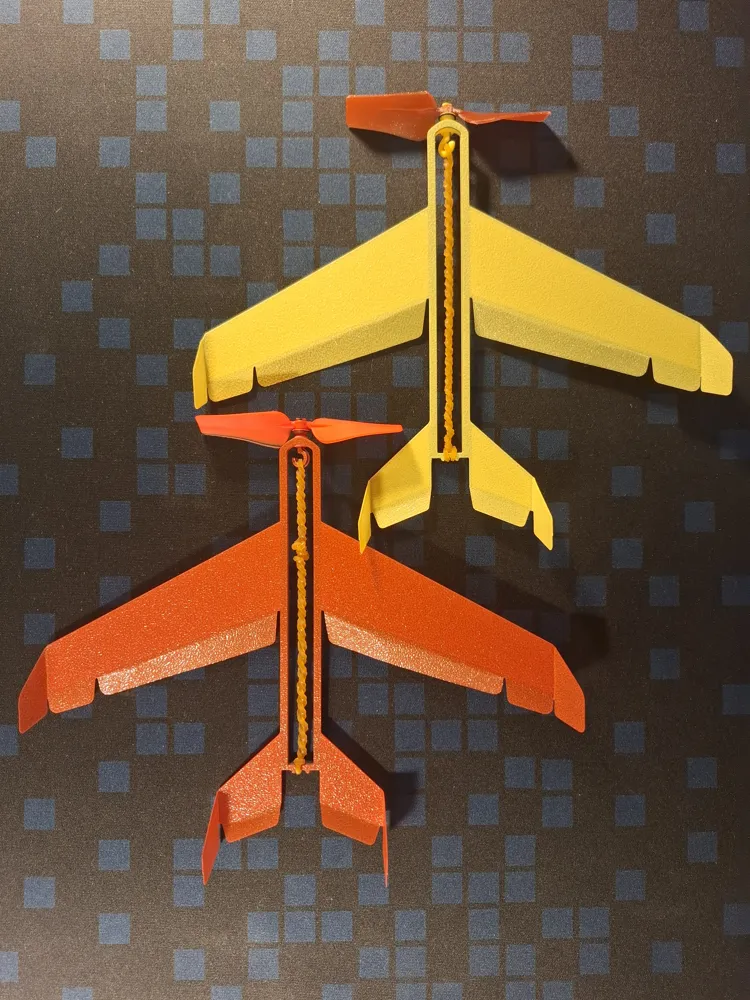
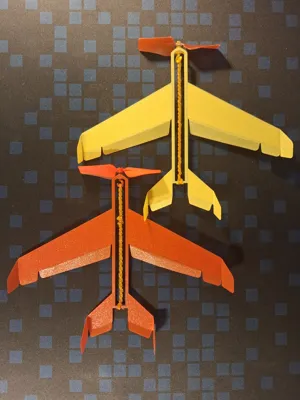
Actually Model is presented via 2 Model Versions:
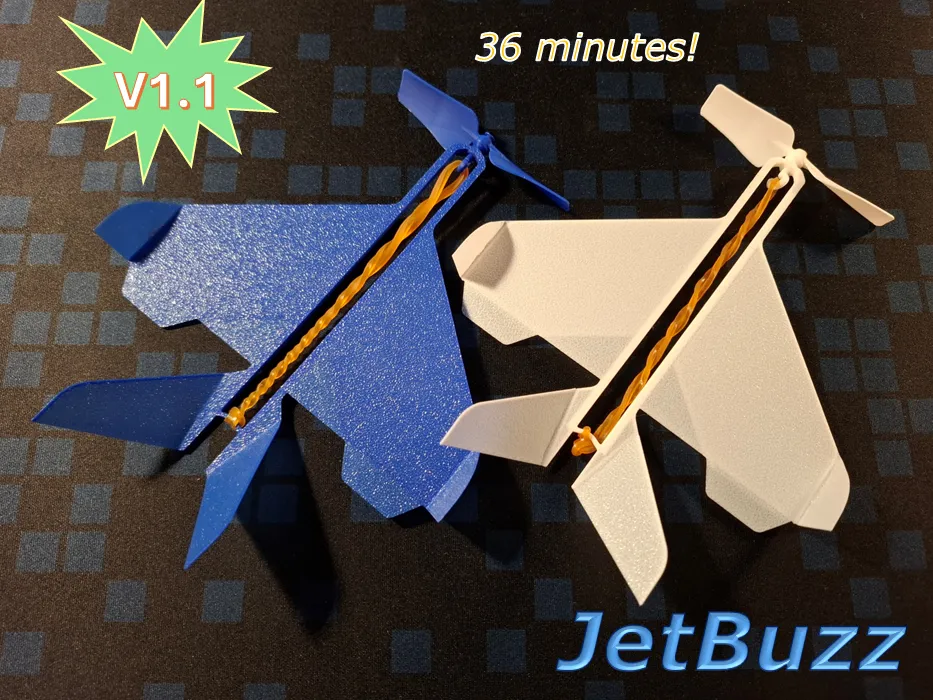
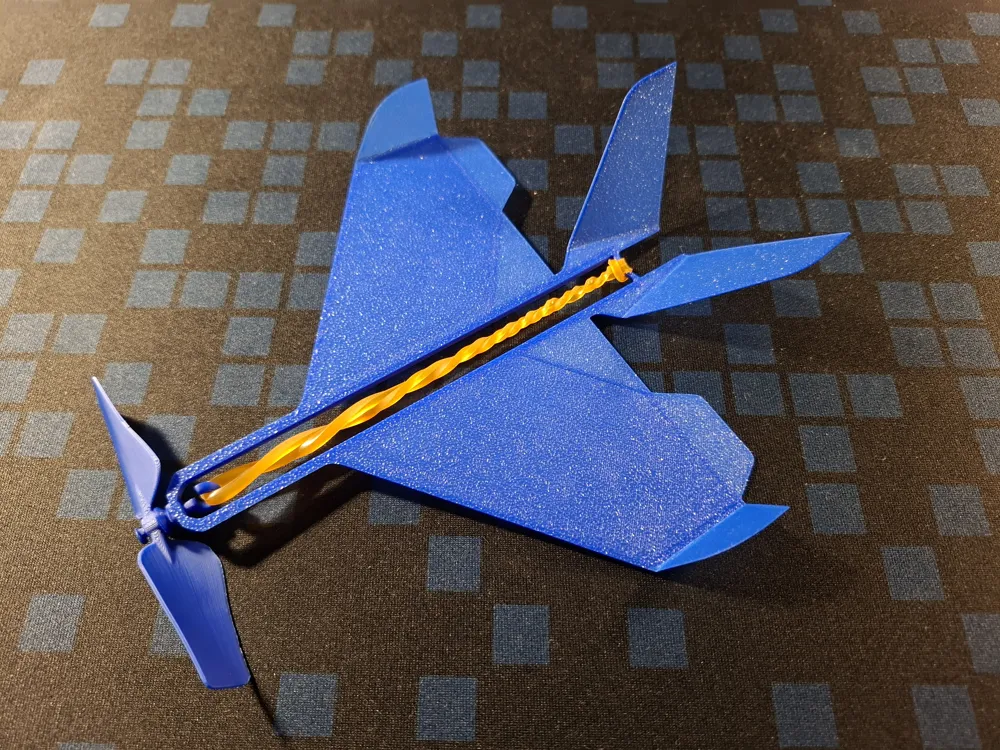
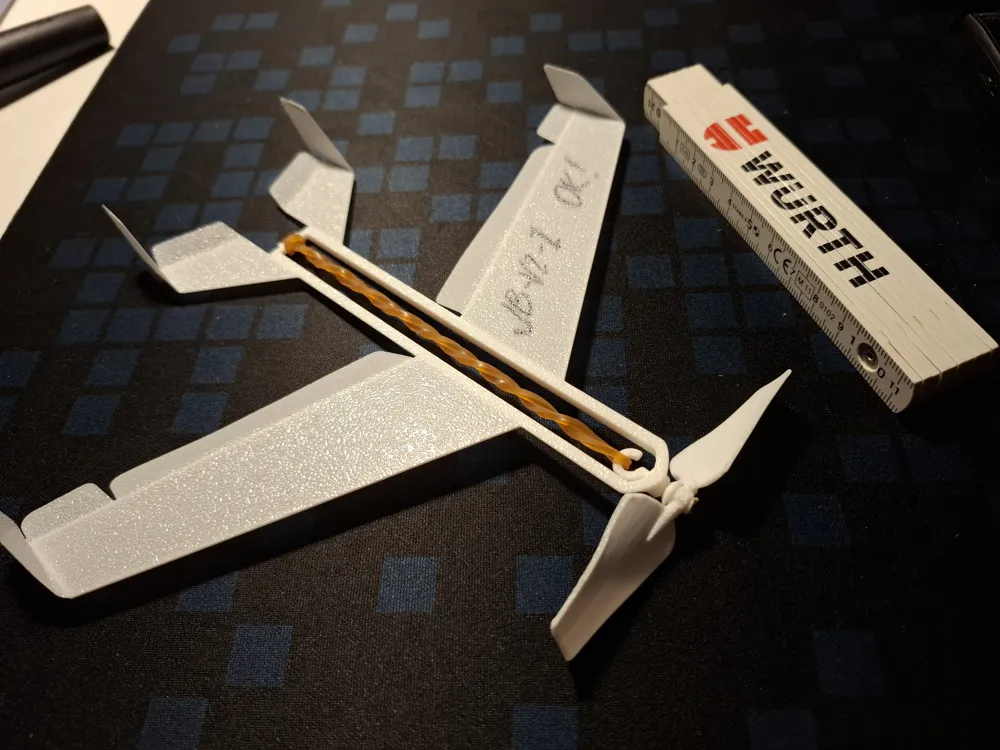
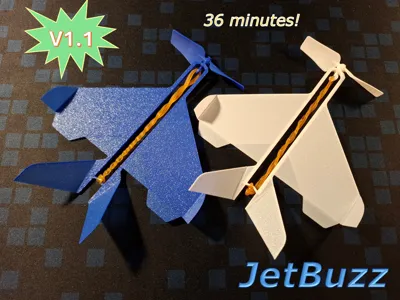
- The V1.1 Model with “Delta” wing and V-tail. Model has a 155 mm wingspan, 175 mm length, and weighs just about 7 grams (including the rubber motor).
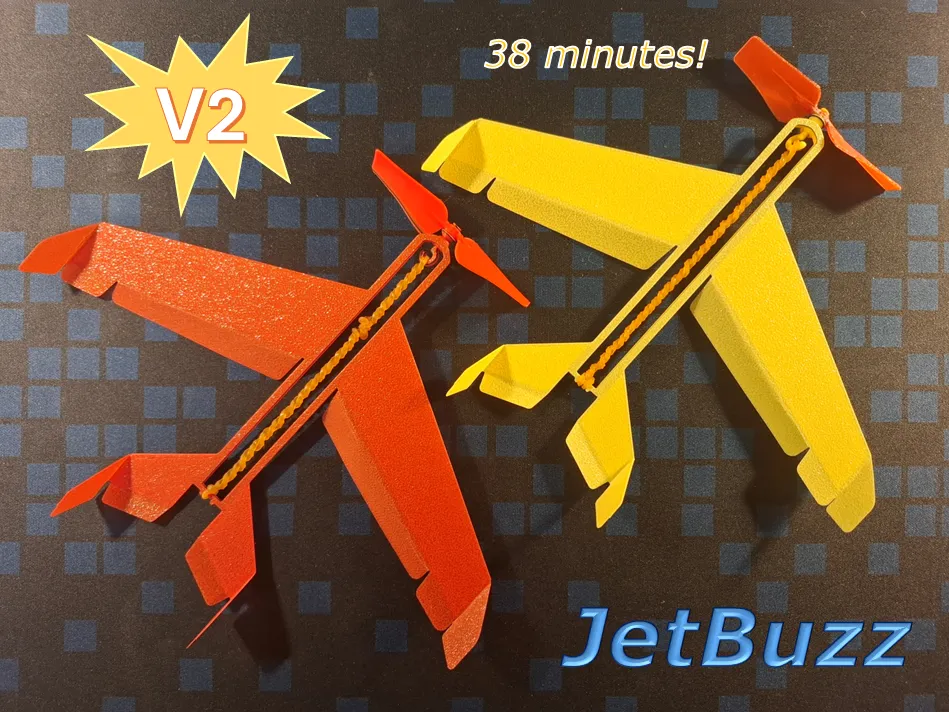
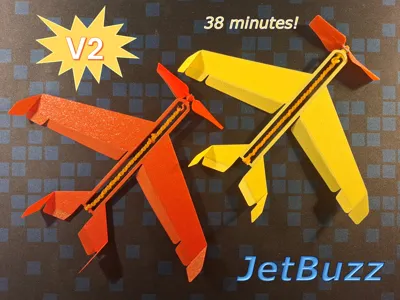
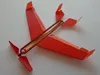
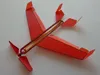
- The V2 Model has conventilal configuration with 2 vertical fins on tail. Model has improved aerodynamics and propeller design (increased diameter to 80mm, improved geometry for better printability). The model has a 195 mm wingspan, 180 mm length, and weighs about 9 grams (including the rubber motor).
See model Demo Flight and Quick Start tricks video here: https://www.youtube.com/watch?v=85iTc2fL9tQ
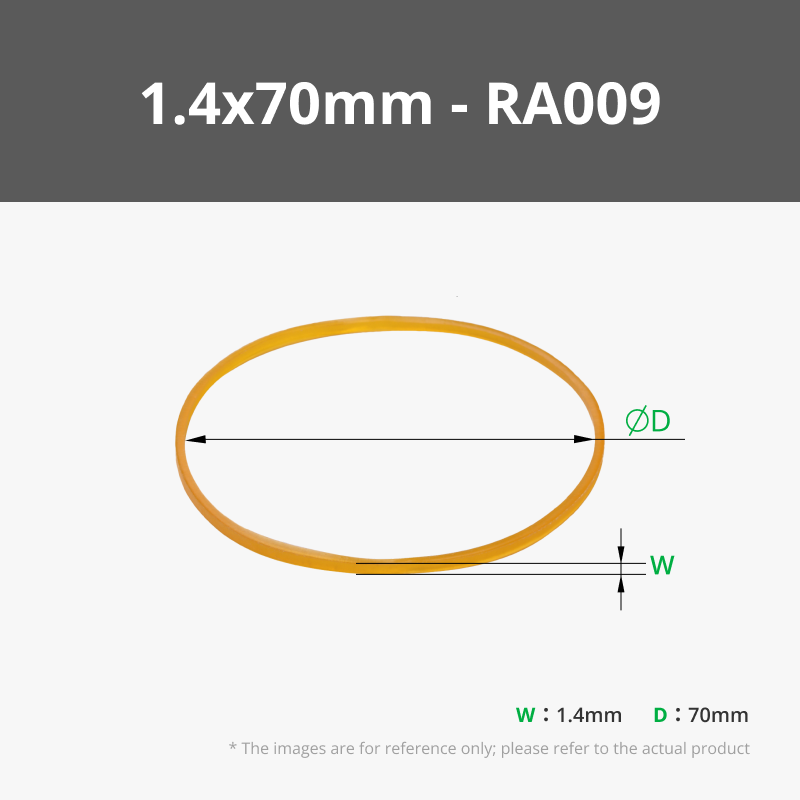
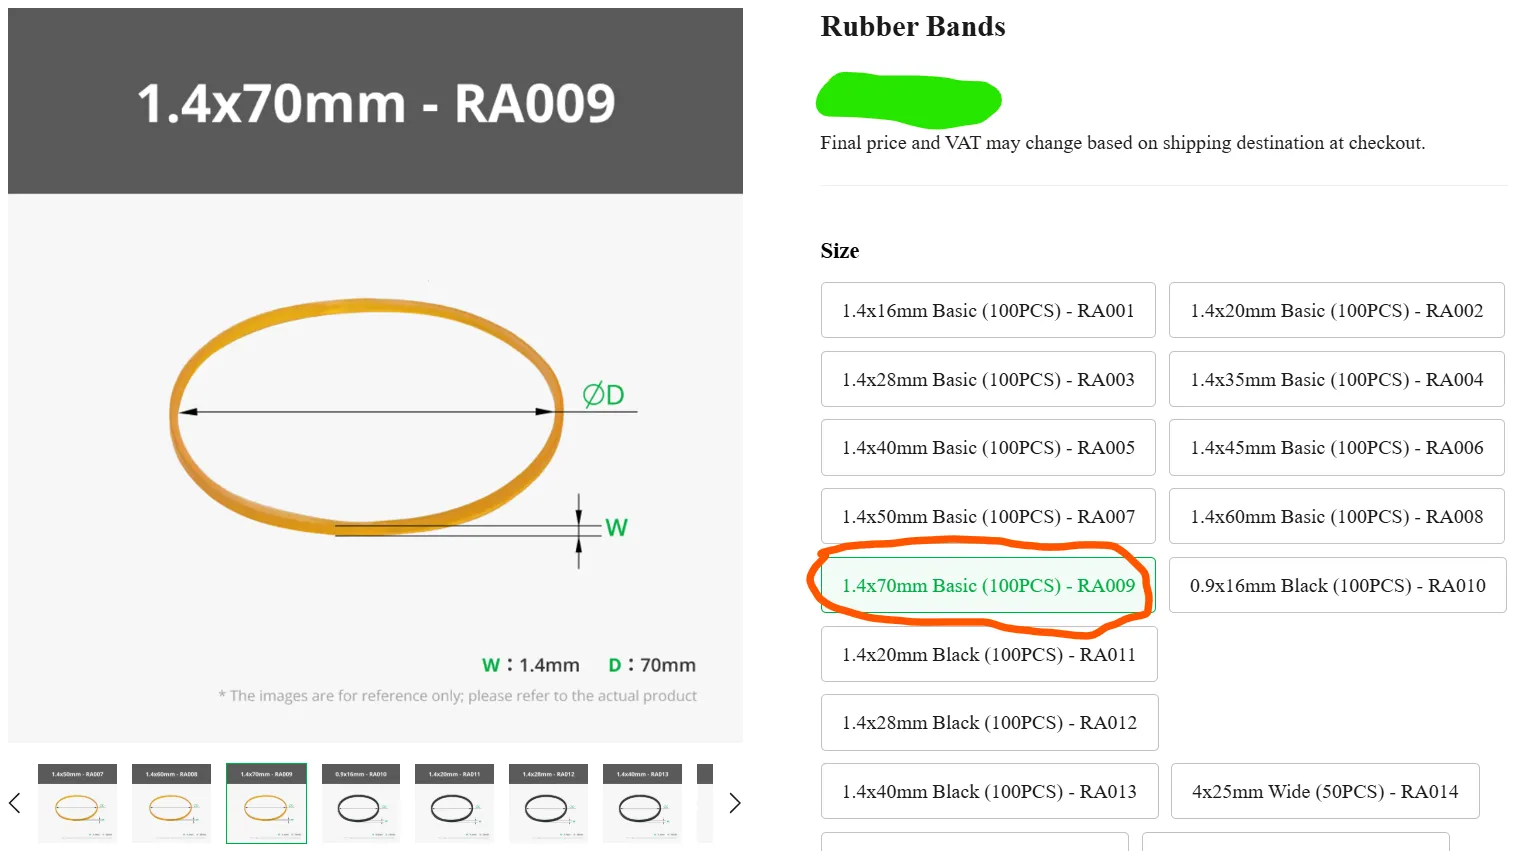
Model is designed and tested exactly for 1.4×70 mm rubber band (RA009, https://eu.store.bambulab.com/products/rubber-bands?id=48947671794012&modelId=1450616) from Bambu Lab.
To print and assemble “JetBuzz” follow the instruction steps below.
2 - Model Print
The models are designed and tested only for PLA Basic material from Bambu Lab. The print profiles are optimized for Bambu PLA Basic.
It is NOT recommended to use PLA Matte for this model.
It is highly recommended to print on a standard PEI textured build plate.
Allow the build plate and printed parts to cool for 5–7 minutes before removal.
The propeller supports can be removed with minimal effort. If necessary, small wire cutters may be used to assist with removal.
3 - Model Assembly
General steps of Model assembly are same for all versions:
- Pre-configuration of Airframe - specific for Version
- Installation of the Pin, Washer and Propeller - same for all Model versions
- Mount of the rubber motor (ring) - - same for all Model versions
3.1 - V1 Airframe Pre-configuration
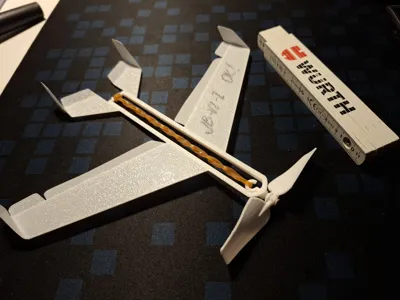
Model consists of 4 parts, as shown in Figure.
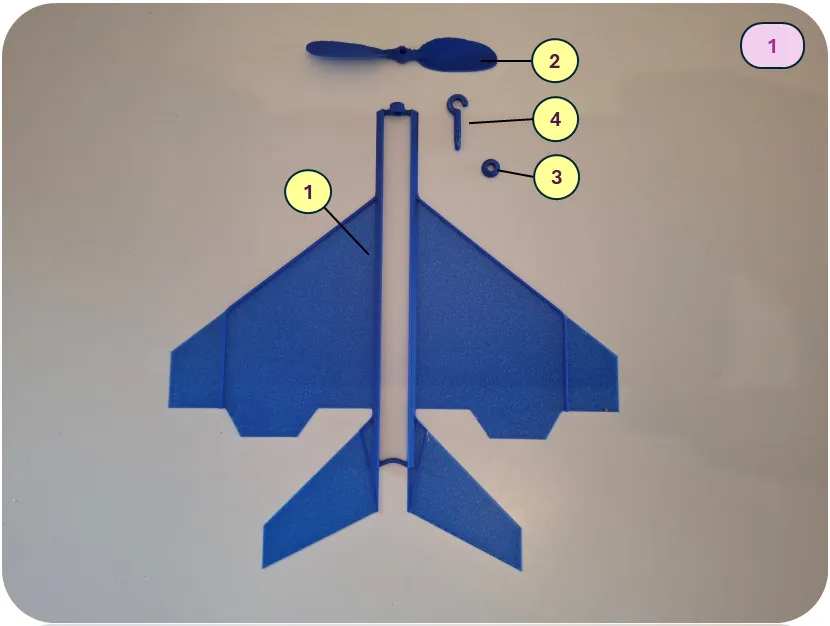
1 – Airframe, 2 – Propeller, 3 – Washer, 4 – Pin.
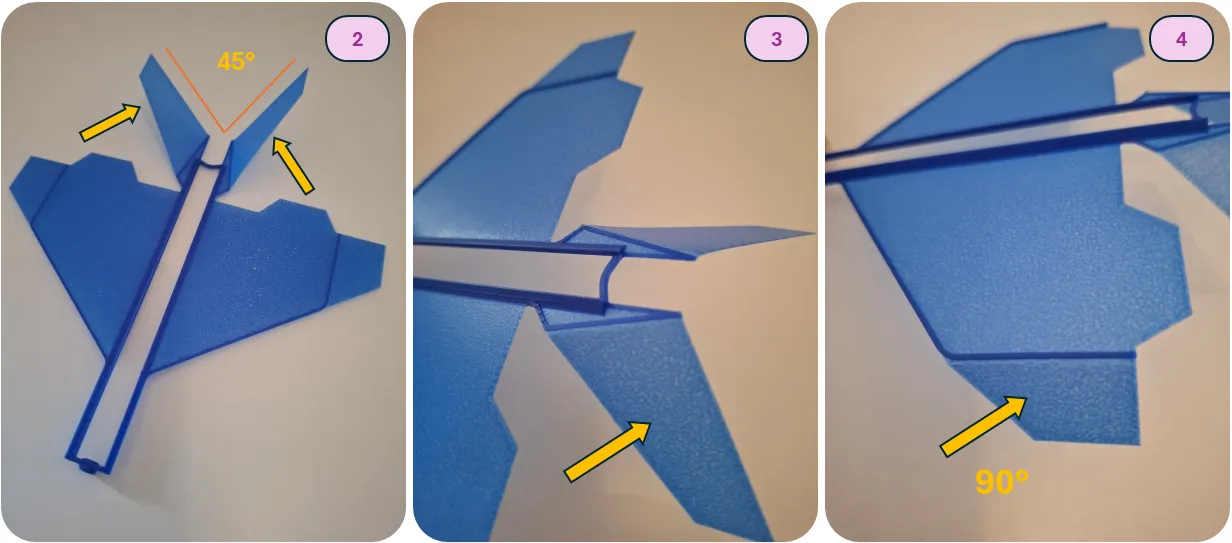
Bend the tail surfaces at a 45-degree angle, as shown in Figure 2. Make sure the structural frame elements are positioned on the underside of the model, as illustrated in Figures 3 and 4. The wingtip should be bent at a 90-degree angle, as shown in Figure 4.
3.2 - V2 Airframe Pre-configuration
The model consists of 4 parts, as shown in Figure.
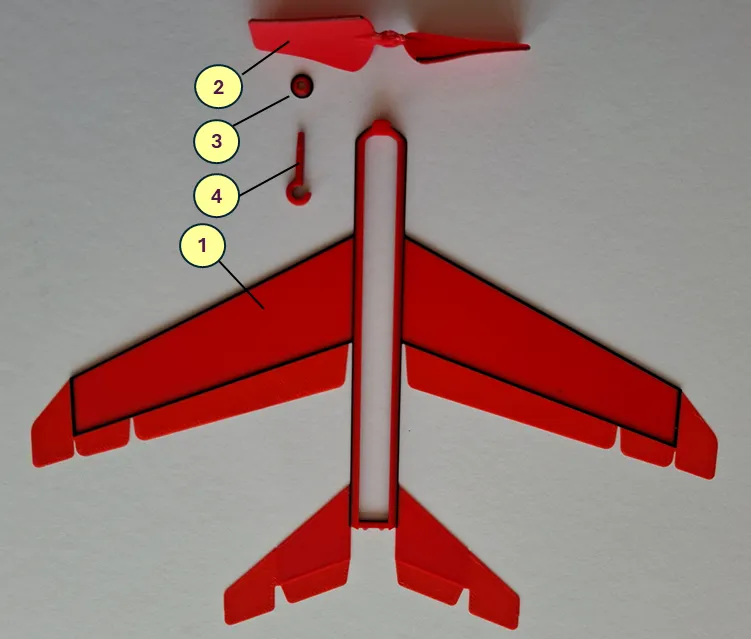
1 – Airframe, 2 – Propeller, 3 – Washer, 4 – Pin.
Bend the tail surfaces at a 90-degree angle, as shown in Figure below. Make sure the structural frame elements (especially propeller pin hub) are positioned on the underside of the model, as illustrated. The wingtip should be bent at a 90-degree angle, as shown in Figure.
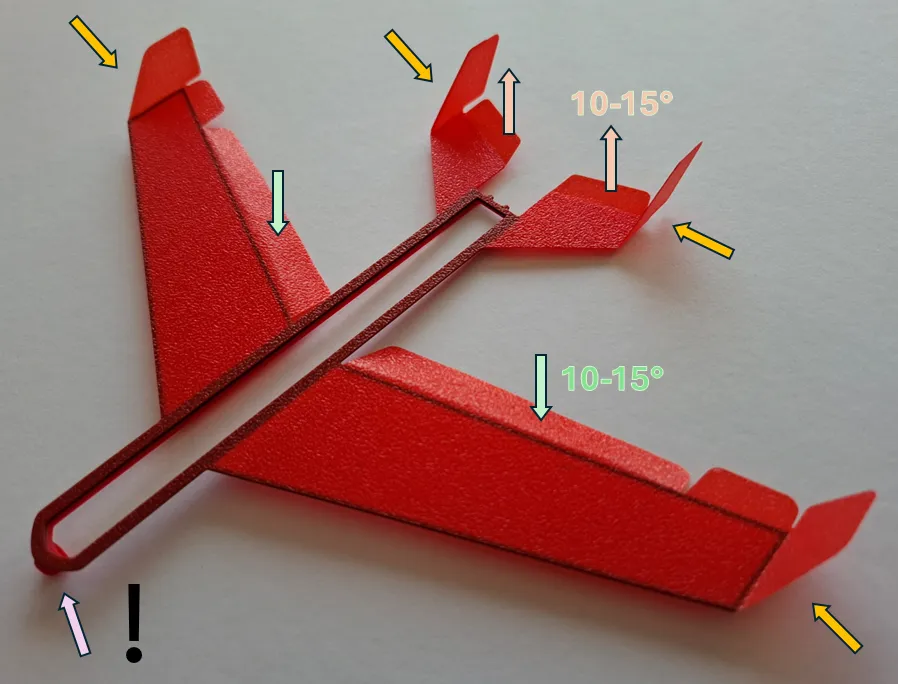
3.3 - Propeller Installation (Same for all Models)
Before installation of the propeller, make sure that the Airframe (1) bushing is clean and that nothing will create excessive friction. Insert the propeller Pin (4) into bush, as shown in the picture and rotate it several times to check that it spins freely.
Afterwards, install the Pin ( 4) and Washer (3) into the Airframe (1) bush.
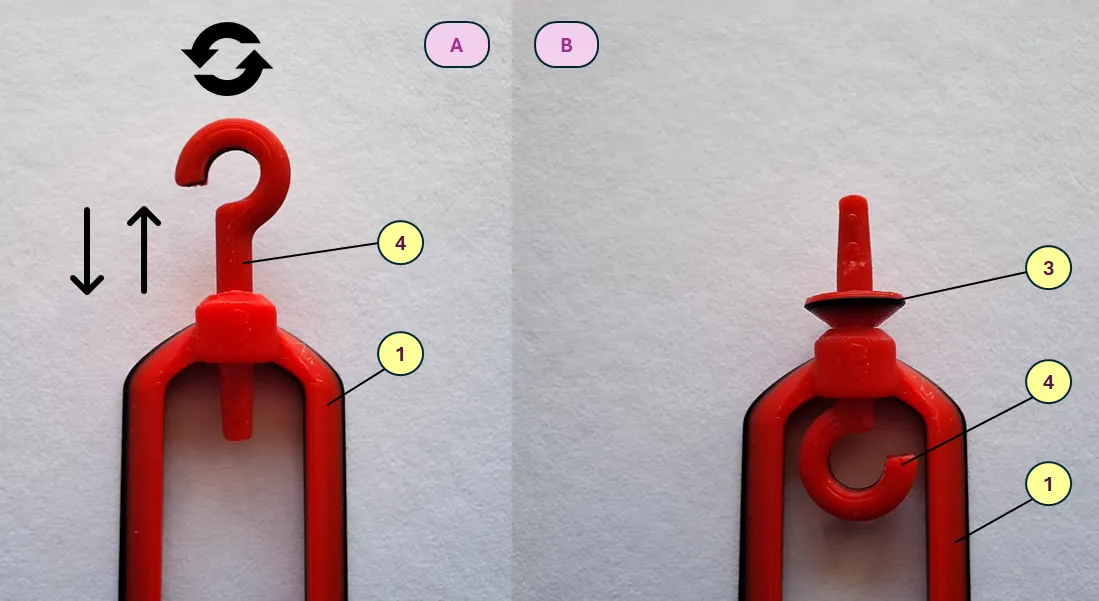
The Propeller (2) has a special markings (two dots) that must face forward in flight direction. Mount the Propeller (2) on the Pin (4) and secure it with a twisting motion with some pressure.
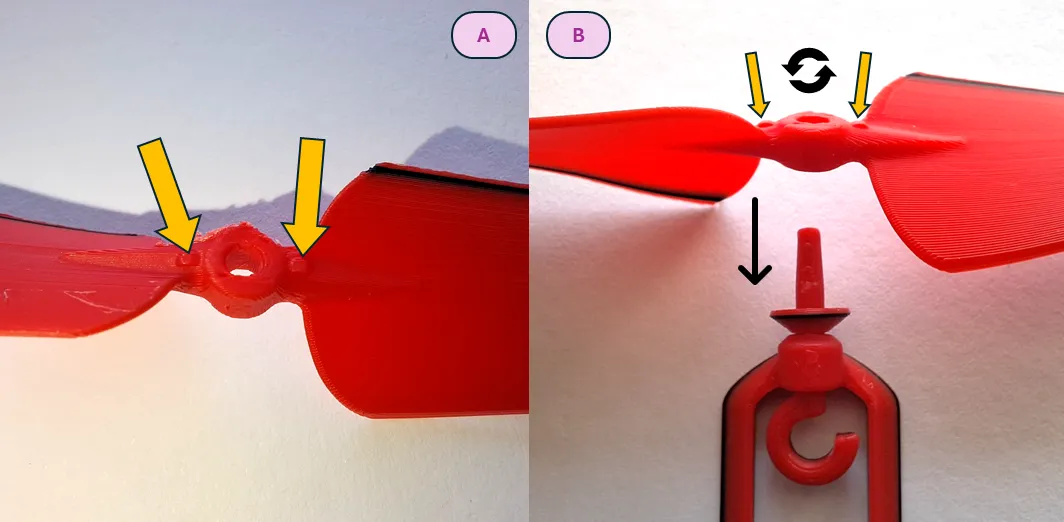
After installation, the end of the Pin (4) should extend on 2–2.5 mm. Before final fix check that the minimal gap (0.5-1mm) still presented between Airframe bush and Washer. As final step, the end of the pin must be heated with a flame for 2–3 seconds and then pressed to fix the Propeller (as shown on below) [ Thanks for the tip to @Tommy3DLab https://makerworld.com/en/@Tommy3DLab/upload :) ]
Alternatively, the Propeller can be glued using cyanoacrylate adhesive.
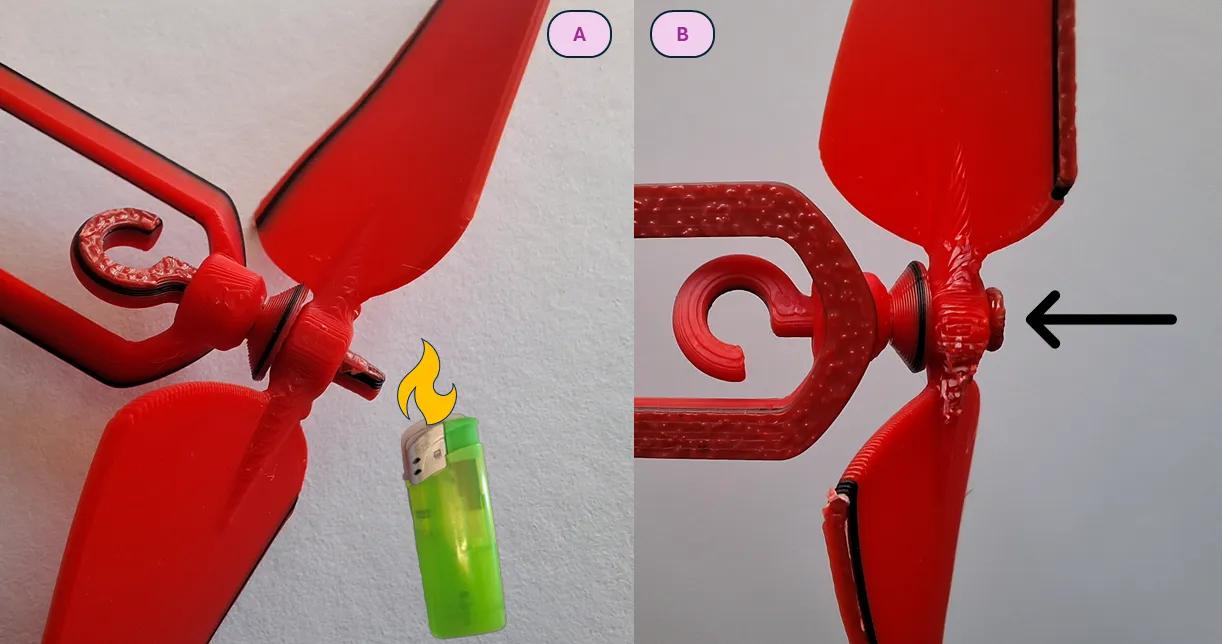
After securing, make sure the propeller rotates freely.
As final step, mount the rubber motor as it shown on picture below.
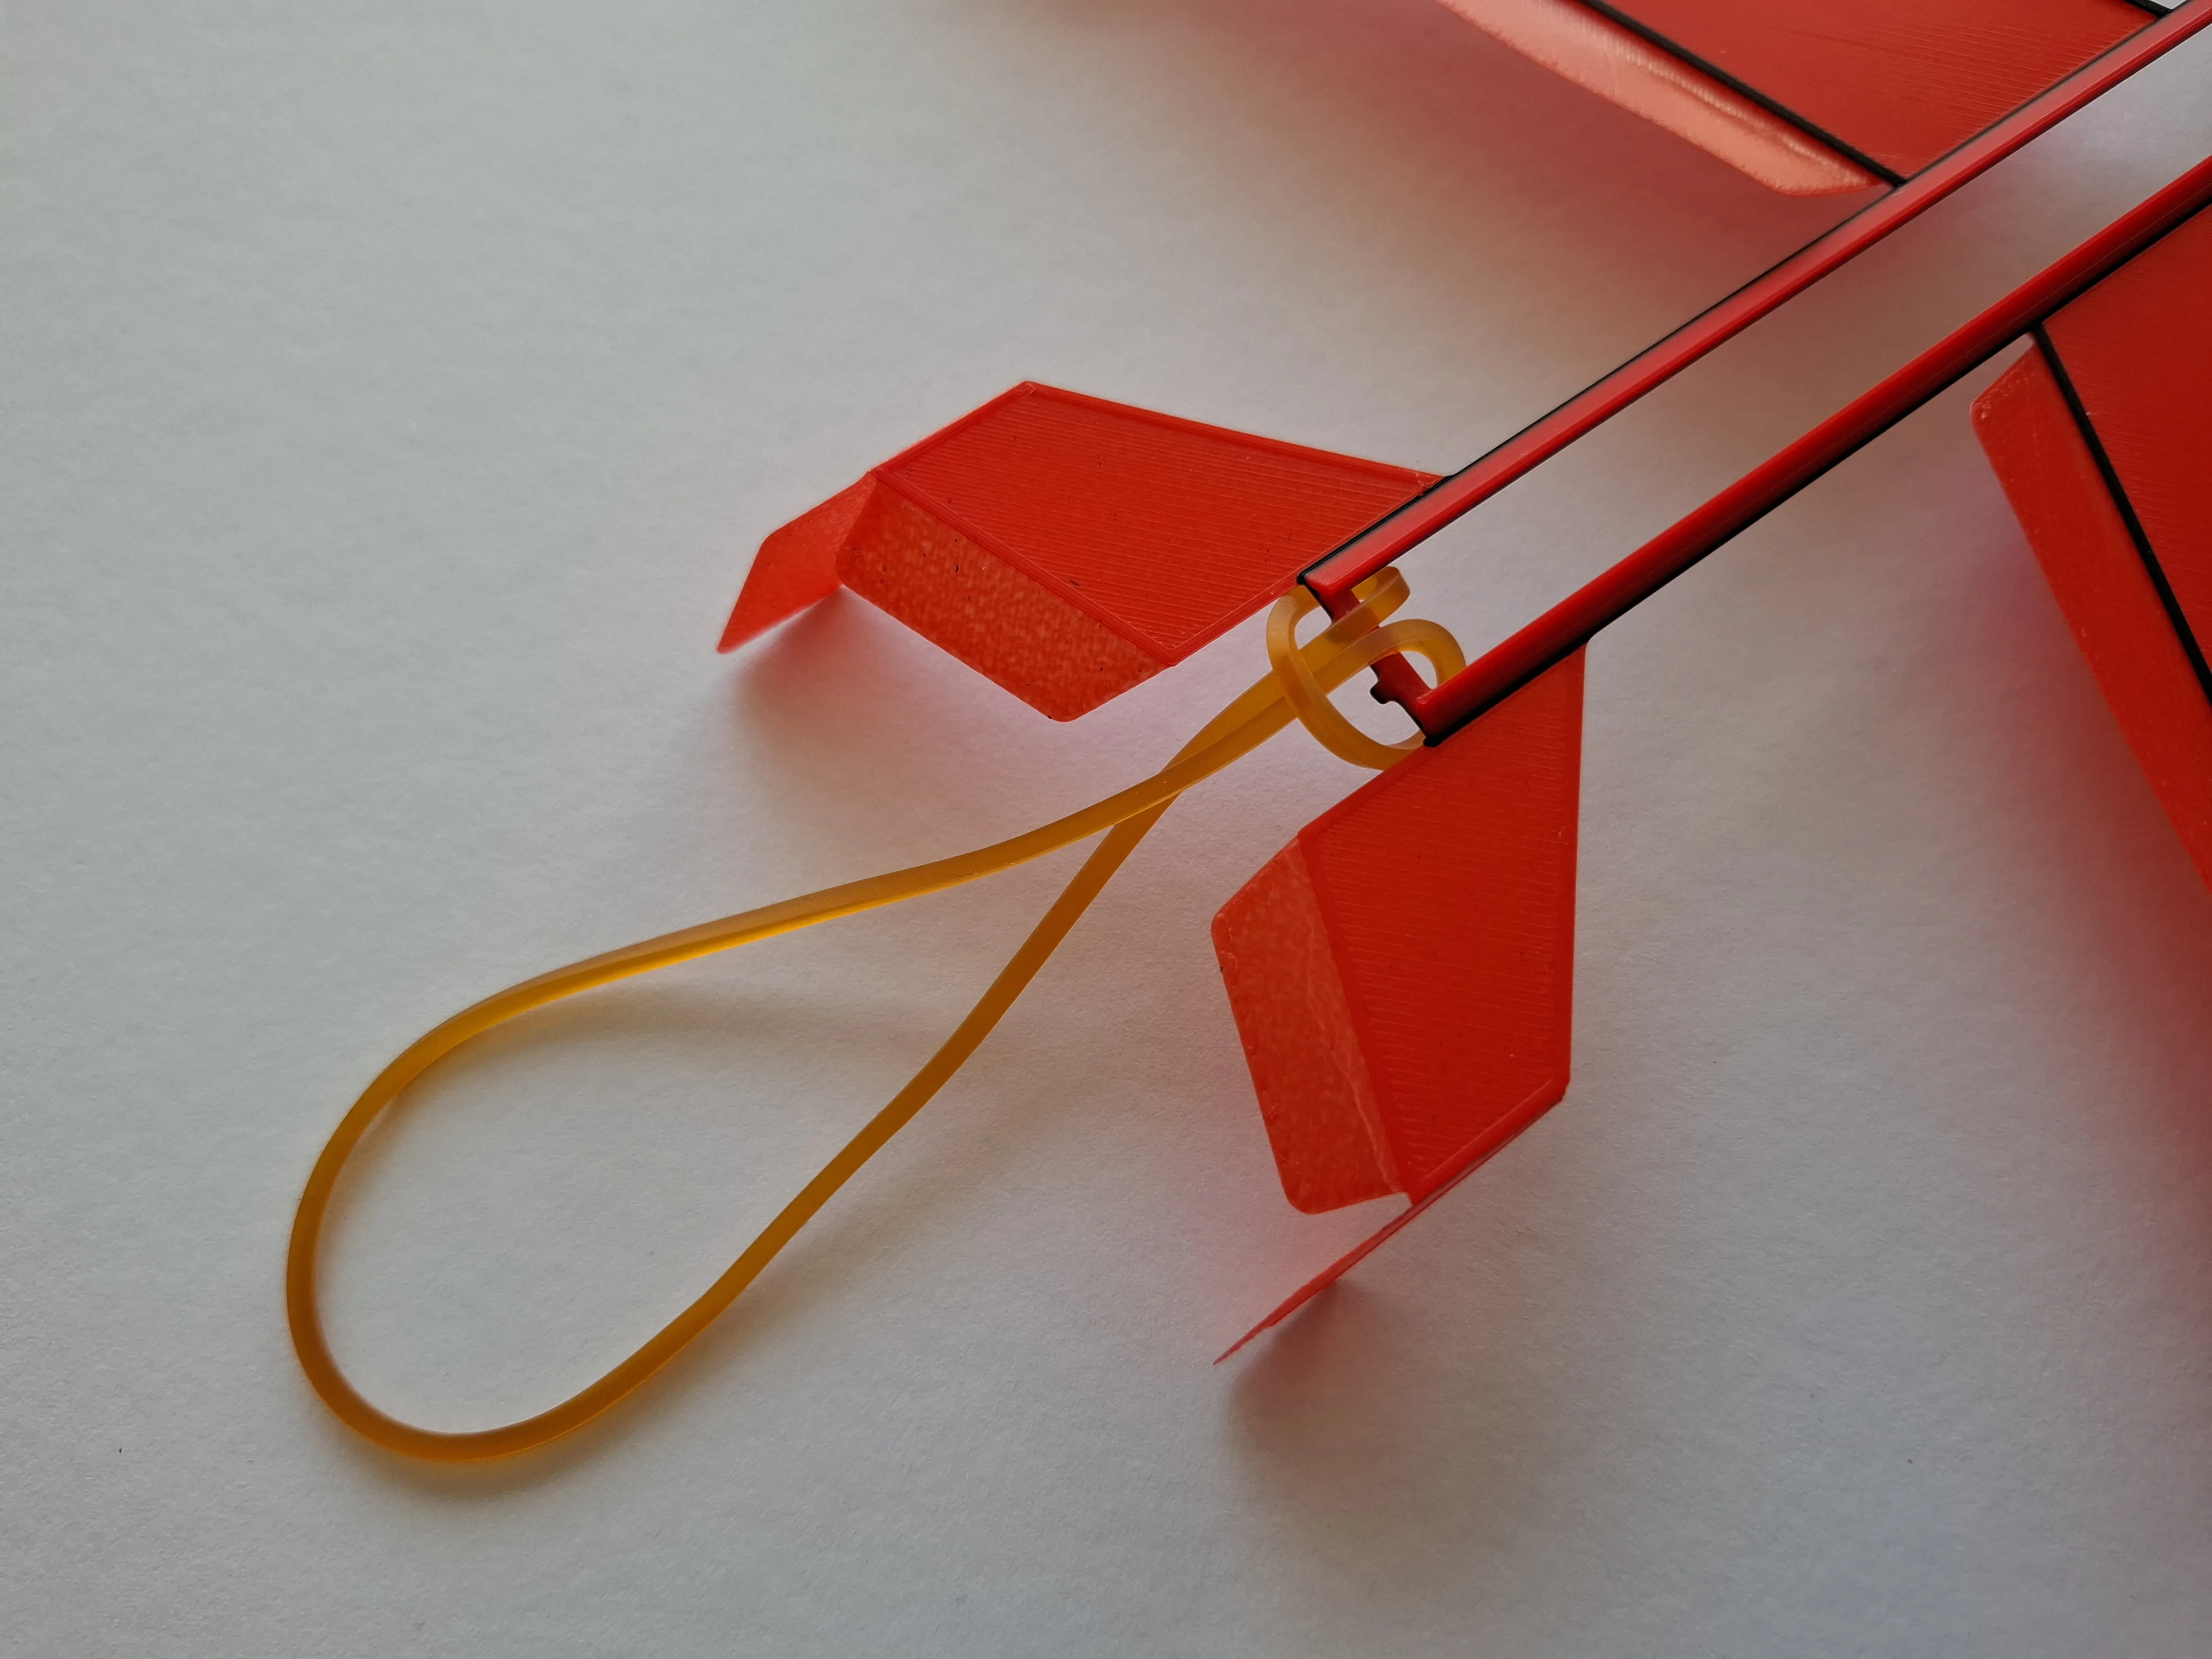
Fix the forward enfd of the rubber motor on the Pin hook. Assembly of the model completed.
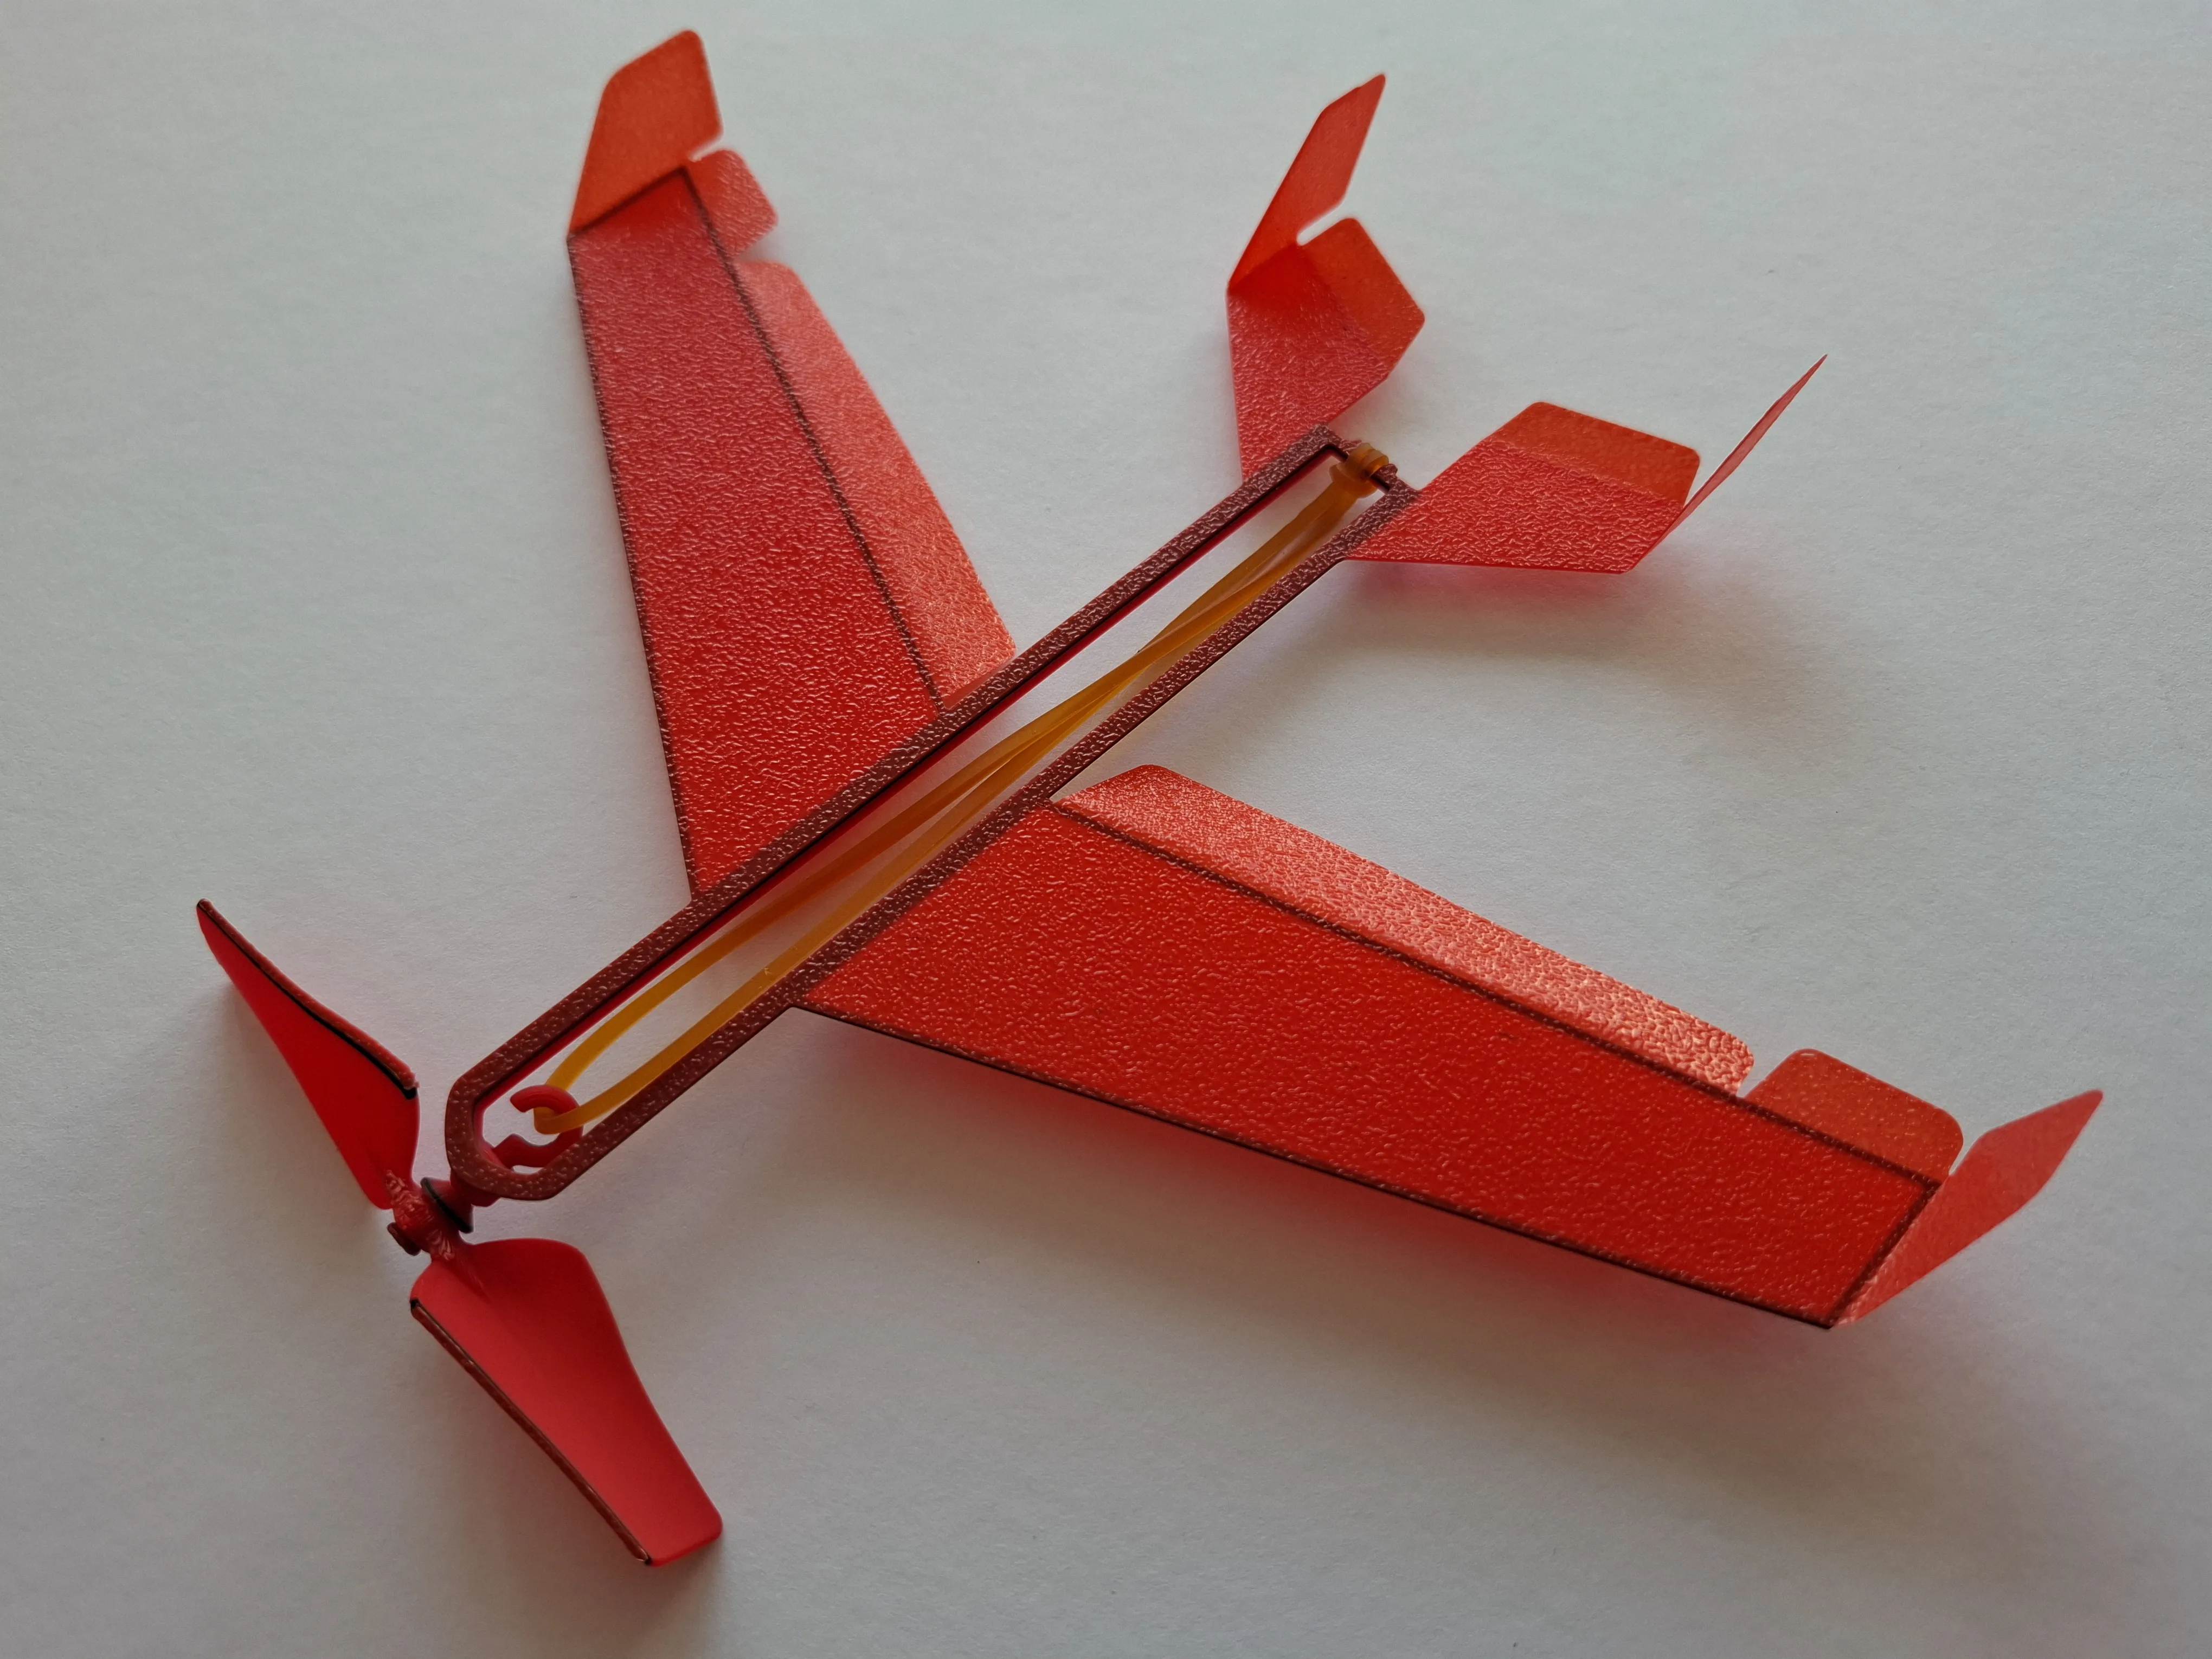
To check that the propeller rotates freely, wind the rubber motor 10–15 turns.
The friction is acceptable if the rubber motor is able to spin the propeller even after 10-15 turns.
Tip 1. If the friction is too high, try increasing the length of the rubber motor. The motor may be too short (if rings other than the recommended RA009 were used), and the tension of the motor can create excessive friction.
Tip 2. To reduce friction, make several test windings of the stronger motor (2 rings) without launching the model.
Never use oil to reduce friction in the bushing! This will lead to the opposite effect.
4 - Model Flight
First Flight (Glide Test):
Perform the first flight as a glide test without winding the rubber motor. Check that the model glides straight and does not roll significantly to either side.
Note that the model has limited glide performance with the motor stopped due to propeller drag. As a result, the glide path will be relatively steep, which is normal for this configuration.
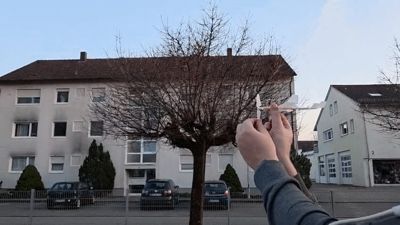
To launch the model, wind the rubber motor to 180–190 turns. For the very first launch, it is recommended to wind it to 120–130 turns. The model should be launched horizontally, with moderate push forward.
For V1 Model the excessive spinning during flight can be corrected by reducing the downward deflection of the right aileron (e.g., 10 degrees instead of 20).
If the model climbs too steeply, reduce the V-tail angle to make it more vertical. If the climb is too weak, increase the V-tail angle to make it more horizontal.
For V2 Model flight adjustment use the elevator, rudders, ailerons and flap deflections.
Happy Flights and Smooth Landings!
Boost Me (for free)
If you like my models, hit that Boost button like it's a launch switch! 🚀
License

You shall not share, sub-license, sell, rent, host, transfer, or distribute in any way the digital or 3D printed versions of this object, nor any other derivative work of this object in its digital or physical format (including - but not limited to - remixes of this object, and hosting on other digital platforms). The objects may not be used without permission in any way whatsoever in which you charge money, or collect fees.


Comment & Rating (836)