
RC Lotus Seven
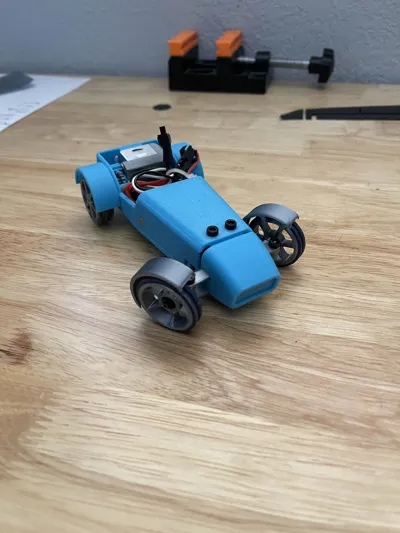
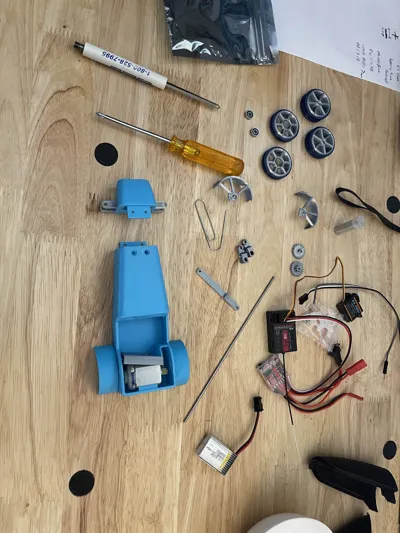
Print Profile(4)


Bill of Materials


Description
The original author of this project has not posted (to my knowledge) this model to any modeling site only GitHub so I wanted to share his wonderful creation with the community of people that may not have seen it.
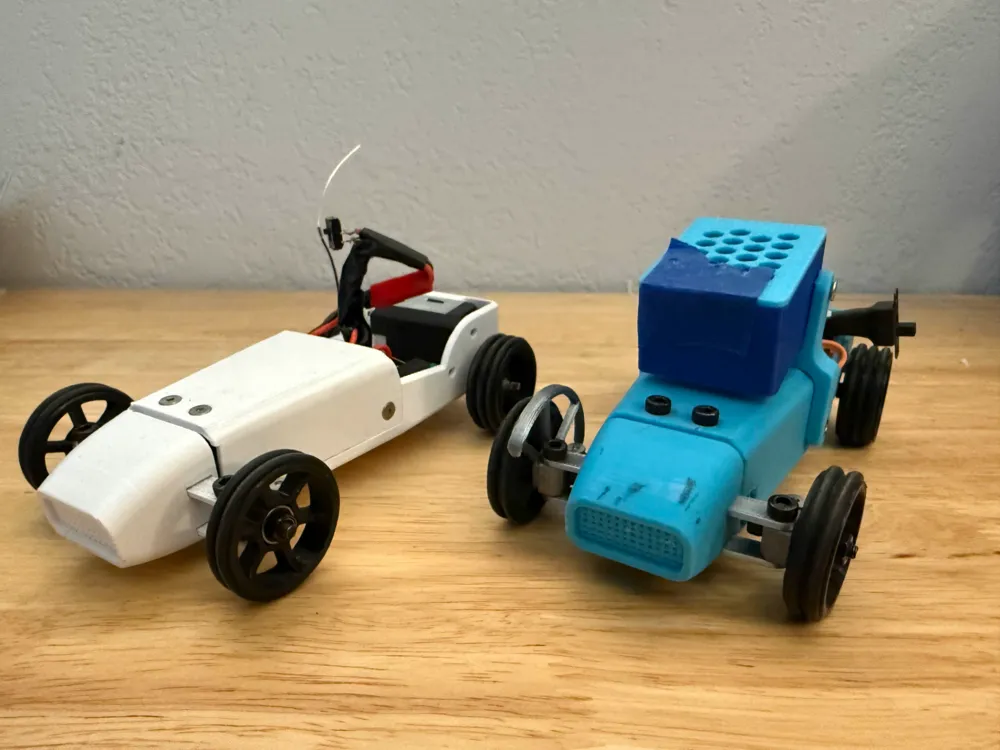
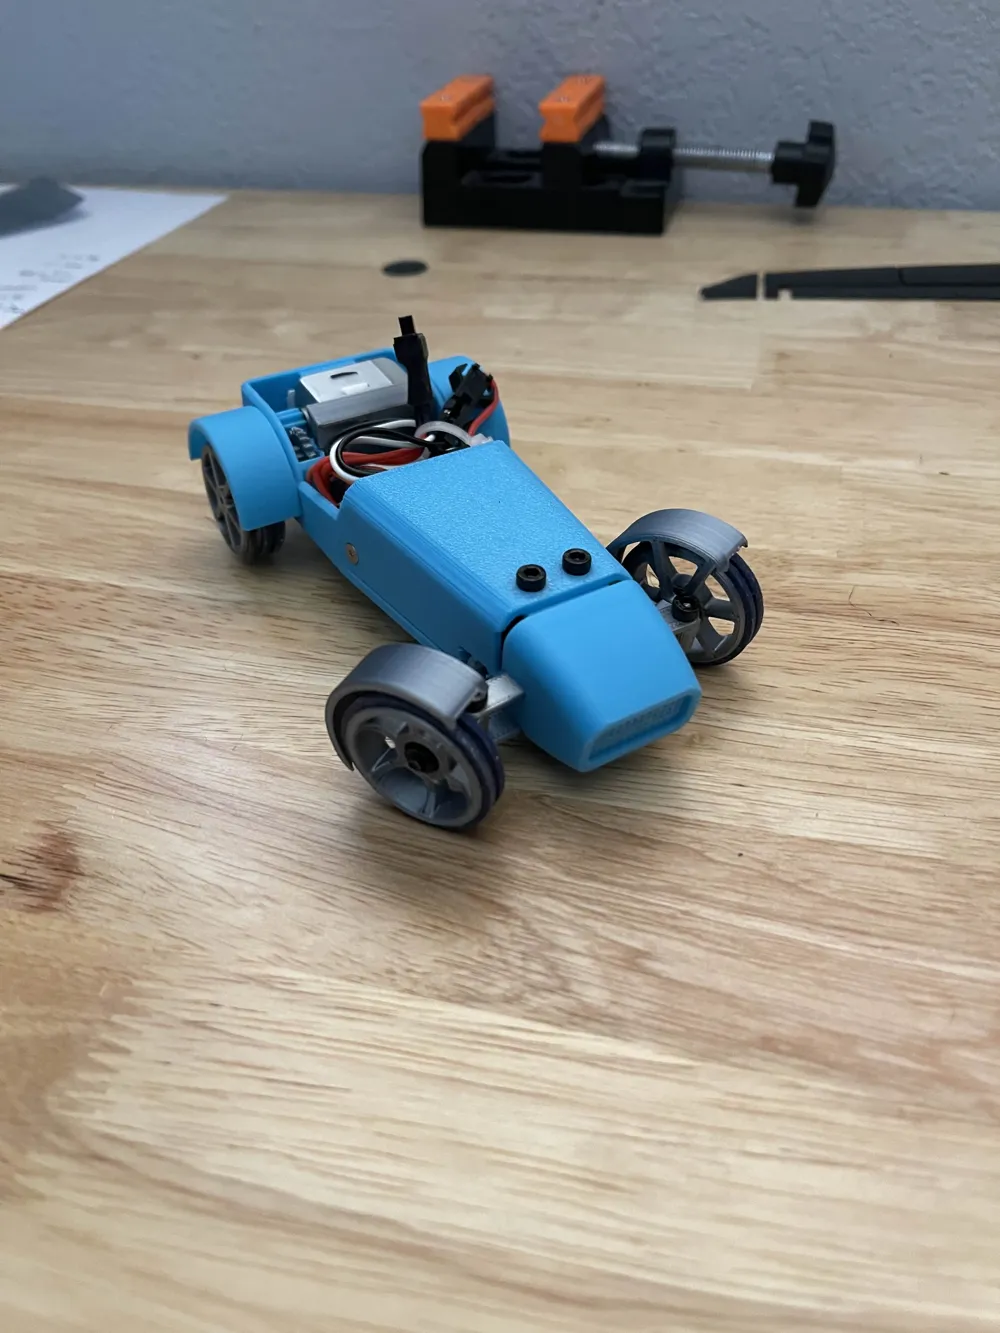
I have created 4 of these and they continue to be a blast to drive and tinker on with my son!
The print profile contains the authors original files (repaired in Bambu Studio) along with separate plates for my modifications below. I also included all my modifications and the original author files as STEP files for easy modification.
Nose & Arm Mod: I wanted to support a simpler design for the lower wheel arms so I raised and re-enforced the holes a bit on the bottom to allow for a single unit arm you can push through to the other side, holes in the middle line right up with the screws on the bottom so you are sure to get your wheels centered. The top arm I just left floating (no glue) so it will flex with the abuse :)
Chassis & Bonnet Mod: All I really did here was move the front back a little to accommodate for the nose modifications and on the chassis I made more room for the steering arm to move freely (space is a little tight when the electronics are installed).
Gear Mod: I just made the center hole .2mm larger so it will spin freely on the shaft, putting less stress on the motor allowing it to operate more efficiently with longer battery life.
Wheel Mod: I moved the bearing to the inside so when/if the wheel comes off the outer part of the bearing, the whole thing doesn't fall off.
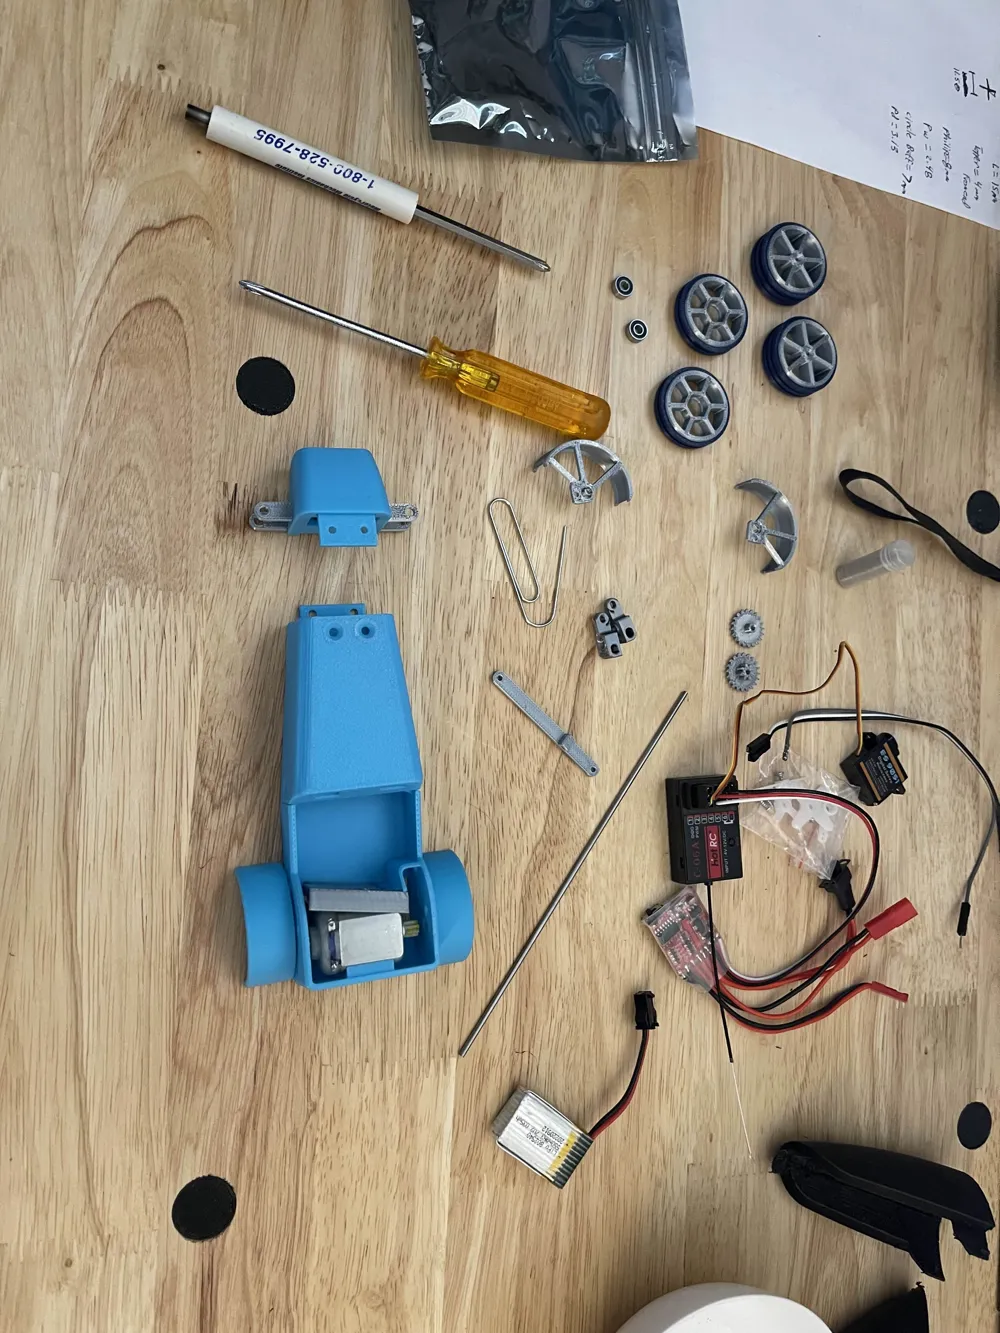
All the hardware/electronics are the same as in the authors details, I included those details below for convenience…
He did not mention the bearings, but you will need these MR83-2RS Deep Grove Bearings for the front wheels:
https://www.amazon.com/uxcell-Groove-Bearings-Metric-Double/dp/B082PRH1RL?th=1
Author Notes:
Assembly is described in this youtube video: https://youtu.be/CLbAIKUYNJM
You will also need:
- 6x M2.5x4 countersunk screws ( to attach the front and bonnet)
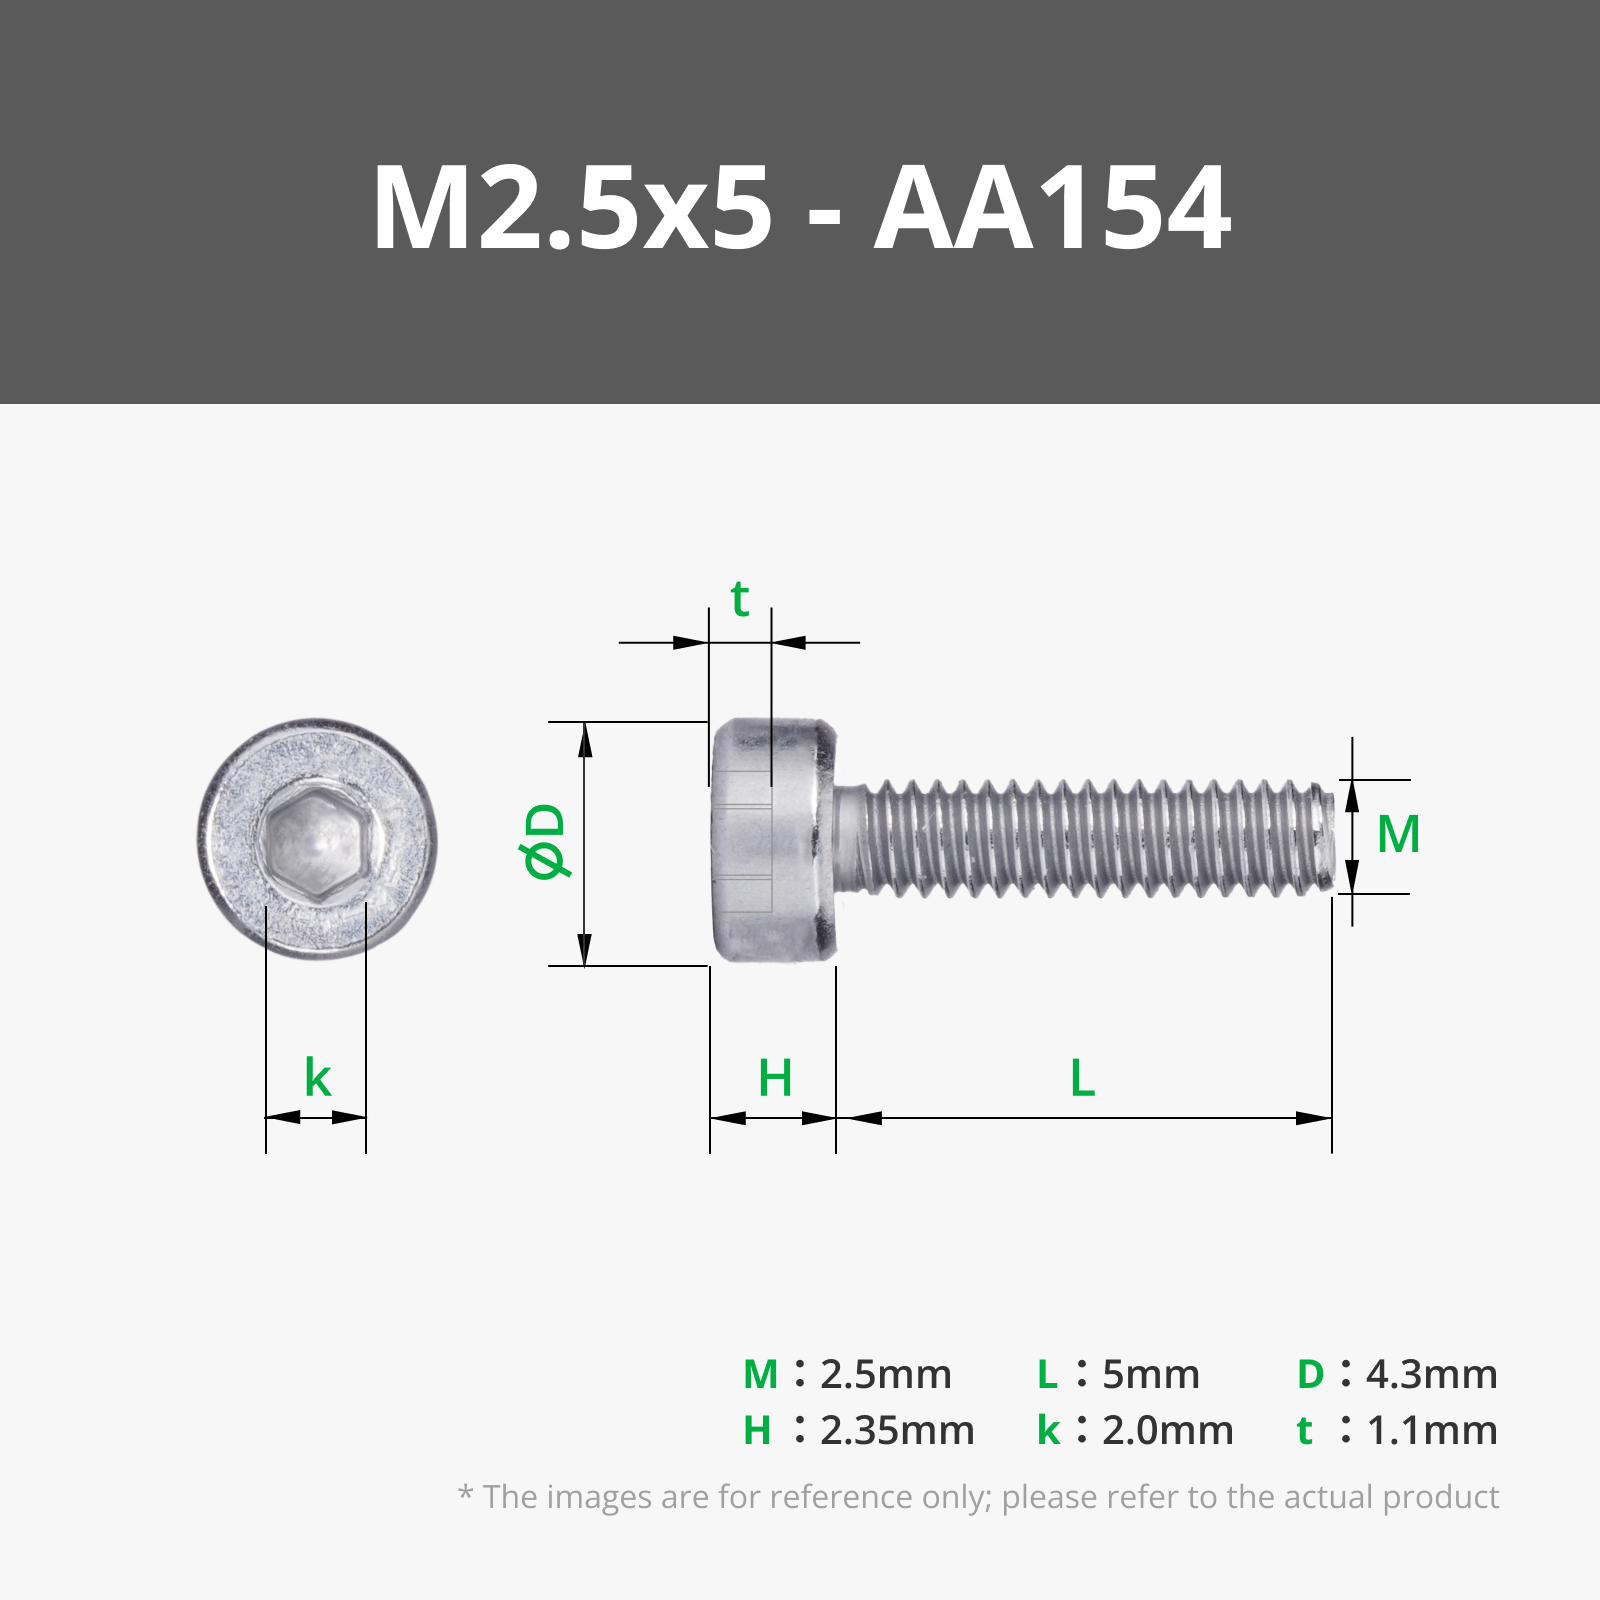
- 2x M2.5x5 screws (to attach the steering rod to the arms)
- 2x M3x15 screws (axles)
- 2x M3x12 screws (to connect steering arms to wishbones)
- 2x M3x10 screws (for the motor clamp)
- 2mm steel rod (for the rear axles)
- 10x 22mmx3 o-rings (for the tyres)
- Emax 9051 servo (or similar size)
- A small (20A or less) Brushed ESC
- 1x Solarbotics RM2 motor (normal motors DO NOT have enough power and will burn out, ask me how I know...)
- 1x RC Receiver
- Turnigy Nano Tech 180 mAh Lipo Battery
Good luck!
This remix is based on

License



Comment & Rating (0)