
Mini Outlet Canopy / mini canopy
Print Profile(6)


Description
Membership
Want to use my models commercially? Support me by joining my membership with a small contribution and become part of the community. I upload at least two new high-quality models every month and offer quick help if you run into any issues with my print profiles. Little extra: once we reach 10 members, we’ll start a bi-weekly community vote where you can suggest ideas, choose your favorites, and I’ll turn them into models for everyone to download.
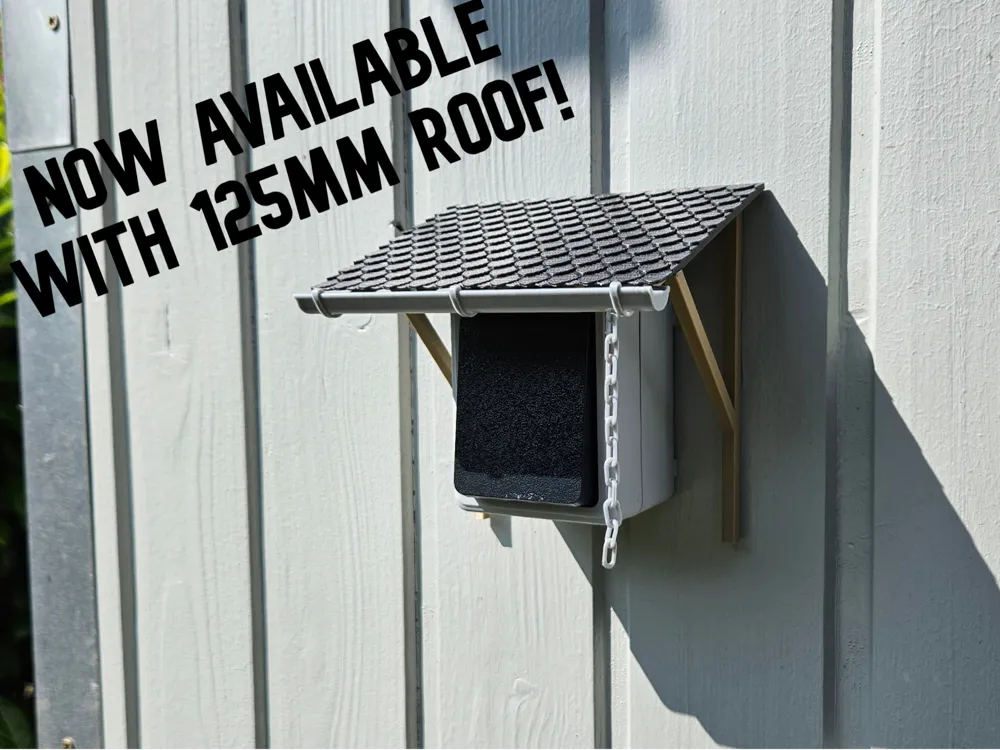
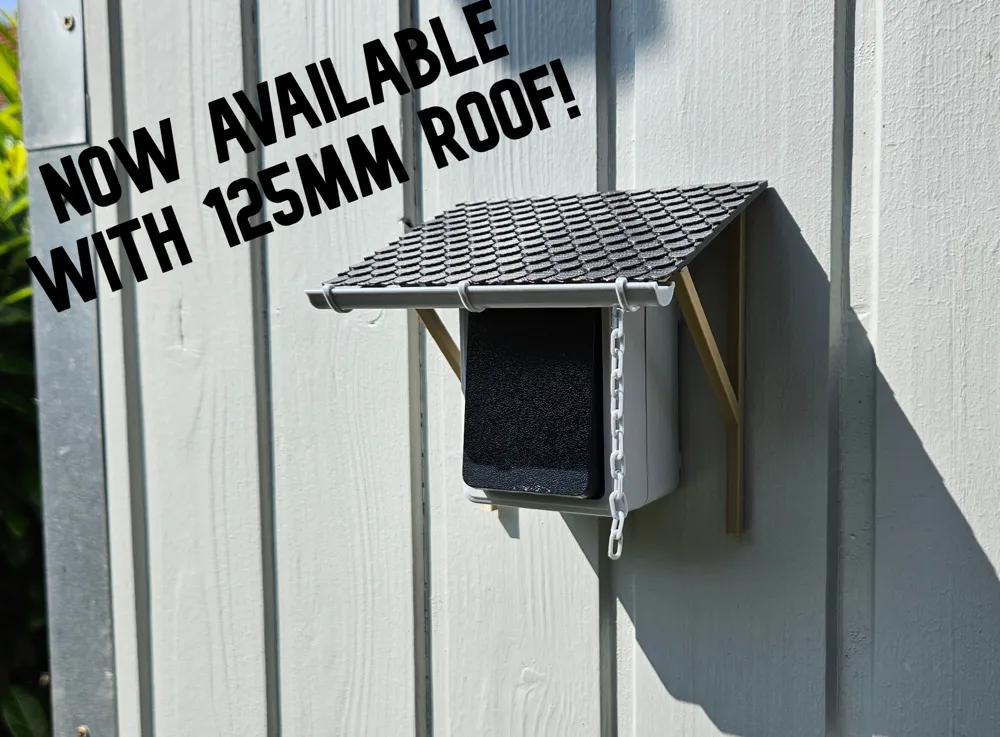
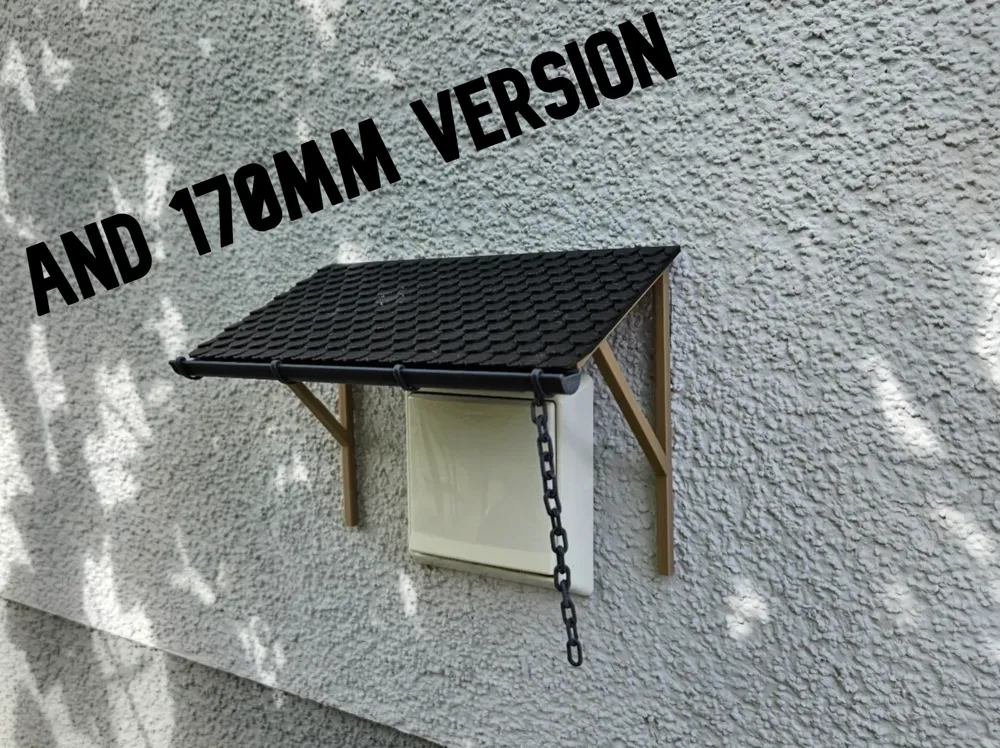
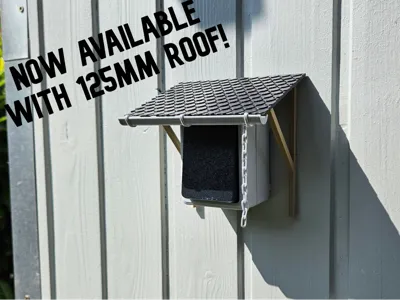
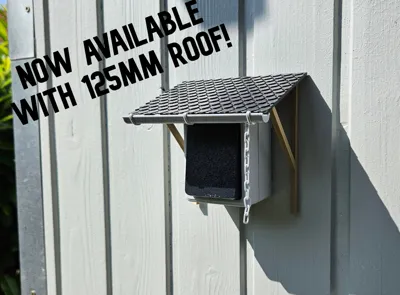
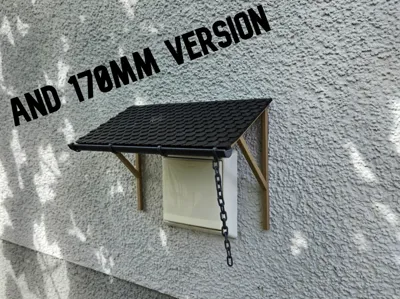
Note: As a user requested a 125mm version of the canopy, I have added it.
The following assembly instructions are the same for both versions.
Please use the 3 print profiles as individual build plates for direct printing of one version! (125mm / 170mm)
I know this method is somewhat unusual, but unfortunately I cannot apply different accelerations for individual build plates in one project. If you know how, please let me know!
This is necessary to enable printing with an A1!
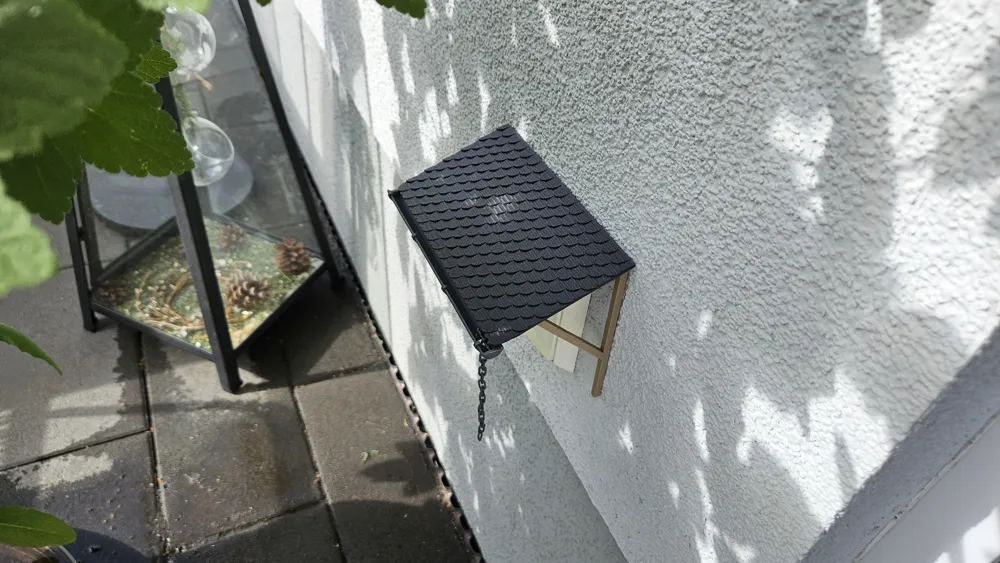
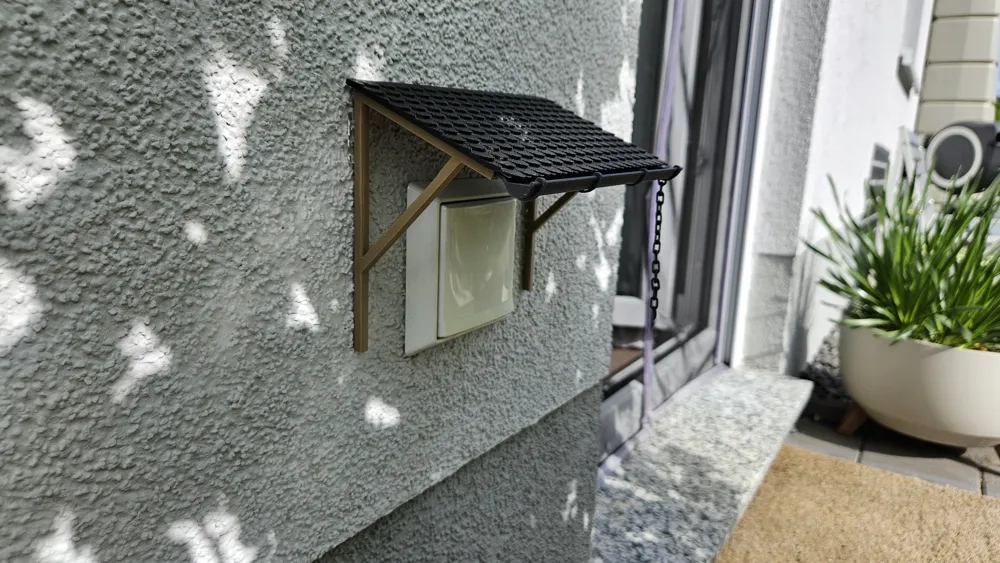
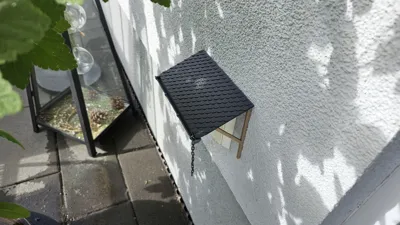
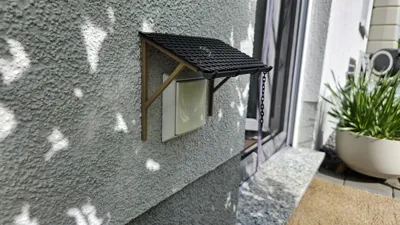
I designed this small canopy because I couldn't find a suitable one on MakerWorld.
I was looking for a model that would also fit over our doorbell at the entrance, as it occasionally freezes in winter.
It is of course also well suited for sockets. Probably not strictly necessary, but detailed and fun!
For the roof, it is best to use a filament with carbon fiber or a filament that is less prone to warping.
On my A1 it was impossible to print the roof from ASA. It may work better on your enclosed printer.
eSun PLA CF, however, worked excellently.
I recommend printing the entire assembly on a CoolPlate Supertack build plate, or at least on a smooth plate with adhesive.
The gutter is printed upright with its entire length and the small hooks and connectors might fail on a PEI plate.
Assembly Instructions:
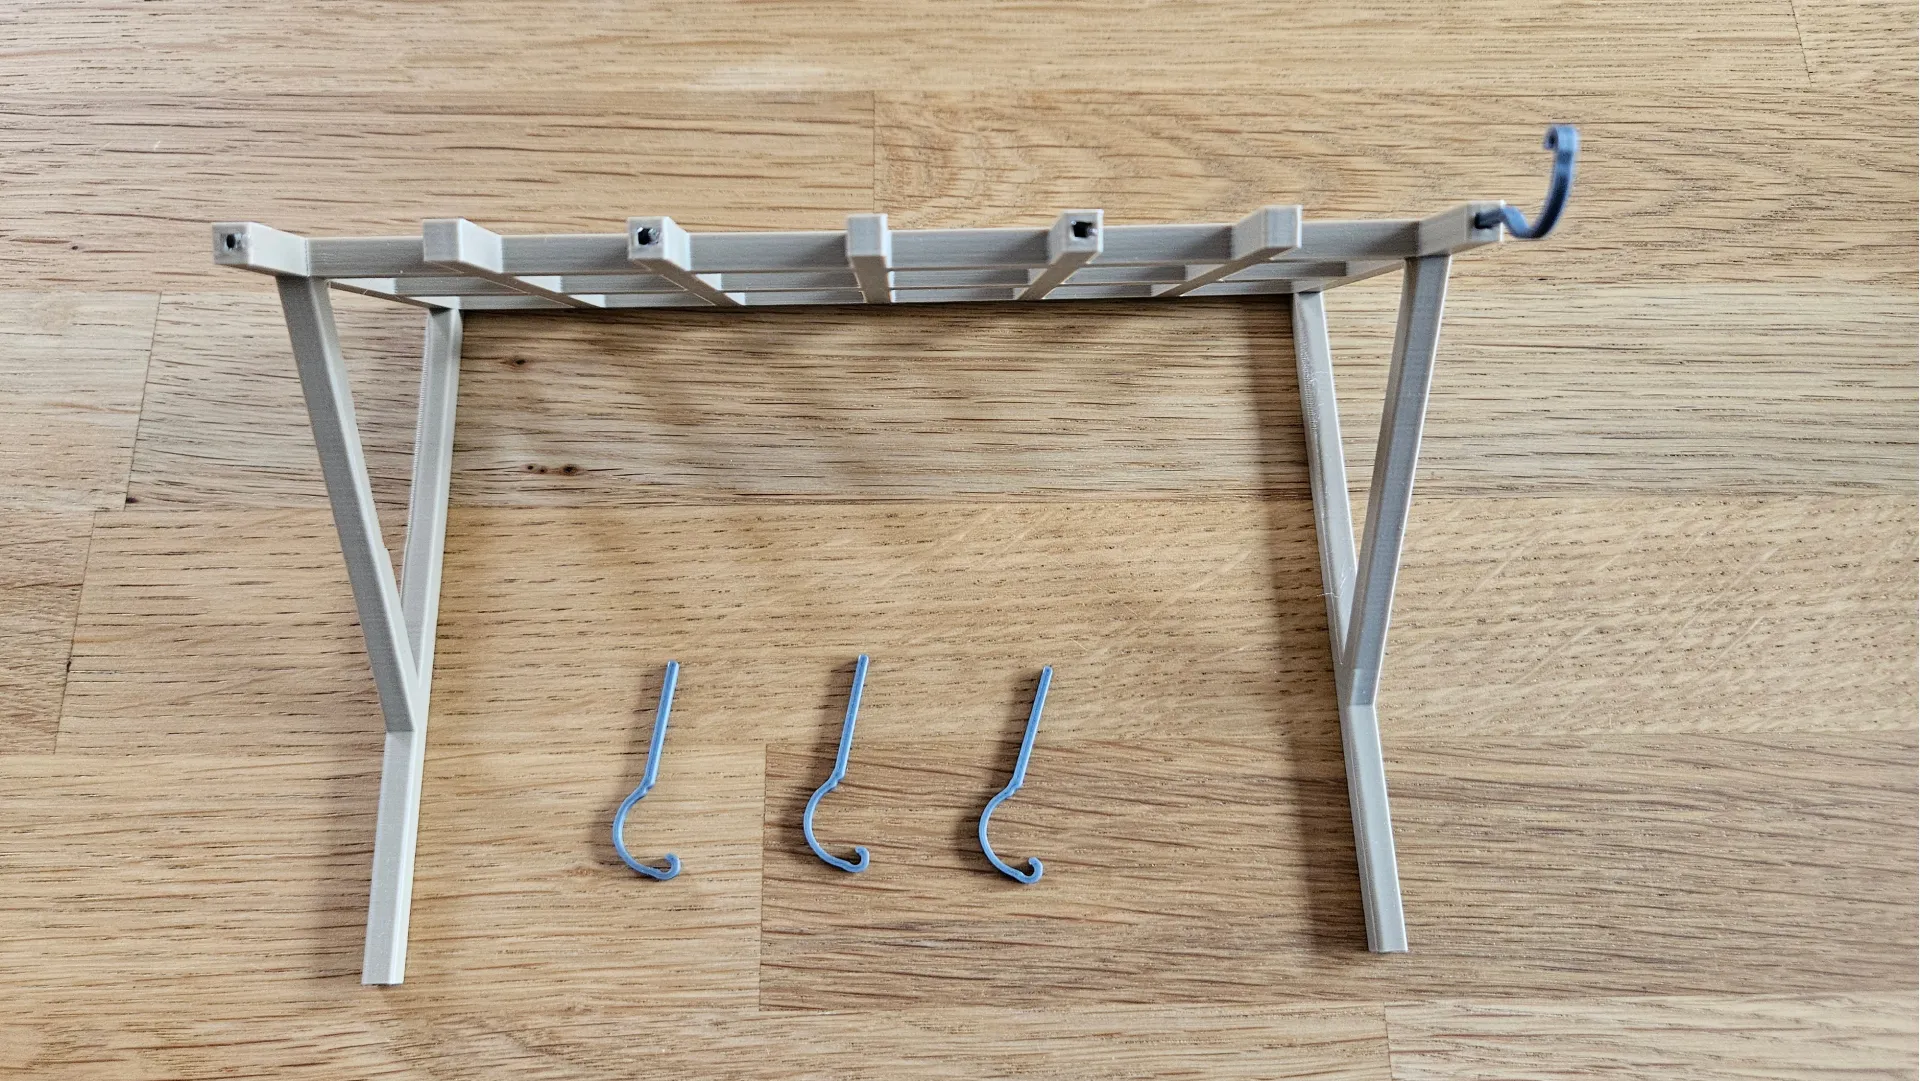
First, fill the recesses for the hooks with a small amount of super glue or other adhesive, and insert the hooks with the open side upwards into the holes.
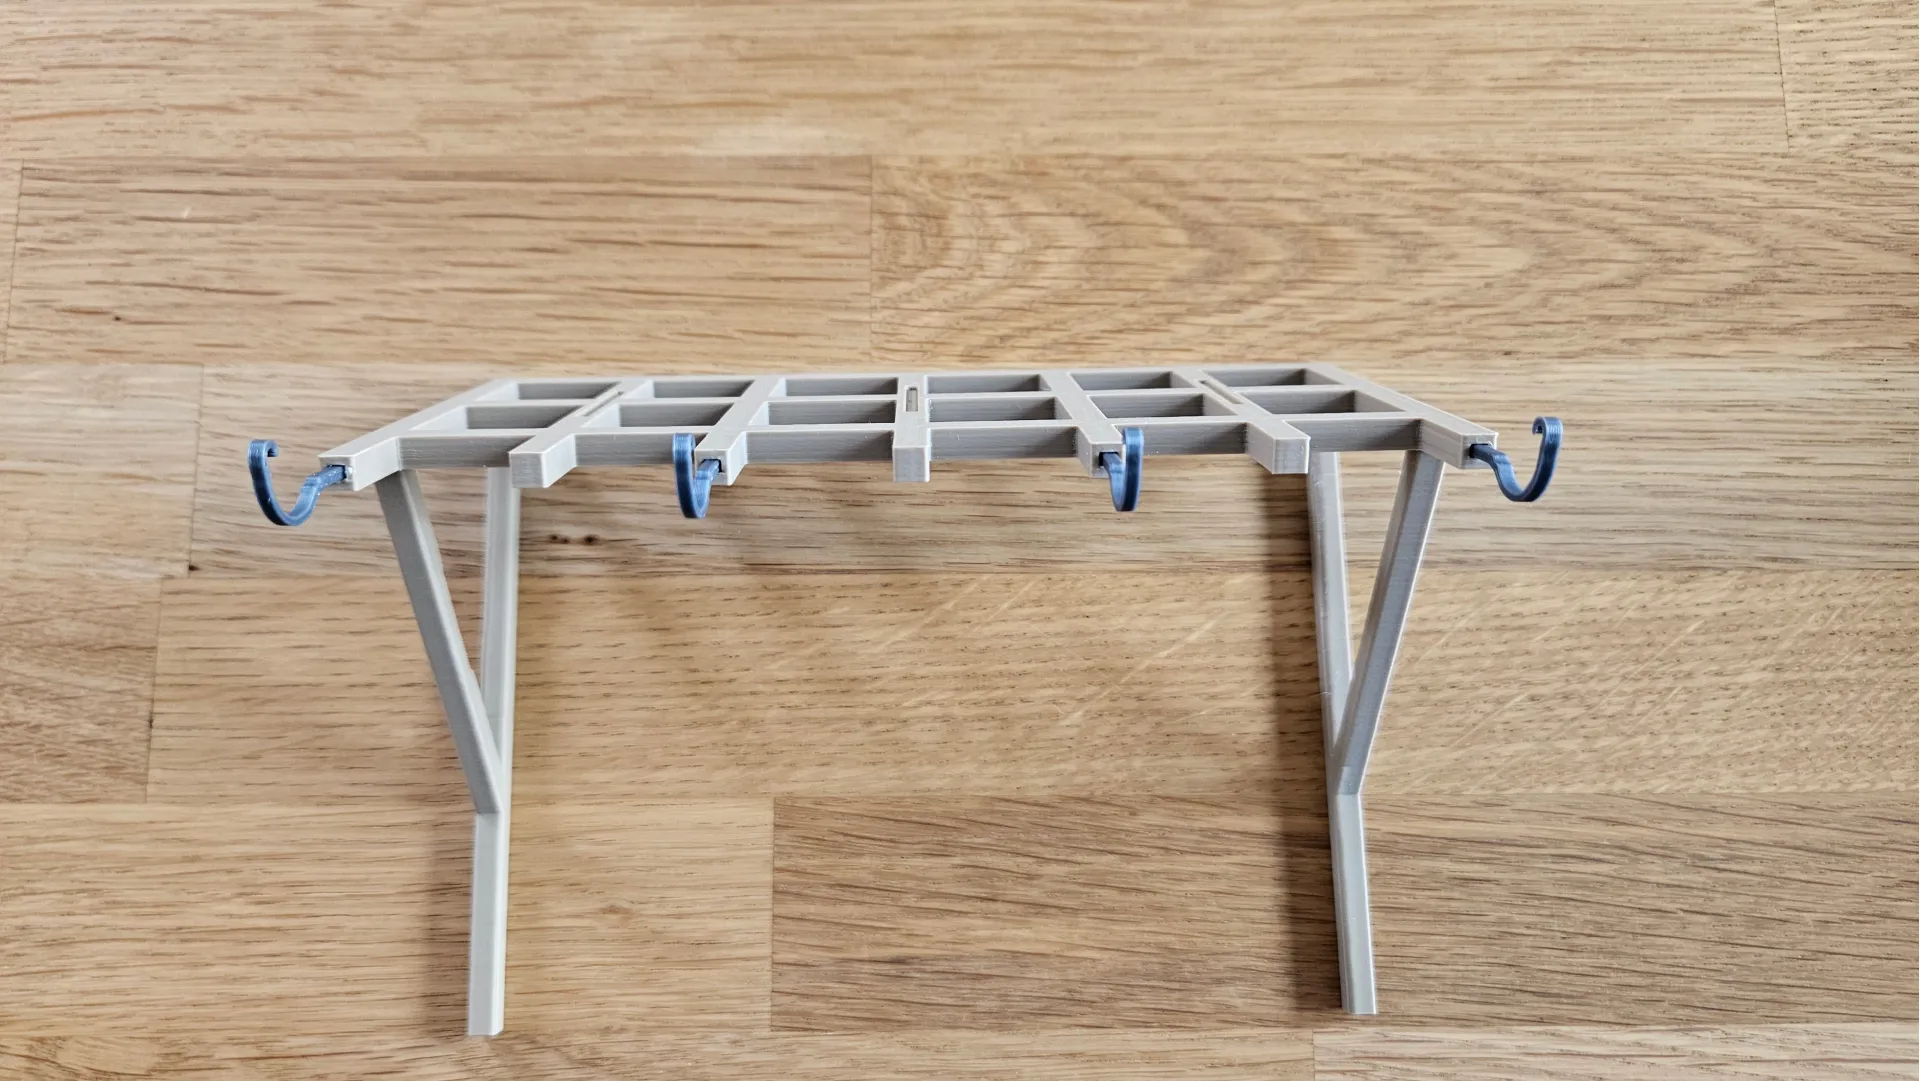
Let the adhesive dry.
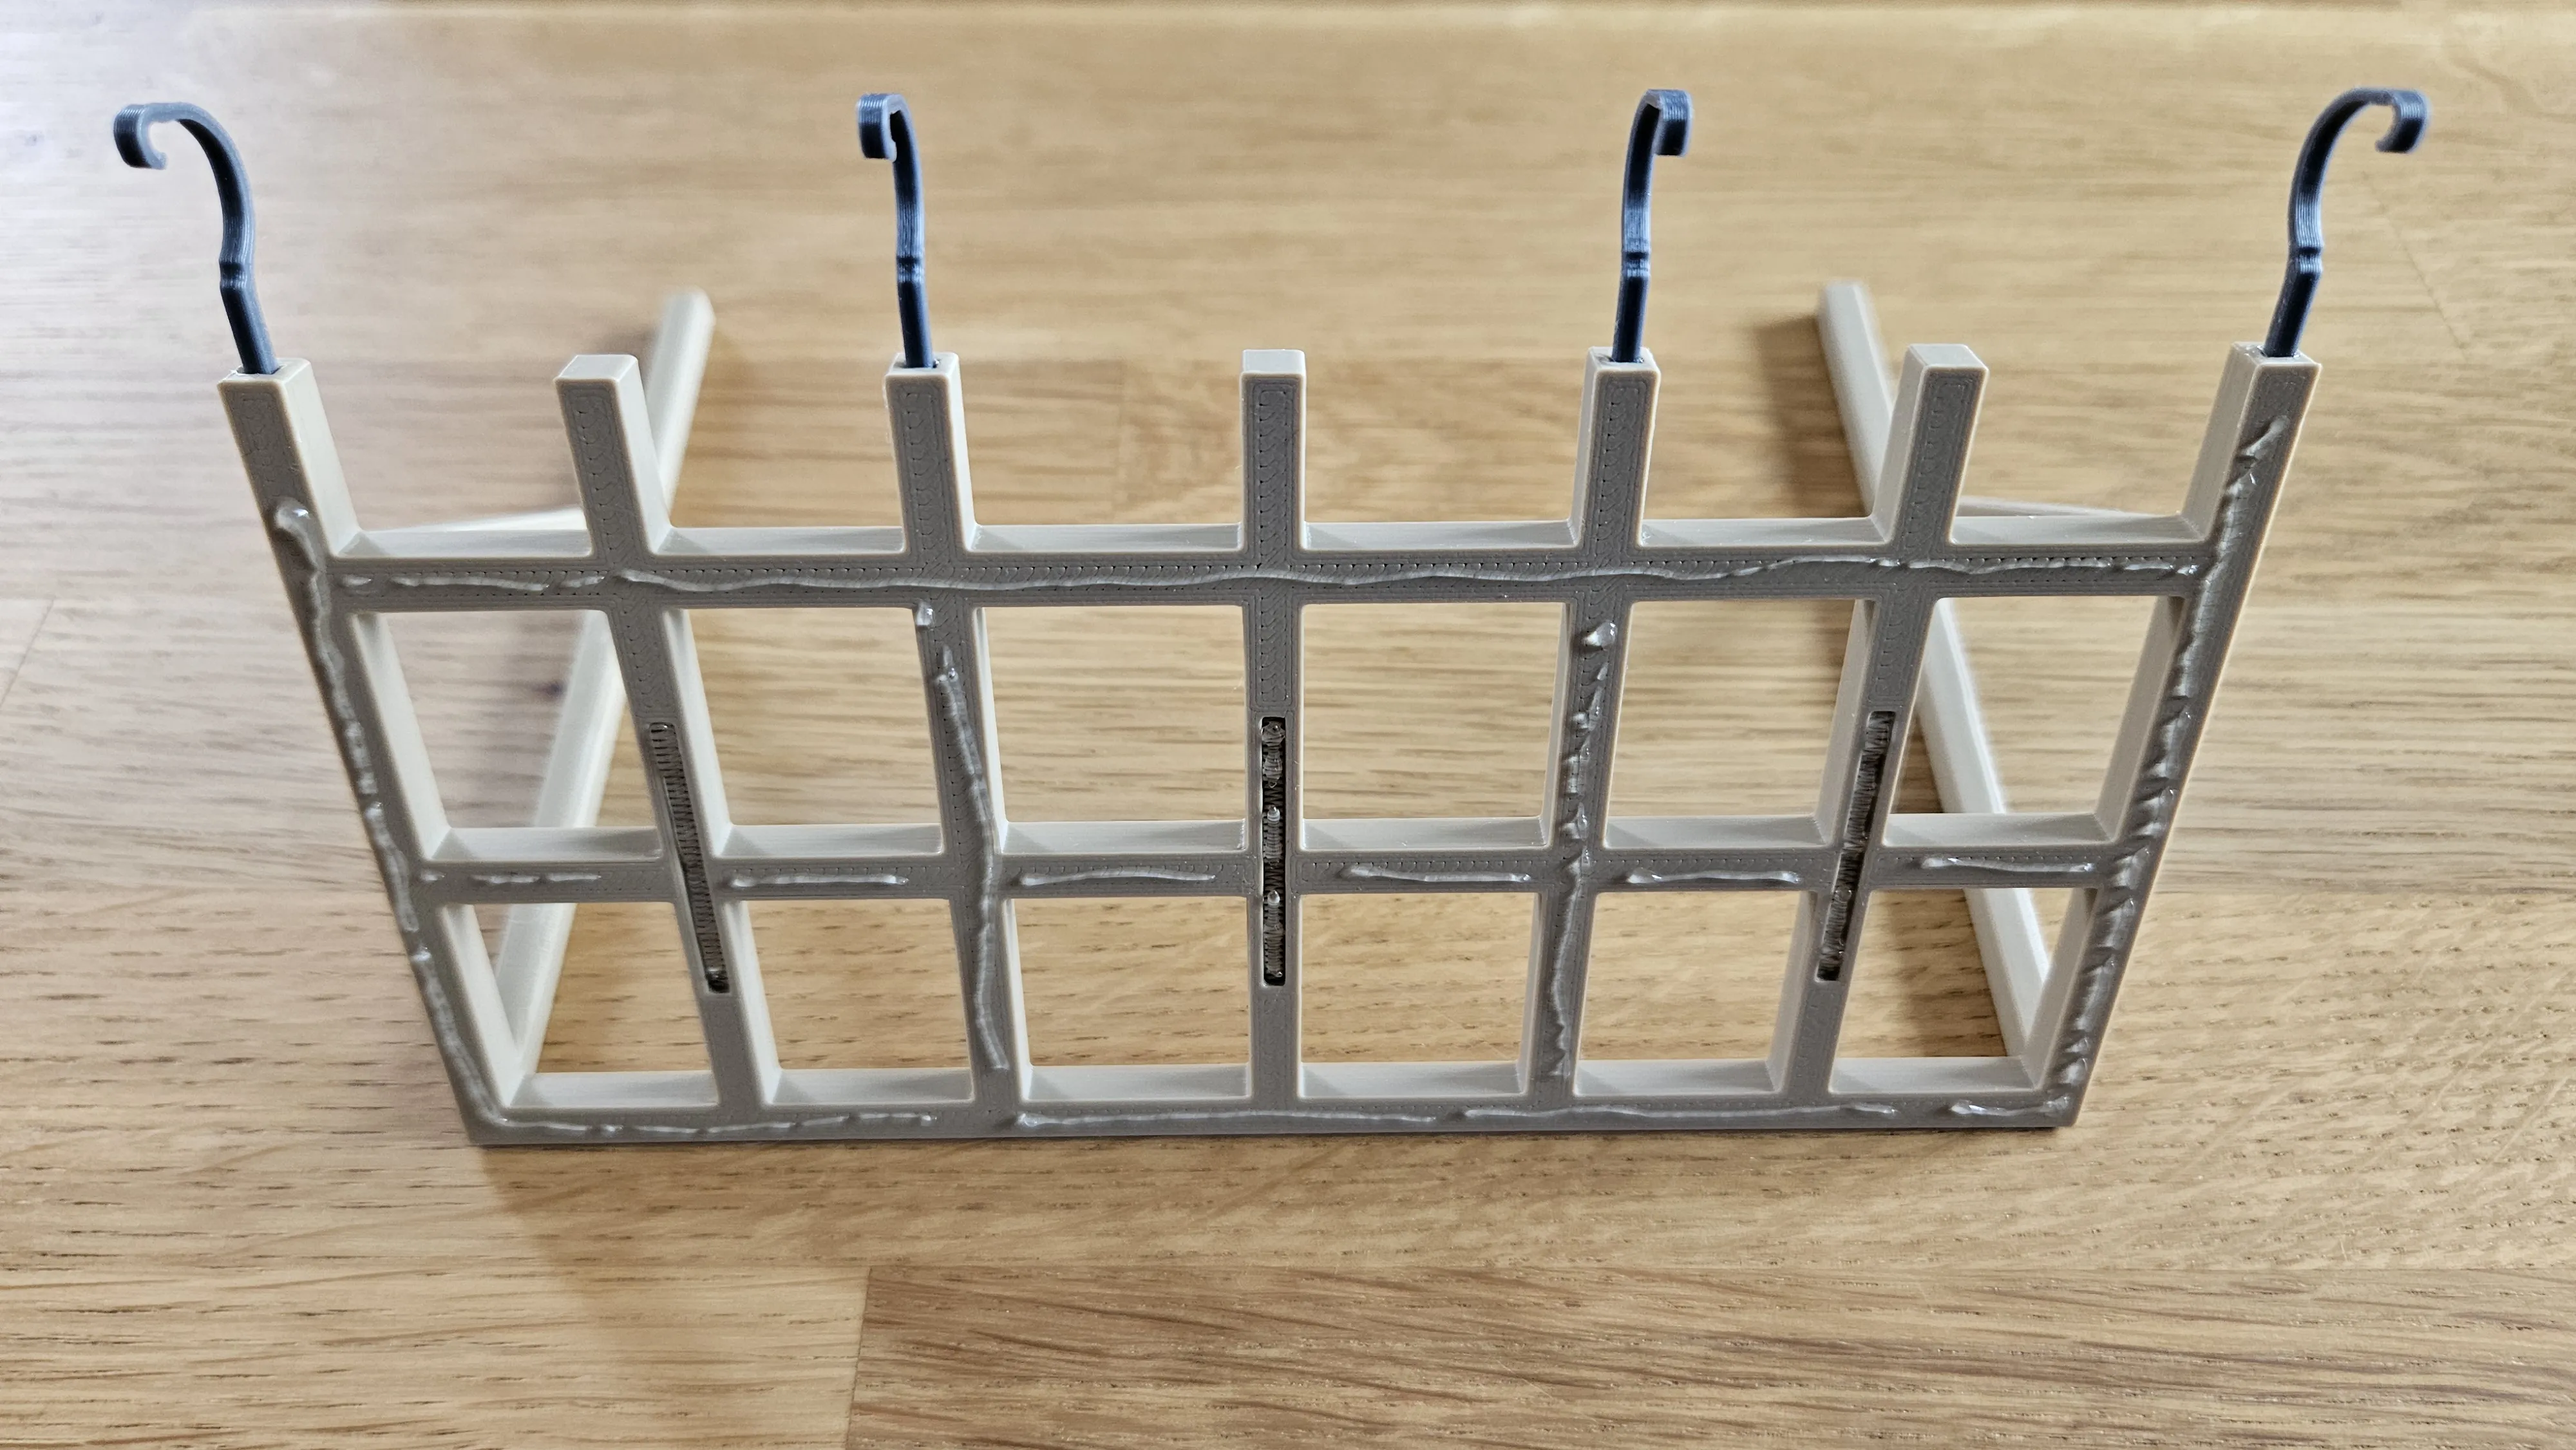
Apply super glue or similar to the top of the structure, do not forget the recesses of the holes for the connectors.
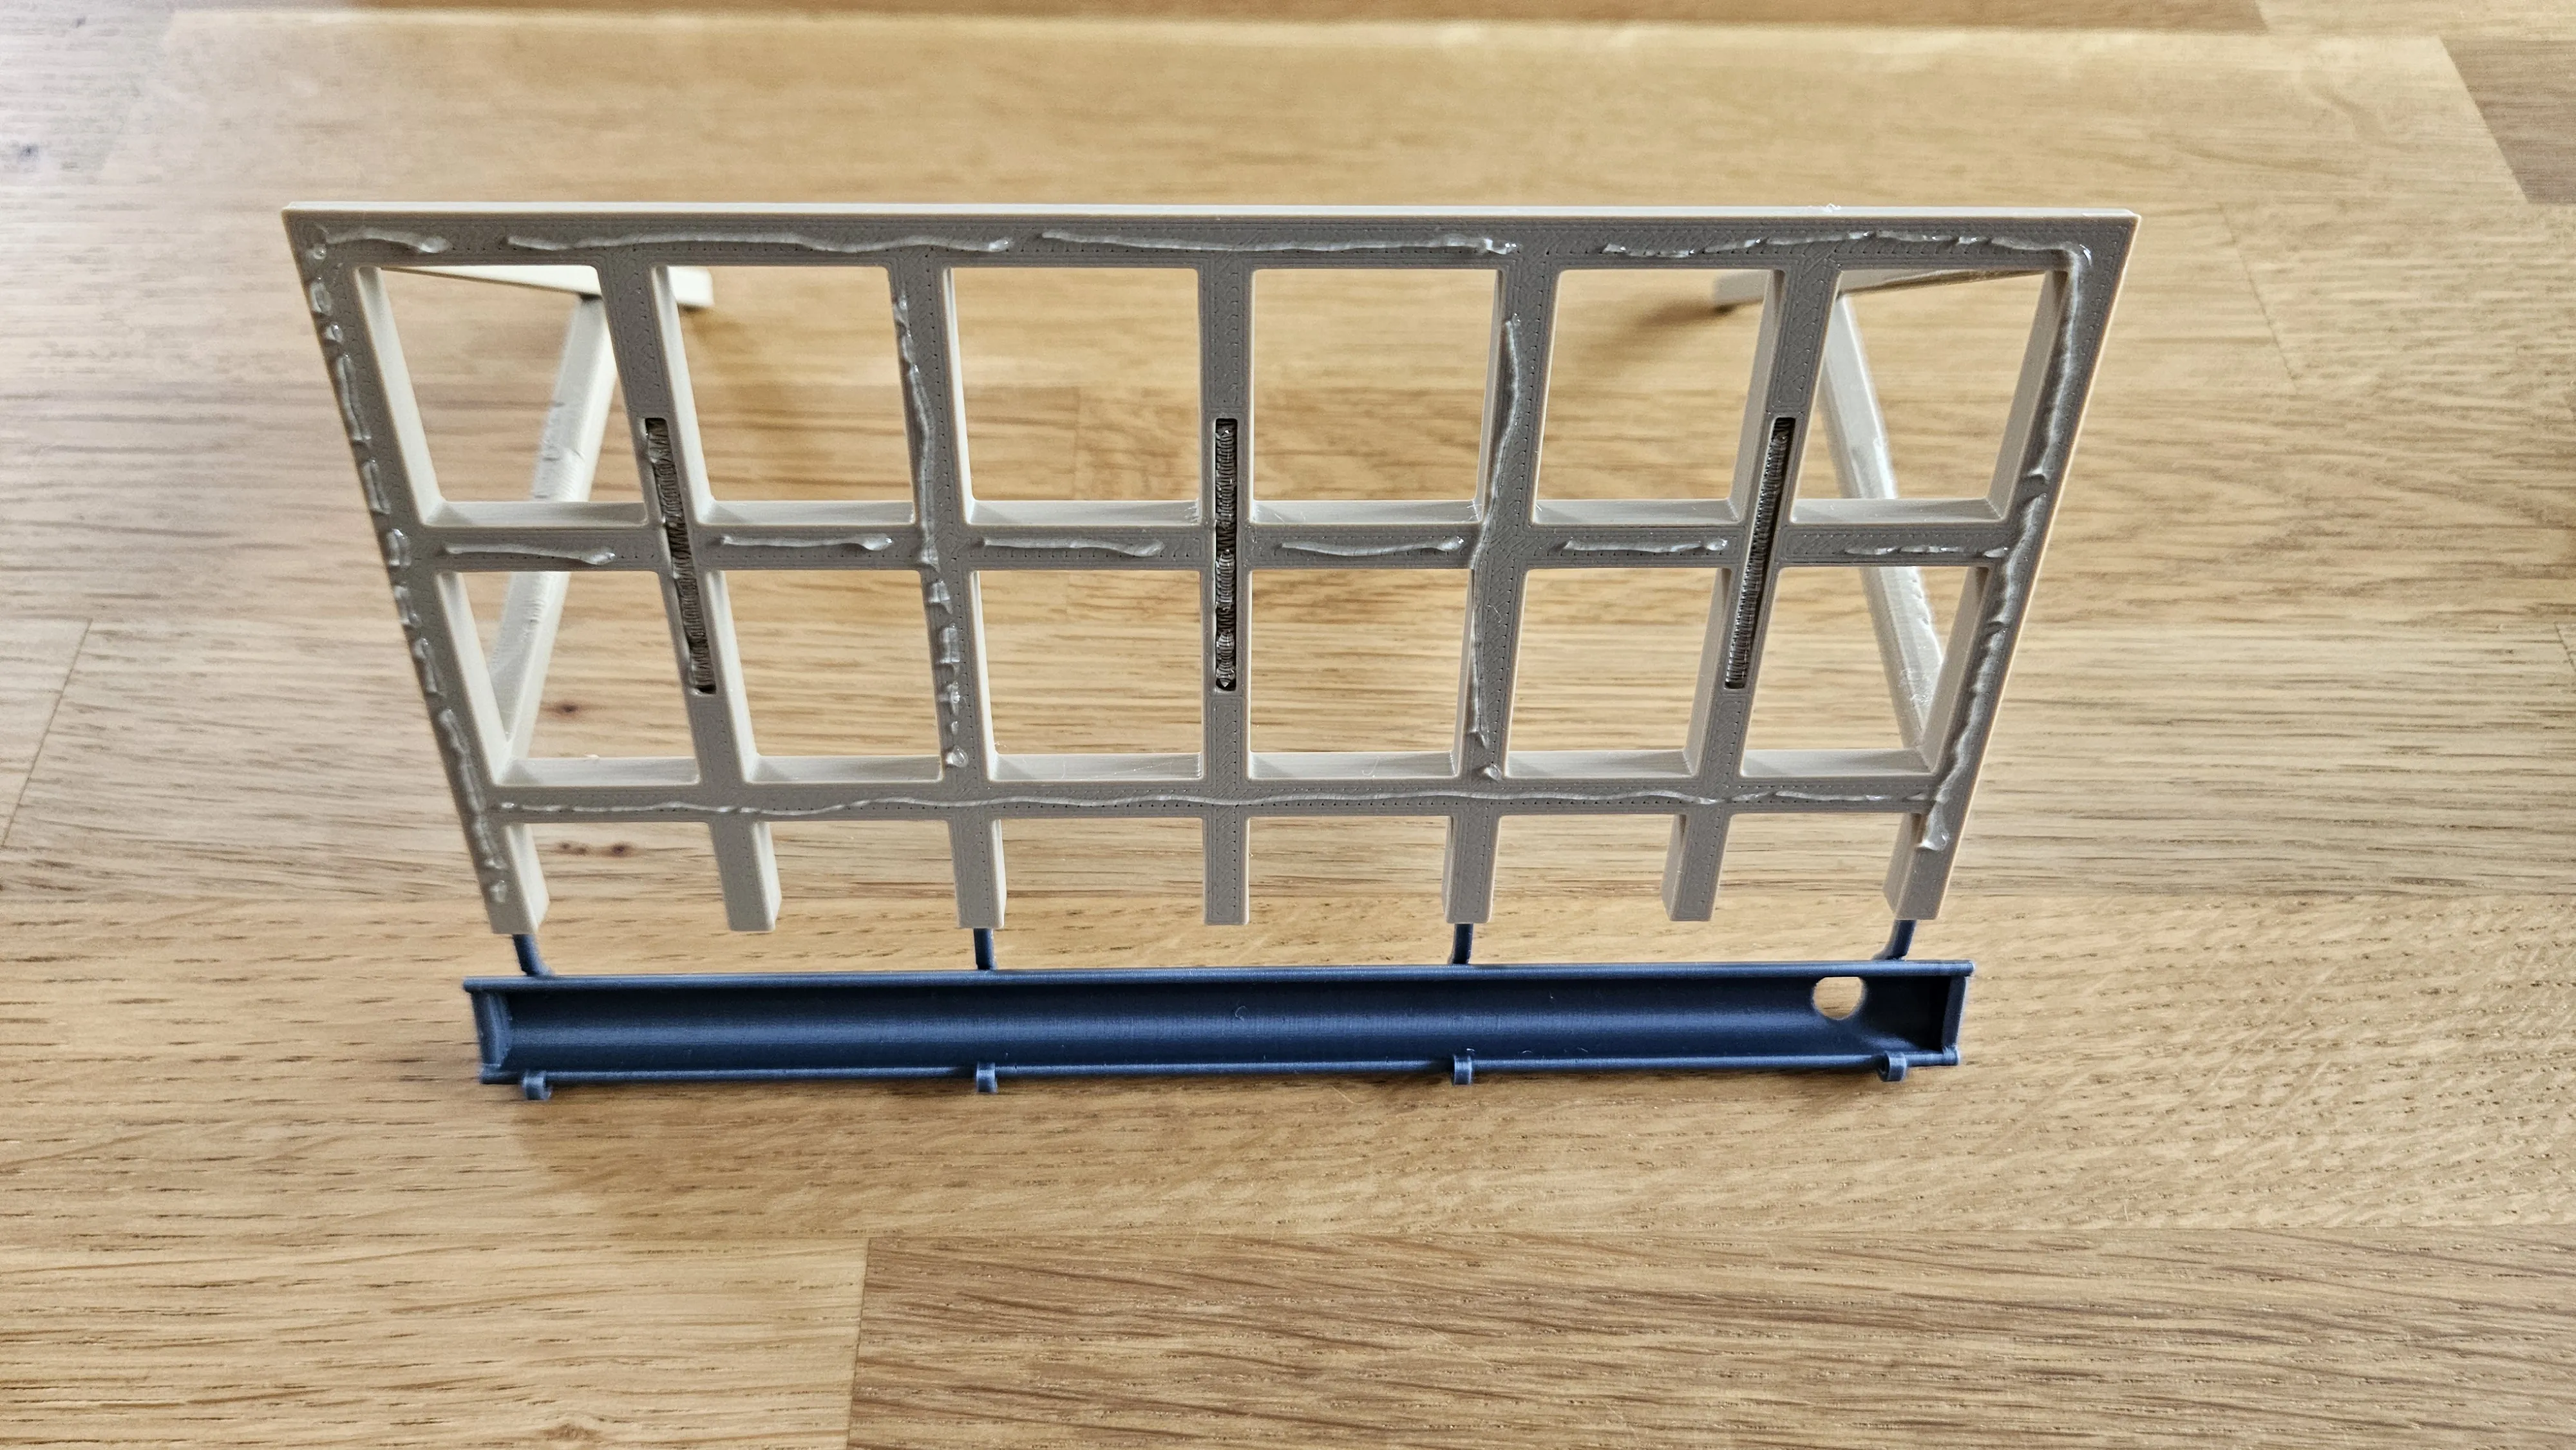
Insert the gutter, choose a hole side! The gutter cannot be removed later.
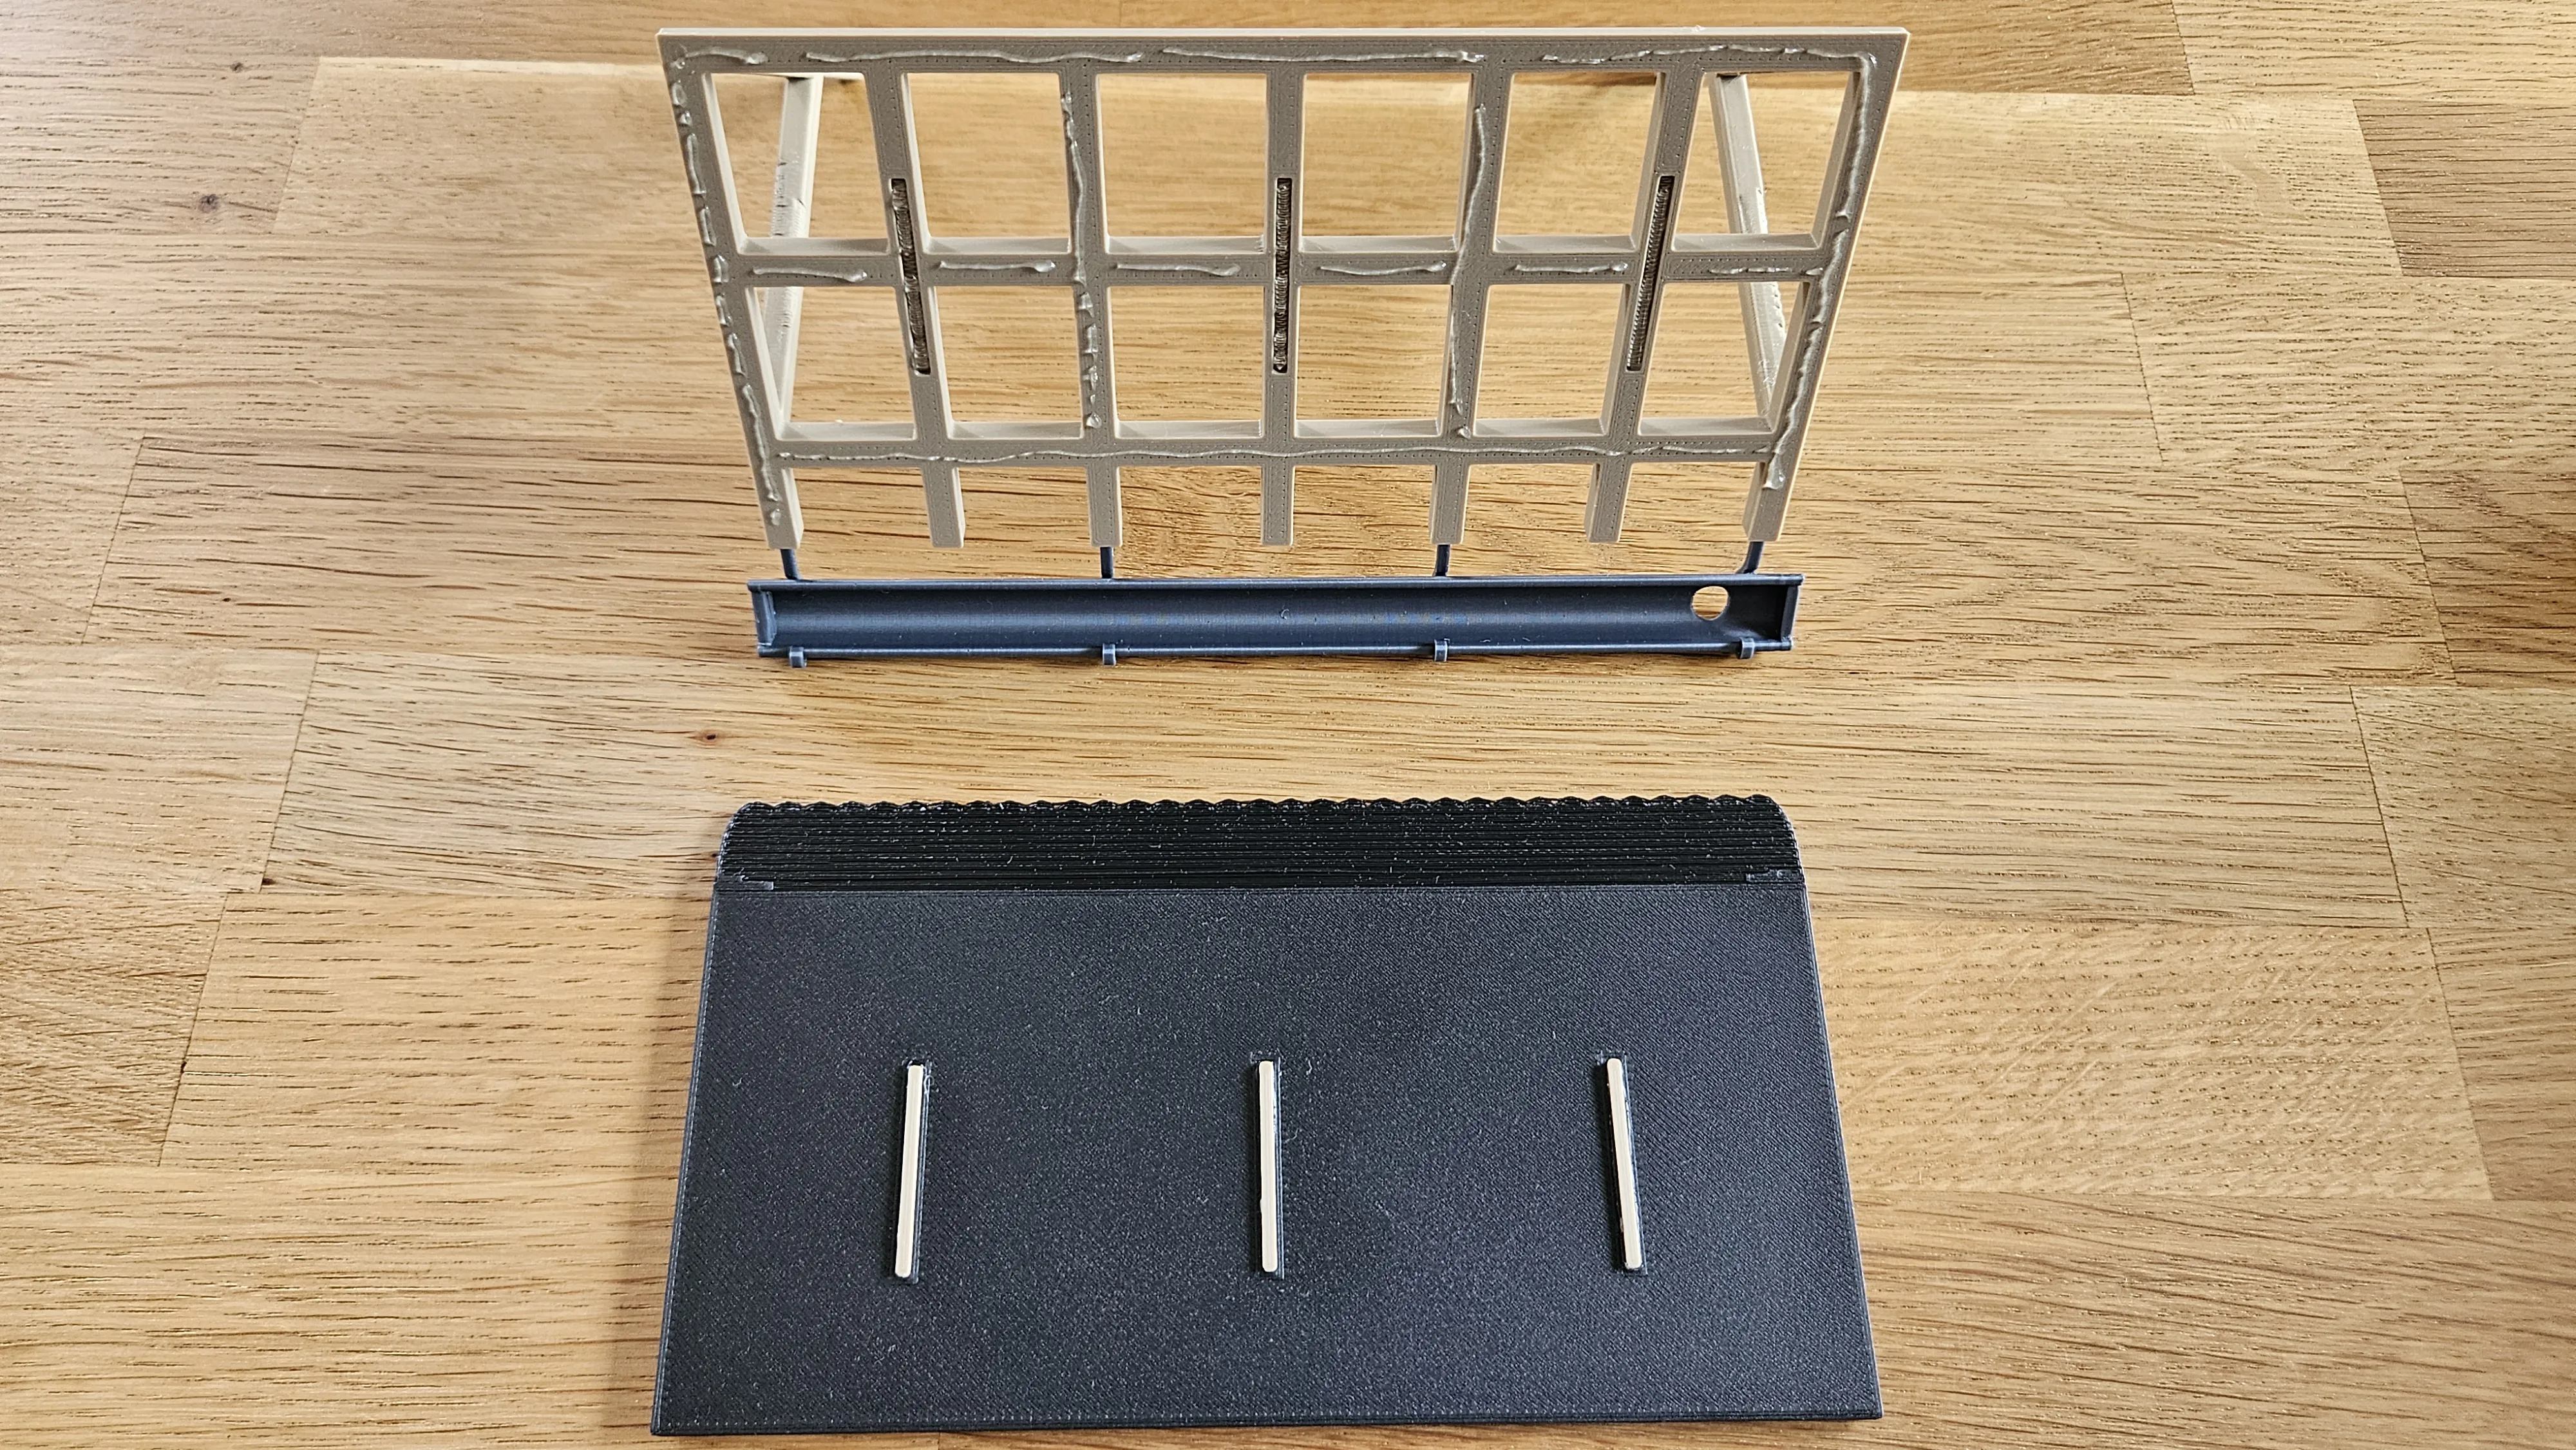
Fill the recesses of the connectors on the roof with some adhesive and insert the connectors.
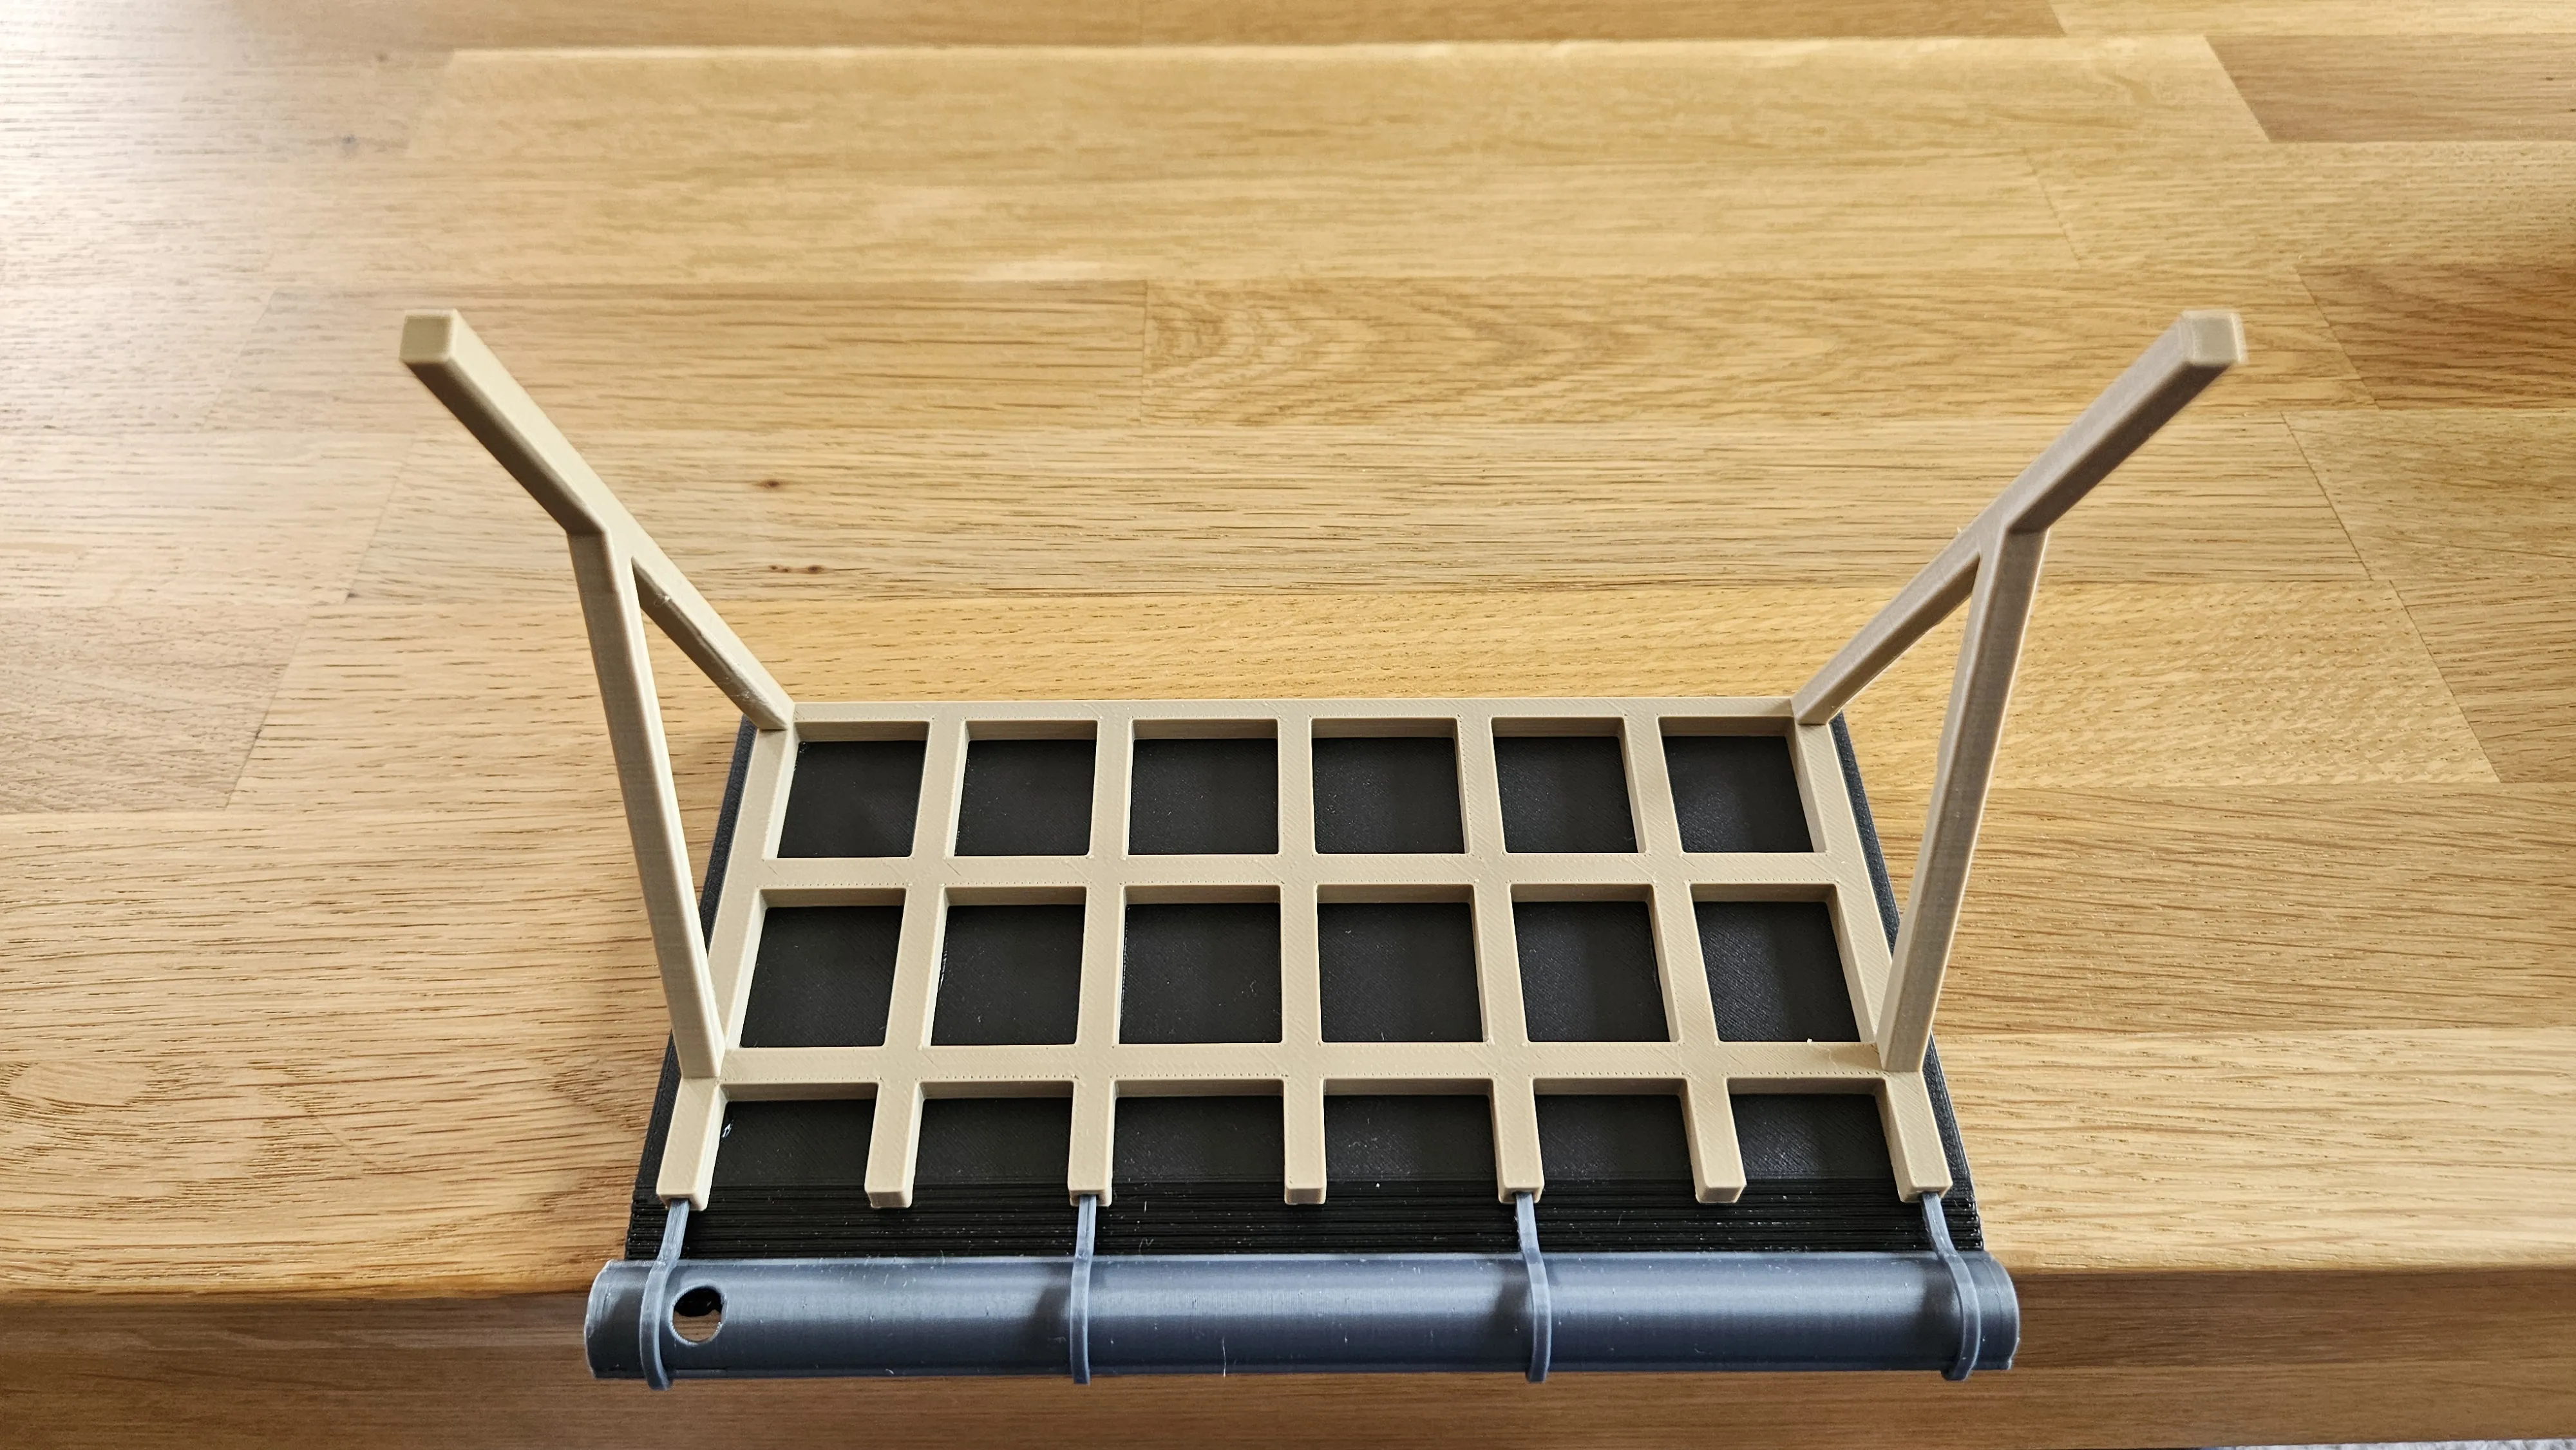
Place the structure on the underside of the roof and insert the connectors into the structure.
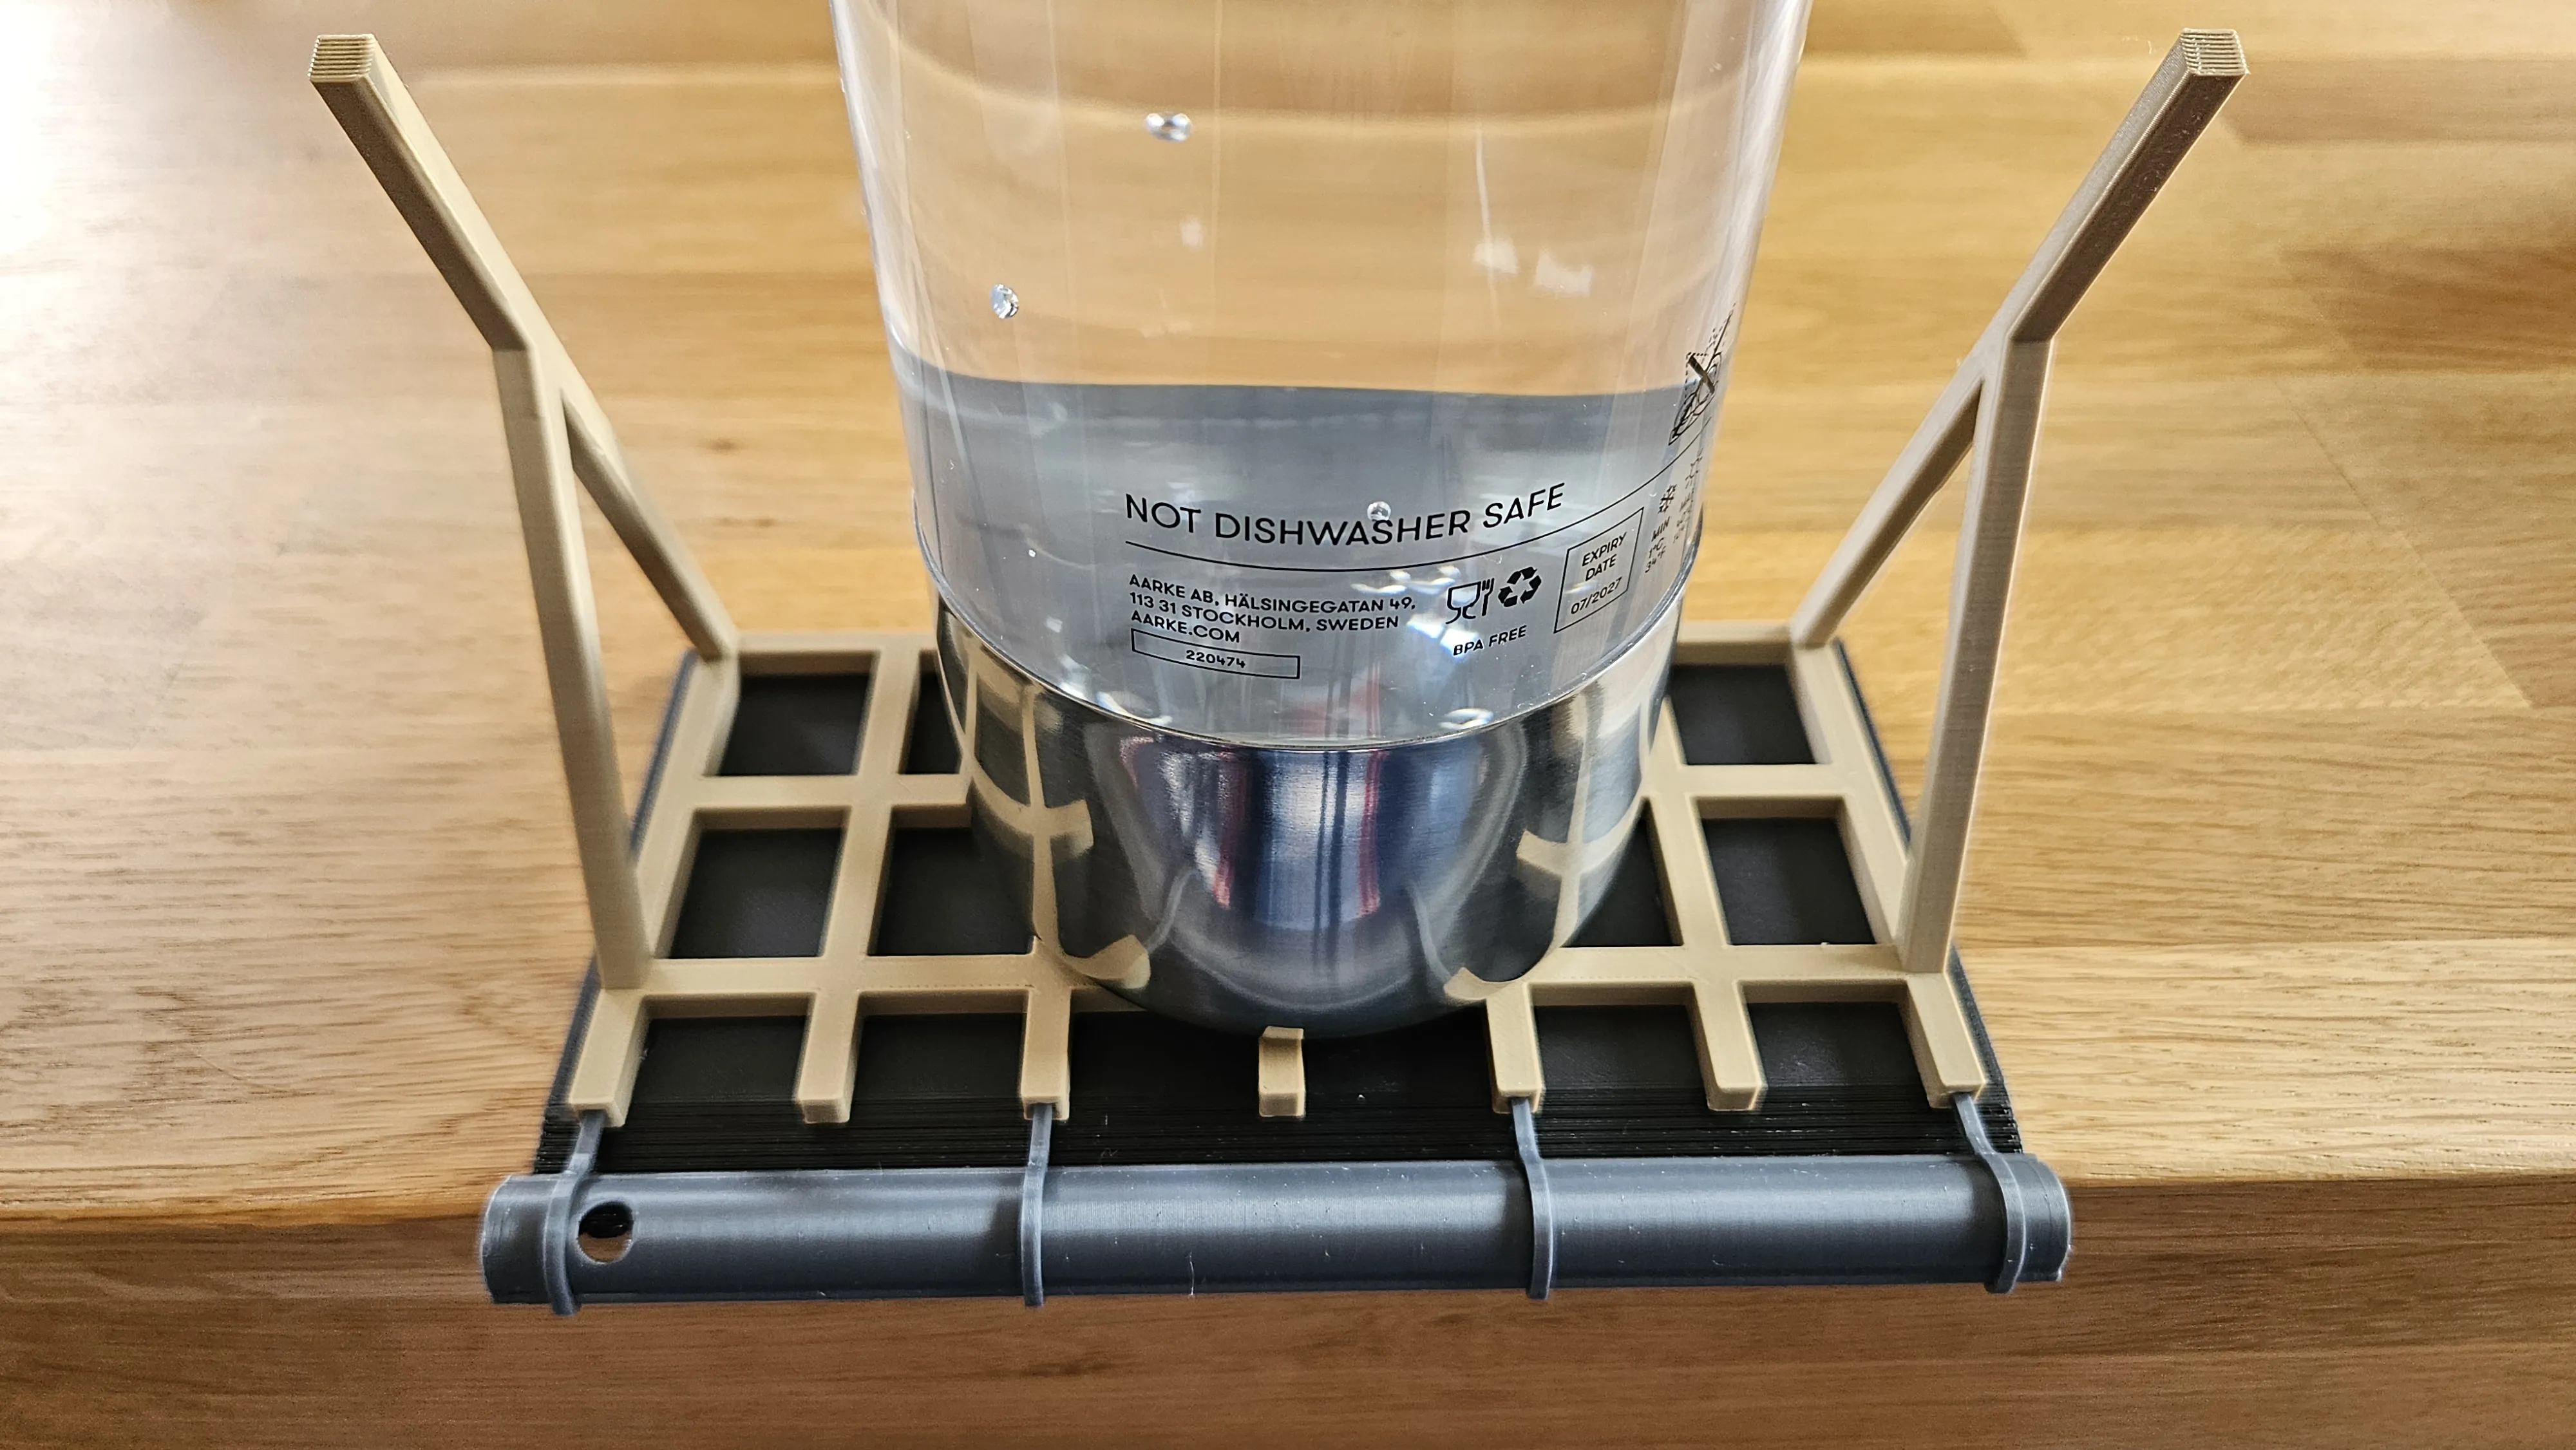
Weigh down the structure with an object, let everything dry thoroughly.
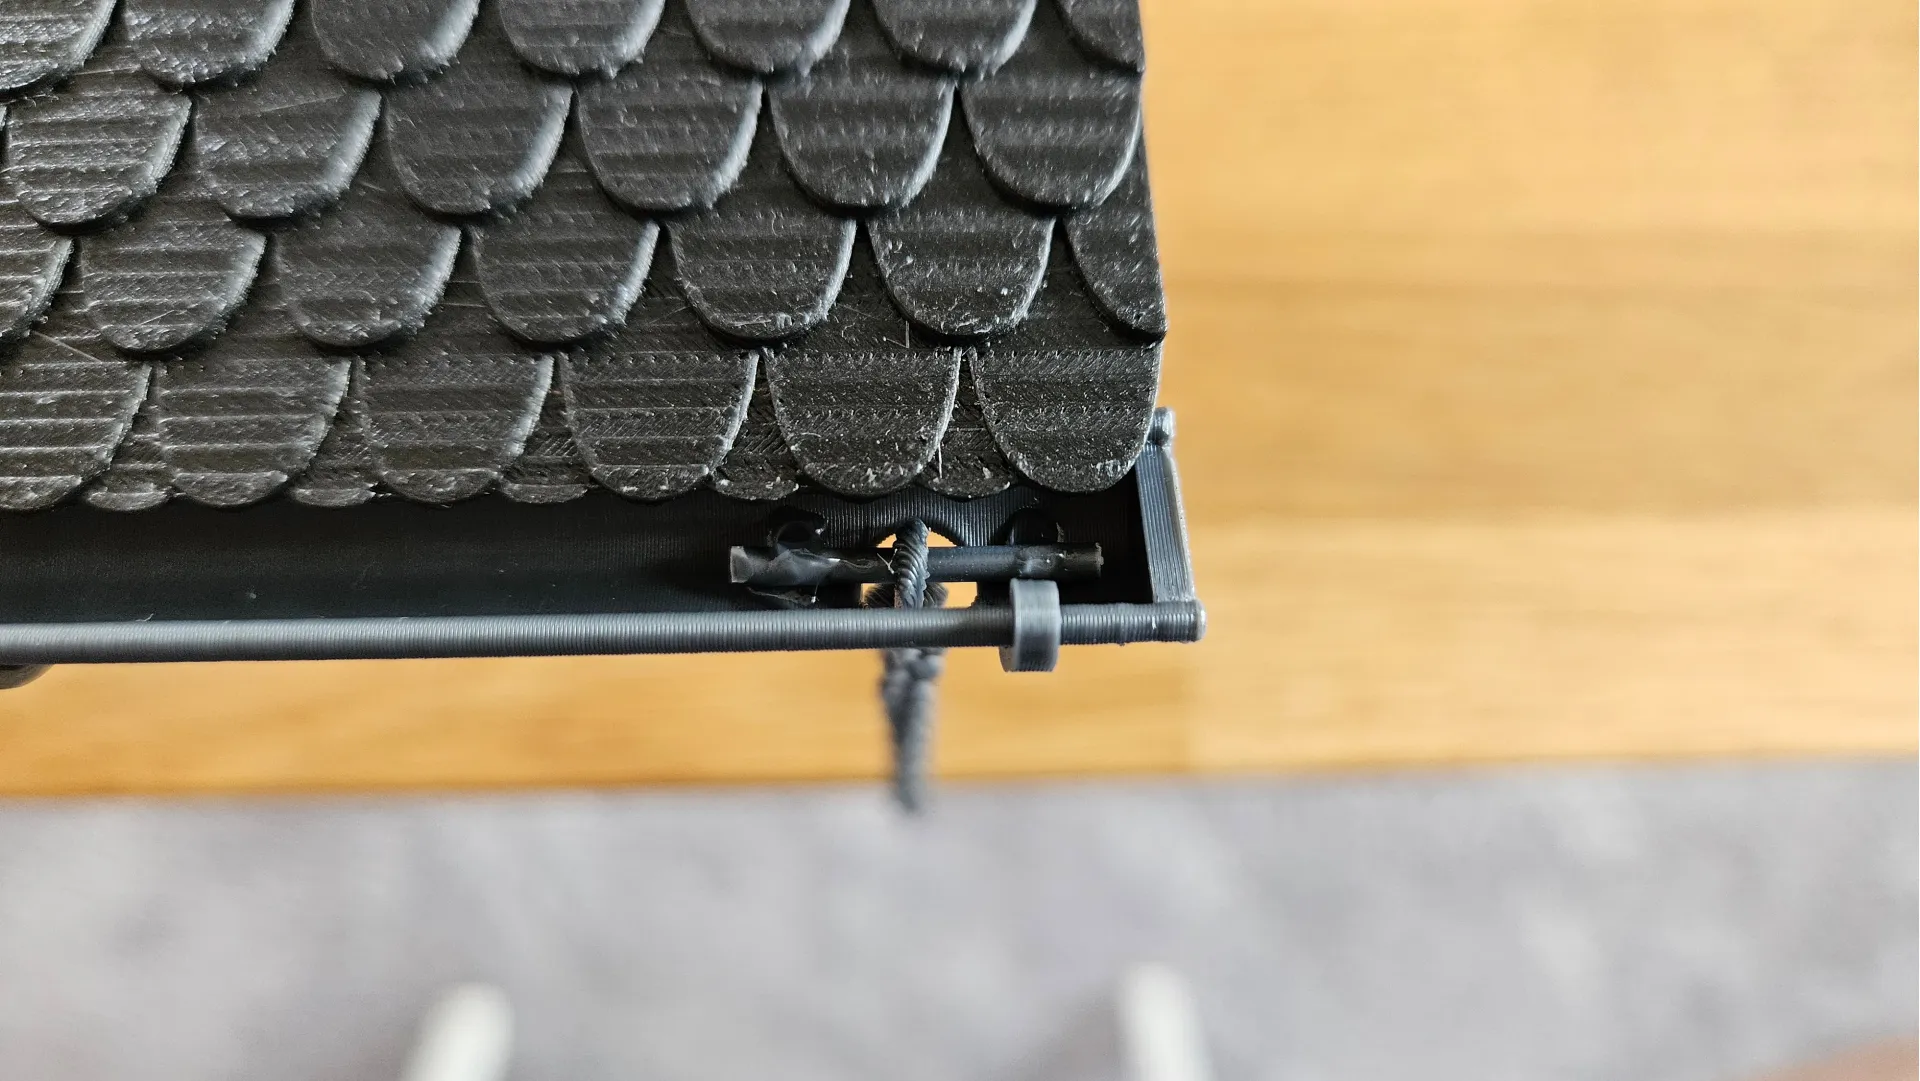
(Optional): Use the chain in the print profile and attach it to the inside of the gutter with a piece of filament (adhesive).
The chain is somewhat long, shorten it if necessary.
Unfortunately, I could not develop this model without adhesive. The components are so small that it is impossible to use press fits.
Membership
Enjoy this model? Subscribe for more STL designs and unlock commercial use rights!
License

You shall not share, sub-license, sell, rent, host, transfer, or distribute in any way the digital or 3D printed versions of this object, nor any other derivative work of this object in its digital or physical format (including - but not limited to - remixes of this object, and hosting on other digital platforms). The objects may not be used without permission in any way whatsoever in which you charge money, or collect fees.


Comment & Rating (66)