
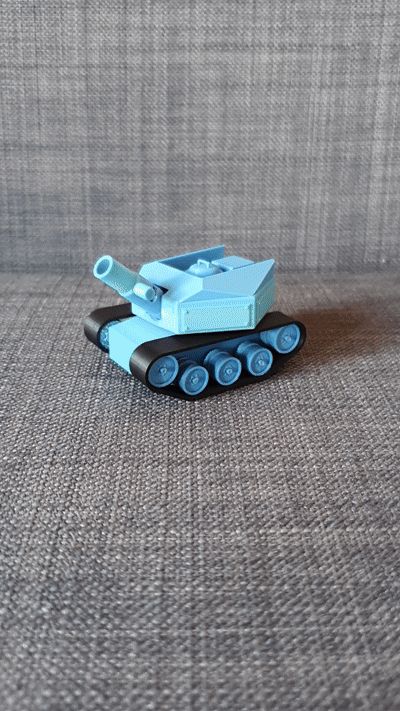
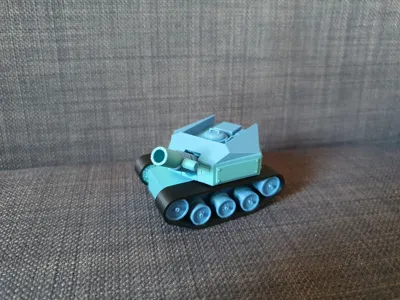
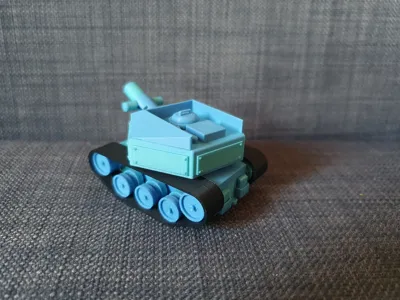
Tiger II v3 – Fully Functional Miniature Tank
Print Profile(2)


Description
Introduction:
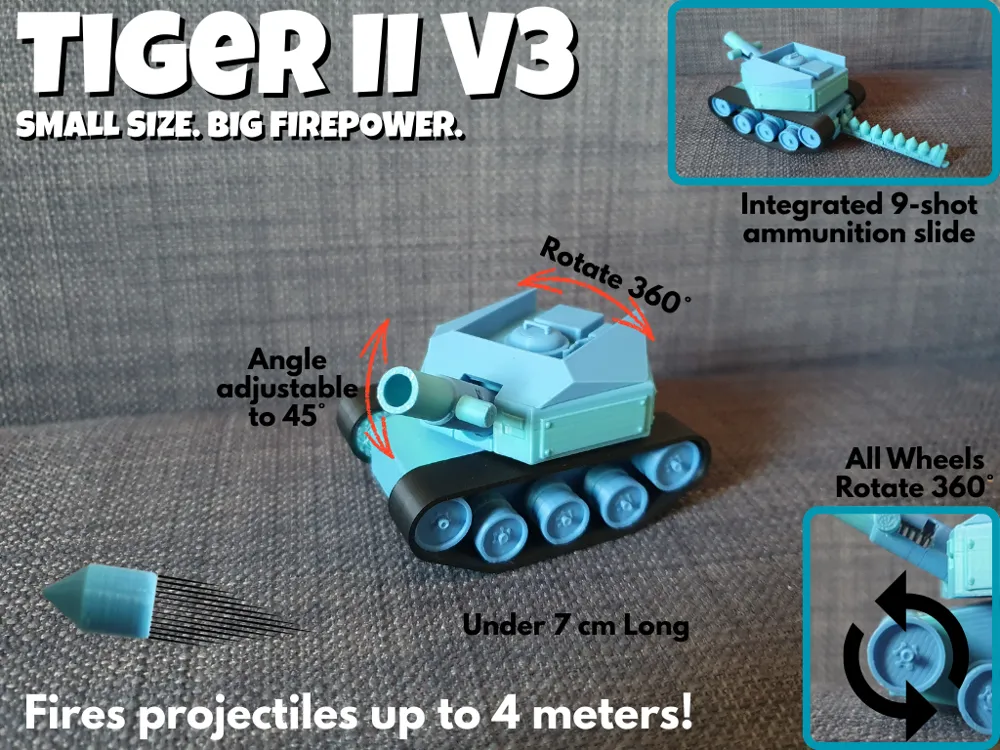

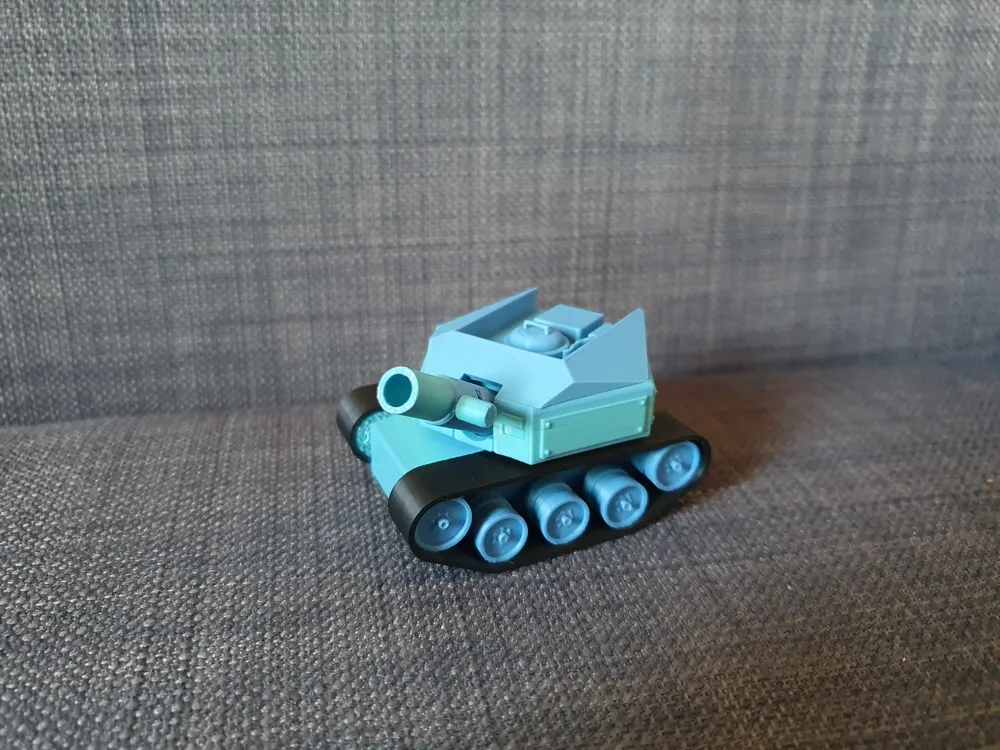
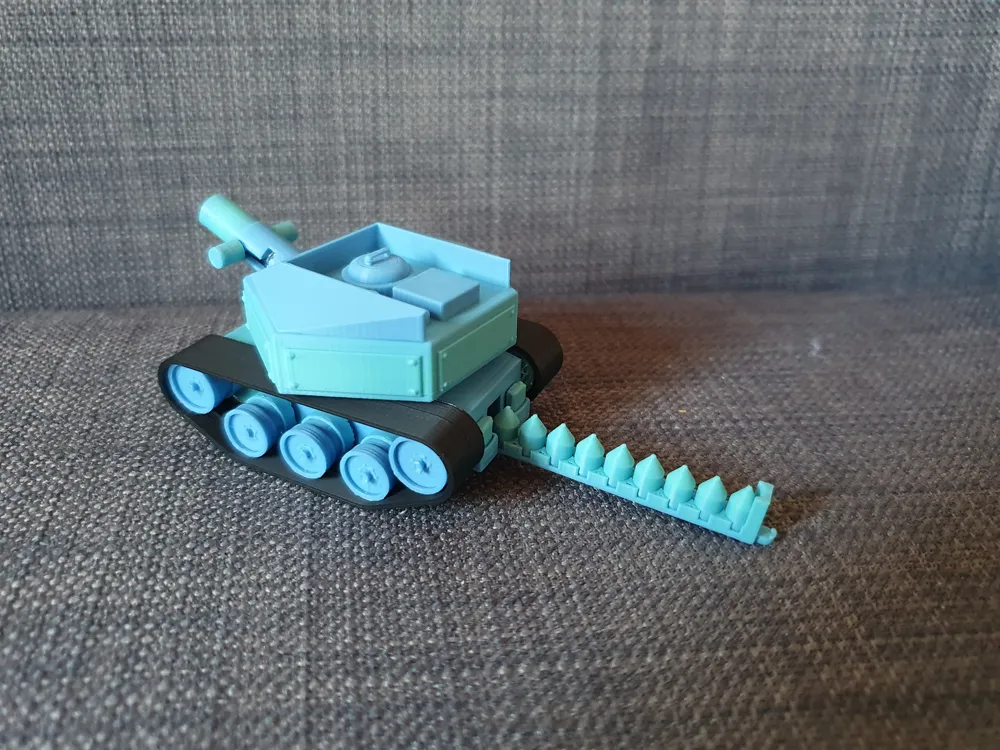
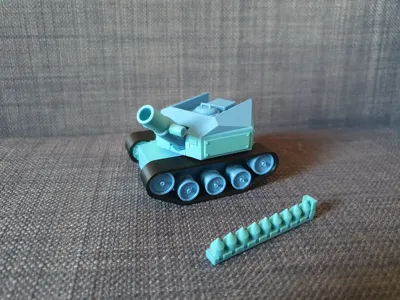
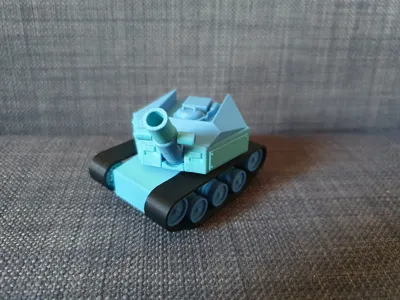
I am immensely proud to present the Version 3 of the Tiger II, the culmination of four months of design, printing, and testing.
This miniature tank, measuring less than 7 cm in length, is brimming with functionality. From the outset, my goal was to produce all components entirely via 3D printing—as I am not a fan of models requiring numerous additional, non-printed parts.
Unfortunately, a fully functional shooting mechanism proved impossible without a metal spring.
However, the mechanism is designed to accommodate almost any ballpoint pen spring—the only requirement is a diameter under 4.5 mm. The appropriate length can be easily adjusted or shortened.
A small piece of filament is also needed—something readily available to any 3D printing enthusiast.
Features of the Tiger II V3
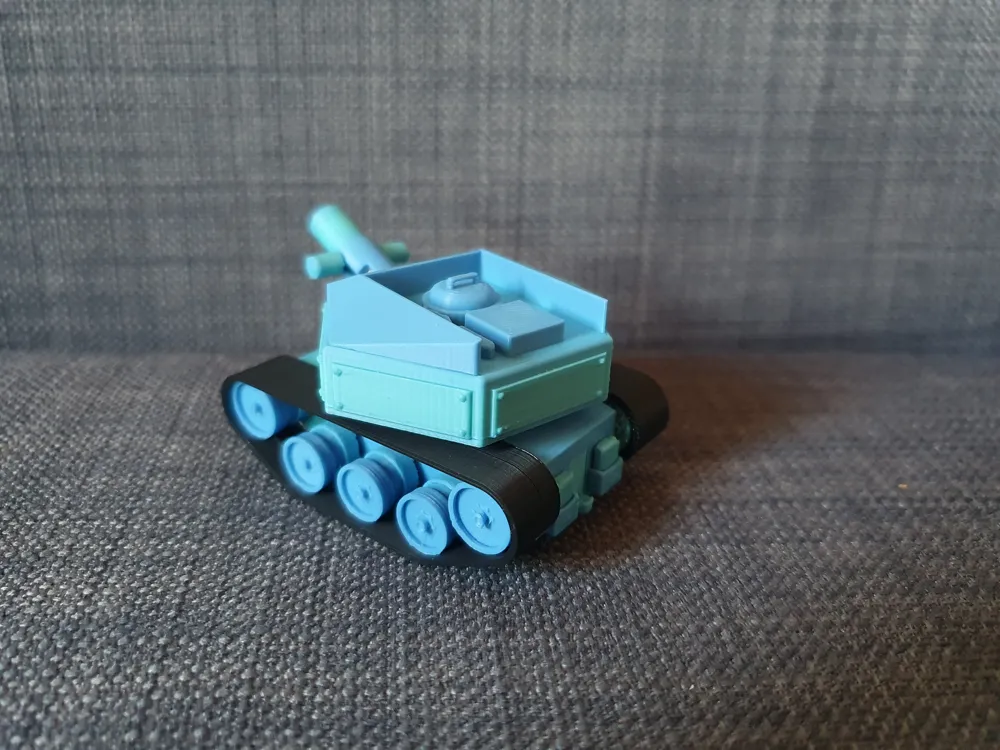
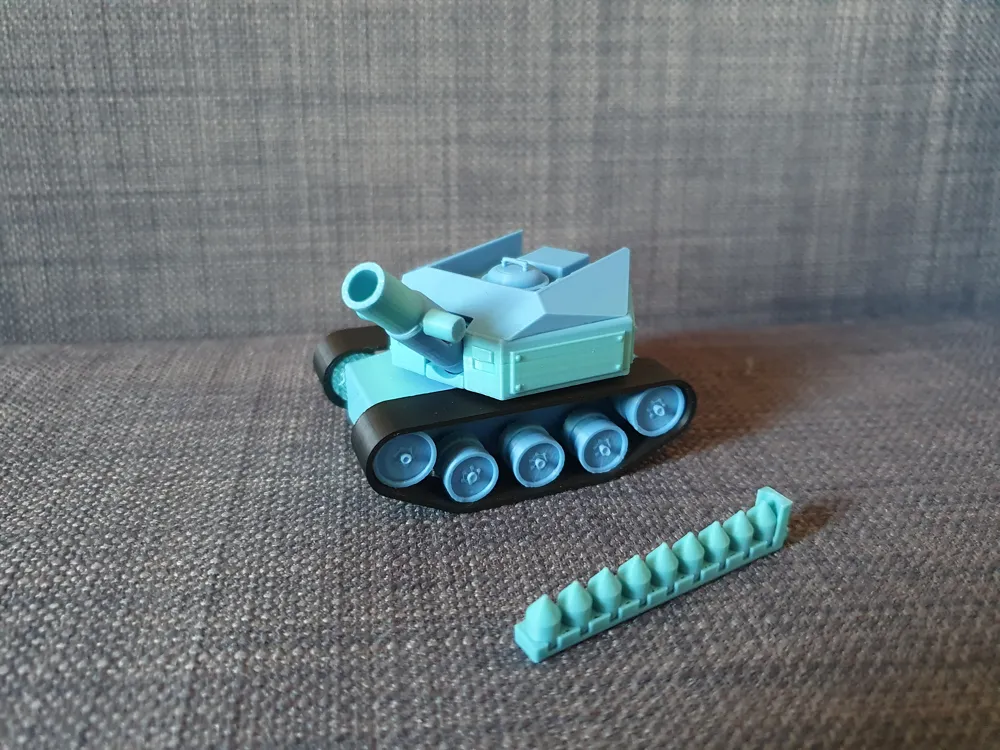
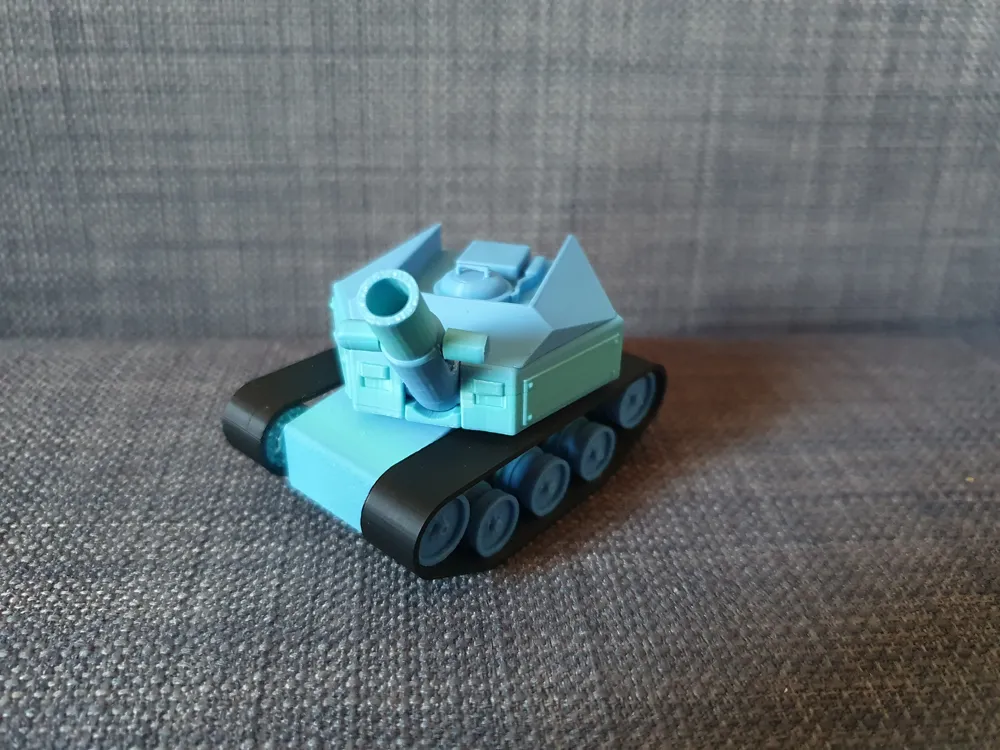
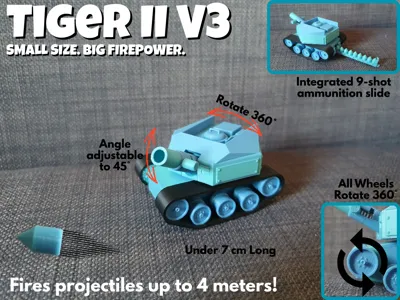
- Rotating turret (360°)
- Elevating gun barrel (up to 45° elevation)
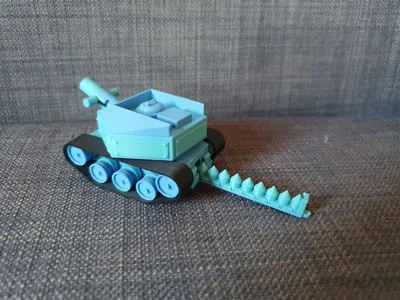
- Functional shooting mechanism using a ballpoint pen spring
- Ammunition compartment for up to 9 projectiles
- Movable wheels (10 in total)
- Almost entirely 3D printable—only a ballpoint pen spring and a piece of filament are additionally required
Important Notes Before Printing
Those wishing to print the tank should note the following:
I strongly recommend using the print profiles I have created. The reason is simple: each part has been optimally oriented for the best possible print quality. Furthermore, I have implemented numerous object-specific settings to ensure exceptionally clean and functional results.
Colors can, of course, be adjusted as desired.
However, I have only printed with PLA thus far—therefore, I cannot guarantee that printing with other materials will yield equally satisfactory results.
Furthermore, the print profiles are tailored to a standard 0.4 mm nozzle and a textured PEI print bed.
I am already working on a version for a 0.2 mm nozzle to render the design even more detailed and refined.
Materials Required
- All 3D-printed parts: Simply select the appropriate print profile and print all parts.
- Tools: Pliers, files, and general tools for removing support structures and cutting the spring and filament.
- Filament piece: 1.75 mm diameter, approximately 16 mm long (slightly longer for trimming).
- Spring: Ballpoint pen spring with a diameter under 4.5 mm and a length of approximately 12 mm.
Achieving Optimal Results (Step-by-Step)
1. Selecting the Appropriate Print Profile:
I have created various print profiles:
- “Single parts”:
All parts are individually arranged on separate print beds. This is highly organized and ideal for creating replacement parts or printing each component in a different color. - “1 Plate”:
All parts are positioned on a single print bed. This is less organized but allows for printing all parts simultaneously—perfect if you want to print the tank entirely in one color or overnight.
Apart from the arrangement, the settings are identical for both profiles.
2. Printing:
Once you have selected the appropriate print profile, you can commence printing. The choice of color remains entirely yours.
However, I recommend using PLA Basic—this has yielded the best results for me.
Filaments such as PLA Matte, PLA Metal, etc., while aesthetically pleasing, tend to be somewhat brittle. This has, on several occasions, led to the breakage of delicate components (e.g., the wheel axles).
However, feel free to experiment and share your experiences!
3. Post-Printing Processing:
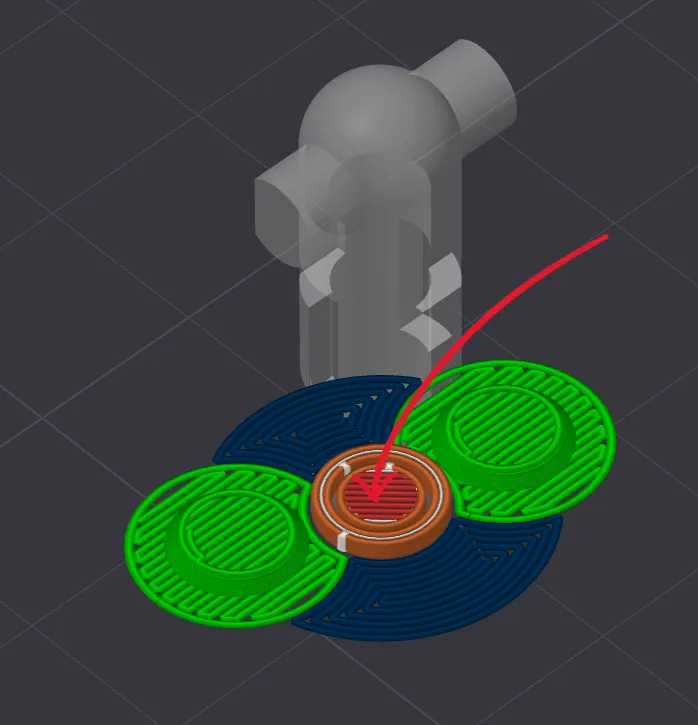
Carefully remove all parts from the print bed.
All parts are needed—except the small cylinder in the center of the “shooting pipe” part (see image).
This cylinder serves solely to prevent support material from forming in the barrel, which would be difficult to remove later.
Now you must remove the support structures. I have used as few as possible—you will only find them on the following parts:
- “Wheels (Big/Small)”
- “Body”
- “Shooting Pipe”
Depending on the print quality, you may need pliers or a file to achieve a clean finish.
Important: All support residue must be completely removed from the “Shooting Pipe” to ensure the proper functioning of the shooting mechanism!
4. Assembly:
Once all parts are printed and processed, you can begin assembly.
Simply download the “Assembly Guide for the Tiger II v3 Tank” and open it.
Then, follow the instructions step-by-step—until you hold the finished tank in your hands.
5. Enjoy!
Upon completion of assembly, you can use your Tiger II V3 either for play or as a collector's item—as you see fit.
Support
If you like the model and wish to support me, you can do so free of charge via the button below—I appreciate every boost!
Boost Me (for free)
If you like the model and wish to support me, you can do so free of charge via this button—I appreciate every boost!
Feedback, Criticism, or Suggestions for Improvement
If you enjoyed the model, I would greatly appreciate a positive rating!
But even if you encountered problems, please do not hesitate to share them—we can find a solution together.
Perhaps I can even improve the model accordingly.
Anyone with an idea or suggestion for improvement is welcome to share it—I am grateful for all feedback!
Documentation (1)
License



Comment & Rating (10)