
Life-Size Heat Seeking Rocket | Easy Screw Parts
Print Profile(4)
![[New v2] All New Version with Easy Screw-on Parts](https://makerworld.bblmw.com/makerworld/model/USc3726c3f0fbc19/692319162/instance/2f2a1d74b935c86c.png?x-oss-process=image%2Fresize%2Cw_100%2Fformat%2Cwebp)

![[Old v1] Peg-based Assembly Version (deprecated)](https://makerworld.bblmw.com/makerworld/model/USc3726c3f0fbc19/720996380/instance/ebca35bb1dfa8e3f.png?x-oss-process=image%2Fresize%2Cw_100%2Fformat%2Cwebp)

Bill of Materials








Description
Want more like this model? Check out these collections: Grenades | Artillery & Ammo | Life-size Weapons | Missiles & Bombs | and more (3)… |
Summary
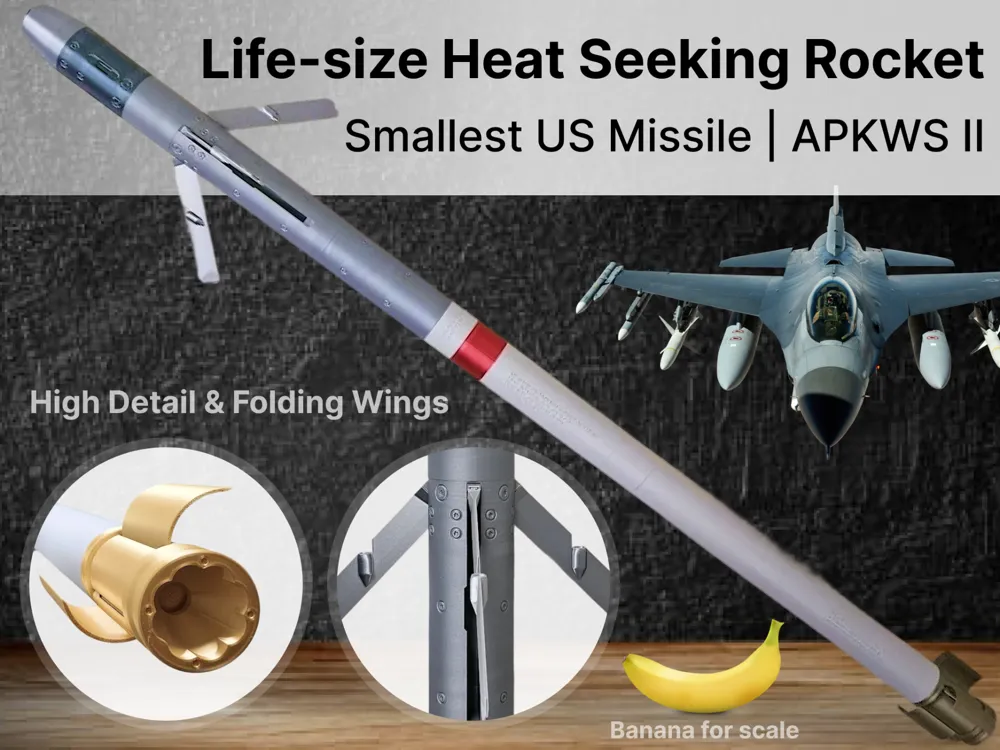

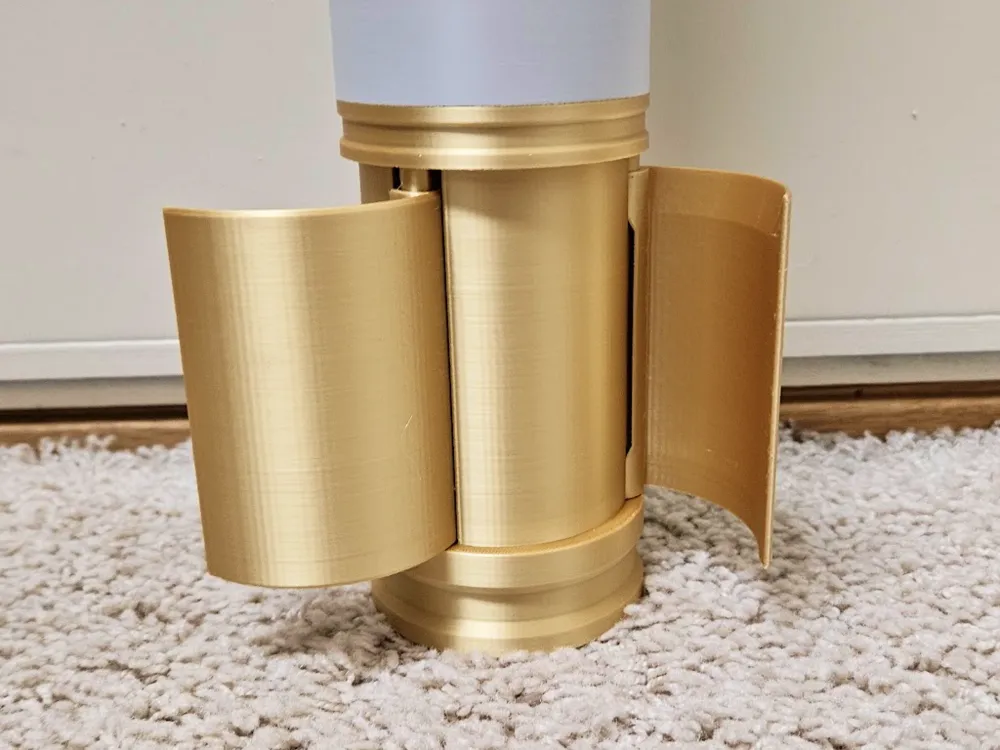
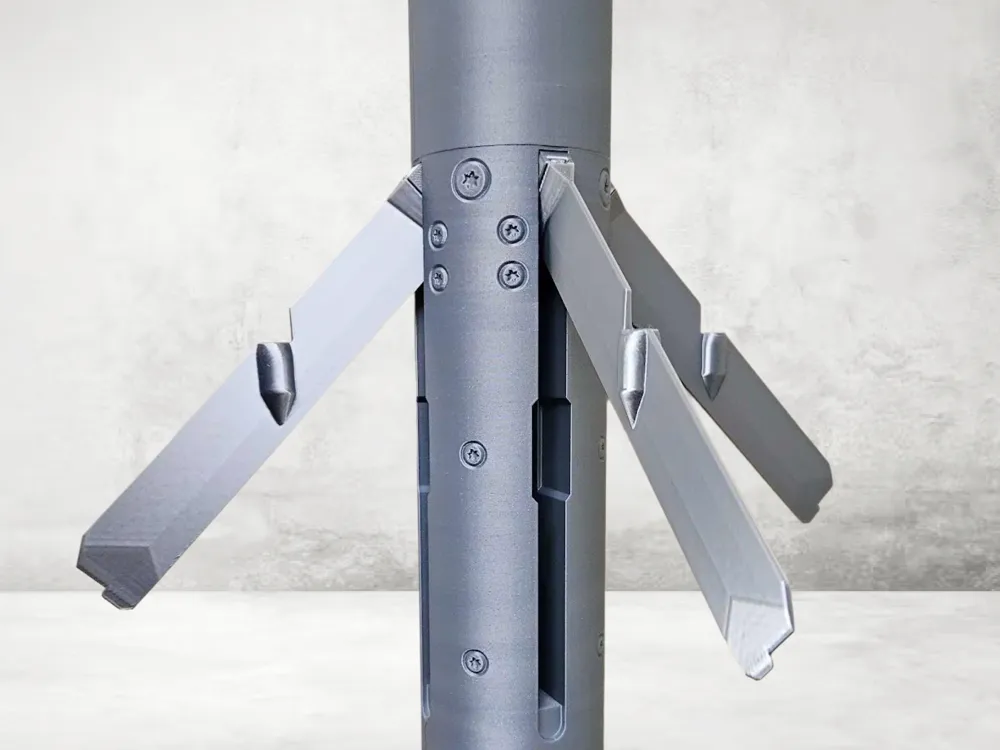
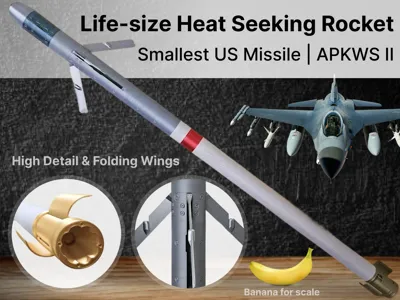
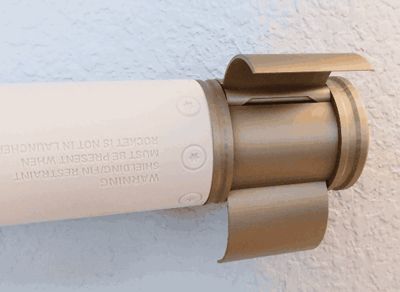
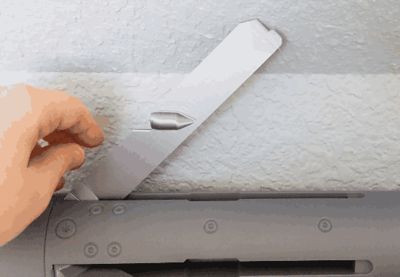
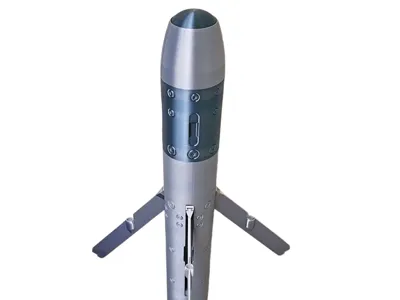
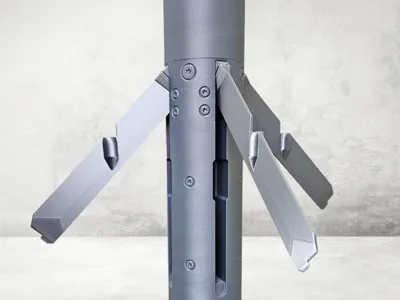
Want to print a full-size heat seeking missile that uses relatively little filament? I've just posted a highly detailed model of the US militaries newly announced APKWS II heat seeking rockets used to shoot down drones and cruise missiles. The wings move and can be folded in and out. It even comes with wall mounts so you can hang it on the wall. Assembly is a snap, no glue is required (if floor mounted, although glueing it is recommended if you intend to wall mount it horizontally). each part is numbered for easy assembly, just connect parts together with the same number. This model is highly detailed, includes the nuts, bolts, seams, and folding wings.
Background: This is the smallest heat seeking missile used by the US military. It is fired by F-16s, F-18s, and others via rocket pods, so they can carry over 14 of these on one plane. Known as the APKWS II (Advanced Precision Kill Weapon System) this is a very economical heat-seeking missile that can lock onto drones and take them down for a fraction of the cost.
Wall Mounting vs Floor Mounted
Wall Mounting Horizontally
- Be sure to glue the parts together if you intend to mount it horizontally on the wall, this way the missile won't bend/bow/droop over time due to gravity.
- When glueing, I would recommend standing it up in the corner of a room or on a flat surface to brace it and make sure it is straight up and down (or flat), because once the glue dries you can't change it naturally.
- It is recommended that you print 3 to 4 wall mounts so that the missile is evenly supported and is less likely to bow/droop with time. You can technically hang it on the wall with just 2, but longer-term testing has shown that at least 3 is better to prevent bow/bend/droop.
- Be sure to glue the parts together if you intend to mount it horizontally on the wall, this way the missile won't bend/bow/droop over time due to gravity.
Vertically standing up
- No glue is needed if you intend to display it vertically – although glue would make it more stable, so I'd recommend it anyways.
New v2 Screw-on Assembly
Most of the parts simply screw together, so if you make a mistake you can just unscrew and rescrew in seconds, no problems. Make sure you don't over tighten – they are quite strong, but all plastic screws can eventually break under enough pressure – you should be able to screw them until they feel snug.
1. Screw the main body together, which includes 4 longer white/gray segments, one shorter red segment, and one short white/gray segment.

2. Then take each of the silver fins and connect all 4 to a base by sliding them together. It may take a little bit of forcer, pushing down on a table can help.
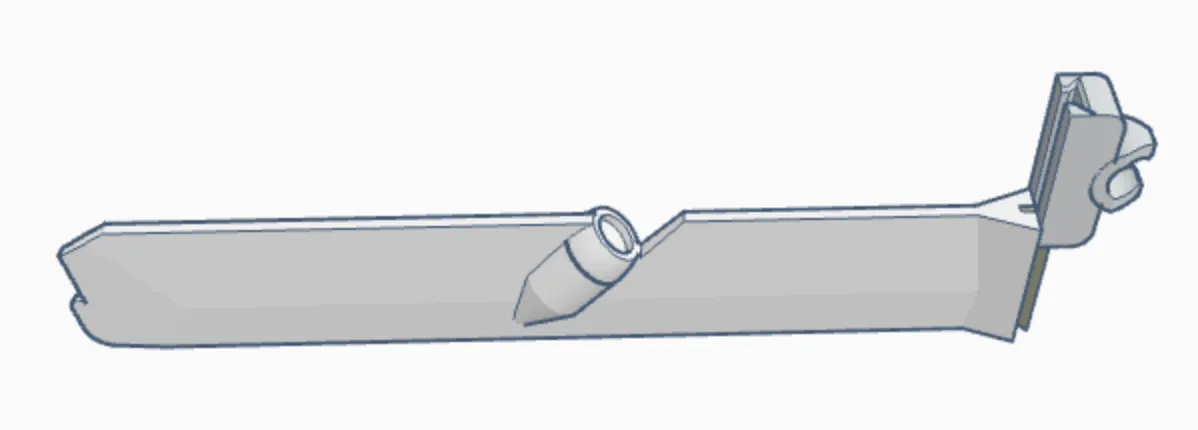
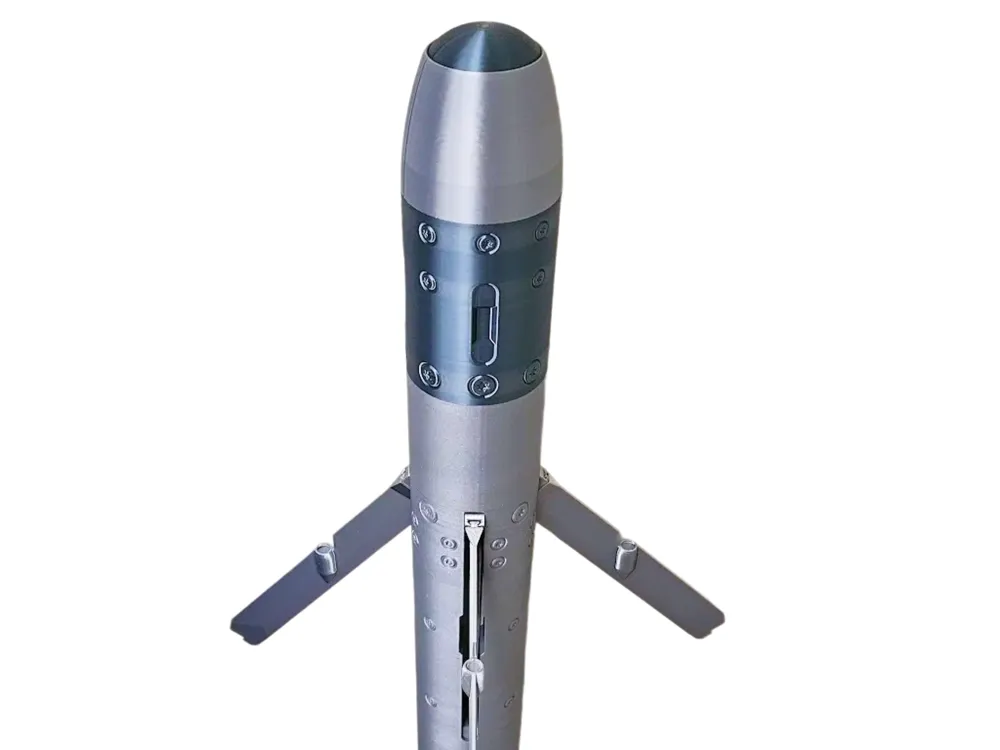
3. Now the assembled fins and clip them into the tall gray section. They should snap in easily if you line it up right. If you can't get the fins to snap in, try a different (probably lower) angle.
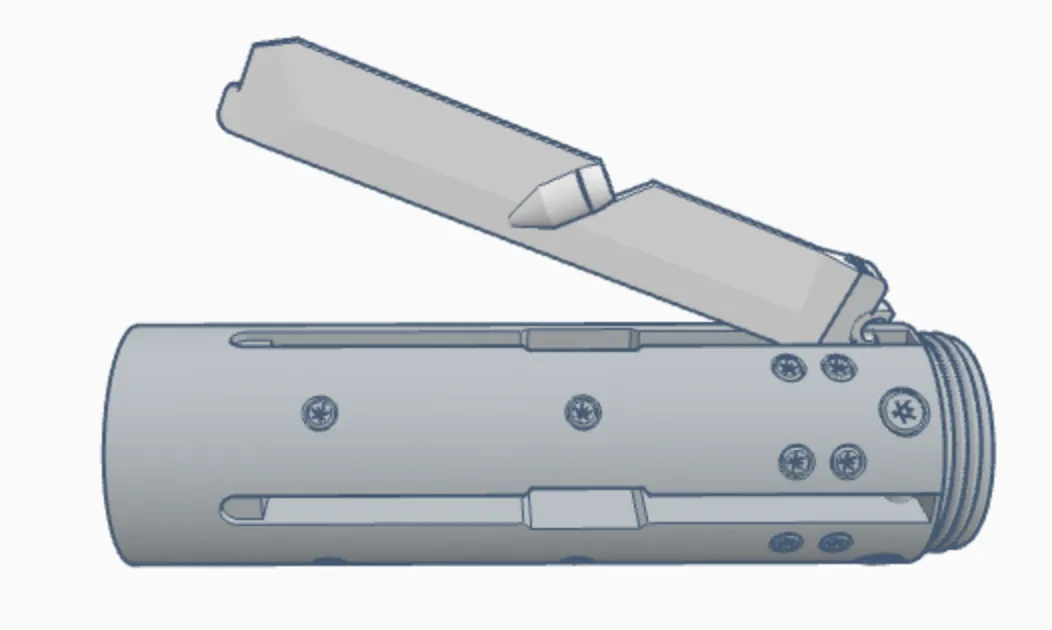
4. Next begin screwing on the other parts one by one to the far right end (the end with the red strip).
5. Then Insert the lens into the very tip of the missile as you see below.


6. Lastly, begin connecting the rocket motor by connecting the top threaded piece to the bottom piece with the two long pegs provided.
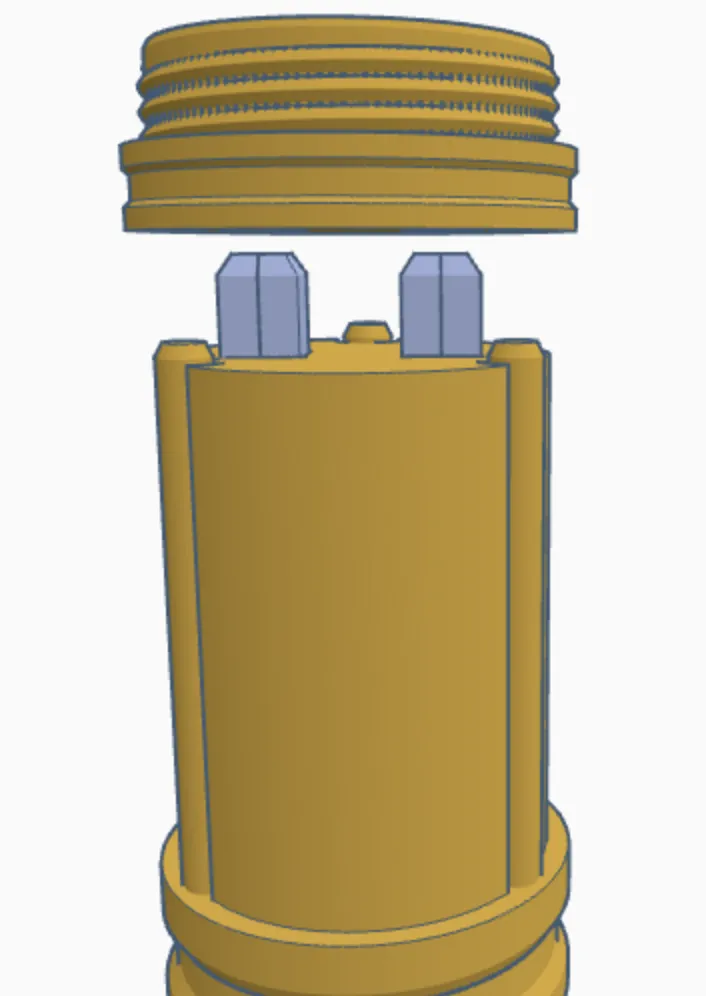
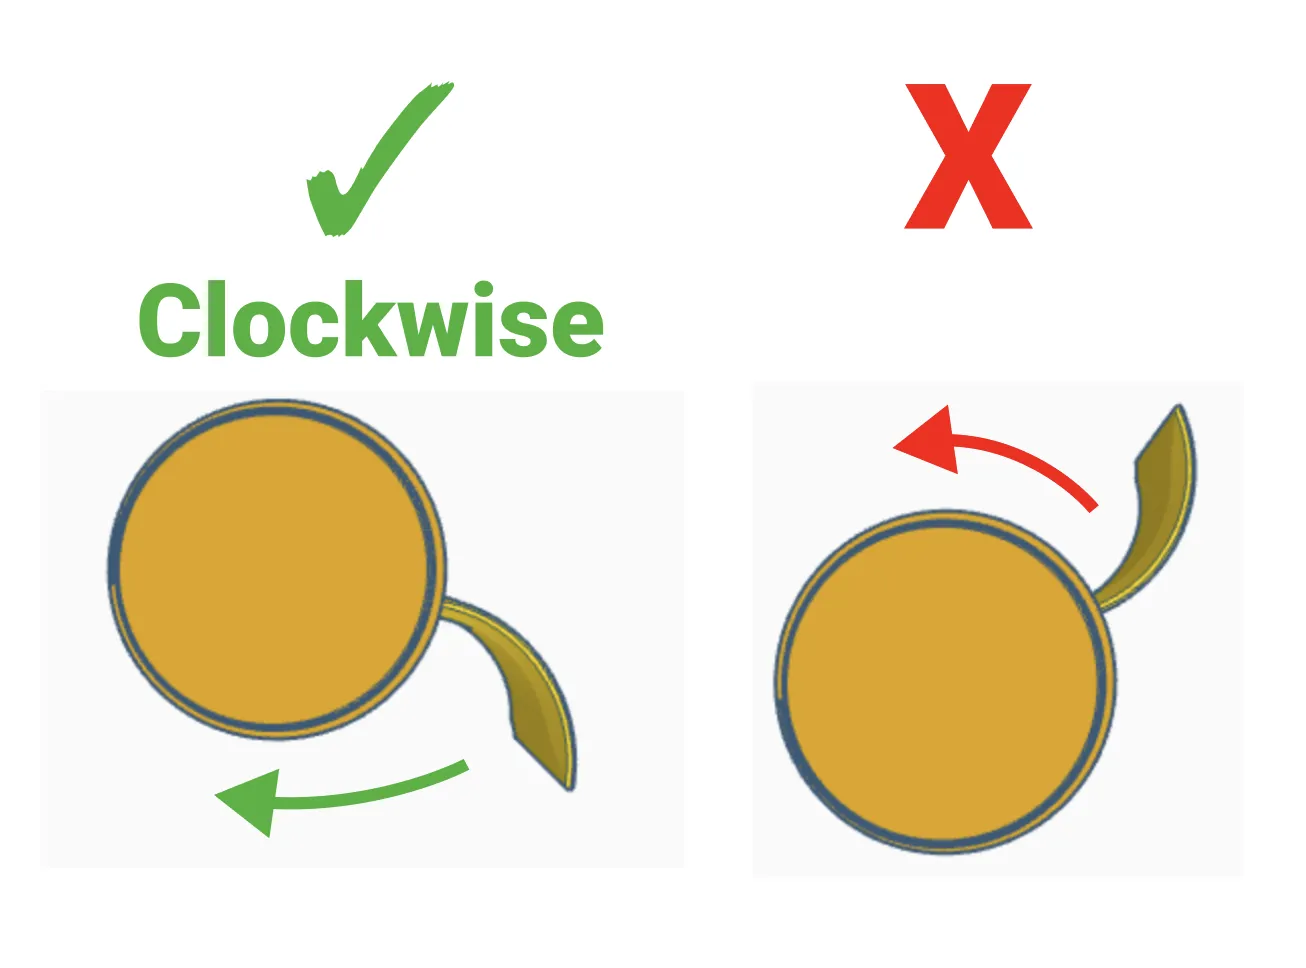
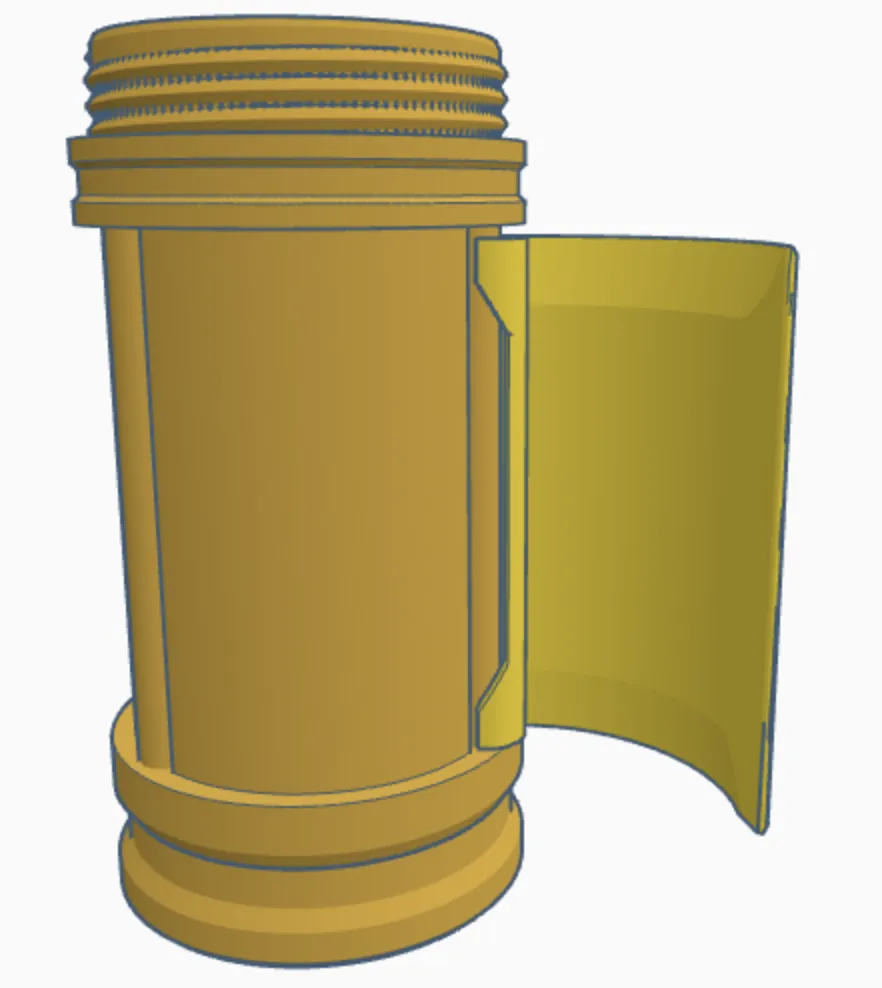
7. Then the final step is to attach the fins to the rocket motor – the will snap into place with little force. Note that they must be facing clockwise, not counter clockwise. If you insert them counter clockwise you will find that they don't fold all the way.
v1 Assembly
Assembly is super simple:
- Each part has a number on the top and bottom. Just make sure that you connect the parts with the same numbers together. So if you see a 2 on one part and a 2 on another, simply join them together with the provided pegs.
- The wings should be added after assembly of the parts they are connecting to and are simply snapped into place.
- Two of the pegs are longer than the others, but they are labeled with “1” on them for easy reference that they should be used for to connect the other parts labeled as “1”.
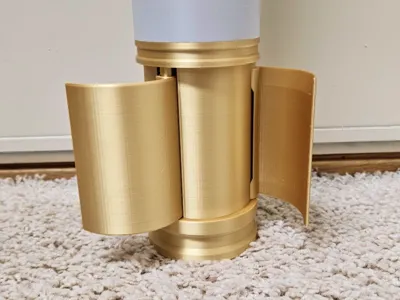
- I'd recommend assembling the gold rocket nozzle parts labeled “1” before snapping on the fins.
- If you have two build plates, just swap build plates for each print job and let one cool down and pop off on its own. This helps the parts come off more cleanly for a tighter fit when assembled. If you only have one build plate, you could let it cool for 10 minutes or so, every little bit helps.
Bambu filaments used
- PLA Basic Light Gray
- Metal Iridium Gold
- Silk+ Silver
- Matte Ash Gray
- Silk+ Titan Gray
- Matte Dark Red
Boost Me (for free)
If you enjoy my work and would like to help support my ability to share more (and even better) models in the future, please consider boosting or buying me a coffee at the link below. Your support is what helps me have enough filament and supplies to do all the print testing required for my models to be high quality and easy to assemble. It takes a mountain of test prints for each model. Thanks :-)
| Here's a link to my Buy Me a Coffee page, thanks for the support! |
( ! ) Do not sell my prints — I have not authorized selling prints. If you sell my prints on Etsy, Amazon, eBay, etc, I will find out.
This 3D print is intended for decorative purposes only and is not suitable for children. Small parts may present a choking hazard and edges may be sharp. By printing this 3D print, you assume all liability for any harm to yourself or others resulting from its use.
License

You shall not share, sub-license, sell, rent, host, transfer, or distribute in any way the digital or 3D printed versions of this object, nor any other derivative work of this object in its digital or physical format (including - but not limited to - remixes of this object, and hosting on other digital platforms). The objects may not be used without permission in any way whatsoever in which you charge money, or collect fees.


Comment & Rating (165)