
Ammo Capsule 2.0
Print Profile(7)



Description
Membership
If you are interested in selling this or any of my other models, there is a commercial license available!
2026 Update
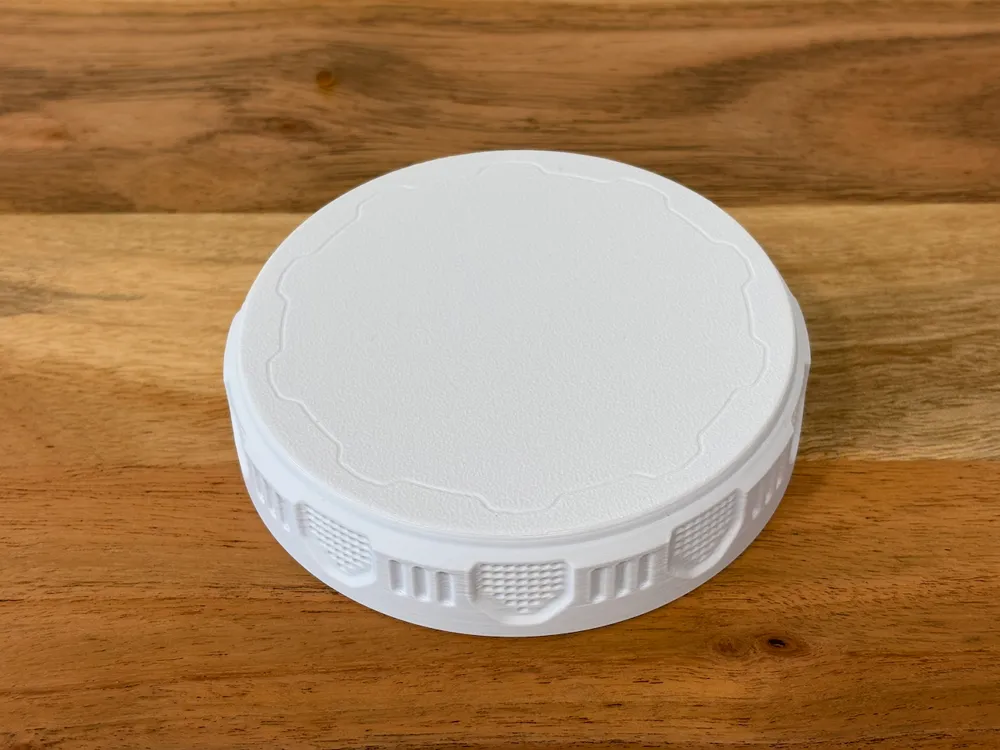
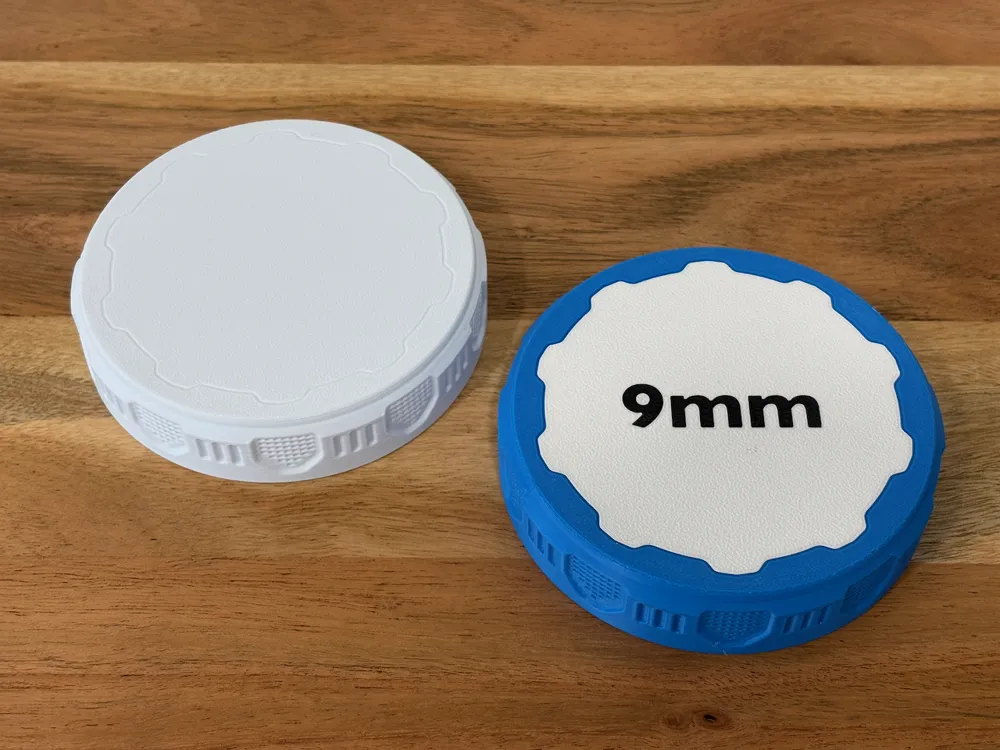
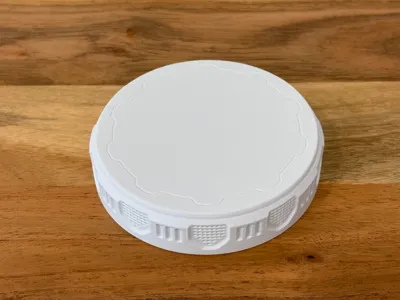
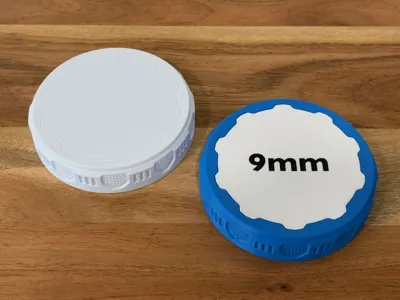
Added blank lids so you can add your own text right from the slicer. Directions down below.
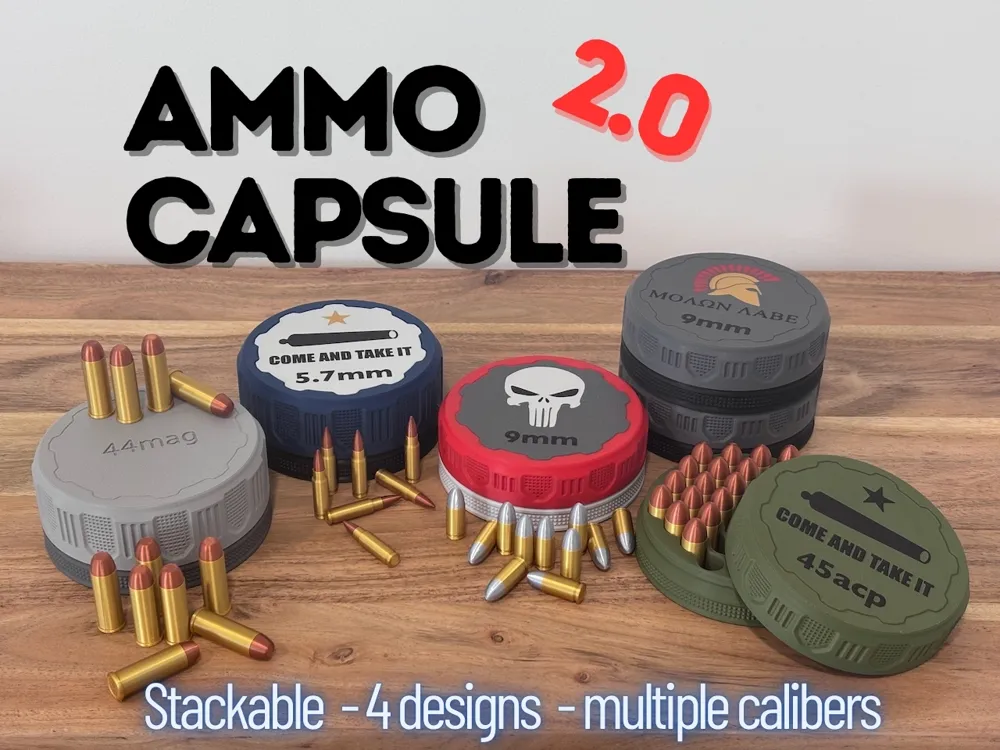
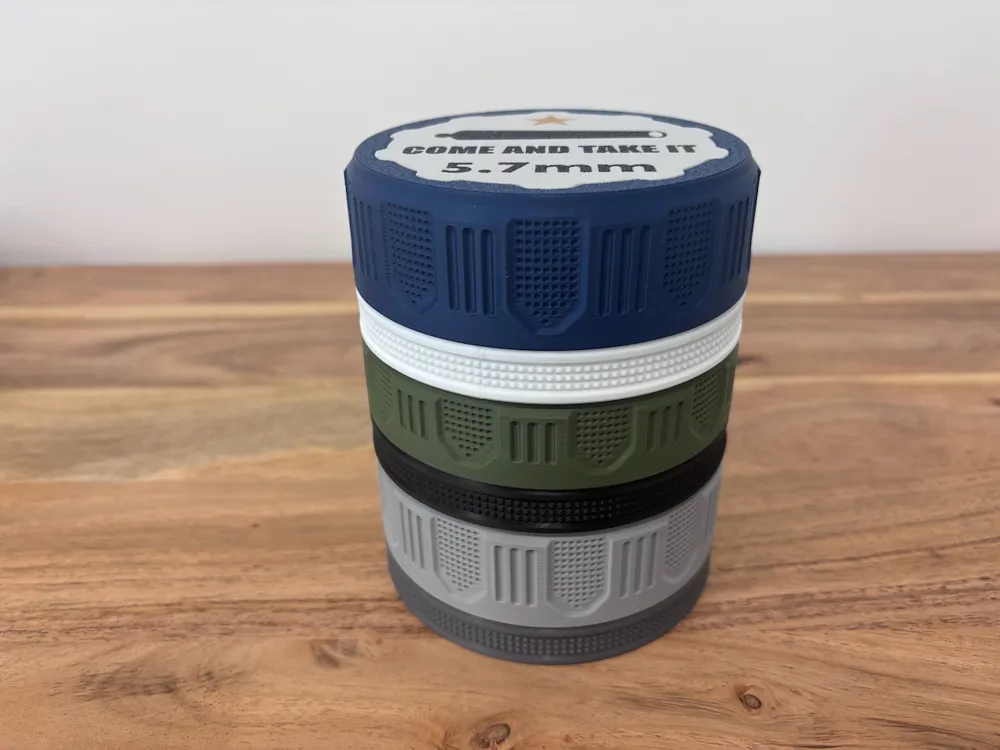
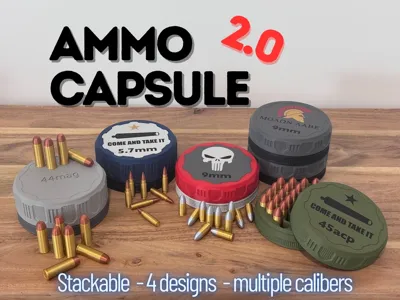
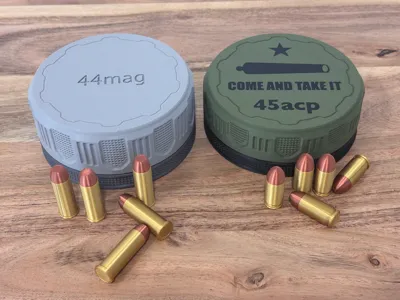
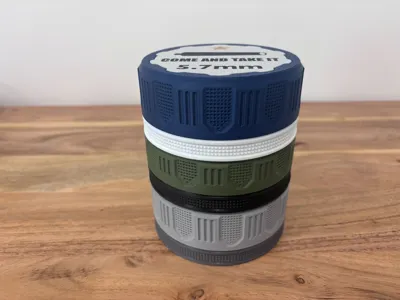
First off, a huge thank you to everyone who downloaded my original Ammo Capsule located here: https://makerworld.com/en/models/956887-tactical-ammo-capsule#profileId-925962 It ended up becoming way more popular than I ever imagined it would be. After reading the comments and feedback, I wanted to make some improvements to my original design, mainly the ability to stack them without them sliding around. So I present to you the Ammo Capsule 2.0
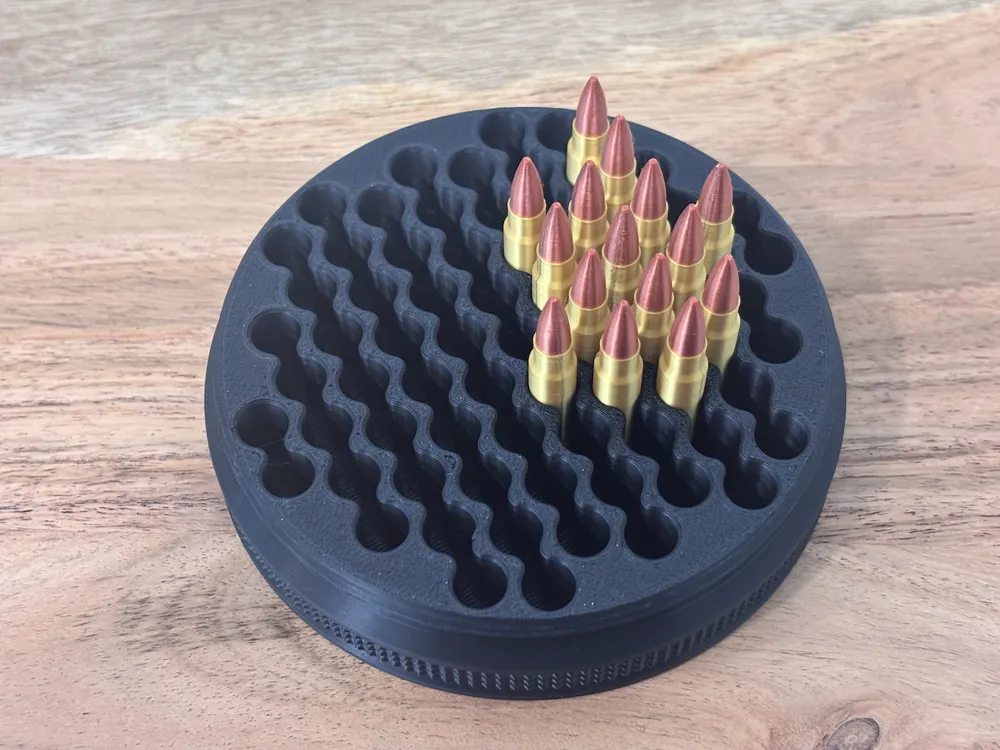
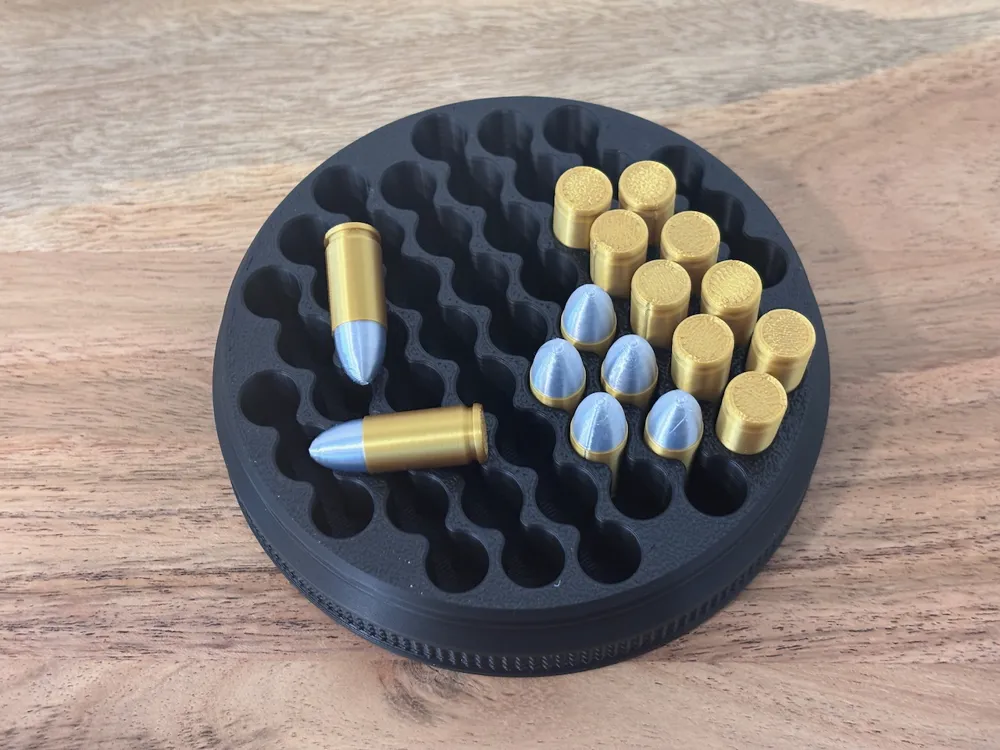
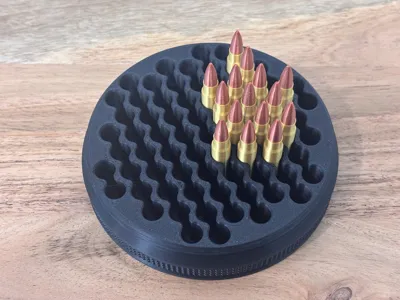
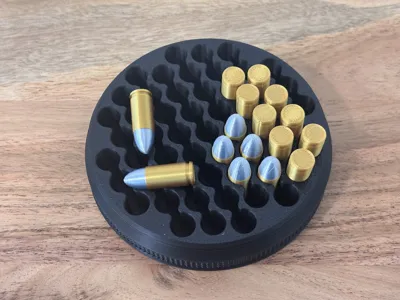
You'll notice right away that the overall design has been improved, and the bases use a more streamlined hole pattern that is a bit quicker to print and little quieter as well depending on your printer. The base is now printed in the upside down position which allows for a lip at the bottom that mates up with a tapered section on the lid.
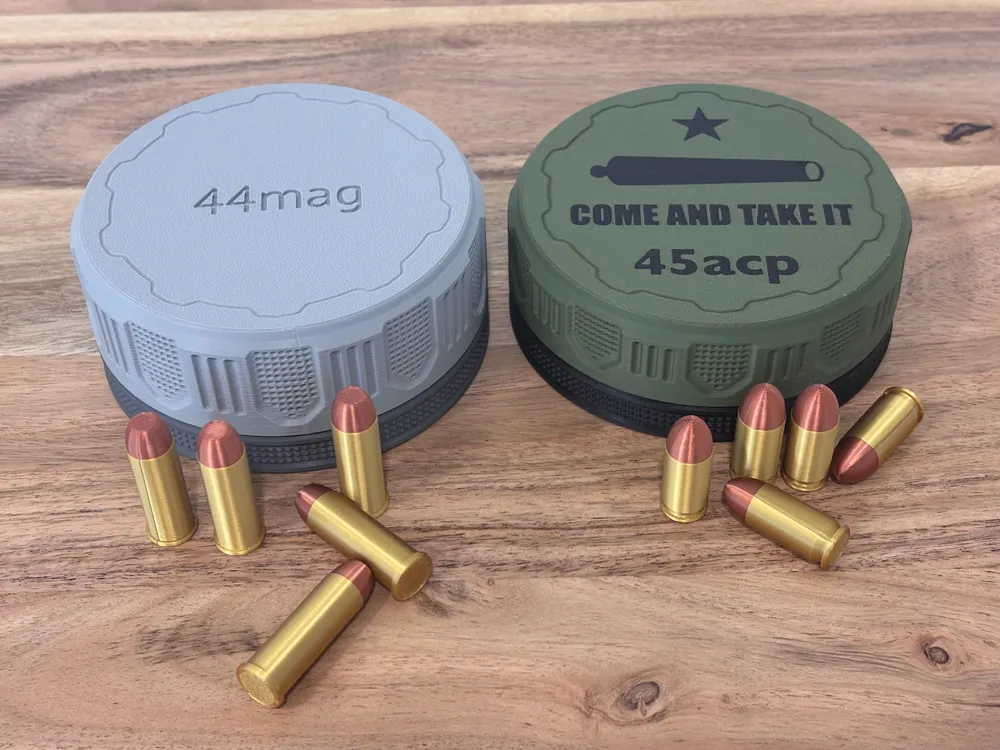
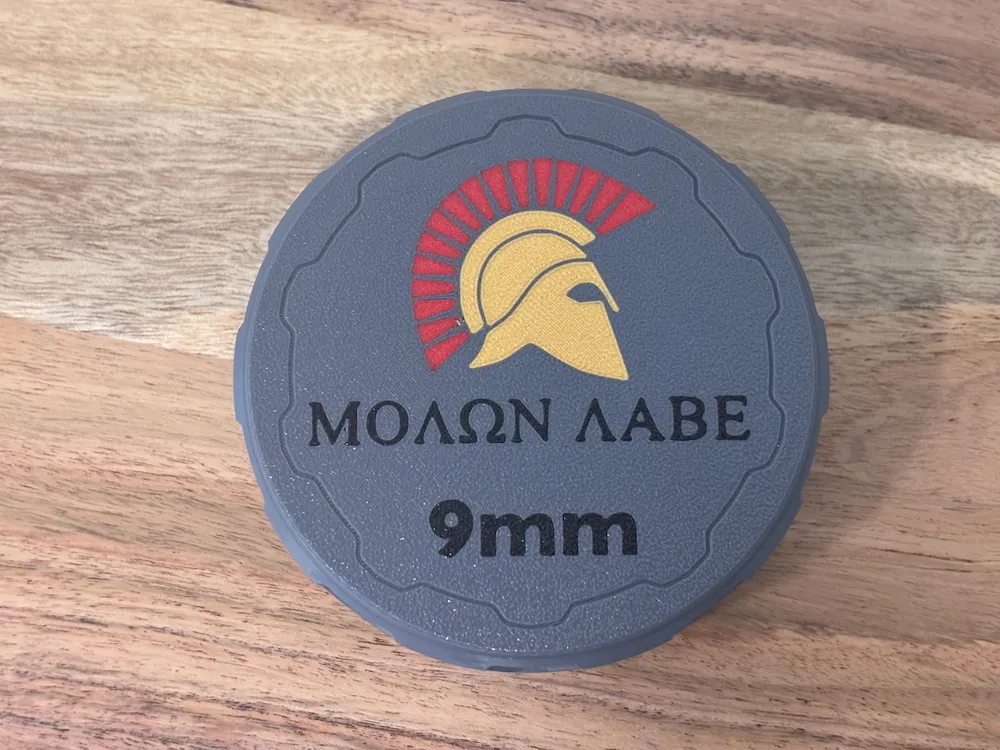
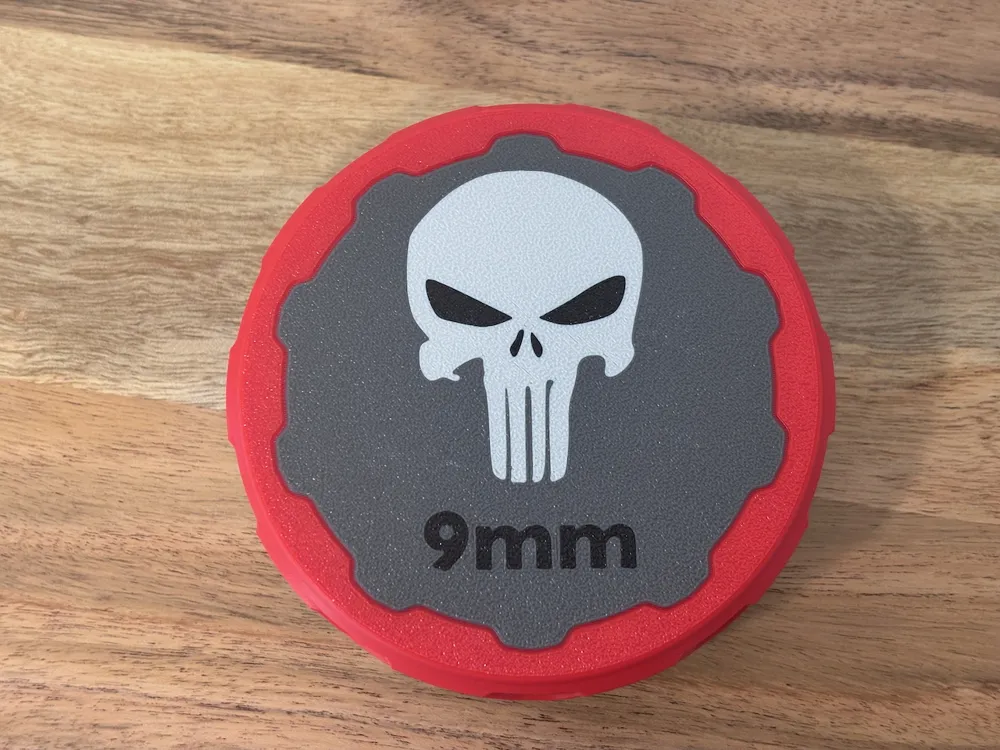
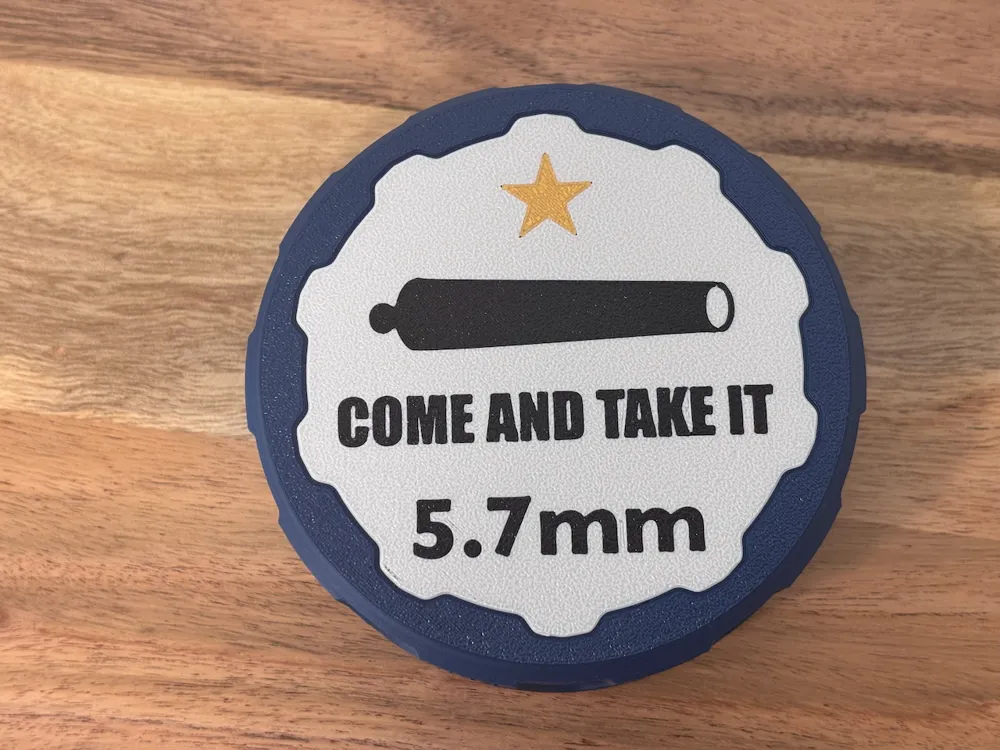
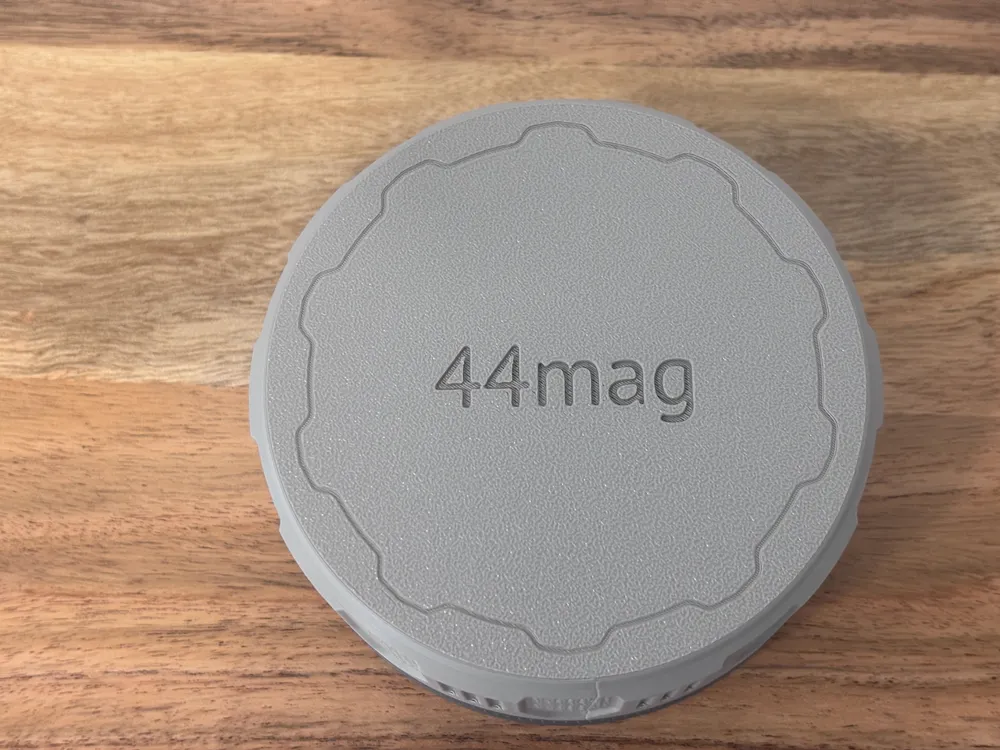
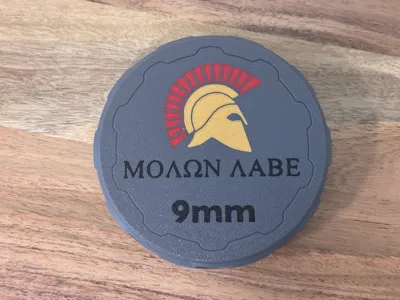
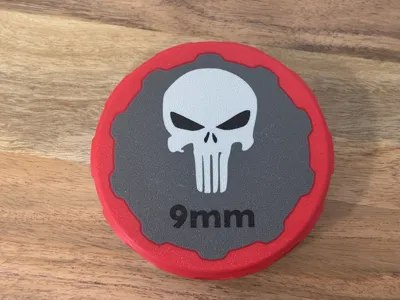
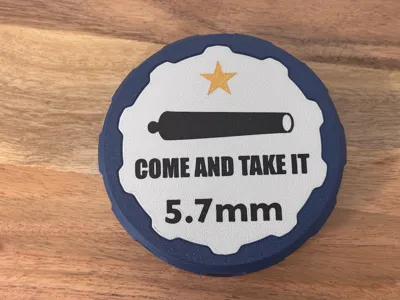
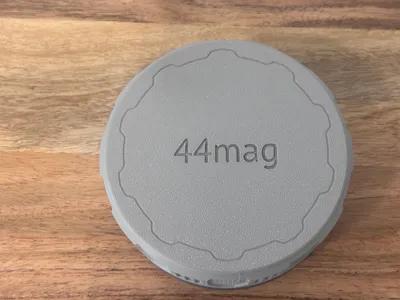
There are 4 designs available, 3 of which require a Bambu AMS or another brand of multi color capable printer. But fear not, the 4th design doesn't require multiple colors, and can be printed just fine with a single color filament. And if you prefer the simple look of the plain design, but want a splash of color, you can colorize the bottom of the text, and the circle portion around the text. The lettering and designs on the other lids are all easily colorable with the paint tool in the slicer giving you a completely custom color look. I'm looking forward to the cool color combinations you all come up with!
The files are separated into five 3mf profiles. The bases, and each of the four lid designs. All the plates are labeled, so all you need to do is pick the base and lid design for the caliber you want and print those.
Available calibers
22LR - 121rds
5.7mm - 73rds
380 - 55rds
9mm - 55rds
38spl - 55rds
357mag - 55rds
40cal - 37rds
10mm- 37rds
44spl- 37rds
44mag- 37rds
45acp- 37rds
45LC- 37rds
Right now only pistol calibers are available. There might be a couple rifle calibers coming, but it takes a lot of work to get this many files done at one time, so I can't say exactly if or when rifle calibers may become available. I am working on a entirely different design for rifle ammo though. Be sure to follow me so you can see when that comes out!
Printing tips
These are pretty straightforward to print, but there are just a couple things you should know before printing your own Ammo Capsule 2.0.
- Make sure your build plate is clean, especially for the multi color ones. Dawn dish soap works great.
- If you slice it yourself, make sure both the lid and base are upside down. No supports are needed for the base.
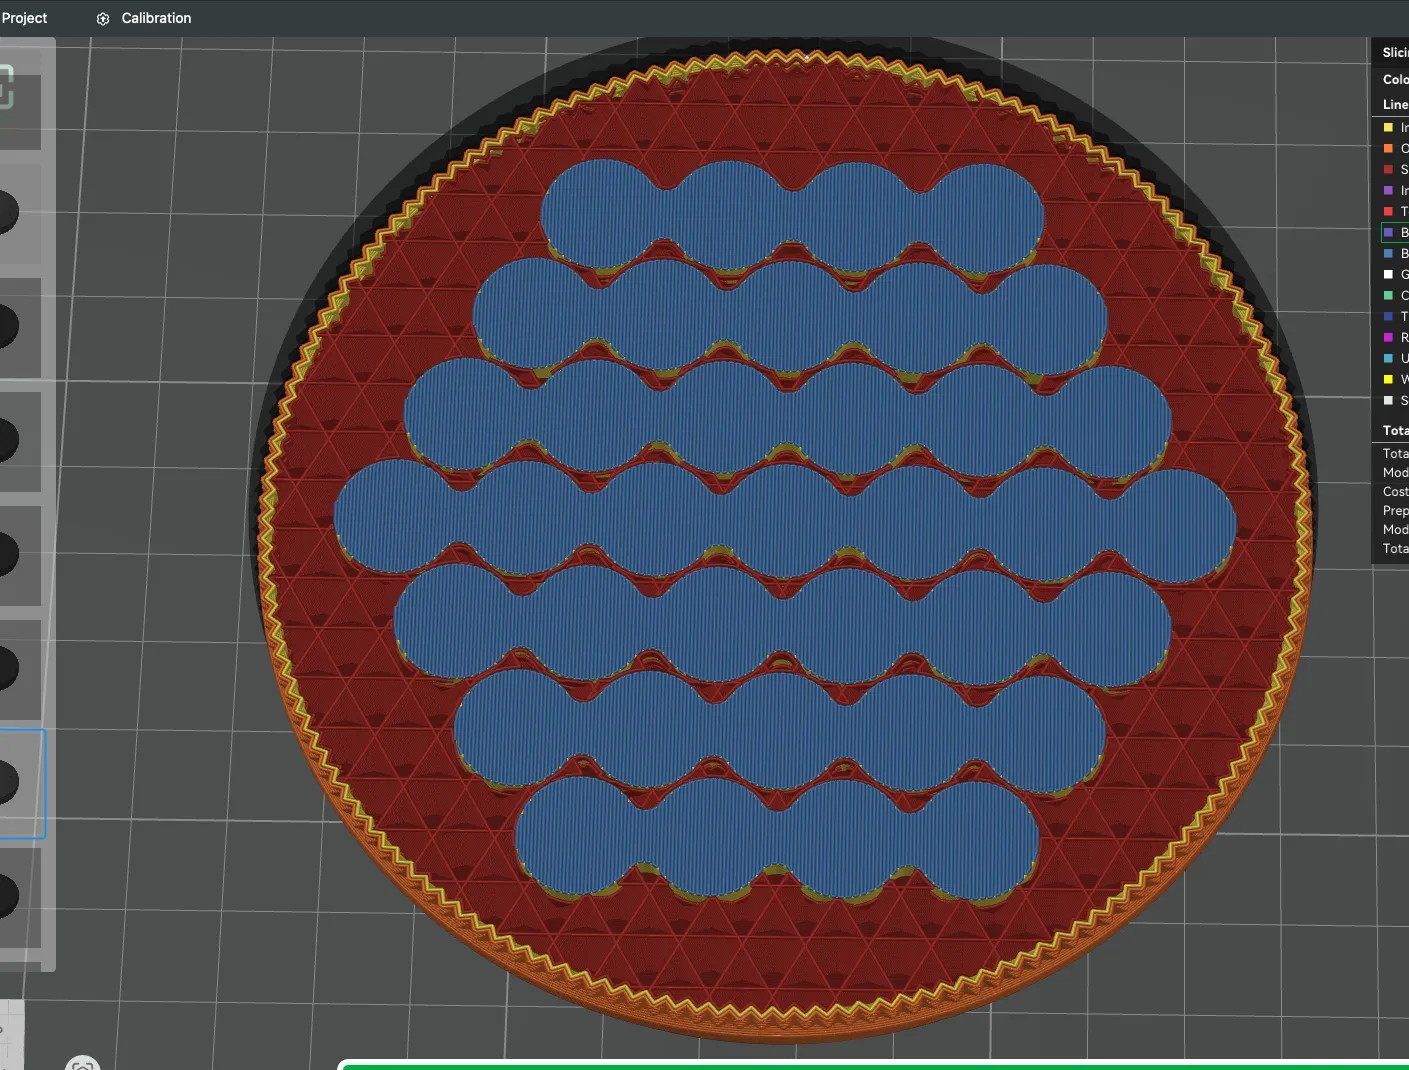
- Make sure the bridge direction is going the right way (see picture below) if it's not, you're going to have a messy bottom.
- If you are slicing the plain lid yourself, set the bridge direction at an angle for the text. I used 35 degrees. That keeps it really clean.
If you want to save a bit of time, you can add a modifier cylinder to the wavy walls only, and set the sparse infill density there to 0. Do not extend the cylinder into the base portion because you will have a hollow section under your ammo.
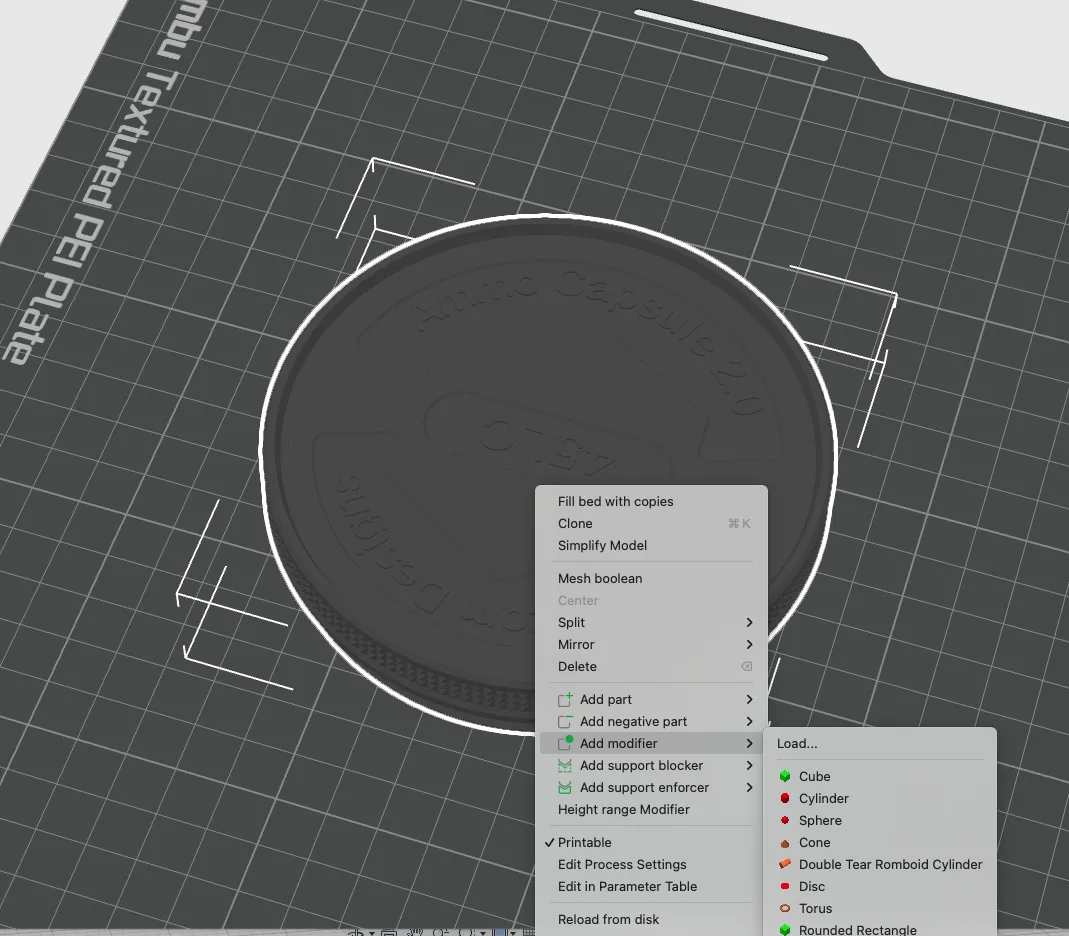
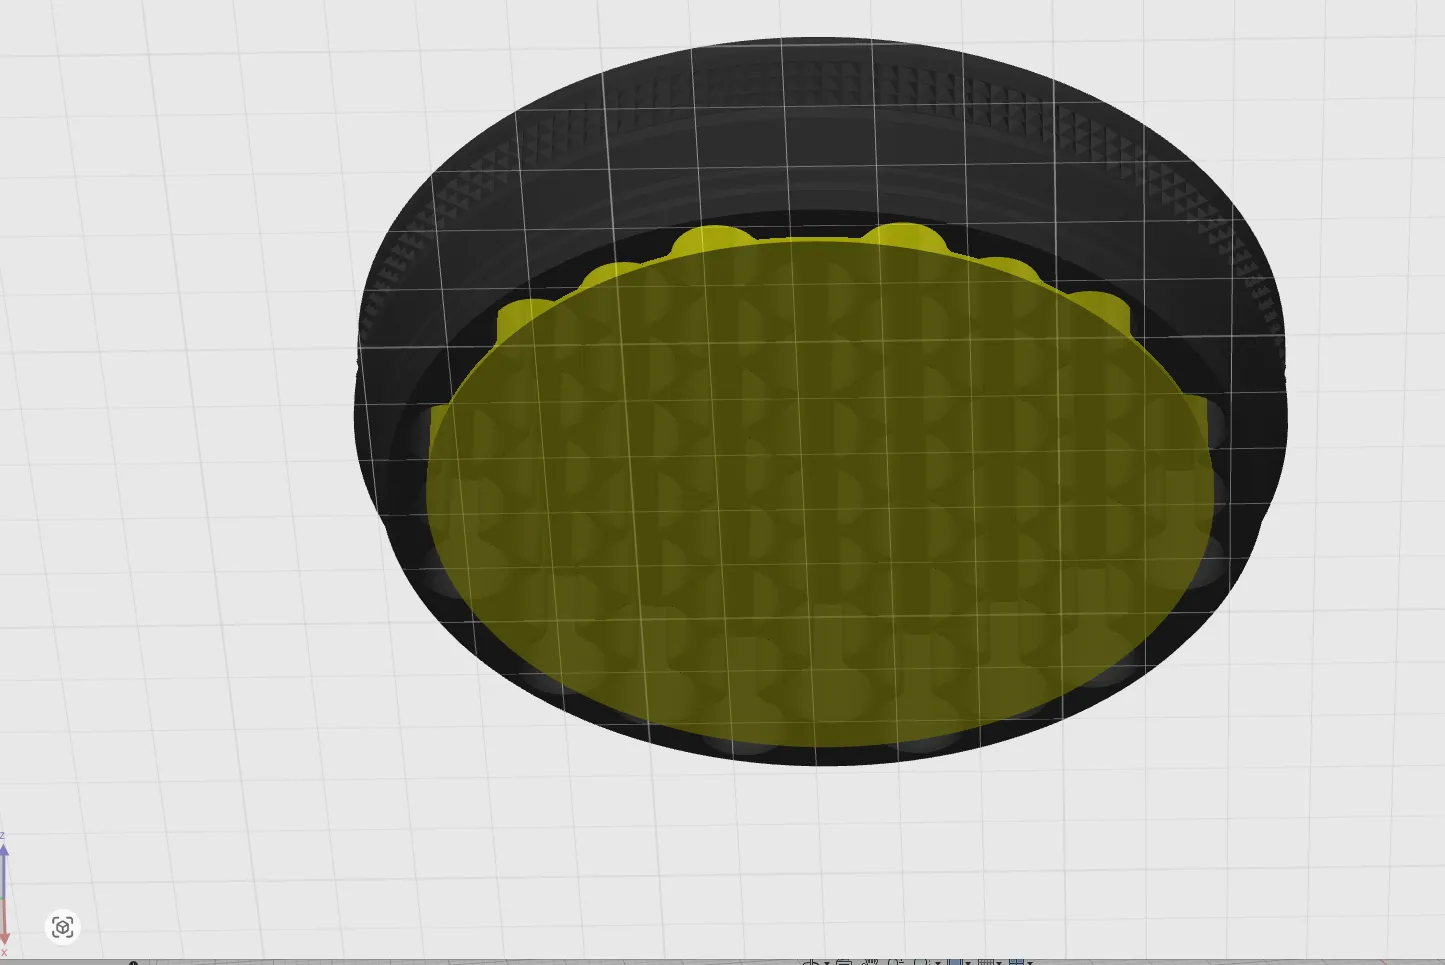
And this is how it should look.
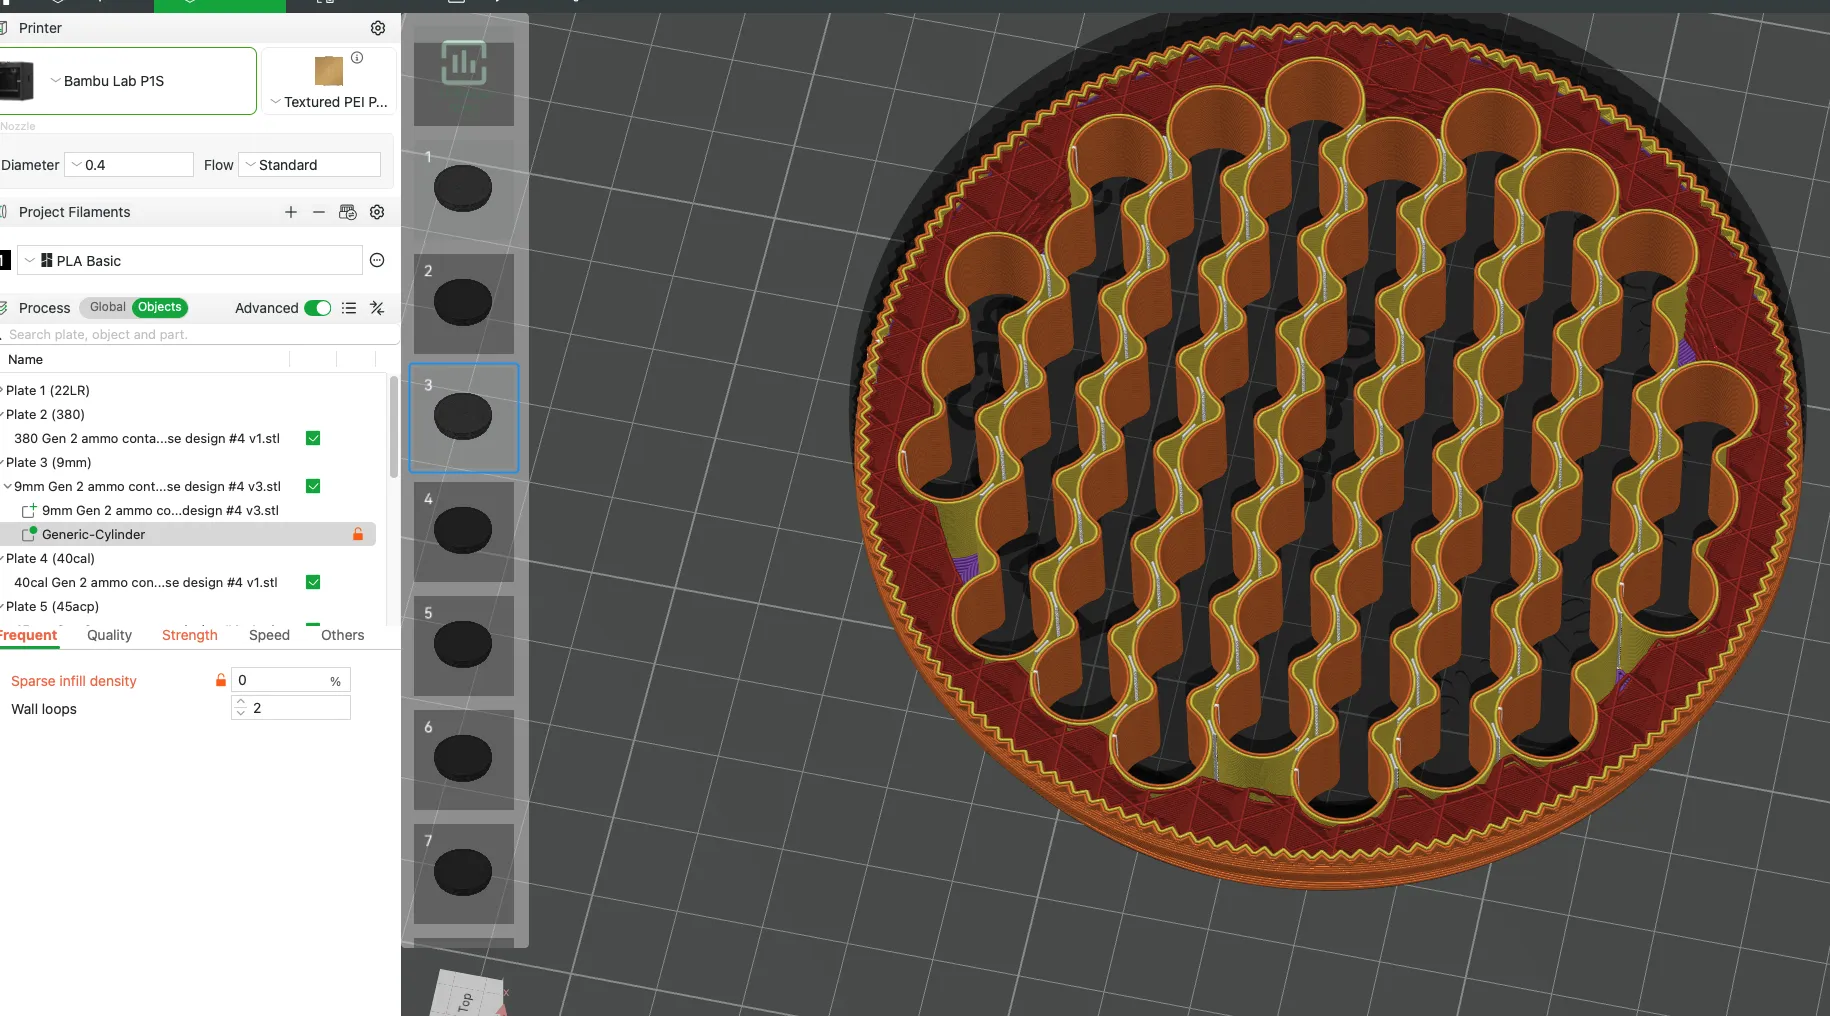
And this is the direction you want the bridge to go. Perpendicular to the long wavy slots. This will give you a nice clean bottom.
To get the best looking top, I've found that using the textured PEI build plate gives the best results combined with using Arachne walls. This allows the pattern and text to have good coverage and blends the edges together. If you are experiencing gaps in the top, your filament is probably under extruding.
Adding your own text. If you have never done this before, follow these easy steps.
Select your lid and hit the text button. Then select your font and size. The thickness determines how many layers the text will be. 0.80 is a good starting point. Then select modifier.
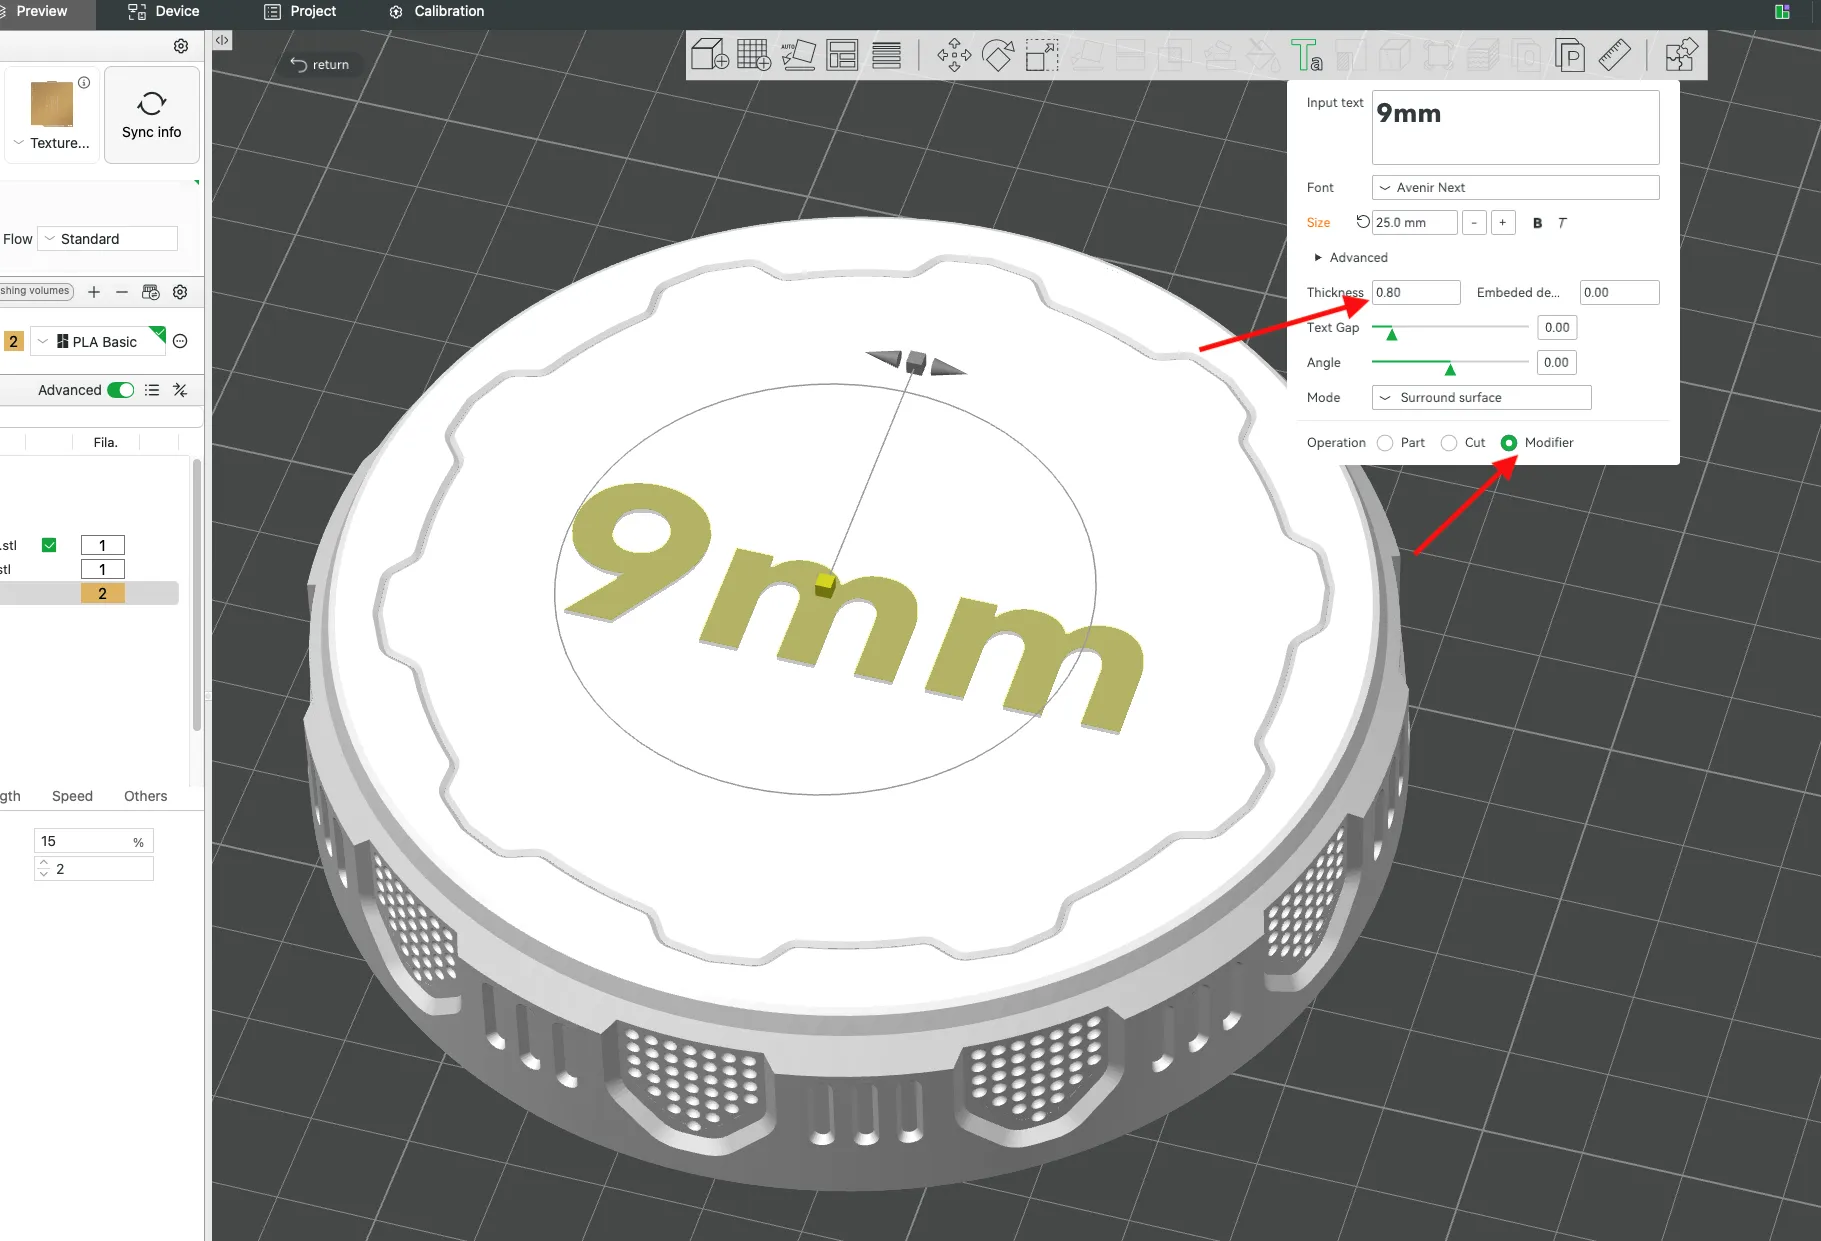
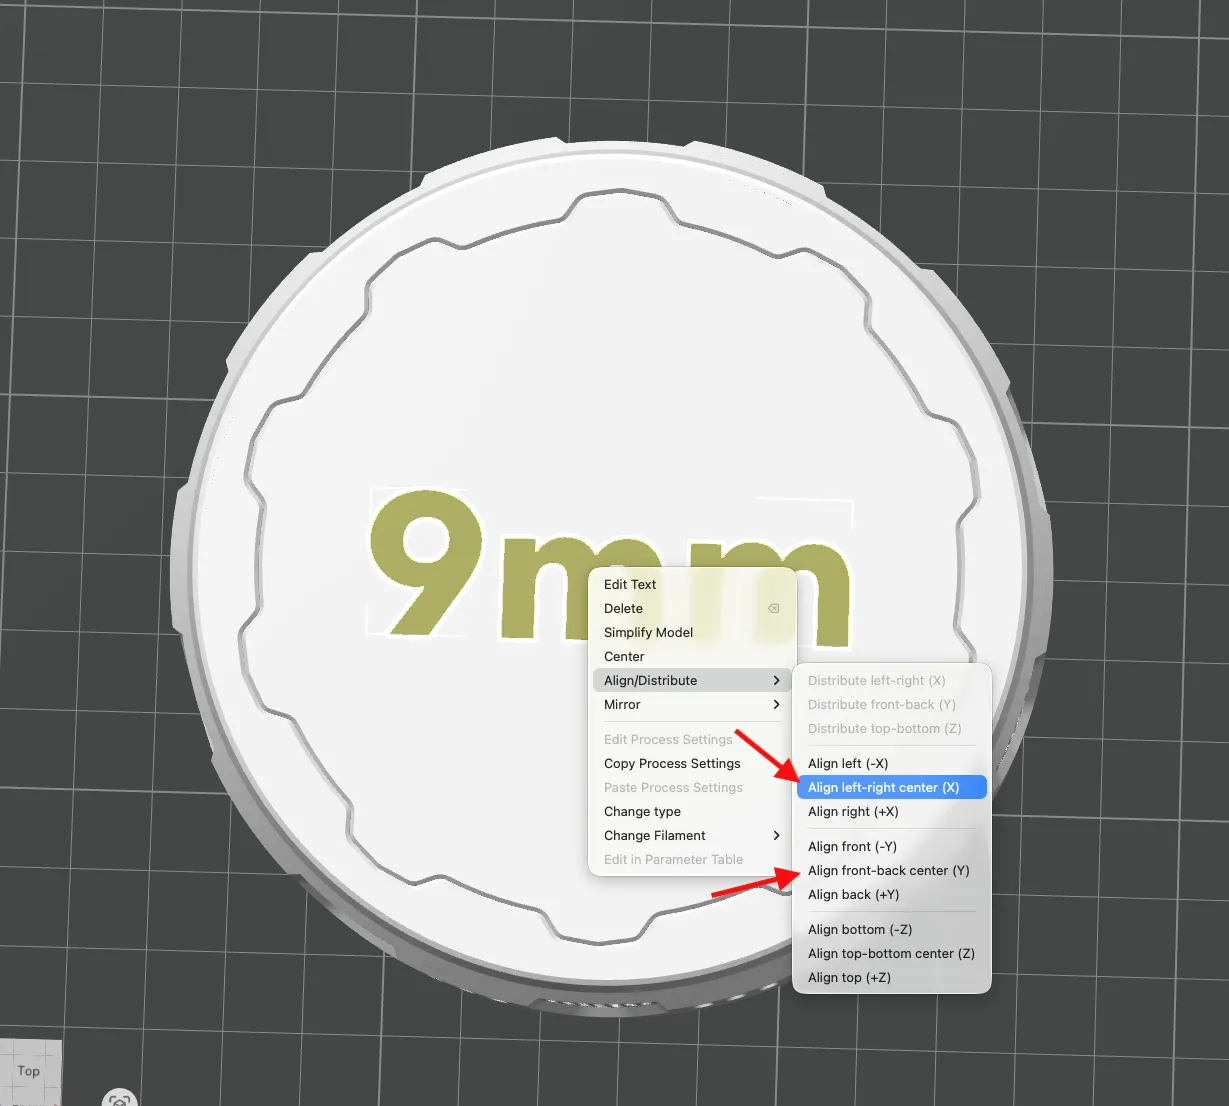
Align your text by hand or if you want it centered, click on both of these options
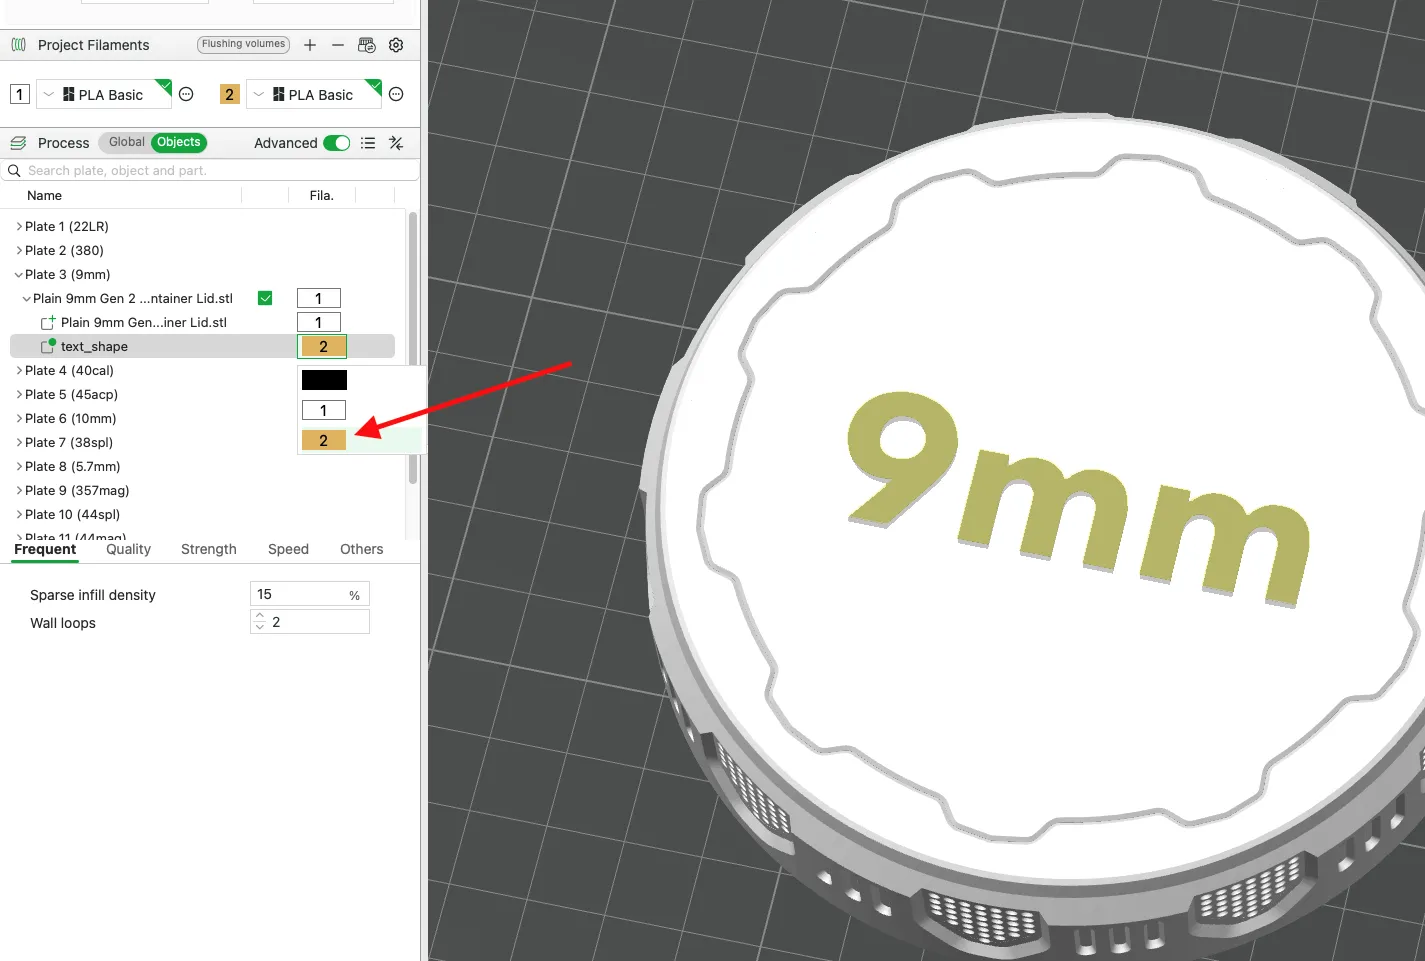
Make sure you are in the objects panel, and select your text and assign it a filament color.
Slice it and there you go!
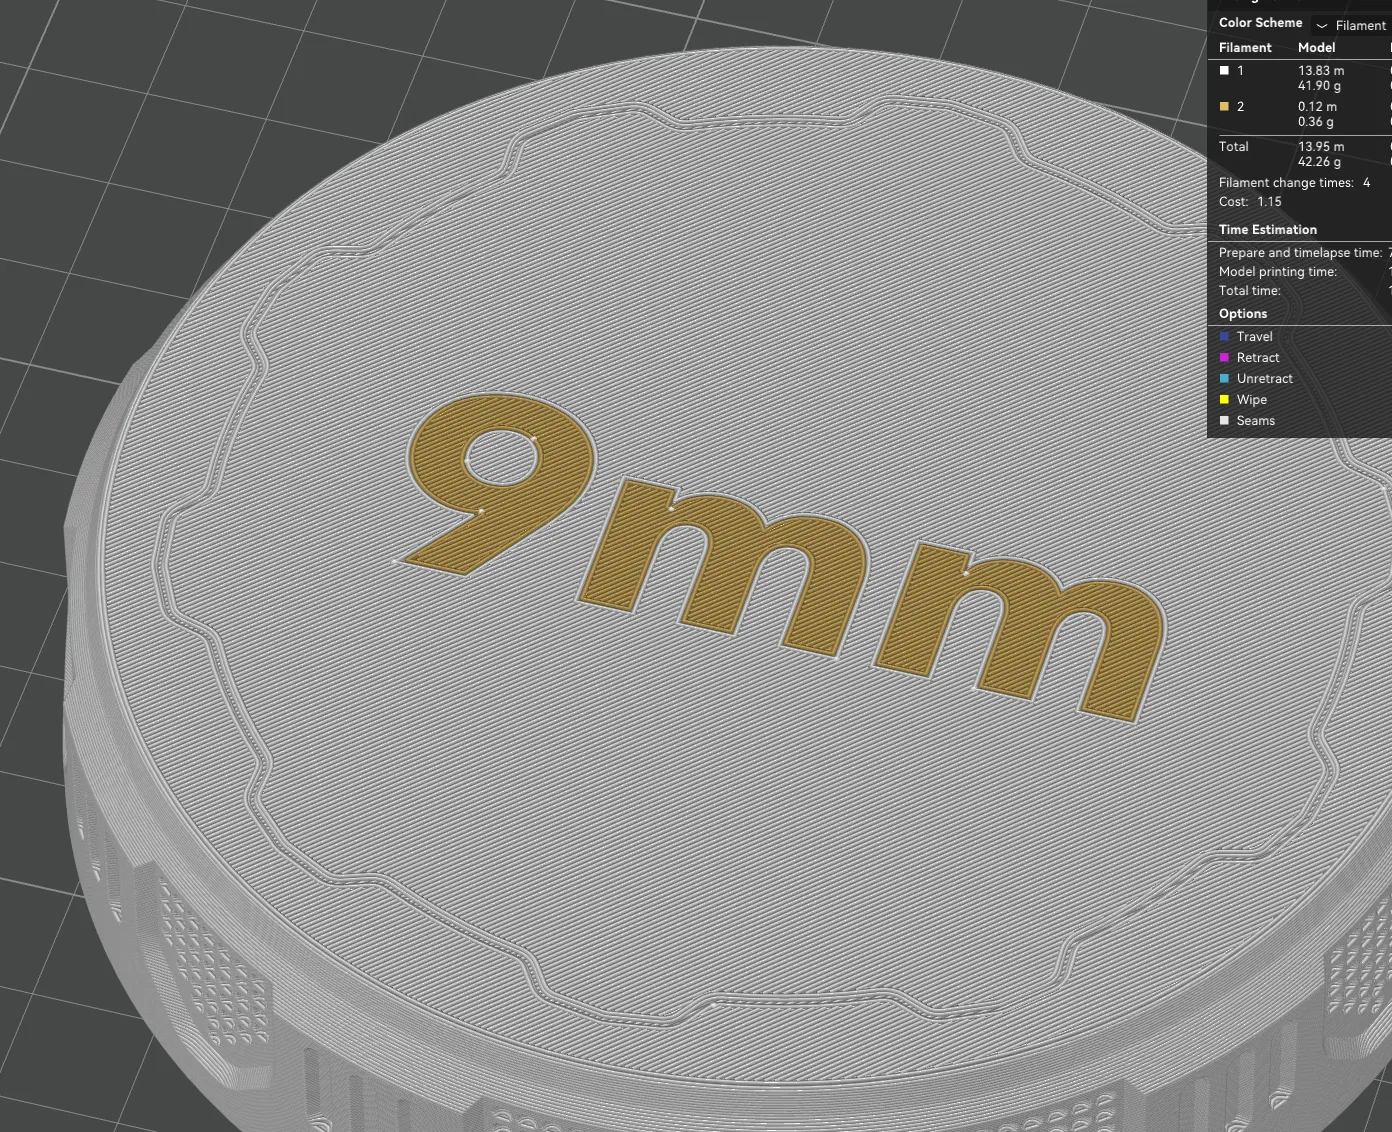
And that is pretty much it. Happy printing!
Commercial license also available on Patreon:
https://www.patreon.com/c/JBCustomDesigns
Membership
Interested in selling these models? Sign up for the commercial license.
License

You shall not share, sub-license, sell, rent, host, transfer, or distribute in any way the digital or 3D printed versions of this object, nor any other derivative work of this object in its digital or physical format (including - but not limited to - remixes of this object, and hosting on other digital platforms). The objects may not be used without permission in any way whatsoever in which you charge money, or collect fees.


Comment & Rating (676)