
HydroBlaster | 3D Printed water gun
Print Profile(1)
Bill of Materials




Description
Have you ever wanted a phone case with no compromises?
Check out my new Custom Phone Case Generator: CaseStudio

Boost Me (for free)
Do you like my model? A boost is completely free for you, and you really help me a lot to create more models like this in the future. Thank you very much
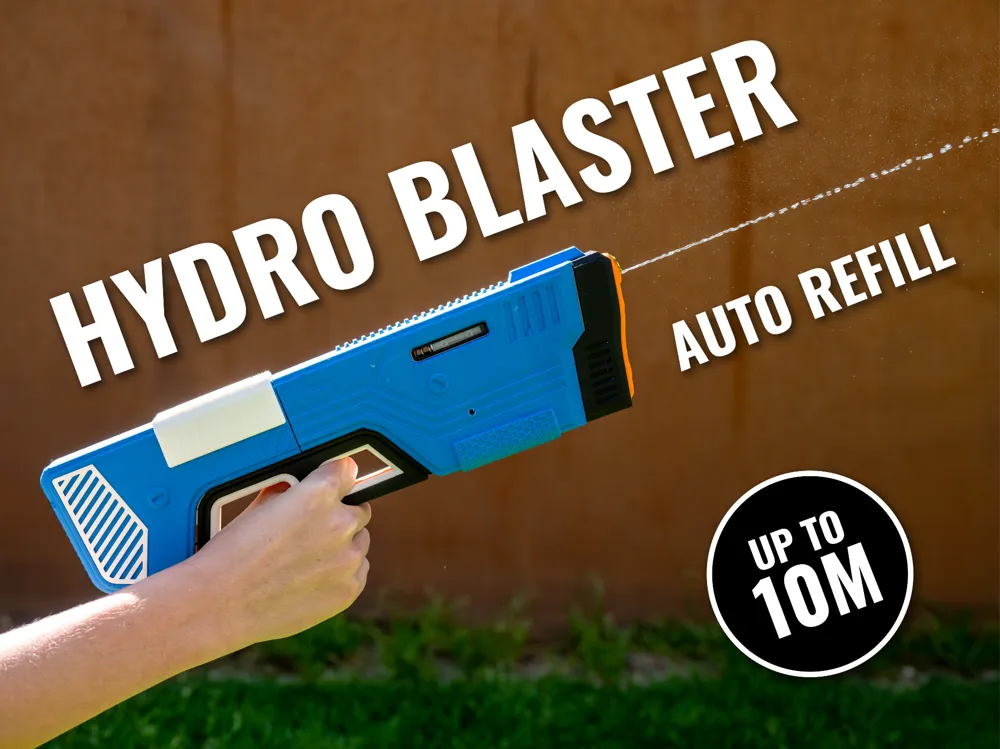
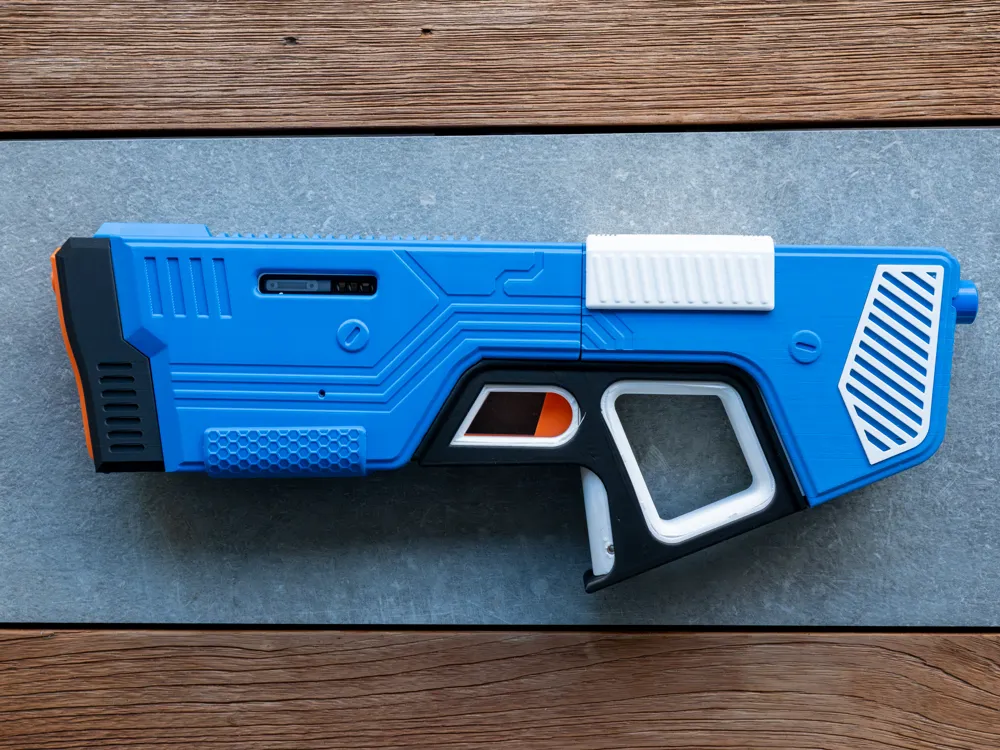
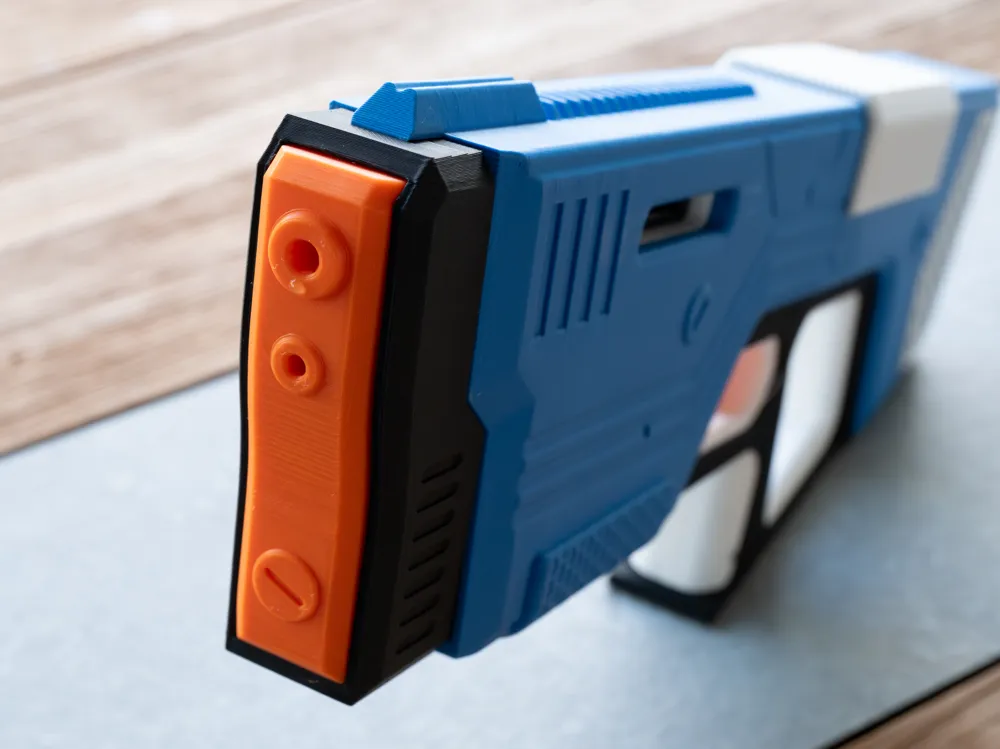
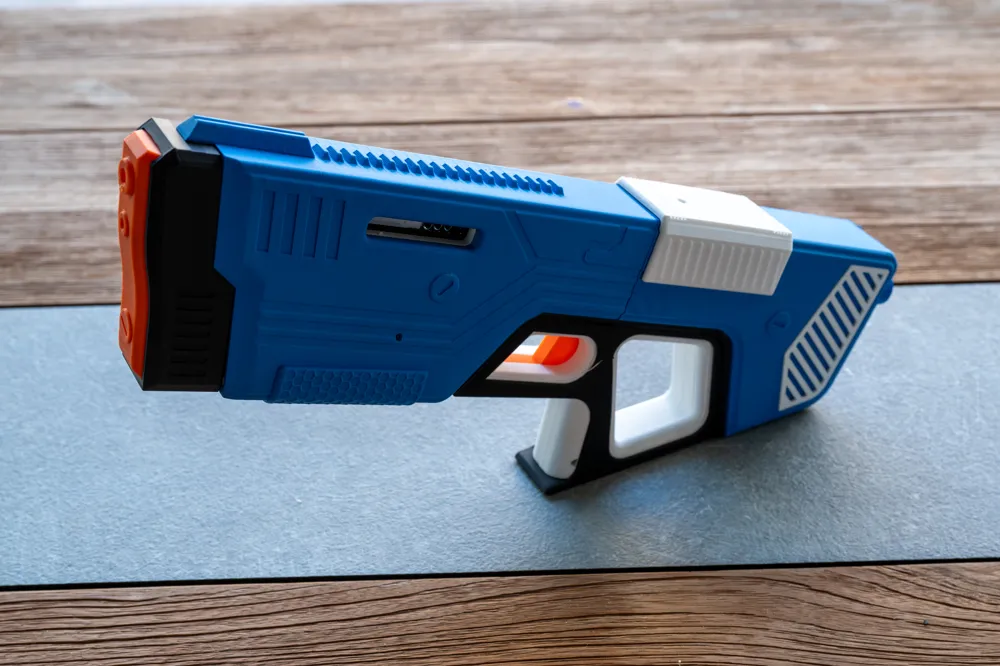
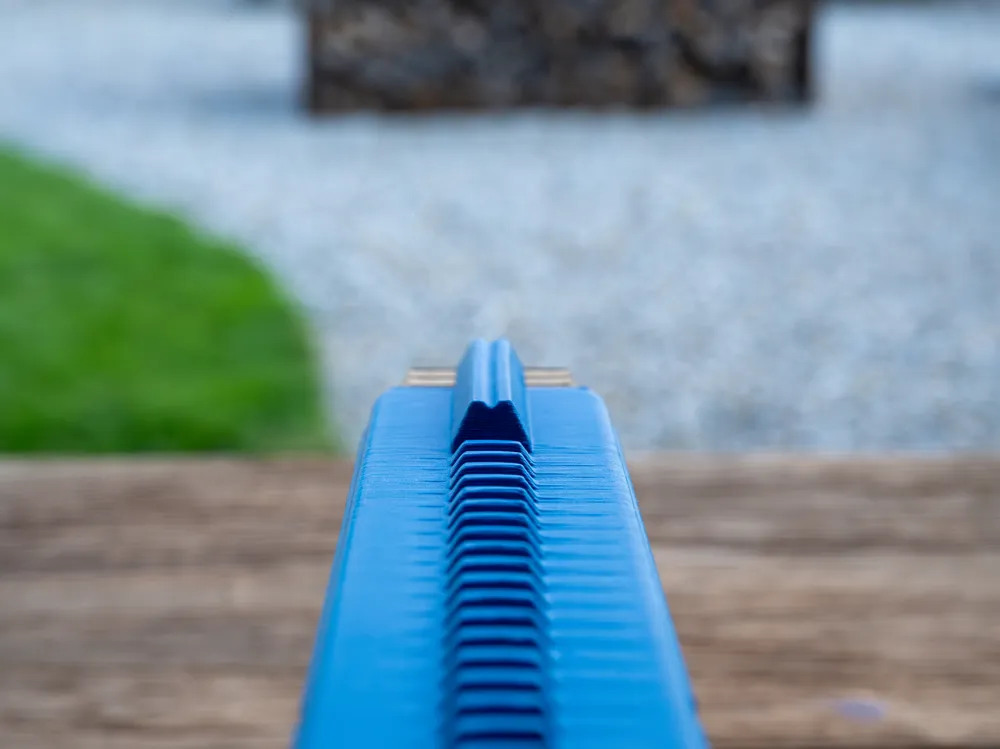
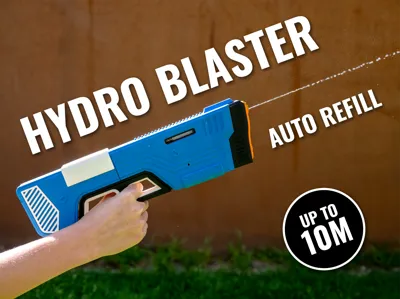
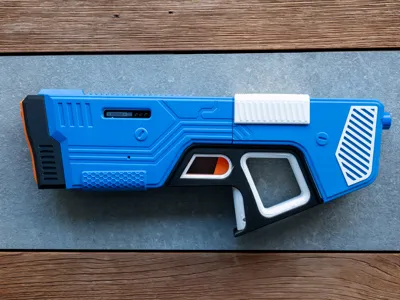
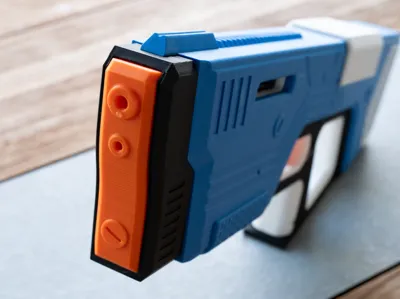
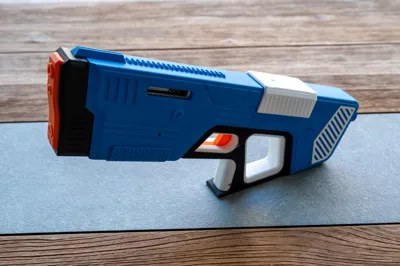
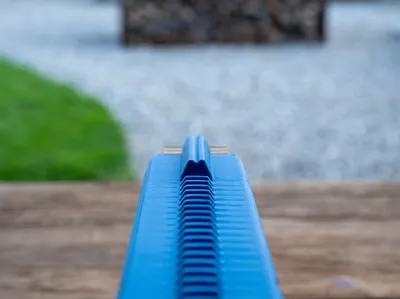
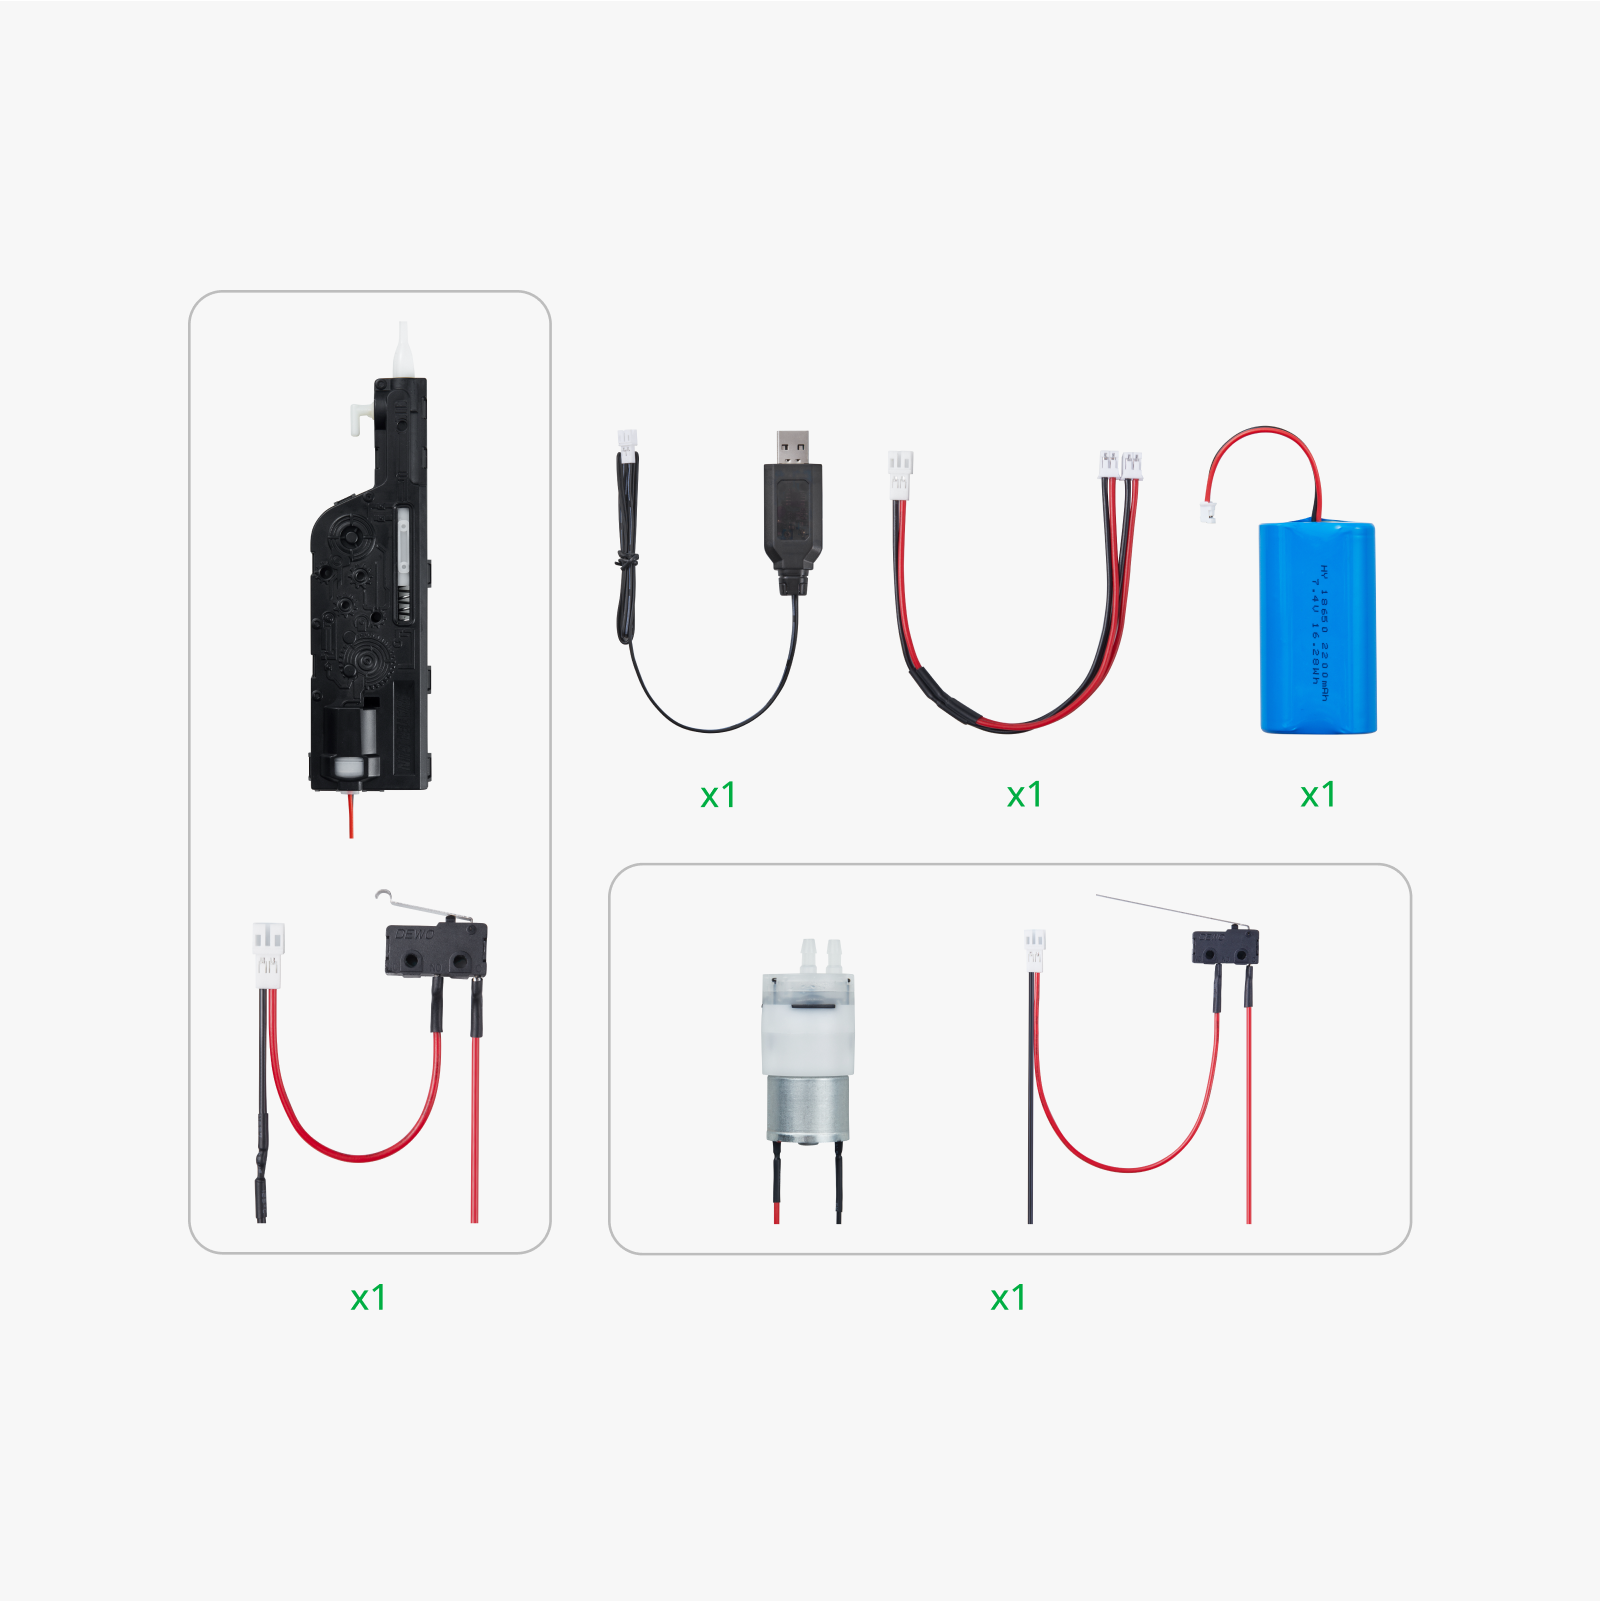
This futuristic water pistol is the perfect way to cool down on a hot summer's day. It even has a fully automatic refill system. With the large tank, one charge lasts for over 80 shots! Thanks to the Bambulab Electric Water Spray Kit 01, the gun can shoot 10m.
I have activated all the support in the pressure profile where it is needed. If you create a pressure profile yourself, I recommend using Tree Support.
Assembly instructions:
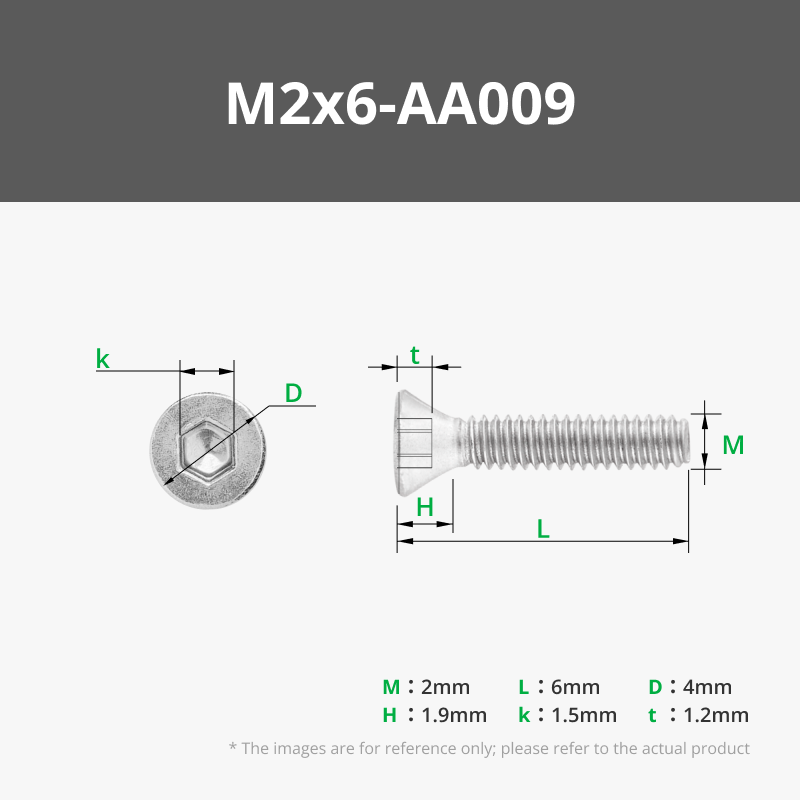
First insert the two matching main pieces (the white parts in the picture) into each other using two 2x14mm pins and then place the electronics as shown in the picture and screw on the buttons using the 2.5x10mm screws. Make sure that all the cables are in the cable ducts and push the remaining cables through the holes in the plate.
For the pump, you need to cut the following lengths of tubing: 1x 18cm, 1x20cm and 1x28cm. Insert the 18cm tube into the inner connection of the pump and the 28cm into the outer connection. You must then push the 18cm tube through the white plate with the big holes and leave the other tube as it is.
On the second and third picture I have colored the tubes in three colors, I hope it is understandable. Red: 28cm, blue: 18cm, green: 20cm.
Attach the orange button using a 0.5x7x12mm spring. Now you only have to place 6 2x14mm pins as shown in the picture and then insert the other two large white plates with two pins into each other and then plug them on top.
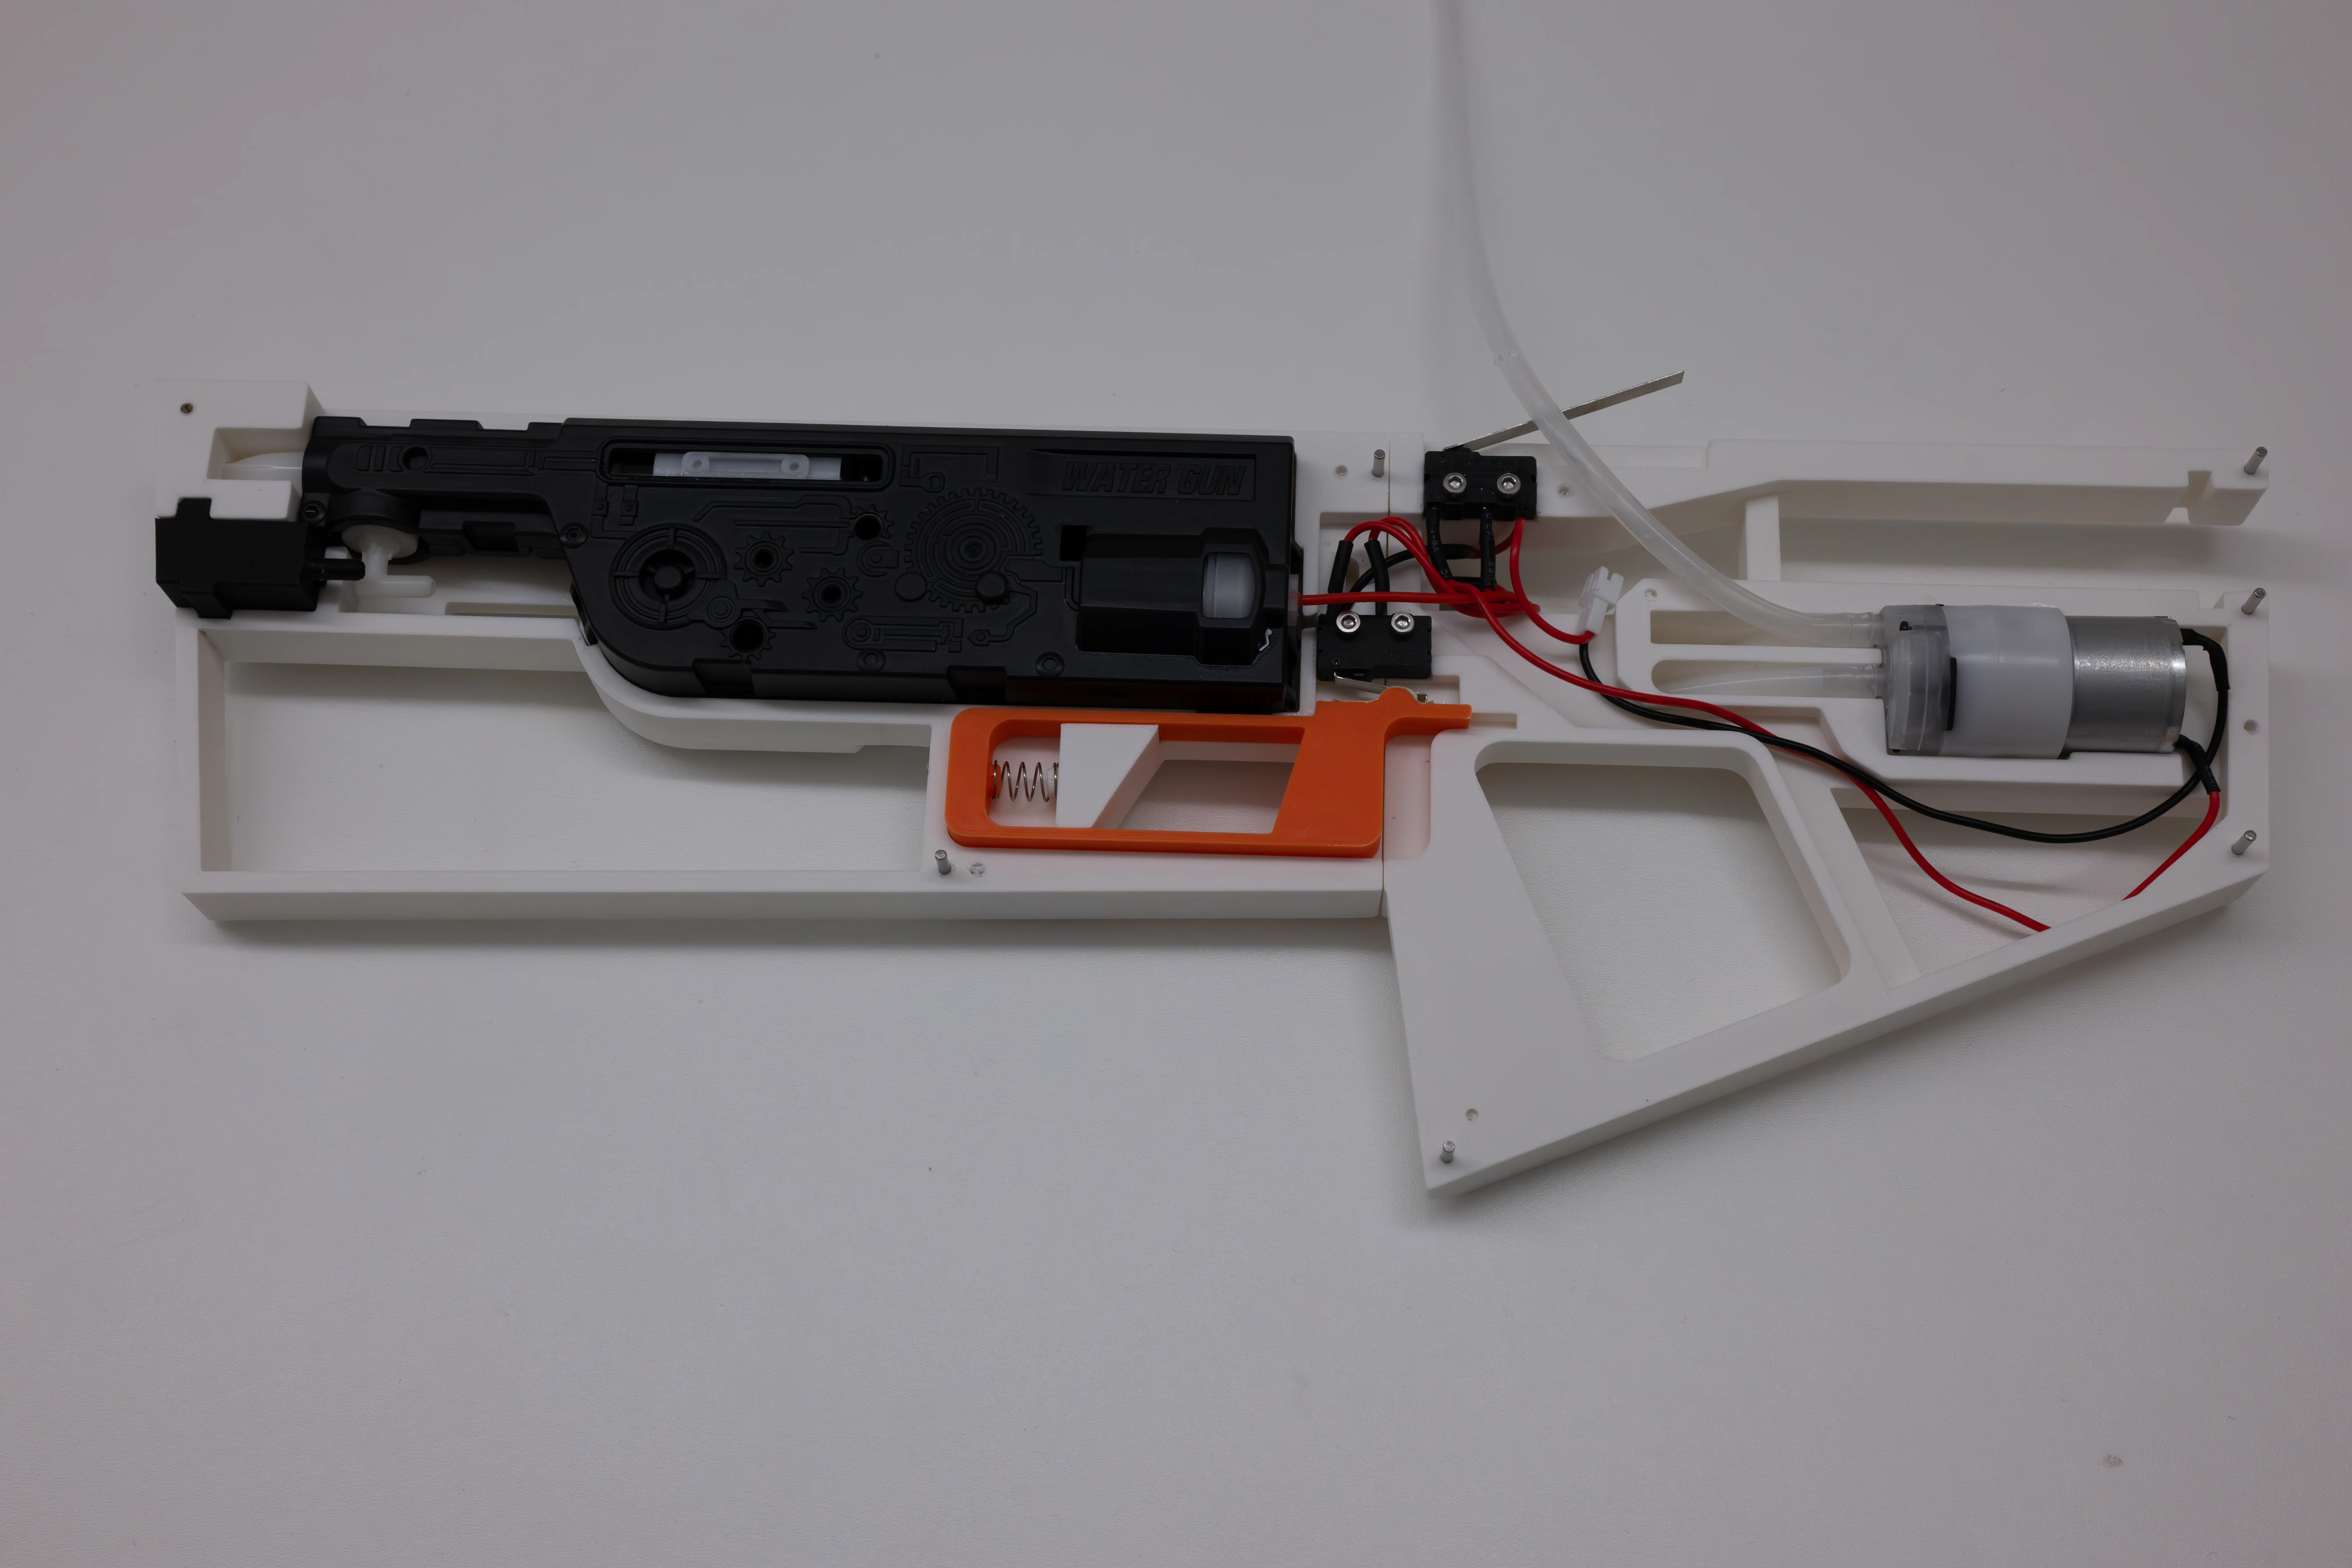
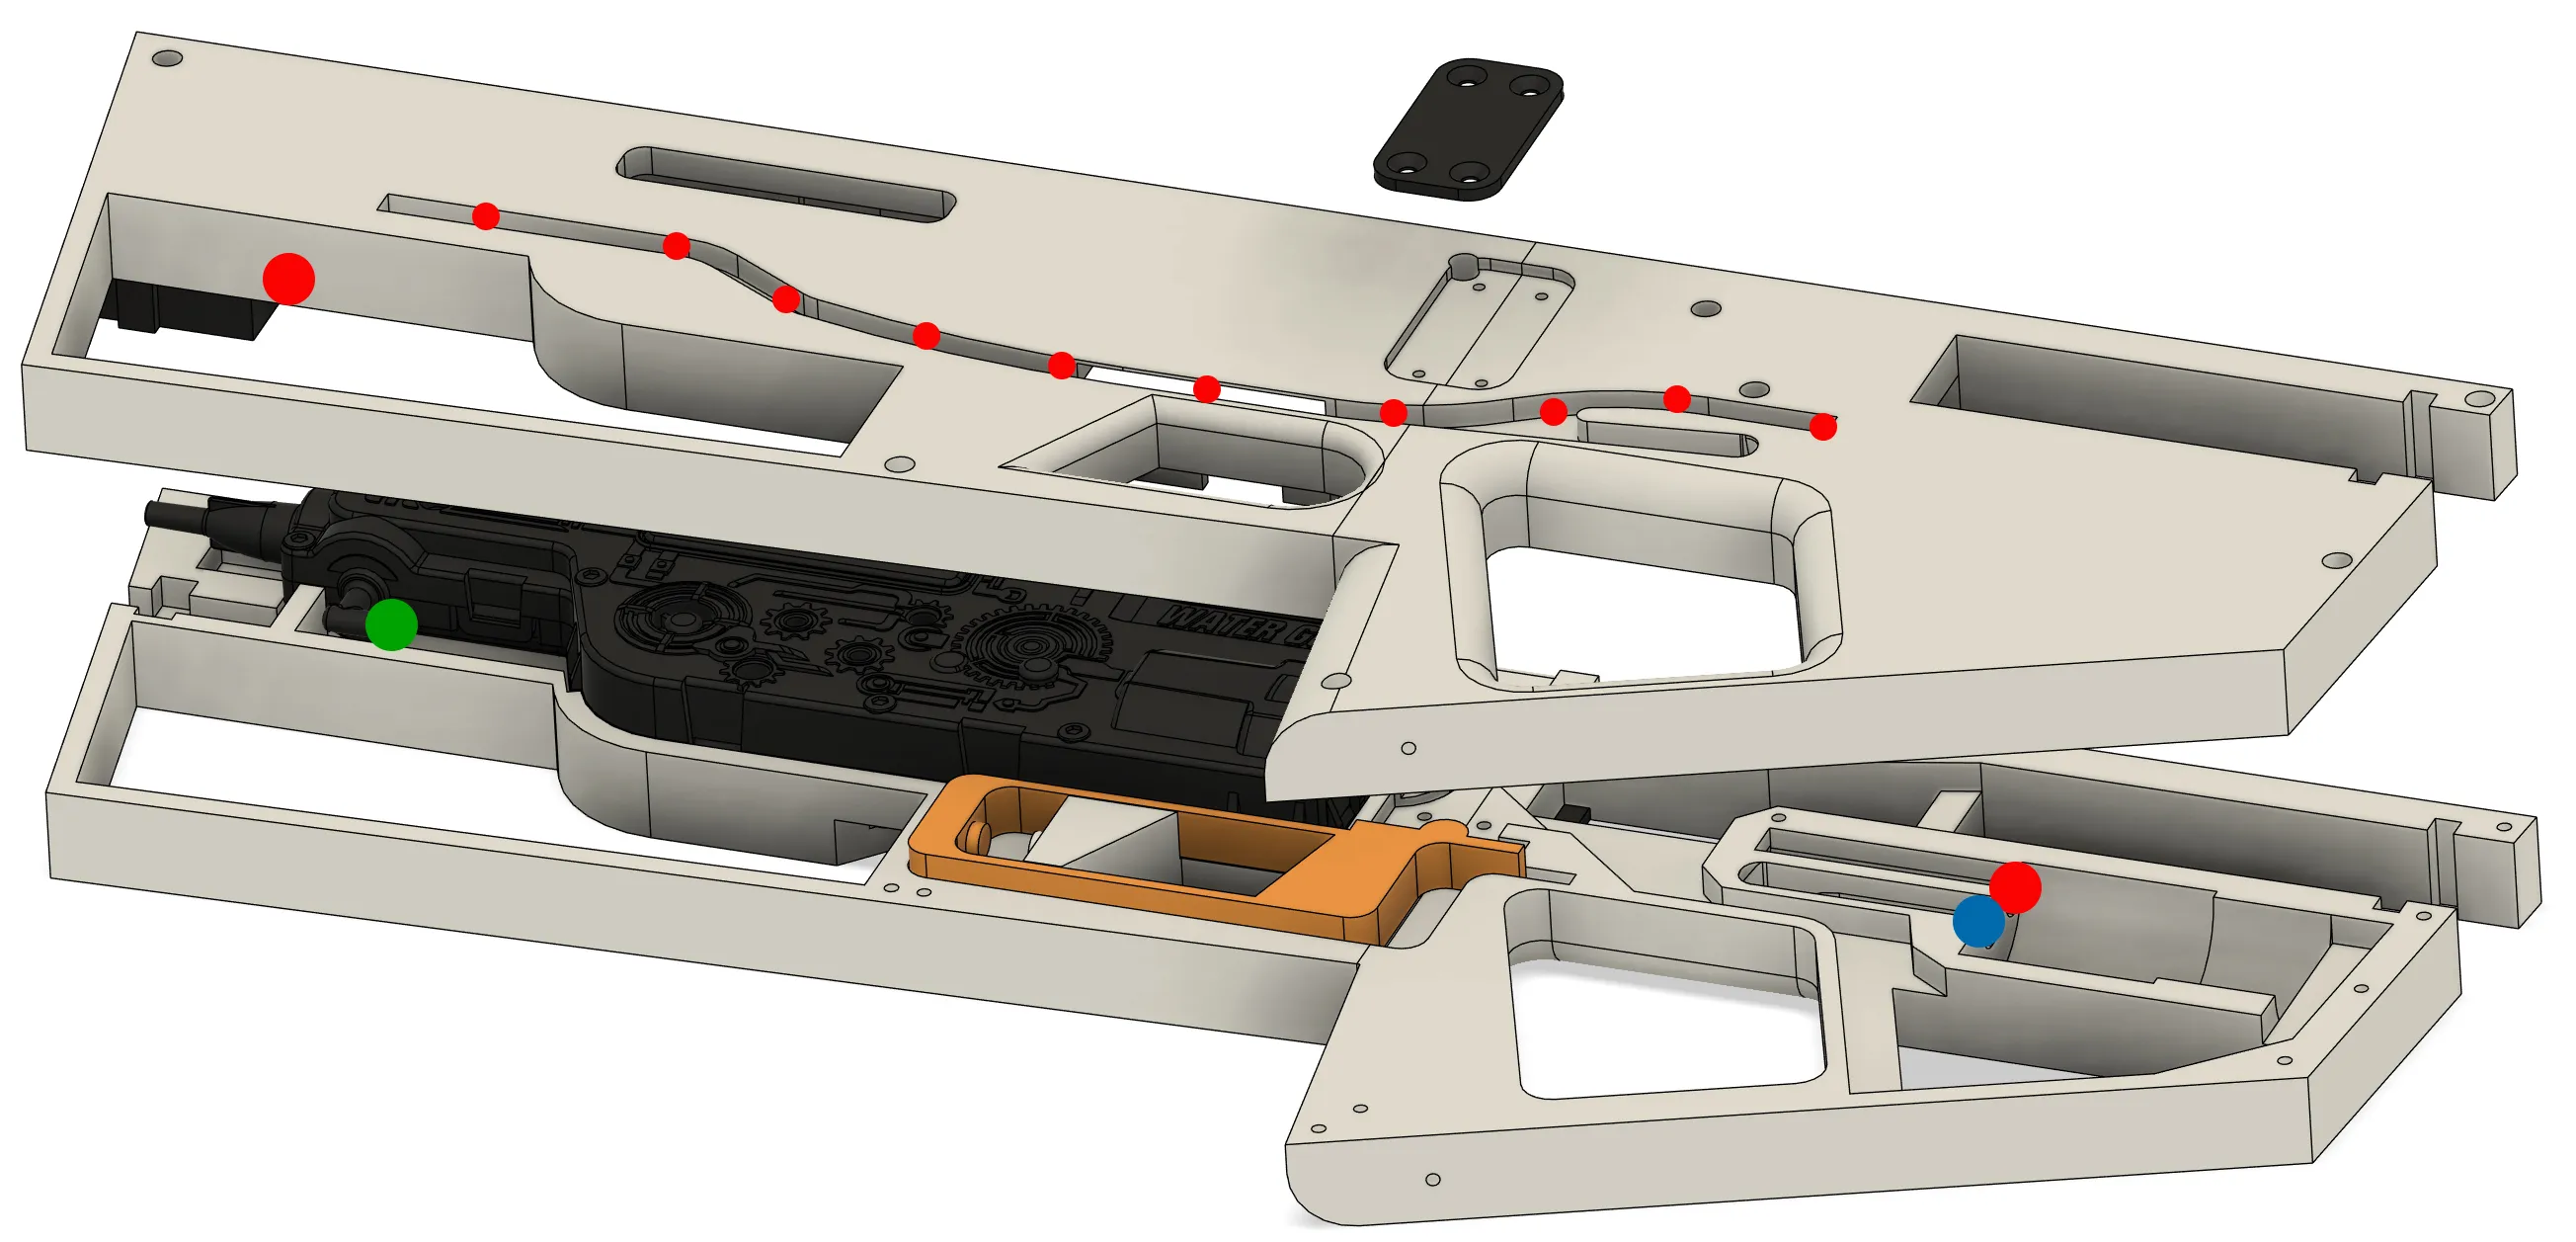
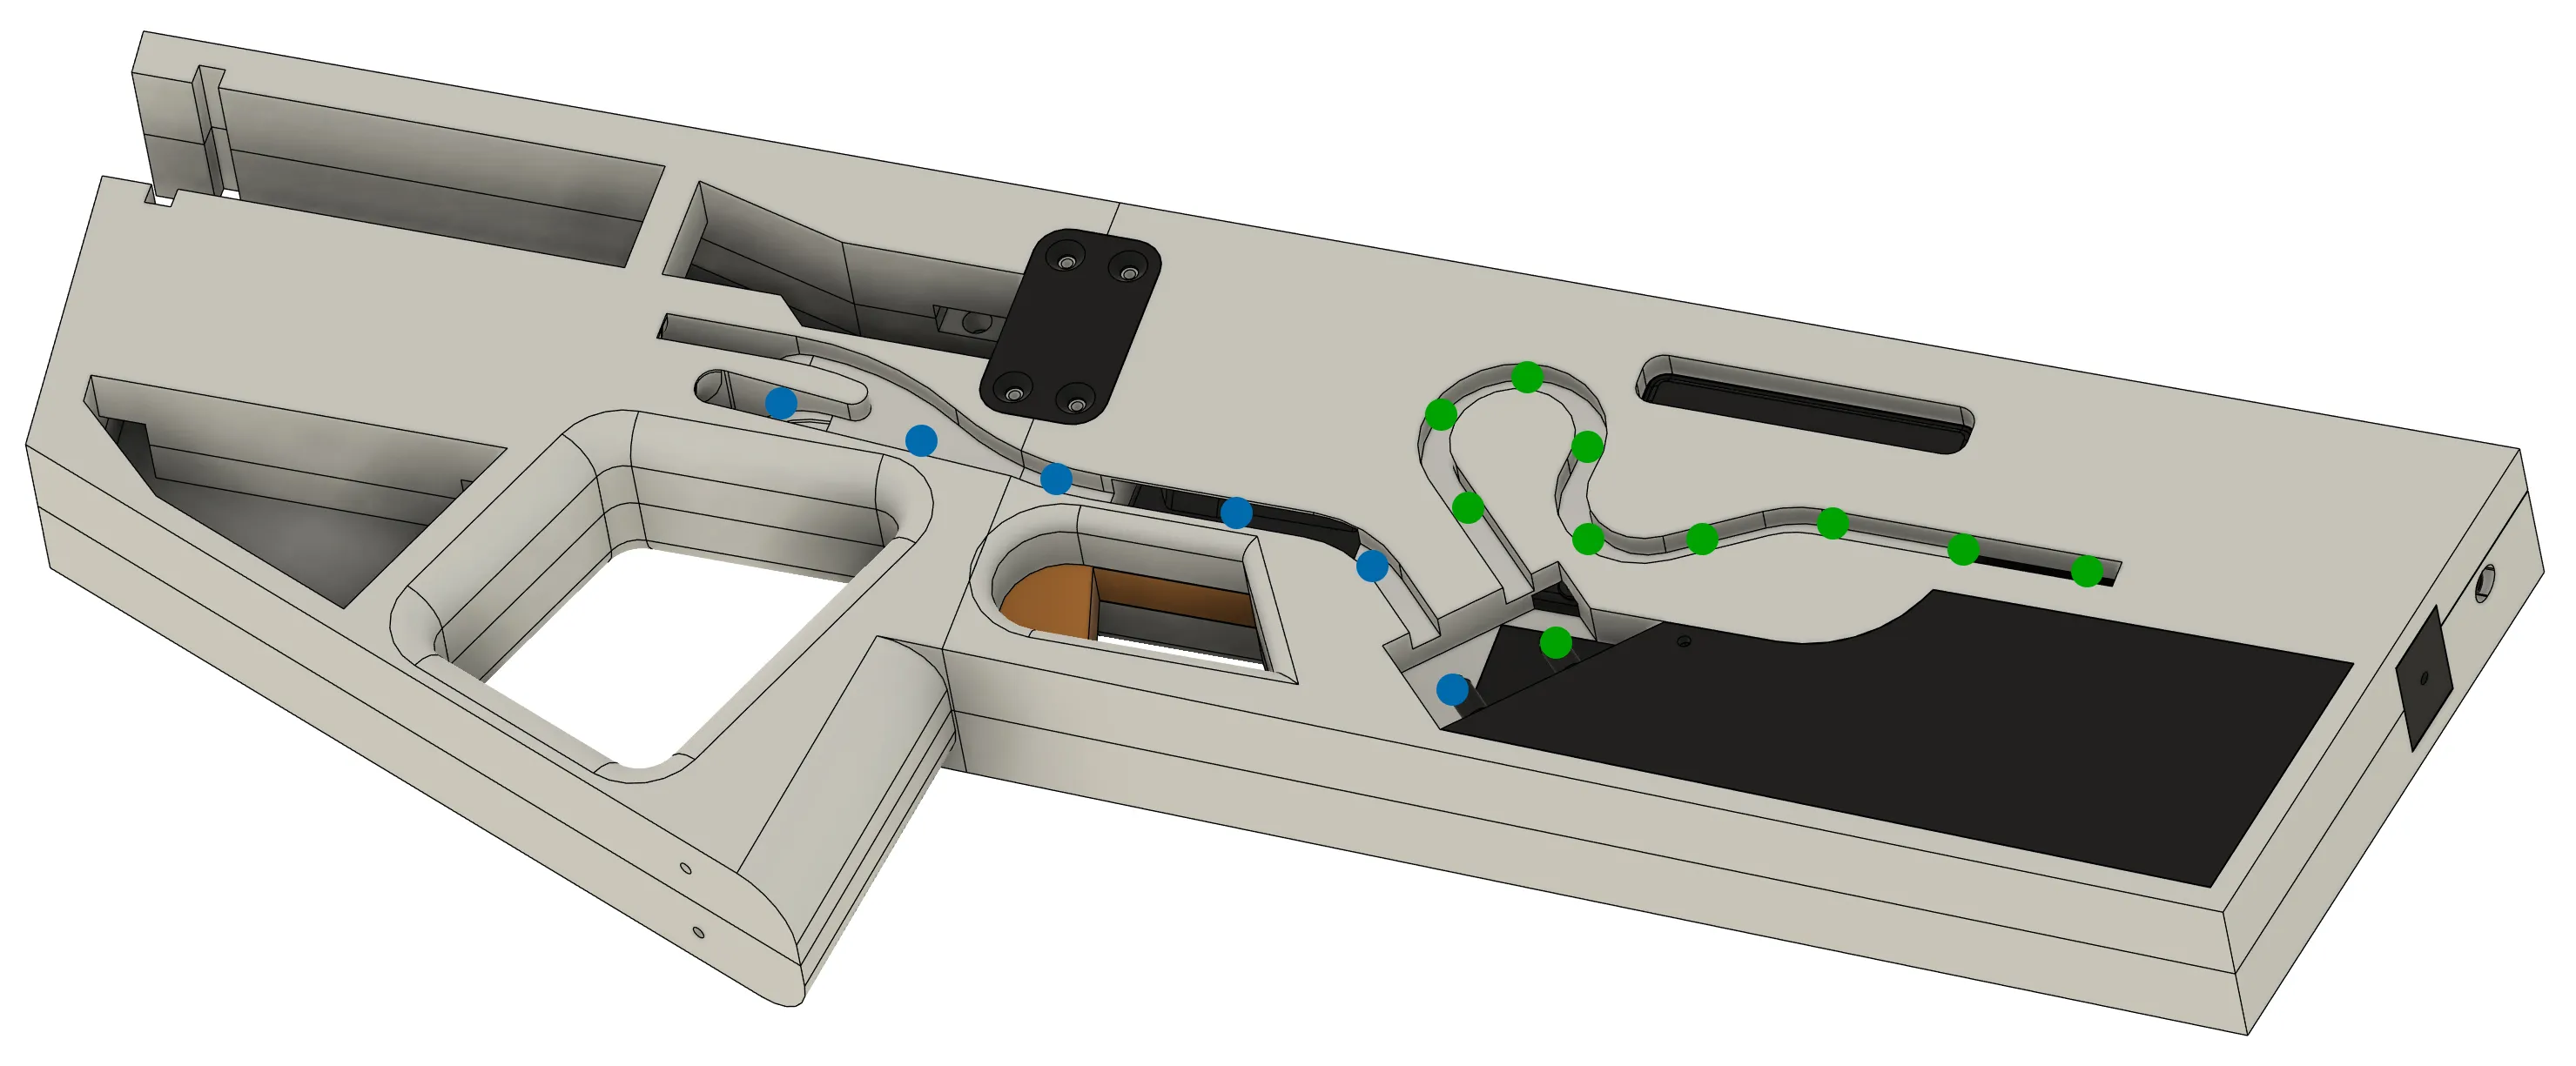
Now screw the two together with 7 2.5x10mm screws in the holes provided on one side. Then you need 4 more 2*6mm on both sides, i.e. 8 in total, to screw the two sides together with the black connectors.
For the next part you need 1x 0.5*5*25mm spring and one 0.5x7x12mm. You then have to attach these to the red dots in the picture, and you also have to attach the two strip patterns with second glue. The battery will later be placed in the rear compartment.
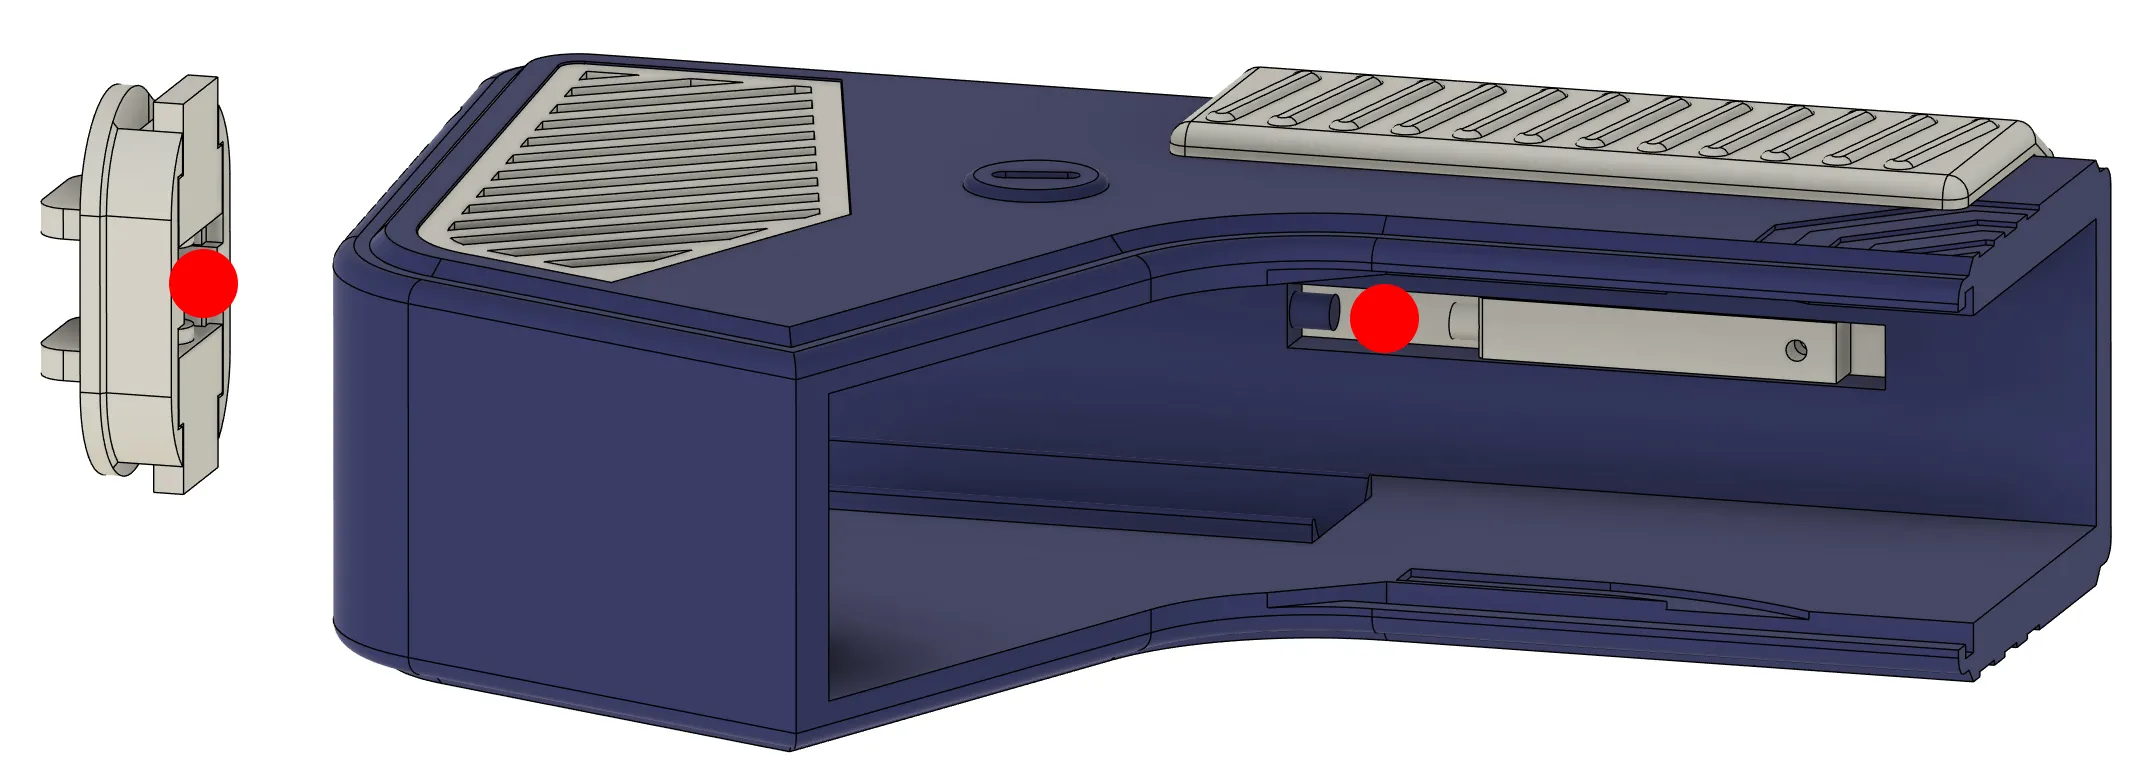
Now you just have to glue everything together as shown in the picture ATTENTION make sure that you push the switch down and push all cables inwards, if necessary you have to use second glue, but only if it does not hold well enough, with me it holds pretty well without it. Finally, you have to screw in another 2.5mm screw at the top of the refill slider near the hole so that the lever is activated when you push it.
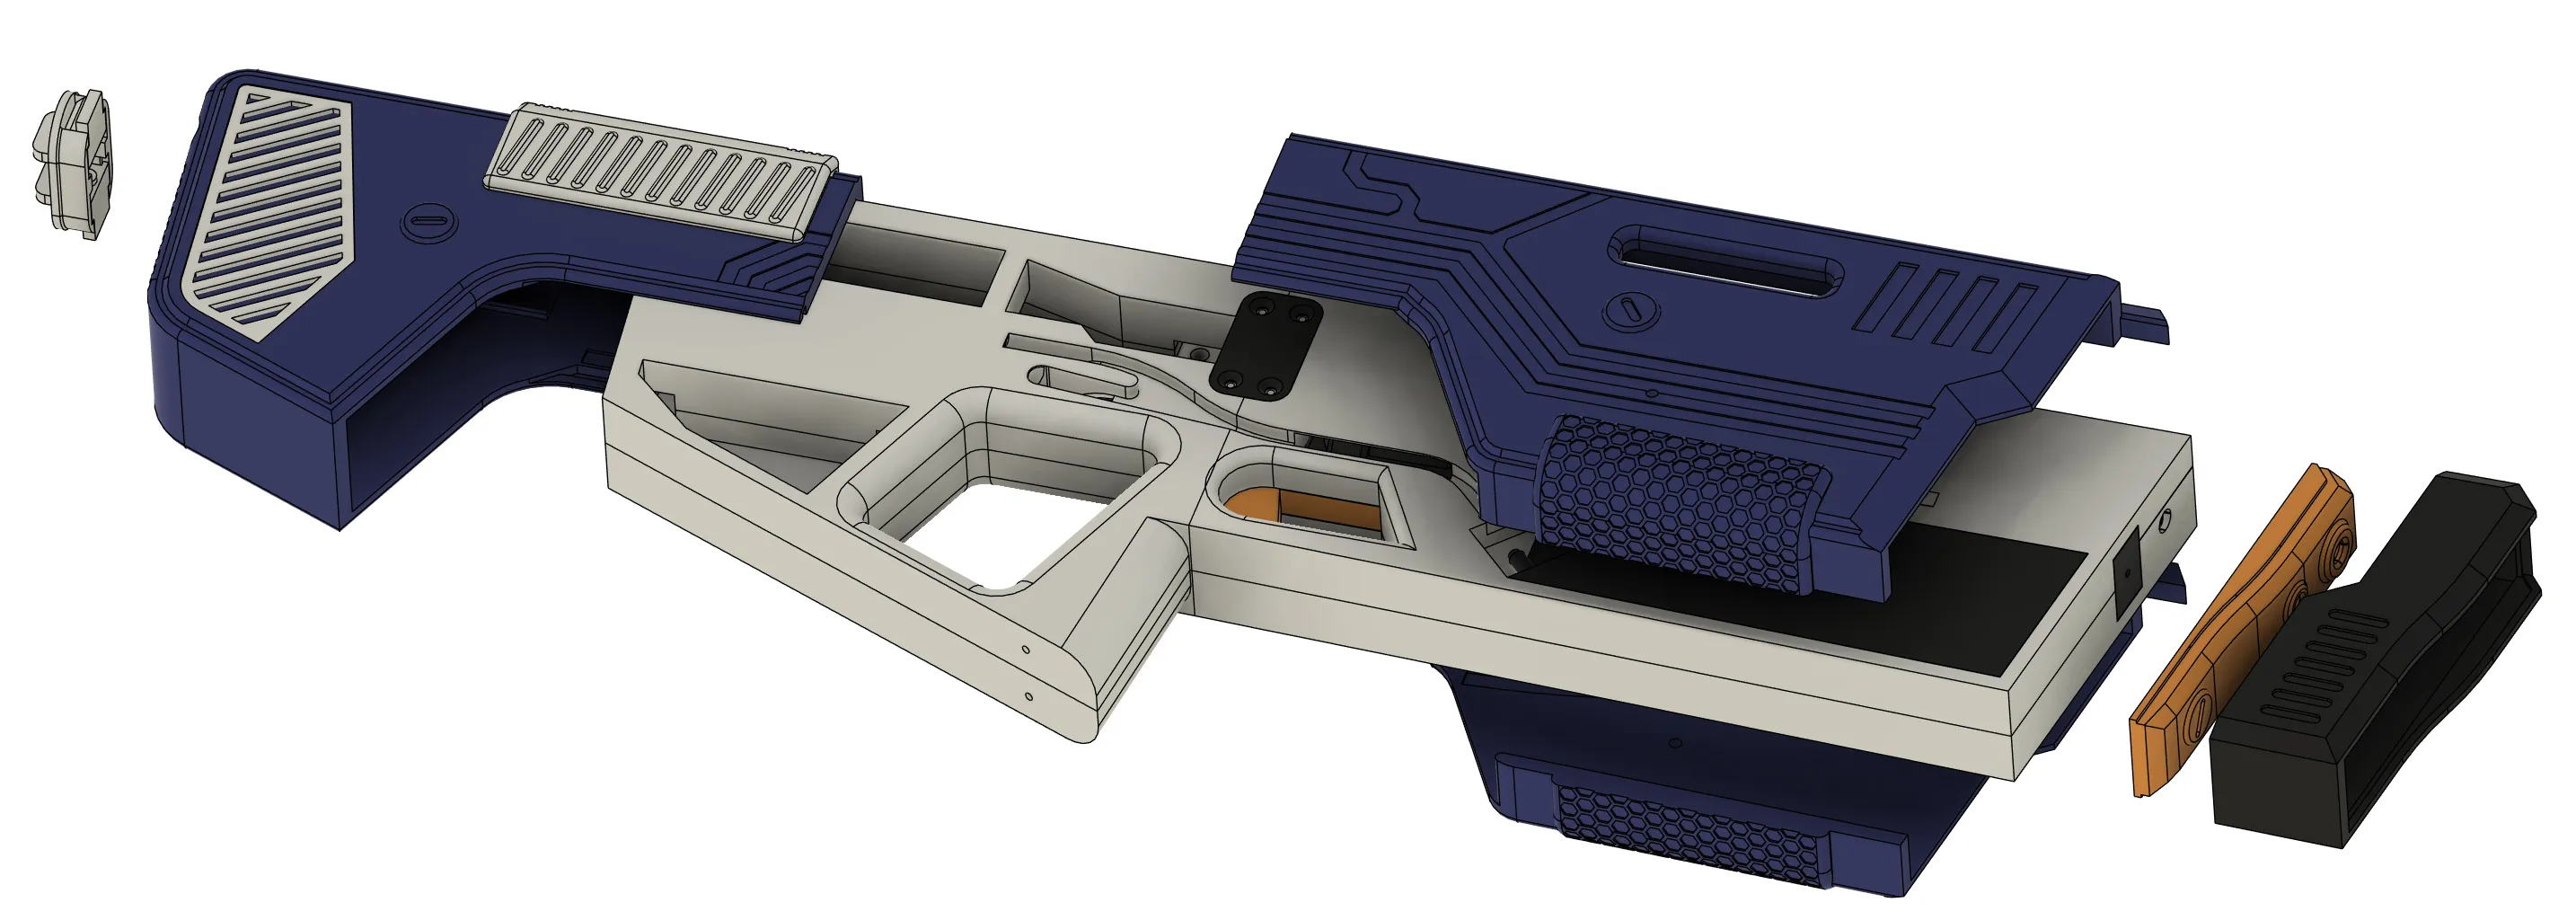
And now have fun with your new water pistol!
Membership
If you like my work and would like to support me or sell my models, you can subscribe to a membership here.
License

You shall not share, sub-license, sell, rent, host, transfer, or distribute in any way the digital or 3D printed versions of this object, nor any other derivative work of this object in its digital or physical format (including - but not limited to - remixes of this object, and hosting on other digital platforms). The objects may not be used without permission in any way whatsoever in which you charge money, or collect fees.


Comment & Rating (261)