
Sofa Cupholder for Lovesac Sactional w/ Wood Grain
Print Profile(1)

Description
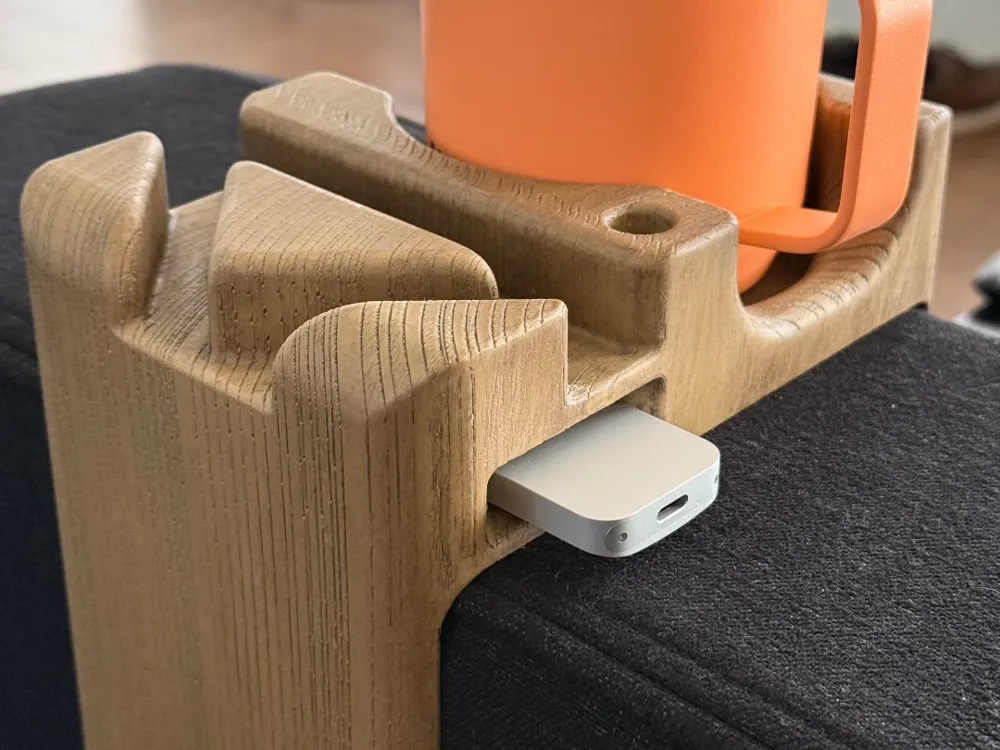
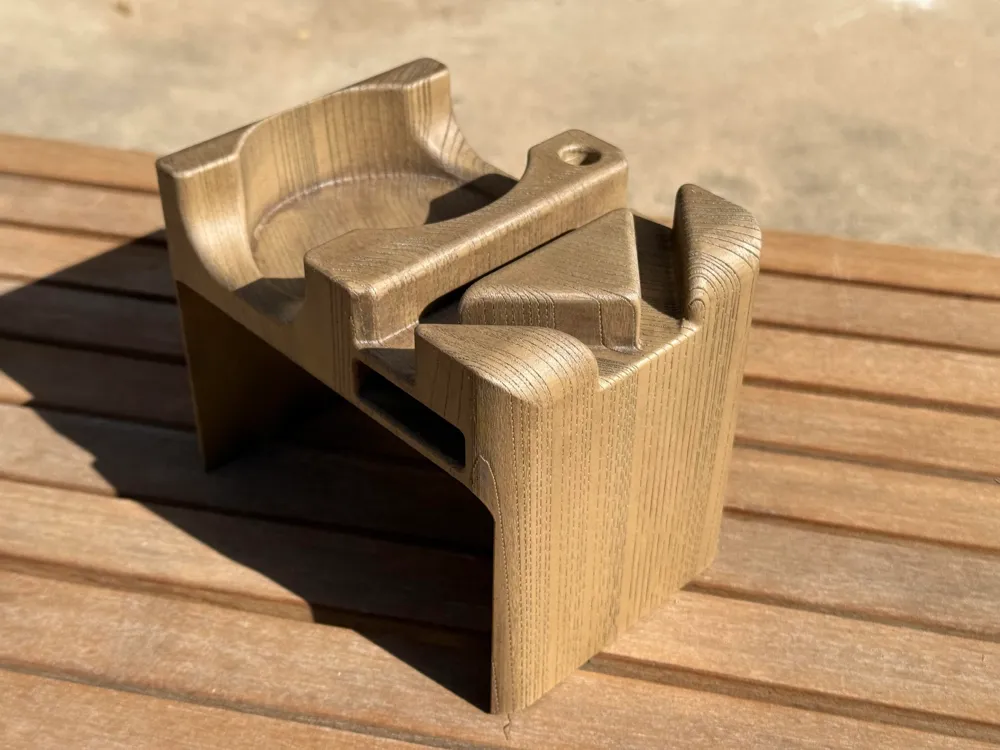
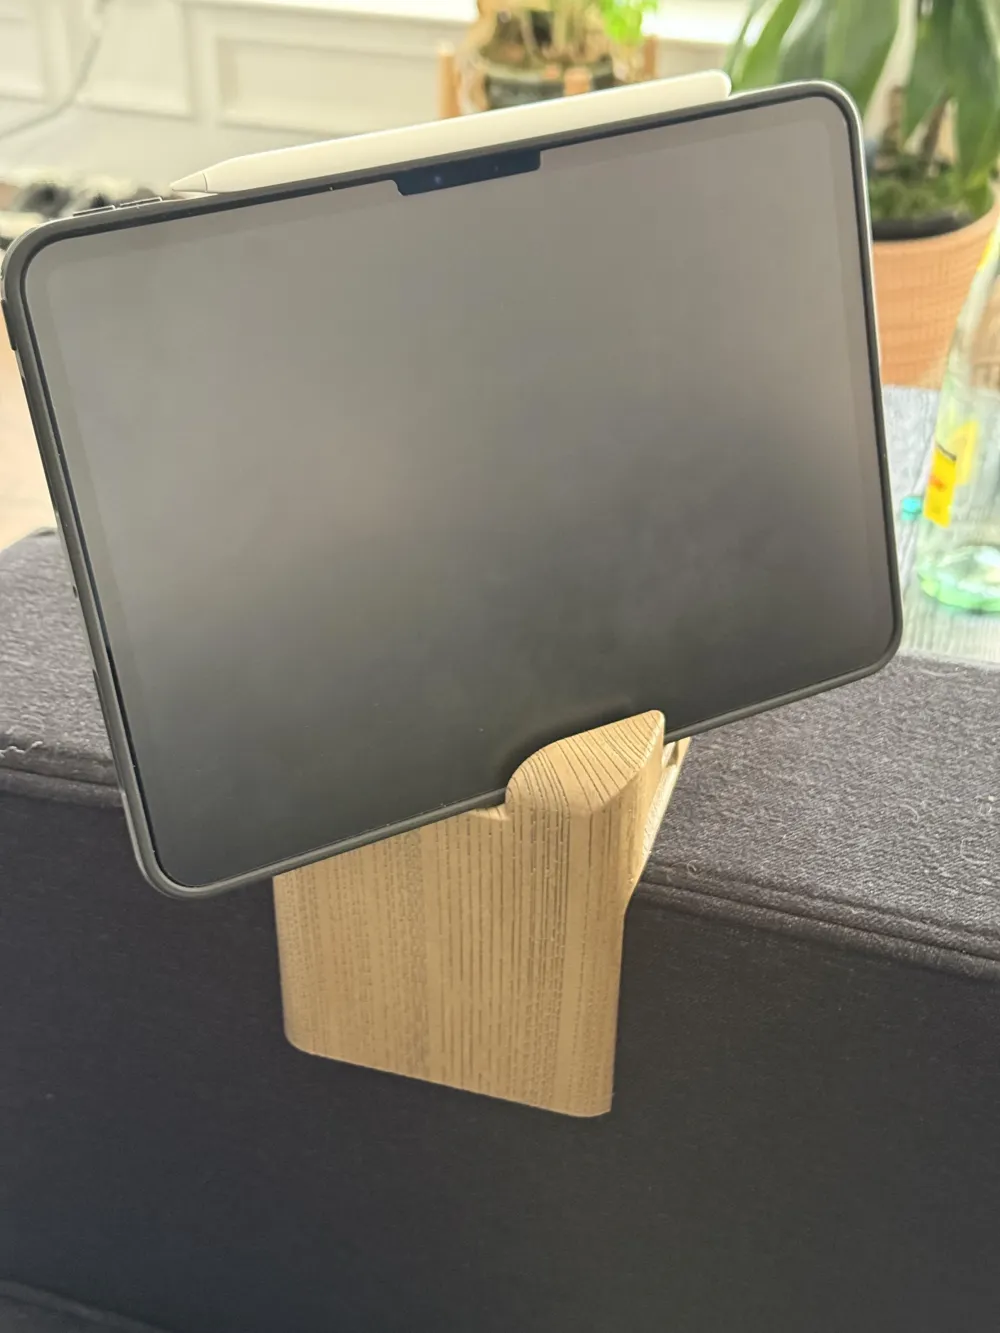
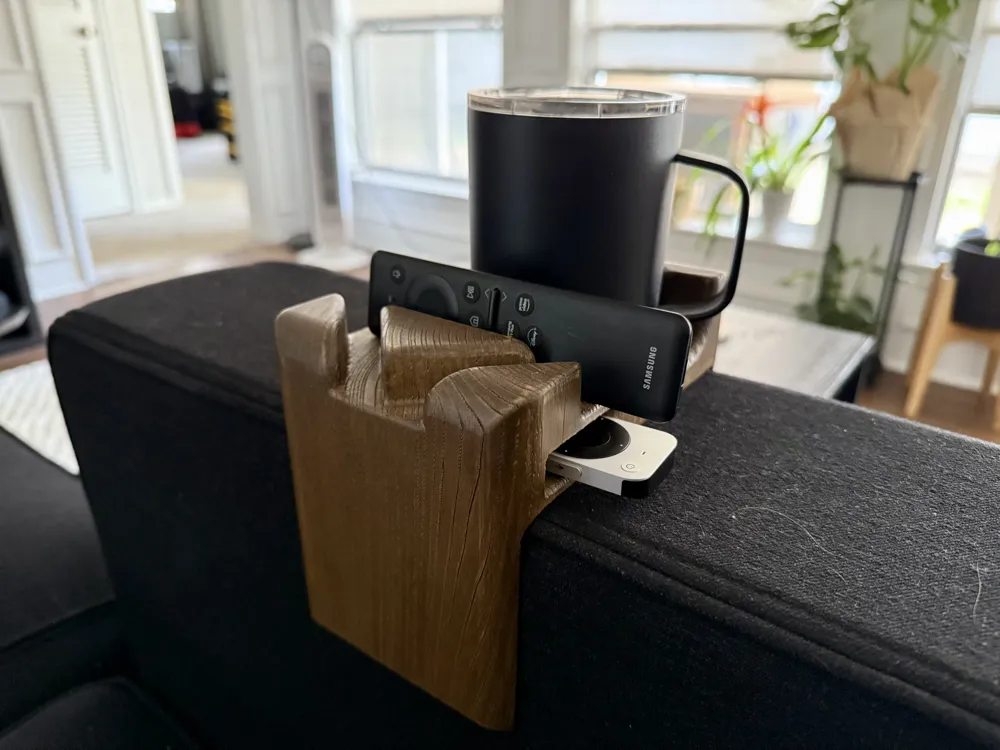
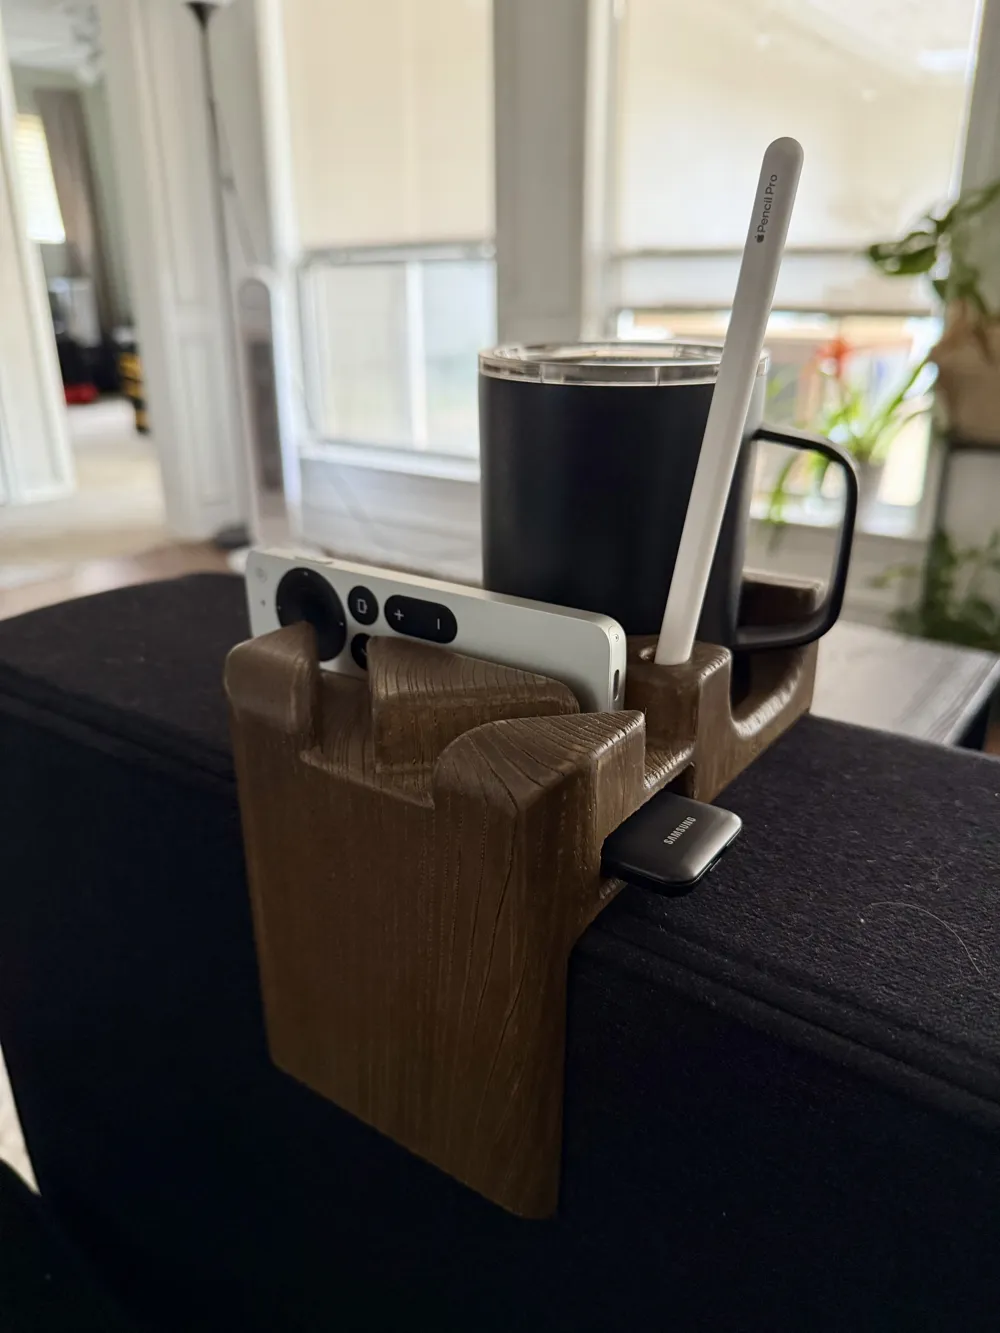
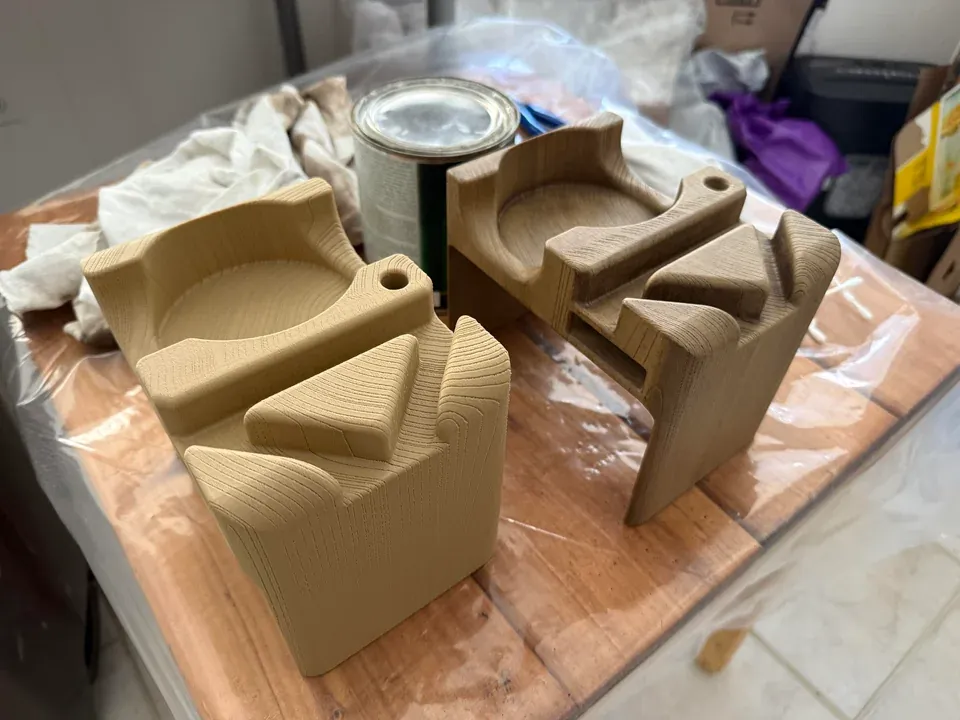
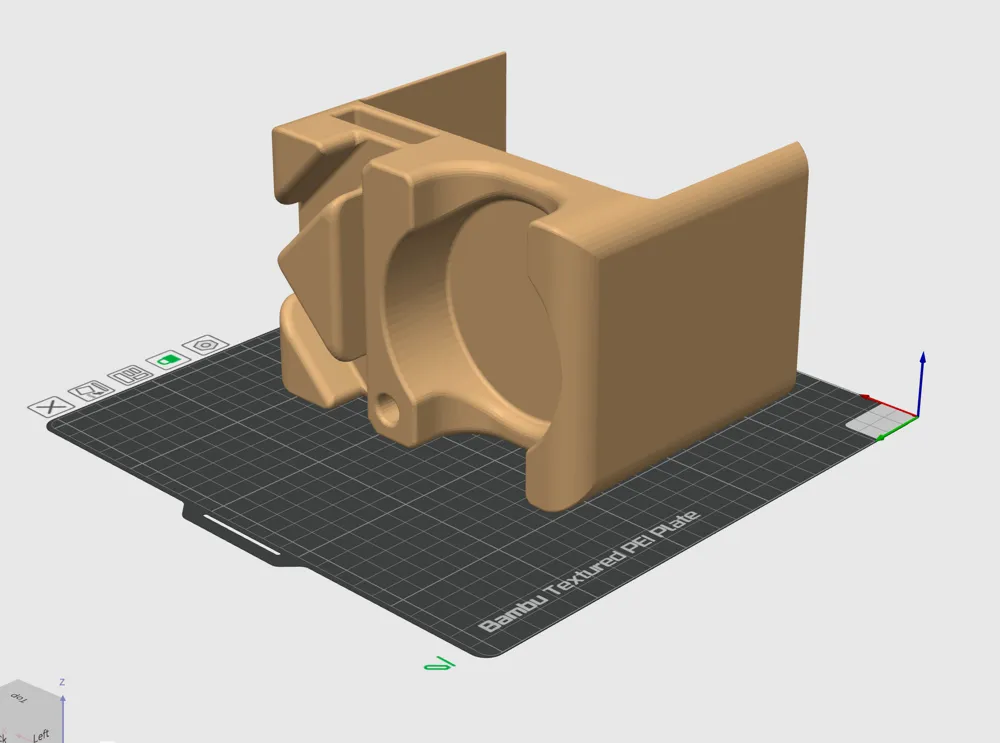
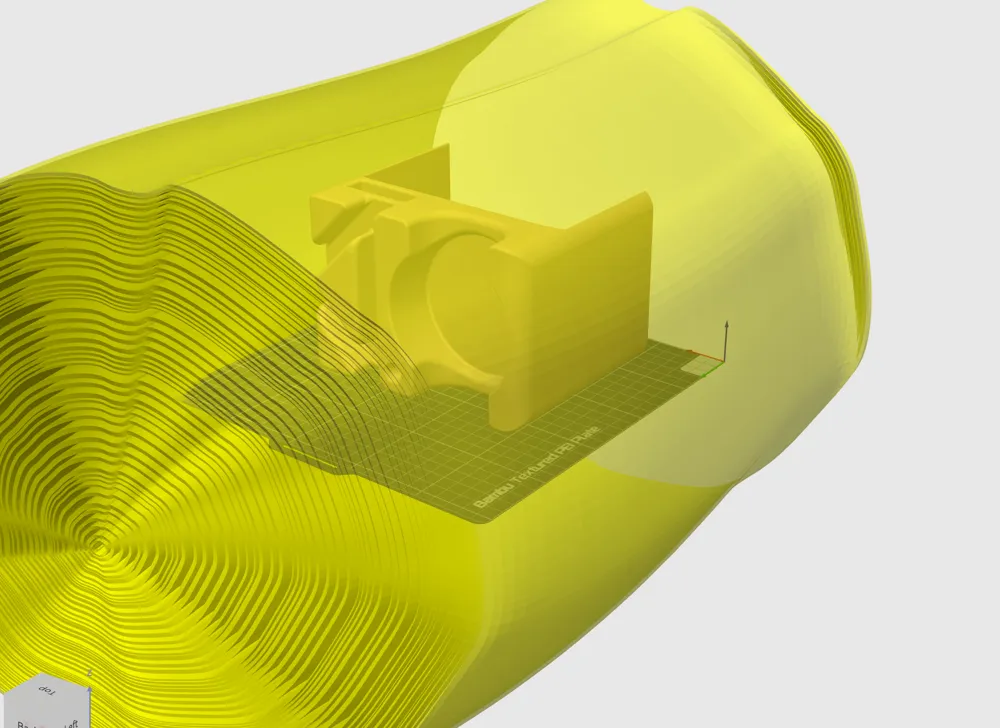
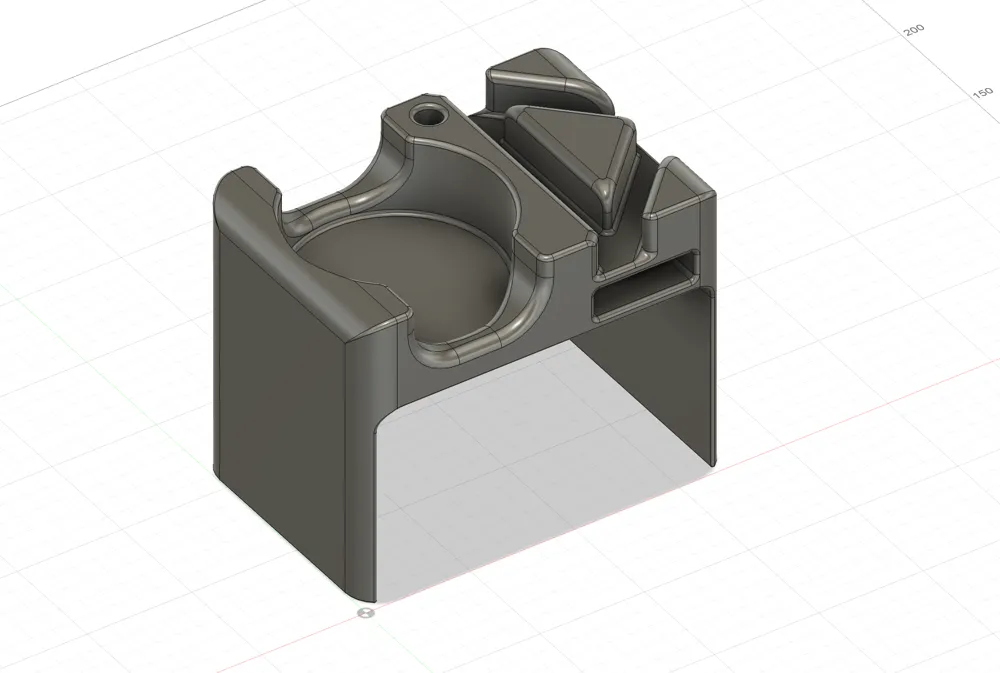
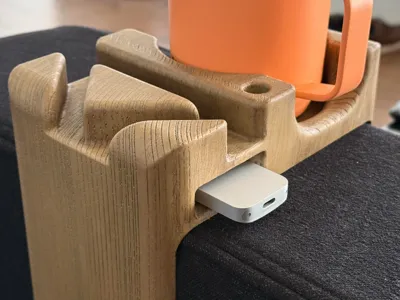
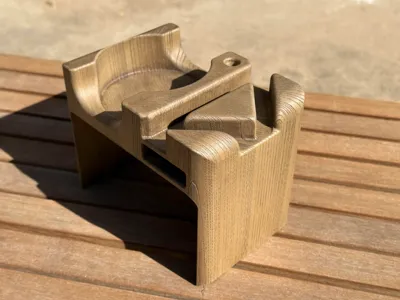
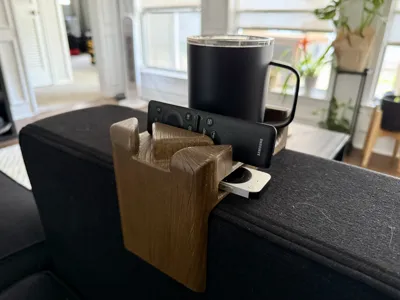
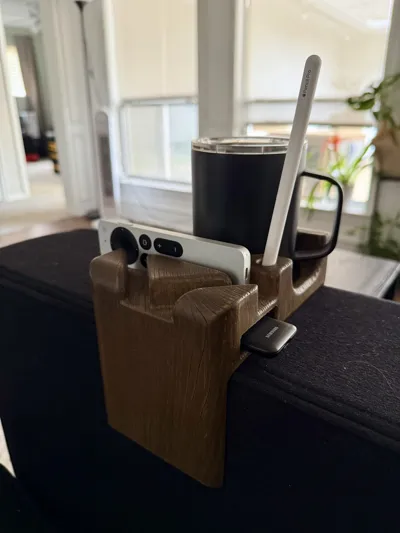
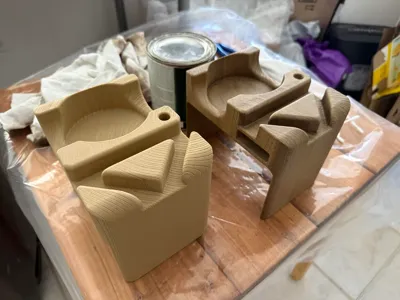
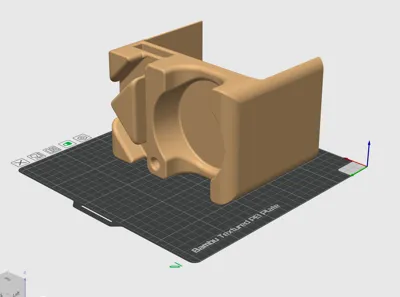
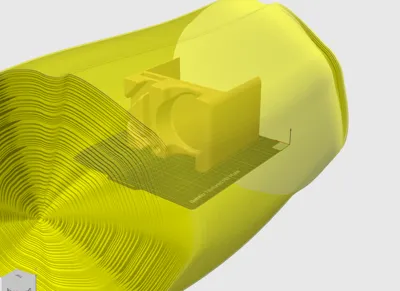
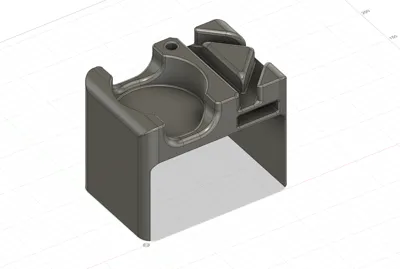
Printed in ELEGOO Wood PLA, using this model to add the wood grain effect modifier. Photos are of the end result after staining and finishing. The STL and STEP files does not include the wood grain effect – it's applied in the Bambu slicer with a modifier layer, so it's only available in the 3MF file.
Two print profiles are provided:
- Wood grain - 0.12mm layer (Fine preset + wood grain modifier & additional settings)
- Without wood grain - 0.2mm layer (Standard preset, faster print time, less material)
The wood grain modifier does not result in a very efficient print, and as such, takes a long time and uses lots of filament. I bet it could be simplified so only external walls have the texture, but I'm not sure how to do that. Any suggestions are welcome!
Wood Stain & Finishing Process
- Sand model with medium to fine grit (80-100) sandpaper to prep it for stain. Try to get all nooks and crannies.
- This step is crucial for how well the stain applies – if you sand thoroughly, the stain will take very well.
- Conversely, if you sand lightly, the stain will rub off easier and result in a lighter finish. This difference can be seen in my photos above: I used the same stain on both prints, but I sanded the 2nd one more, so it came out much darker.
- Depending on print bed used, you may want to rough up that side so it looks more wood-like.
- Clean up surface, removing all the sanded bits of plastic. A tack cloth or any damp cloth should work, but make sure to let dry.
- Apply stain using a cloth or rag
- I used an oil-based walnut stain because it's what I had, but a water based or gel stain could work better. I may even try out a color wash using acrylic paint and water.
- It's (mostly) plastic, so it's not gonna “absorb” quite like wood does. If you're not careful, you can accidentally wipe the stain clean off.
- Good luck reaching the corners and crevices. I used a Q-tip.
- Let dry
- Be responsible with any oil-soaked rags 🔥🧑🚒
- If you want, you can apply another coat. I only needed 1.
- Apply a topcoat sealant
- I used an oil and urethane based topcoat, again because it's what I had. Feel free to experiment with other kinds, or Mod Podge or whatever.
- The sealant is important to preserve the stain. Otherwise, it'll probably wipe off and stain your furniture.
- Again, good luck reaching the corners and crevices.
- Let dry
- I highly recommend applying at least 2 coats of sealant
- Carefully sand using finishing sandpaper (400-600+)
- This step may be extra, but helps get a smooth finish. Just be careful not to sand too aggressively. If your topcoat is too thin, you'll start sanding away the stain.
- Wipe down with damp cloth and let dry. I'd probably let it sit 24hrs or more before slipping it onto your furniture, depending on stain and topcoat used.
License

You may create derivative works based on this object, provided that all such derivative works are published exclusively on the MakerWorld platform and include proper attribution to the original creator. You may not share, upload, host, distribute, or publish this object—or any derivative work of this object—on any other digital platform, marketplace, or distribution channel. Commercial use of this object and any derivative works is strictly prohibited. This includes, but is not limited to, selling, renting, sublicensing, or using the object in any context in which you receive monetary compensation or other financial benefits.


Comment & Rating (121)