
M7 Bayonet
Print Profile(1)

Description
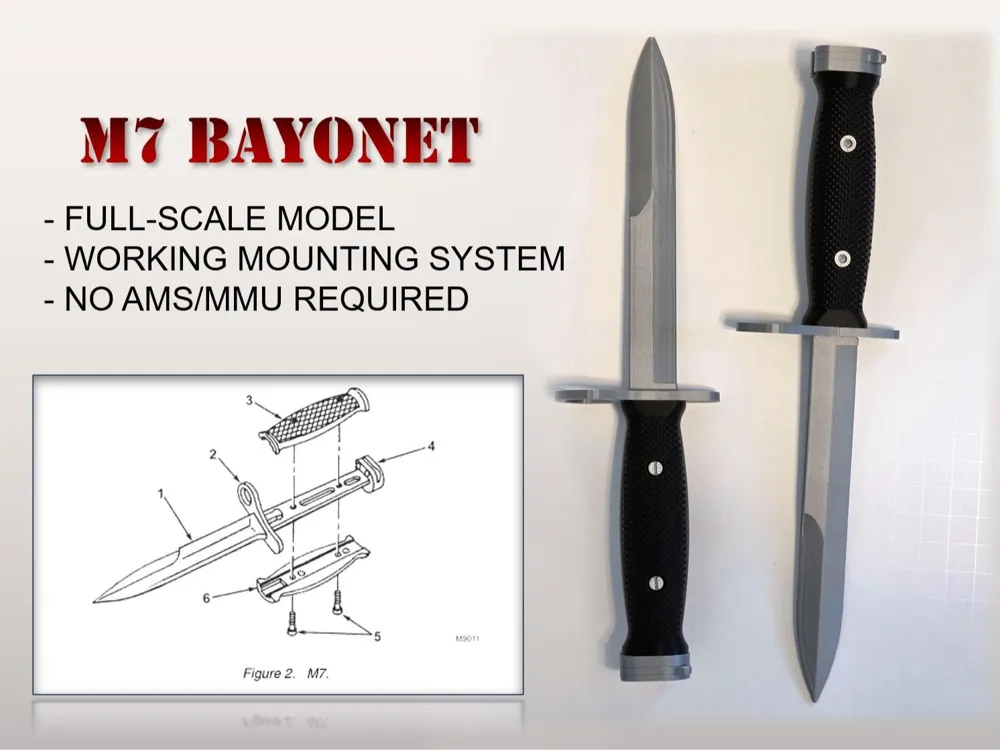
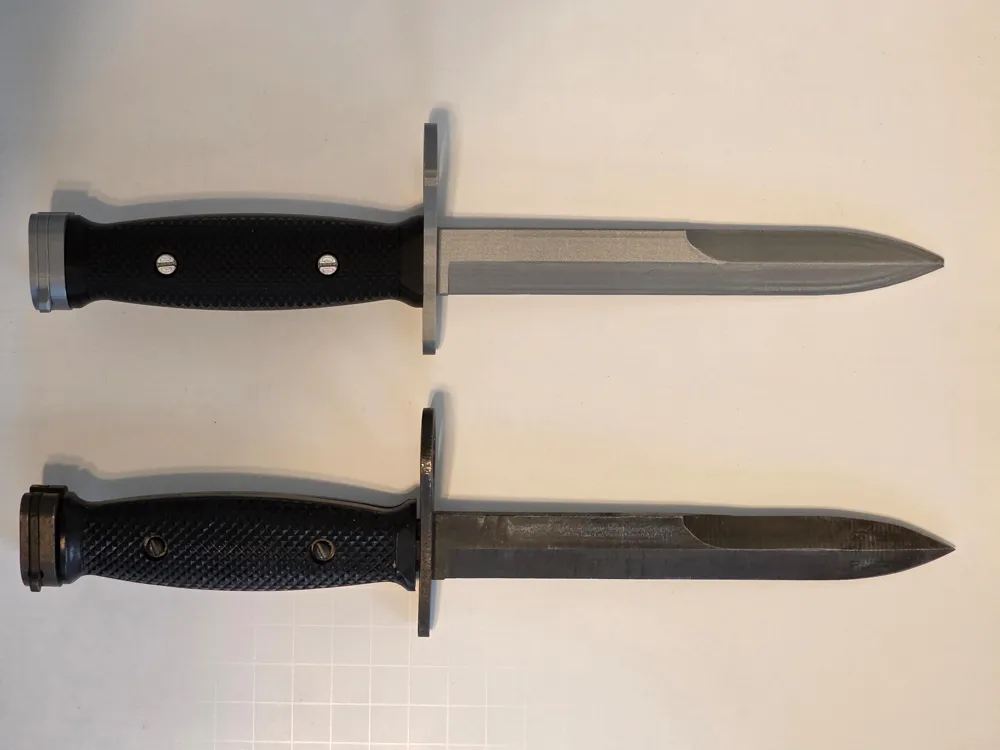
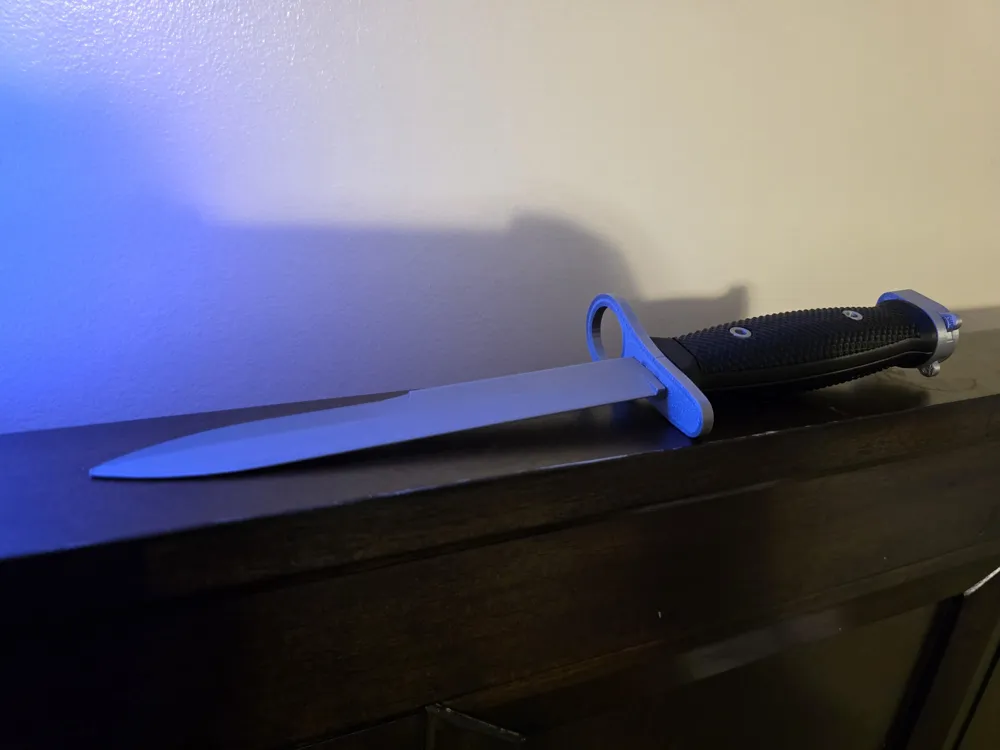
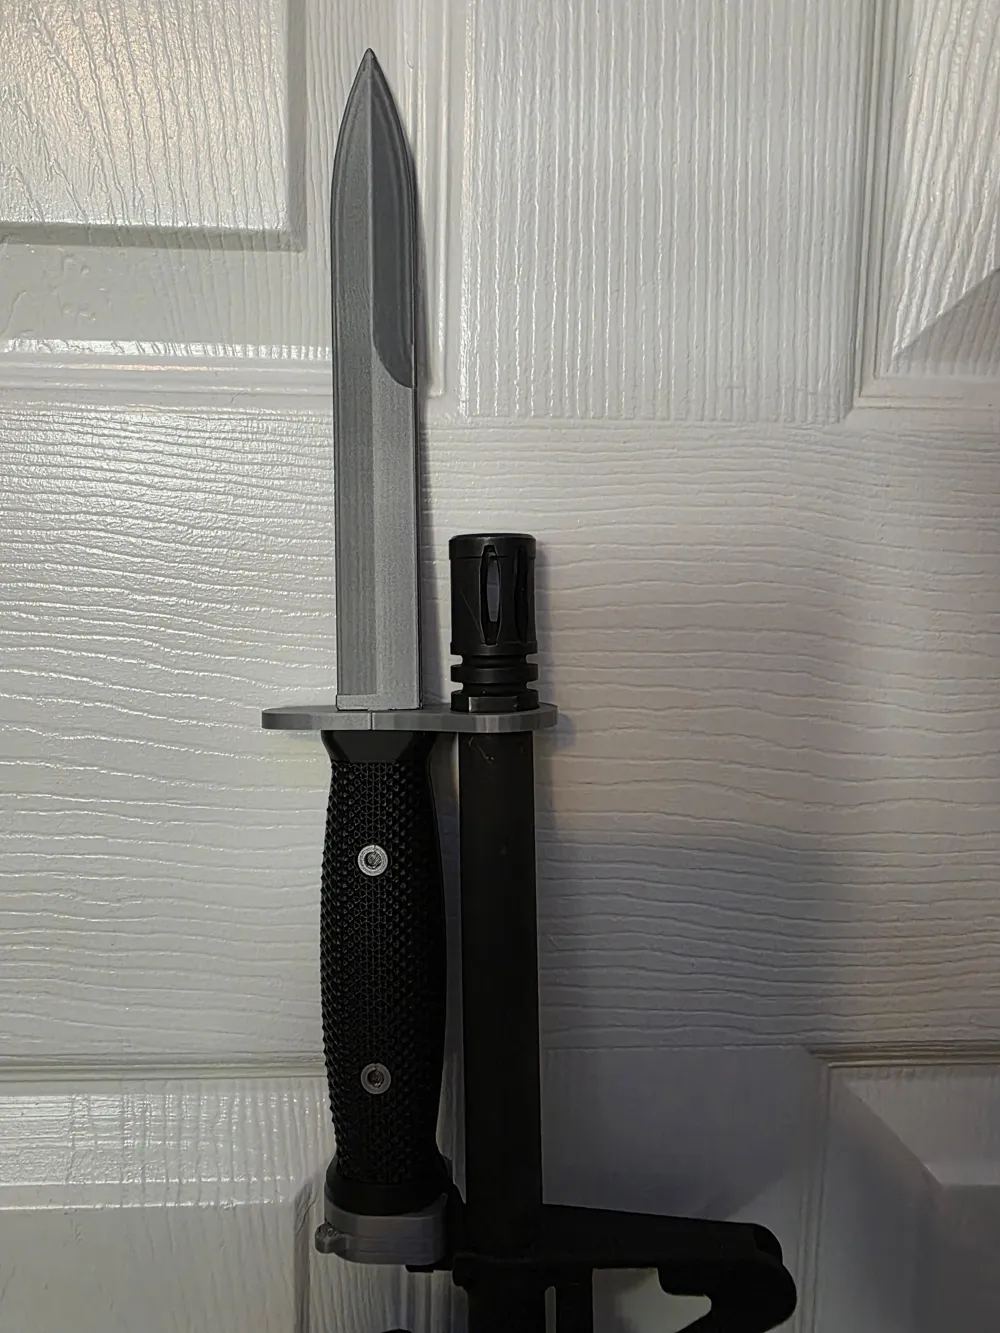
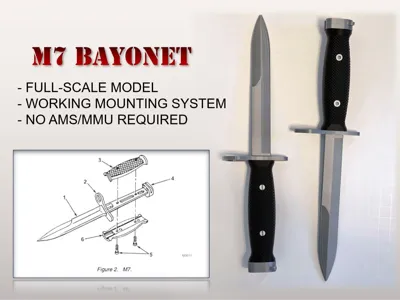
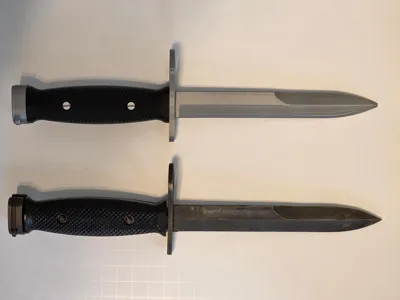
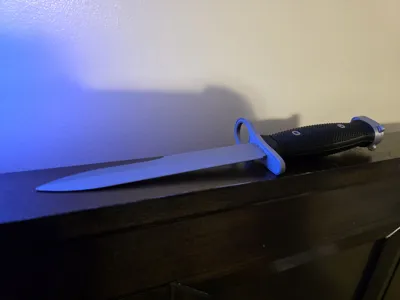
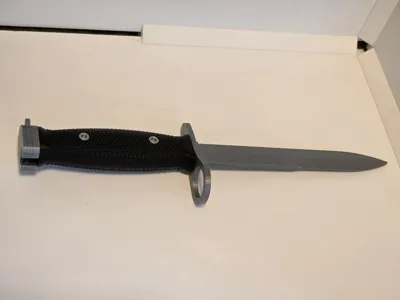
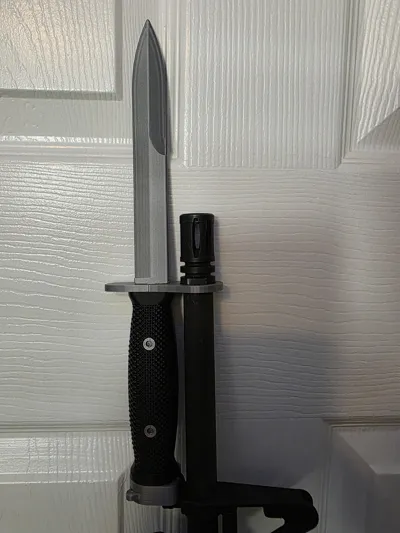
This is a realistic model of the U.S. Army's M7 Bayonet-Knife. It is designed to mount to an M16 rifle or M4 Carbine to be used as a close-combat stabbing weapon, as well as a general utility knife when not mounted. It was introduced in 1964, and is still in use today alongside its older brother, the M9 Bayonet.
This model is designed to press-fit together when printed properly, however I would still recommend using glue to assemble it. I printed mine with 3 walls. It will print with 2, but the blade really needs 3 in order to maximize durability. Even with 3 walls, the blade is deliberately designed to snap off at the hilt if any major load is applied. The mounting mechanism is static, but will mount to any compatible bayonet mounting lugs. Please note that this is not a functional bayonet, it's for decoration only (Believe me, these things aren't cheap).
Print settings: I recommend using 3 walls on all parts. Due to geometry and size, infill is not required on any part, but I went with 8% grid on most of my prototypes just to be sure.
M7 Grip L T2-3 Repaired.stl: Print 2, standing on the flared base. Do not use supports, as some sag in the screw holes is necessary for the press-fit to work.
M7 Blade V3.stl: Print vertically, standing on the tang, using normal snug supports and a brim.
M7 Guard-Tang V4.stl: Print flat on the top of the guard. Use normal snug supports on build plate only. Ensure no supports are used for the screw holes, as some sag is necessary for the press-fit to work.
M7 StaticPommel V3.stl: Print on the flat side, using normal snug supports on build plate only.
M7 Grip Fastener V3.stl and M7 Grip Fastener 2 V3.stl: Print 2 of each, on the large portion of the head. No supports required.
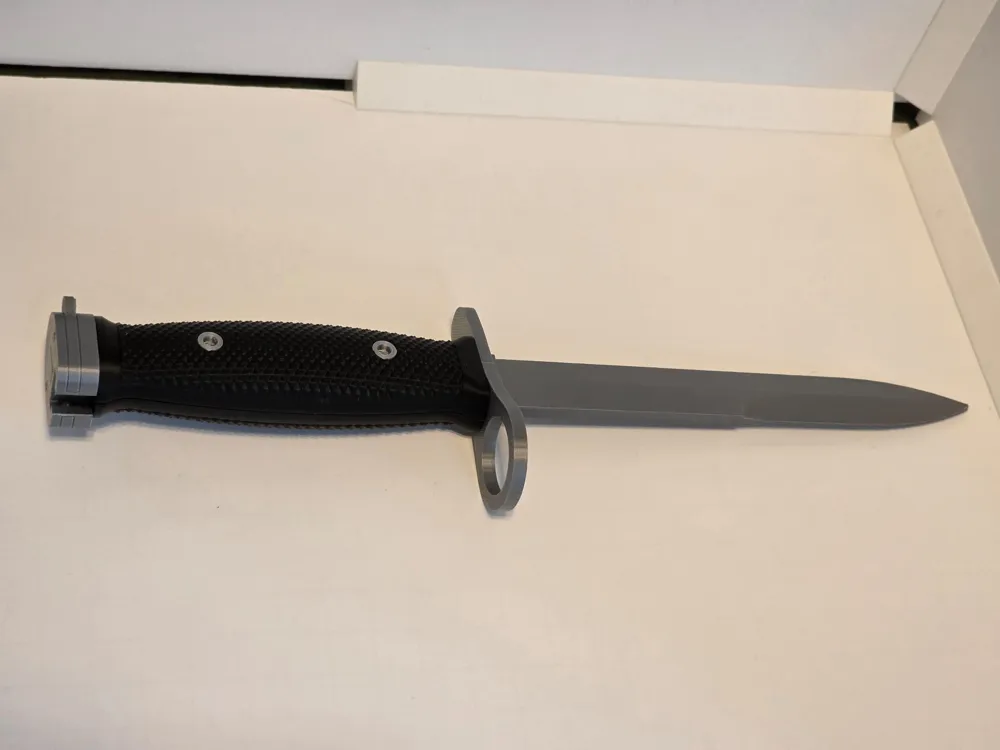
To assemble, just insert the blade tang into the guard/tang assembly (flat back towards the loop), install the pommel (the 2 small holes should be facing away from the blade), and install the grips. On both sets of grip fasteners, you will notice a flattened portion on the rods. Insert the fastener into the holes on the grips with the flattened portions perpendicular to the blade, then use a screwdriver or other tool to rotate the fastener 90 degrees. This will press the fastener into the top and bottom of the screw holes, securing the grips to the handle. Repeat for the other 3 fasteners. Please note that this press-fit system is very reliant on precise tolerances, and so may not work on all printers. For this reason, I always recommend gluing models together.
Please keep in mind that this could easily be mistaken for a real weapon, so be smart and be kind!
I hope you all enjoy! Full disclosure, the bayonet grips were the second most difficult thing I've ever modelled, so I hope this model brings a smile to some of you. If you like it, I would greatly appreciate a like or a boost, it's a great way to show your appreciation!
License

You shall not share, sub-license, sell, rent, host, transfer, or distribute in any way the digital or 3D printed versions of this object, nor any other derivative work of this object in its digital or physical format (including - but not limited to - remixes of this object, and hosting on other digital platforms). The objects may not be used without permission in any way whatsoever in which you charge money, or collect fees.


Comment & Rating (16)