Original model No splicing No derivative works No copying
Special Note: Tests show that printing with different filaments using default parameters may affect the tolerance and tightness of the five-way top cover which I cannot change with a single setting This can be resolved by adjusting "Quality/Precision/X-Y contour size compensation"Please do not lower the star rating of the print profile because of this Thank you~
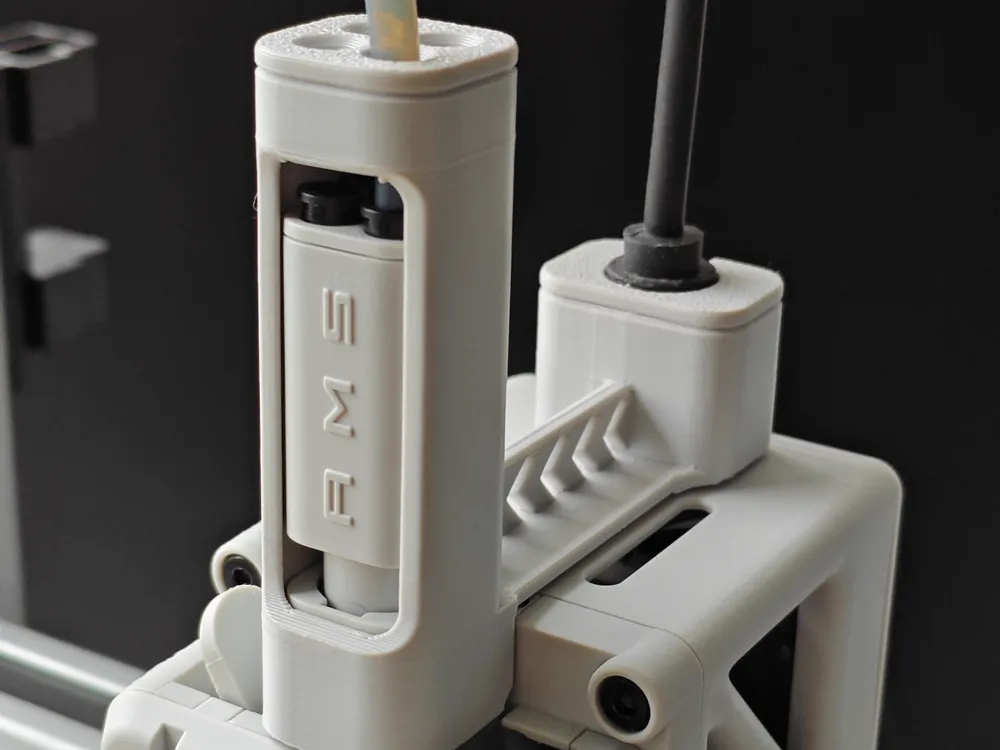
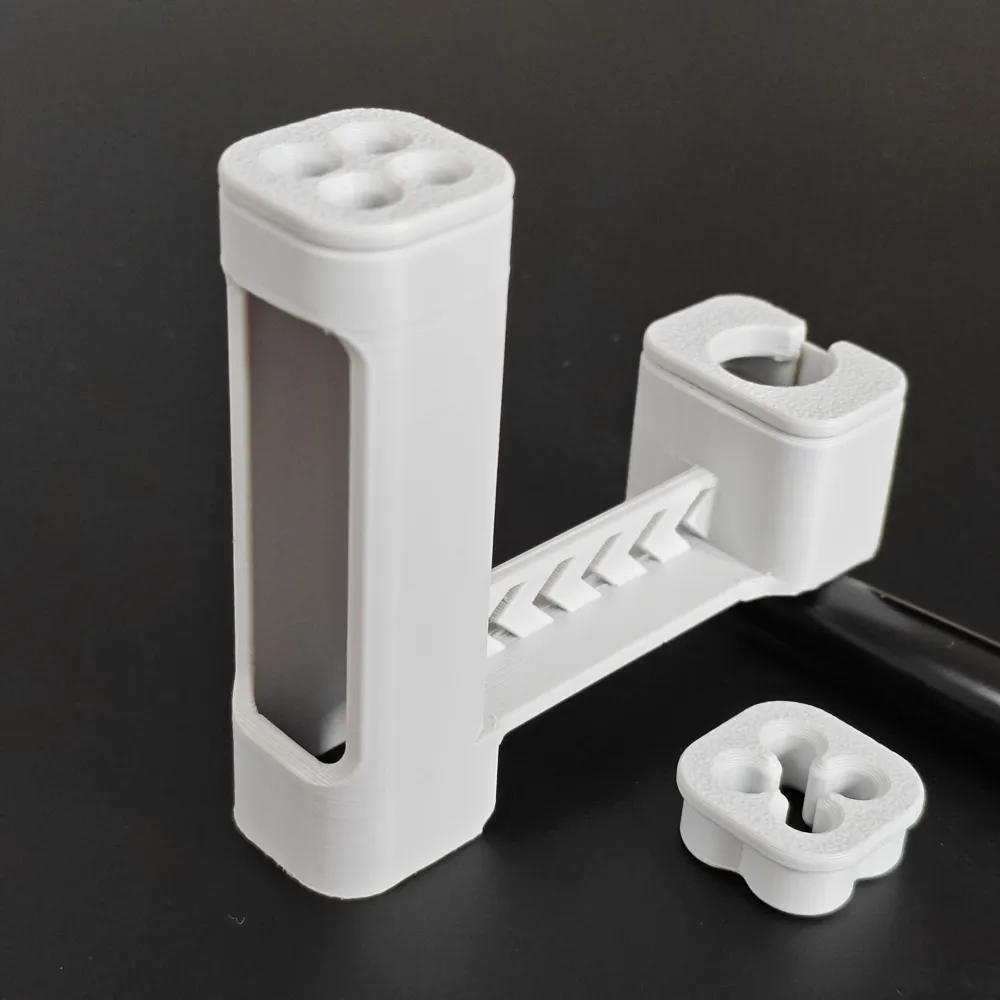
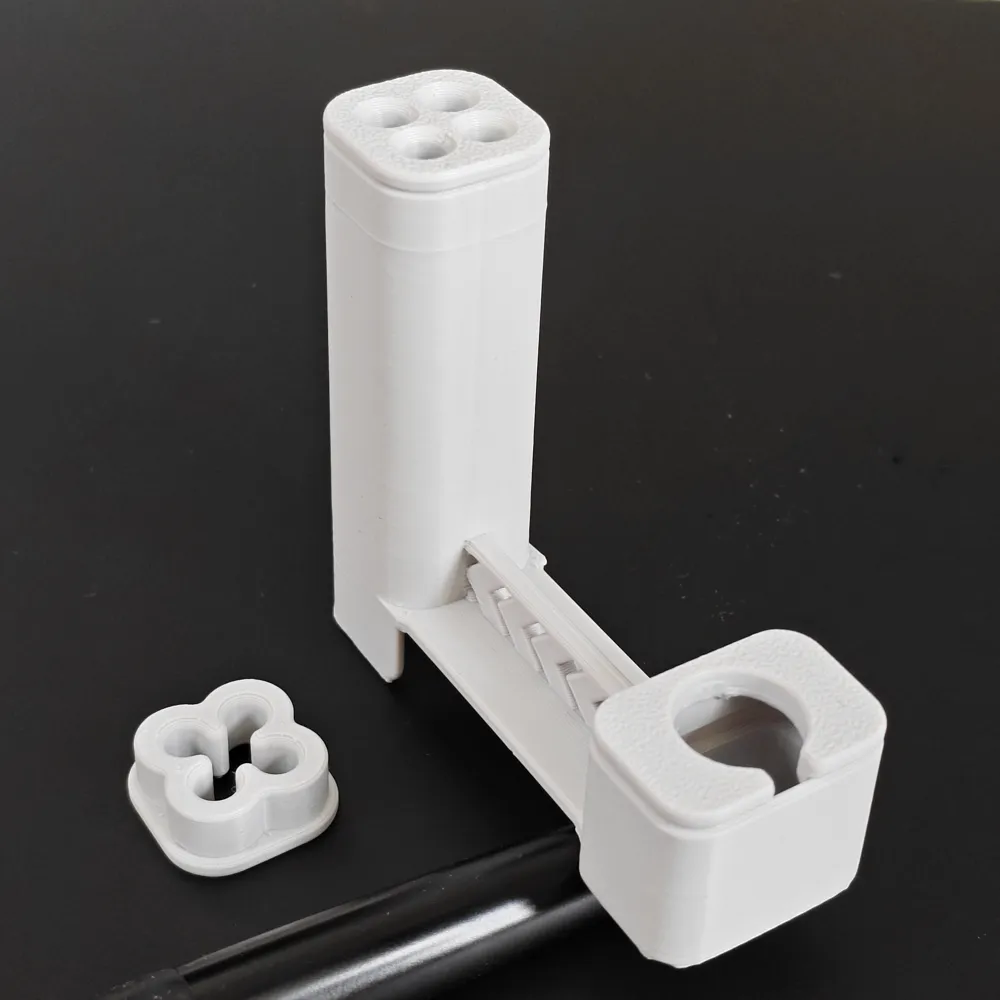
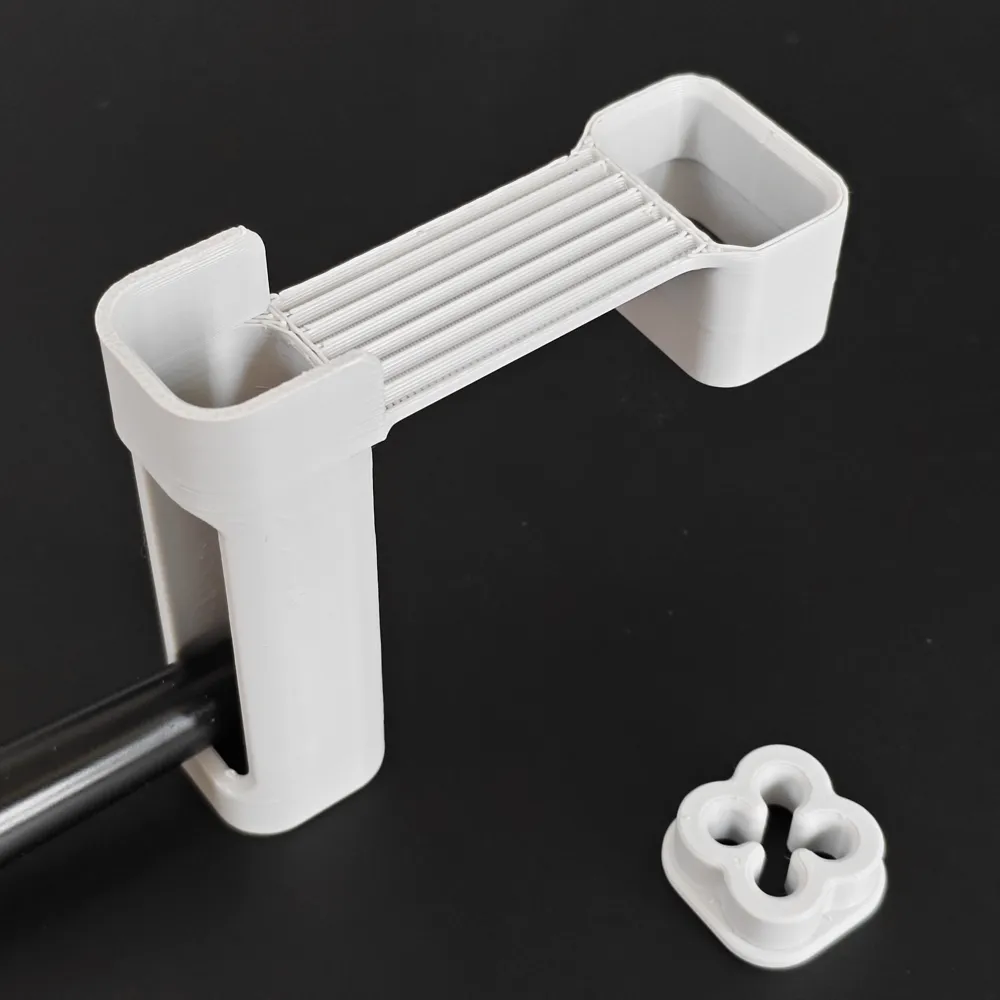
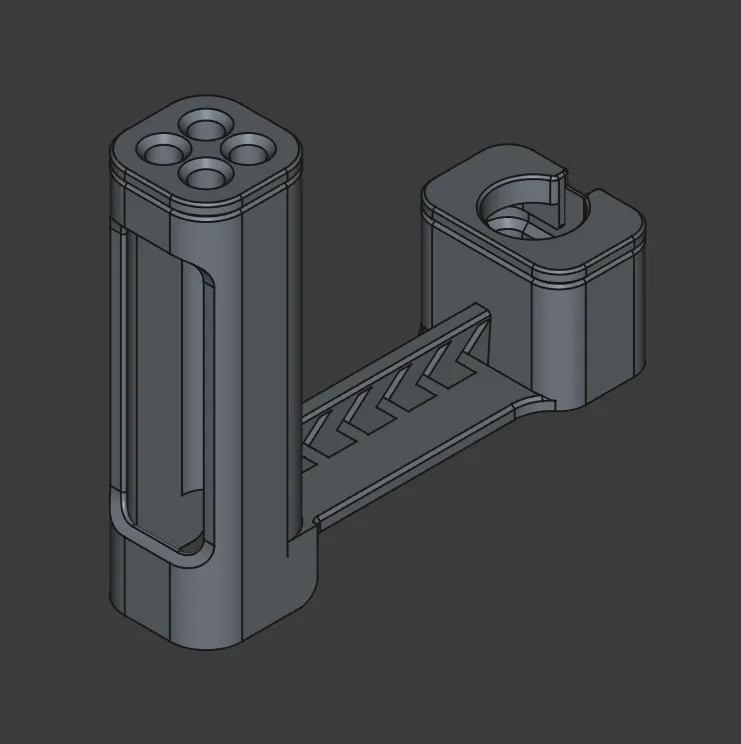
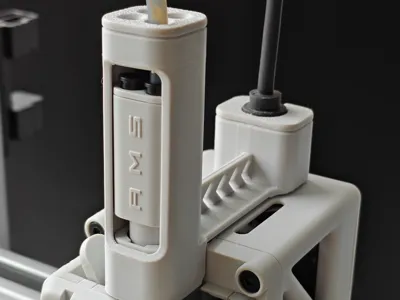
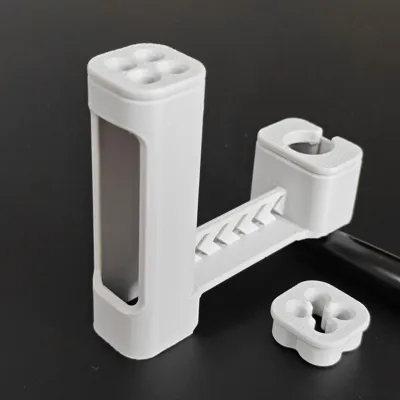
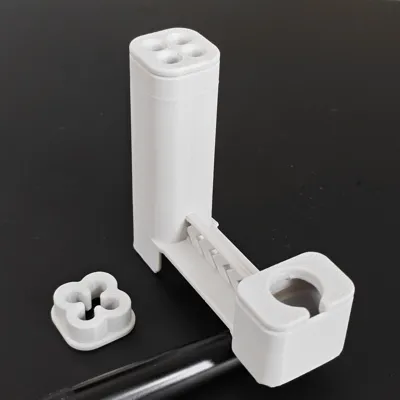
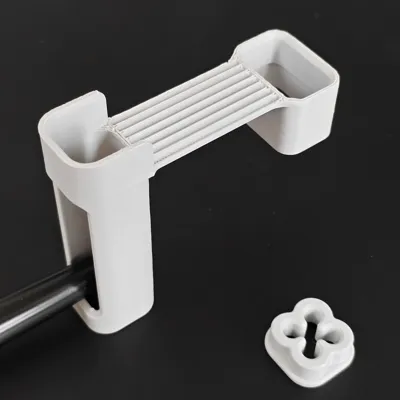
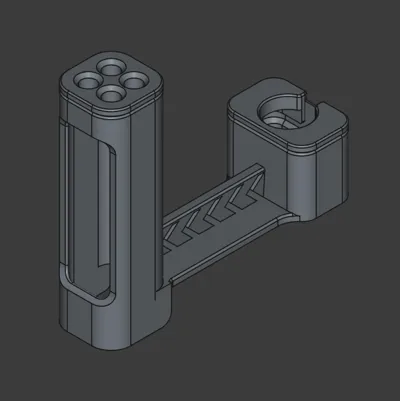
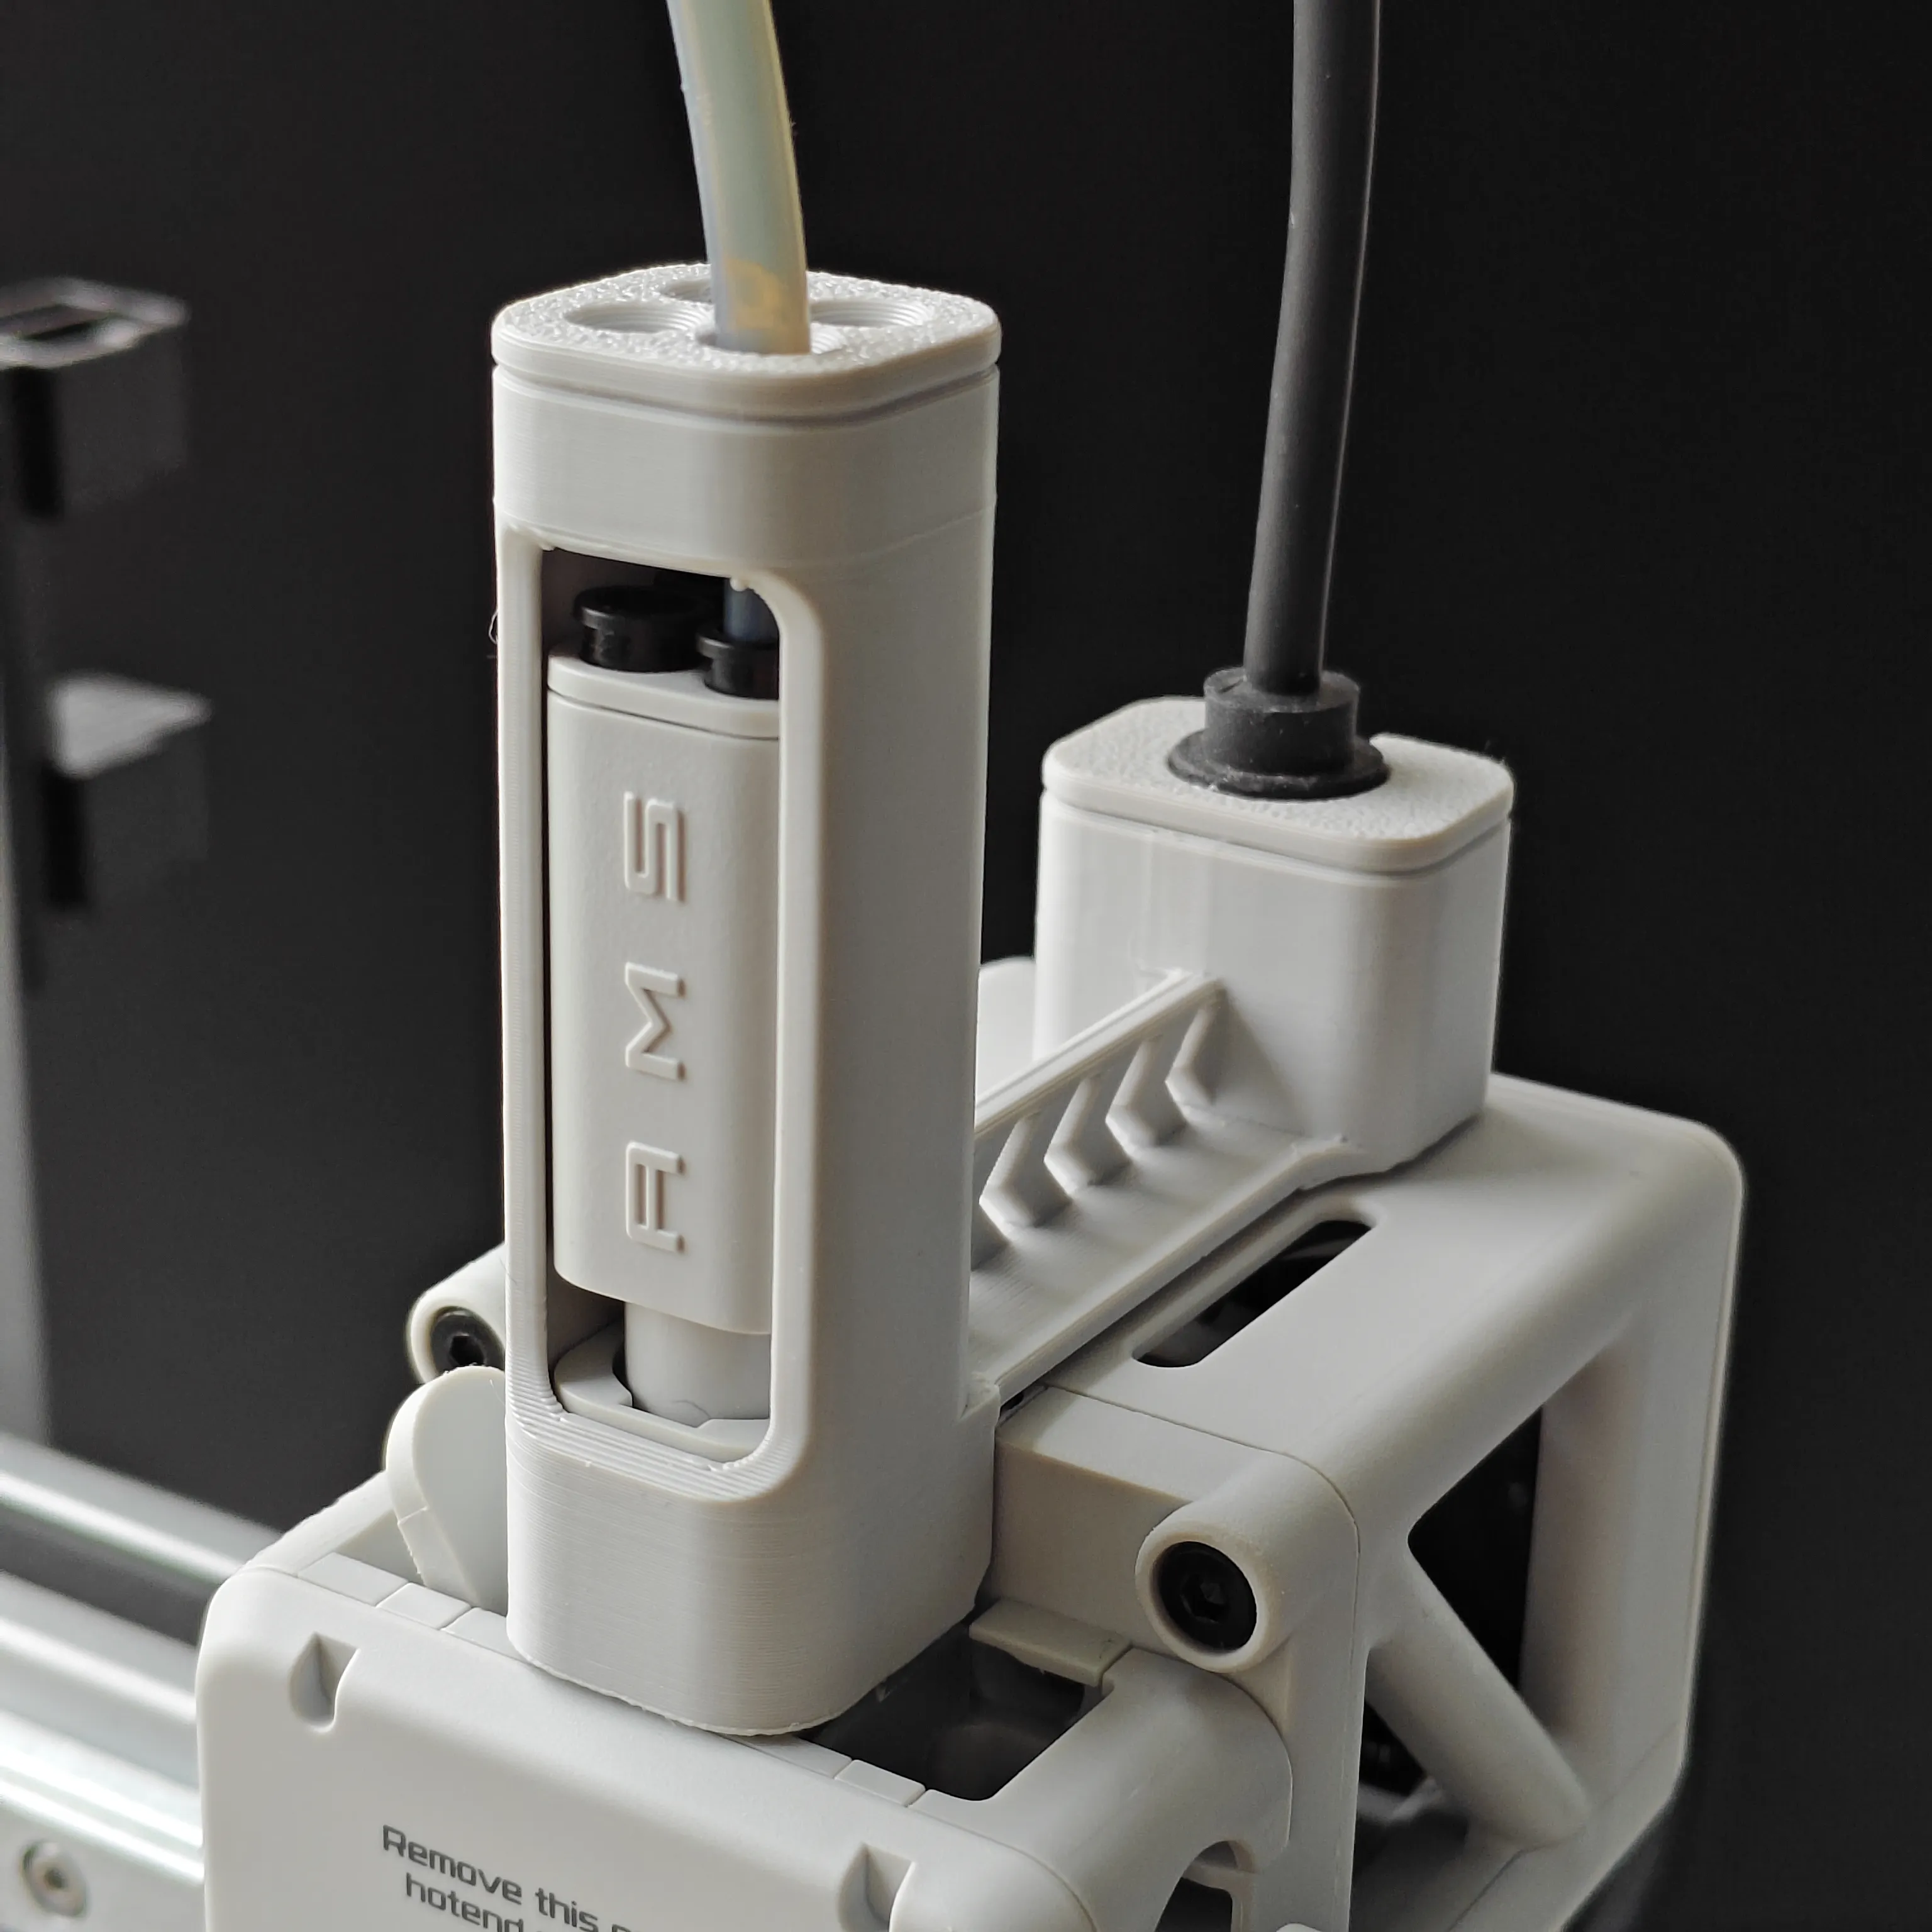
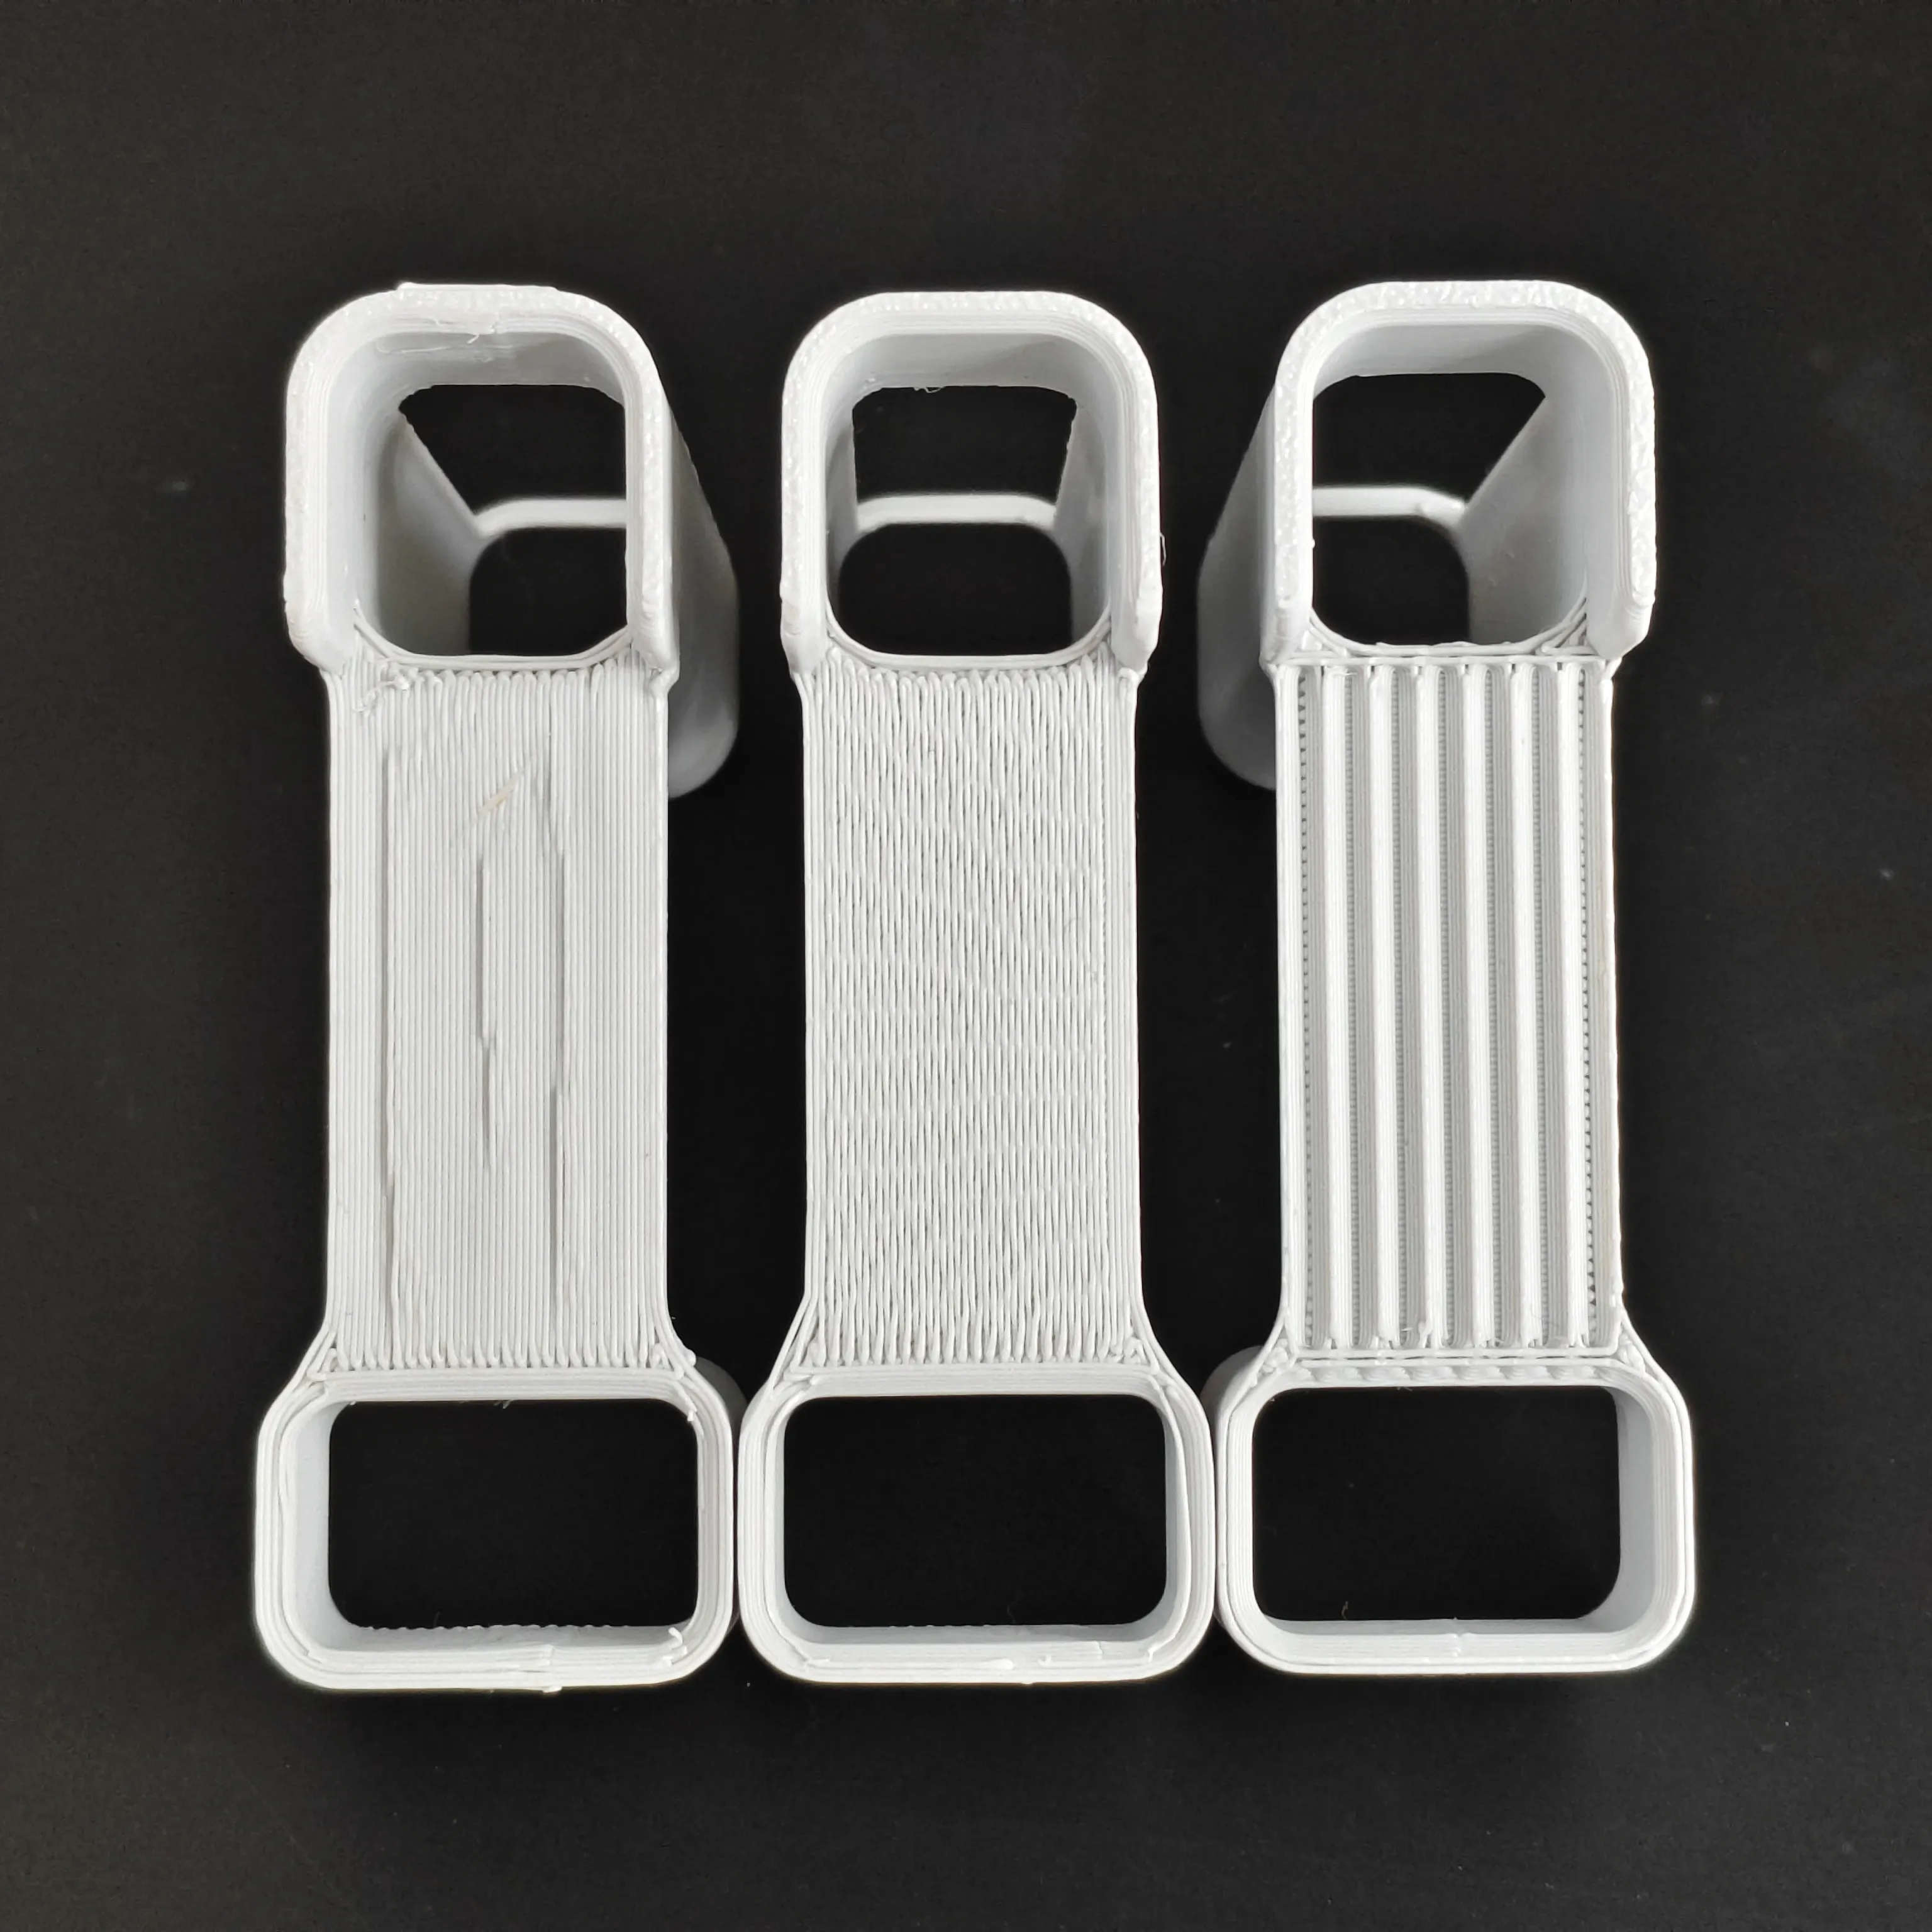
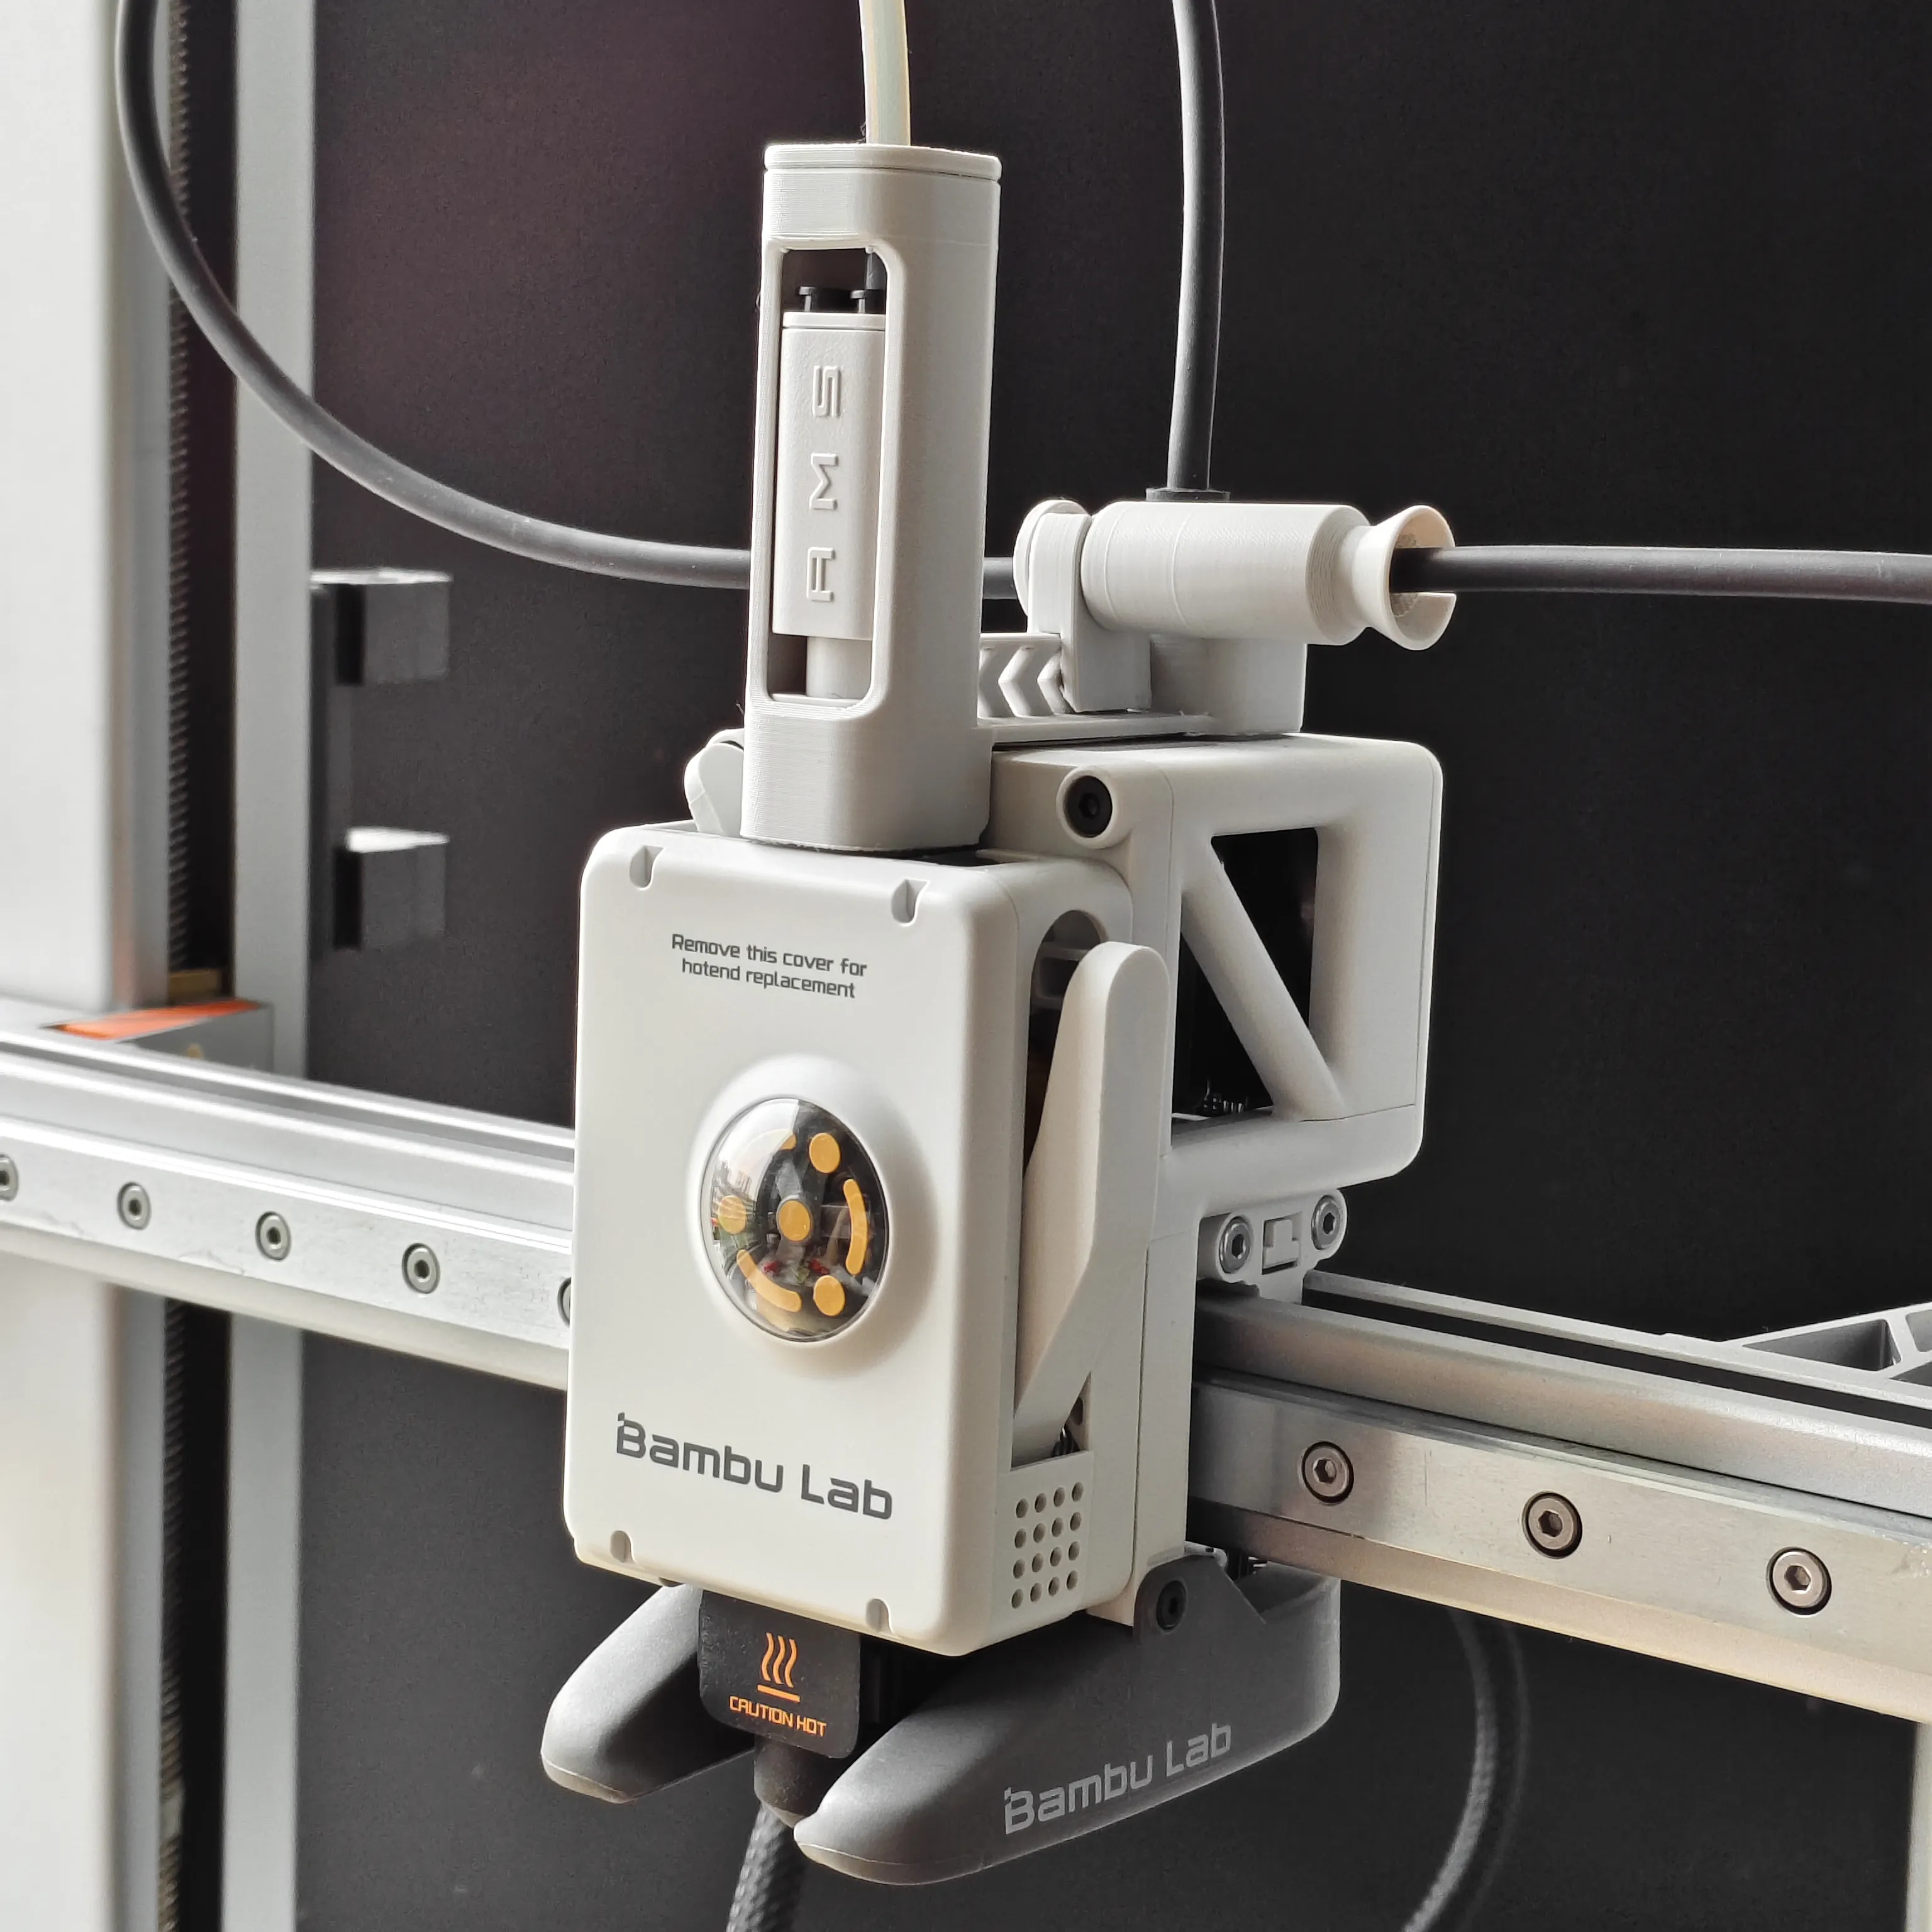
To prevent the five-way connector from bursting many Makers have designed five-way protectors I simply followed Bambu Lab's design language revealing the originally needed movable accessories in the design which allows the original functions to be used as freely as before At the same time I corrected the characteristics of soft material and shrinkage For the first time I used corrugated overhangs to achieve perfect printing results for a single material on supports interested friends can try it
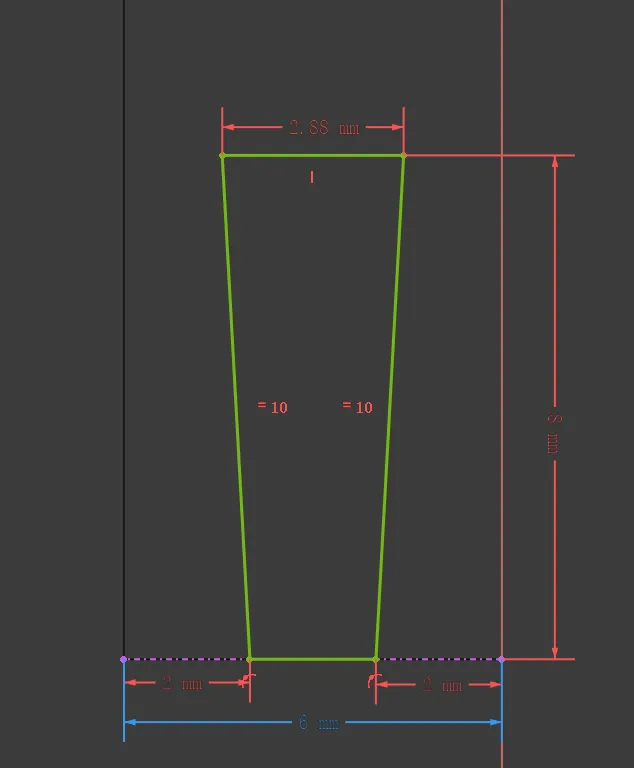
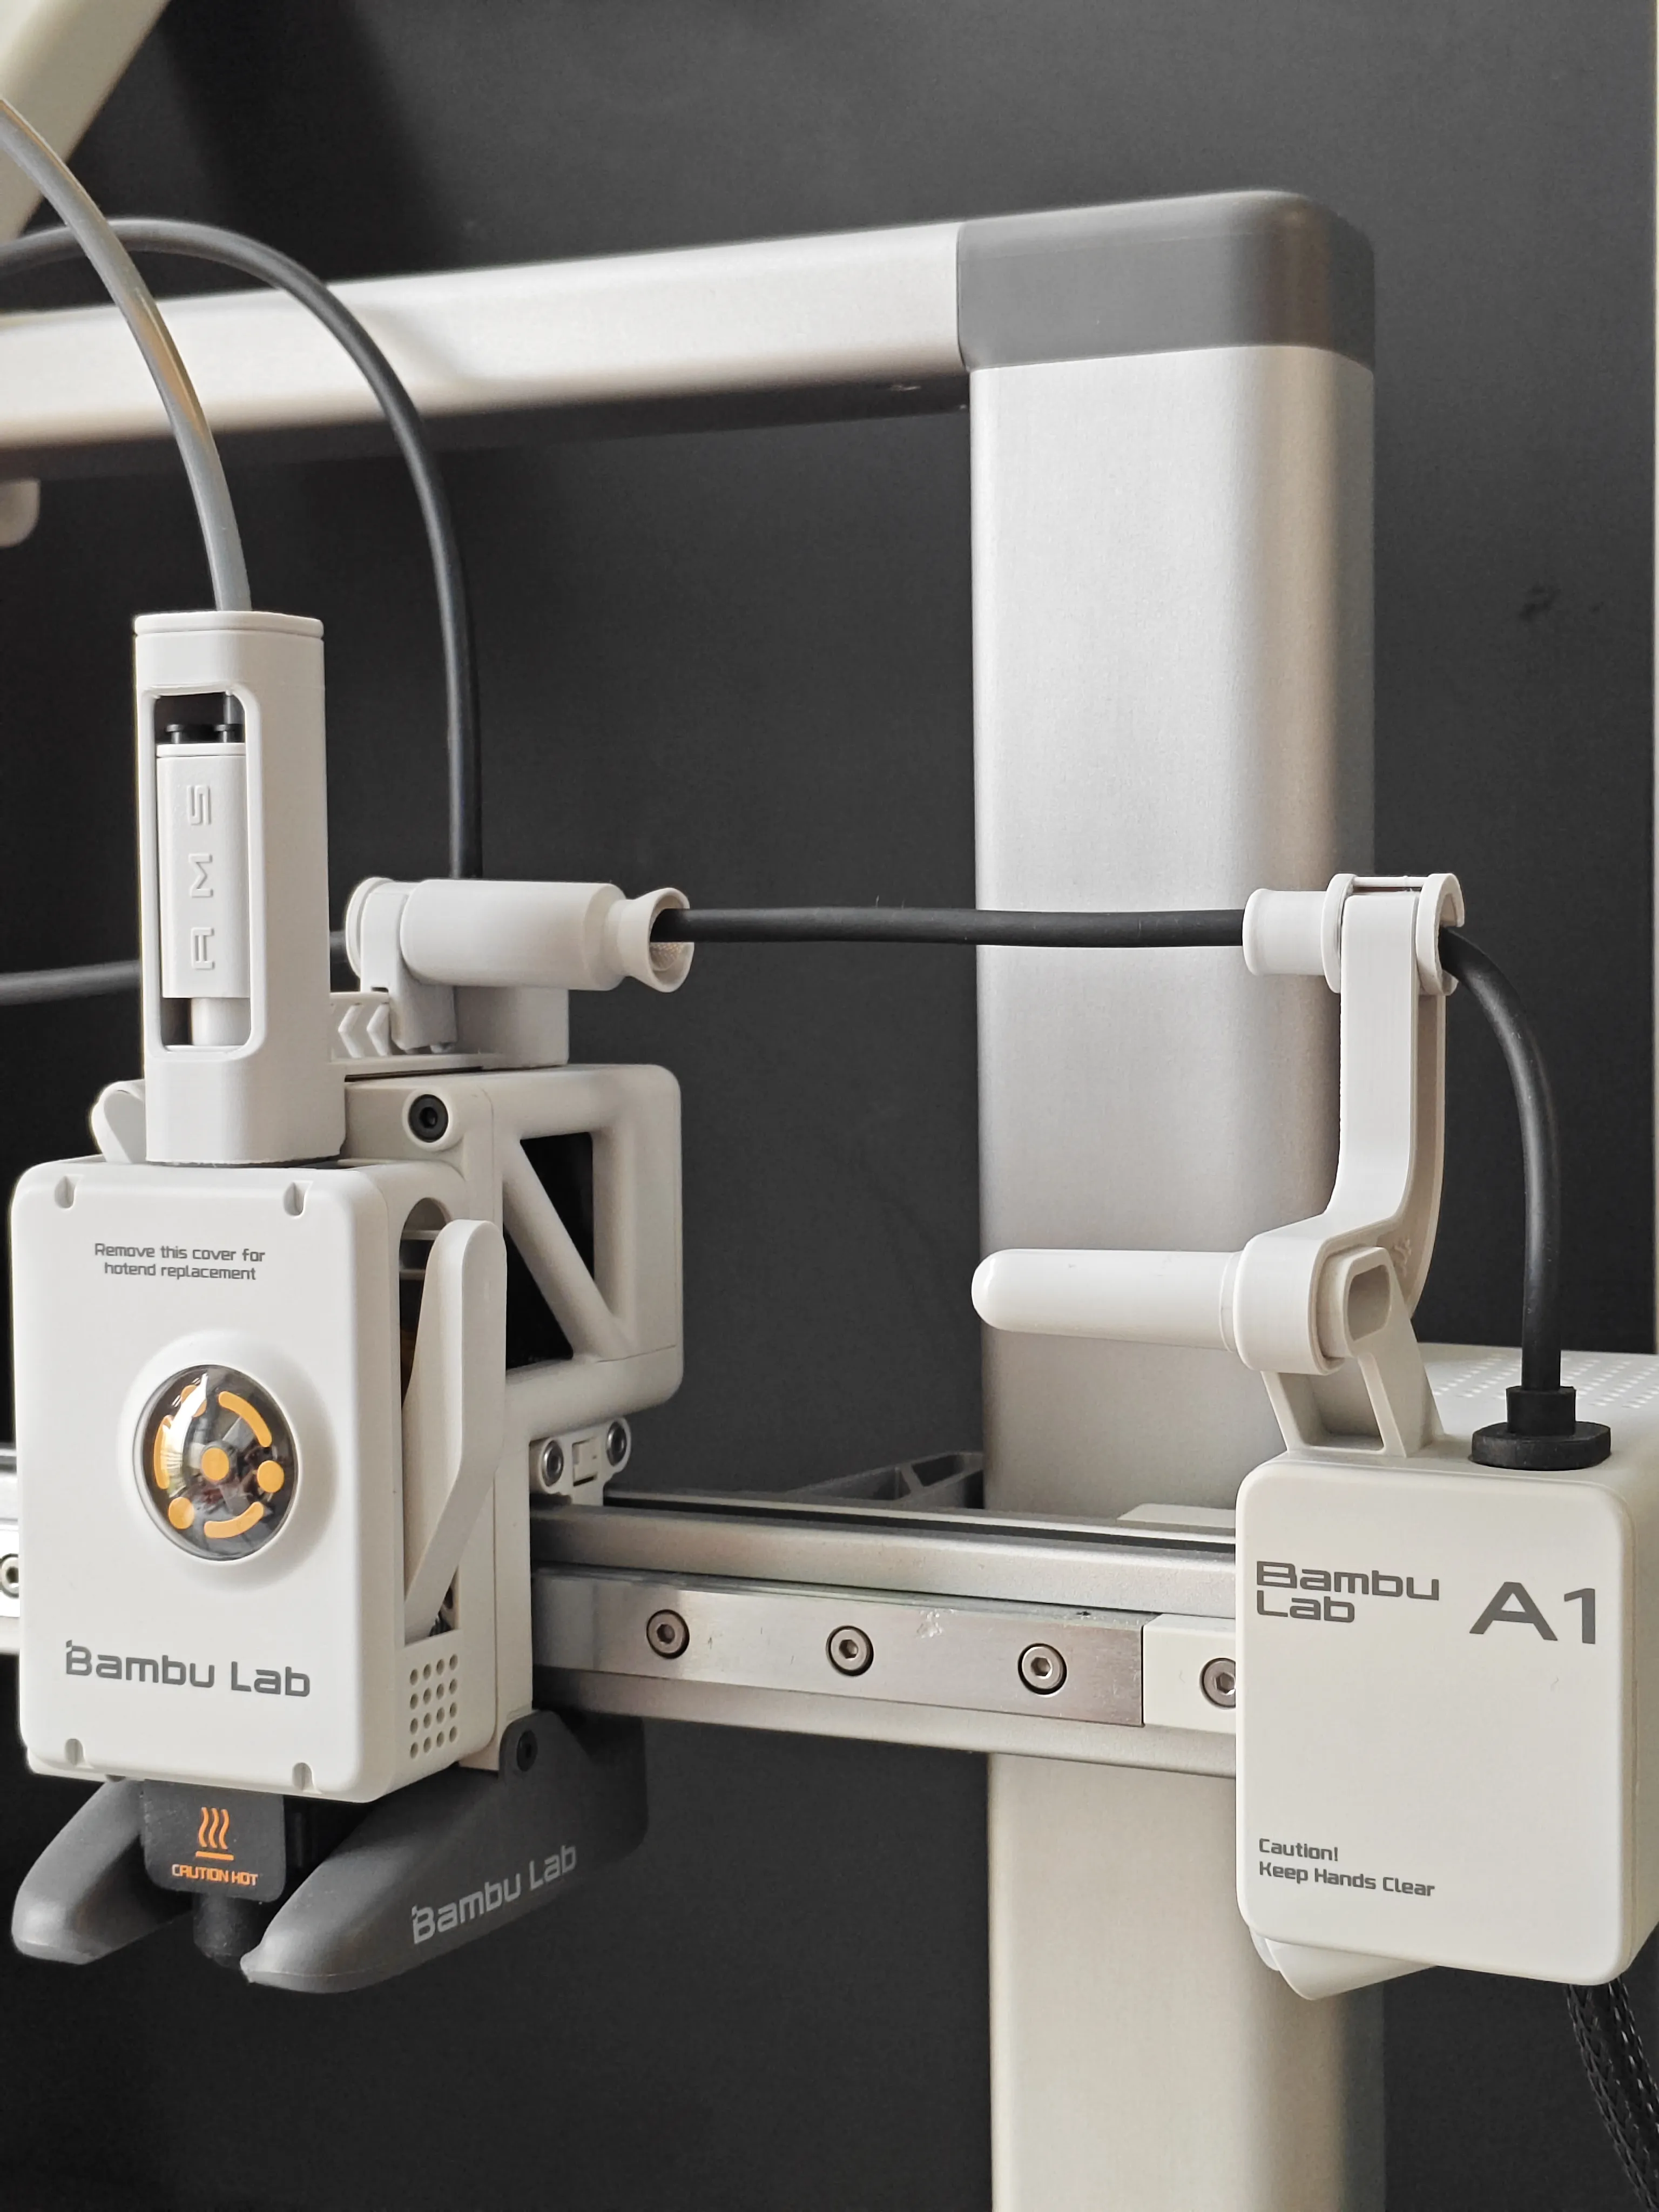
This is actually a protective bracket I was forced to design you're not mistaken it's a bracket This bracket can easily install auxiliary accessories I used it to install the A1 series drag-chain-free cable organizer and of course this bracket still has a lot of space You can install number plates for farm machines leisurely peace charms Maker nameplates or figurines and other small pendants Here I deliberately left clearance for the original heat dissipation vents also making it easy for geeks to add modification accessories the image below shows the dimensions of the rail mounting groove
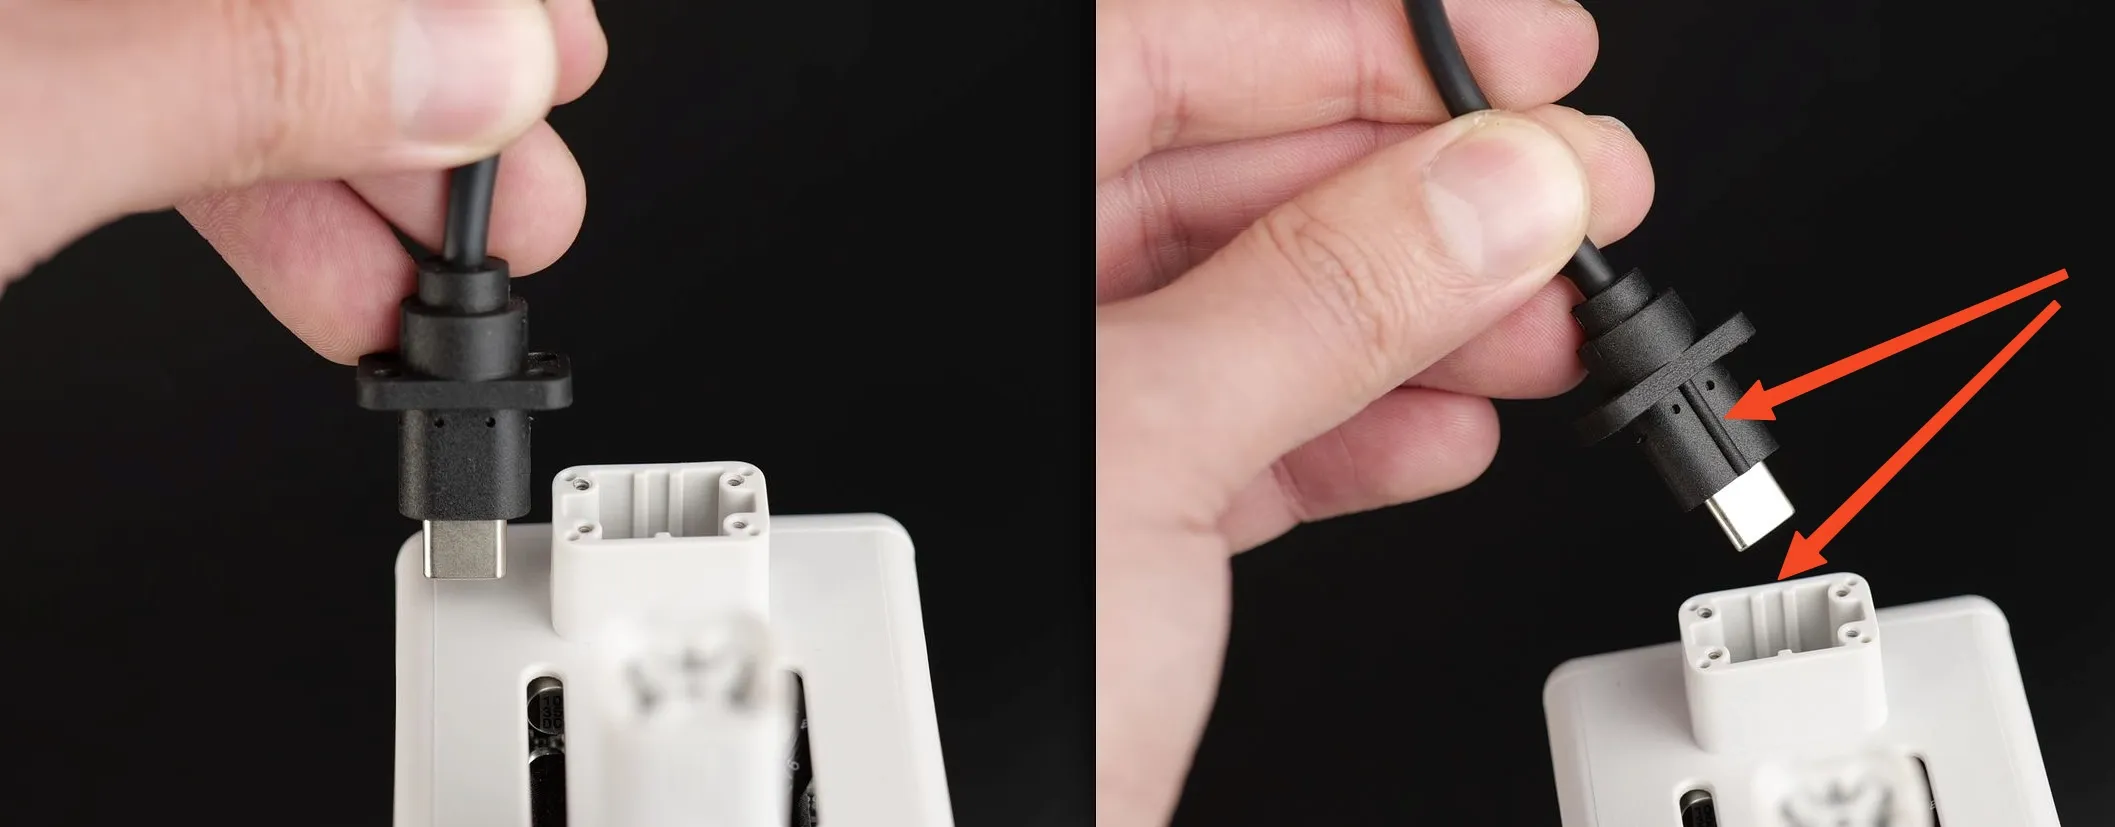
Before detaching the USB-C data cable please turn off the printer's power and disconnect the power supply to prevent short circuits that could cause additional electronic device damage and safety hazards
Before installation please confirm the hotend temperature avoid operating at high temperatures if operation at high temperatures is necessary please wear insulated gloves to ensure safe installation
This user content is licensed under a Standard Digital File License.
You shall not share, sub-license, sell, rent, host, transfer, or distribute in any way the digital or 3D printed versions of this object, nor any other derivative work of this object in its digital or physical format (including - but not limited to - remixes of this object, and hosting on other digital platforms). The objects may not be used without permission in any way whatsoever in which you charge money, or collect fees.






Comment & Rating (258)