Screen Repair Clamps


Print Profile(1)

Description
Your support is important and an incentive for future projects. If you liked this work, don't forget to leave a like, a comment, and a 5-star rating. I would be grateful
Boost Me (for free)
If you like this work and want to support me, you can do so for free by sending me a boost
Description:
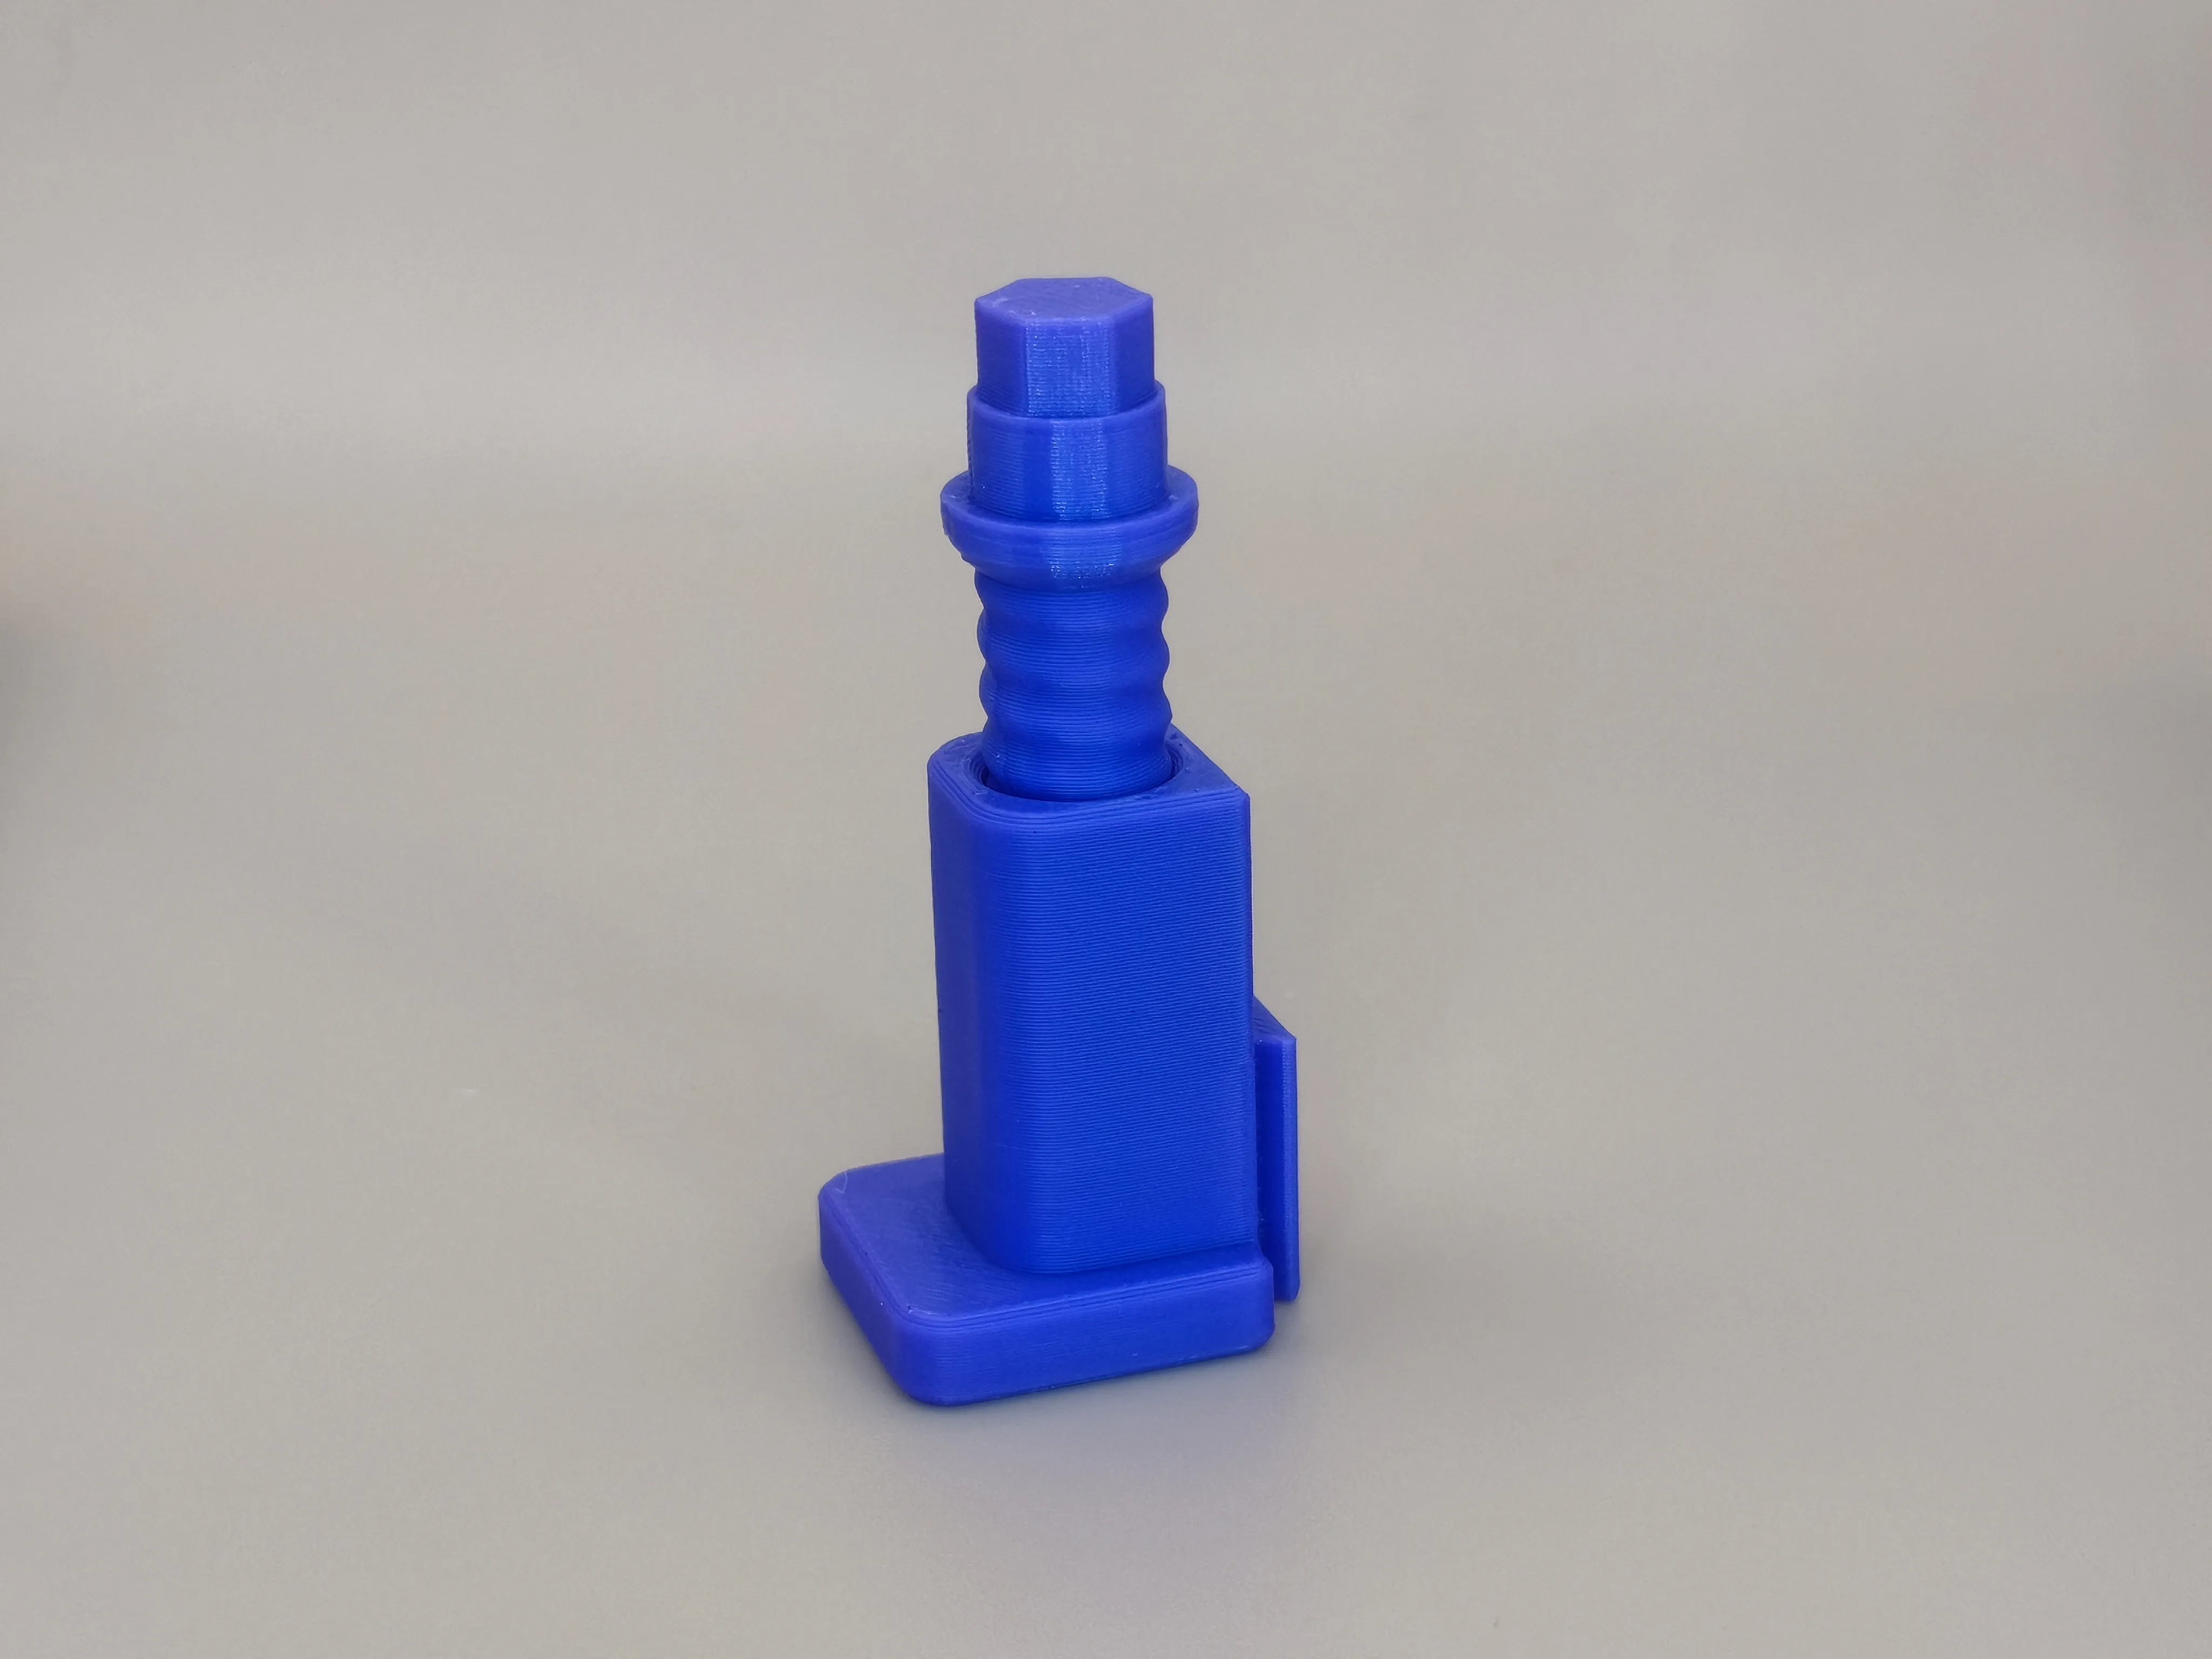
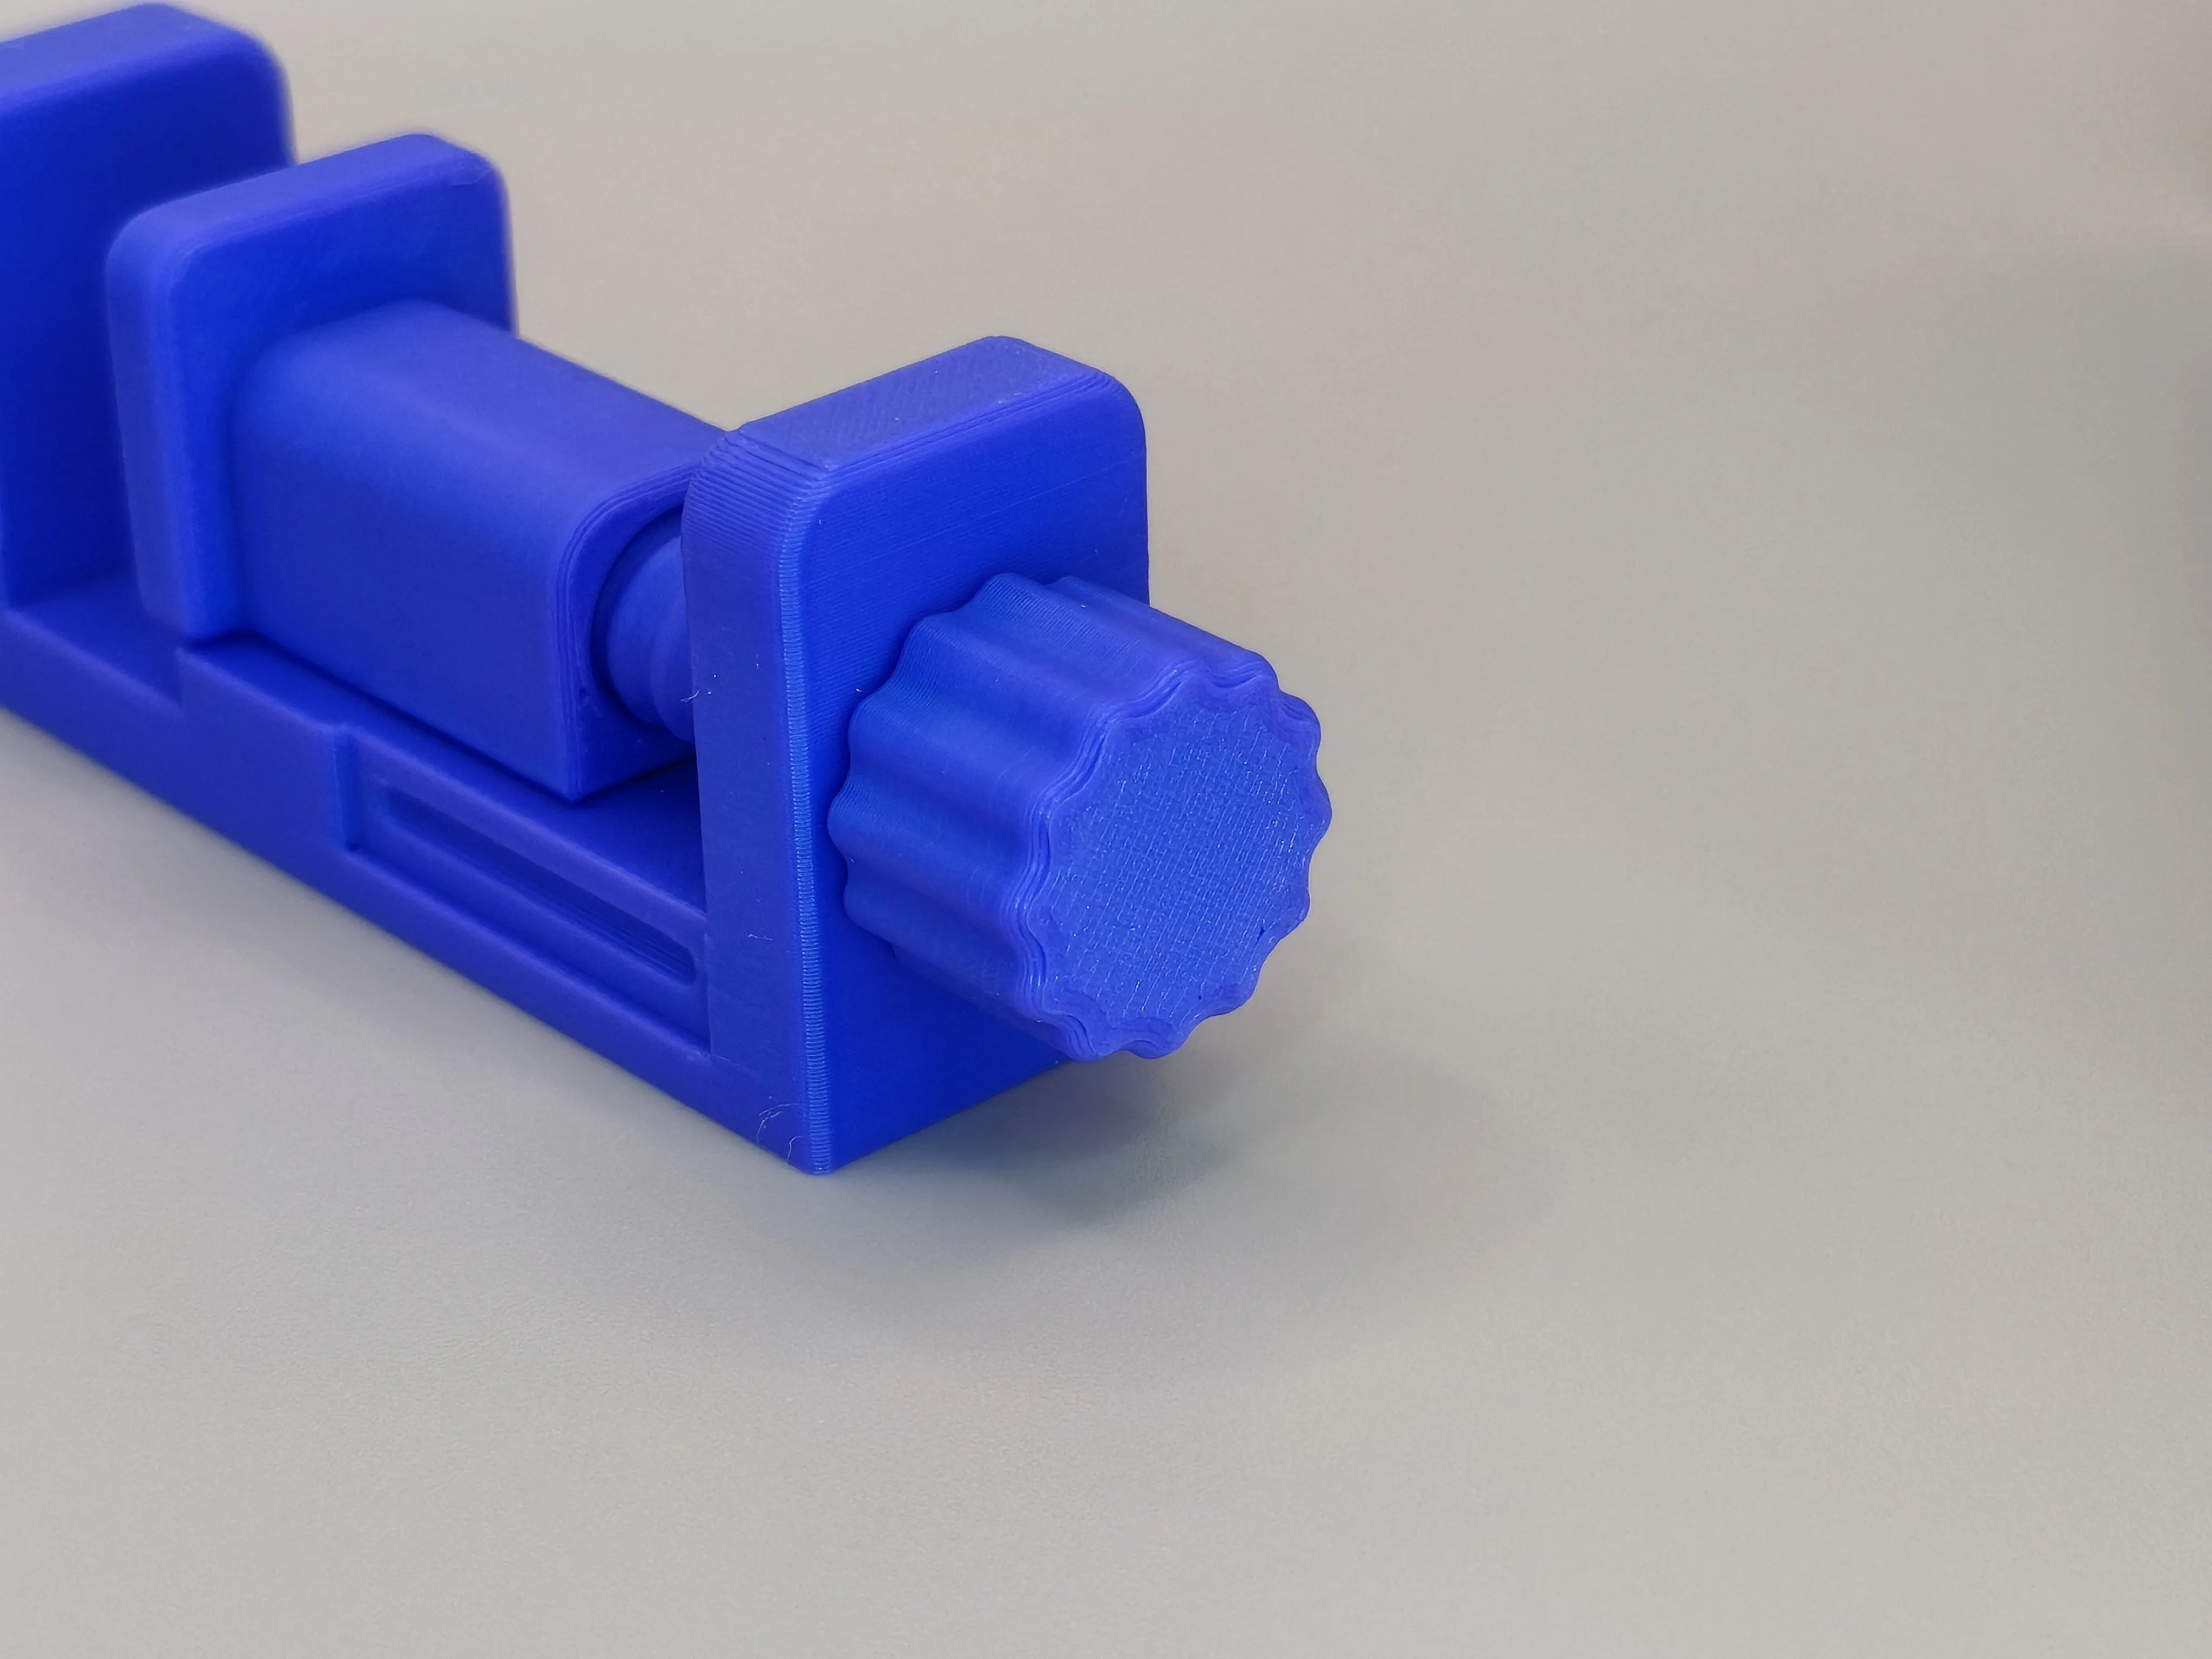
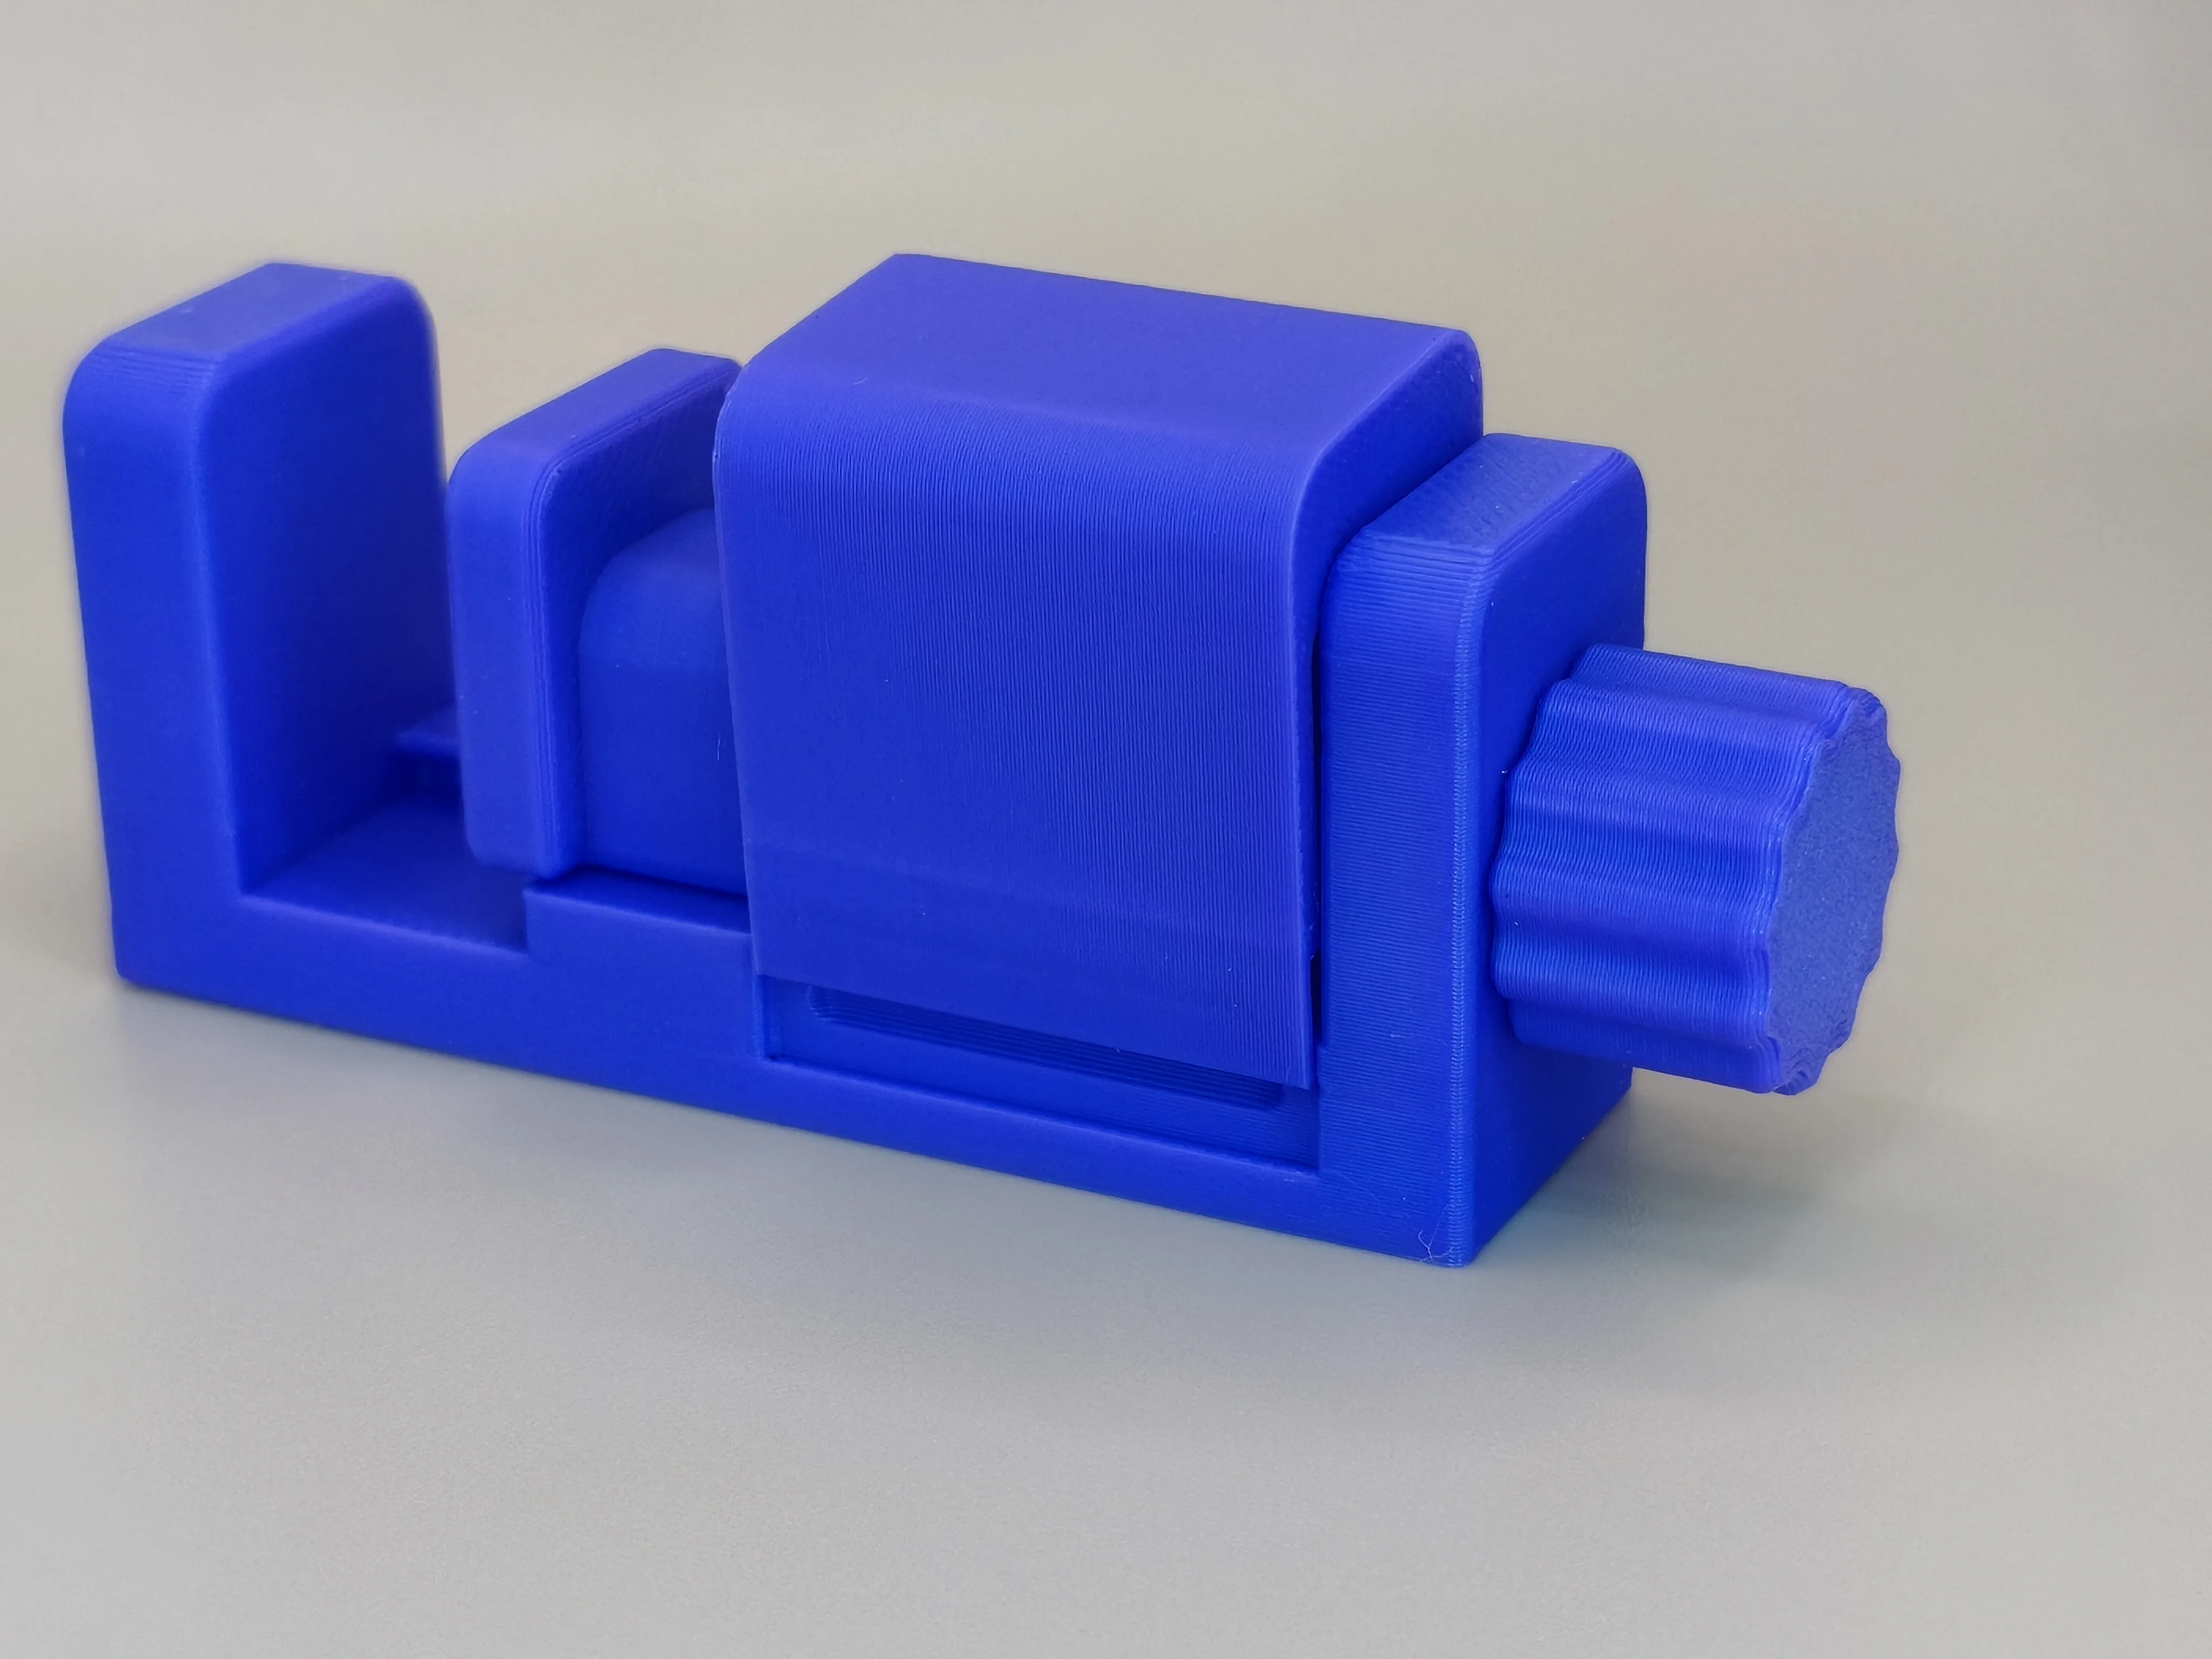
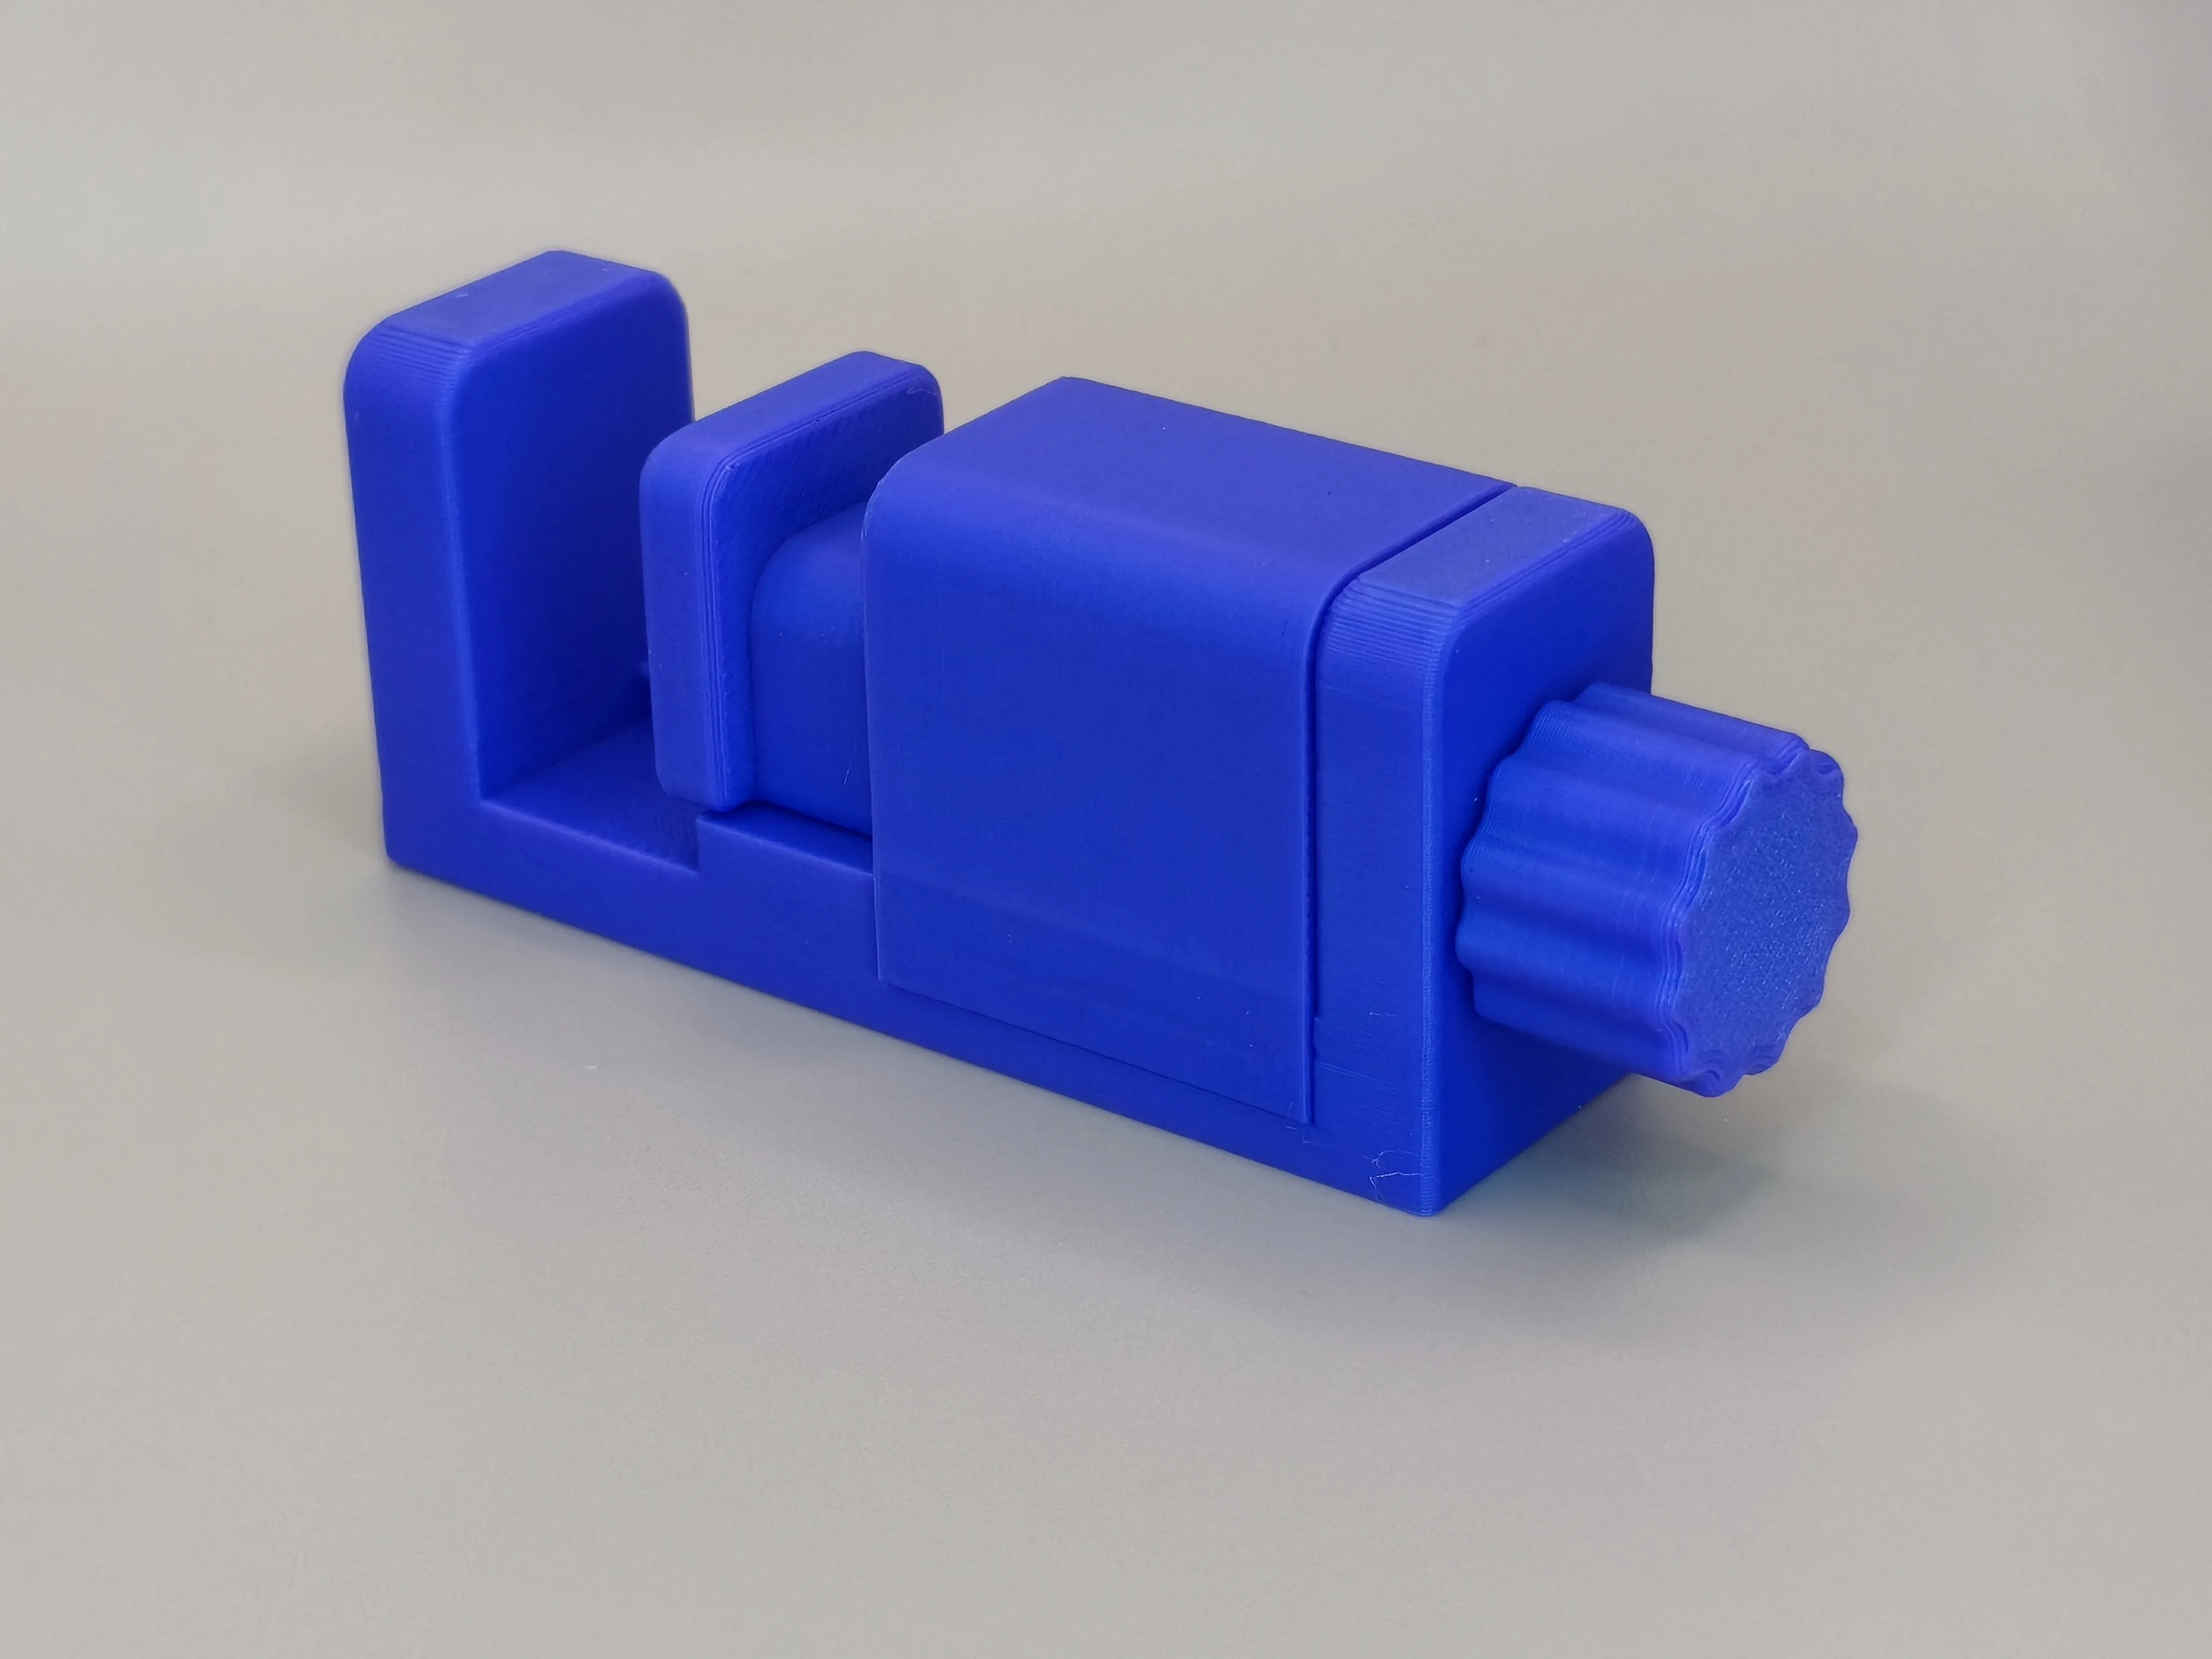
These clamps are designed to facilitate the replacement of smartphone and tablet displays. Their compact design and secure grip keep the display firmly in place while the adhesive dries, ensuring even and reliable bonding.
Key Features:
- Easy assembly
- Easy to position and remove
- Printable without supports
- Compatible with all smartphones and tablets
Recommended Use:
Position the clamps along the edges of the device after applying the new display with adhesive, leaving them in place until the adhesive is fully cured.
Below is a detailed list of the various parts and a guide with assembly instructions.
You can also find a handy animated GIF instruction guide at the bottom of the page.
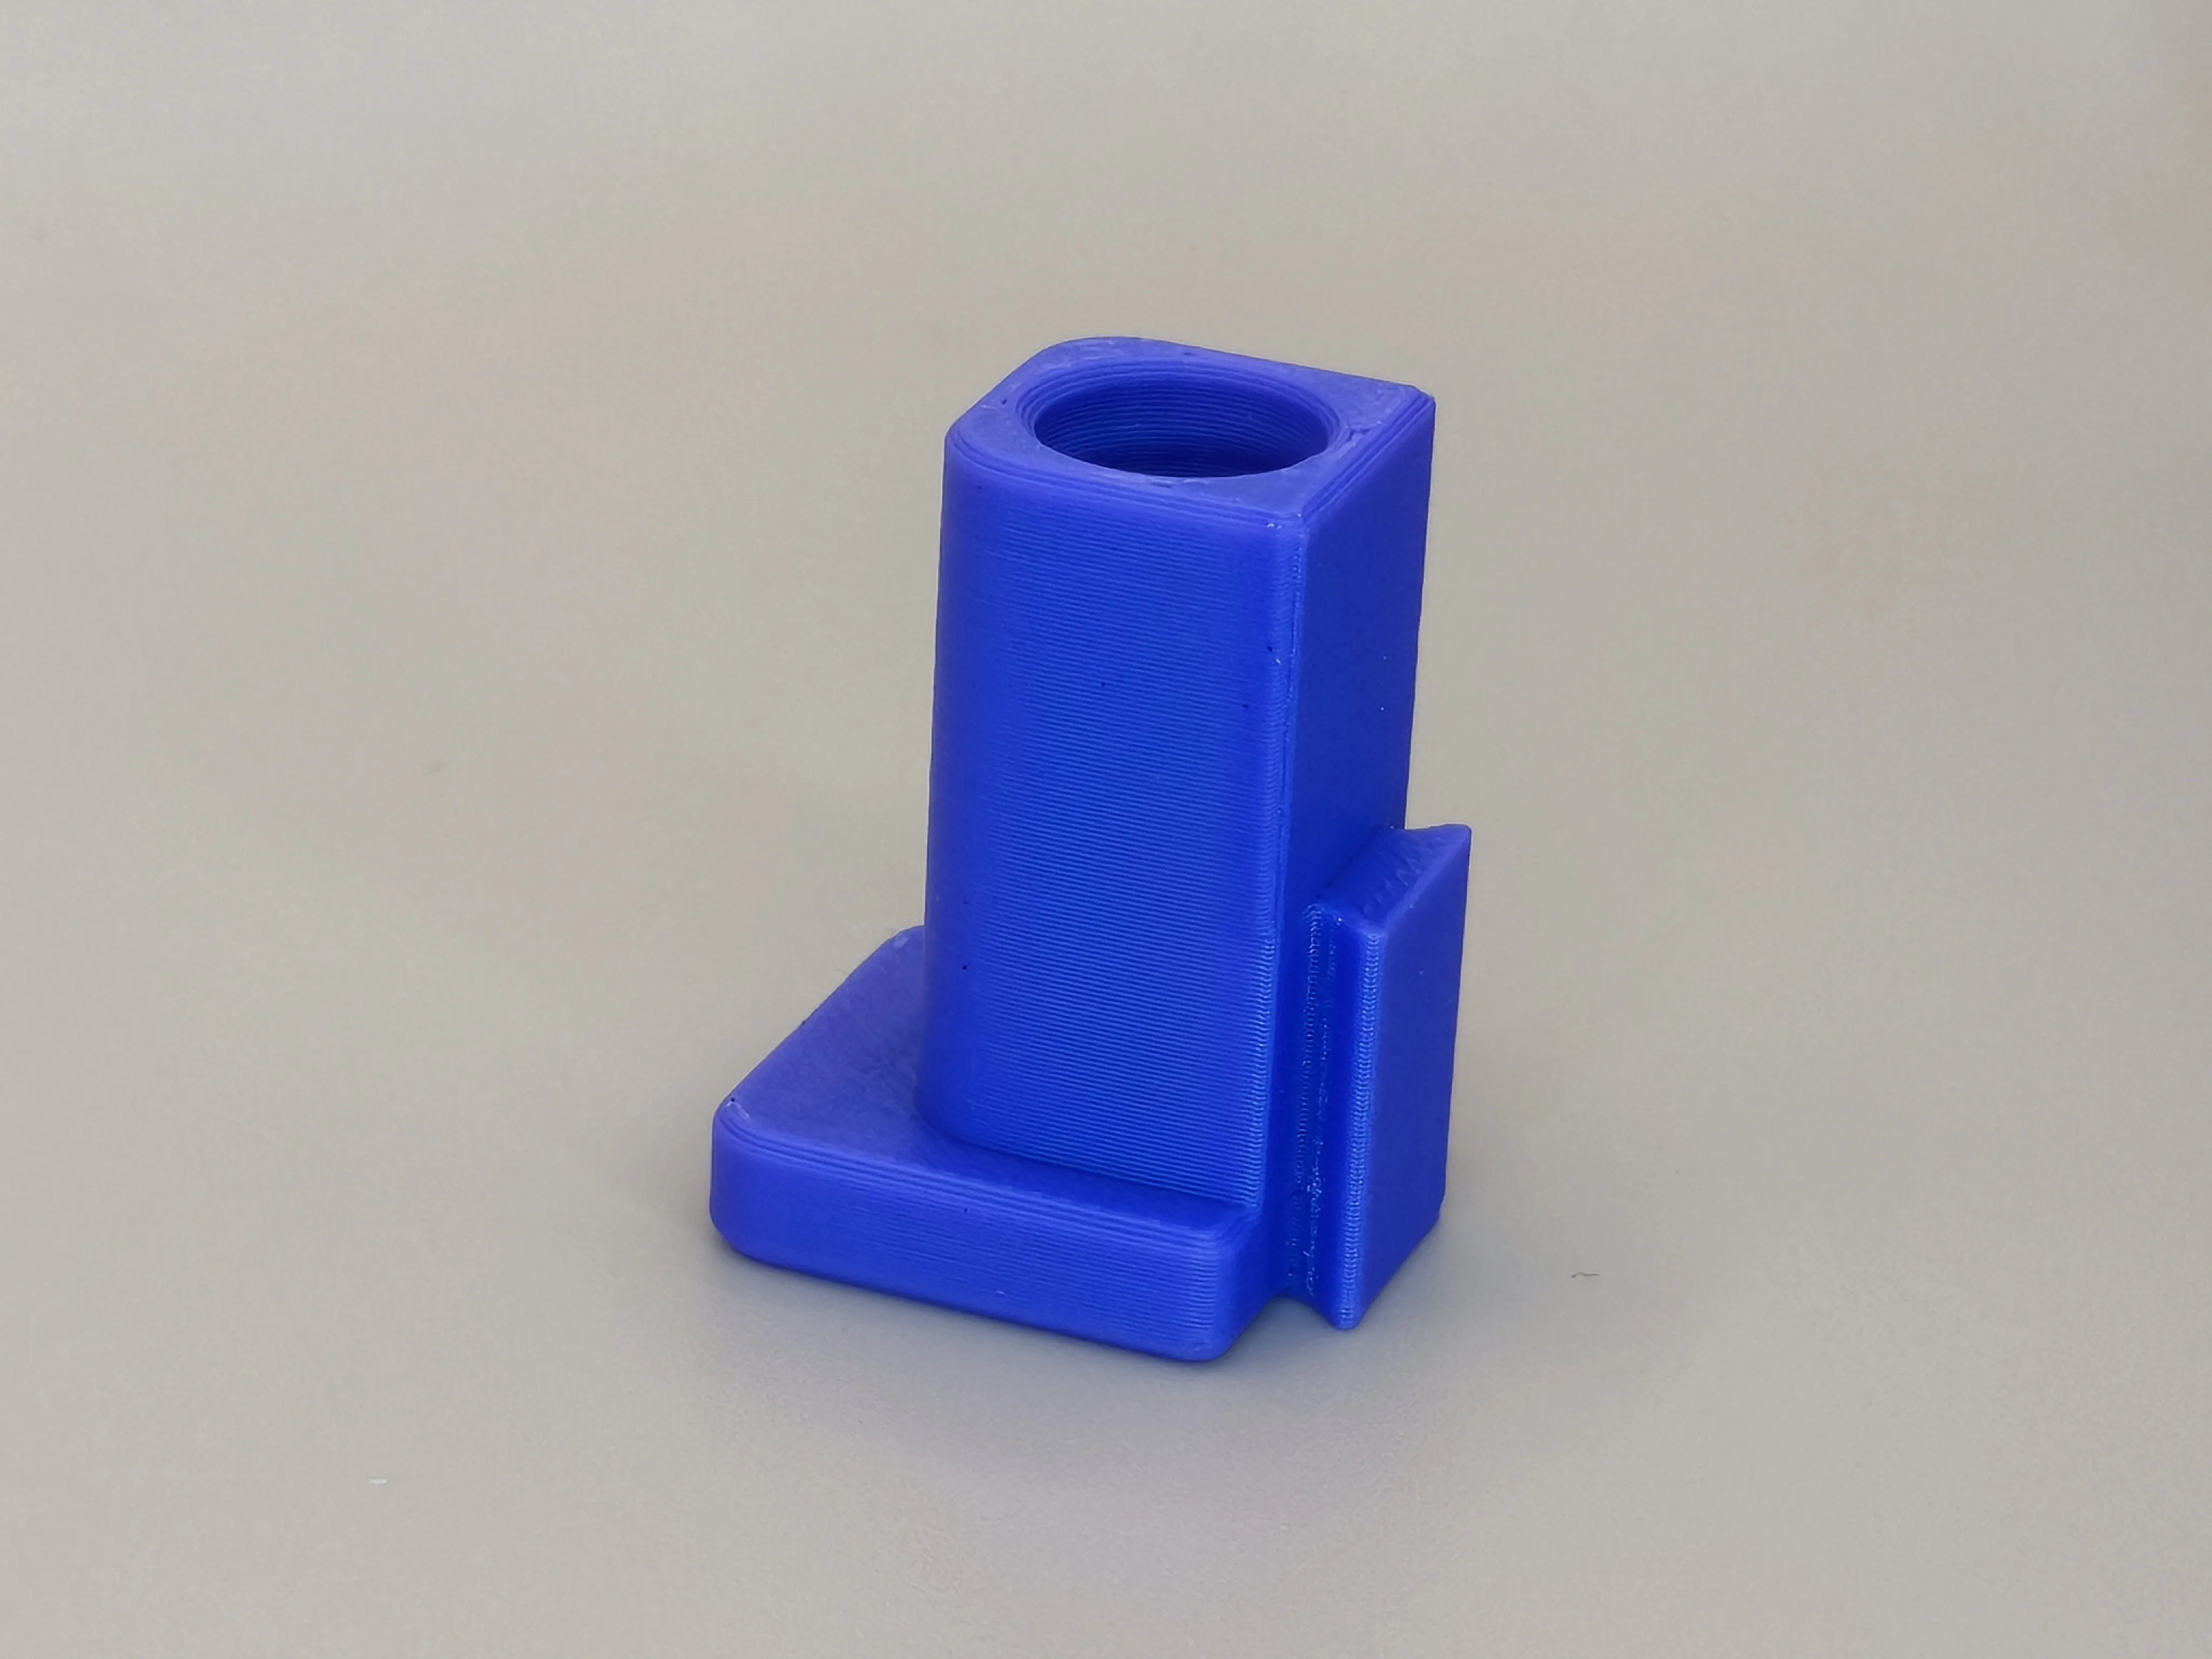
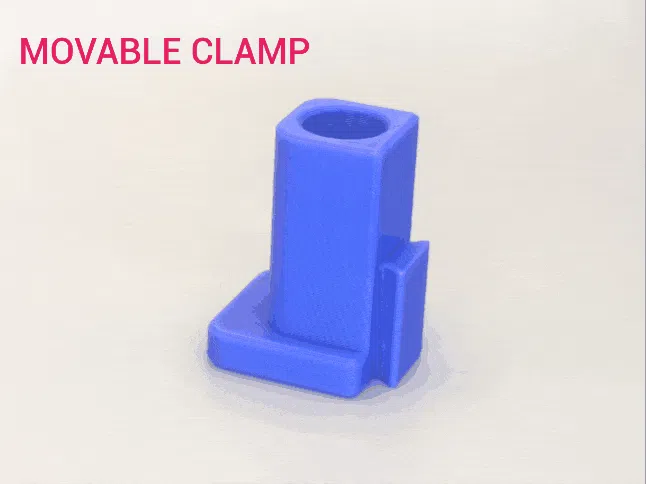
Movable Clamp
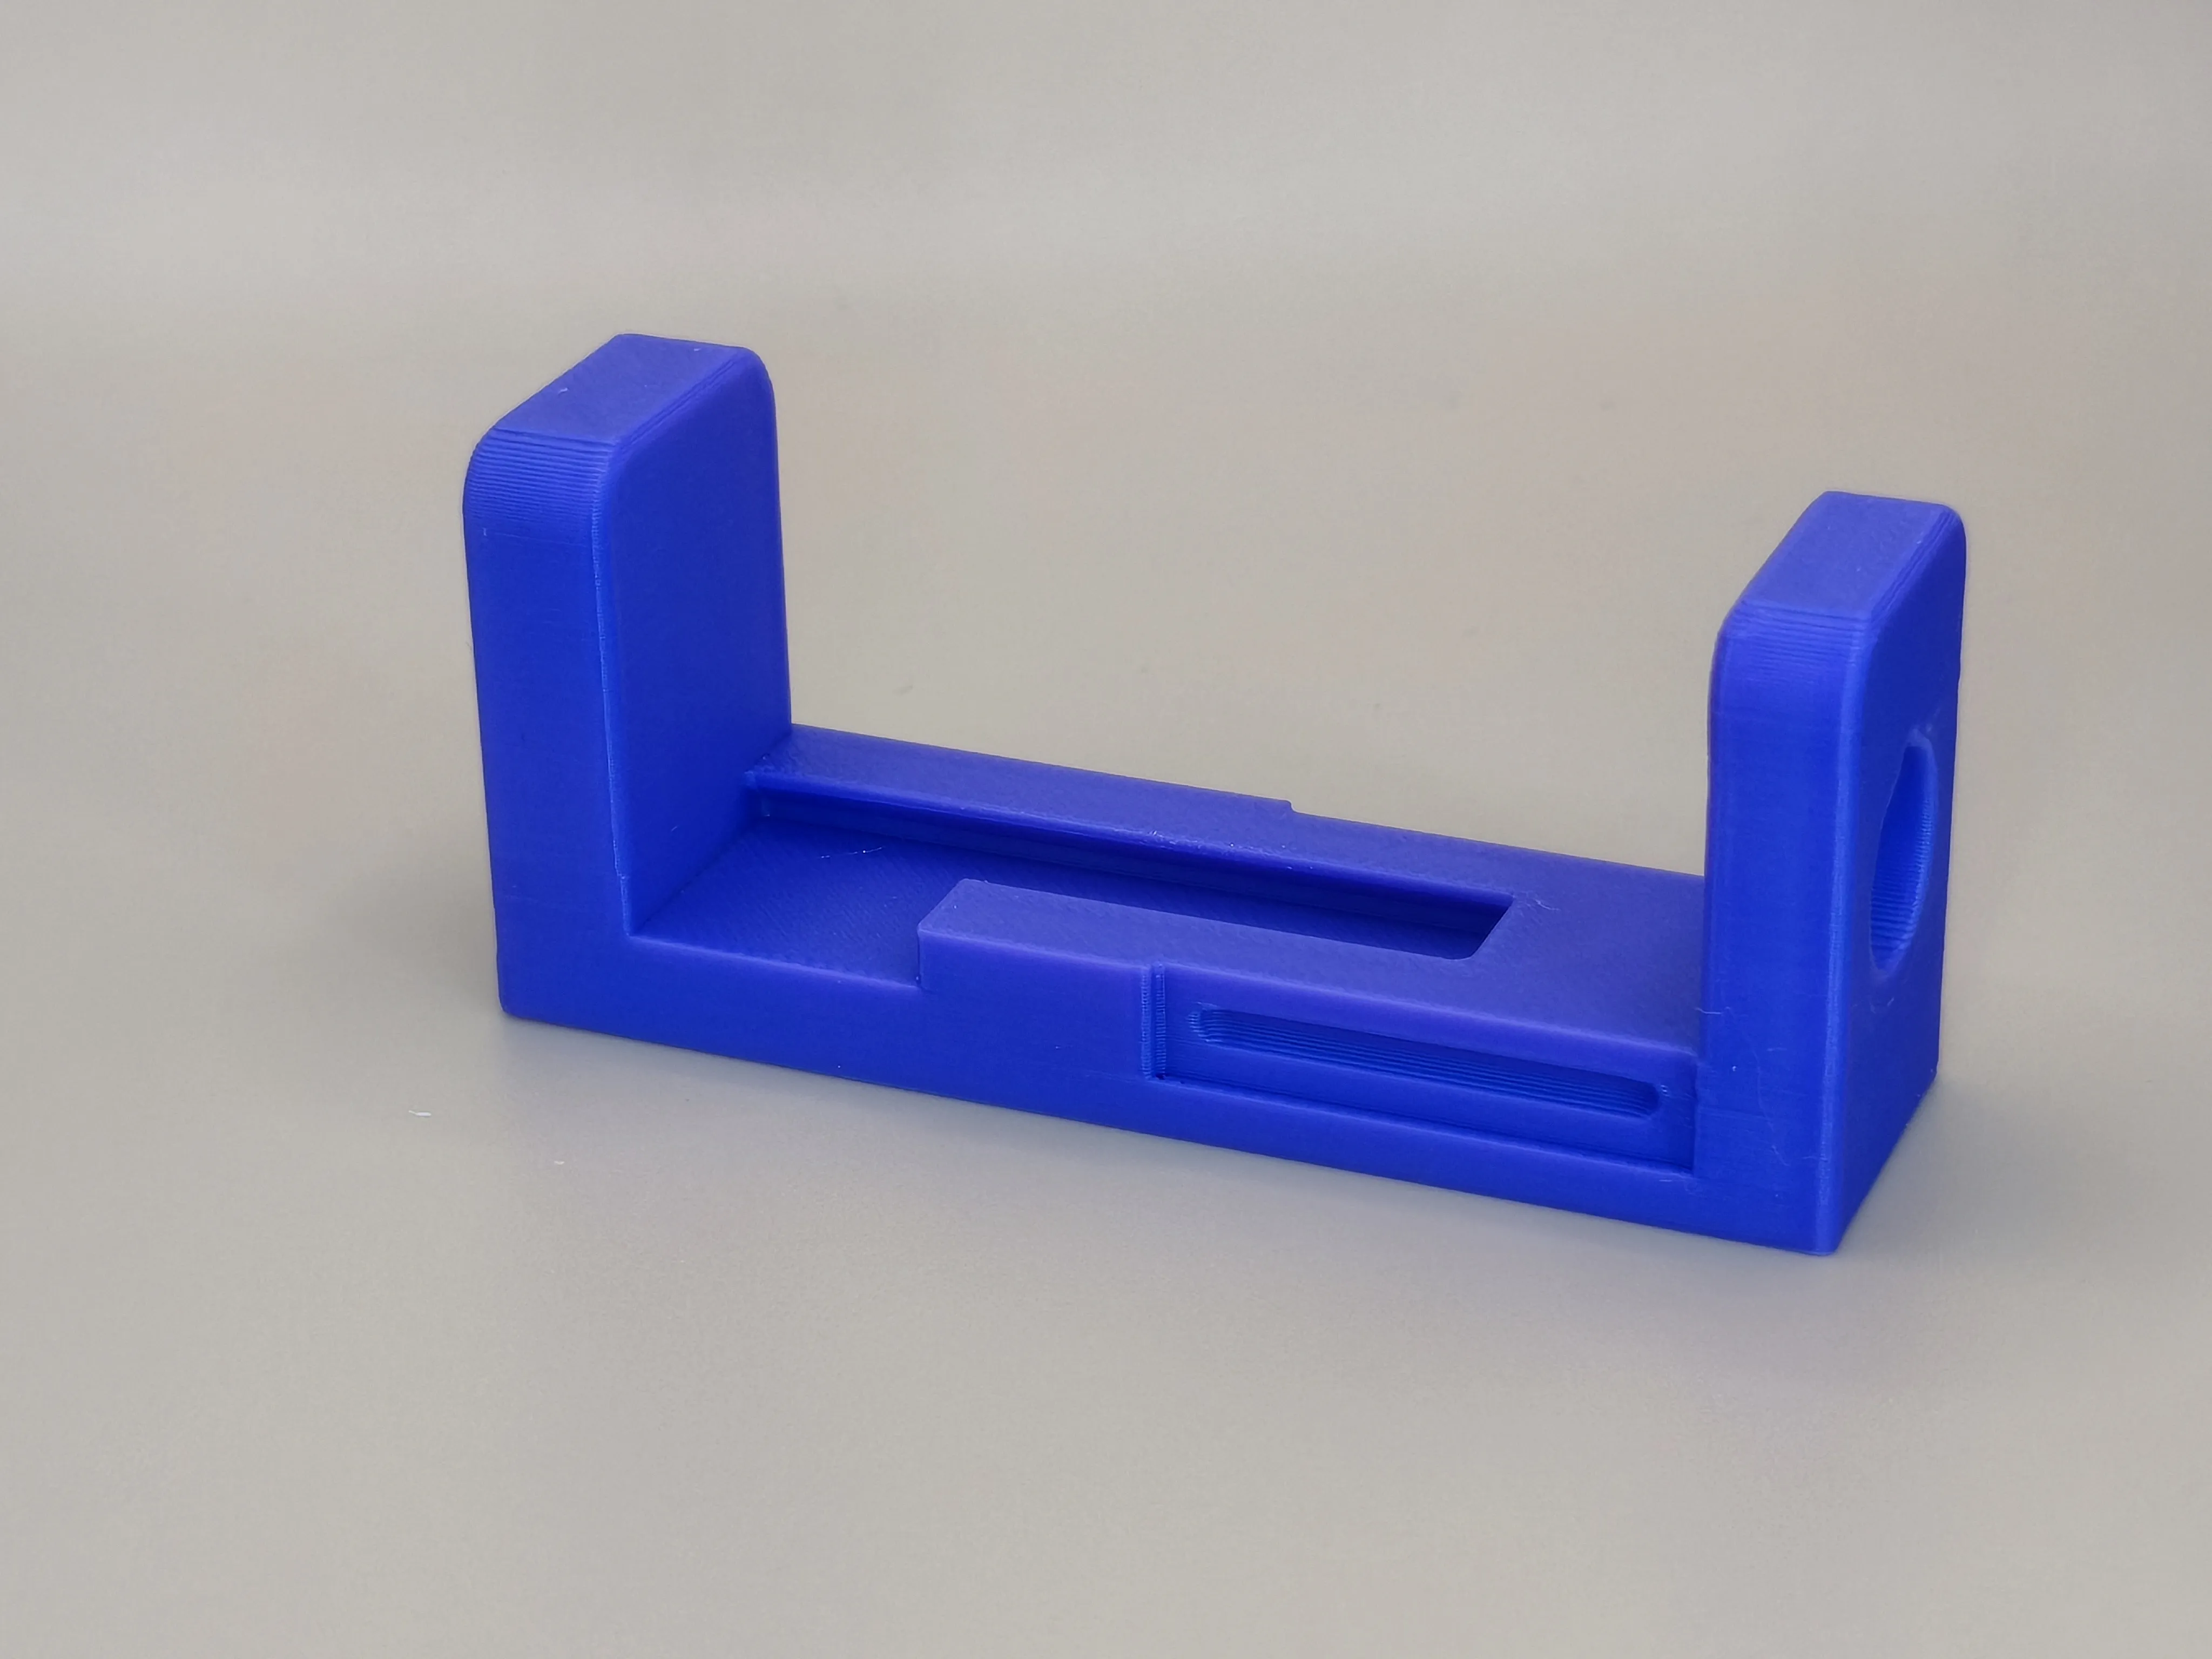
Fixed Clamp
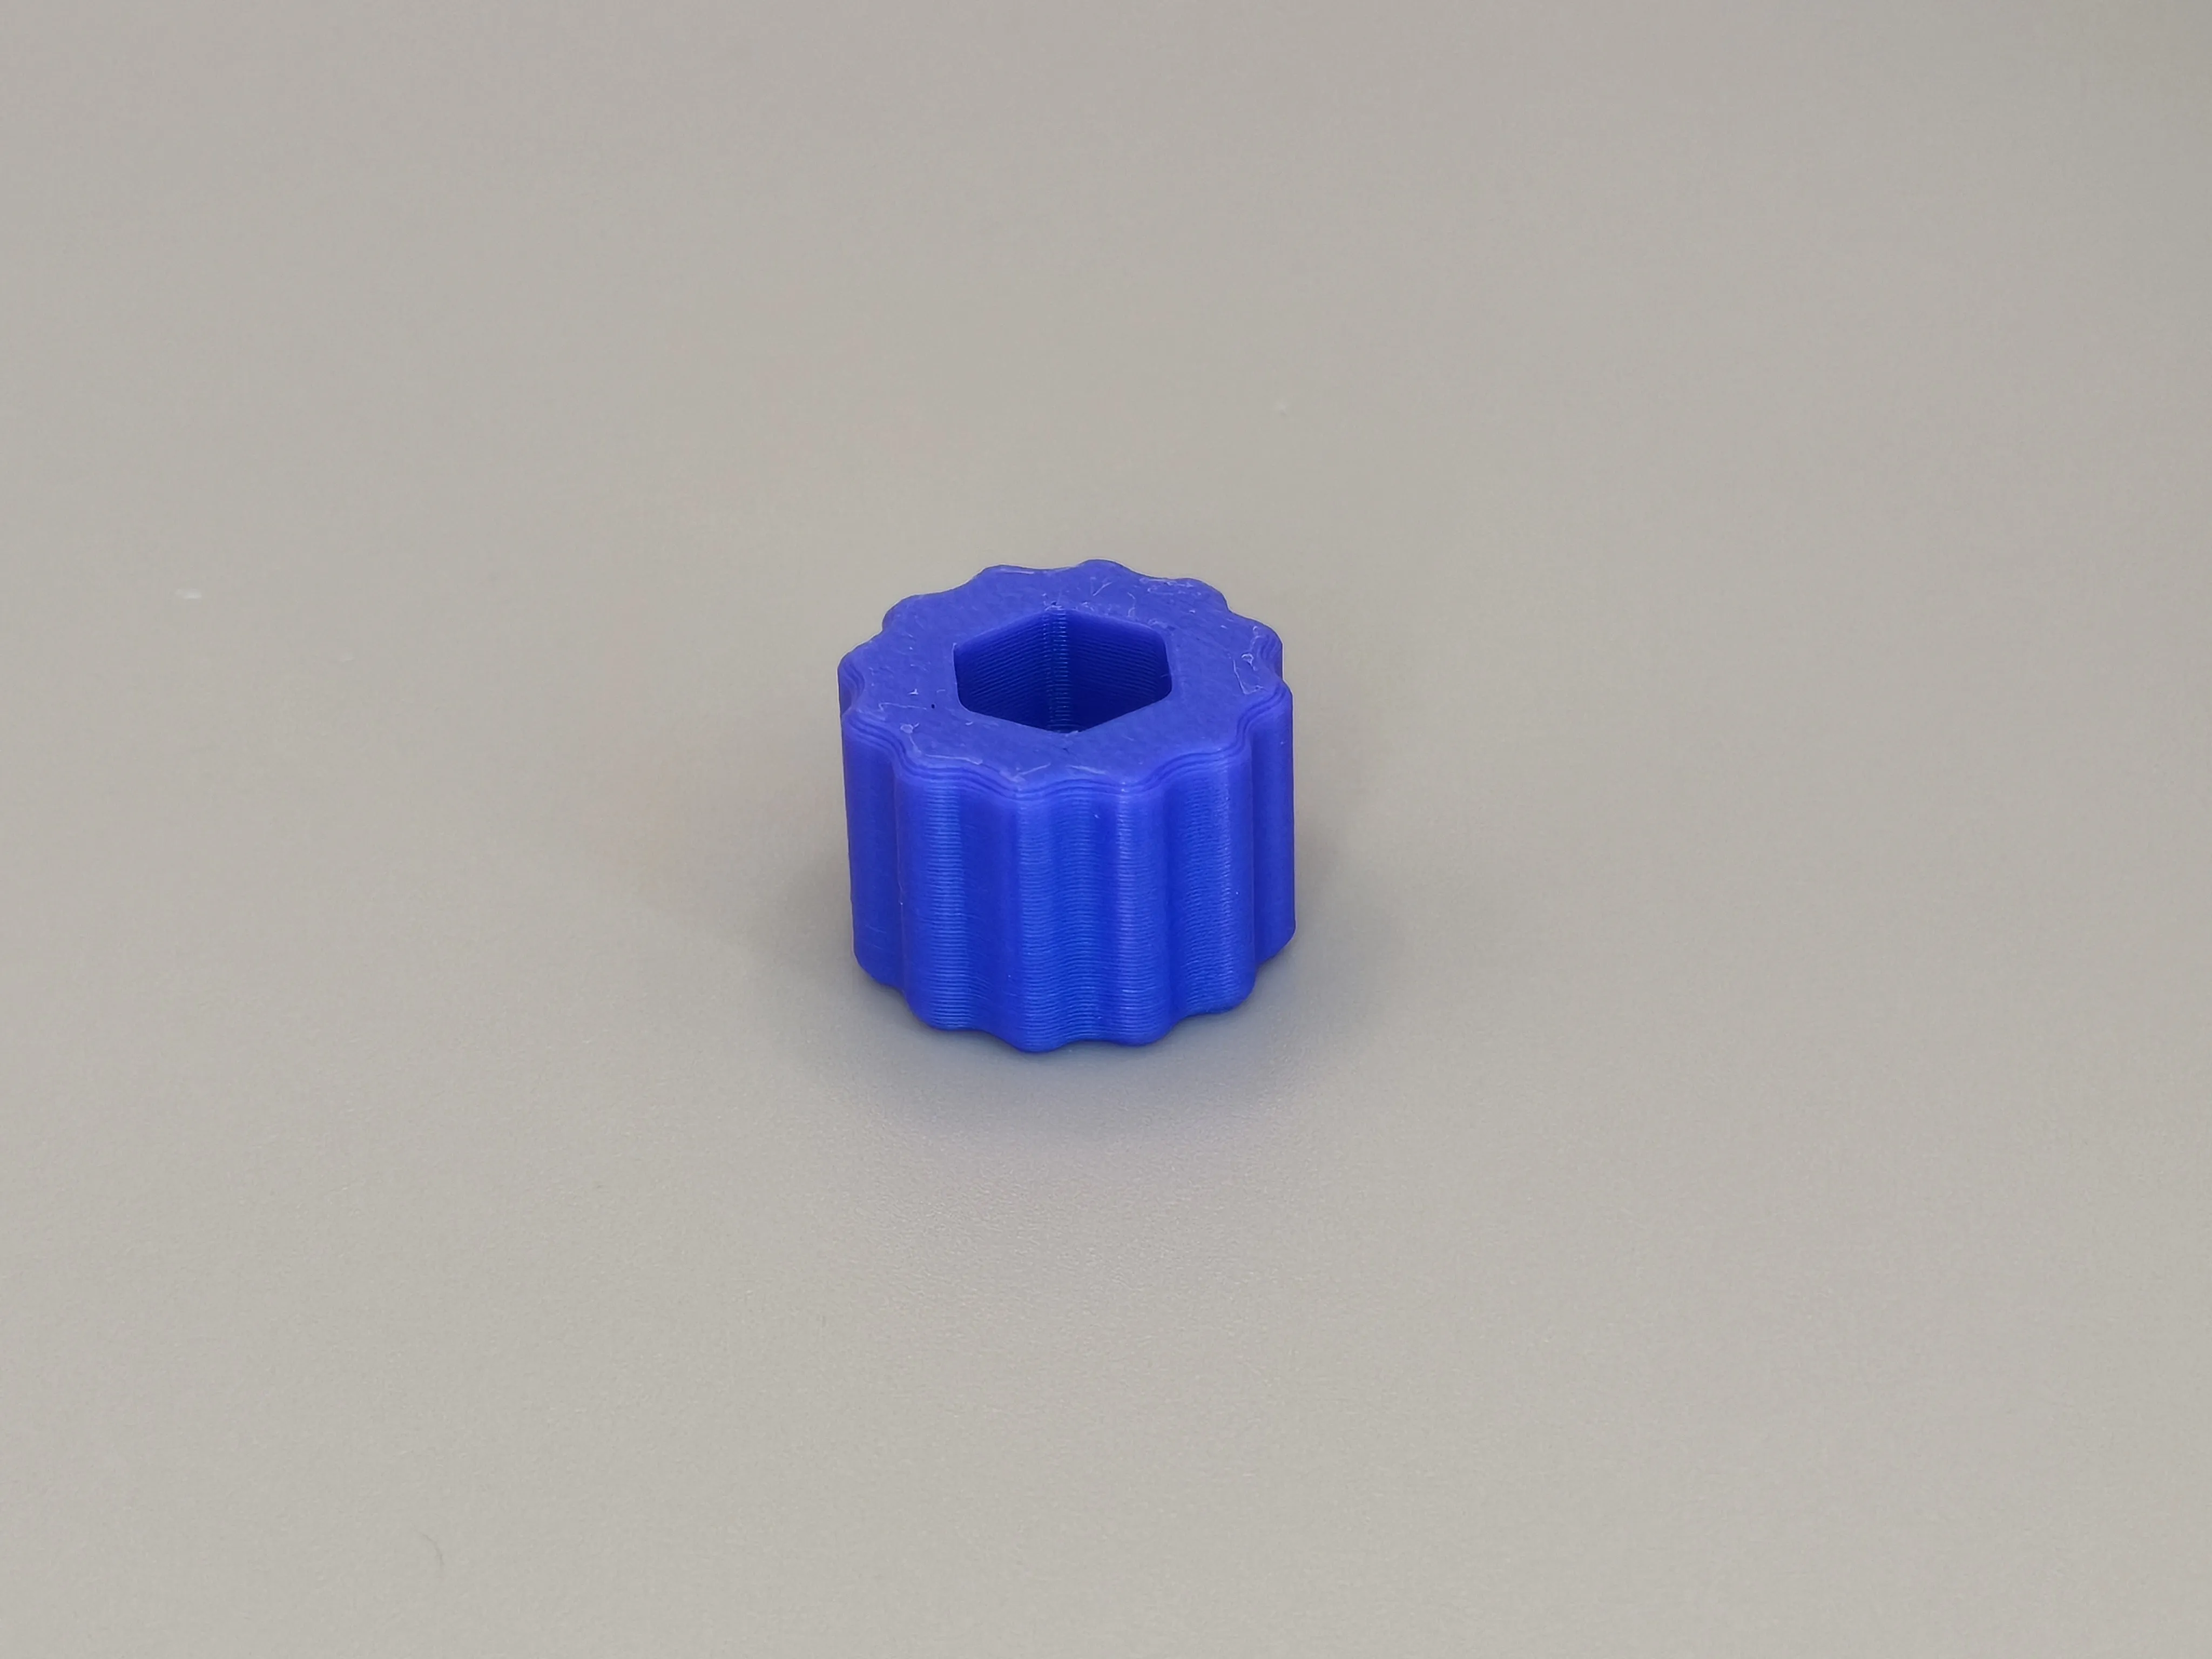
Knob
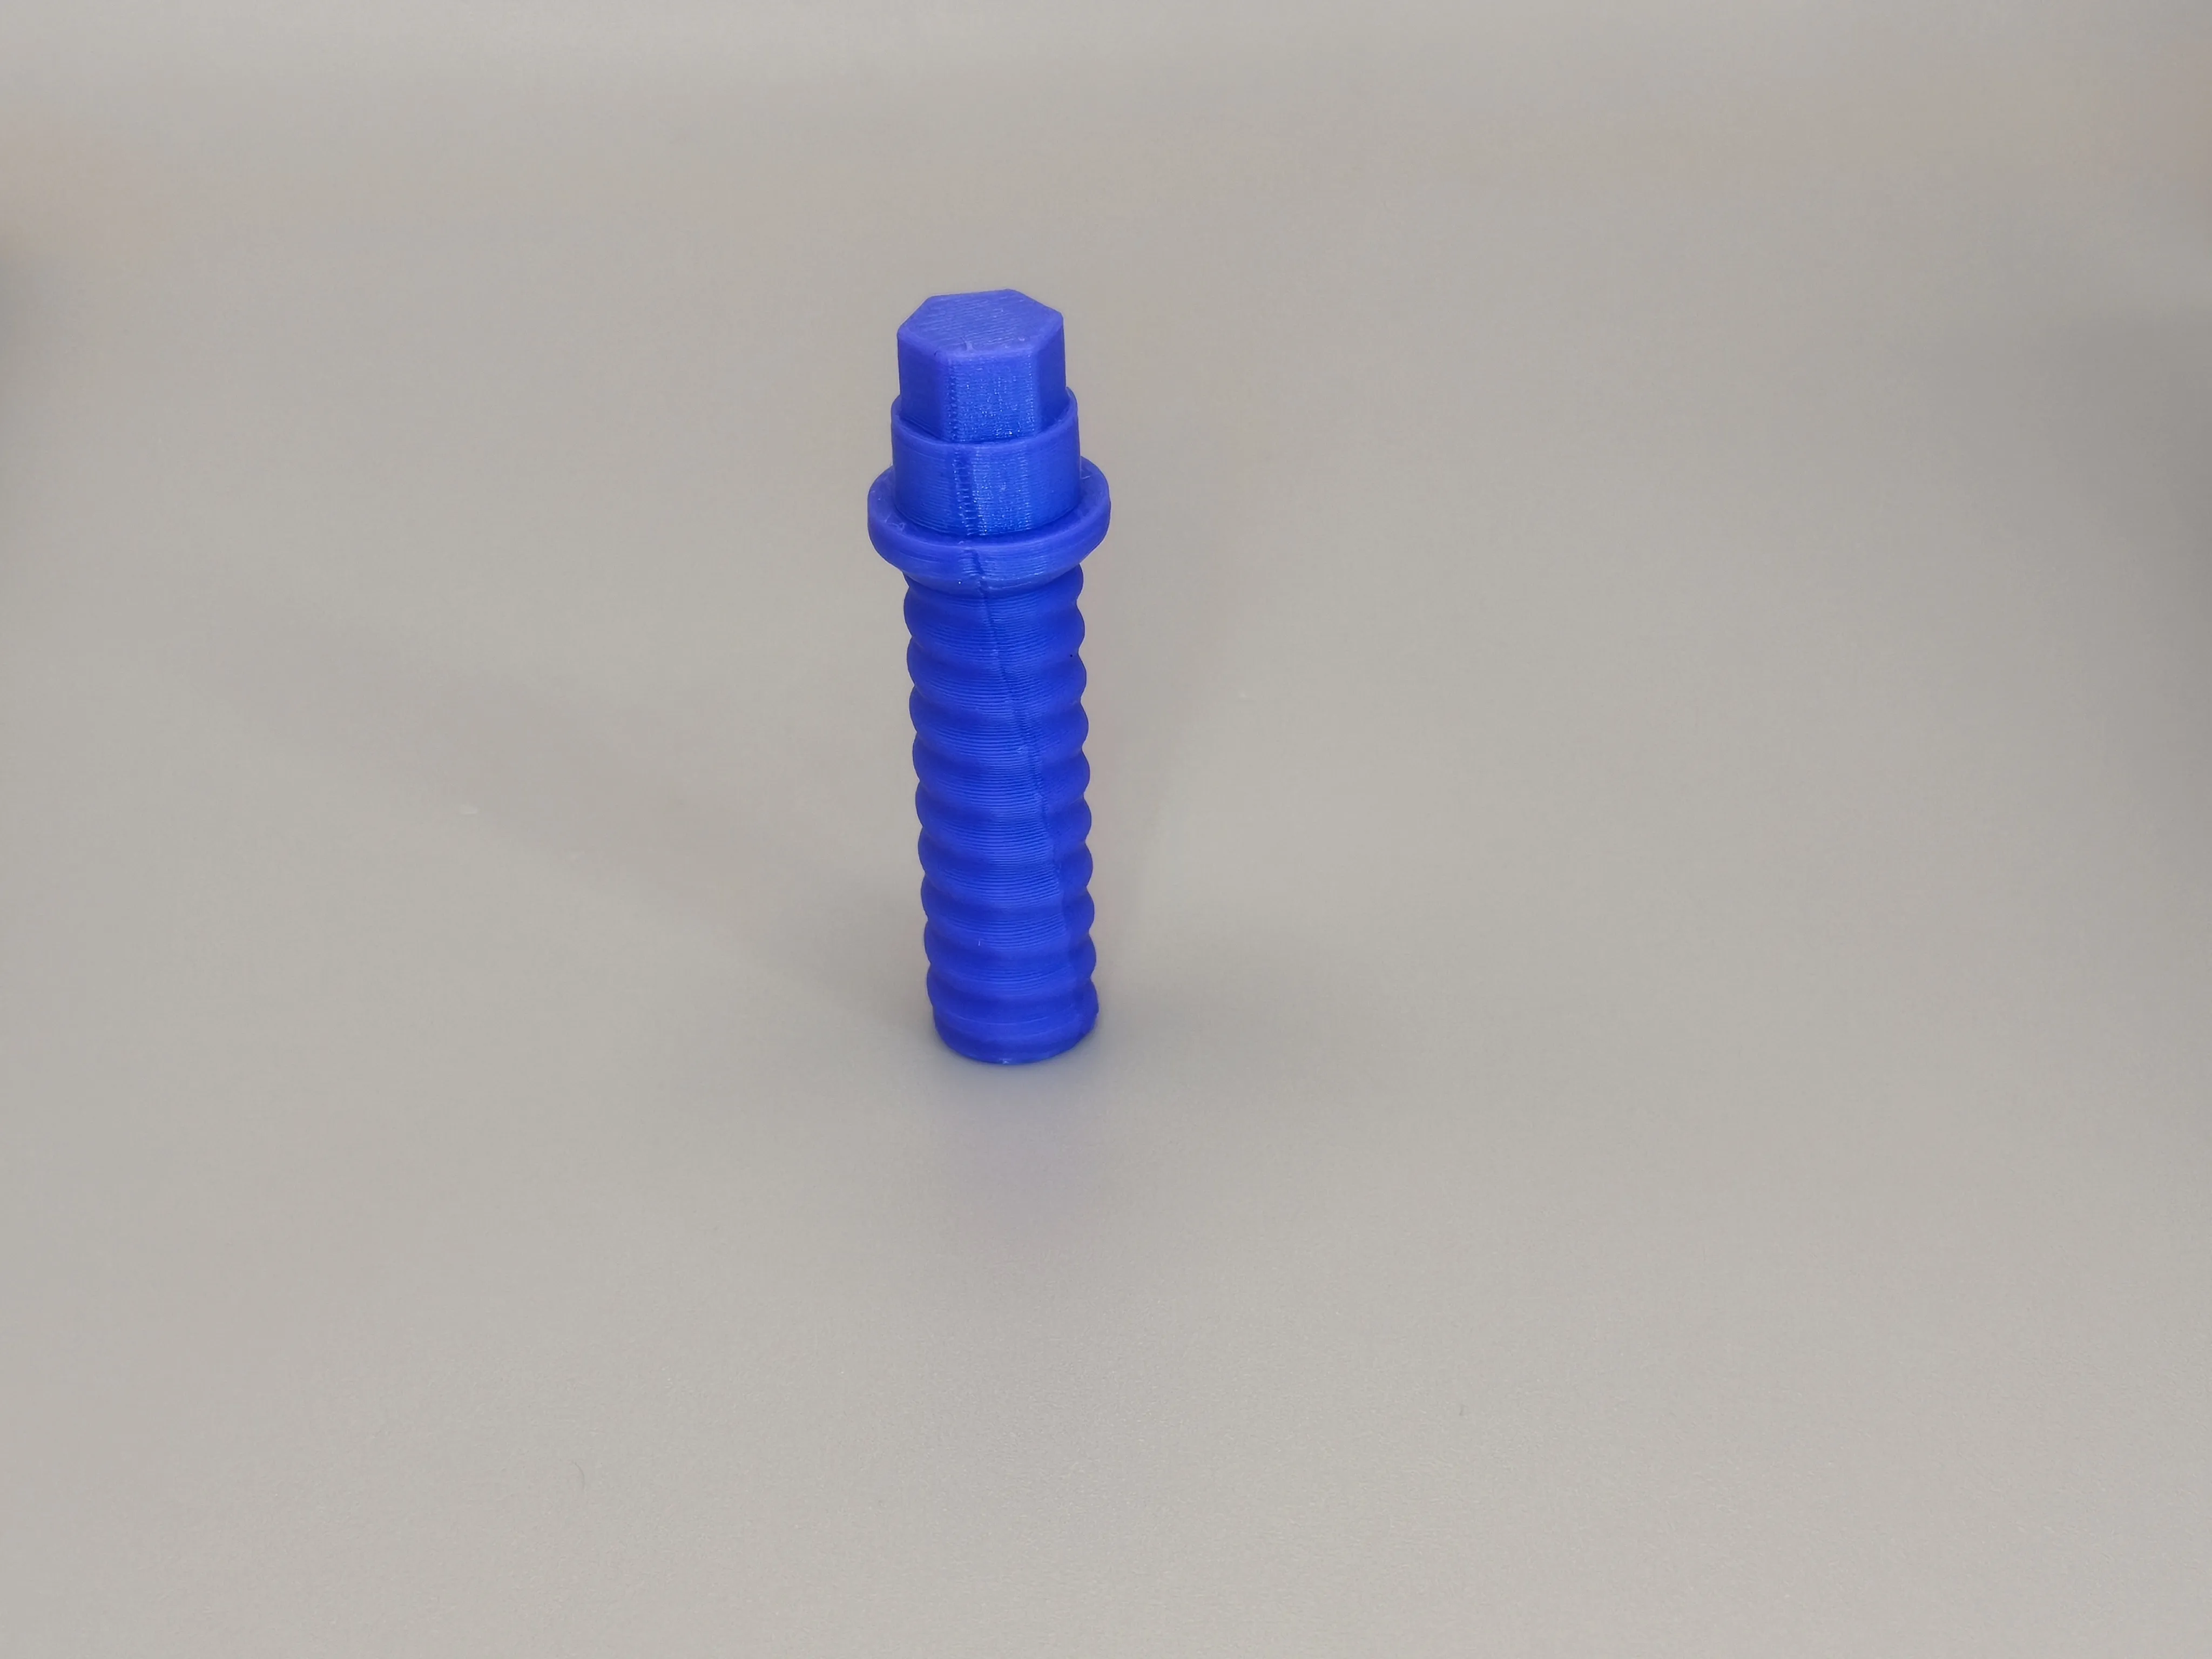
Screw
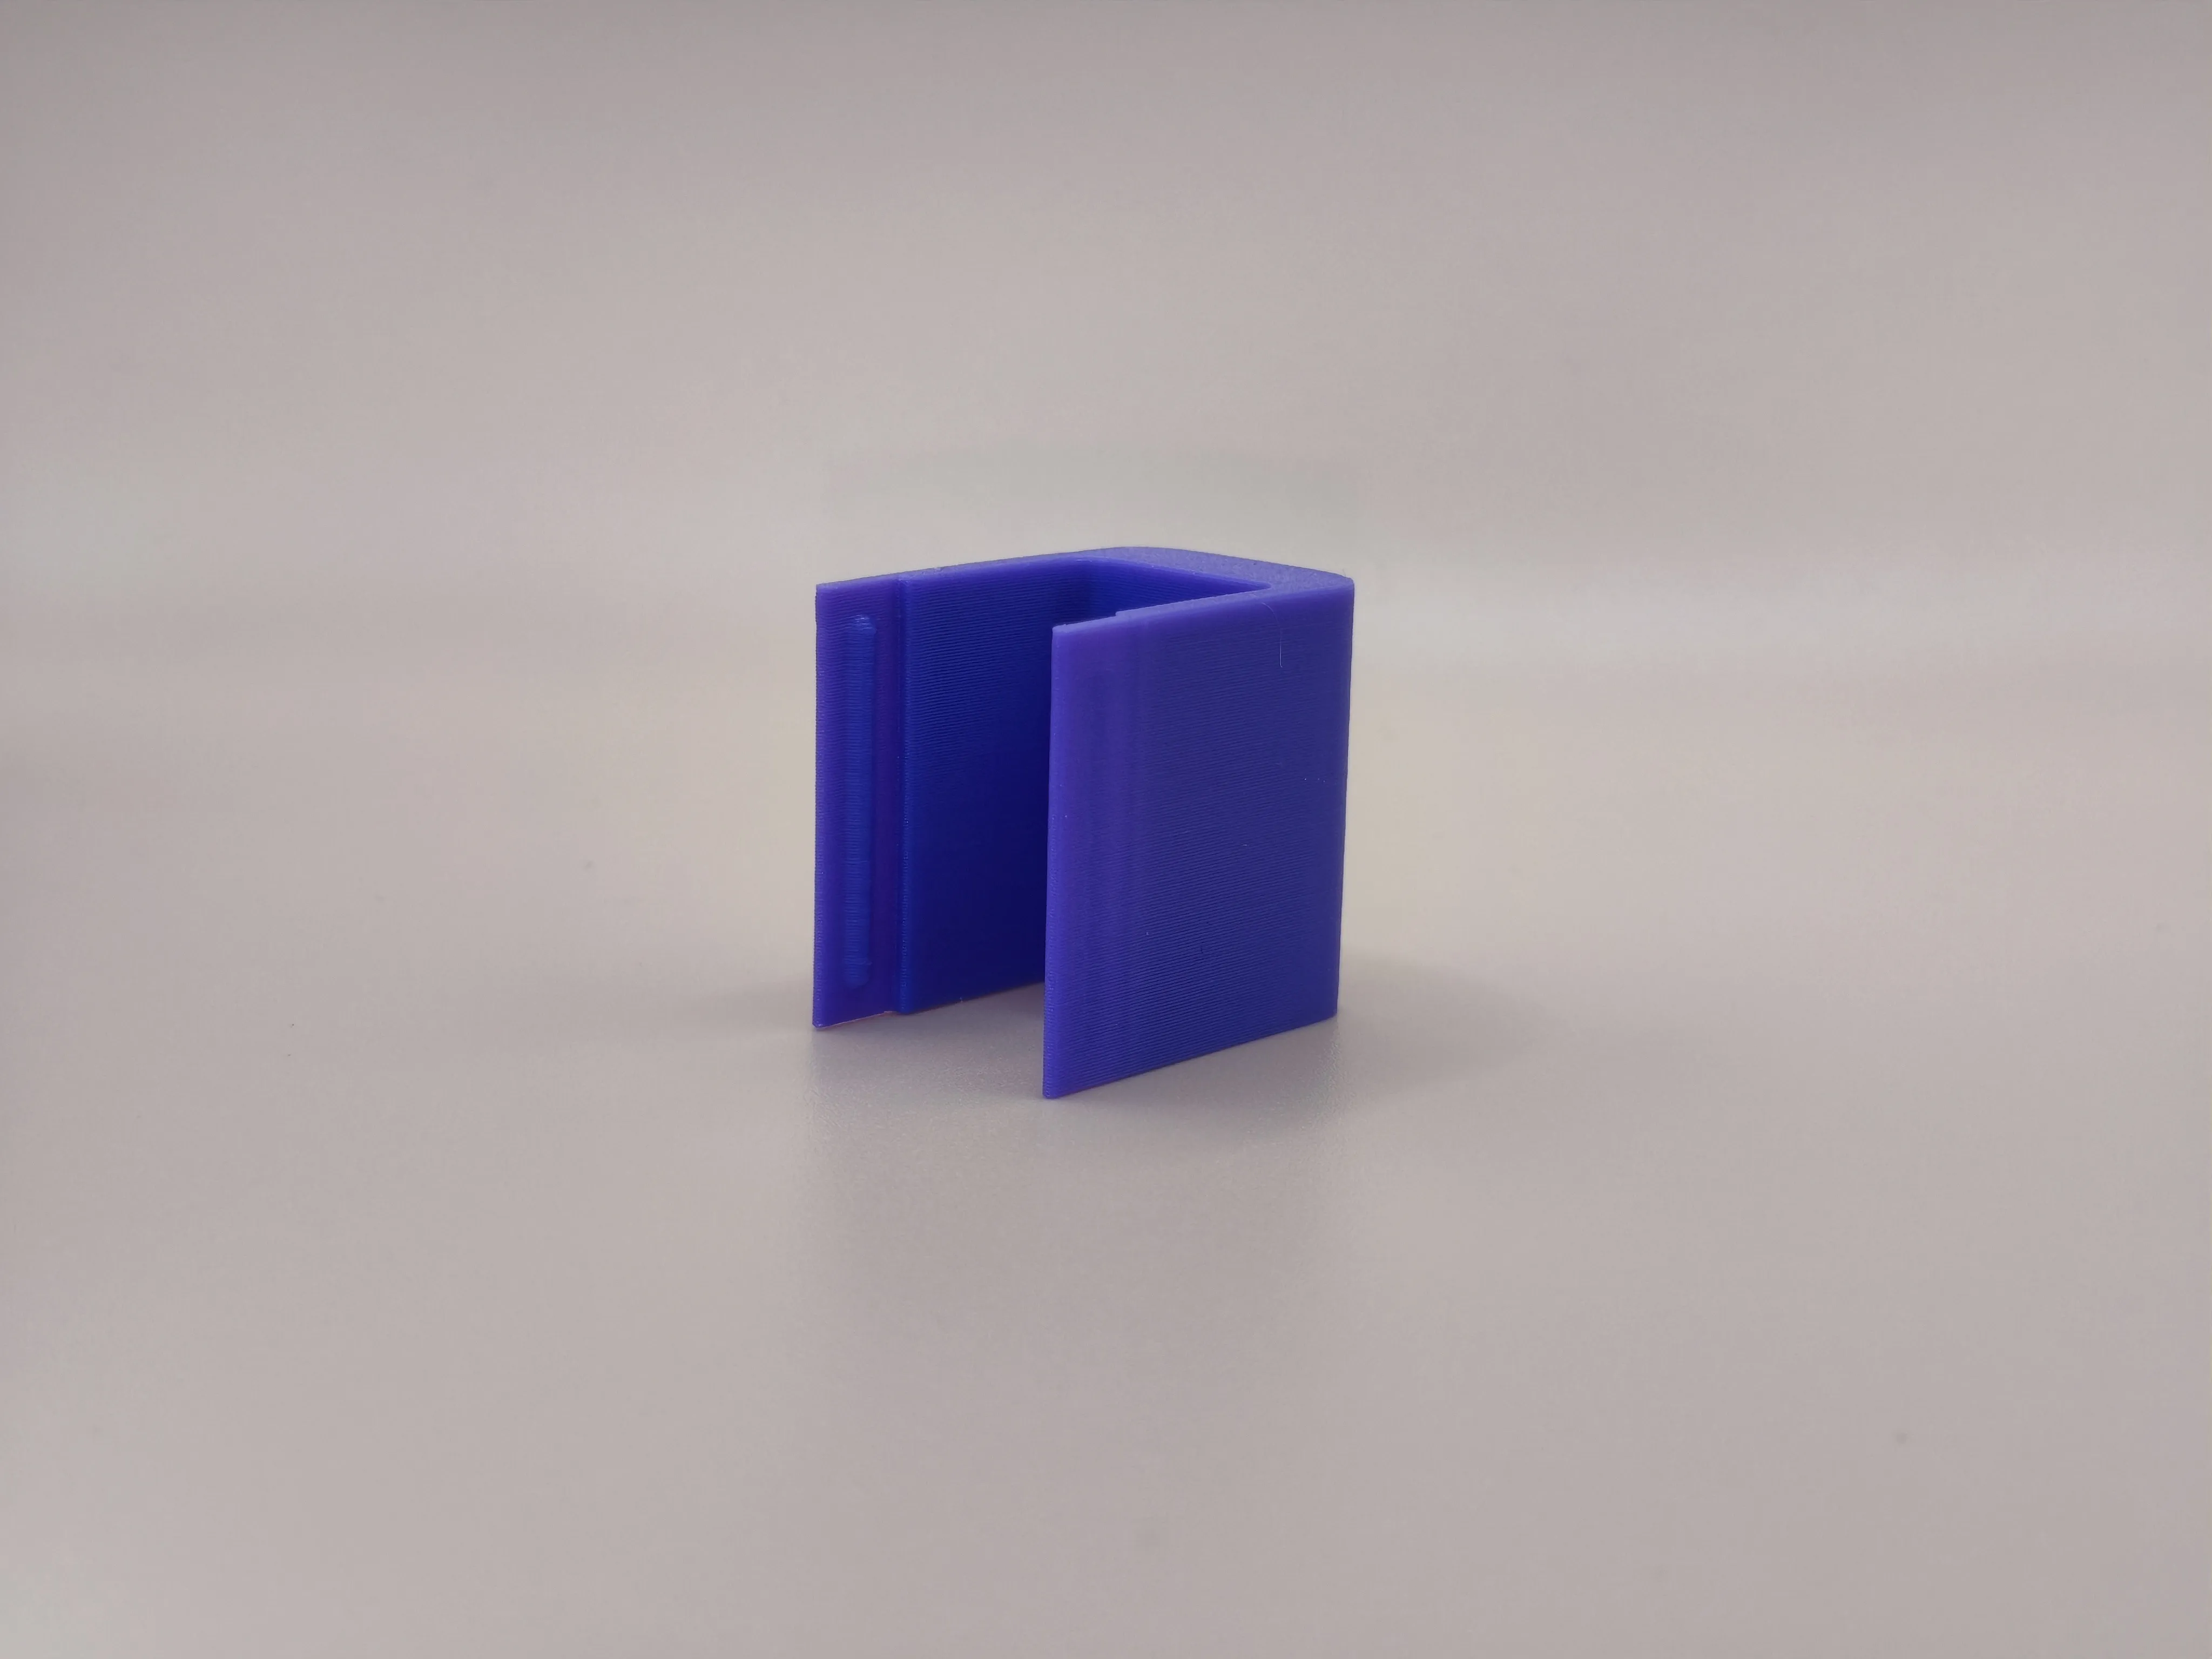
Cover
Assembly Instructions
Screw the screw into the movable clamp COUNTER-CLOCKWISE
Insert the dovetail into the side slot of the fixed clamp

Slide along the track until the screw is fully seated

Ensure the hexagon is fully extended from the opposite side
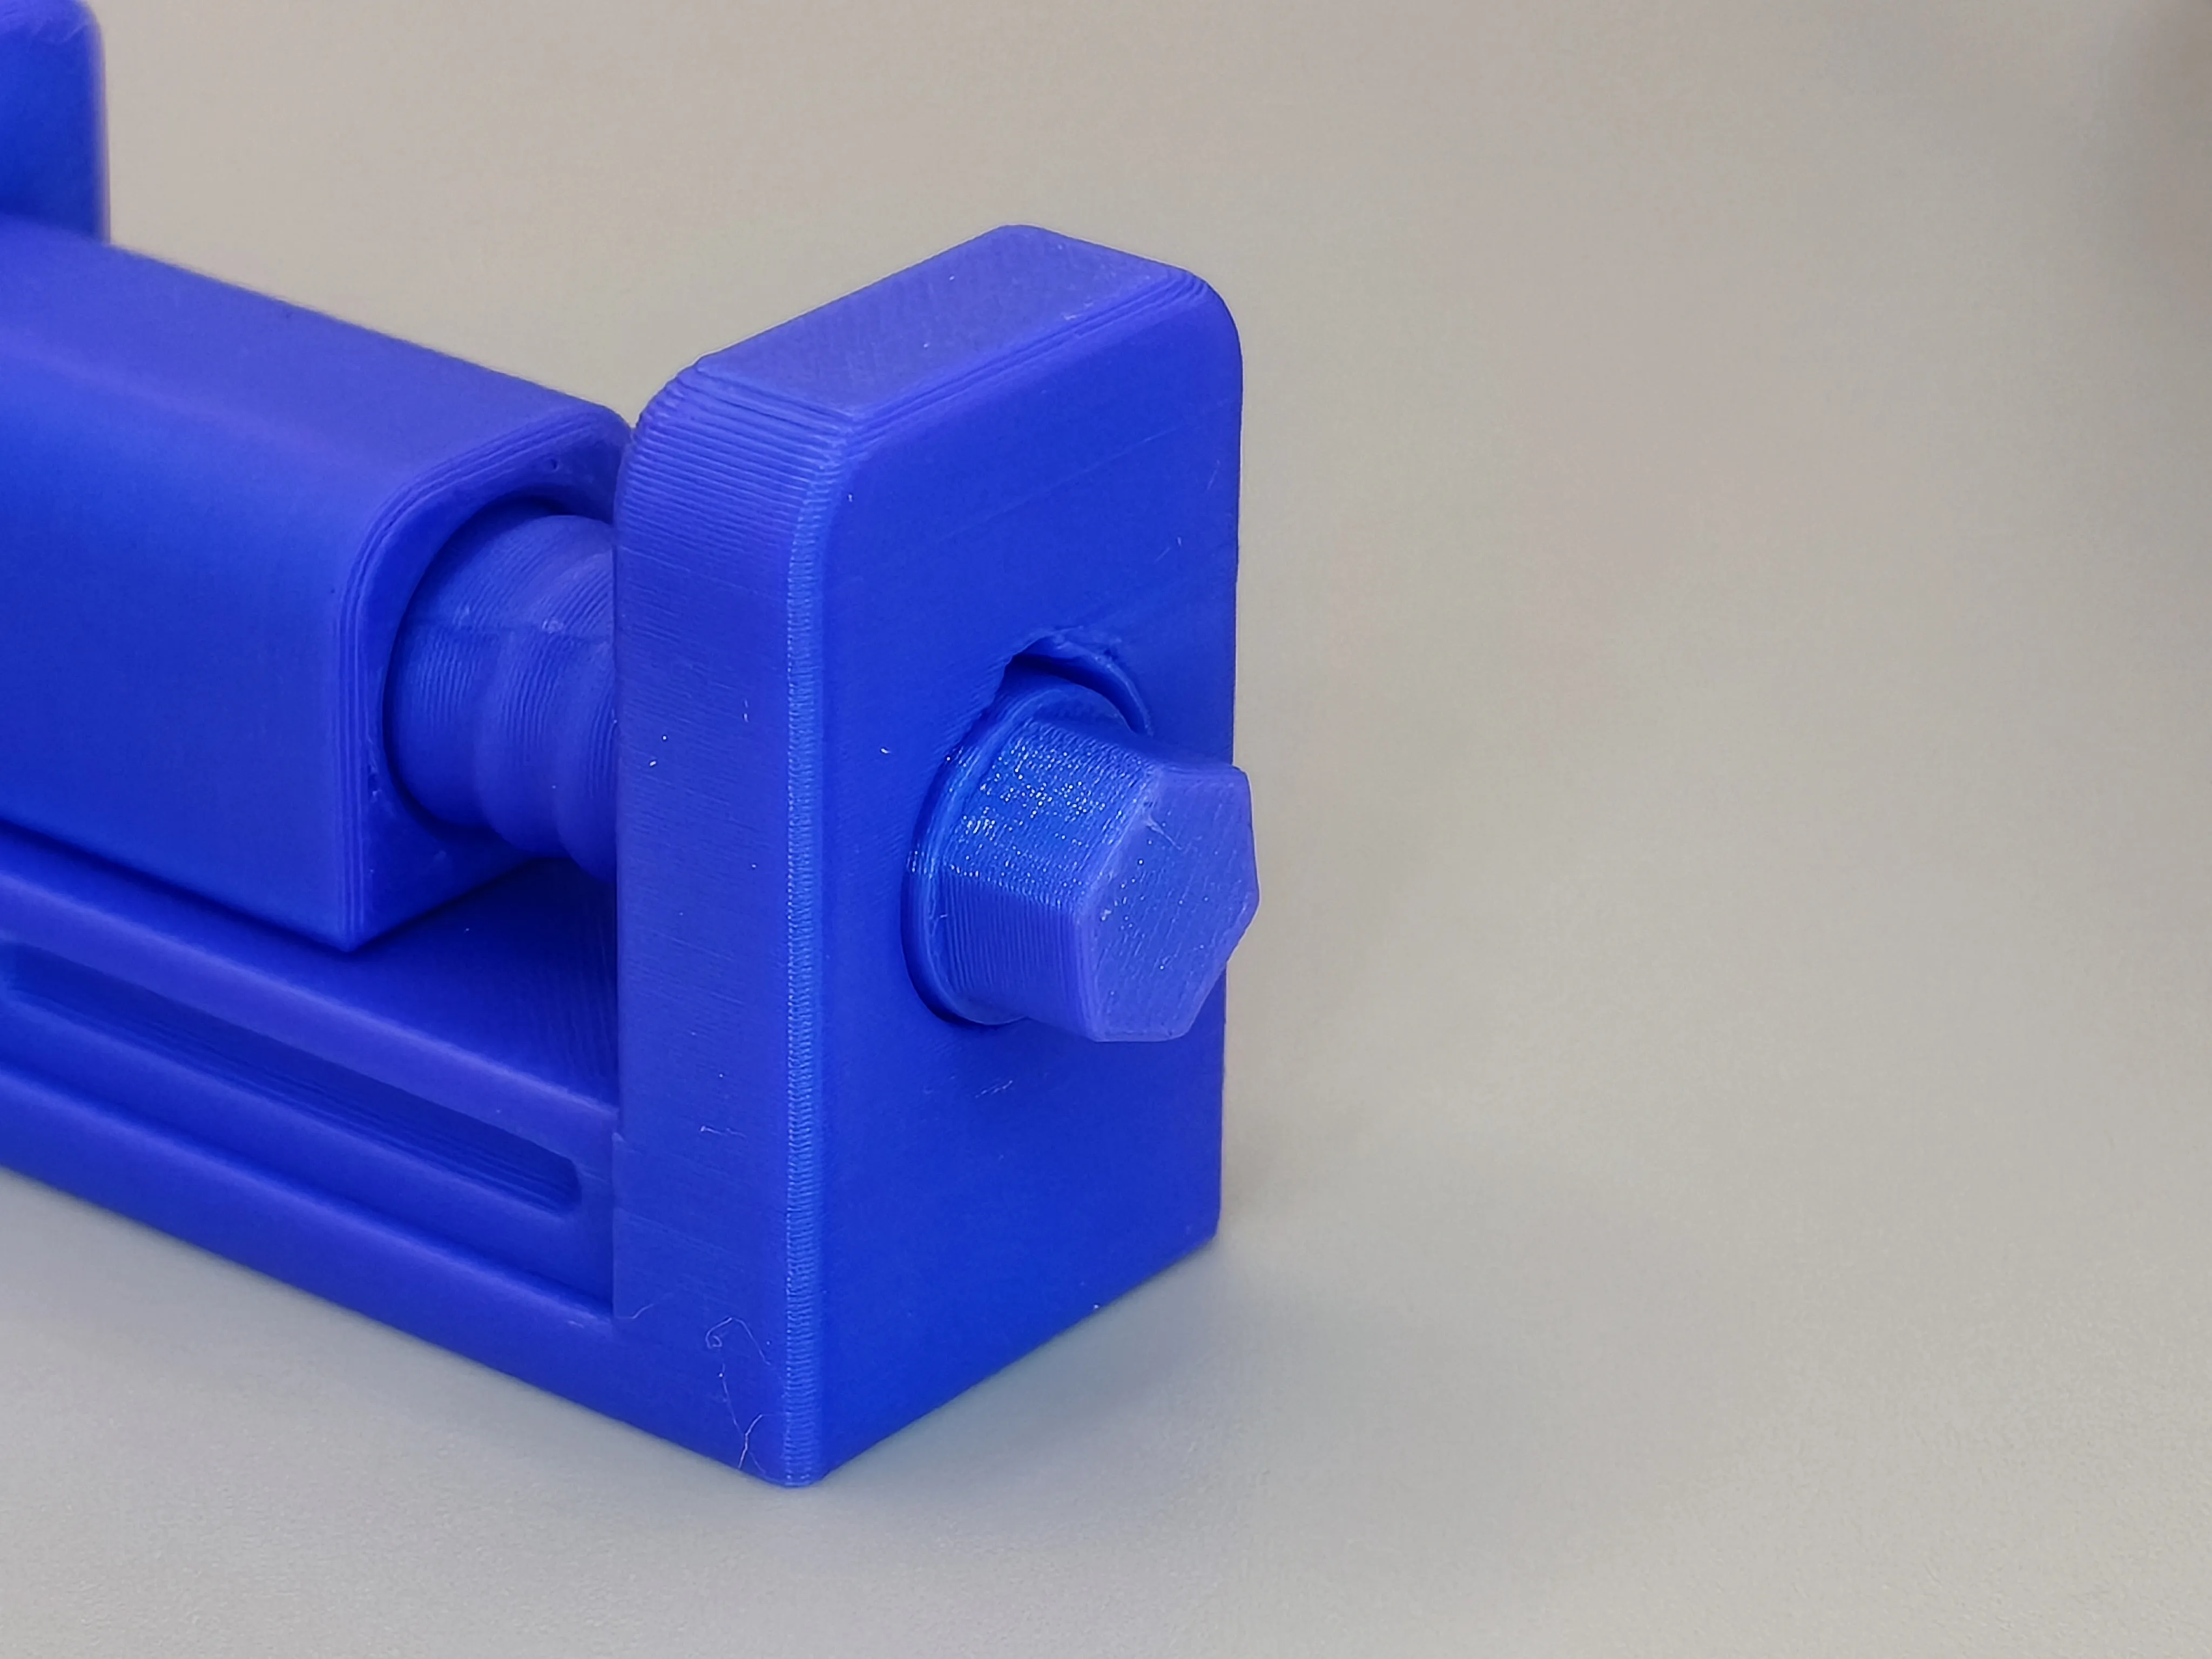
Insert the knob fully onto the hexagon
CAUTION: In 3D printing, hexagonal shapes tend to shrink differently on various sides; therefore, if the knob does not lock, try removing and rotating it to a different position until you find the correct one. Alternatively, you can add a drop of cyanoacrylate adhesive inside before inserting it onto the screw's hexagon.
Position the cover over the movable clamp, aligning it with the recesses on the fixed clamp
Press the cover until it snaps into place and locks onto the fixed clamp
STEP-BY-STEP GIF INSTRUCTIONS
License
You shall not share, sub-license, sell, rent, host, transfer, or distribute in any way the digital or 3D printed versions of this object, nor any other derivative work of this object in its digital or physical format (including - but not limited to - remixes of this object, and hosting on other digital platforms). The objects may not be used without permission in any way whatsoever in which you charge money, or collect fees.
Comment & Rating (51)