
Vertical clamp and Linear clamp - Easy print
Print Profile(1)

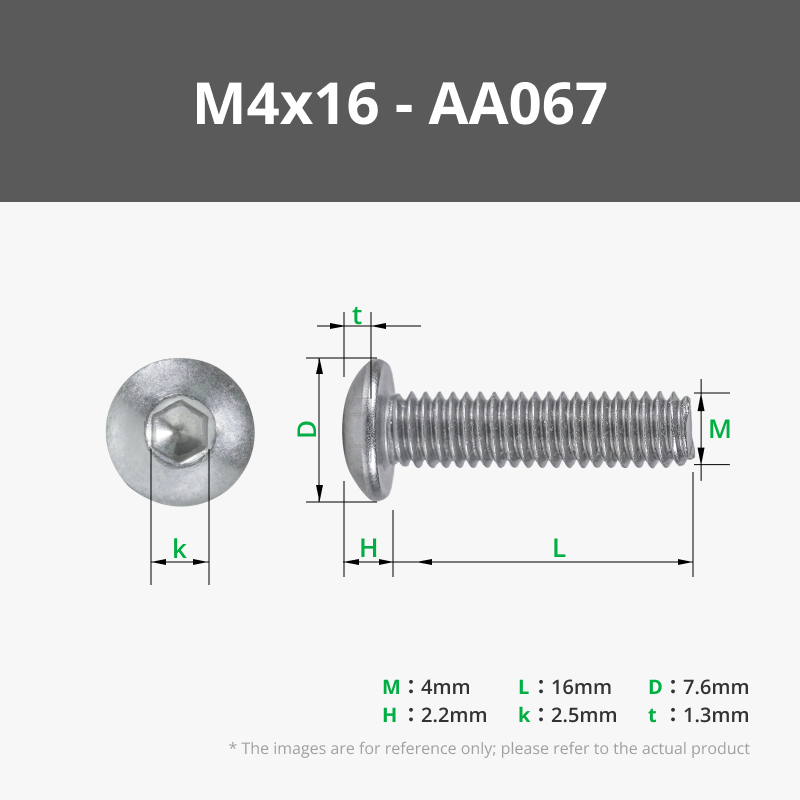
Bill of Materials



Description
I designed these small clamps as part of a mounting fixture for a device, but I figured they might be useful to others too — so I'm sharing them here.


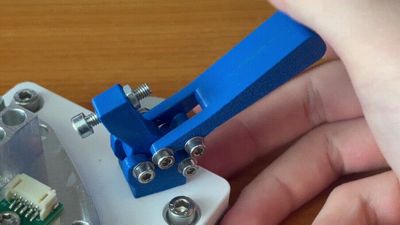
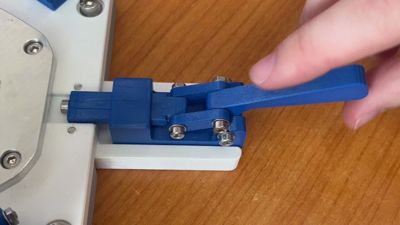
These include both a radial and a linear clamp, which can be used in various workshop setups, fixtures, or as general-purpose hold-down tools.
Hardware Used (for one radial + one linear clamp):
- 1× M4x16 DIN912
- 1× M4 nut
- 1× M3x25 DIN912
- 6× M3x20 DIN912
- 7× M3 nuts
- 7× M3 washers
- 1× M3x6 DIN912
Additional hardware/tools:
- Lubricant (e.g., printer grease or light machine oil)
- M4 thread tap (optional but recommended)
- Loctite 243 (for thread locking)
Assembly Instructions
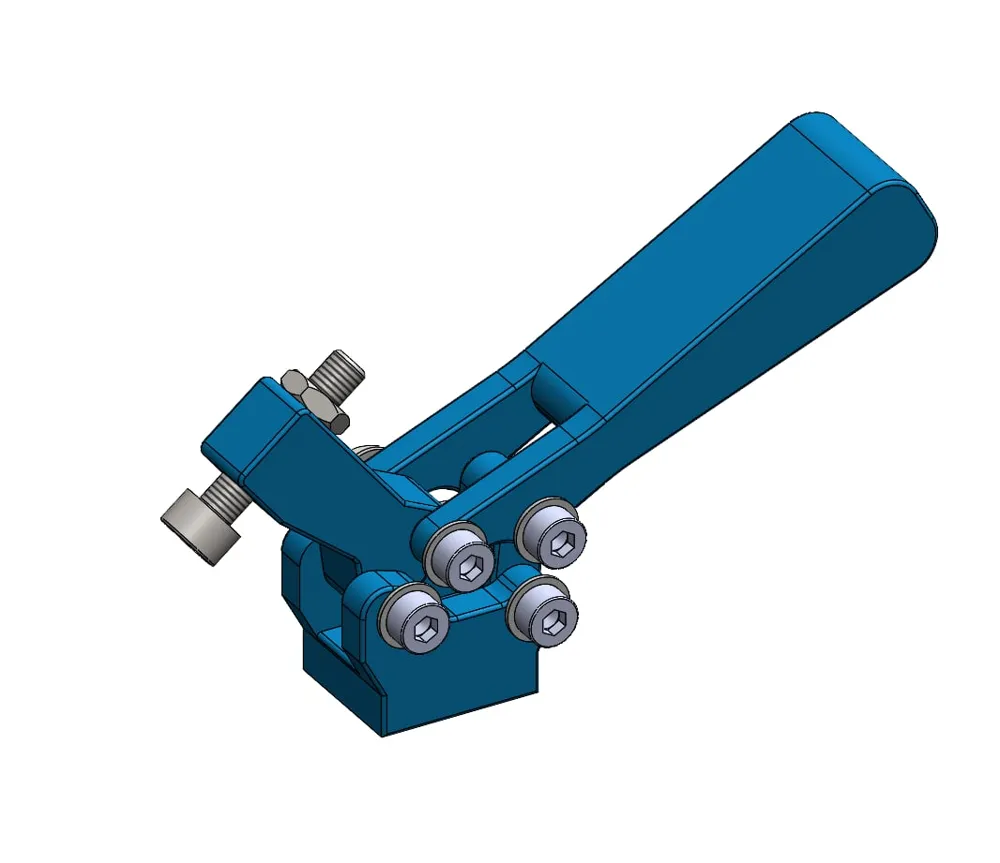
Radial Clamp:
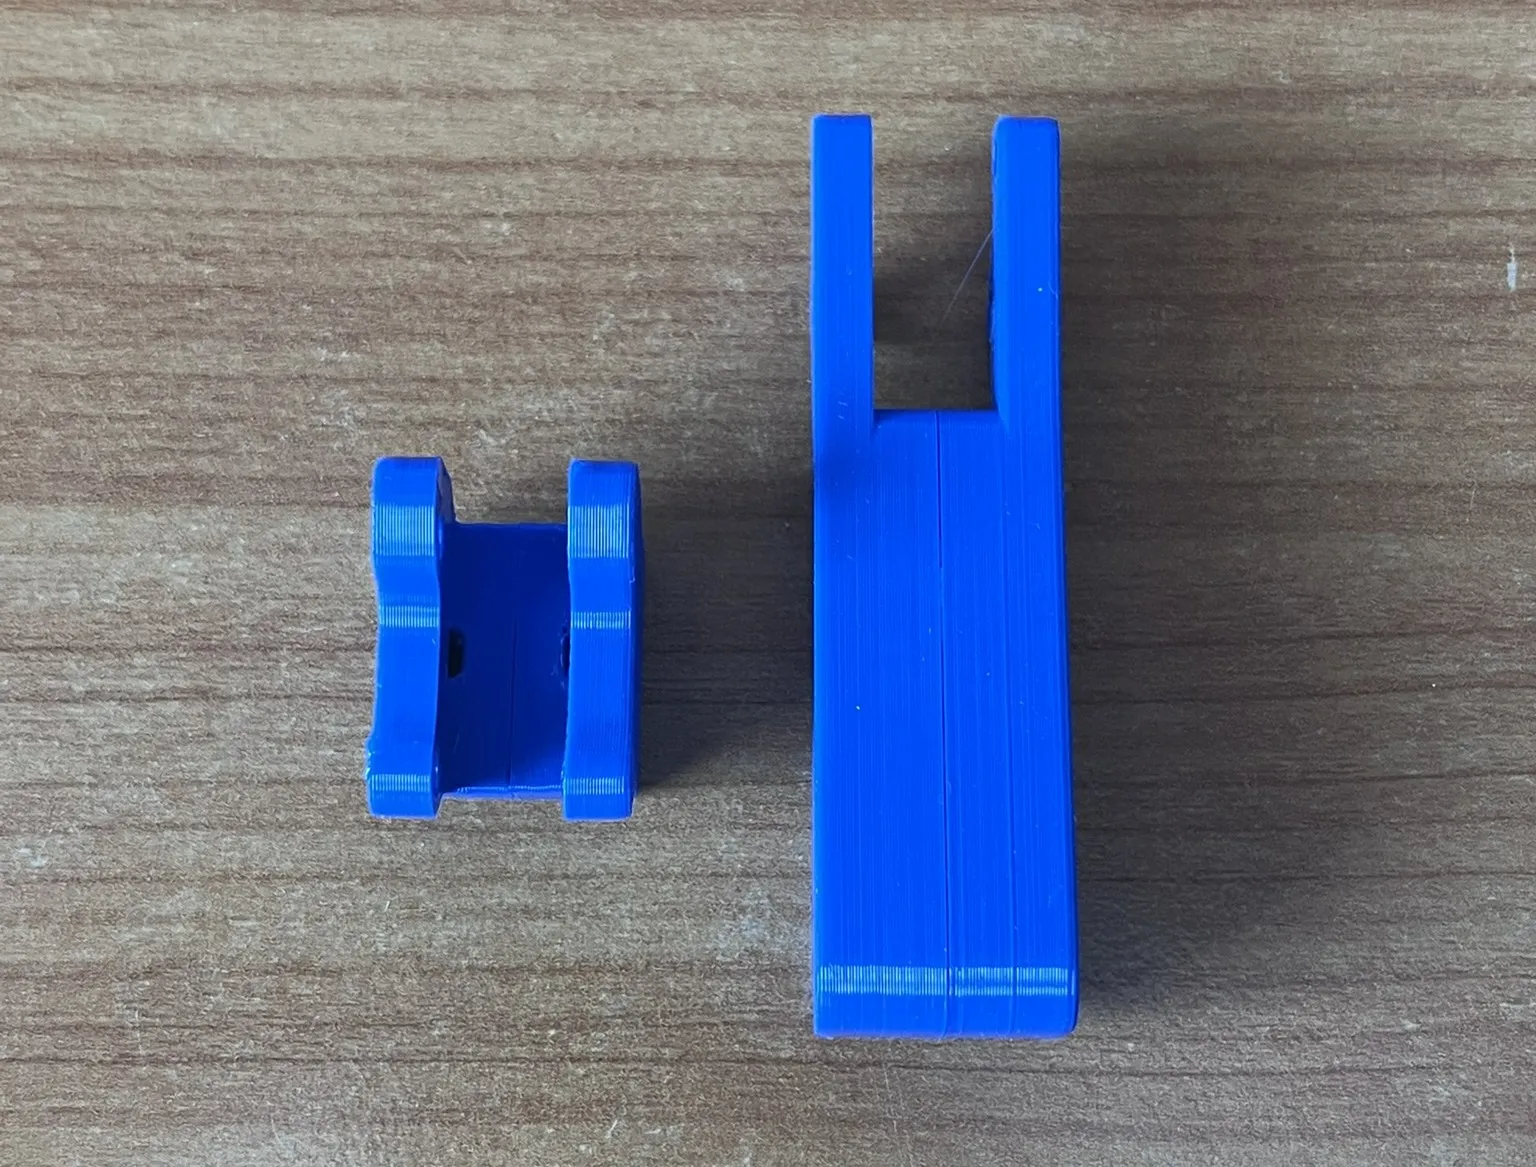
- Glue the base and handle parts together (I used super glue).
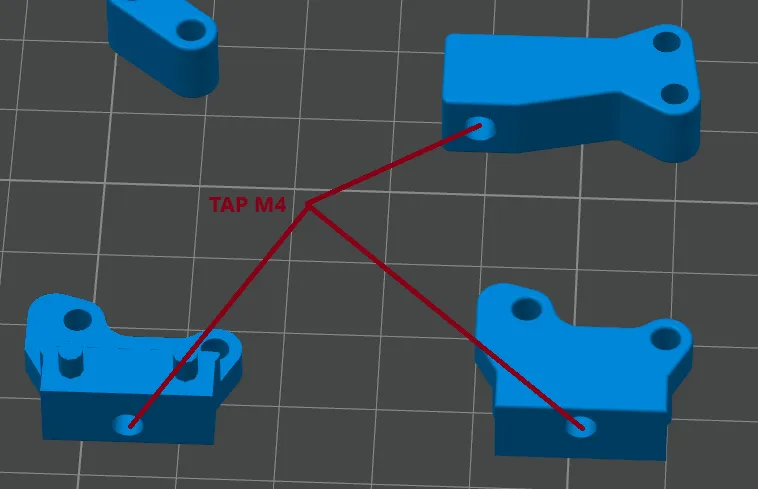
- Tap the M4 threads (optional, but it helps with smoother assembly
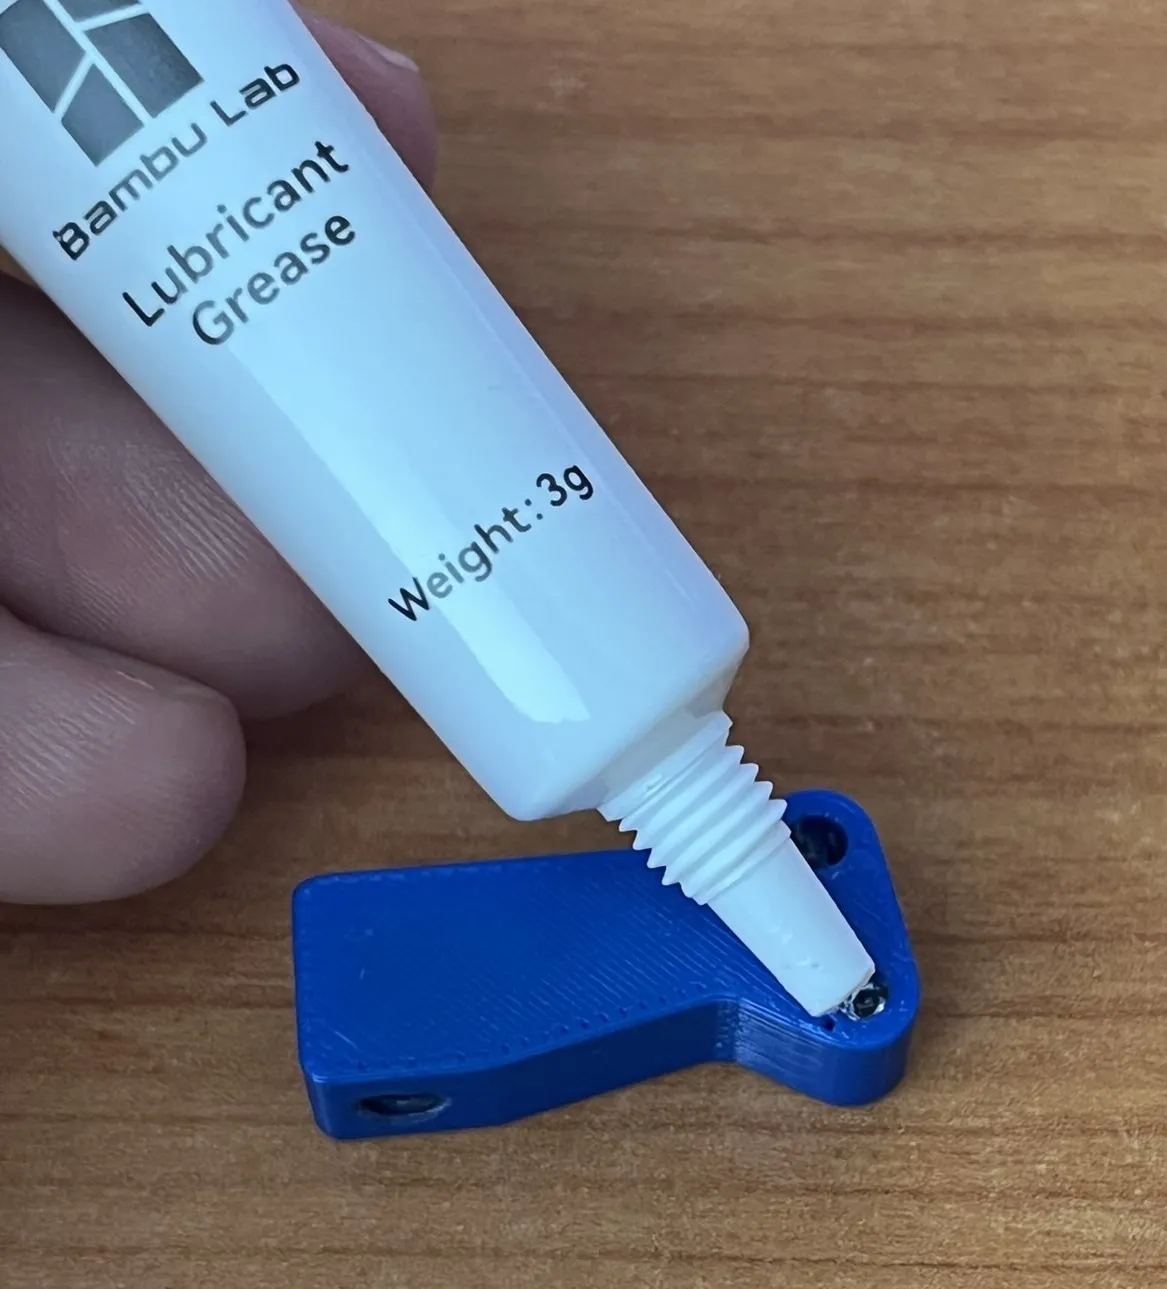
- Lubricate all holes where M3 screws will go (not the M4 holes).
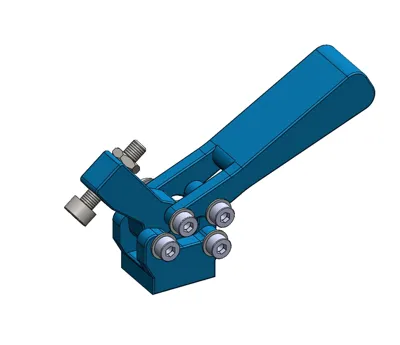
Screw in all M3x20 bolts with M3 washers as shown in the diagram. The screws self-tap into the plastic, so don’t overtighten — I intentionally didn’t use through-holes to maintain low play and slight resistance in movement.
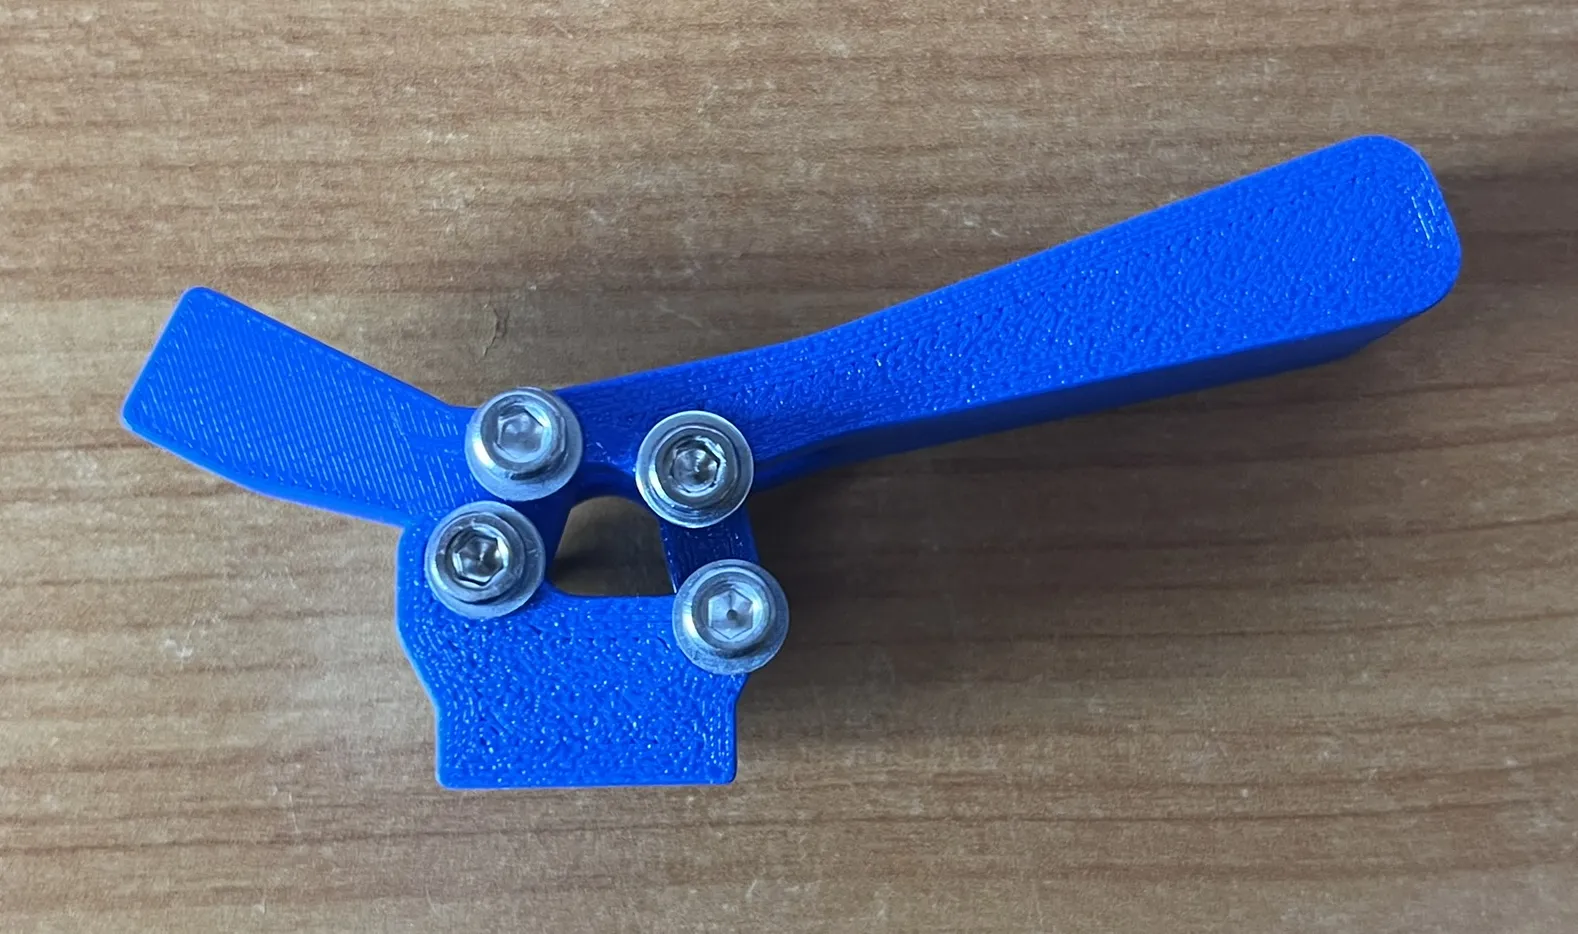
Secure the assembly using washers and nuts, and fix them with Loctite 243.
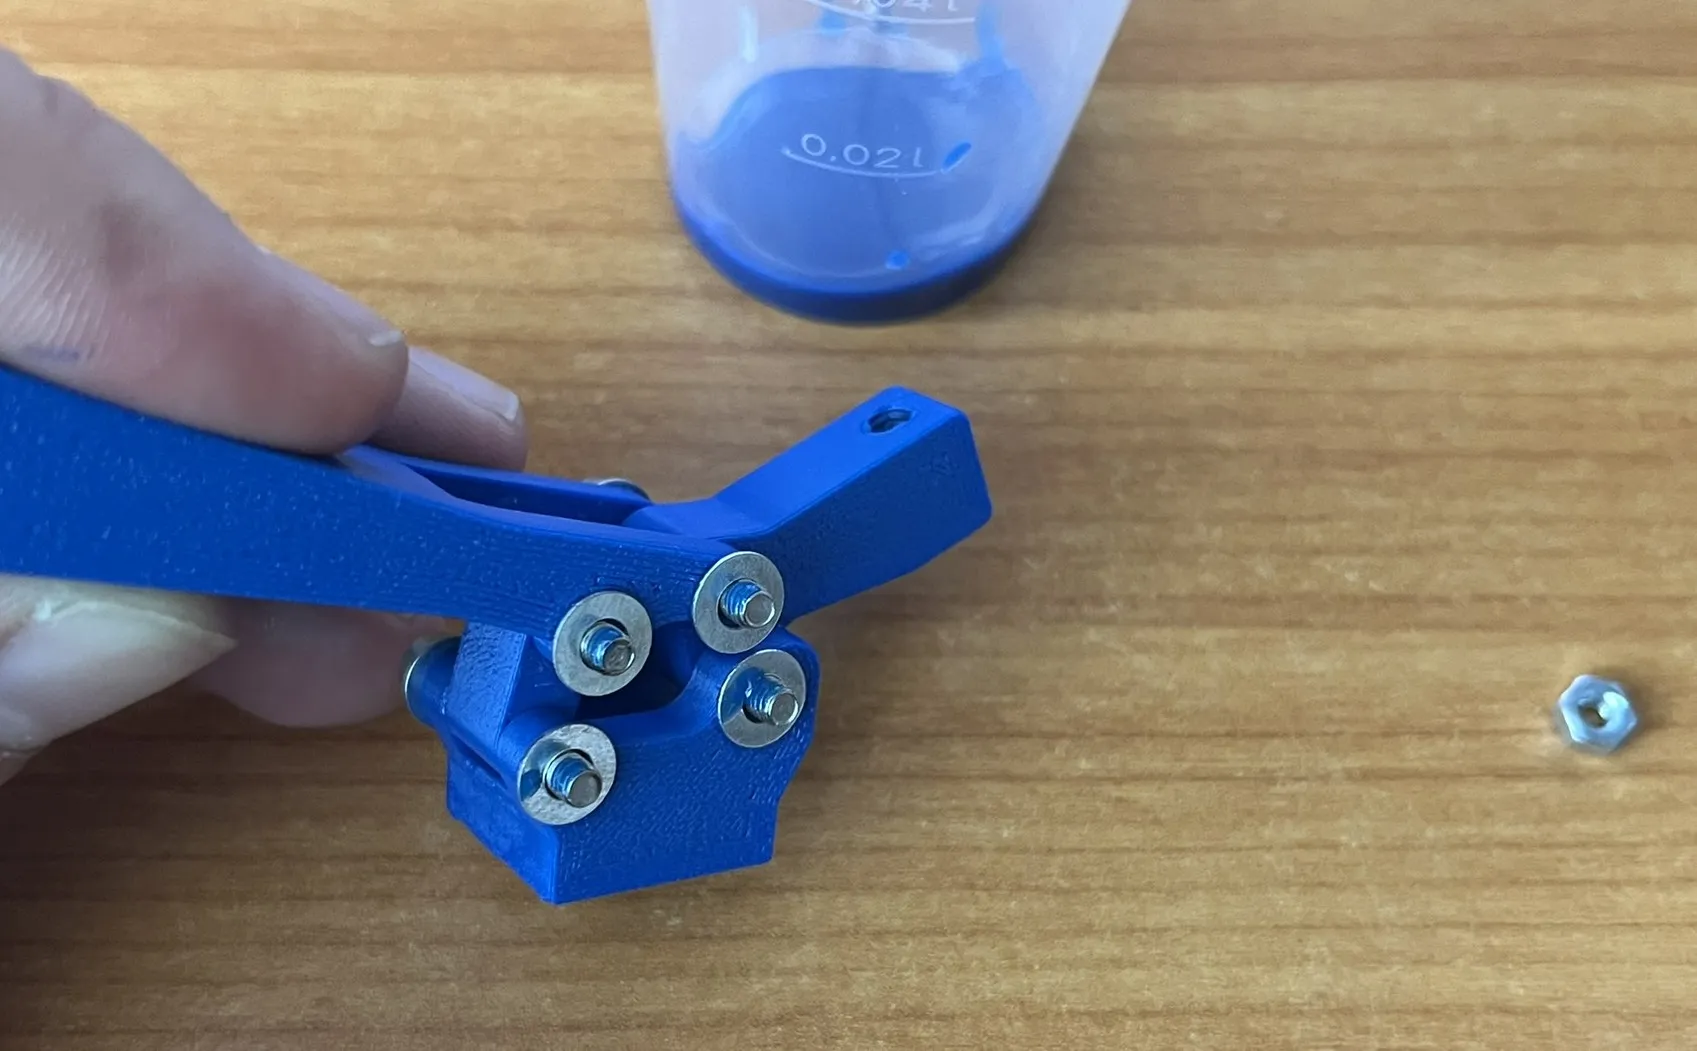
Insert the M4x16 stop screw and lock it with the M4 nut.
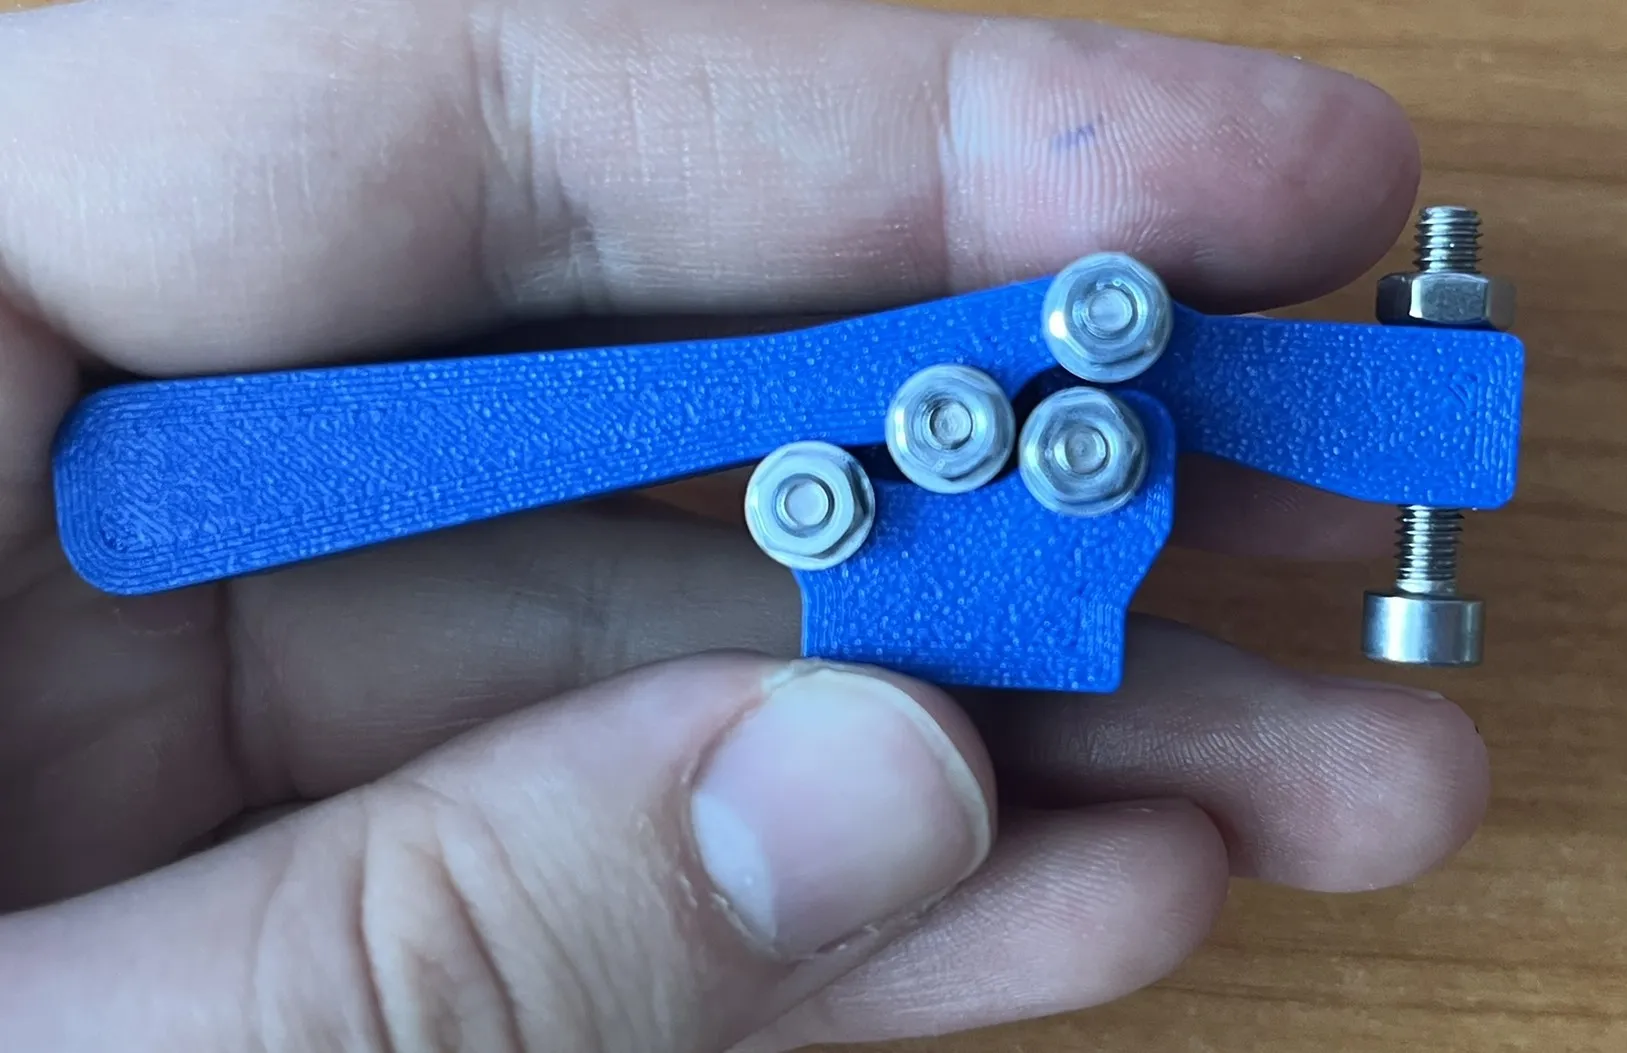
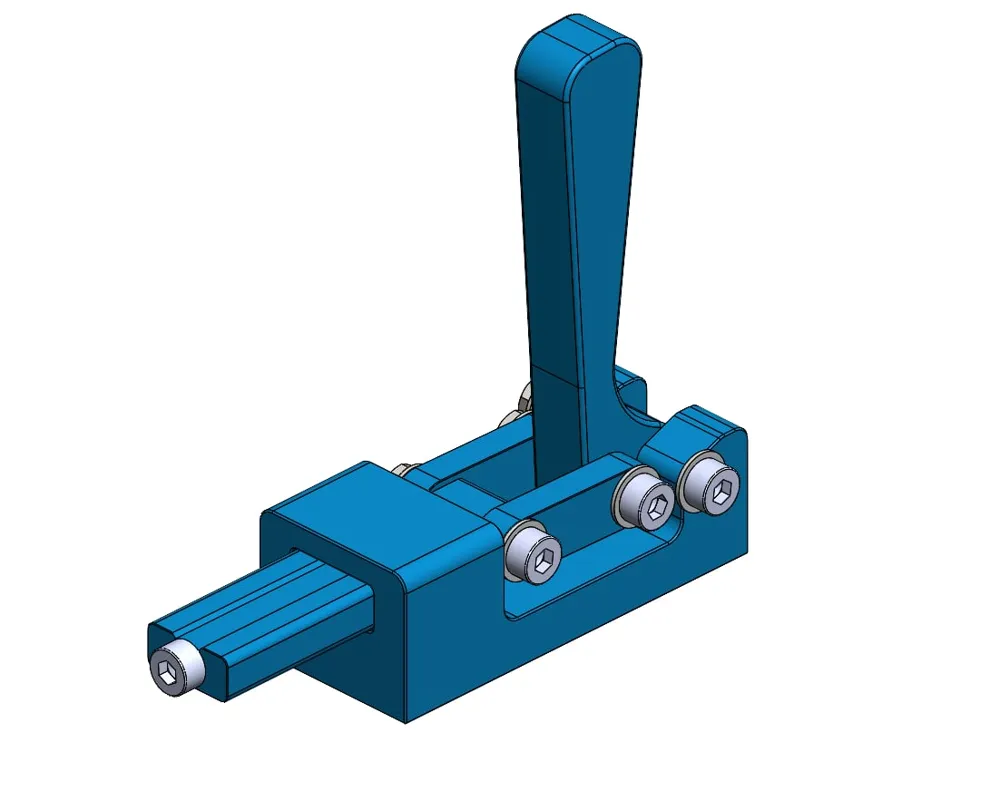
Linear Clamp:
Glue the base parts together (I used super glue).
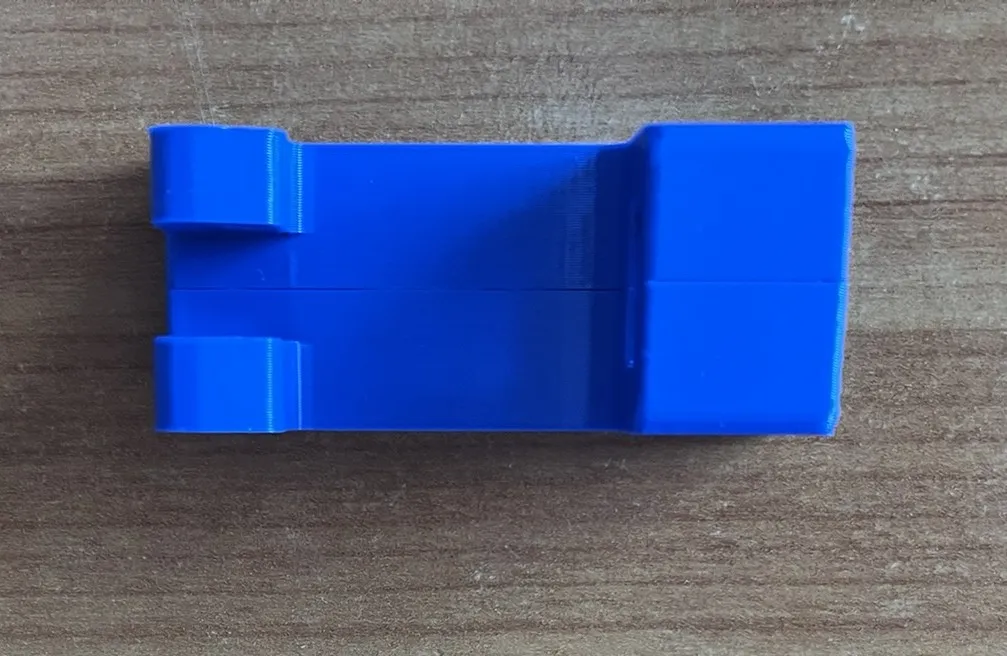
Tap the M4 threads (optional, but helpful).
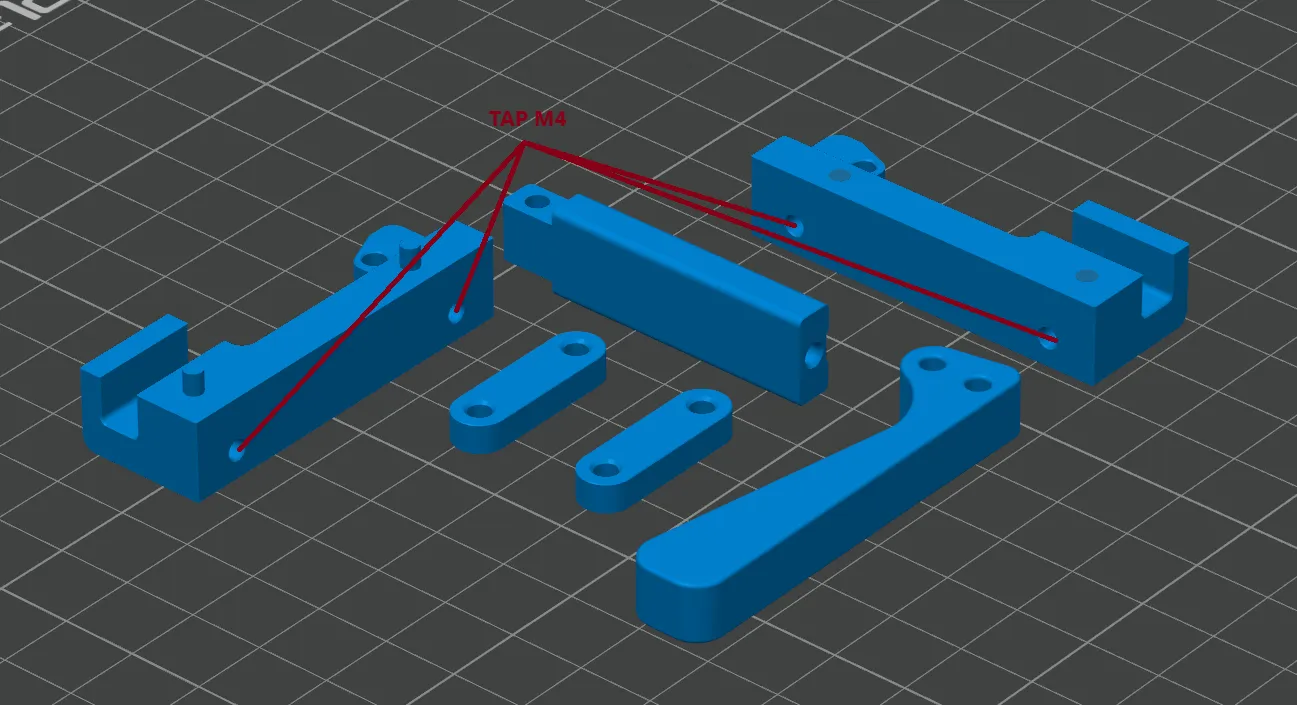
Lubricate all M3 screw holes (except mounting M4).
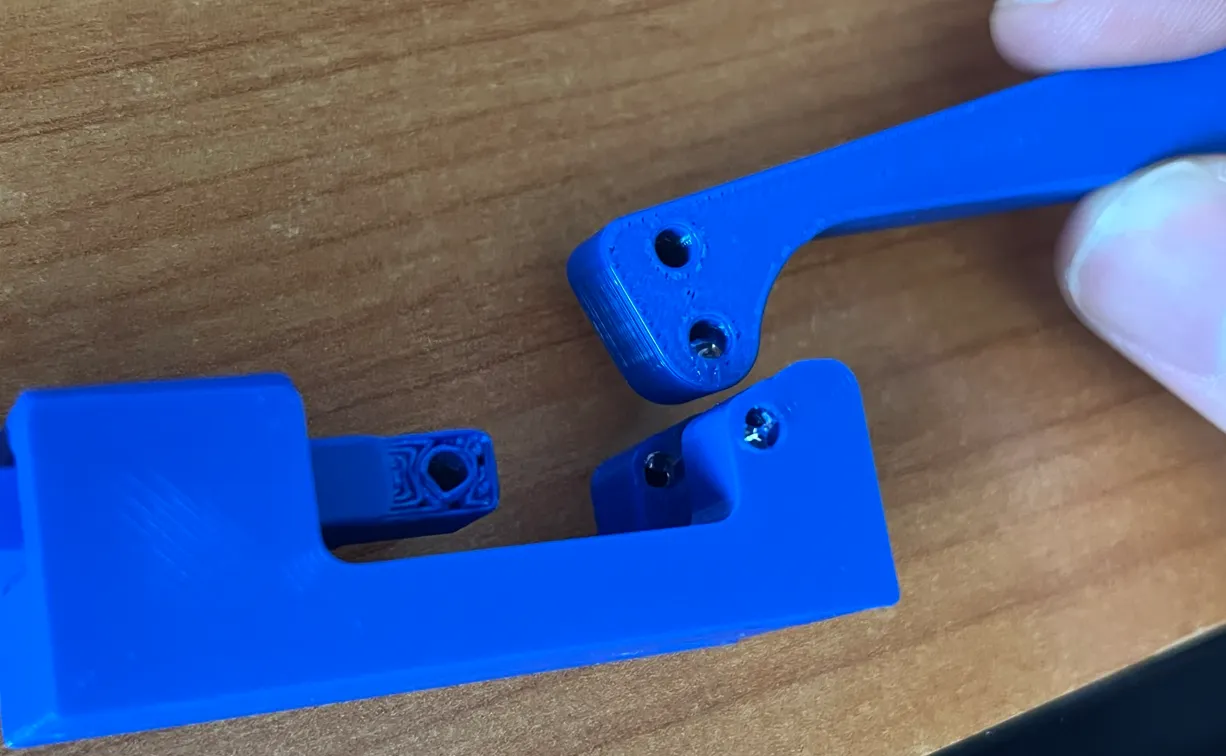
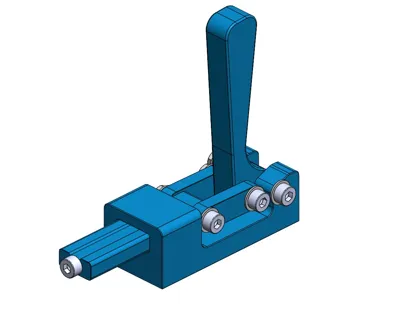
Screw in 2× M3x20 and 1× M3x25 bolts with M3 washers as shown. Let the screws self-tap, and again, don’t overtighten.
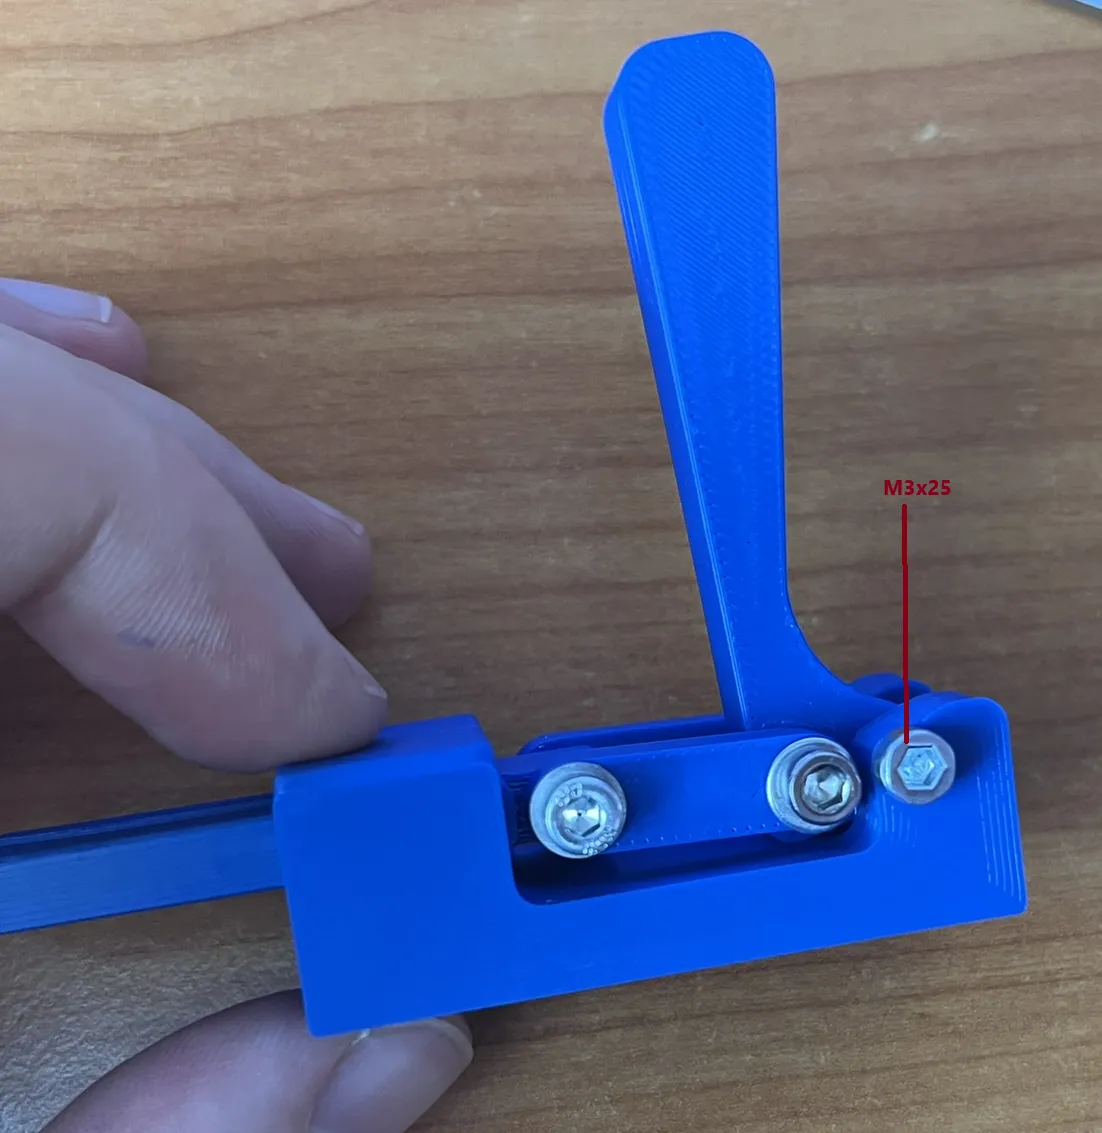
- Secure with nuts and washers using Loctite 243.
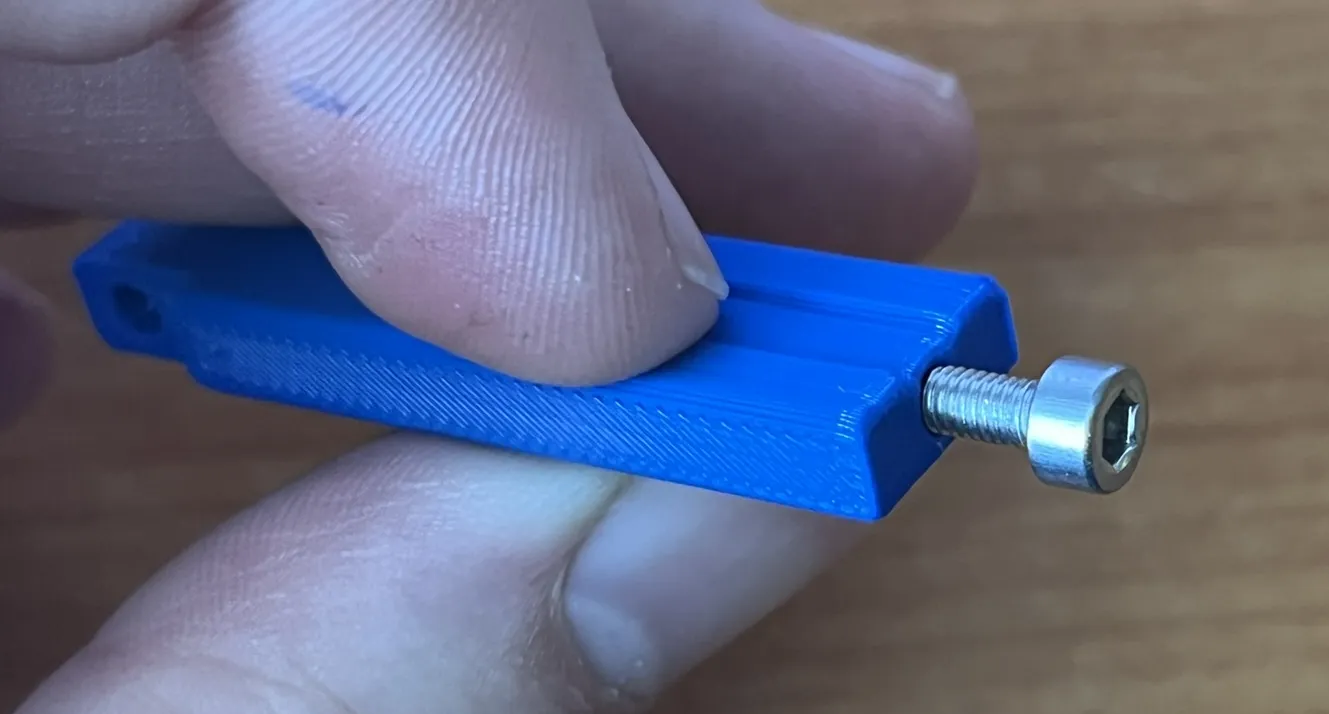
Insert the M3x6 stop screw.
Boost Me (for free)
If you liked the clamps, please consider giving it a boost!
License

You may create derivative works based on this object, provided that all such derivative works are published exclusively on the MakerWorld platform and include proper attribution to the original creator. You may not share, upload, host, distribute, or publish this object—or any derivative work of this object—on any other digital platform, marketplace, or distribution channel. Commercial use of this object and any derivative works is strictly prohibited. This includes, but is not limited to, selling, renting, sublicensing, or using the object in any context in which you receive monetary compensation or other financial benefits.


Comment & Rating (12)