AMS Lite Top Mount - GRIP-compatible swivel V0.2


Print Profile(1)

Description
UPDATE: New iteration V0.3 released here: Ultimate AMS lite Top Mount (fixes enclosure clearance issue)
- I don't recommend printing/using this V0.2 iteration anymore unless you're sure you're never going to use the Ultimate Filament Spool Enclosure and max out your Z height! Both this model (V0.2) and the GRIP mount lack enough clearance to be fully compatible with the Ultimate Filament Spool Enclosure on the front of the AMS lite.
Backstory:
Like so many other A1 combo owners, I went straight ahead and printed out the Bambu Labs top mount for my AMS-lite. Eventually I wanted to start printing PETG and needed some kind of solution for the less than ideal humidity in my basement. So of course I found the Ultimate Filament Spool Enclosure and it looked like my moisture problems would be solved!
But then I discovered some new problems. I place my printer on a deep table against a wall, and because of this I heavily used the rotation feature of the original Bambu Labs top mount. At first I thought I could just swap in a low-profile screw for the default one so that it would fit under the enclosure, but I quickly realized that not only could I not get the screw out with the enclosure on there, I also couldn't rotate the AMS around far enough without taking out the screw insert as well. I didn't want to just leave these out and let my AMS swing around while printing, so I set about looking for a better mount solution.
When I found the GRIP mount I thought all my problems would be solved! But alas, after printing it and trying it out, I realized while I really liked the swivel action at the top of the mount, I didn't like that in order to attach the mount to my printer I had to screw in 5 tiny M3 screws. With limited space, reaching behind the printer to screw these in was a massive pain compared to the old latch mechanism on the original Bambu Labs mount.
While I liked how solid the GRIP mount was, what I really wanted was a mount that looked like the GRIP on top but the original latch-based mount on bottom. Around this time I discovered this remix that added a screw to the back of the Bambu mount latch and this seemed like a nice middle ground for securing the mount to the gantry.
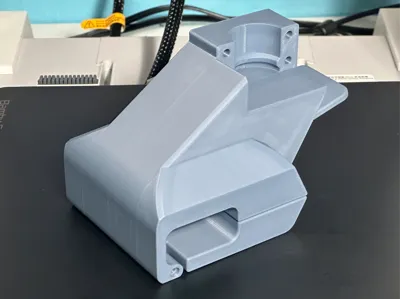
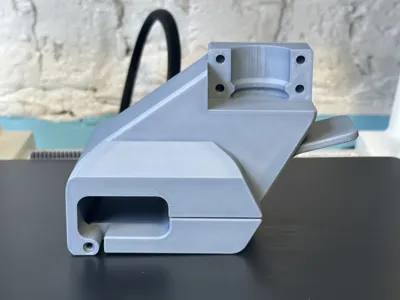
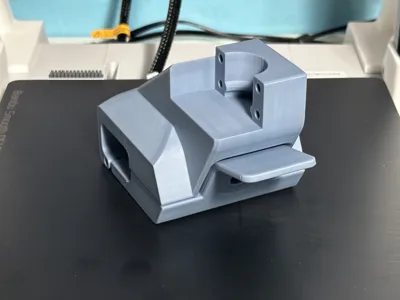
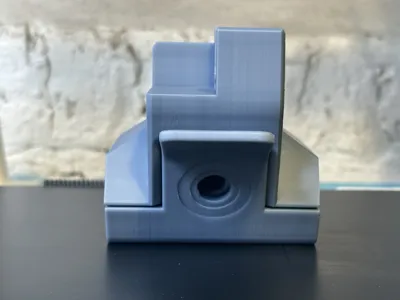
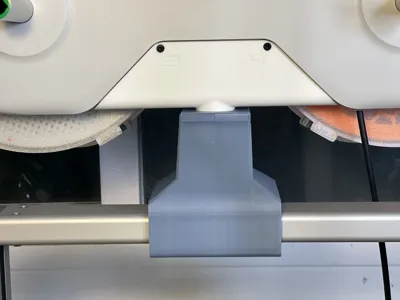
So with all that backstory, I present to you a GRIP-compatible AMS-lite top mount! This is the first model I've designed and also the first time I've ever used fusion 360 to do anything, but I think it turned out pretty decent. I'm just some guy so I can't guarantee this thing won't cause problems, but I did beef up the thicknesses around the gantry so it should be stronger than either the original Bambu mount or GRIP mount, in theory. Use at your own risk! I'm calling this V0.2 because it's my second iteration on the design, but I think it can still be improved. If you print it out and have any feedback, I'm all ears!
TL;DR - This is a hybrid of AMS lite Bracket for A1 - GRIP and AMS Lite Top Mount Screw Latch Modification to be able to use the Ultimate Spool Enclosure more smoothly
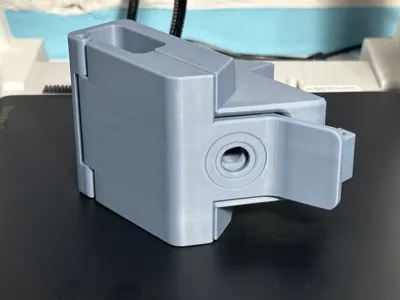
- Position of AMS-lite and clearance with toolhead are identical to those on the GRIP mount
- Screw hole and orientation of latch hole are identical to those on the AMS Lite Top Mount Screw Latch Modification
- This model must be combined with pieces of other models from other designers in order to assemble a complete top mount (see printing instructions below for details)
BOM:
- 4 - Brass inserts M3 x D5mm x L4mm
- 4 - M3 10mm screws
- All the top mount-related hardware that came with your A1 combo
- 4 screws for AMS bracket
- 2 for top mount latch
- plus stiffener-related screws, if using
Printing instructions:
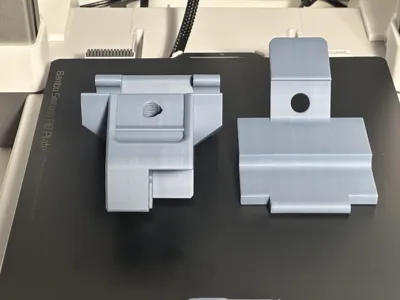
- Print out the two parts for the mount out of this profile
- I used Bambu Labs Basic PLA Blue Grey and Jade White
- Don't change the orientation of the parts, they need to be printed on their sides to ensure they can handle the weight of the AMS-lite!
- (optional) clean up the surfaces that came into contact with the supports with a little sanding
- Go over to AMS lite Bracket for A1 - GRIP and print out the following:
- The small bracket piece on plate 1
- The swivel bracket for the AMS on plate 3
- Choose a pair retainer clips from this model. If you're using the Ultimate Filament Spool Enclosure, I recommend one of the profiles that adds little handles to the sides so they're easier to remove
- (optional) The stabilizer feet on plate 2
- I opted to keep using my existing Z-axis stiffeners from the original Bambu Labs top mount instead
- (optional) Print out the improved screw from AMS Lite Top Mount Screw Latch Modification
- I used the original screw from the Bambu top mount but it broke eventually, this one might be stronger. Printing it in PETG might also be a good idea. The one I'm currently using is this one from a profile on the enclosure
- (optional) Print out the Z-axis stiffener parts from the original Bambu Labs AMS-lite Top Mount
- If you don't have these already and opt not to use the GRIP stabilizer feet - (optional) Print out some slick PTFE tube guides over here (use plate 2) to replace the Bambu ones
- The GRIP or Bambu tube guides also work
Assembly Instructions:
- Turn off your A1 and unplug the AMS-lite, disconnect all PTFE tubes.
- Disassemble and save all the hardware from your existing top mount, if you have one already. If you don't have one already, go find or buy the set of hardware that comes with the A1 combo for the top mount.
- Use a soldering iron to install the 4 brass inserts in the holes on the main mount body next to the swivel slot.
- Make sure not to push them in too deep!
- Push them in most of the way with the soldering iron and then use a flat, heat-safe object to push them flush to the surface.
- Attach the latch to the main mount body using the two 23mm screws from the Bambu mount latch
- Install the the GRIP swivel bracket onto the AMS using the 4 screws from the Bambu mount/AMS stand
- Insert the swivel bracket into the slot on the main mount piece and secure it using the small piece from plate 1 of GRIP and the 4 M3 10mm screws
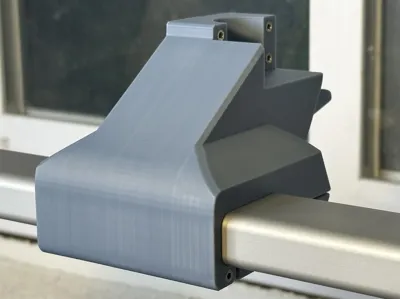
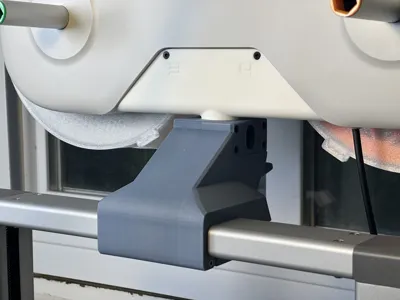
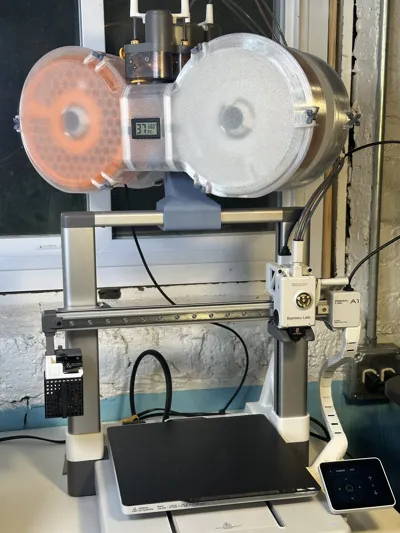
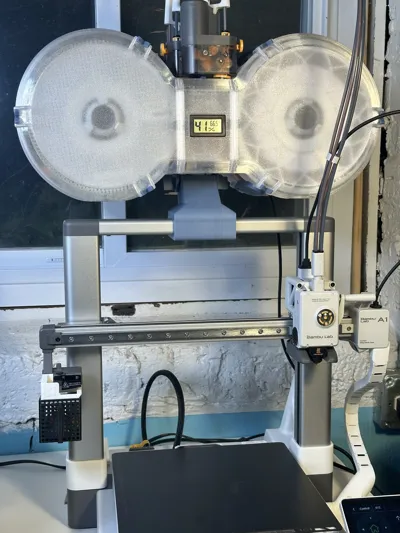
- Place the assembled AMS swivel mount in the center of the A1's top gantry
- Angle the mount so that the front of the latch hooks under first before leaning it back to its snug position
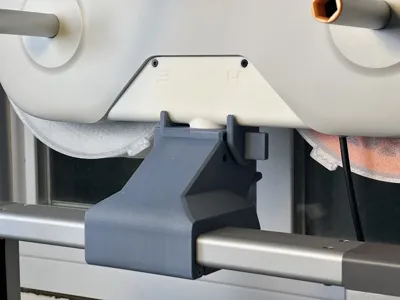
- close the latch and screw in the modified top mount screw to secure it in place
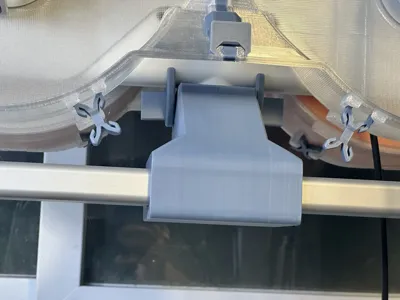
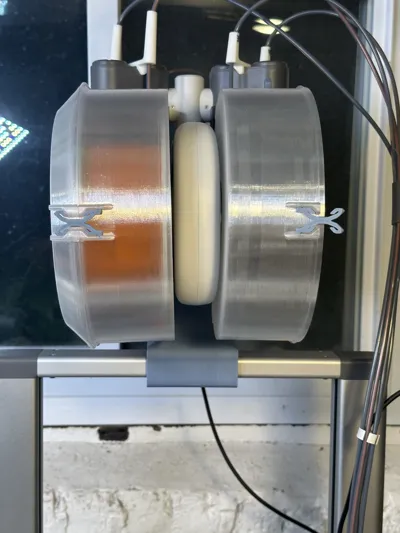
- Insert the 2 retainer clips on either side of the swivel mount to prevent it from swiveling during printing
- Remove and replace these as needed to access the rear spools
- Follow Instructions for your stabilizers of choice (but definitely don't go without one of these)
- GRIP stabilizer feet/wobble reduction brackets
- Bambu top mount Z-axis stiffeners
- Install tube guides
- See links above
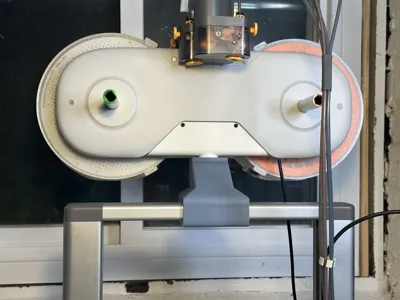
- Reconnect PTFE tubes, ensuring long ones go to spools 1&2 and the shorter ones go to 3&4
- Turn your printer back on, home the toolhead, ensure all clearances look good and you should be good to go!
NOTE: The pictures of my print profile look kinda bad because of a hotend issue I was having at the time. I was going to do a reprint after I resolved that issue originally, but before I got to that I discovered the clearance issue that led me to develop V0.3
Comment & Rating (2)