
Accelerated Manual Filament Feeder
Print Profile(11)


Description
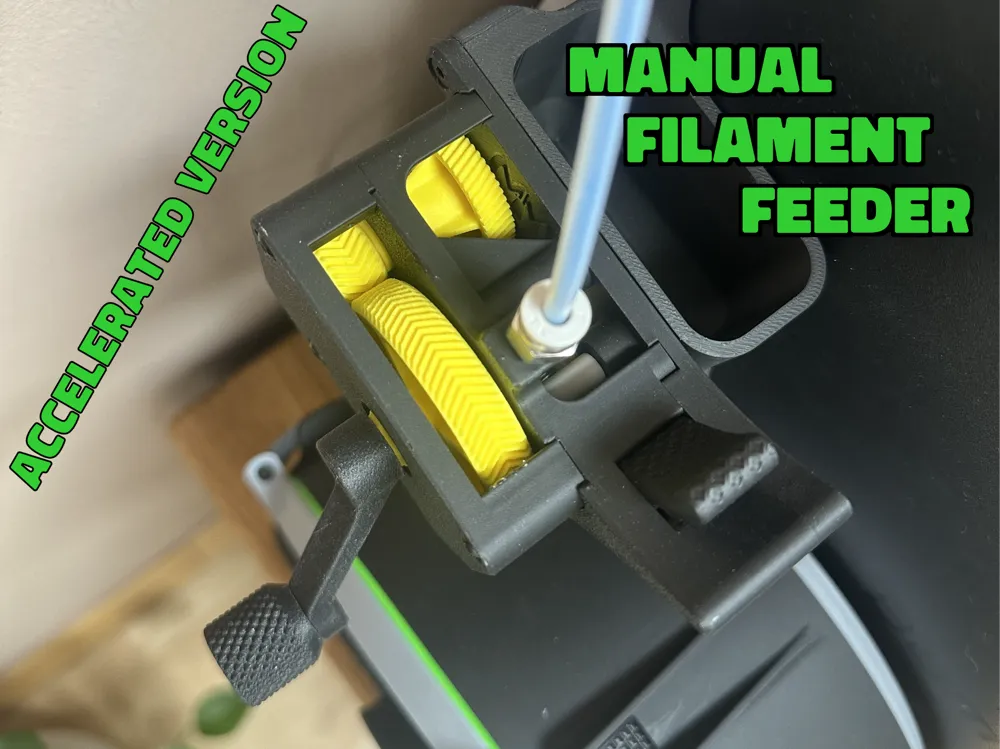
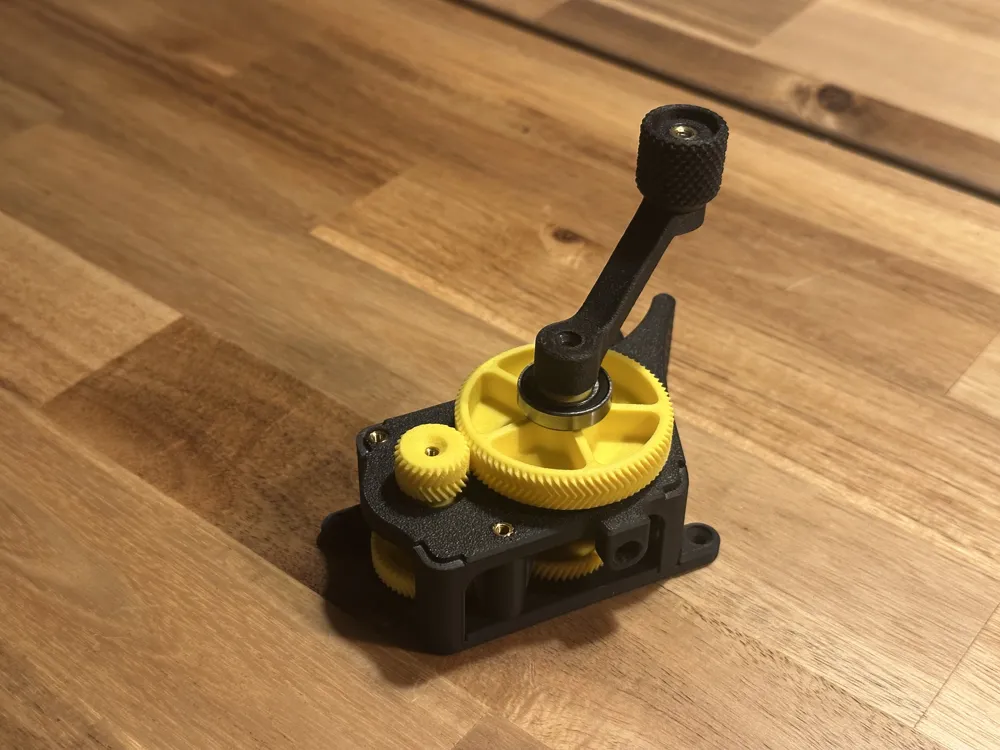
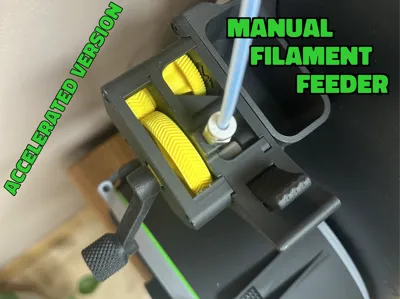
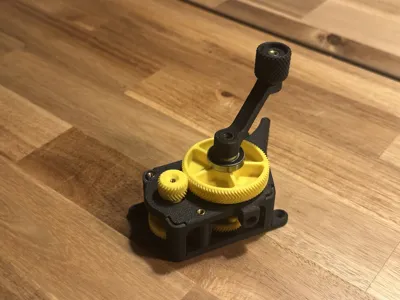
I made this much faster version of my original “Manual Filament Feeder”.
Update 22.07.25:
I just started a collab with „Veetec 3D“ from czech republic, the parts for the feeder can now be bought as a „hardware only“ kit!
You can also purchase a fully assembled unit.
Both can be found here:
https://veetec3d.etsy.com/listing/4325490537/accelerated-manual-filament-feeder-fast
Update 20.07.2025:
The Base of the Feeder has been changed to fit a 12x7x0,65 spring instead of the 10x6x0,65 that has been used before.
This has been done to be able to sell a full hardware kit in cooperation with VeeTec3D.
The STEP FIles for the old version will be kept online!
FULL ASSEMBLY GUIDE NOW ONLINE!


I managed to make it roughly 3 times faster.

Loading external filaments takes only a few seconds as you can see.
Boost Me (for free)
This assembly uses the stock extruder gears and bearings out of a P1S/P1P (X1C parts or “hardened extruder gears” from bambu shop also work), which are probably also lying around somewhere at your place!
It also uses various additional hardware parts that i will list further below.
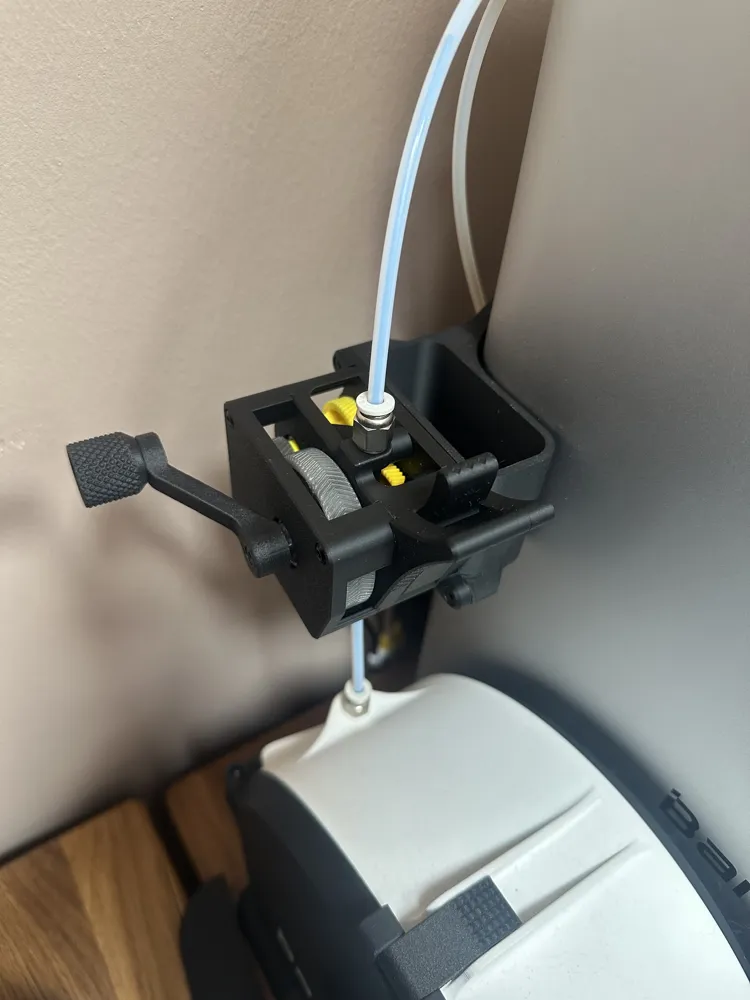
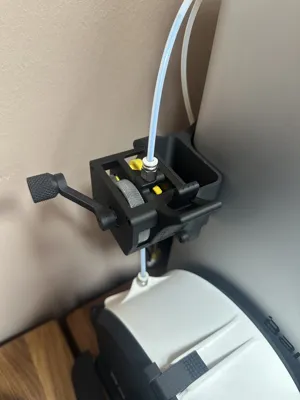
It allows you to feed your external material all the way to the hotend without having to open a PTFE Connection or fiddle around with the filament manually.
If you have printed the first version don't worry, you can reuse all parts except one of the housing halfs!
I will upload a print profile specifically for upgrading Version 1 to this new version.
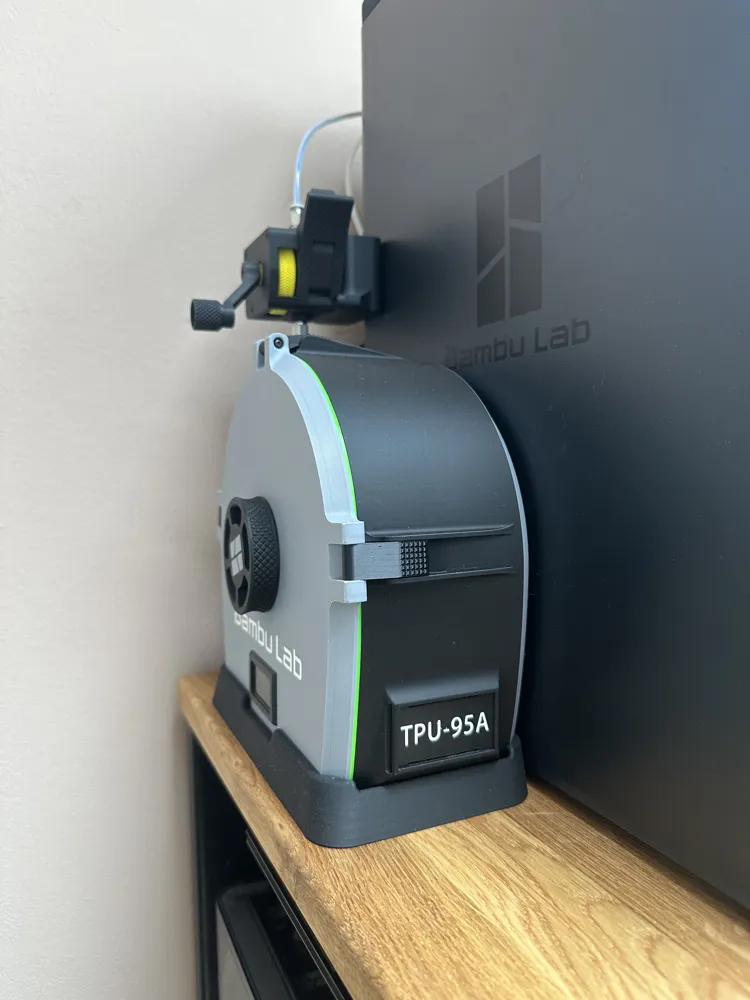
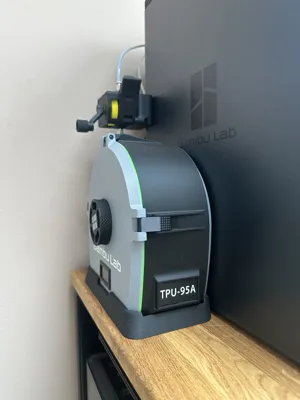
The holder for the unit as seen in the pictures is part of the upload of the original manual filament feeder! (Compatible with P1P/P1S/X1C). https://makerworld.com/models/1185417
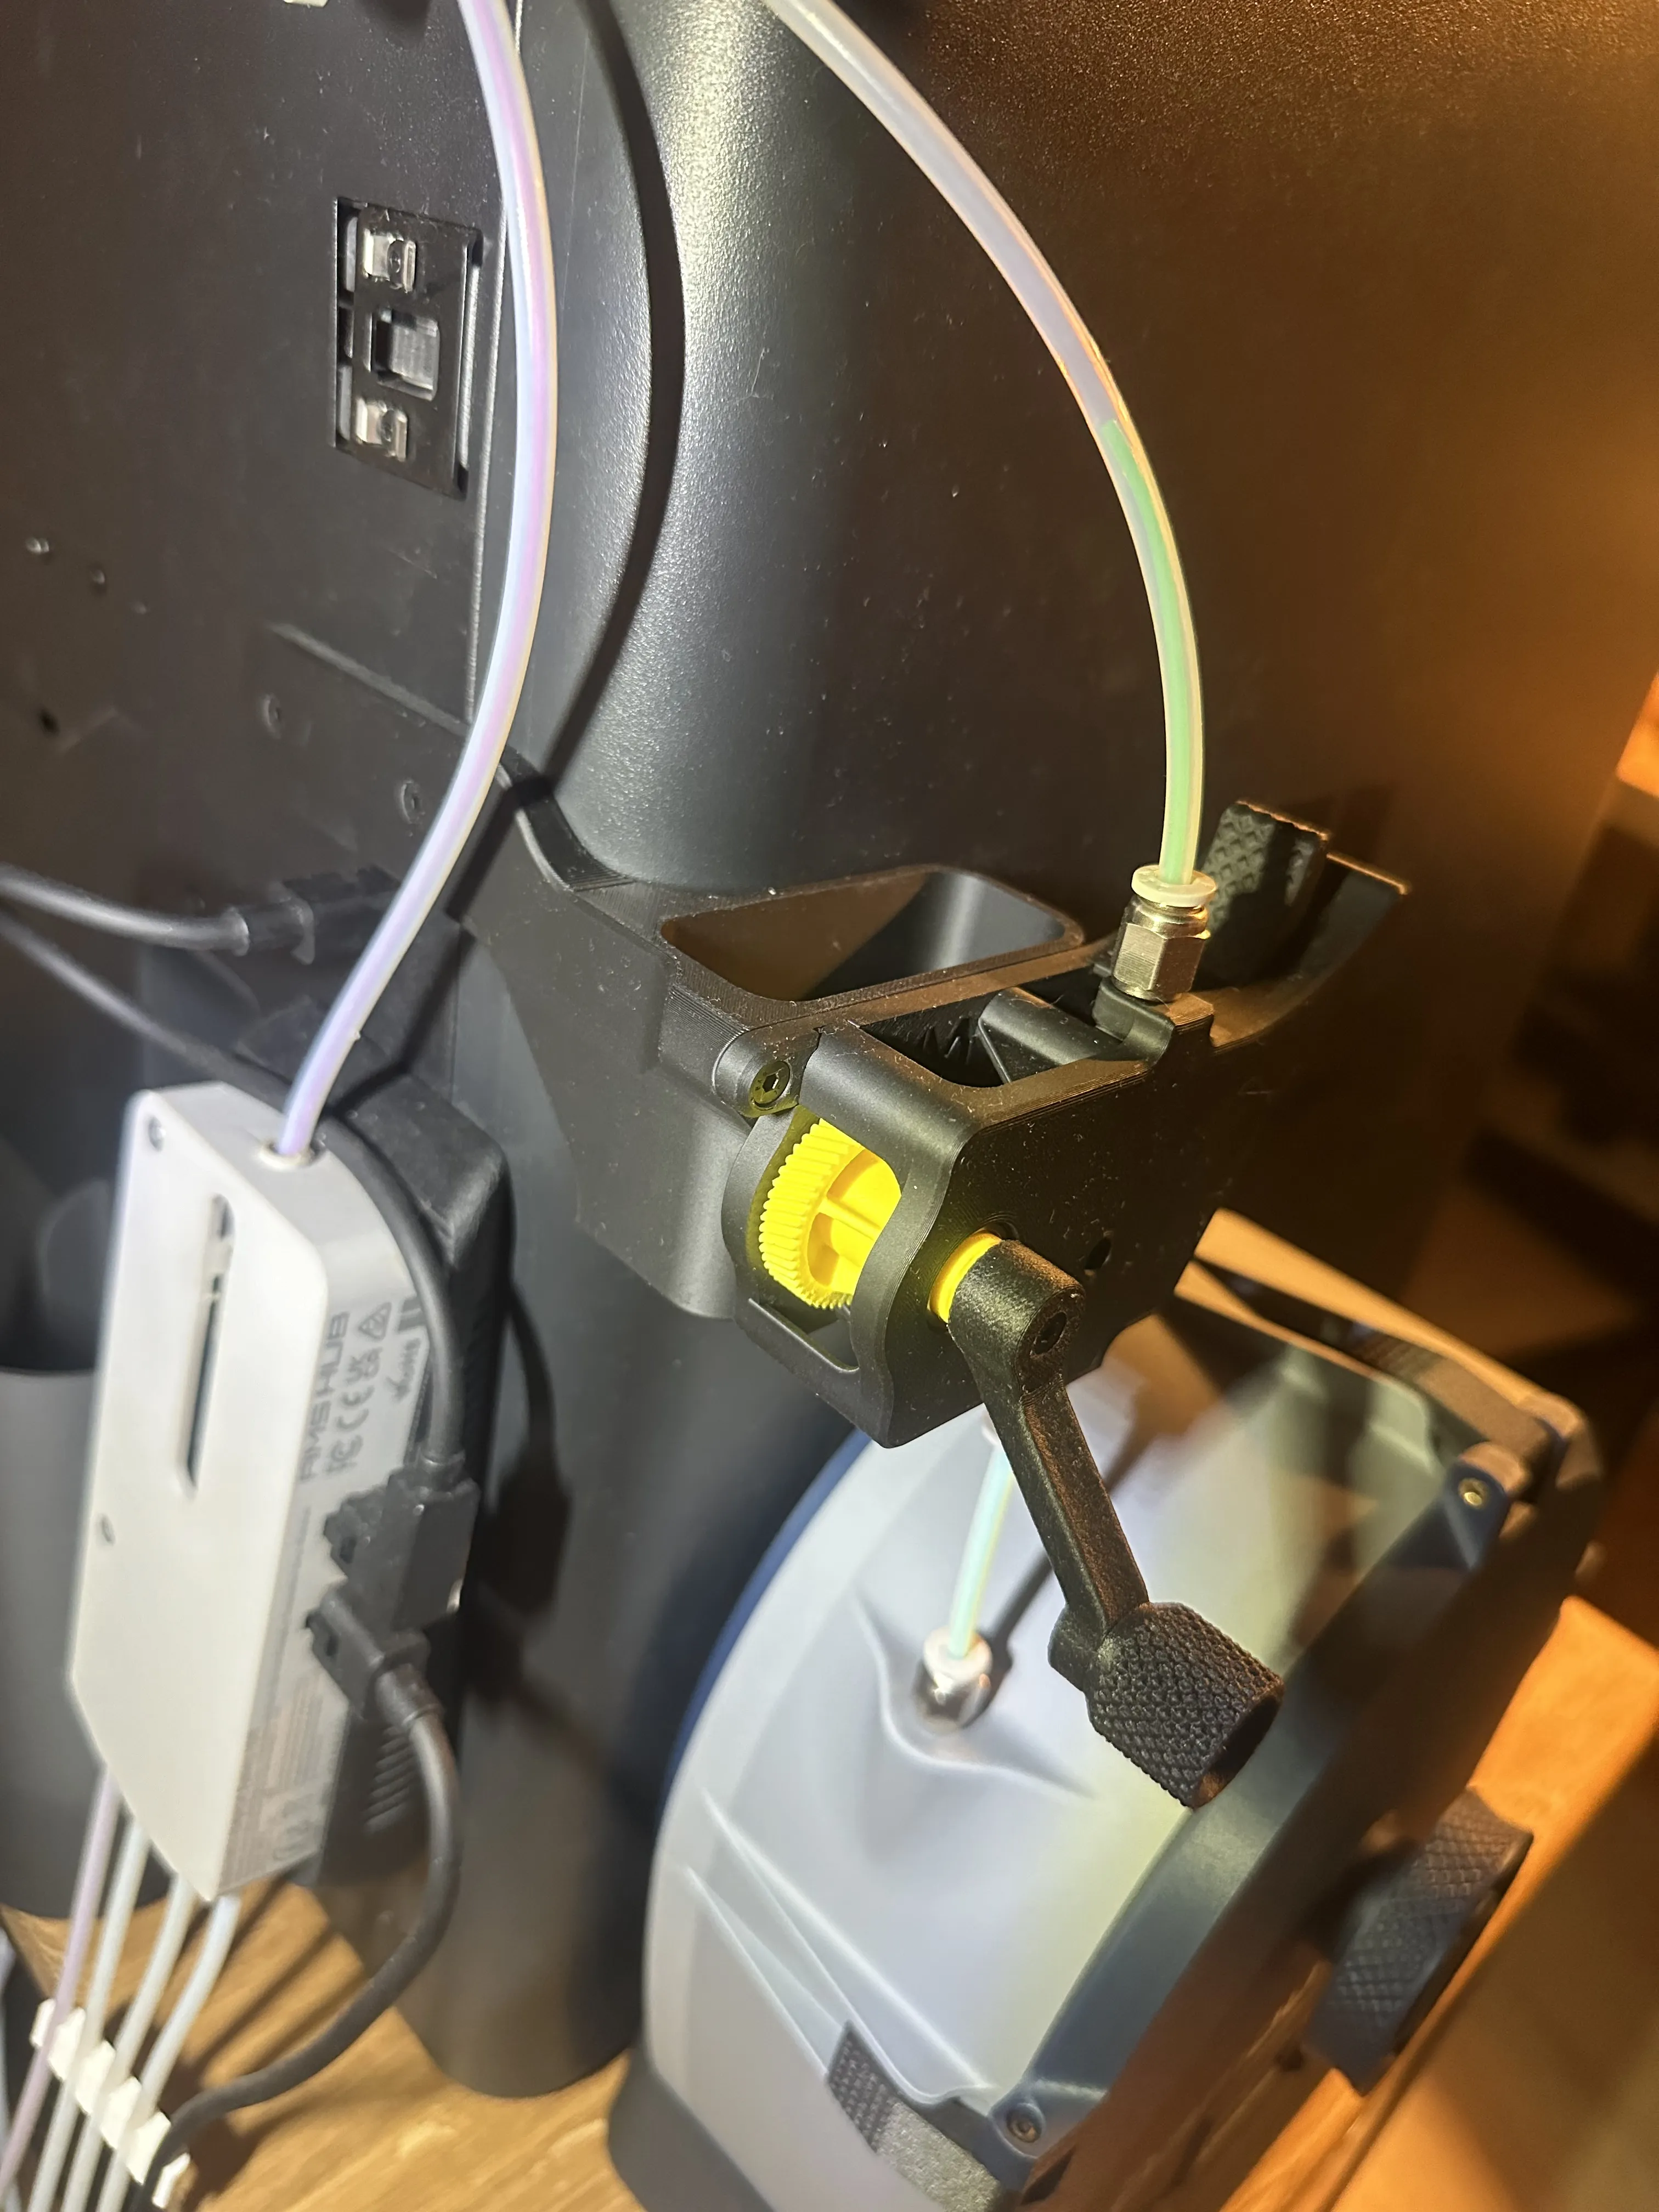
I will design and add a solution for the H2D as soon as my unit arrives!
########################Hardware (updated 22.07.2025)
########################
You can now buy this kit and build the upgraded version!
https://veetec3d.etsy.com/listing/4325490537/accelerated-manual-filament-feeder-fast
For those of you that want to buy the parts separatly,
this is the list of things to get for the accelerated version
(parts for those who already have V1 will be listed seperately!):
-Stock P1S/P1P/X1C Extruder Gears and Bearings
-2x PTFE Tube Couplings (M6 thread)
-2x Bearing - 21mm outer ⌀, 12mm inner ⌀, 5mm thickness
-2x Bearing - 10mm outer ⌀, 3mm inner ⌀, 4mm thickness
(a printed version of the bearings can be found as a seperate print profile here: https://makerworld.com/en/models/1185417,
they are only meant for temporary use!!)
-3x cylindrical shaft 10mm long, 3mm ⌀
-2x cylindrical shaft 20mm long, 3mm ⌀
(a printed version for the shafts can be found as a seperate print profile here: https://makerworld.com/en/models/1185417)
-1x spring 10-12mm long, 7mm ⌀, 0,65mm wire stickness (other wire thickness will probably work)
Update 20.07.2025: Base has been changed to fit a 12x7x0,65 spring instead of the 10x6x0,65 that has been used before.
This has been done to be able to sell a full hardware kit in cooperation with VeeTec3D
-5x heat set insert M3 (I use RUTHEX, others will work but fit quality could vary)
-2x heat set insert M3 SHORT (they should only be 4mm high!
-1x heat set insert M4 (I use RUTHEX, others will work but fit quality could vary)
-2x countersunk screw M3x8
-3x countersunk screw M3x20
-3x countersunk screw M3x12
-1x lens head screw M4x 20
If you already printed and built Version 1, you will only need these parts:
-1x 10-12mm x 7mm diameter x 0,65 wire thickness (replaces the 10x6x0,65 spring of V1)
-1x Bearing - 21mm outer ⌀, 12mm inner ⌀, 5mm thickness
-1x Bearing - 10mm outer ⌀, 3mm inner ⌀, 4mm thickness
-1x cylindrical shaft 10mm long, 3mm ⌀
-1x heat set insert M3 (I use RUTHEX, others will work but fit quality could vary)
-2x heat set insert M3 SHORT (they should only be 4mm high!
-3x countersunk screw M3x20
-1x countersunk screw M3x12
Printing
This time i added a print profile that uses Polycarbonate for all printed gears. They seem to run smoother and produce
less noise than the ones i made from ABS-GF for version one.
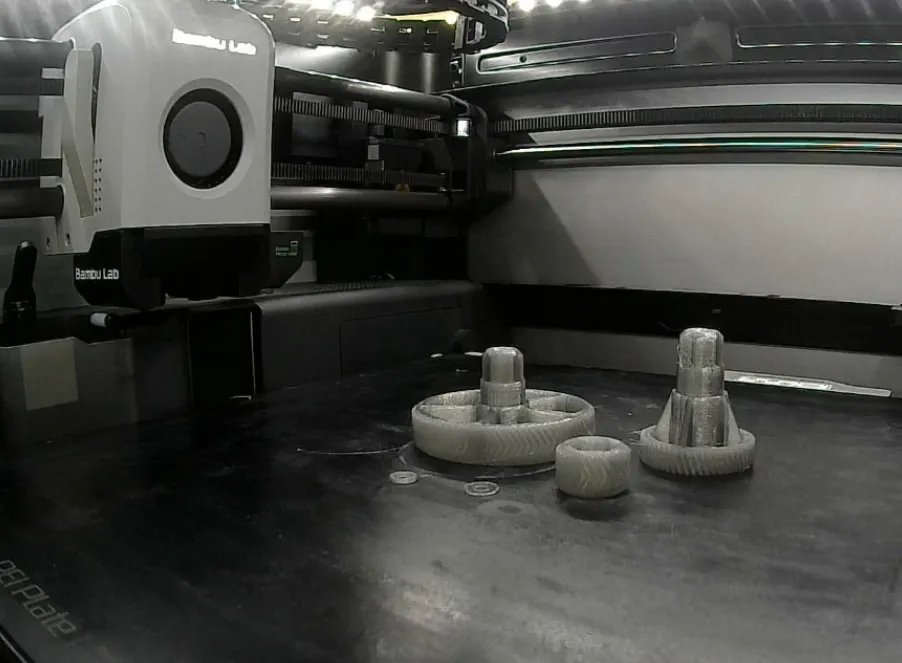
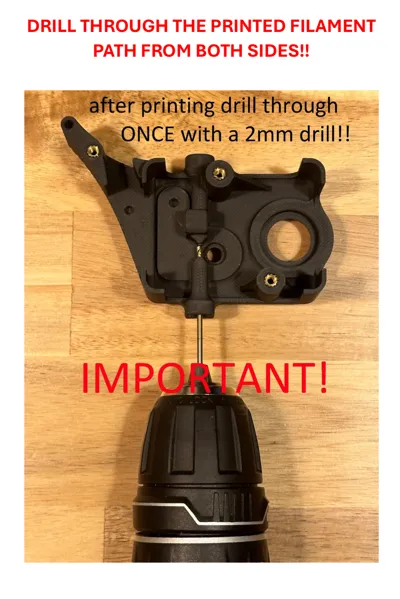
As far as material choice goes, this will work with anything basically. The gears do not face tremendous forces.
I as well added a profile that uses only PLA.
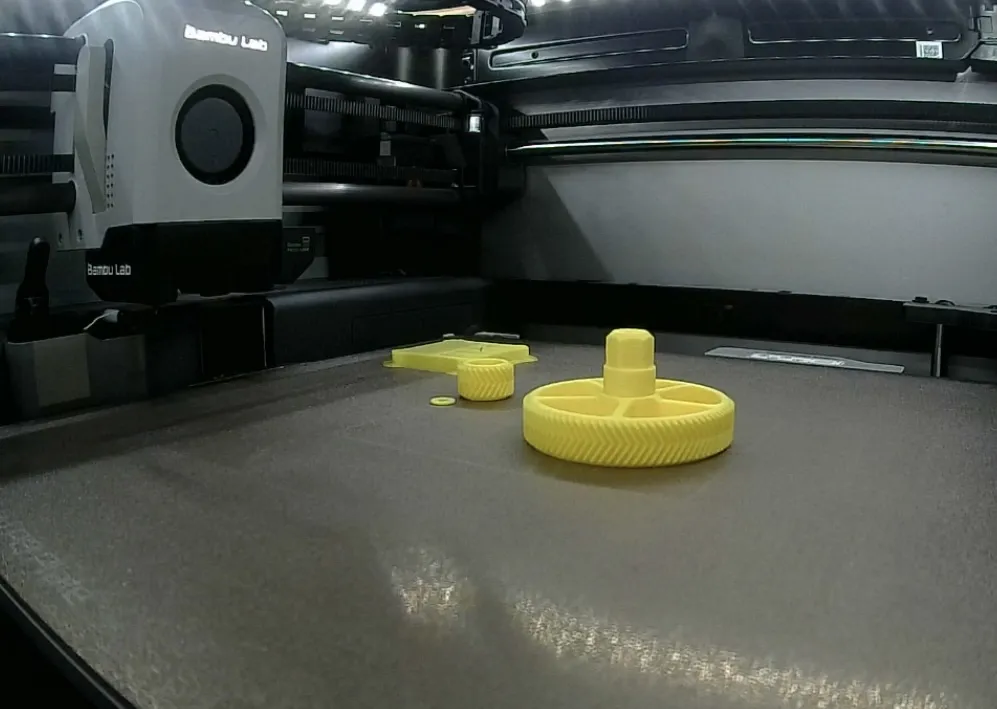
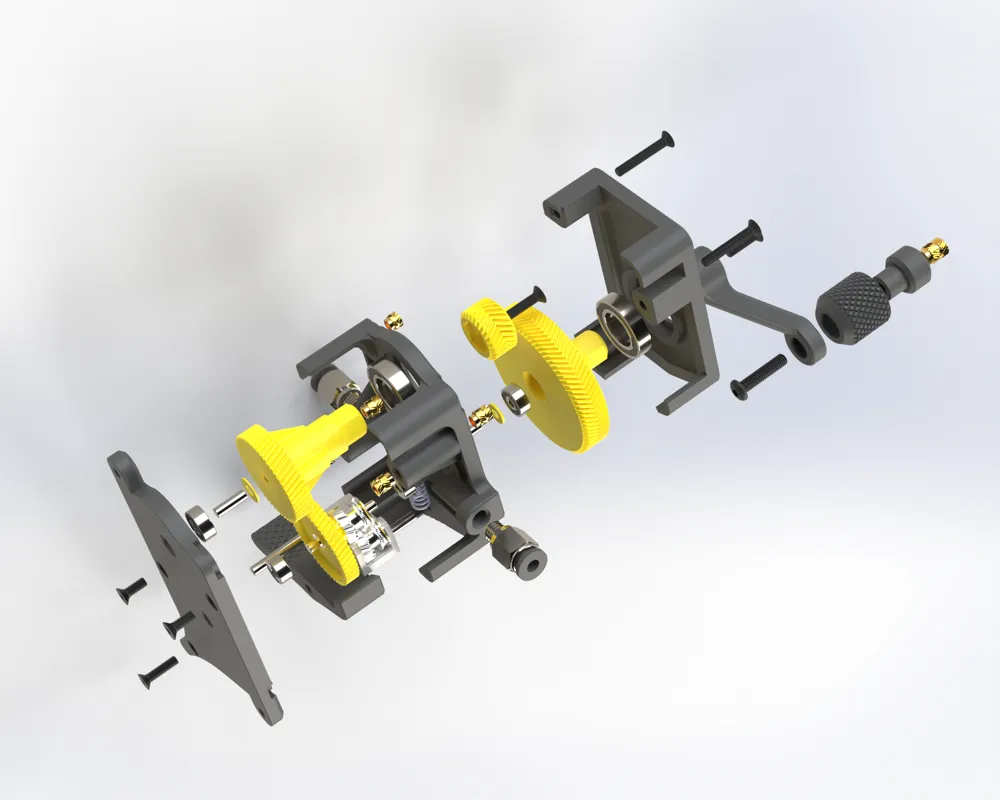
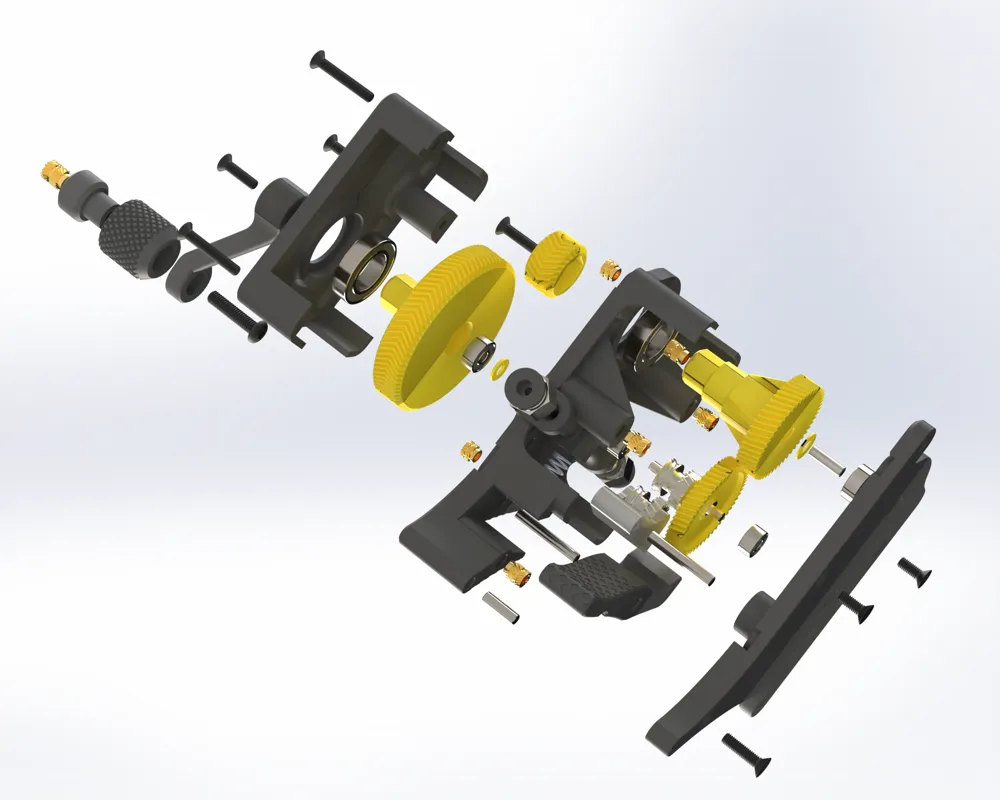
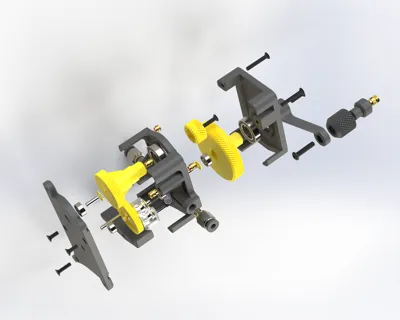
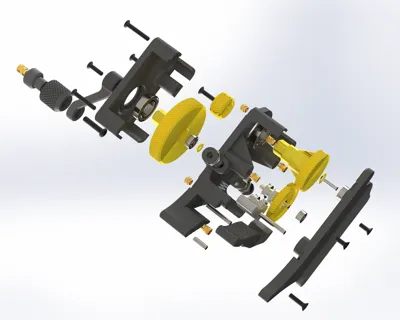
An assembly guide is coming in the next few days! For now, the exploded view renders should give you a good idea of how it‘s assembled!
Two important tips right away:
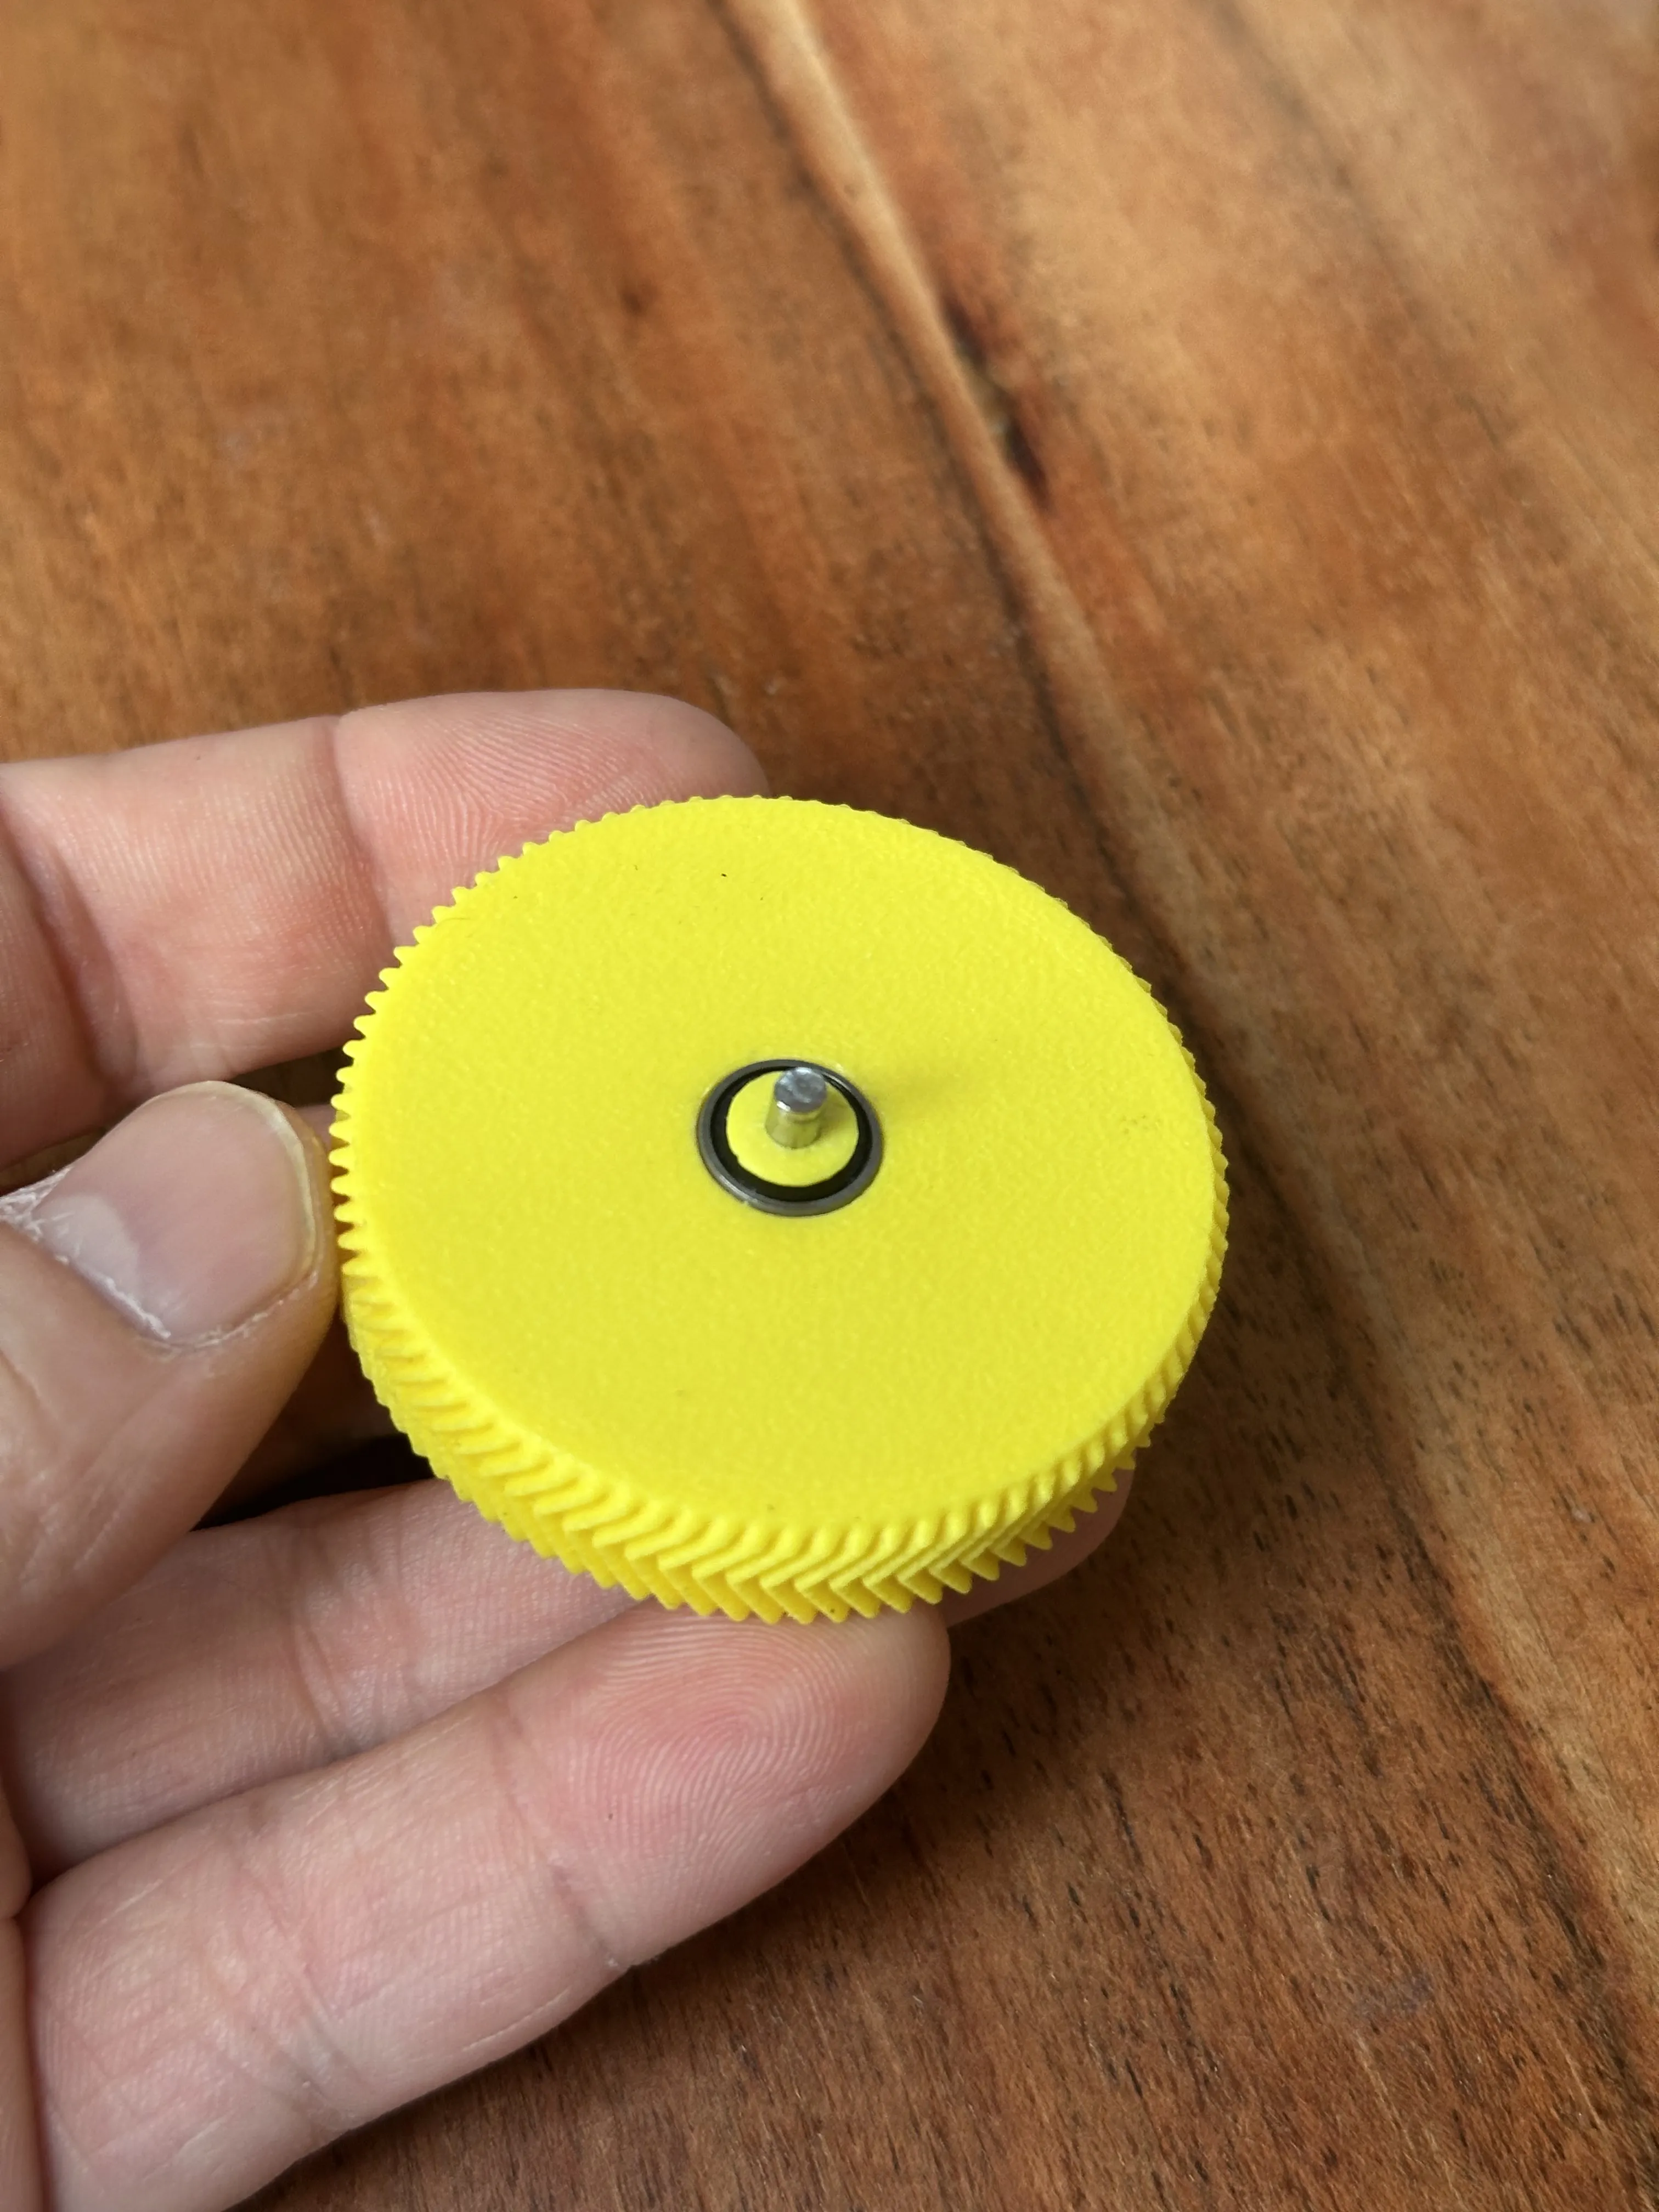
The thinner washer is for the gear that engages with the bambu extruder gears
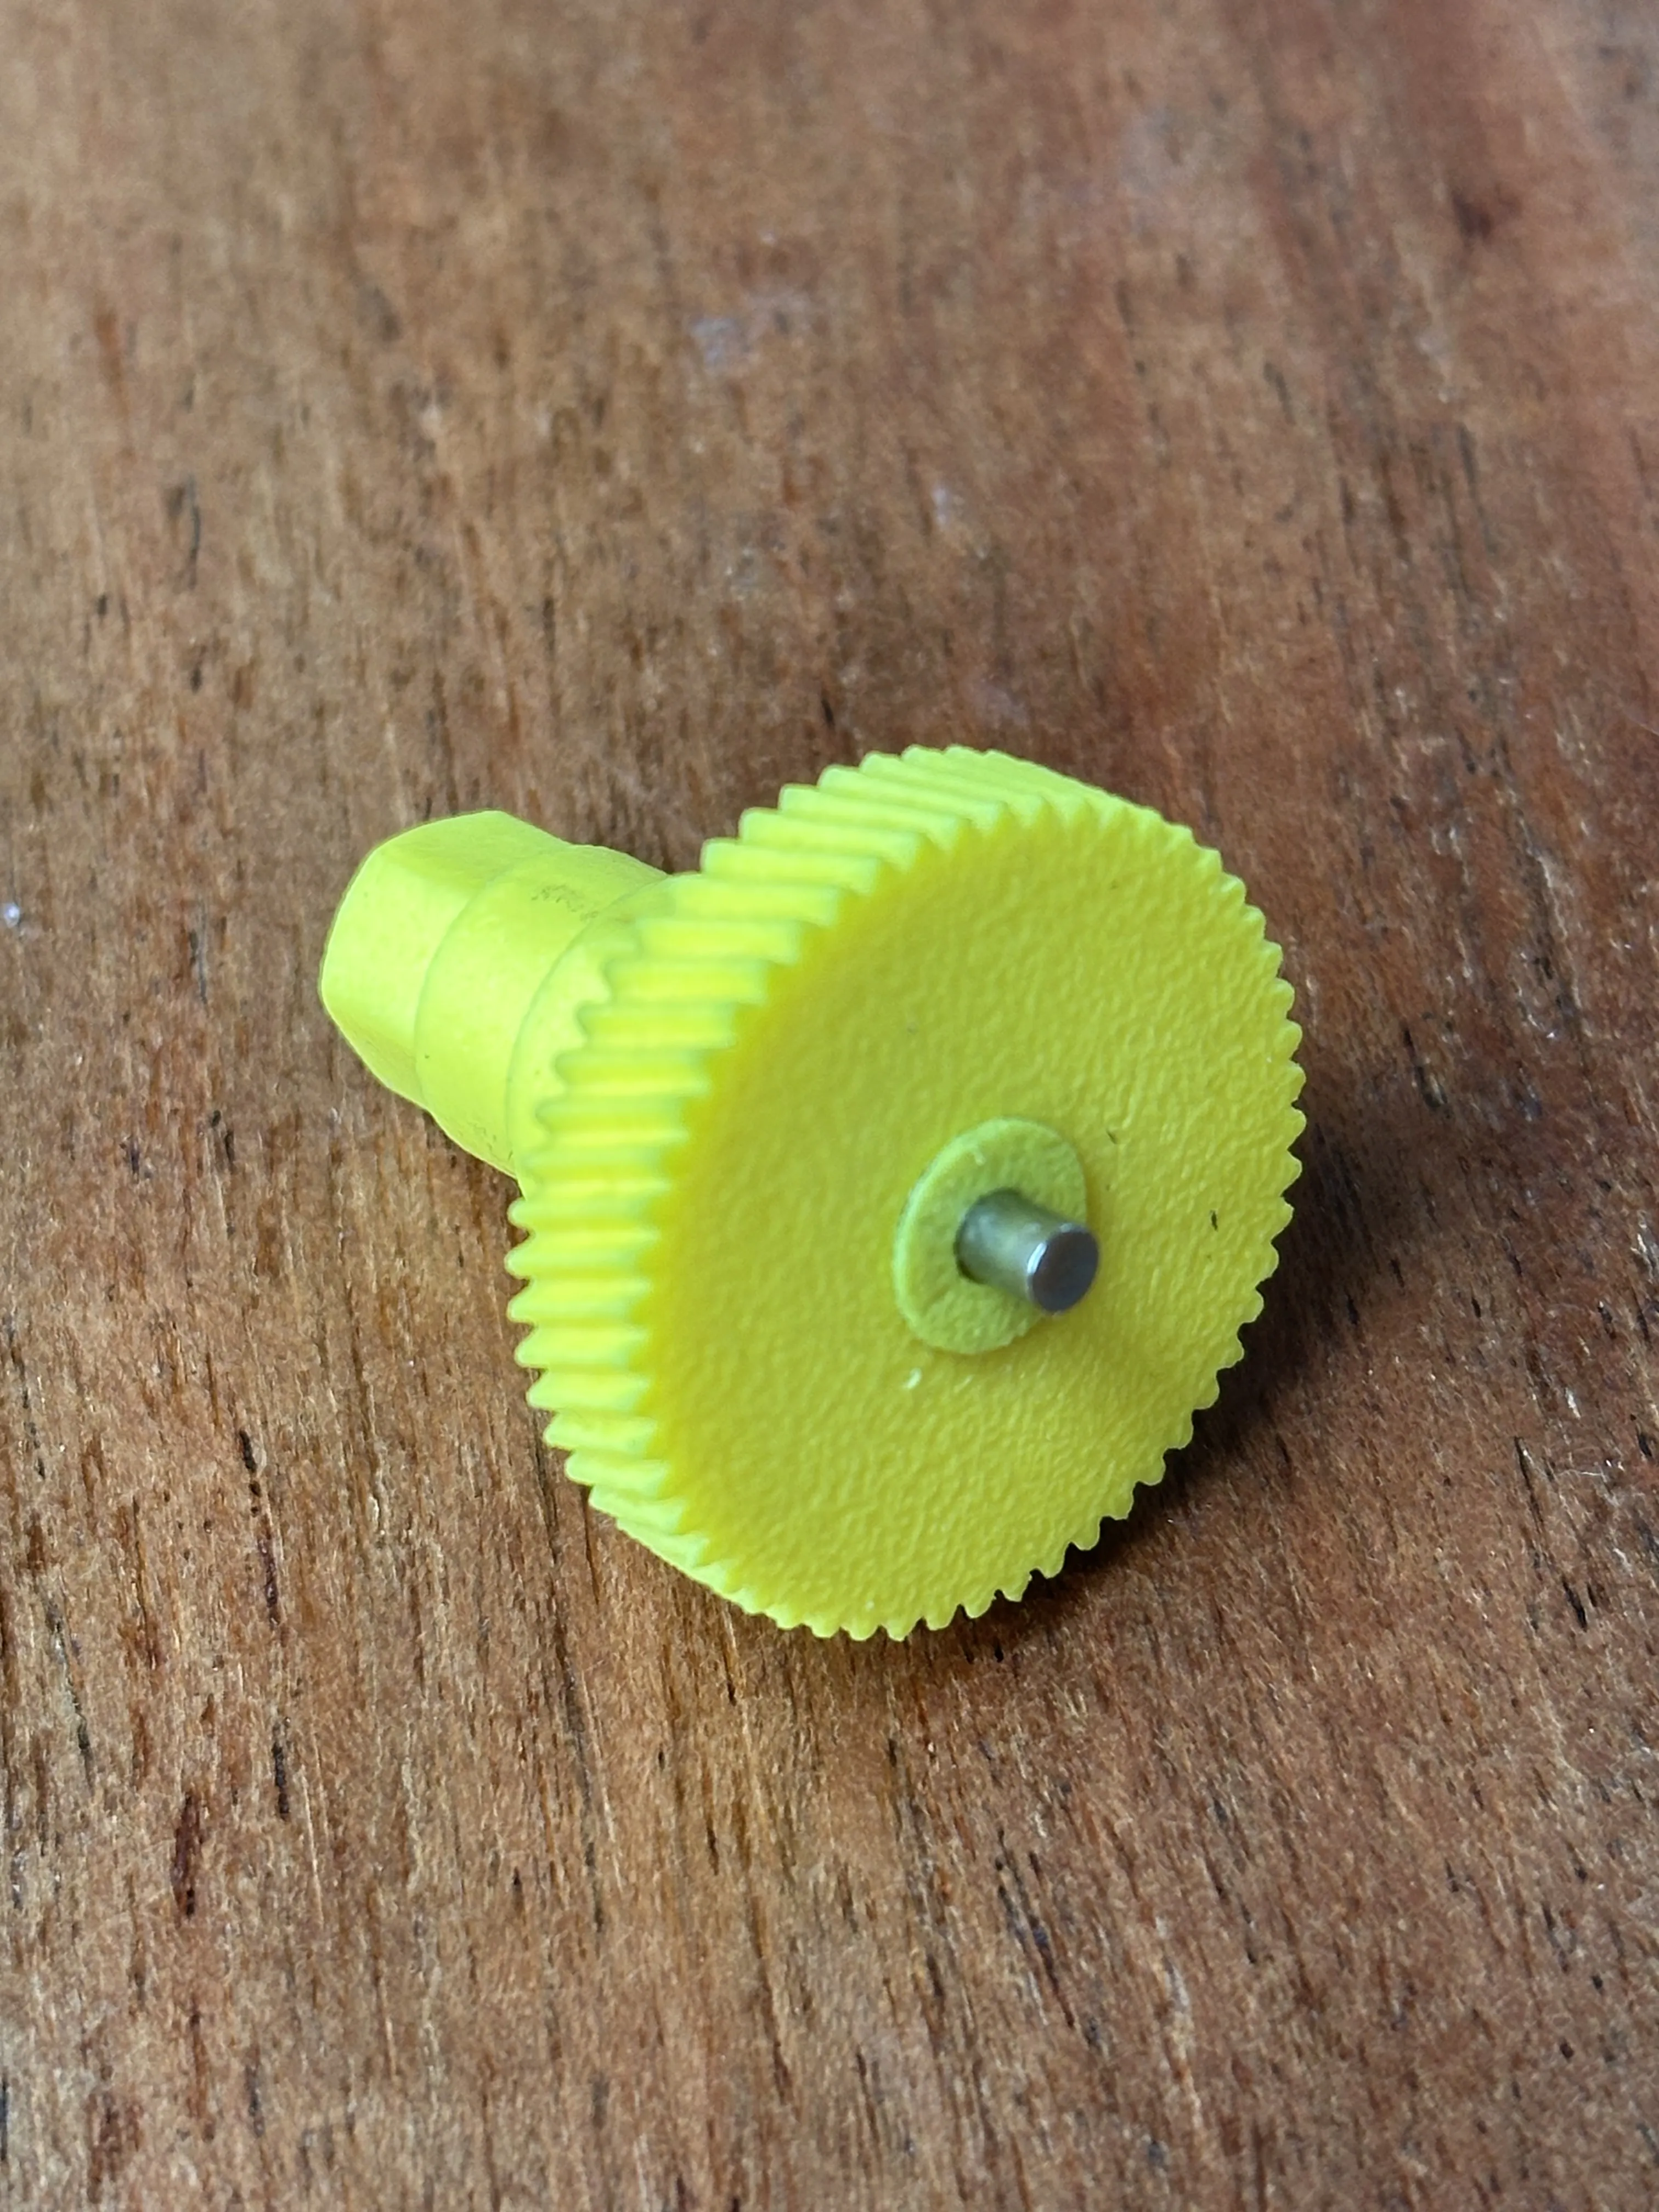
the thicker one goes here:
The 10mm shafts that go into the 10x3x4 bearings need to be gently tapped in with a small hammer, it is a pretty tight fit.
The two short M3 inserts go in these places:
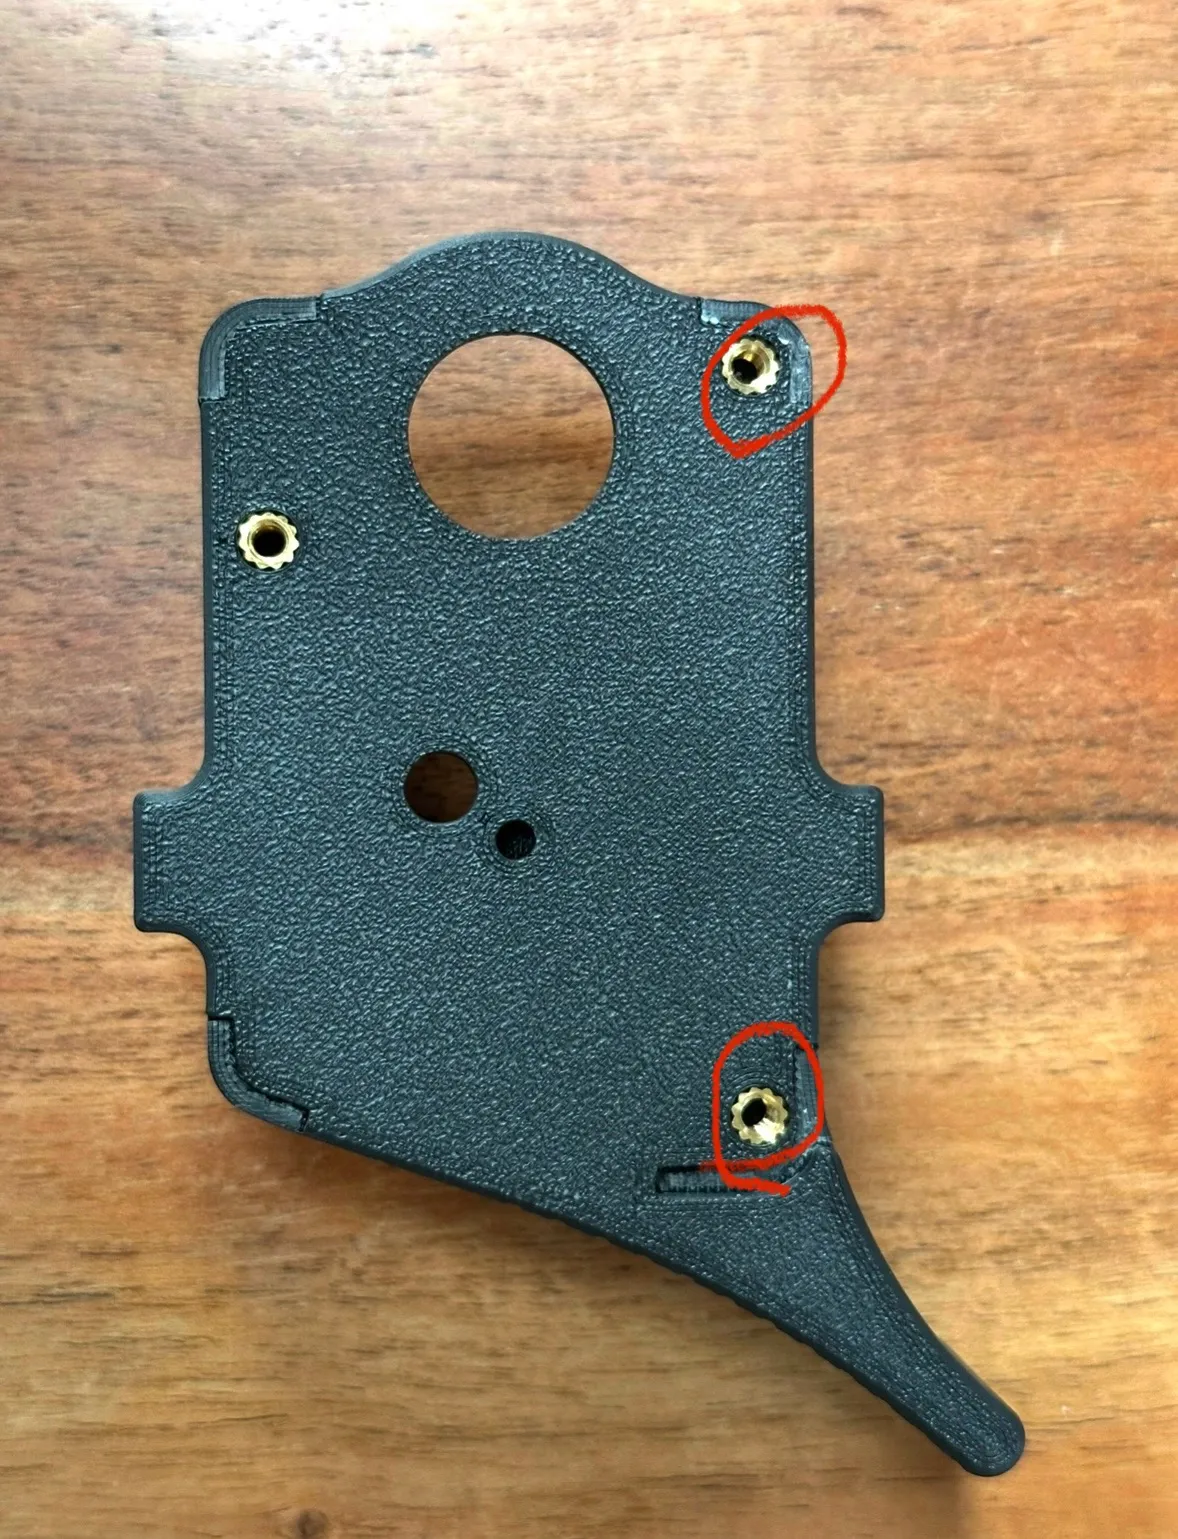
All other M3 inserts are the regular taller ones.
Have fun printing this, I hope you like it!
M.I.M
Documentation (1)
License

You shall not share, sub-license, sell, rent, host, transfer, or distribute in any way the digital or 3D printed versions of this object, nor any other derivative work of this object in its digital or physical format (including - but not limited to - remixes of this object, and hosting on other digital platforms). The objects may not be used without permission in any way whatsoever in which you charge money, or collect fees.


Comment & Rating (421)