PC Test Bench Case mATX ITX


Print Profile(25)


Description
Boost Me (for free)
Support me in developing new, interesting projects.
Membership
Become a commercial member and sell physical prints.
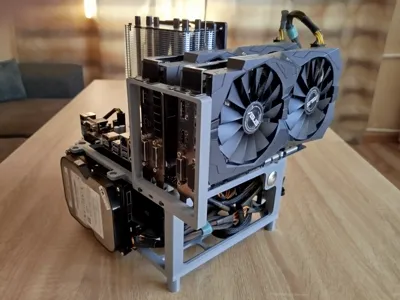
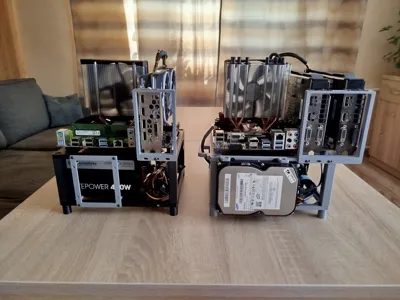
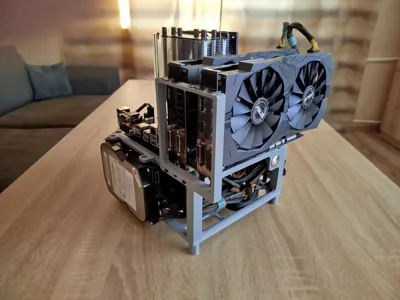
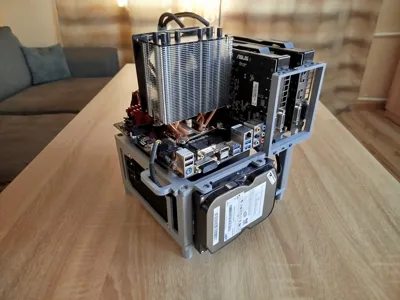
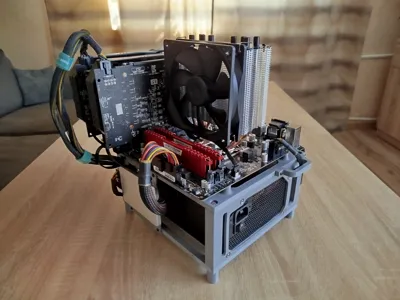
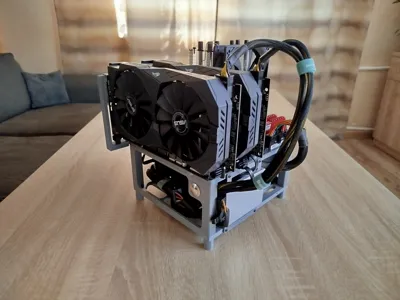
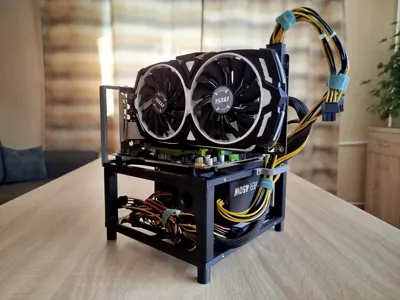
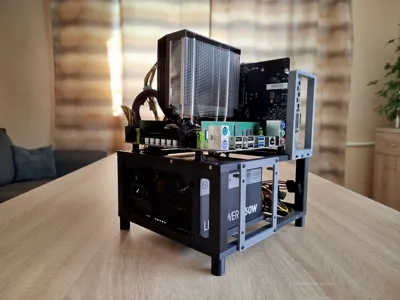
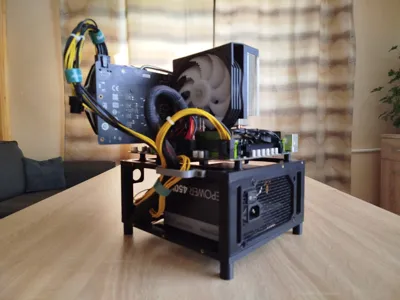
PC Test bench dedicated for Micro ATX and Mini ITX motherboards. It is compact but has significant capabilities. It is a great tool for testing computer components. It can also be used as an open-air case.
To build the test bench I used 3D prints and mechanical parts such as metric screws, plastic screws, threaded inserts and button. I know that not everyone wants to use inserts, so I prepared a version without them. Only on plastic screws, but I recommend using inserts for better durability.
Compatybility:
Motherboard: Mini ITX, Micro ATX*;
PSU: ATX, SFX/SFX-L**;
SSD/HDD: 3,5" HDD max. x2, 2,5" SSD/HDD max. x4;
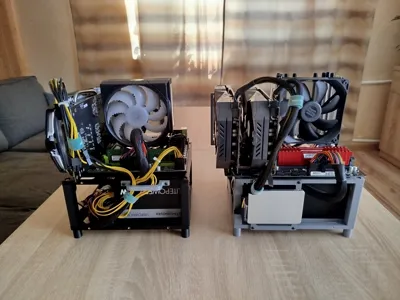
CPU Cooling: Air Cooling mounted on Mother Board;
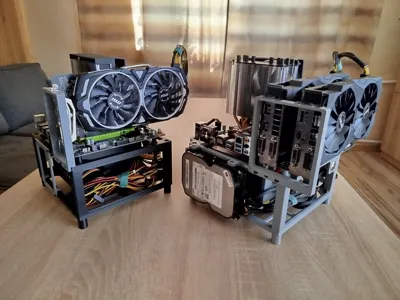
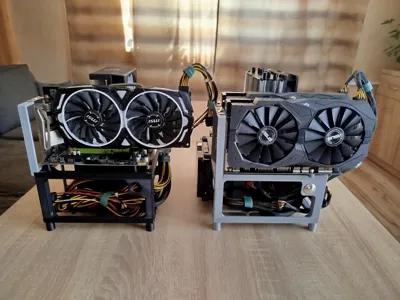
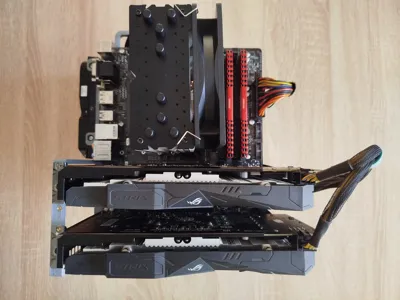
GPU: One slot, two slots, three slots and support for two dual-slot cards with a five-slot bracket.
*Full Micro ATX 244x244 without bracket for screews on right edge.
**To mount SFX/SFX-L Power Supply Unit use adapter in link: https://makerworld.com/en/models/1329438-power-supply-adapter-sfx-sfx-l-to-atx#profileId-1367405
3D Print:
Material: For this application I recommend ABS/ASA also PET-G. PLA is not recommended, Hi-END PC components could generate to much heat and melt PLA.
Parameters: walls x3, top layers x5, infill 25%.
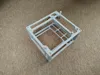
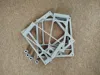
Assembly Guide:
The assembly is simple and does not require a detailed description. The pictures below explain everything.

Red - Plastic Screw 4x15mm; Orange - M3 Insert; Dark Blue - M3x8 Screw; Light Blue - M19 Button; Green - Plastic Screw 3x8mm;


Accessories:
You can decide which accessories you need and print them individually.
Front without Button:

1xDrive 2,5" Bracket:

2xDrive 2,5" Bracket:

1xDrive 3,5" + 1xDrive 2,5" Bracket:

24pin Cable Holder:

CPU Cable Holder:

GPU Bracket three slot - with and without inserts:

GPU Bracket five slots - with and without inserts:

Bils Of Materials Test Bench with threaded inserts:
Test Bench
8x plastic screw 4mm L=16mm
24x M3 insert 5mm L=4mm
8x M3 screw L=8mm
Optional 1x M19mm power switch
Drive bracket
4x M3 screw L=8mm
GPU Bracket x3
3x M3 screw L=8mm
3x M3 insert 5mm L=4mm
GPU Bracket x5
3x M3 screw L=8mm
5x M3 insert 5mm L=4mm
Cable holders
2x M3 screw L=8mm
Total(For full mount):
26x M3 screw L=8mm
29x M3 insert 5mm L=4mm
1x M19mm power switch
8x plastic screw 4mm L=15mm
Bils Of Materials Test Bench without threaded inserts:
Test Bench
8x plastic screw 4mm L=16mm
8x plastic screw 3mm L=8mm
Optional 1x 19mm power switch
Drive bracket
4x Plastic screw 3mm L=8mm
GPU Bracket x3
6x Plastic screw 3mm L=8mm
GPU Bracket x5
8x Plastic screw 3mm L=8mm
Cable holders
2x Plastic screw 3mm L=8mm
Total(For full mount):
1x M19mm power switch
8x plastic screw 4mm L=16mm
26x plastic screw 3mm L=8mm
Materials Description:
Inserts:
I did use M3 Inserts, Outer diameter = 4,2mm, Length = 4mm.
For example: https://tiny.pl/914zgn4v
Screws:
1. M3x8mm, any M3 threaded screws, for example: https://tiny.pl/qrybmrh3
2. Plastic screw 4mmx16mm, for example: https://tiny.pl/52tkwxwy
3. Plastic screw 3mmx8mm, for example: https://tiny.pl/52tkwxwy
For version without inserts is important to not use screws of diameter over 3 mm. Bigger screws could rip Test Bench.
Button:
Any button with M19 thread and lock nut. Minimal thread length 12 mm. For example: https://tiny.pl/w_jv5q17
Boost Me (for free)
If you like my project give me a boost. It doesn't cost you anything but it helps me develop other projects.
License
You shall not share, sub-license, sell, rent, host, transfer, or distribute in any way the digital or 3D printed versions of this object, nor any other derivative work of this object in its digital or physical format (including - but not limited to - remixes of this object, and hosting on other digital platforms). The objects may not be used without permission in any way whatsoever in which you charge money, or collect fees.
Comment & Rating (112)