
Honeycomb Fidget - Vertical Flush Object
Print Profile(3)


Description
V2 just released!
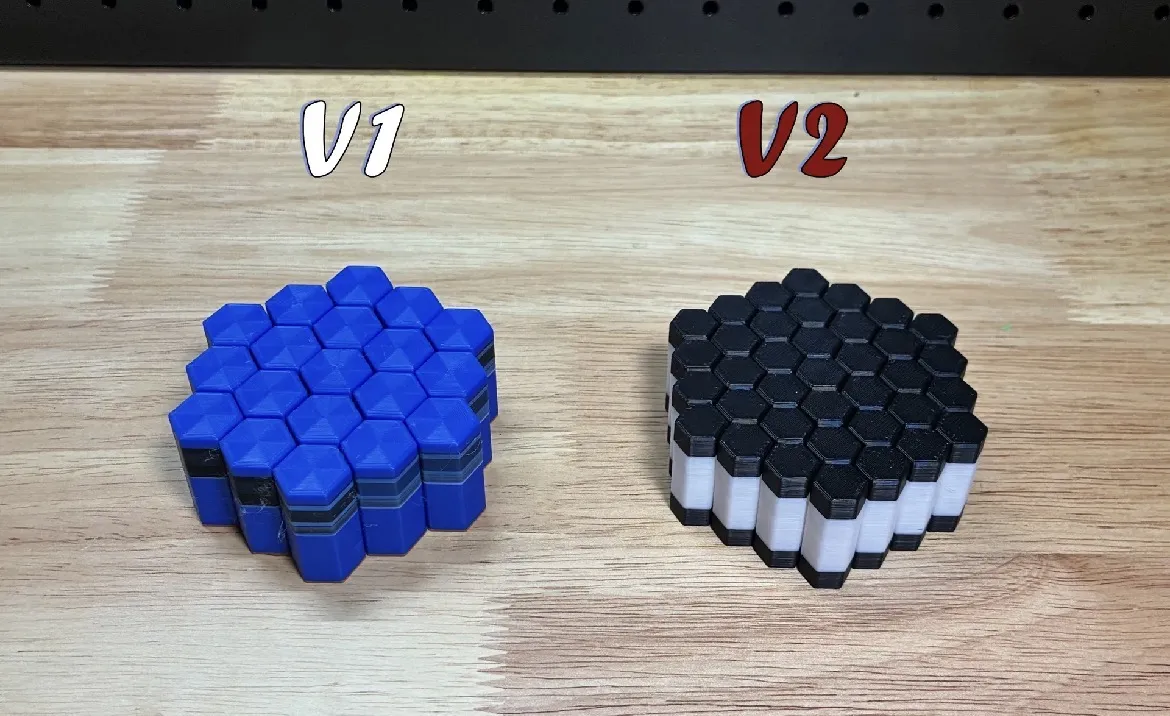
https://makerworld.com/en/models/2279094-honeycomb-fidget-v2#profileId-2485170
———————
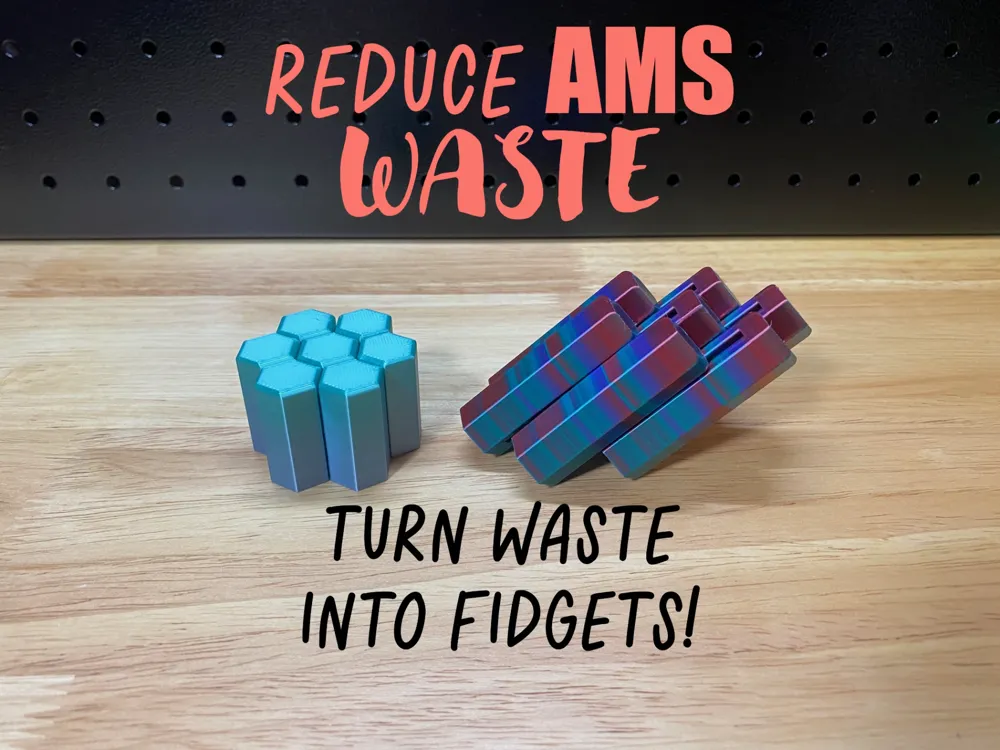
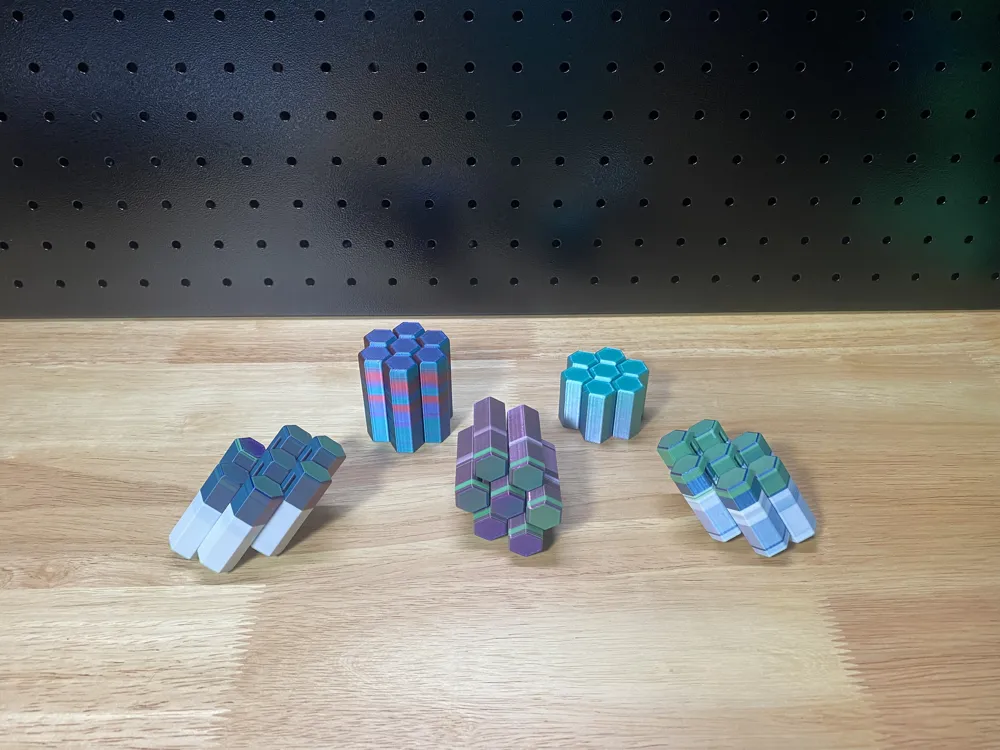
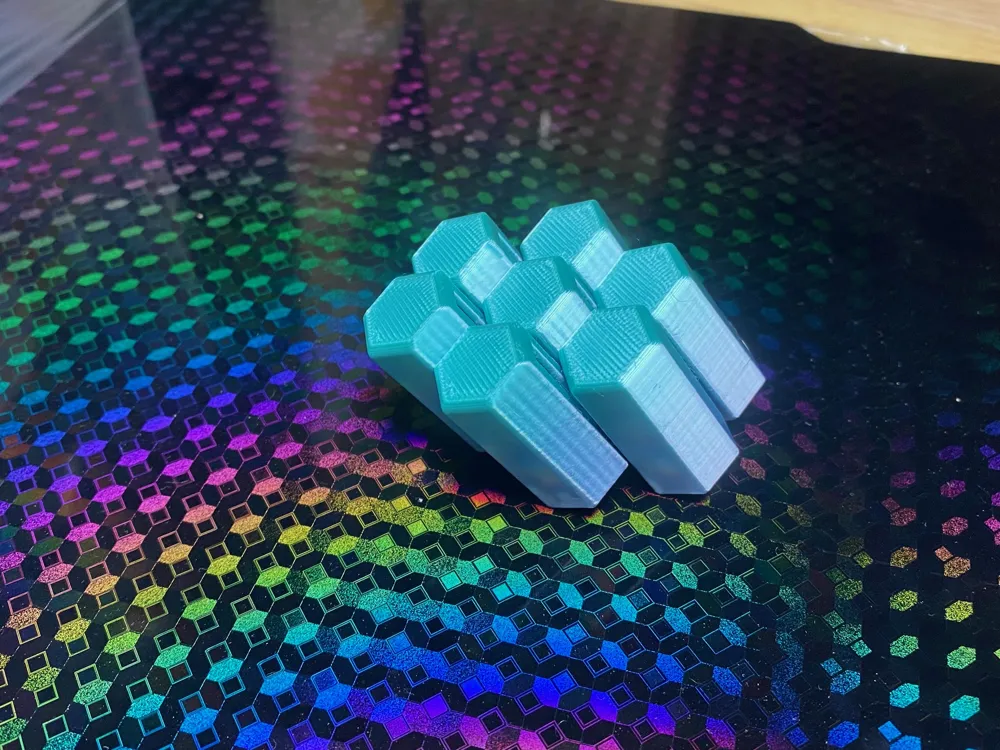
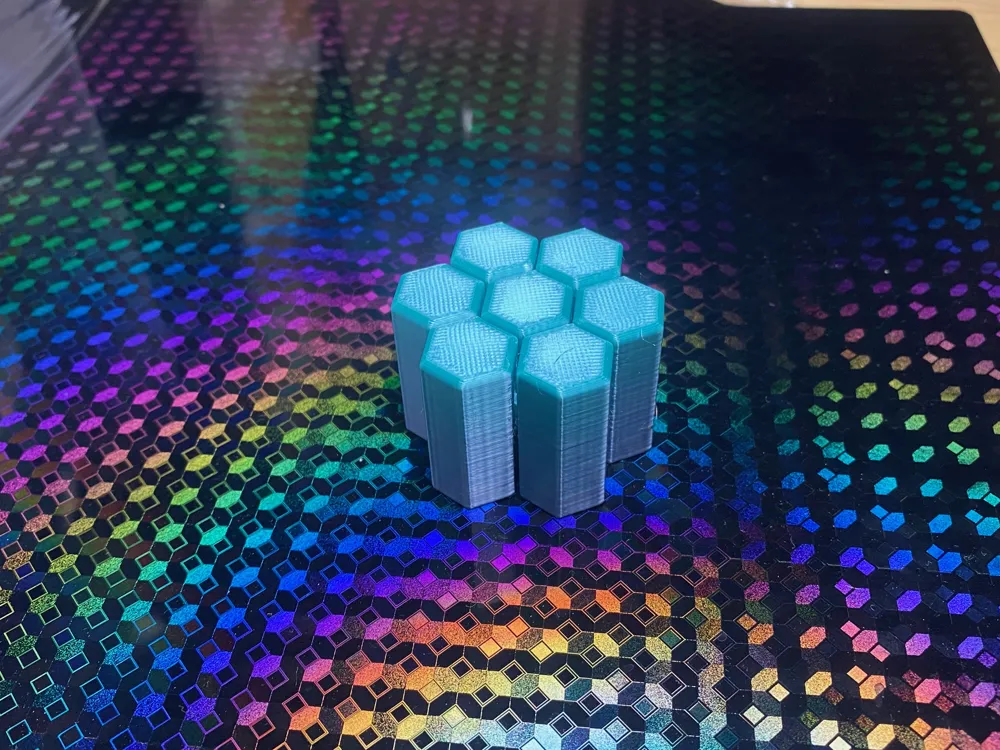
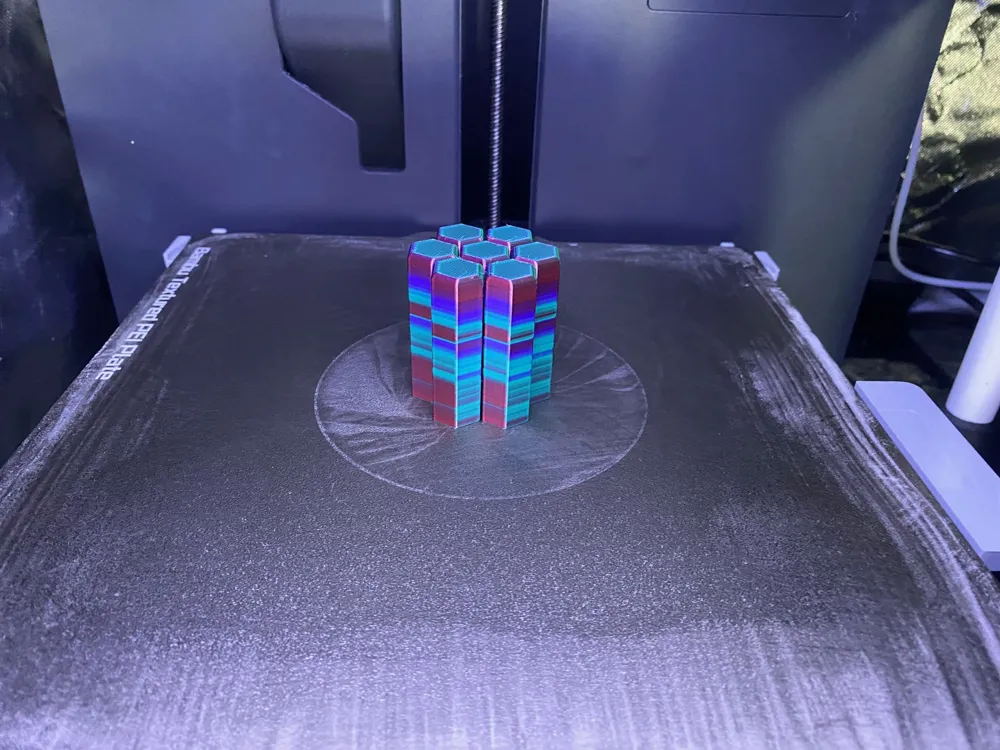
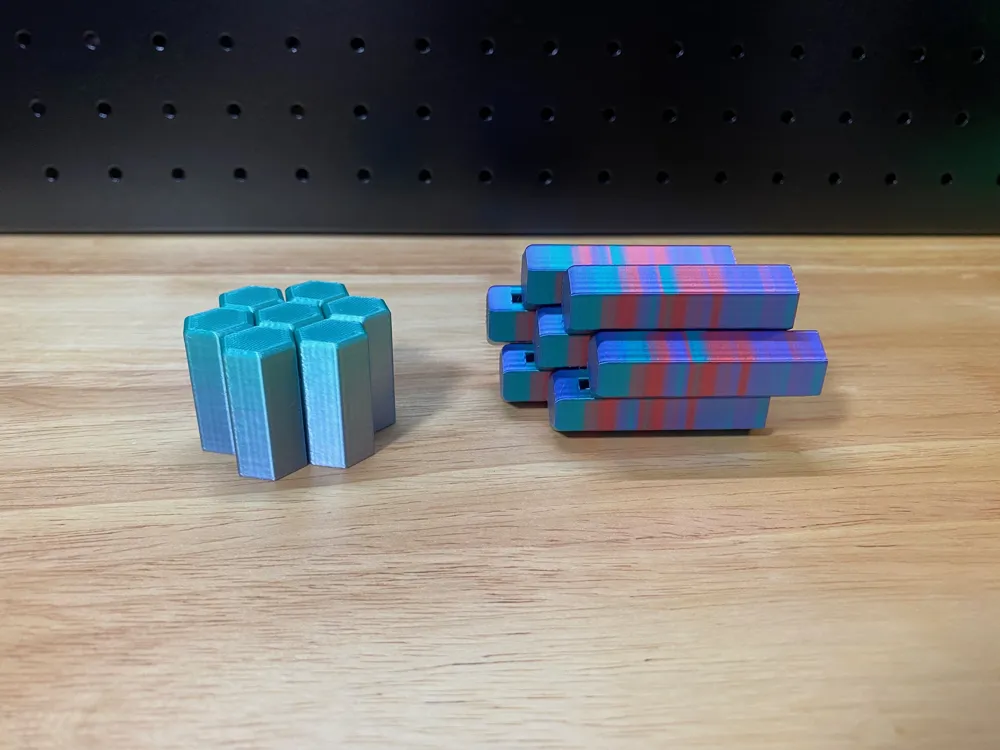
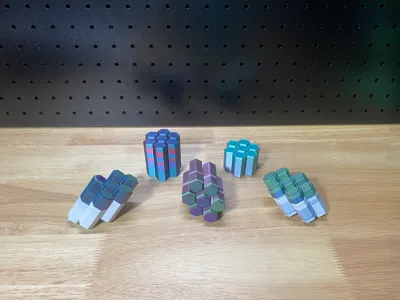
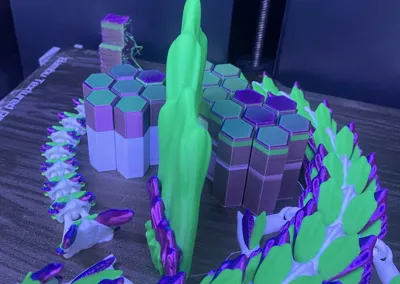
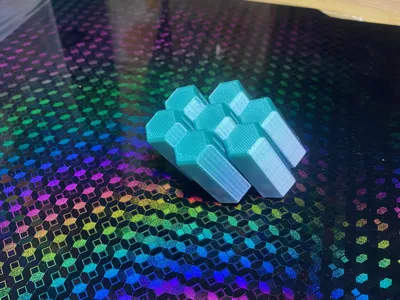
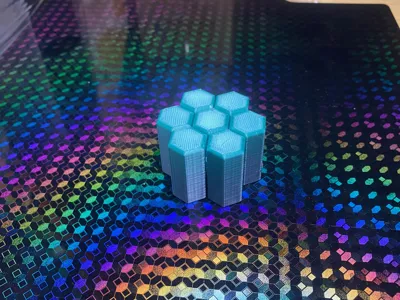
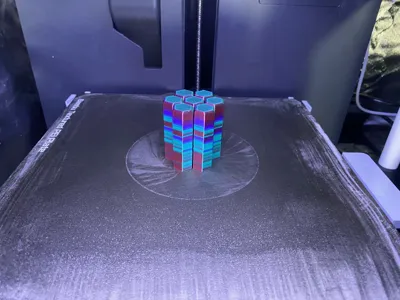
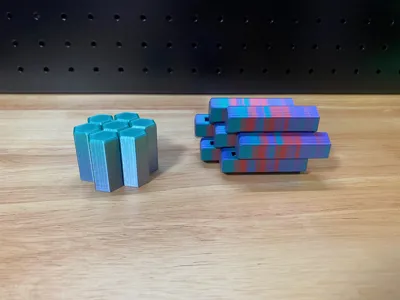
I use my original fidget cube for flushing waste all the time but I wanted one that I could scale vertically to whatever size I needed. This is what I came up with.
This size does well for 2 and a decent amount of 3 color changes per layer. If you need to consistently change 3+ colors per layer check out my larger honeycomb flush here.
Pro Tips:
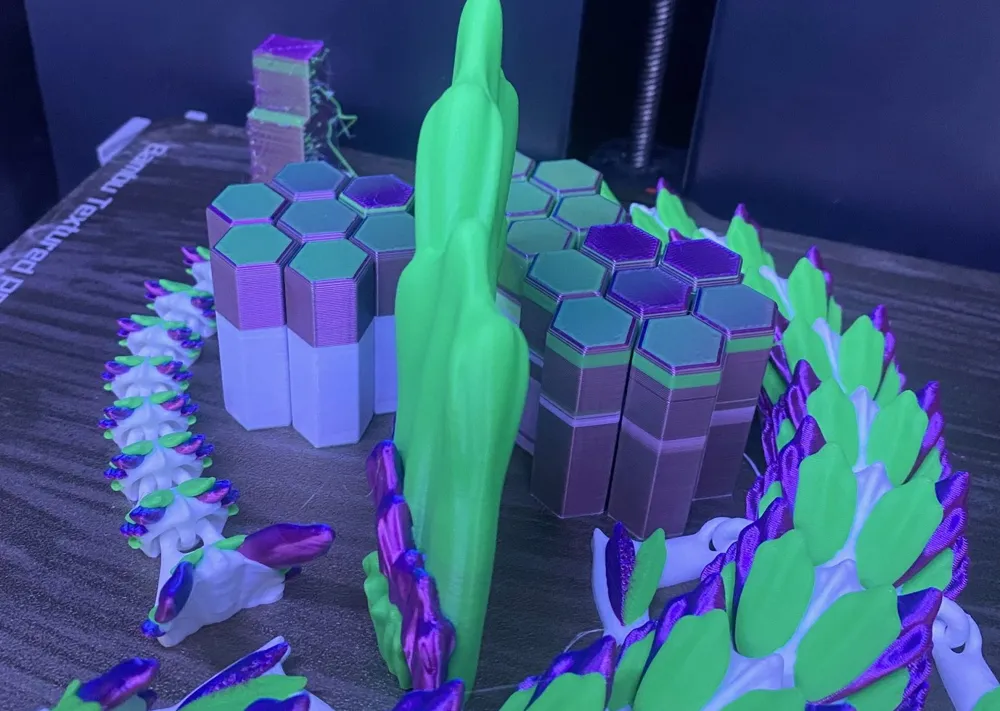
- When Scaling your “Z height only” for this flush object - look for the highest layer with the last color change and match that height.
- This size flush object will be ideal for 2 to 3 color changes on the same layer. You can also add multiple of these if your print will be doing 3+ color changes per layer.
- If you still have high flush amounts with one of these, try adding one more at a time to watch your flushing go down to where you want it to be.
Do not use supports - so if your main print needs supports, make sure to go into “objects” in Studio and turn off supports for this fidget.
Why flush to object?
Typically during color changes you have the current color ready to print in your nozzle/reservoir and it must be flushed/purge out before the next color is used or it messes up your print by bleeding previous filament into the next color. By utilizing a flush object, instead of flushing that color out to waste/poop we are flushing that first color into an object's walls and infill until the new color is ready to print, significantly reducing the amount of waste that multicolor prints typically produce. And turning that poop into a useful print instead.
This also helps keep the poop chute from getting clogged on long prints because you are putting significantly less into it so its much less likely to get backed up.
How to do it?
- Download fidget, then add your Flush object(fidget cube) to your multicolor print:
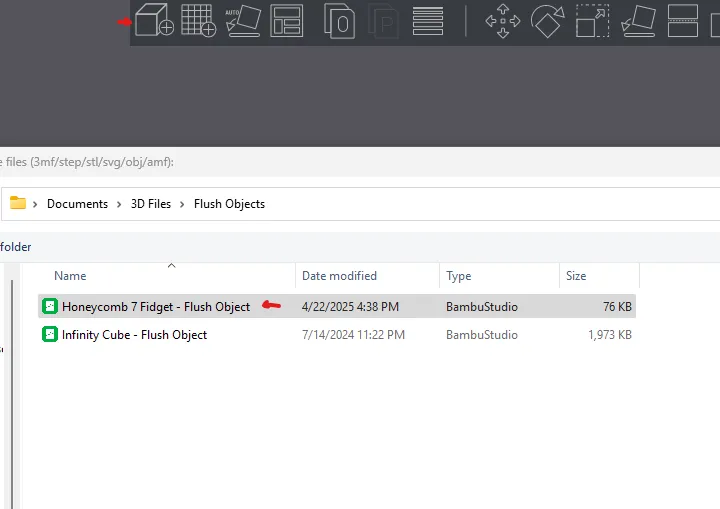
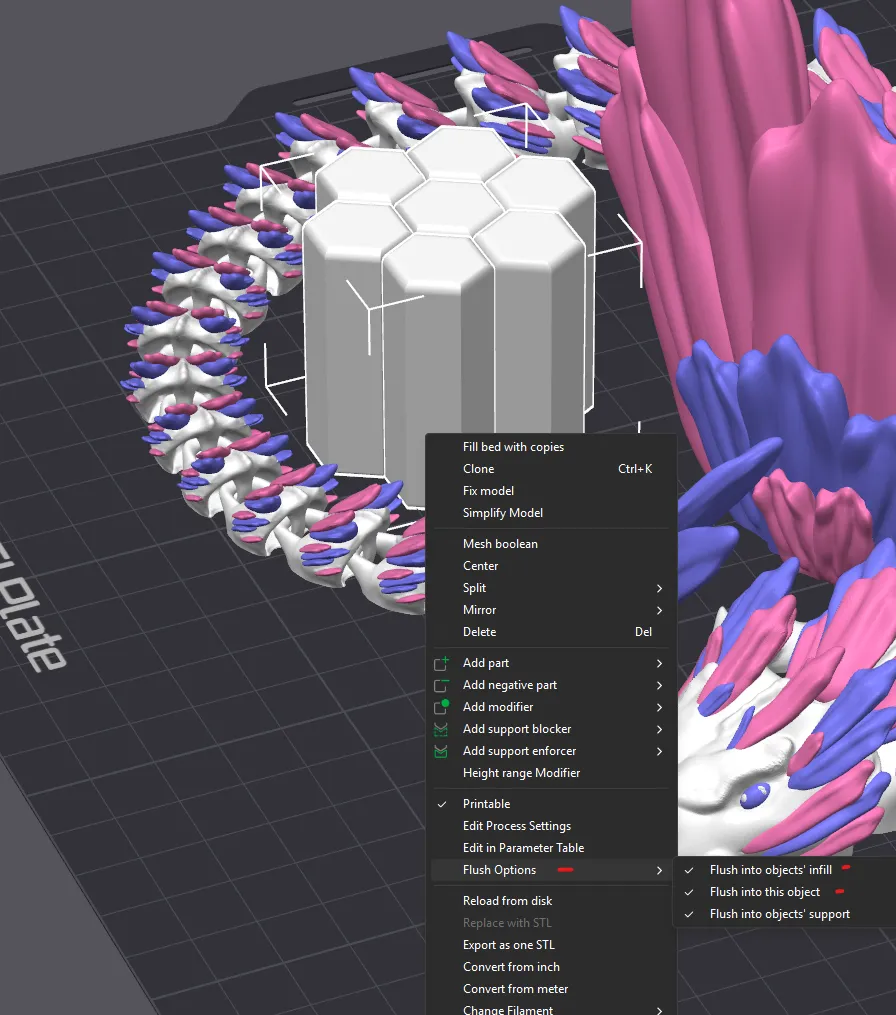
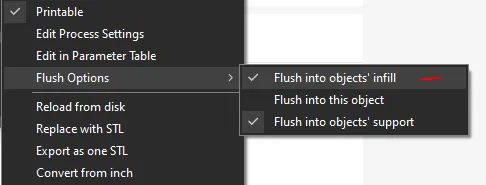
2. Right click on your object (Fidget Cube), select Flush Options near the bottom, Select all 3 options(Objects infill, object, support):
(You can also do this in your “Objects” → Others.)
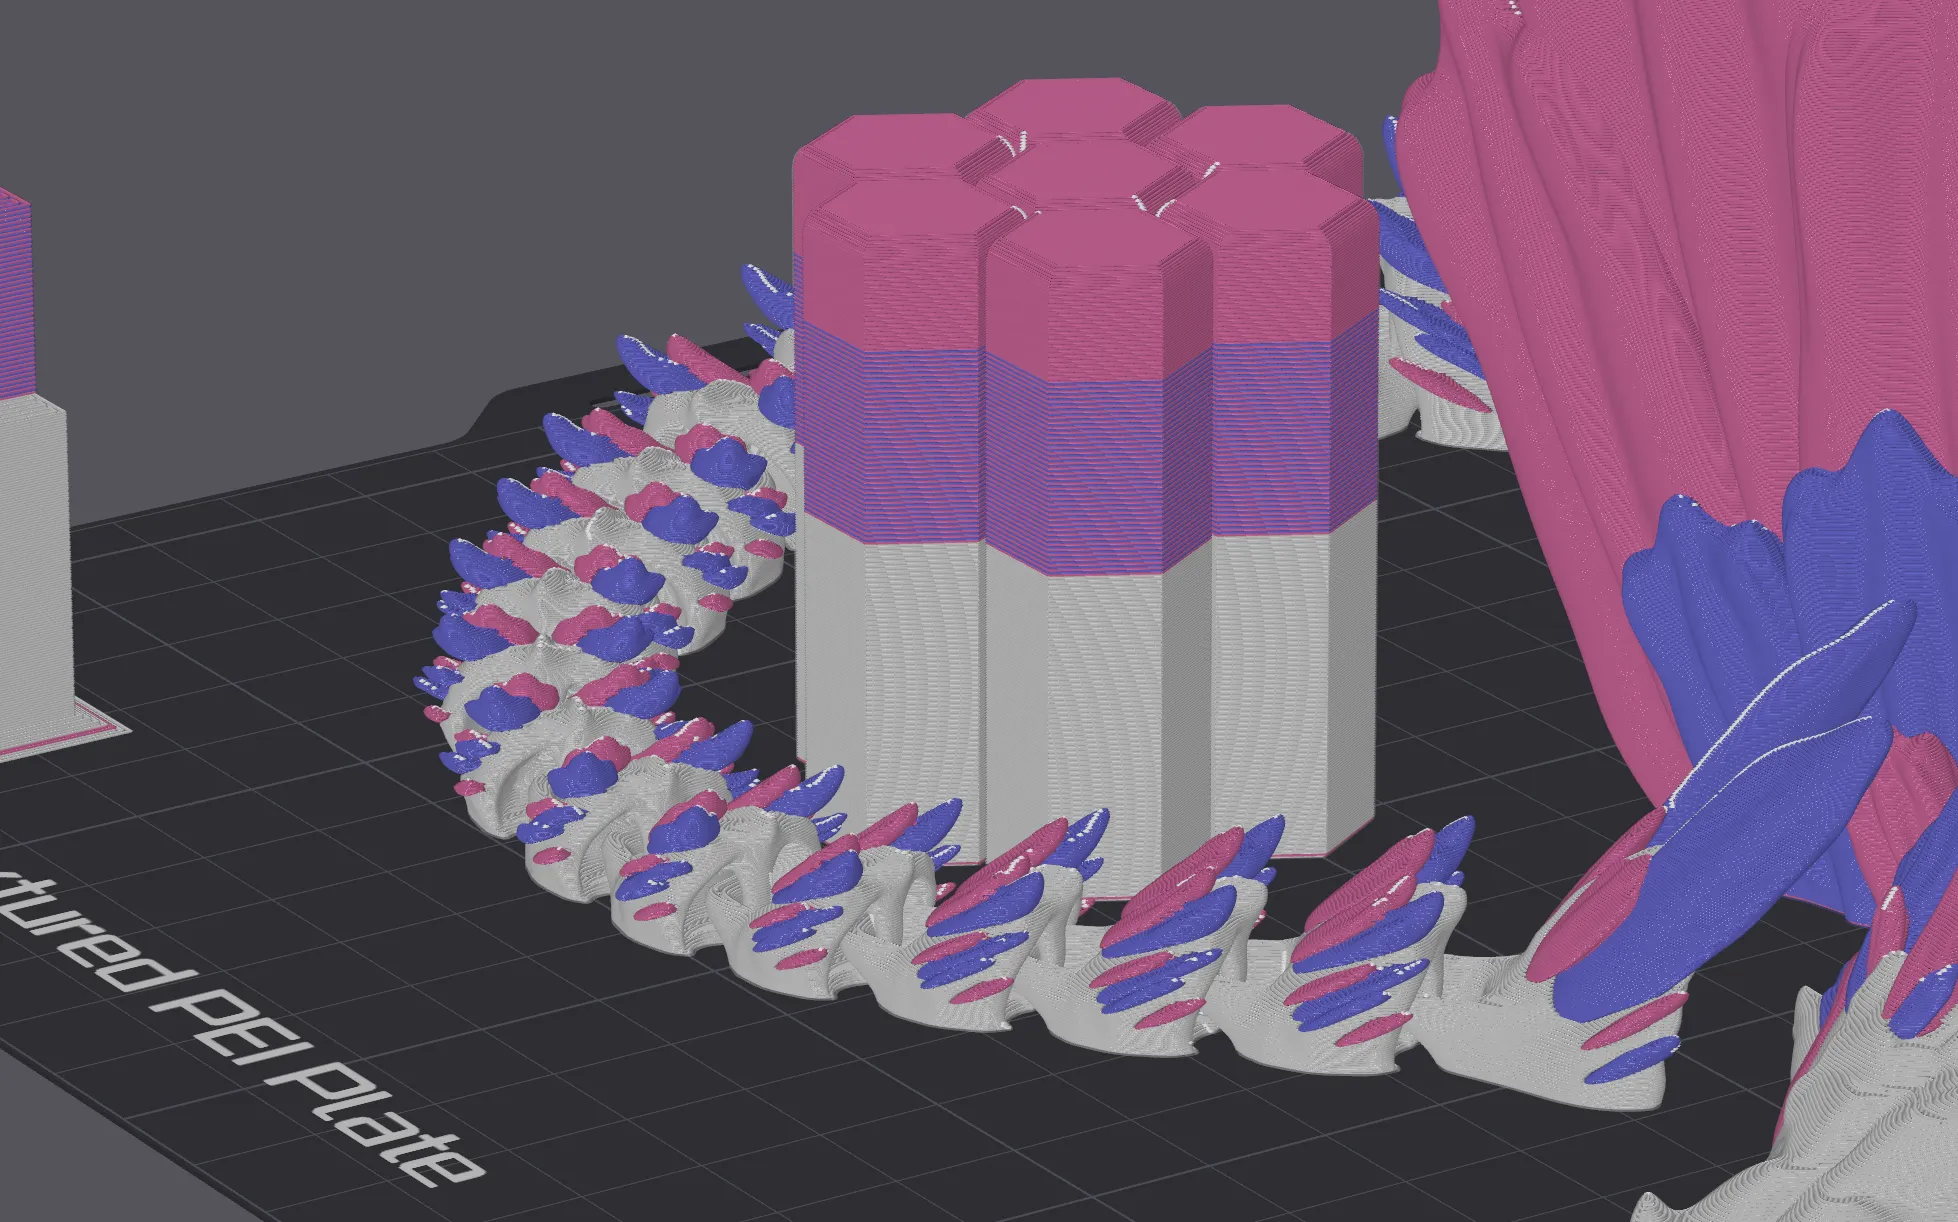
3. Now Slice and check that the fidget cube is being flushed to:
Pro Tip:
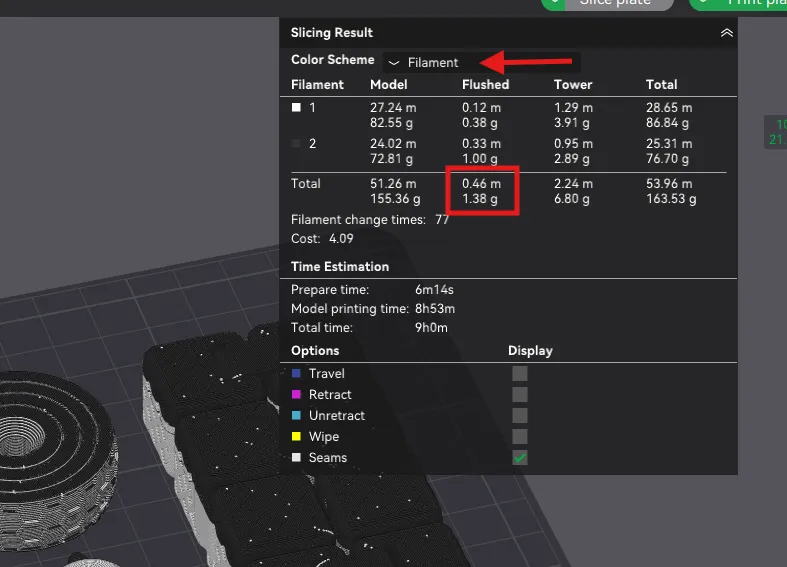
- After Slicing, check how much filament is being flushed to see how much you're saving, or if you need to add more flush objects.
- Upper right information box:
- Select Filament from drop down (Arrow)
- Check quantity of Filament being flushed (Box)
- Upper right information box:
Any other ways to reduce waste?
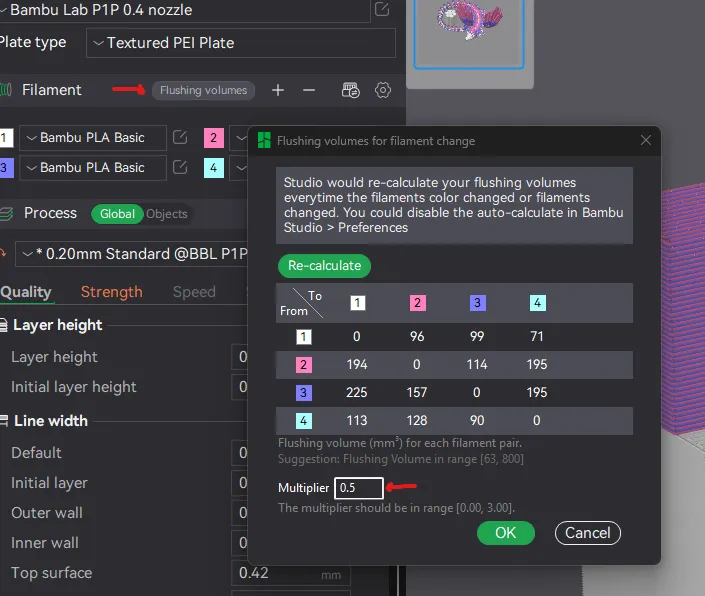
- You can also check your “flushing volumes” right above your filament/color selections in Bambu Studio. Its default is 1, but not all color combos need that much flushing. Typically most colors are pretty happy to be within .4 - .6. The indicators will turn red when it feels like there is not enough flushing, I typically like to be at least .1 number above the red to ensure good flush. (IE: red is at .45, I set flush to .55)
2. You can also flush to the infill of your main print (similar to fidget flush - but ONLY to infill) - this is typically only recommended if your main outer wall is darker/similar to your other colors. Or if you're using 3 walls or more. Otherwise you may be able to see the inside random colors and it can mess up the look of your print - which isn't worth saving on filament if it affects your final print. This comes down to personal preference and experience. Some prints you can get away with it, others will not look as good.
3. Print multiple of your main items. If you need multiples of the same prints its more efficient to print them at the same time as it will produce the same amount of waste as printing just one - thus reducing your print to waste ratio the more prints you do at once.
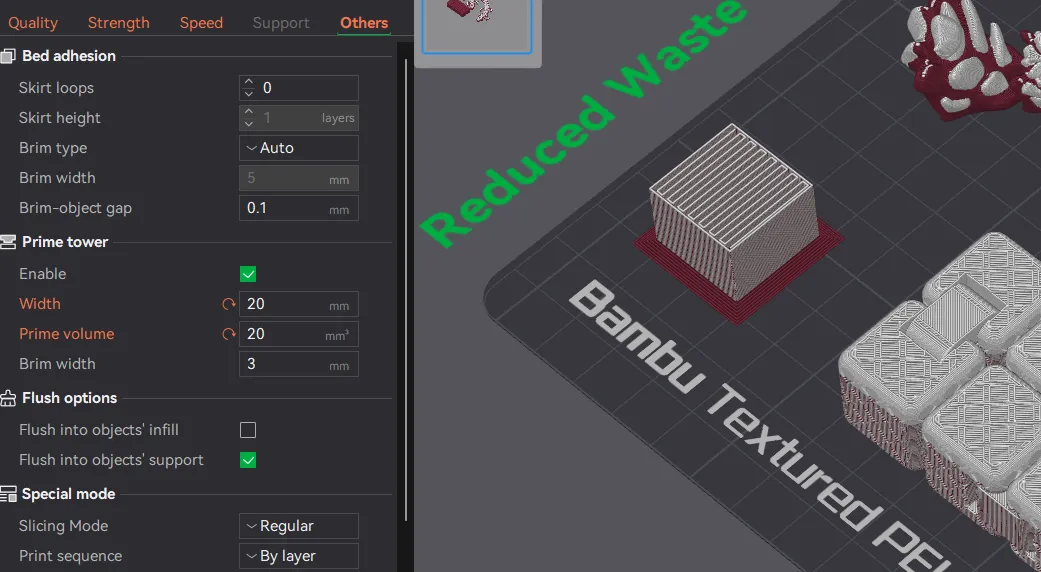
4. Reducing the size of the Prime Tower can also help save a few grams of filament as well. The default is 35 width and 45 volume, I've found that on most of my prints you can be around 15/15 to 20/20 and they work fine.
- Tip! if you are printing something tall make sure to increase your brim around the prime tower for better stability if you are going to significantly reduce its size.
As a reminder - this tech only works to the height of your flush object. This Fidget has been created specifically so the “Z” height can be scaled up to the height you need so remember to look where the last color change layer will happen and scale up to that height.
Here's a collection of prints that I made that you can “follow” to have some other options for flushing.
https://makerworld.com/@ninjake/collections/1510184-flush-objects
Boost Me (for free)
Boosts help support us and allow us keep making these files free for your use - if this tutorial helped you out please consider a boost.
Thank you!
License

You shall not share, sub-license, sell, rent, host, transfer, or distribute in any way the digital or 3D printed versions of this object, nor any other derivative work of this object in its digital or physical format (including - but not limited to - remixes of this object, and hosting on other digital platforms). The objects may not be used without permission in any way whatsoever in which you charge money, or collect fees.


Comment & Rating (380)